


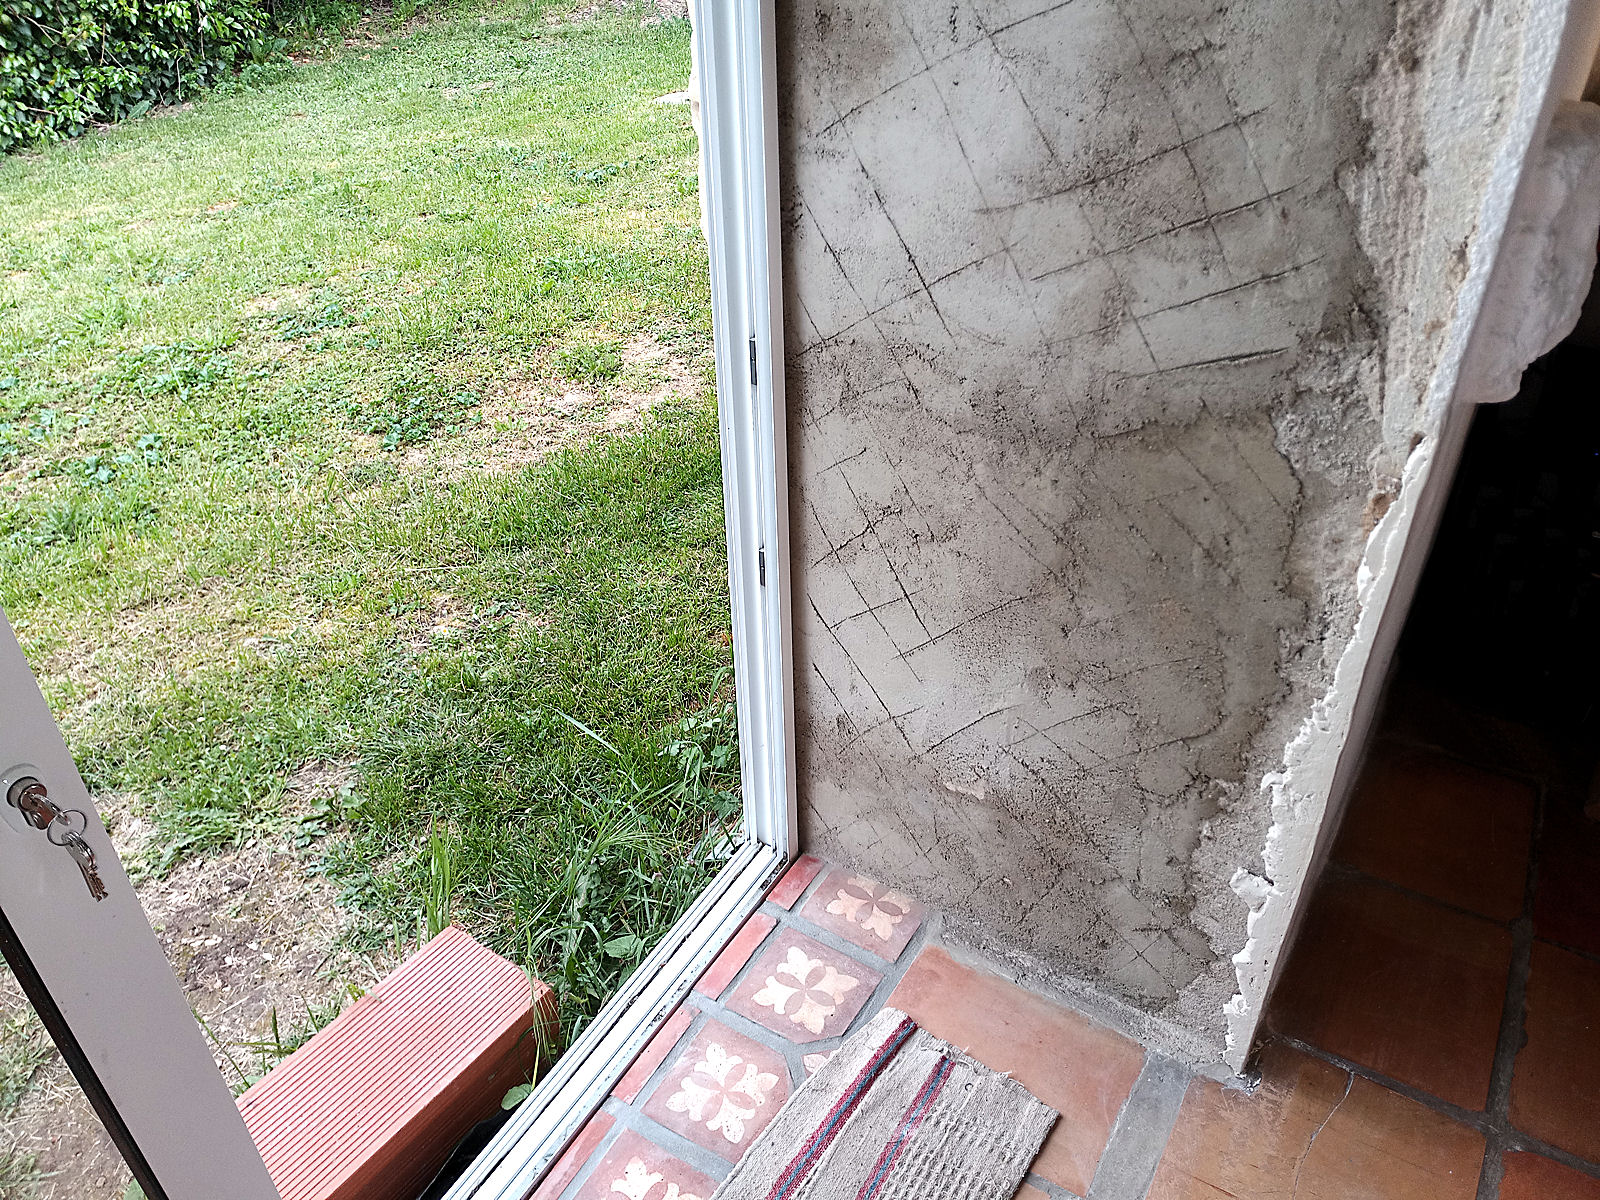
Before I could embark on replastering the walls either side of my new patio door I had to make a new corner on the wall on the right hand side. This was because the old rendering on that side was far too thick (because of the old metal door hinge having been buried – see earlier posts) with almost the whole wall on that side needing to be cut back to the original stone. Unfortunately when I chipped it off, although I’d tried to retain the whole edge up to the corner of the wall, quite a large portion broke away. This needed to be replaced in order to give me a full edge to plaster up to and this was today’s main job.
But before I started, I needed to zip across to Brico Depot after Wim and I had enjoyed our regular Sunday morning coffee together before they closed at 1.00 pm. I went there yesterday without checking on the internet only to find that they were closed for France’s May Day holiday, so had to go again today to pick up some plasterboard tape to finish off the ceiling above the patio door. So it was already early afternoon before I got going, later actually, because after I’d had a salad for lunch when I got back, I connected up the caravan’s gas for the first time and tested the hob, which worked OK I’m glad to say.
Usually when you plaster up to an edge or a corner, it’s a good idea to nail some kind of board to the wall to give you a solid edge to work to. I didn’t want to do this, firstly because I didn’t want to bang any nails in and risk having more plaster come off and secondly, because the walls in my house are all let’s say, irregular, because of the house’s nature and character. So I decided on a rather unconventional approach and just mounted a board vertically against the edge of the wall without actually fixing it.
The material I used for the job was the plaster that I originally used on the new bathroom window surrounds that went off super fast. That was less than desirable for that job but was just what I wanted for this one provided that I could get the plaster mix into place quickly enough. In fact, before I did the corner I used the same material but in a more sloppy state on the by now taped ceiling board and although I’d cleaned the bucket out before adding new plaster to do the corner, there must have still been enough old plaster left in it because when I did the corner, the plaster went off super super fast!
Here are a couple of shots of the corner with the board in place ready for me to start plastering. I’d placed a couple of small wooden blocks at the bottom of the right thickness to get the board standing vertically against the wall.


And here’s the corner with the plaster already cured and hard just a few minutes after I’d completed the job. So unconventional my approach might have been, but the final result turned out pretty well. If someone had said to me that this was as good as I’d get and offered me it as a final result before I’d started I’d have bitten their hand off accepting it!


And finally, the ceiling board. I used fibreglass tape because it’s stronger than paper and likely to give a better long term outcome. And I think that it was the right decision because with a bit of sanding, now both the ends and the let’s say, more ‘problematic’ centre area, are perfectly acceptable and ready for painting.


The last shot above of the centre section shows up as a bit grey because it was still moist and not fully cured. When it has gone off completely it will be pure white like the ends. So today was very successful. I also managed to get a very short drone flight in before Wim arrived this morning and to fit in an hour’s baby-sitting of my neighbour, Chantal’s little dog, so successful and also busy. Now I’m all ready for the main attraction tomorrow – plastering the walls – and I’d better get a good night’s sleep in tonight so I’m totally zoned-in and in the right frame of mind for it 😉
 English
 Nederlands
 Français
 Deutsch
 Italiano
 Latviešu valoda
 Português
 Español