
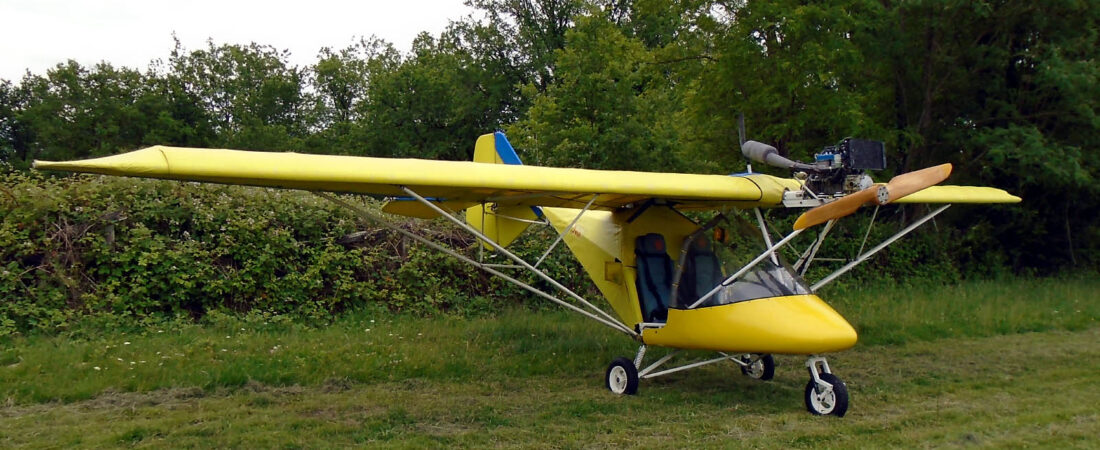


I wasn’t looking forward to it having done the job once before, back in September 2016 when the original screen was destroyed by spilt fuel after a rubber tube popped off a cheap Chinese electric pump that I was using to fill the Savannah’s tanks. My fear was that having drilled out all of the pop rivets holding the screen in once, doing it yet again would result in enlargement of the pop rivet retaining holes or even other kinds of damage and although I wasn’t totally happy with how things worked out, luckily nothing serious happened and any ‘problems’ won’t be visible anyway.
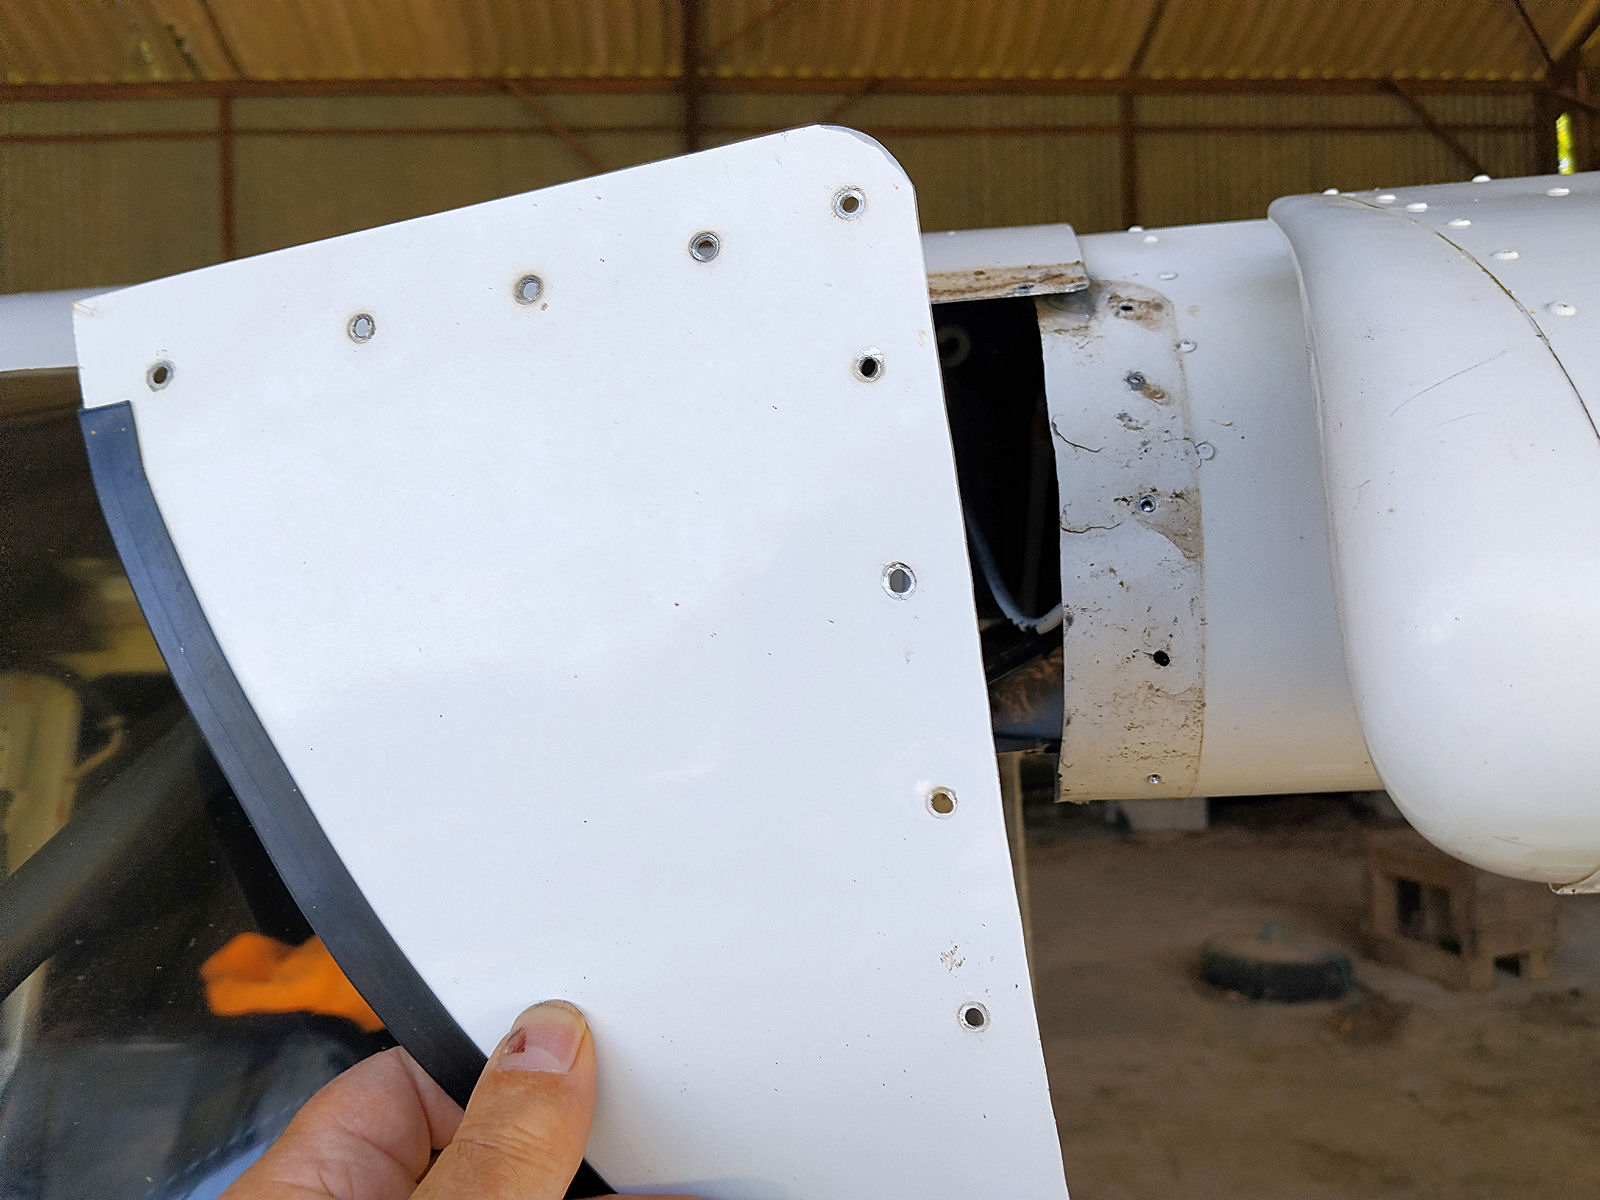
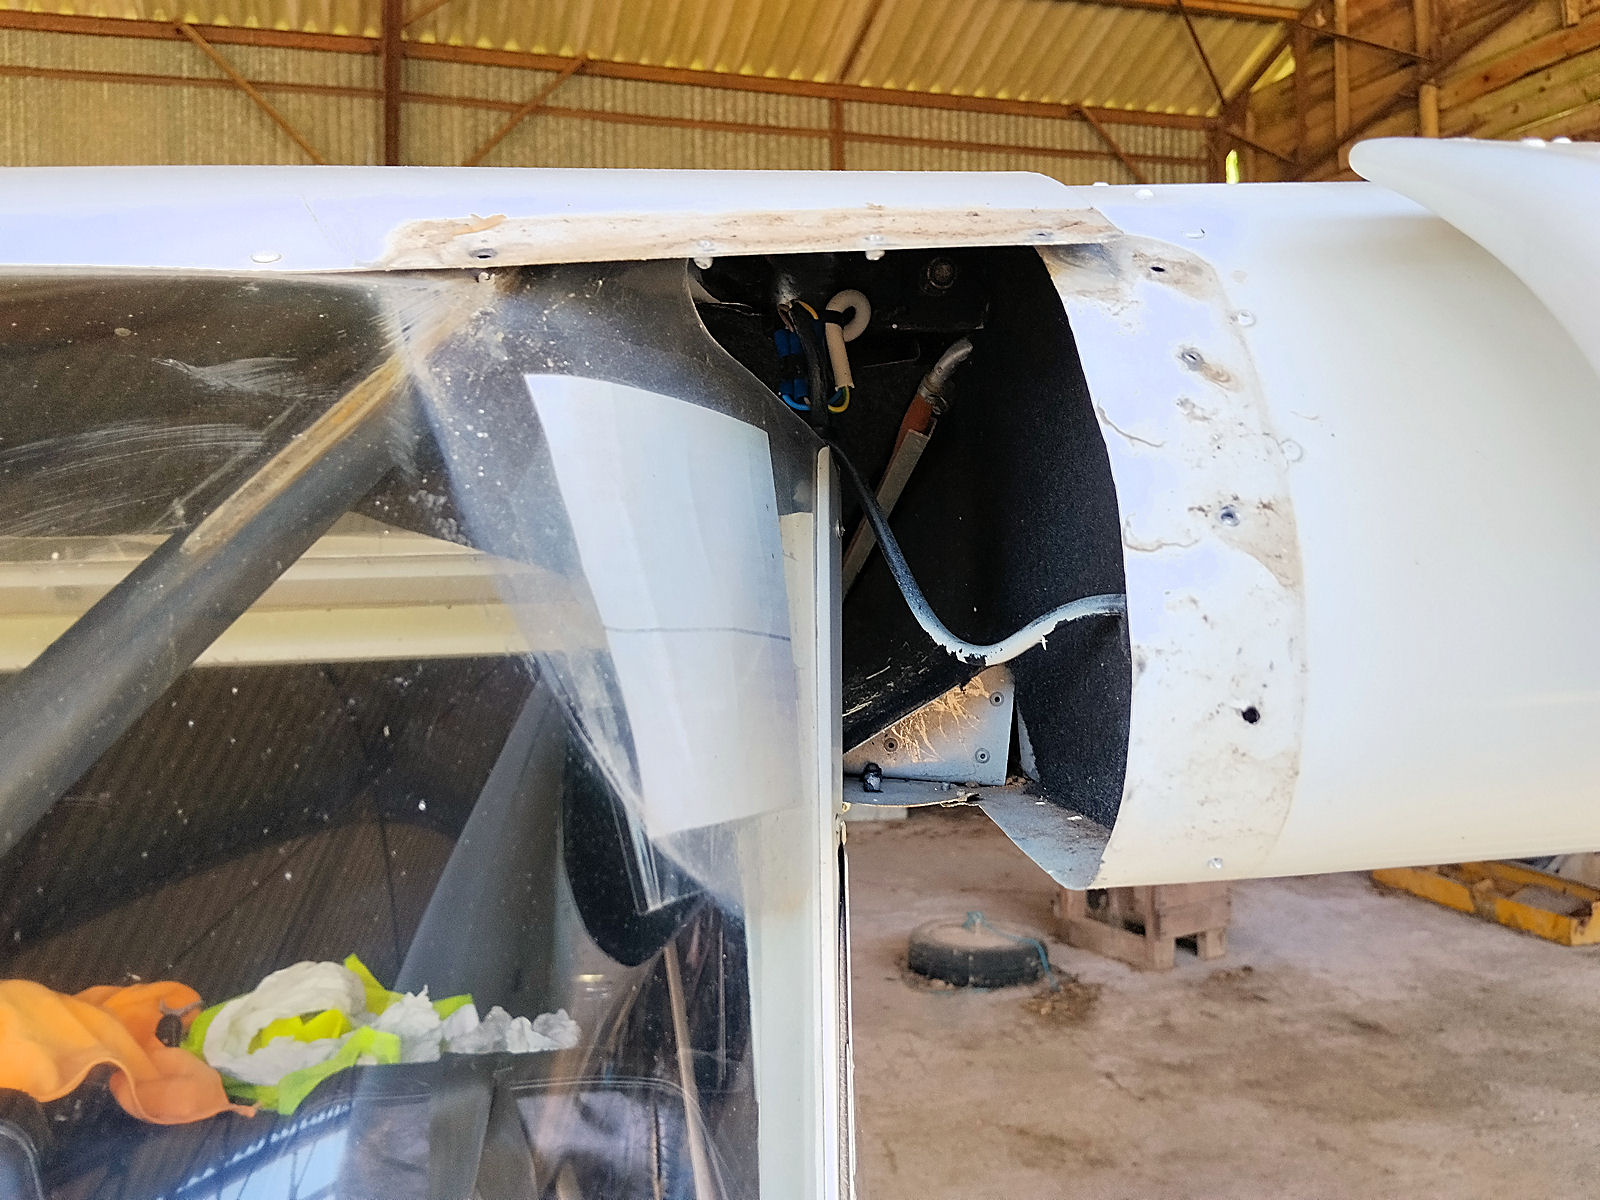
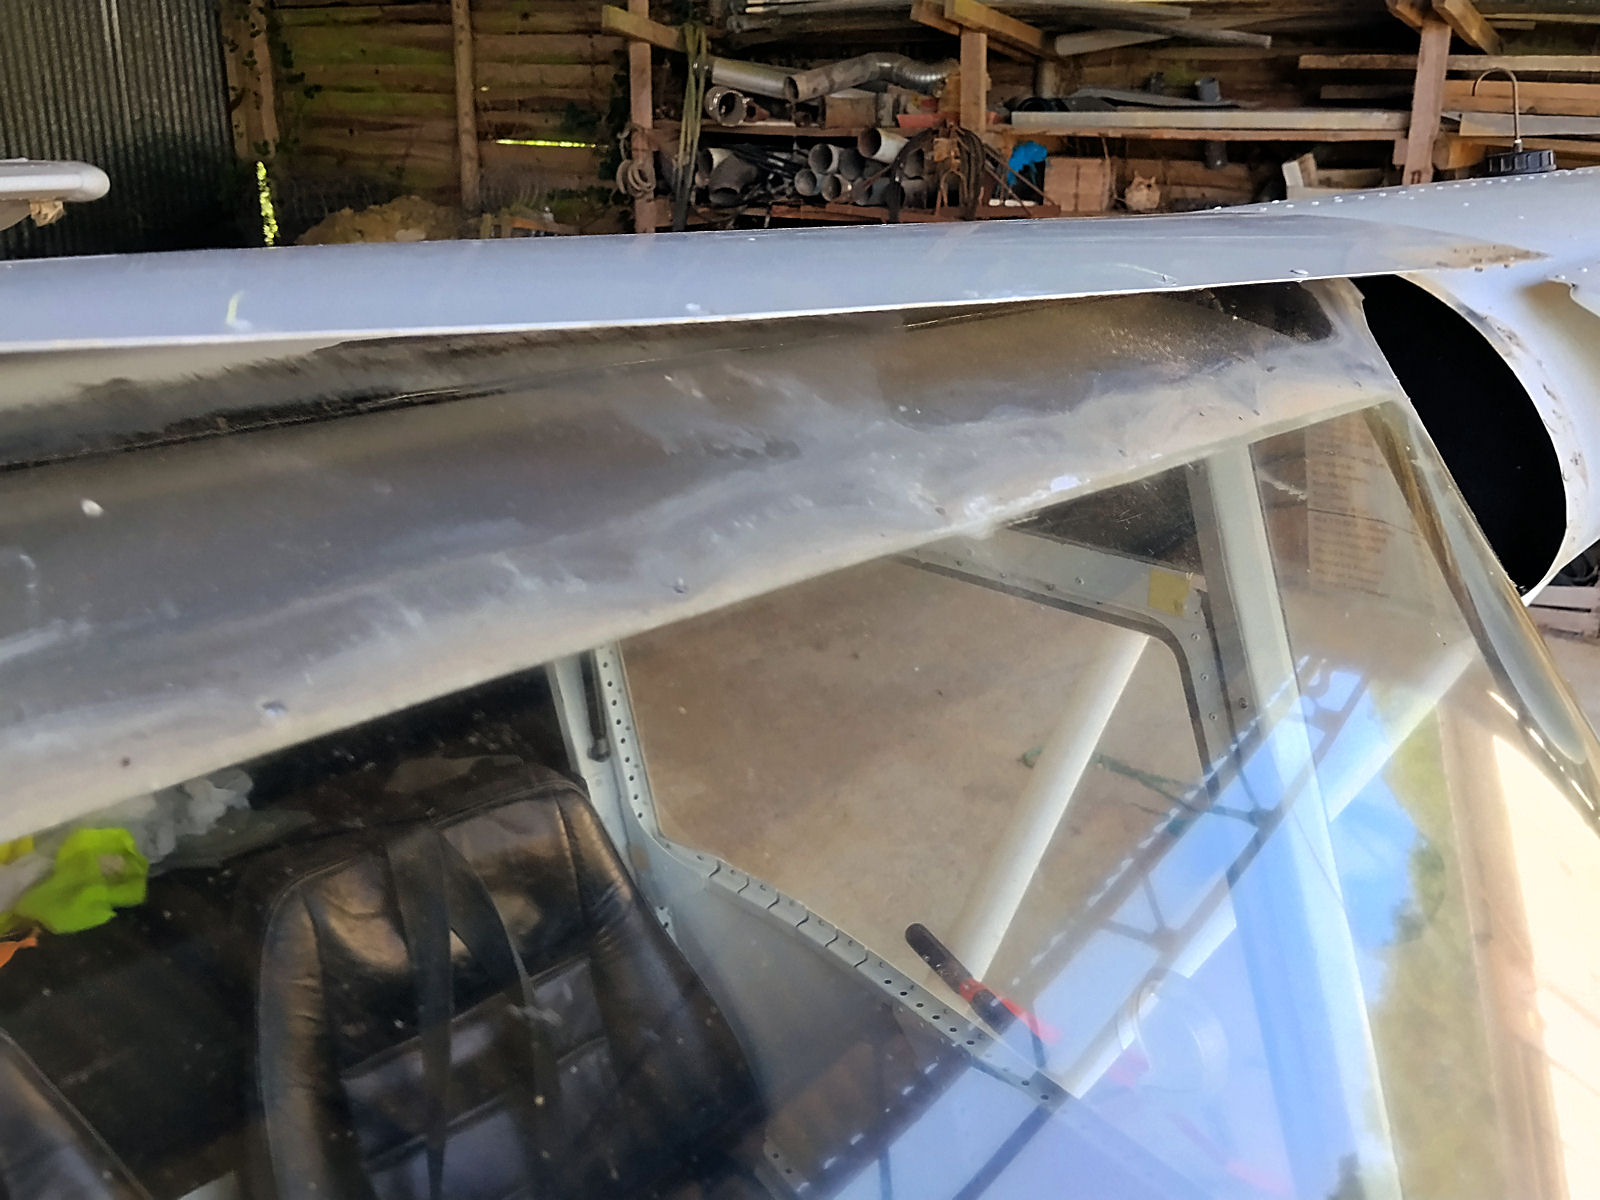
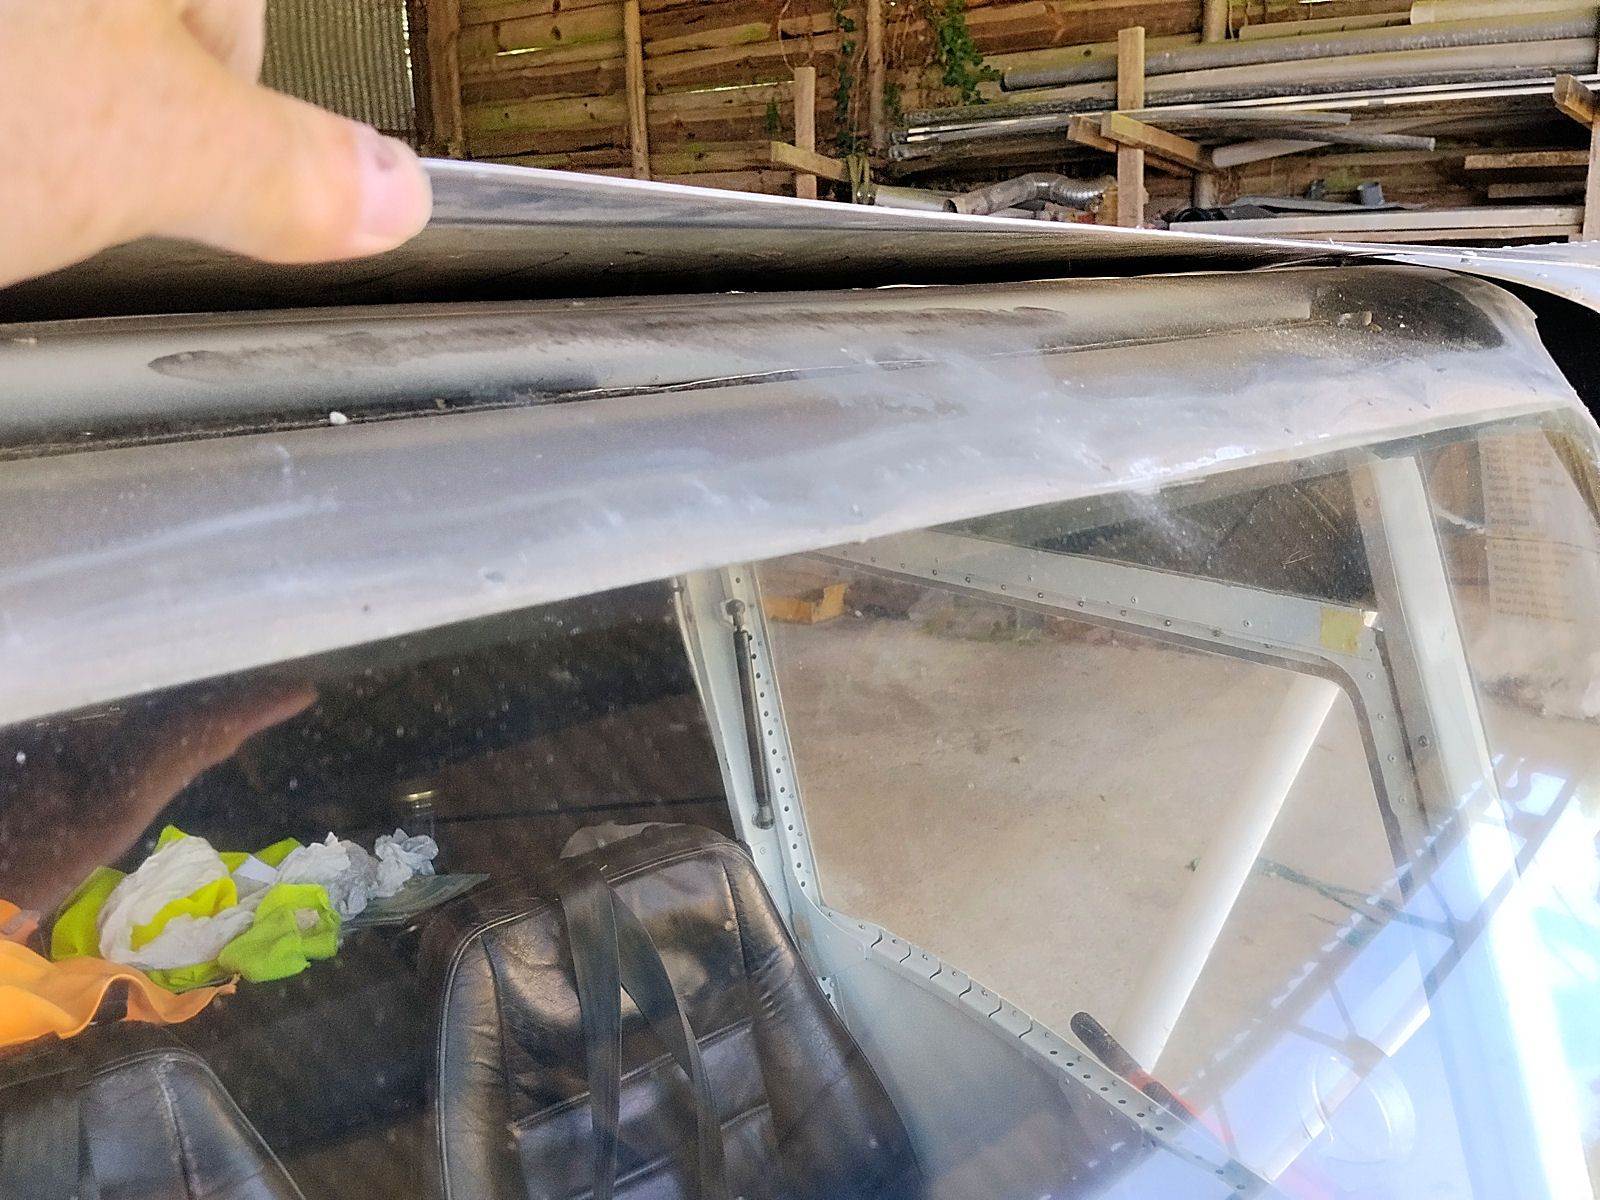
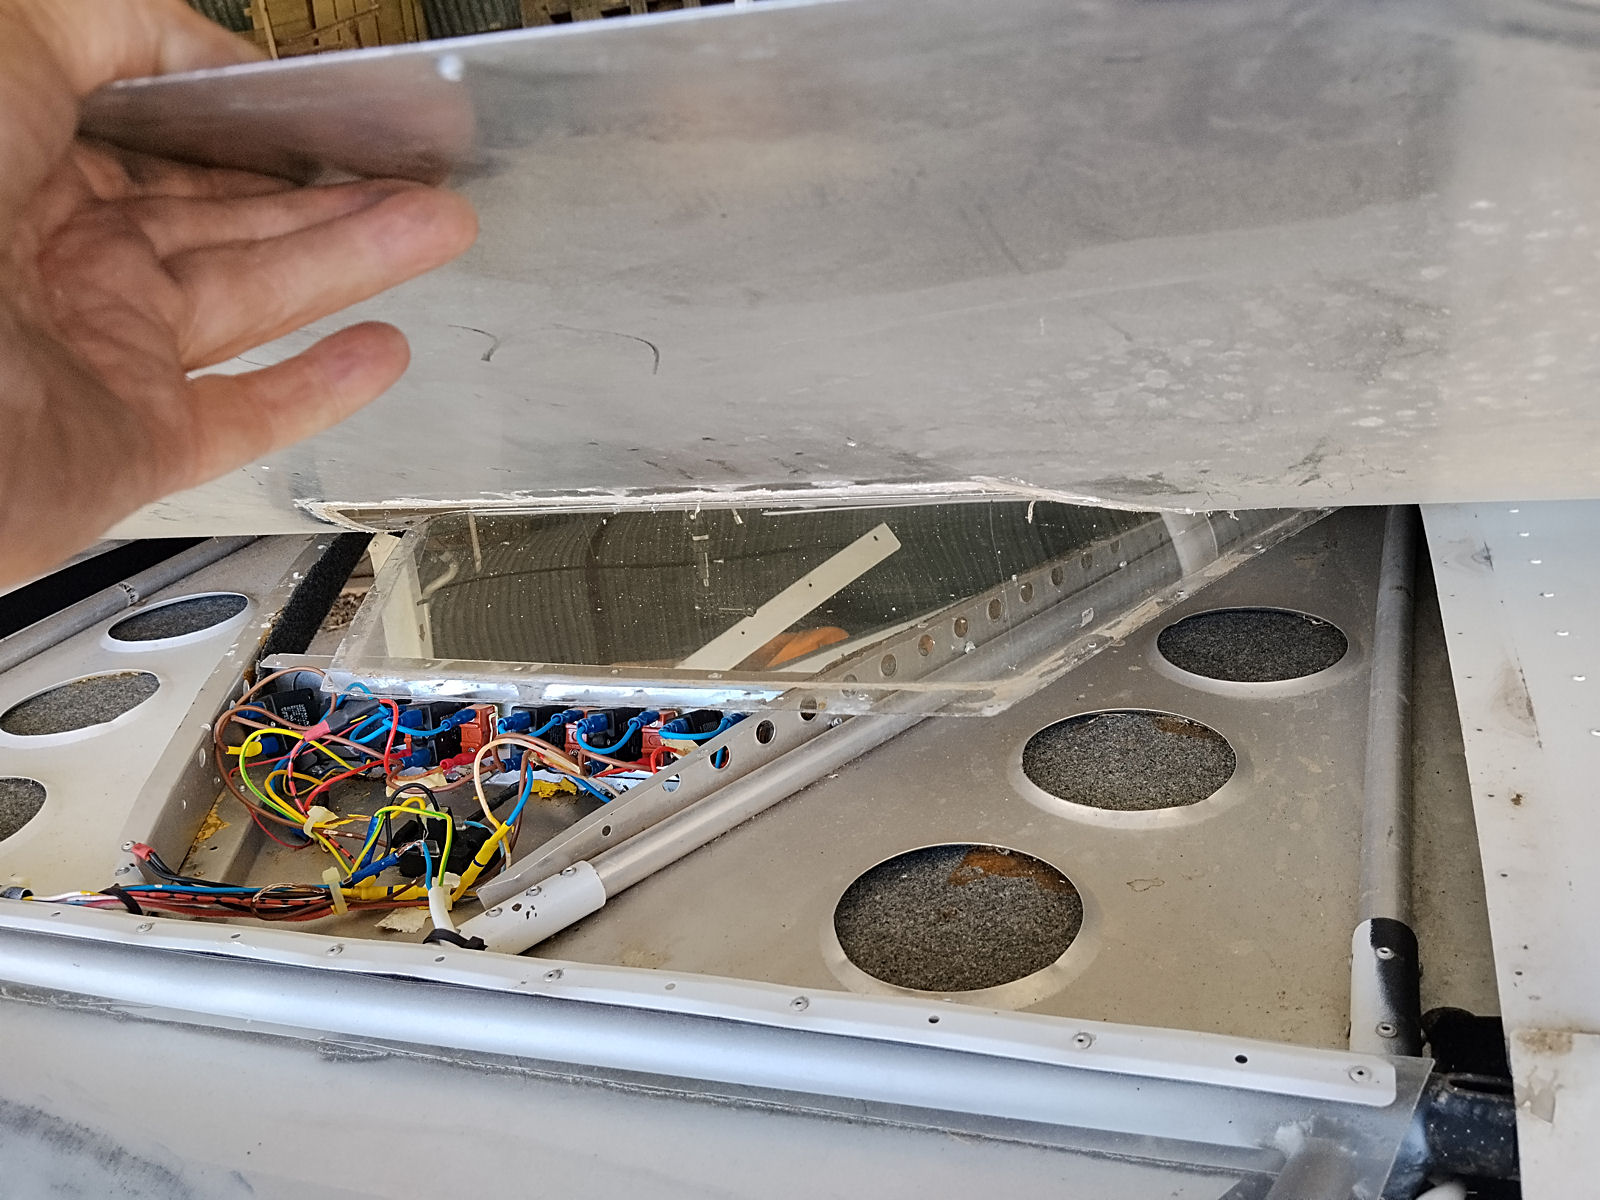
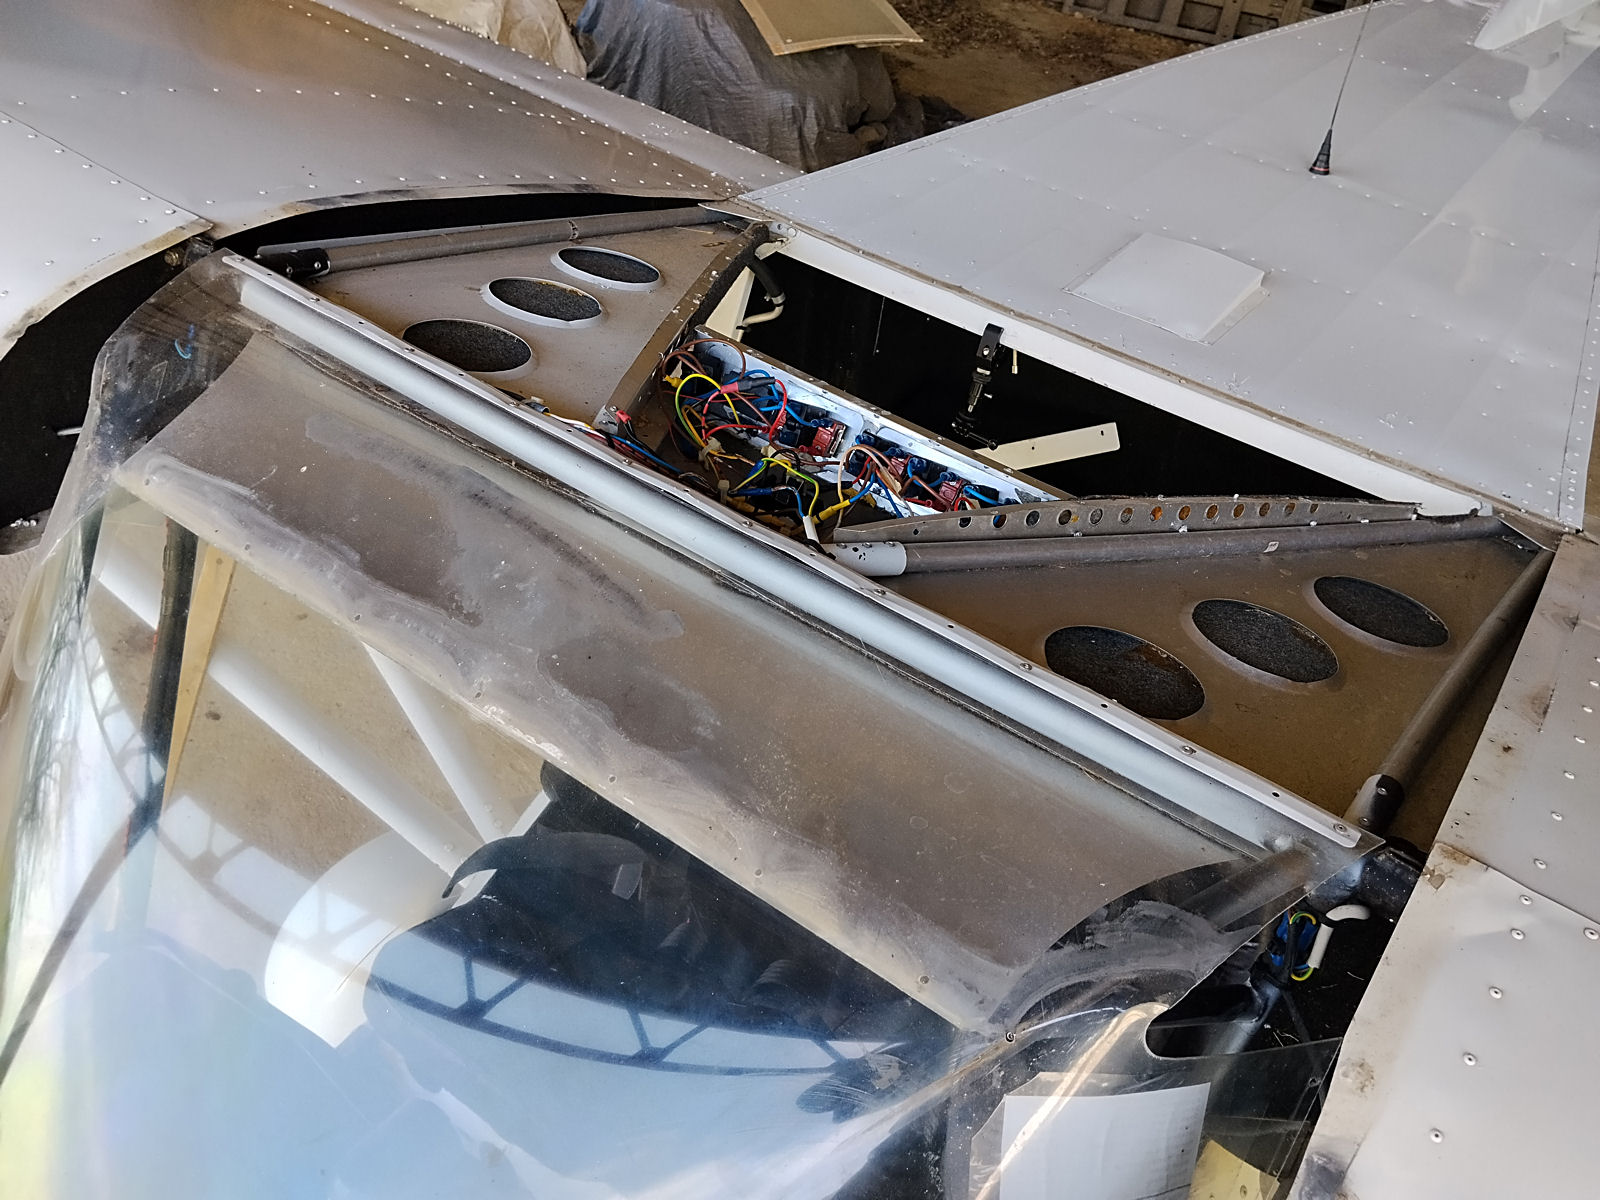
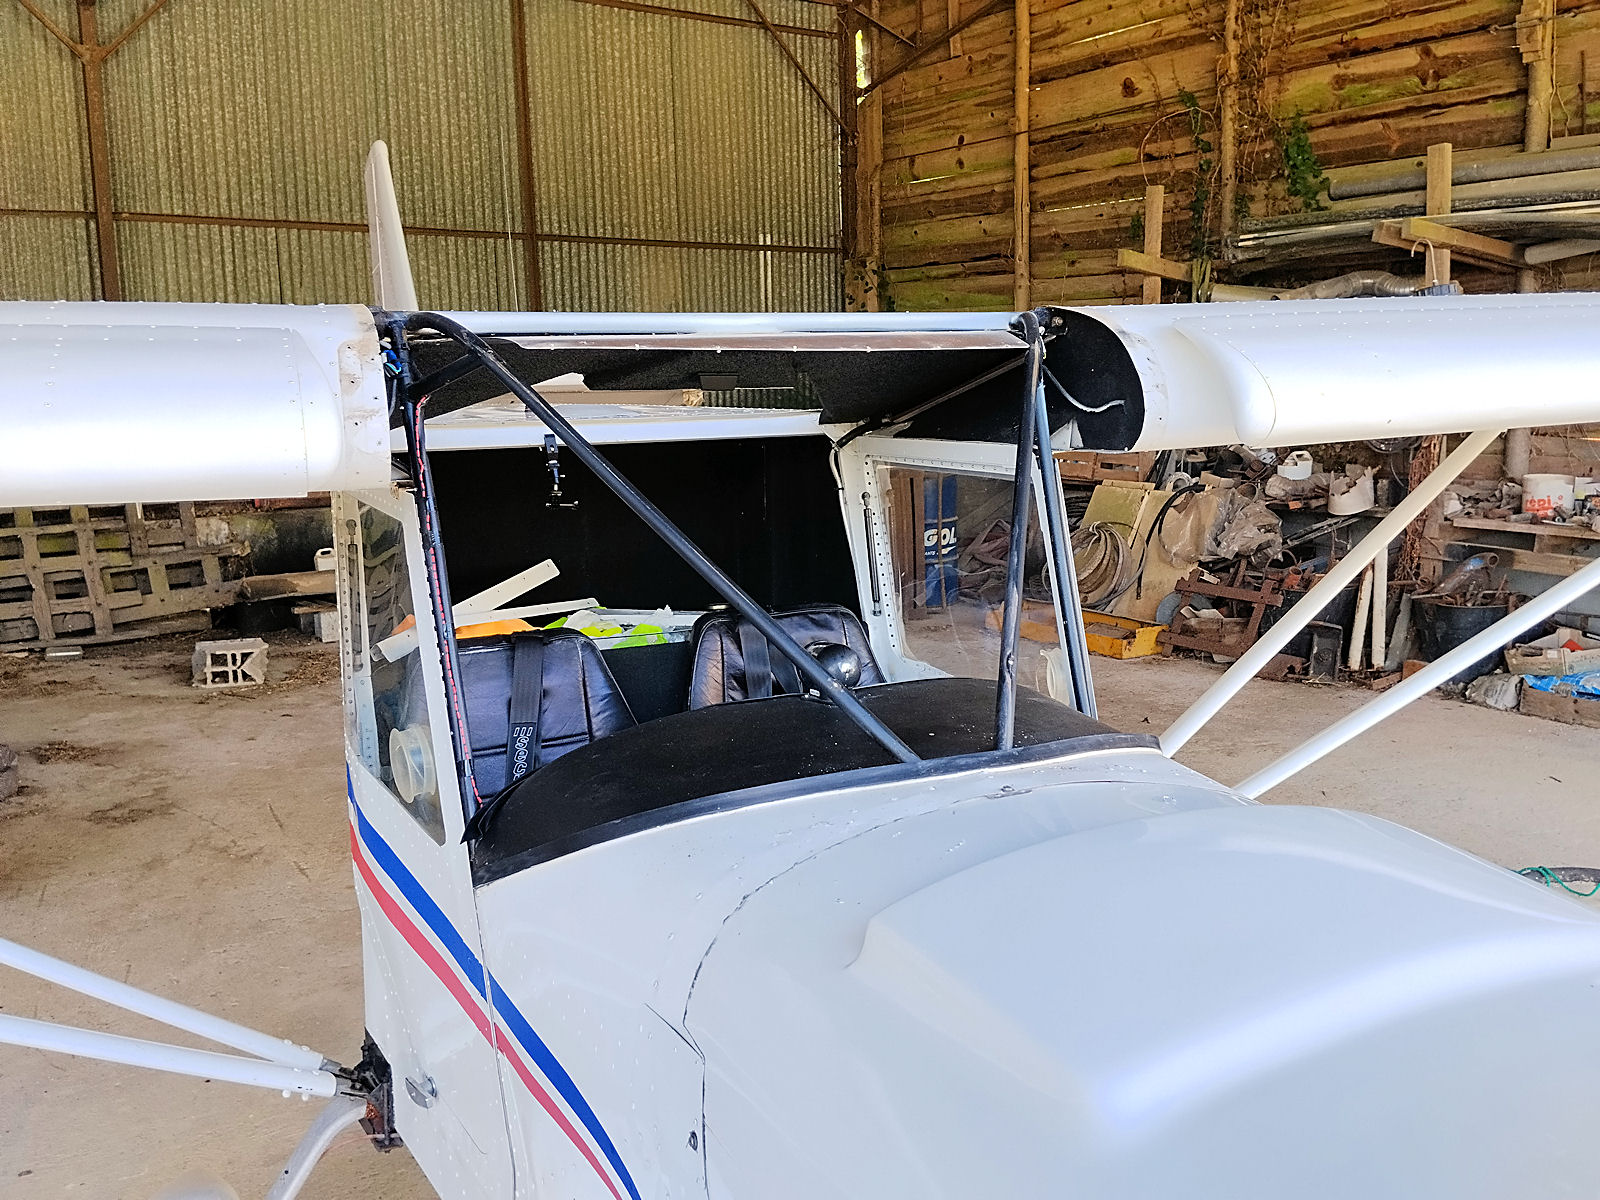
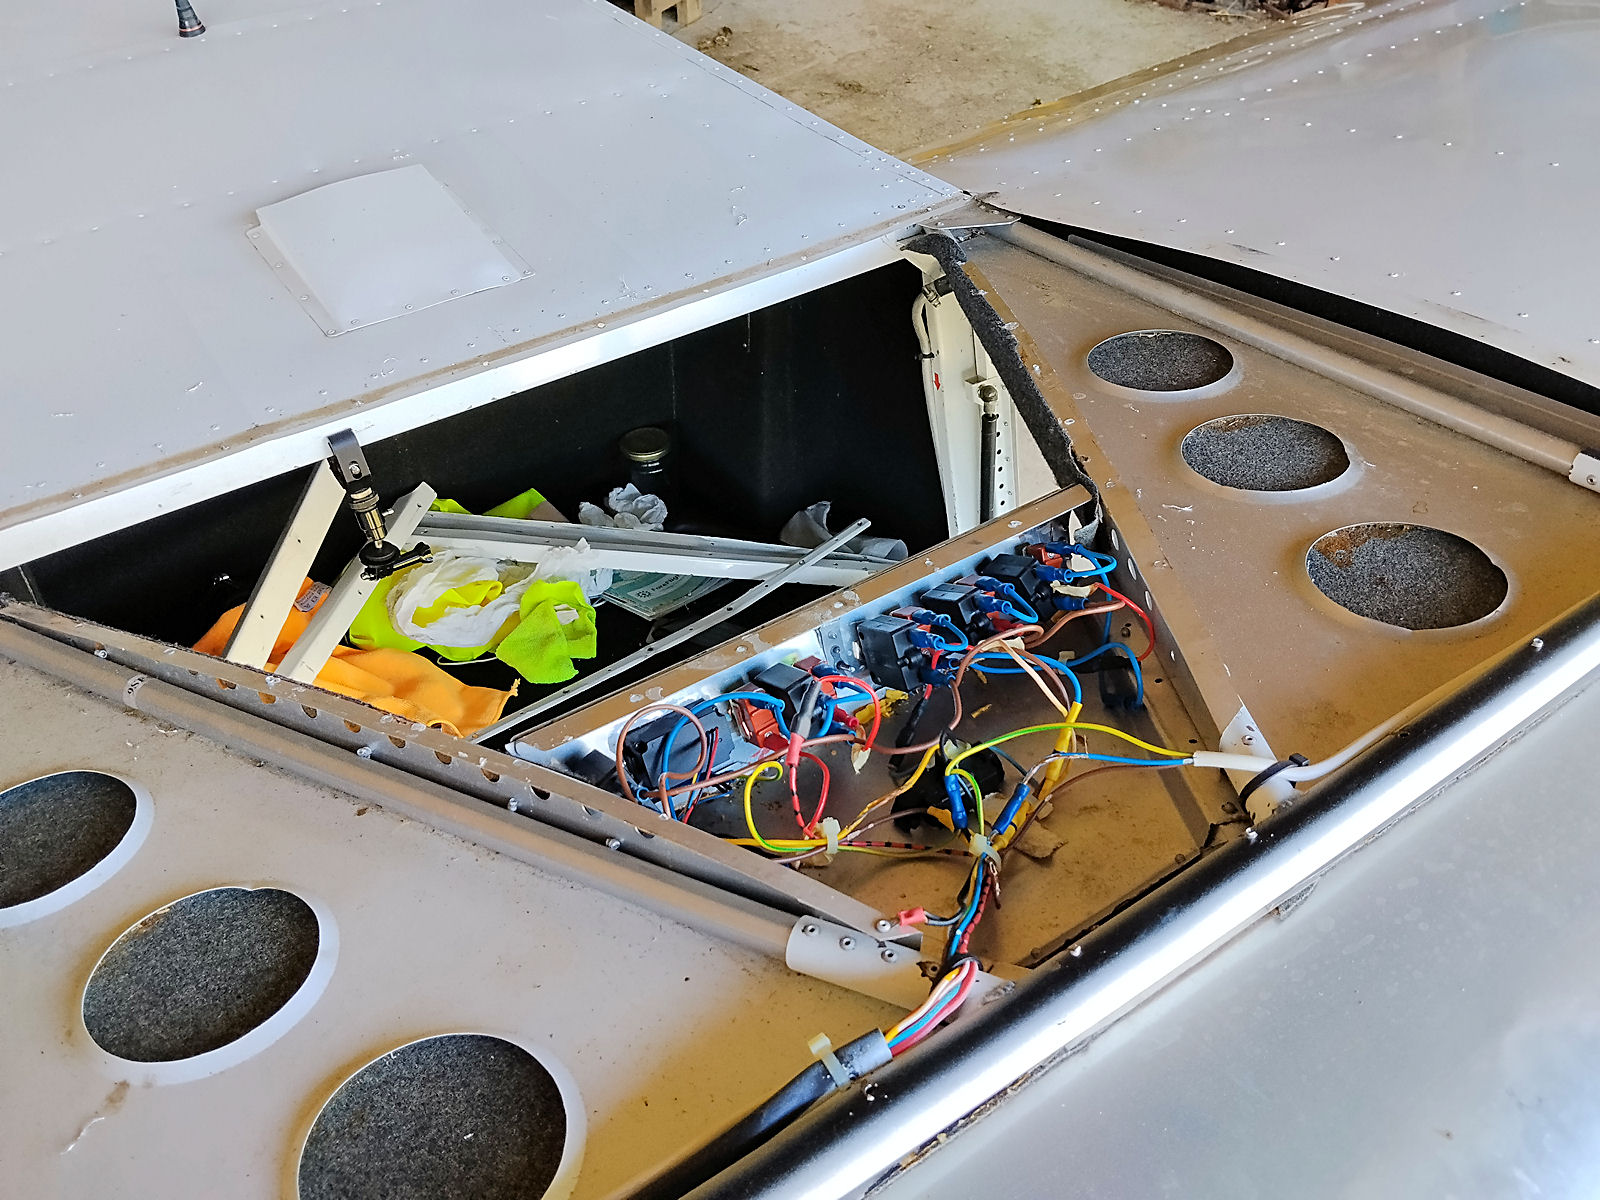
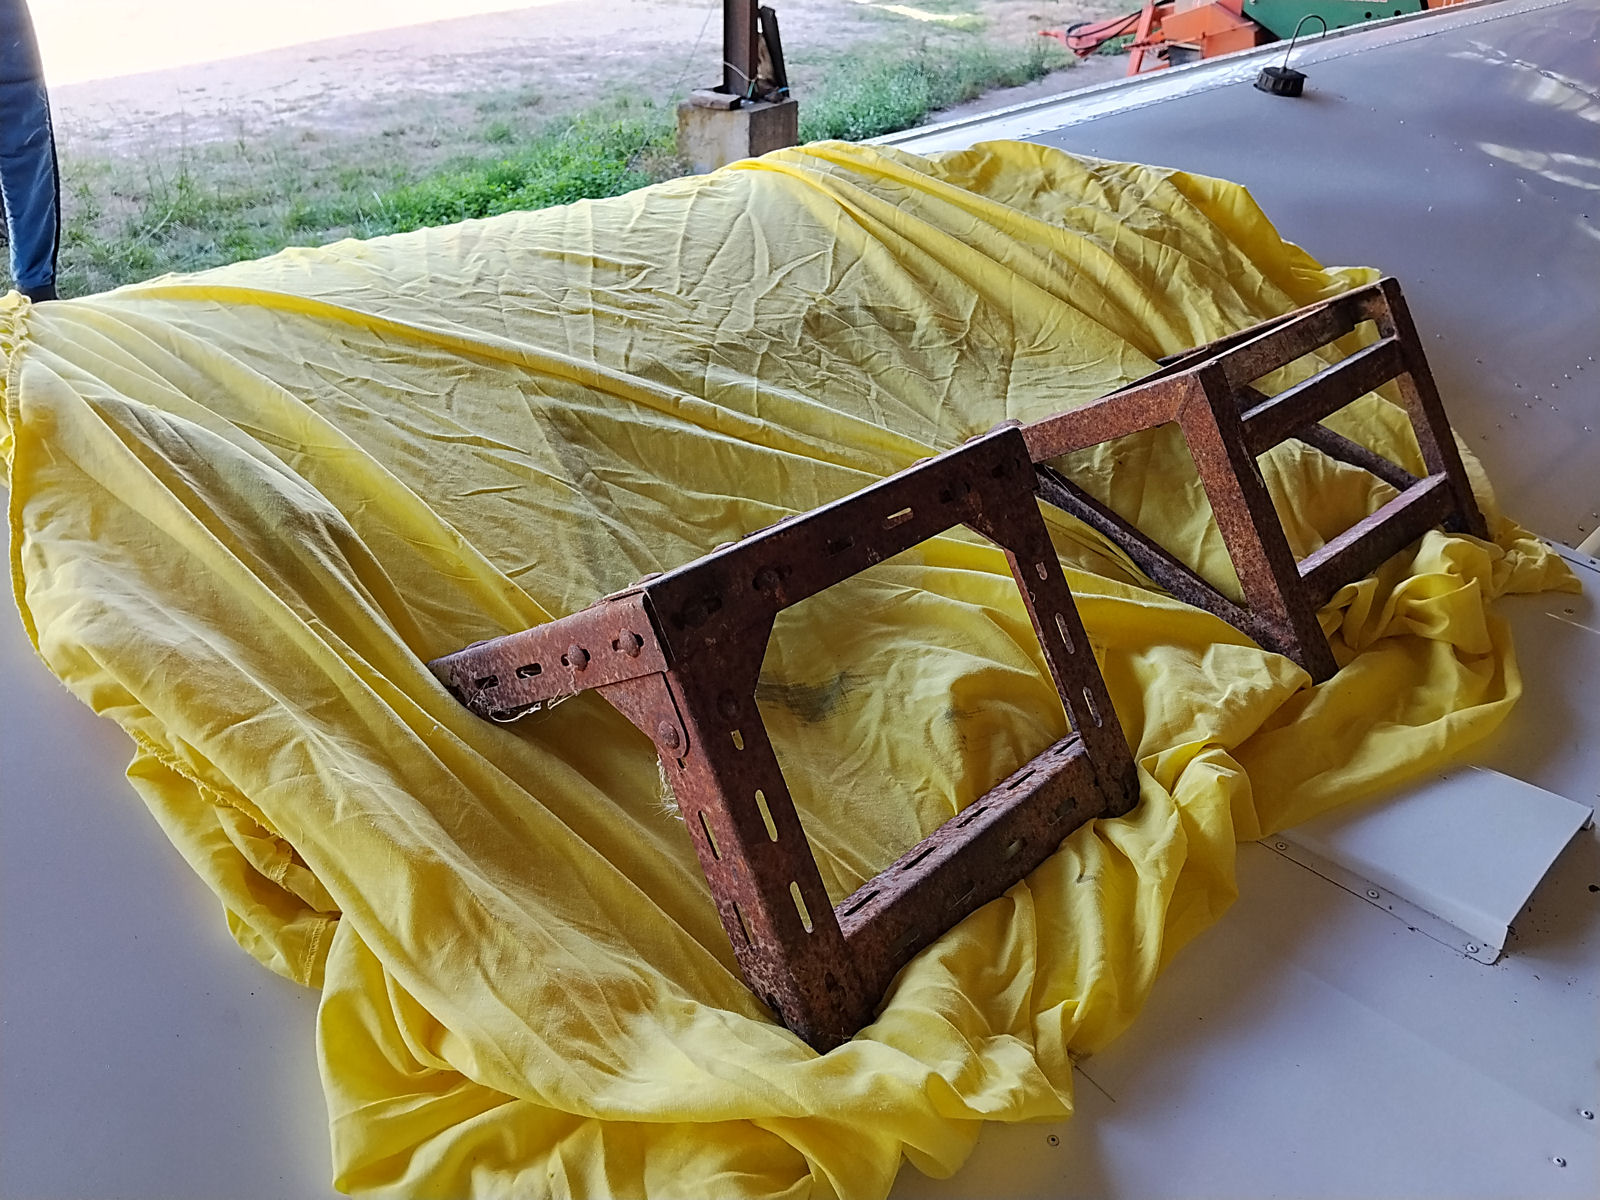
I started off as before by removing the side fairings between the fronts of the wing roots and the fuselage and this then exposed all of the pop rivets securing the screen side strips which are in two parts, outside and inside the cabin doors. I couldn’t remember how I’d done it before and had hoped that when I’d drilled out all of the rivets across the top of the screen I’d get away without having to remove the roof panel. However, looking beneath it it soon became clear that the screen extended some way underneath it and the whole roof panel would have to be removed to get at the rivets further back.
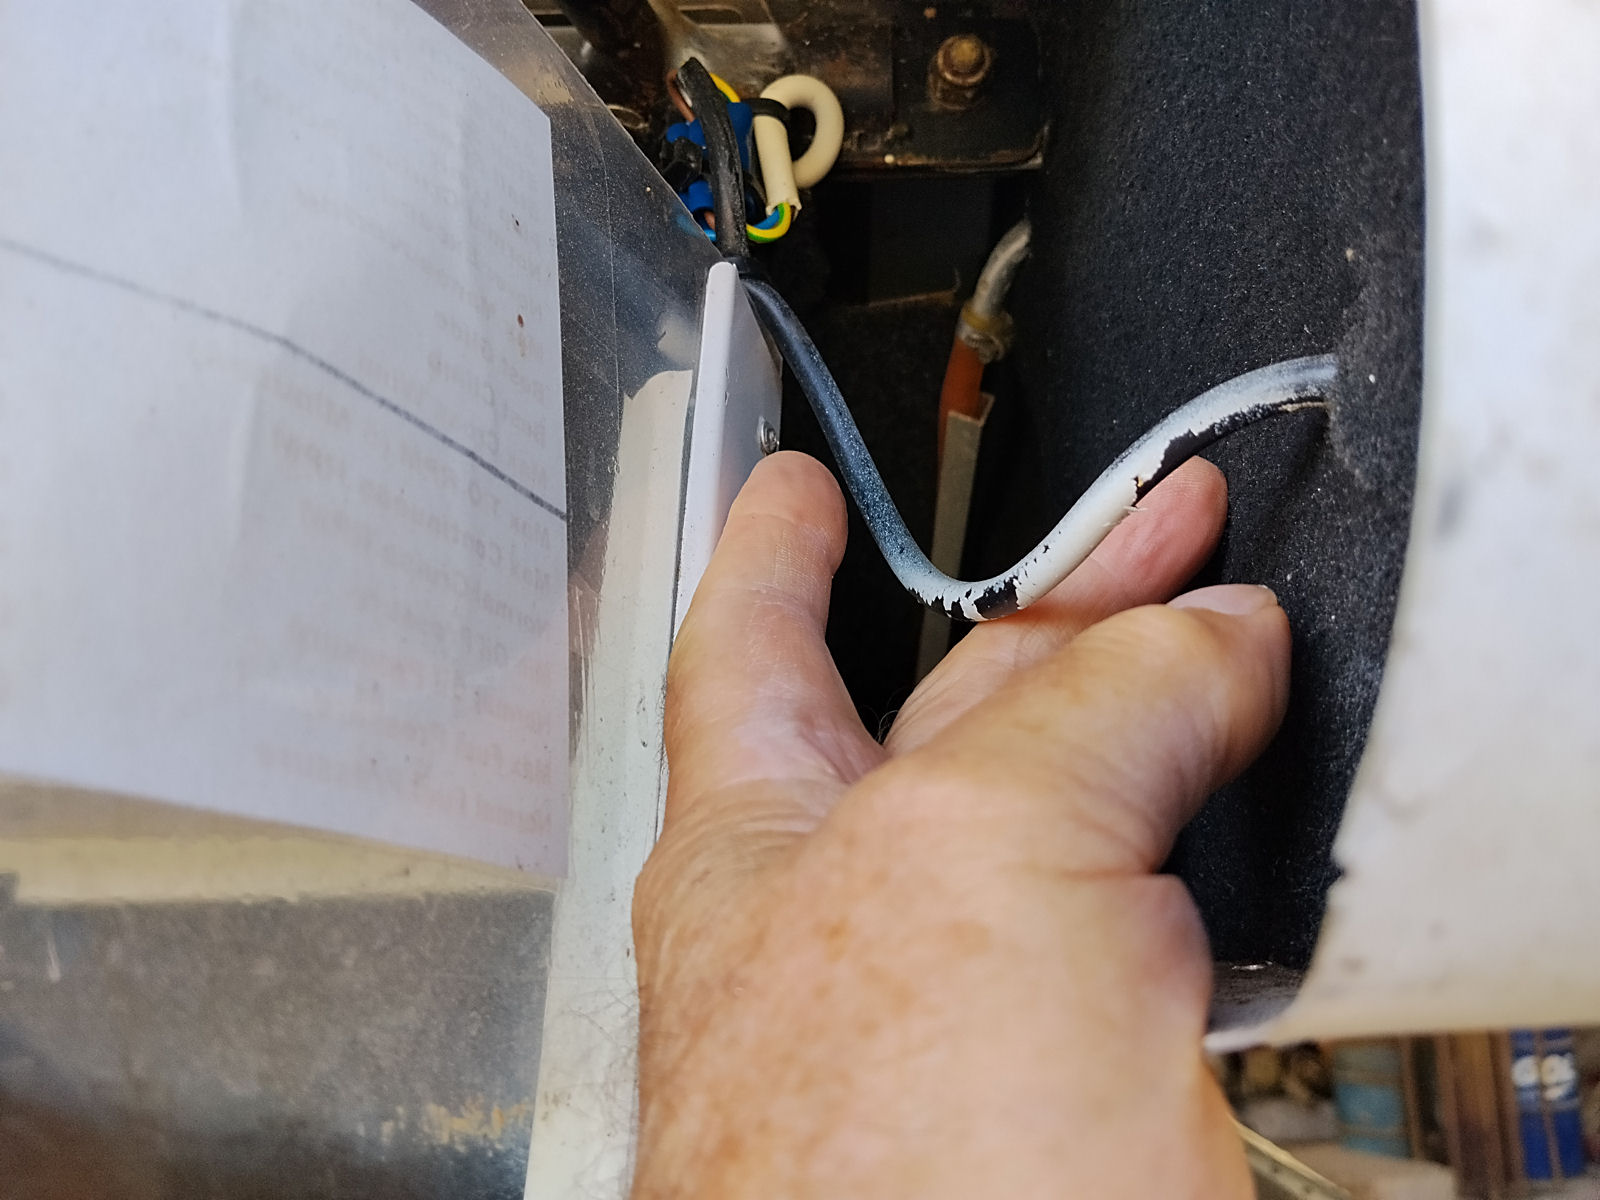
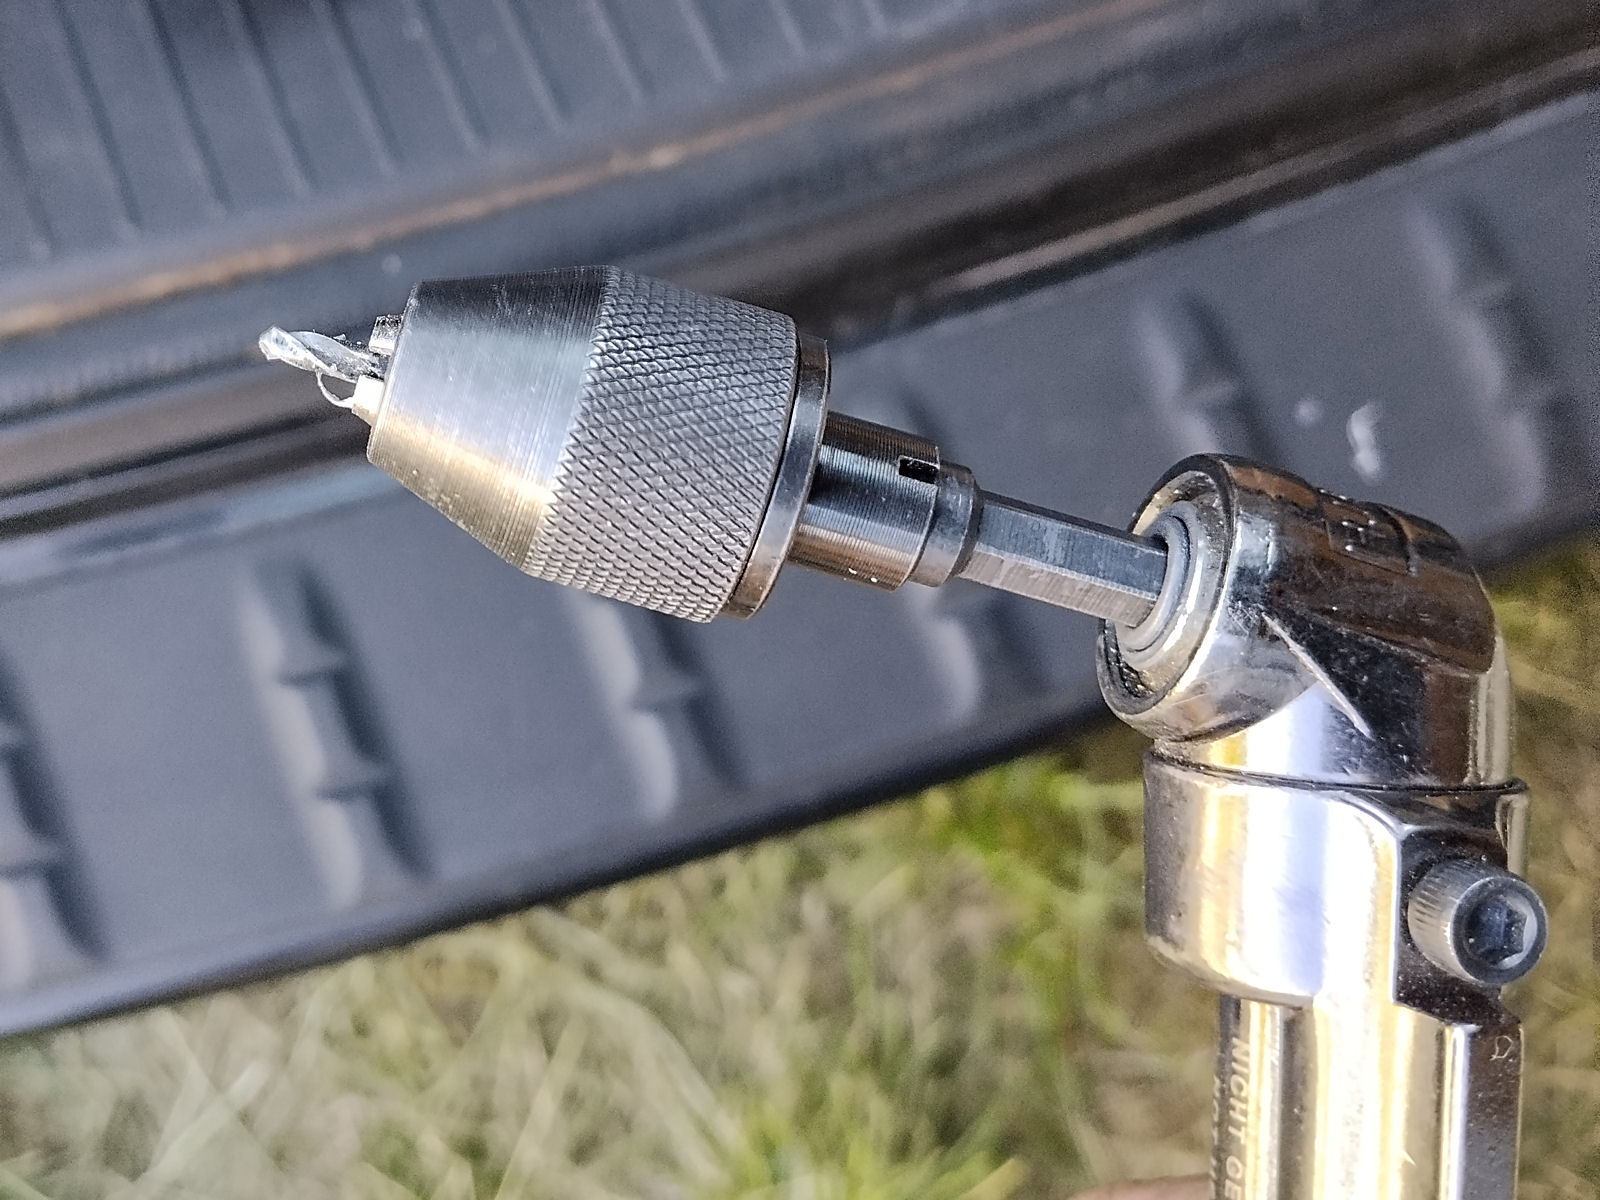
I’d remembered that I’d previously used an angled drill chuck to get at some rivets in the gap between the wing roots and the fuselage and sure enough I had to do so again. I’d bought an angled drill chuck from China for this purpose and searched for the shortest one that I could find. However, the Chinese supplier had totally lied about its dimensions and it was far longer than they’d stated, but luckily my friend Victor got me out of trouble yet again by loaning me what might have been the same tool as previously and cutting down a 3mm drill to the minimum length possible so it would fit into the space.
Eventually I got all of the side pop rivets drilled out but not without drama. The pins of several of them had broken off inside the rivet heads rather than below them which means that you need to take a pointed tool to tap them back before drilling out the rivets. If you don’t the drill runs off as the rivet material is much softer than the pins. Unfortunately one such pin was one of those at the top in the narrow gap. It took a long time to get it out and the rivet hole was enlarged in the process but I think it will work out OK when I come to fit the new screen.
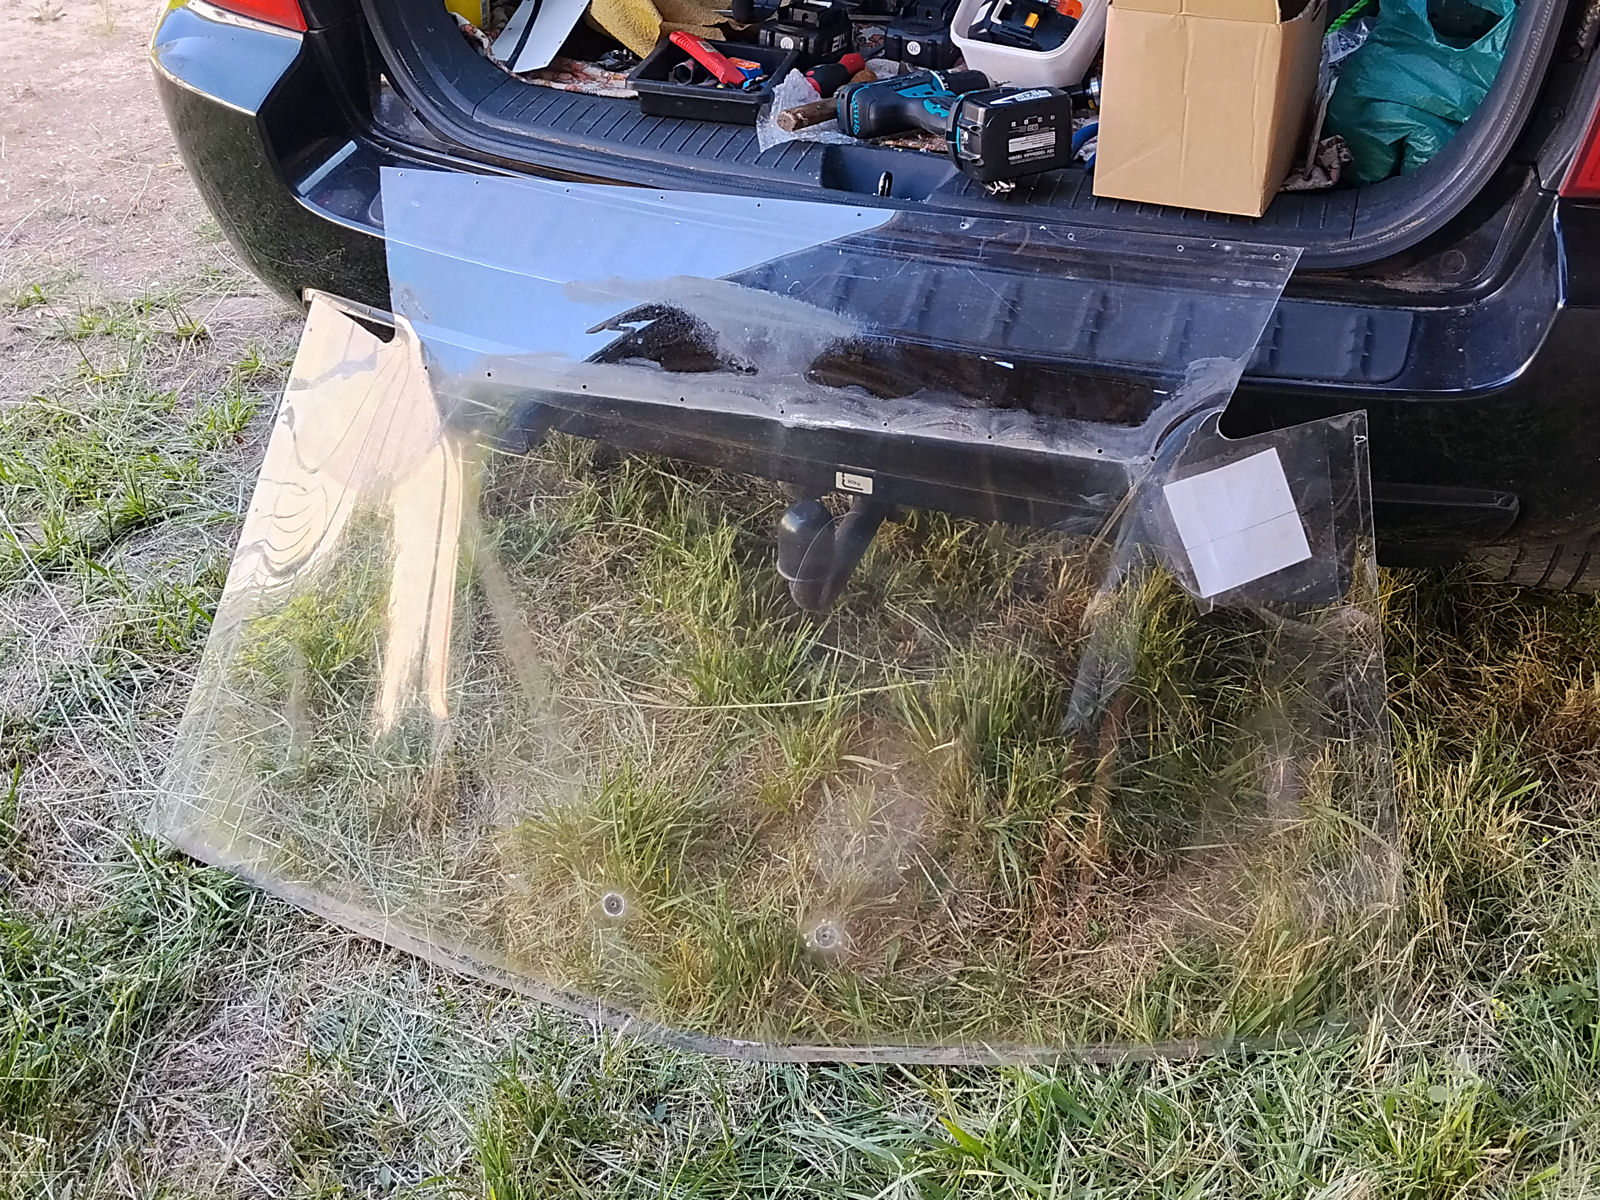
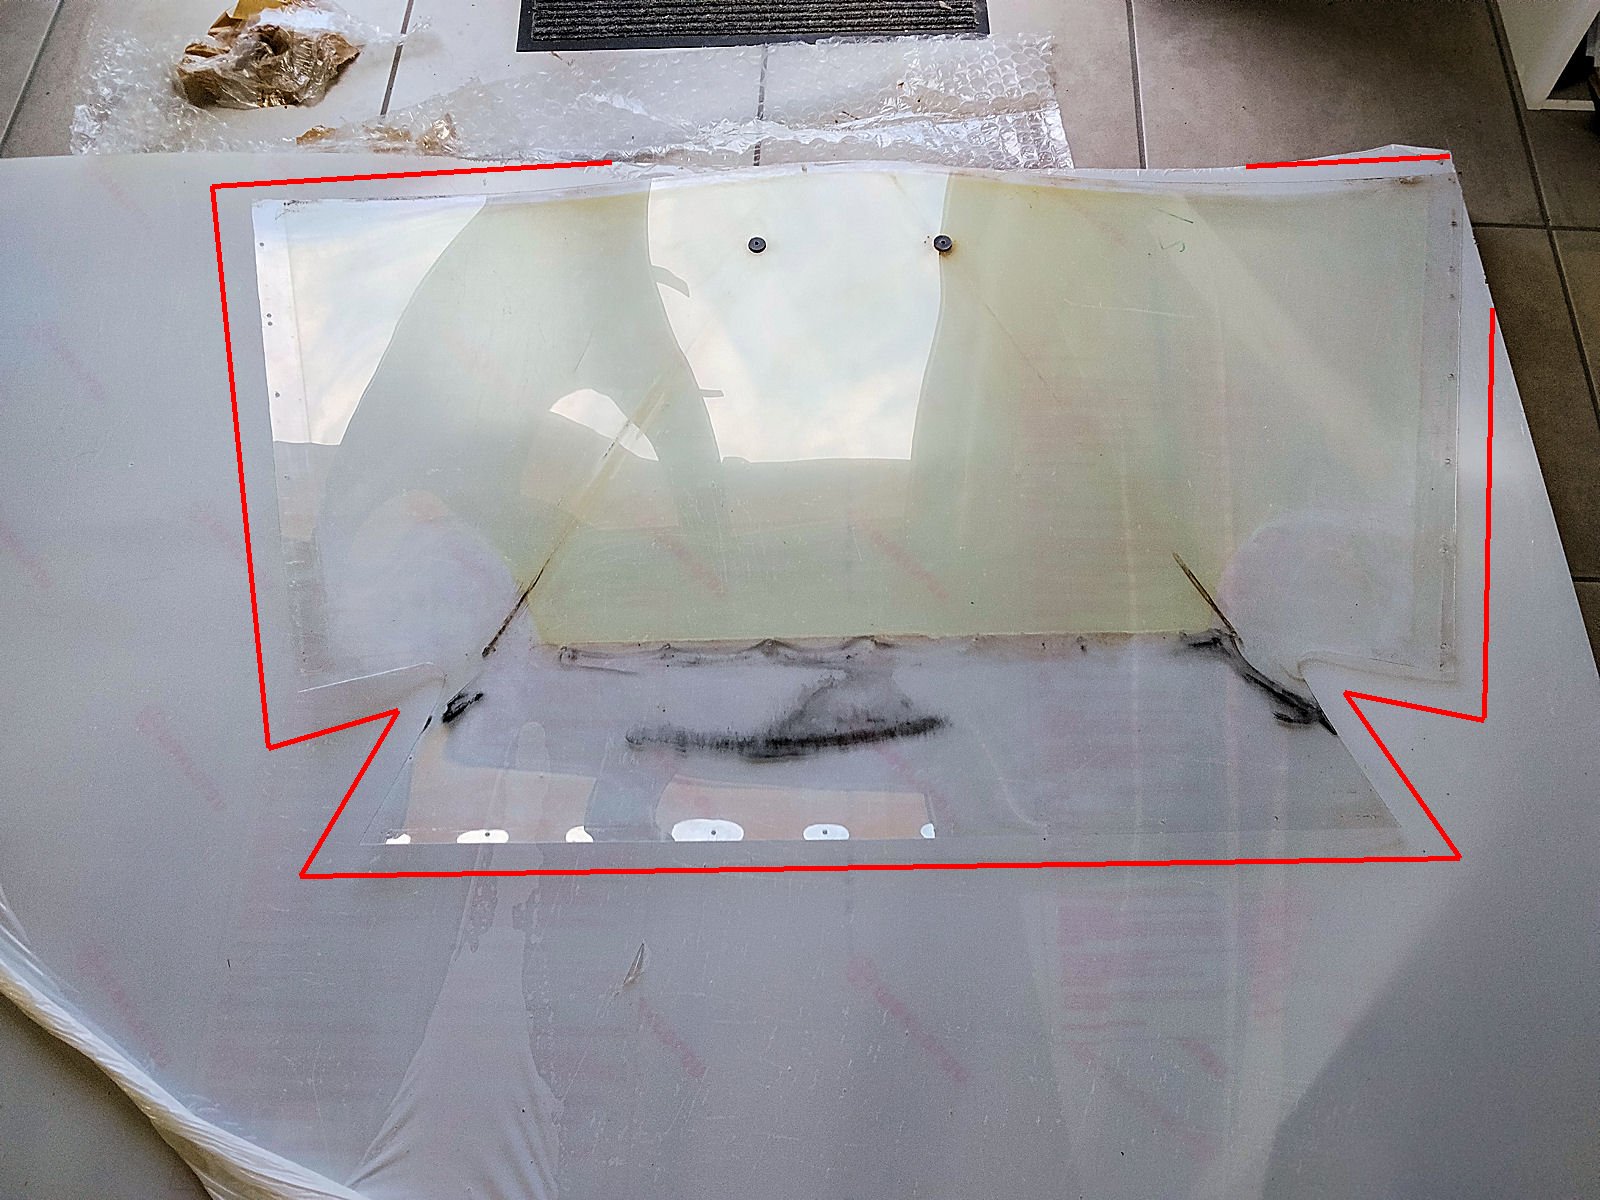
Eventually once I’d drilled out the rivets along the back of the roof panel and the sides of the top window within it I was able to get to all of the rest of the pop rivets holding the screen in place. Before I come to fit the new screen I’ll have to go all around as before and ensure that all of the pop rivet holes that I’ve drilled out are fully open and clear but before that I’ll need to use the old screen as a template as I did previously to cut out a replacement from a sheet of new polycarbonate.
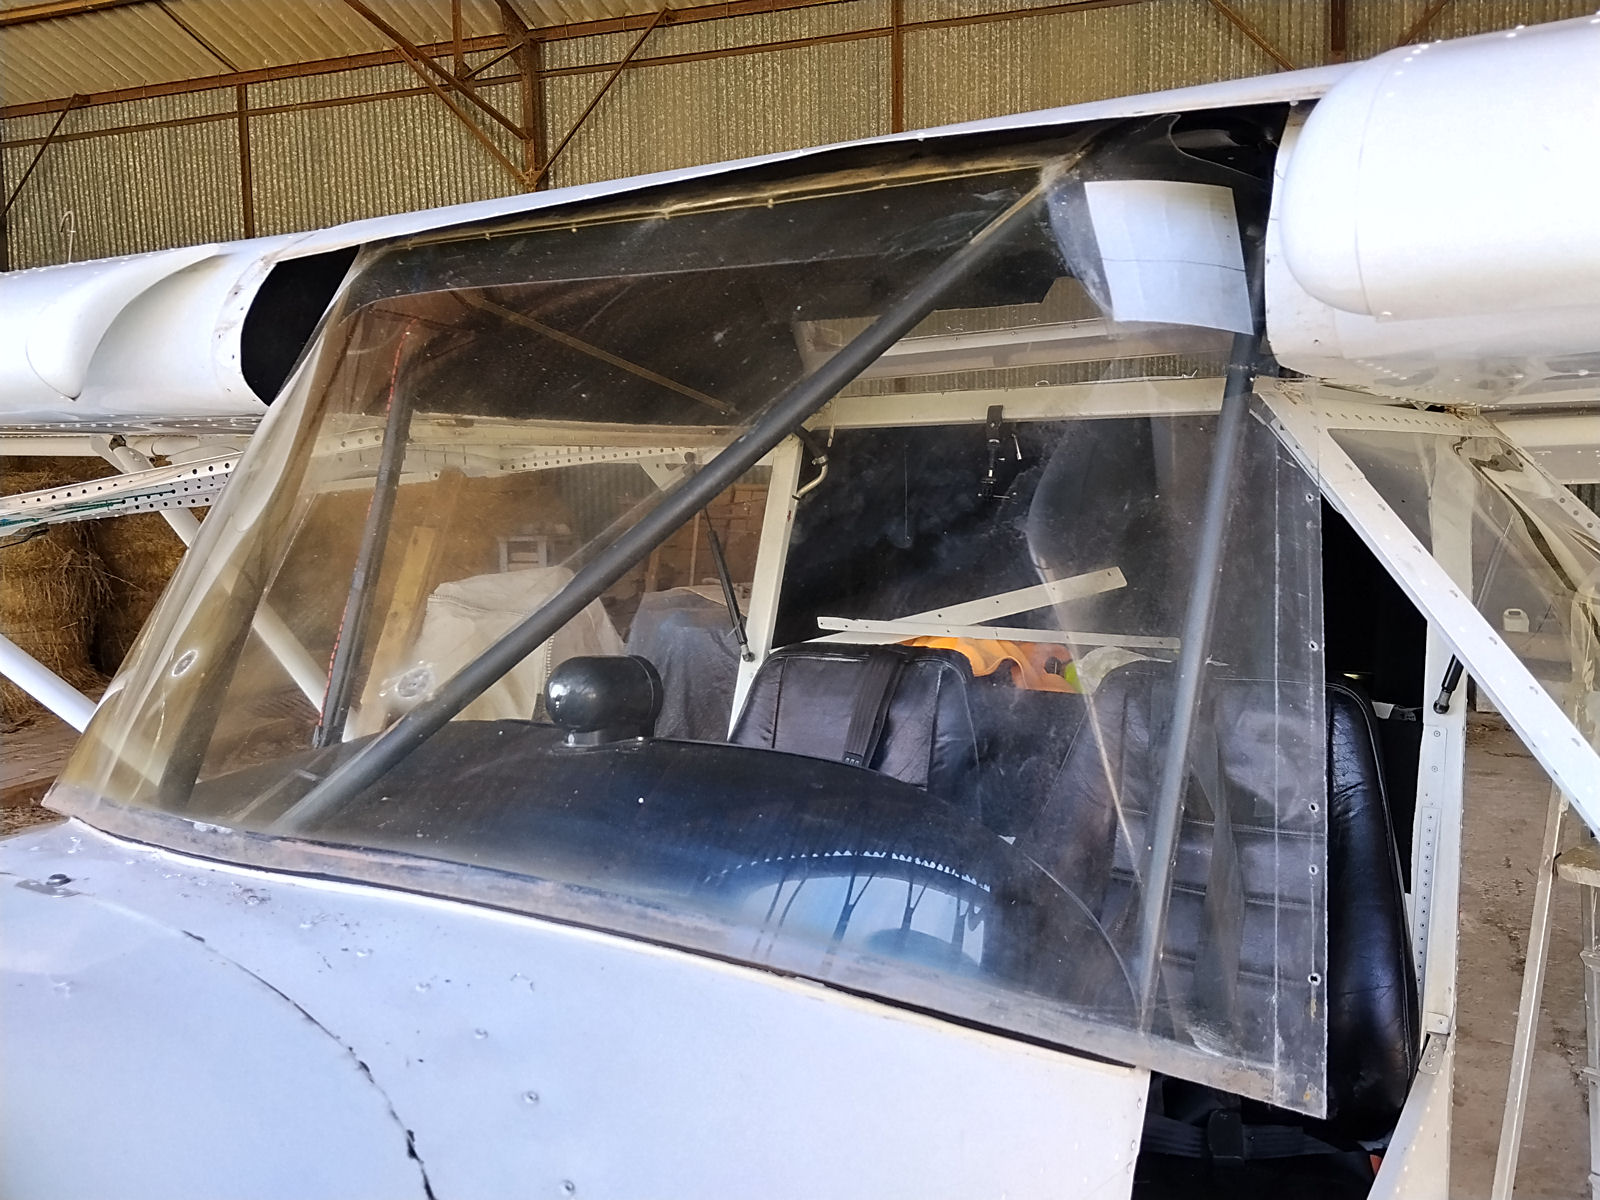
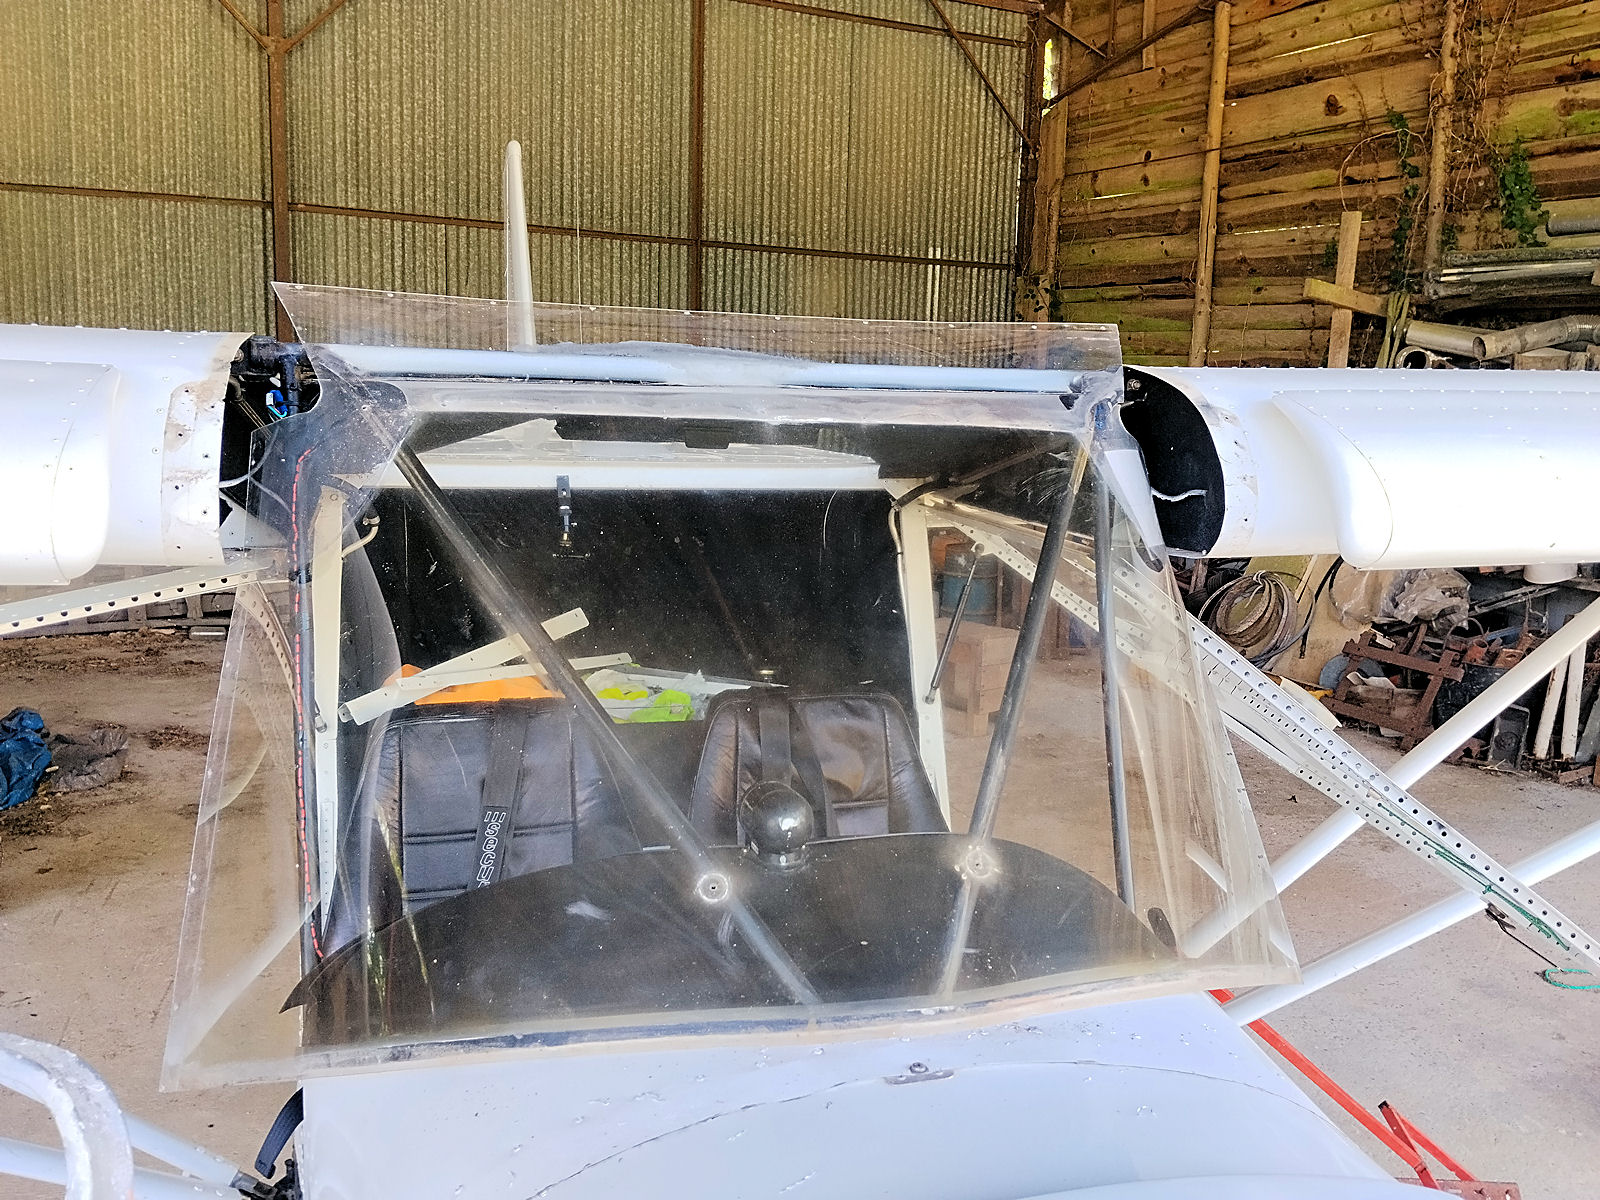
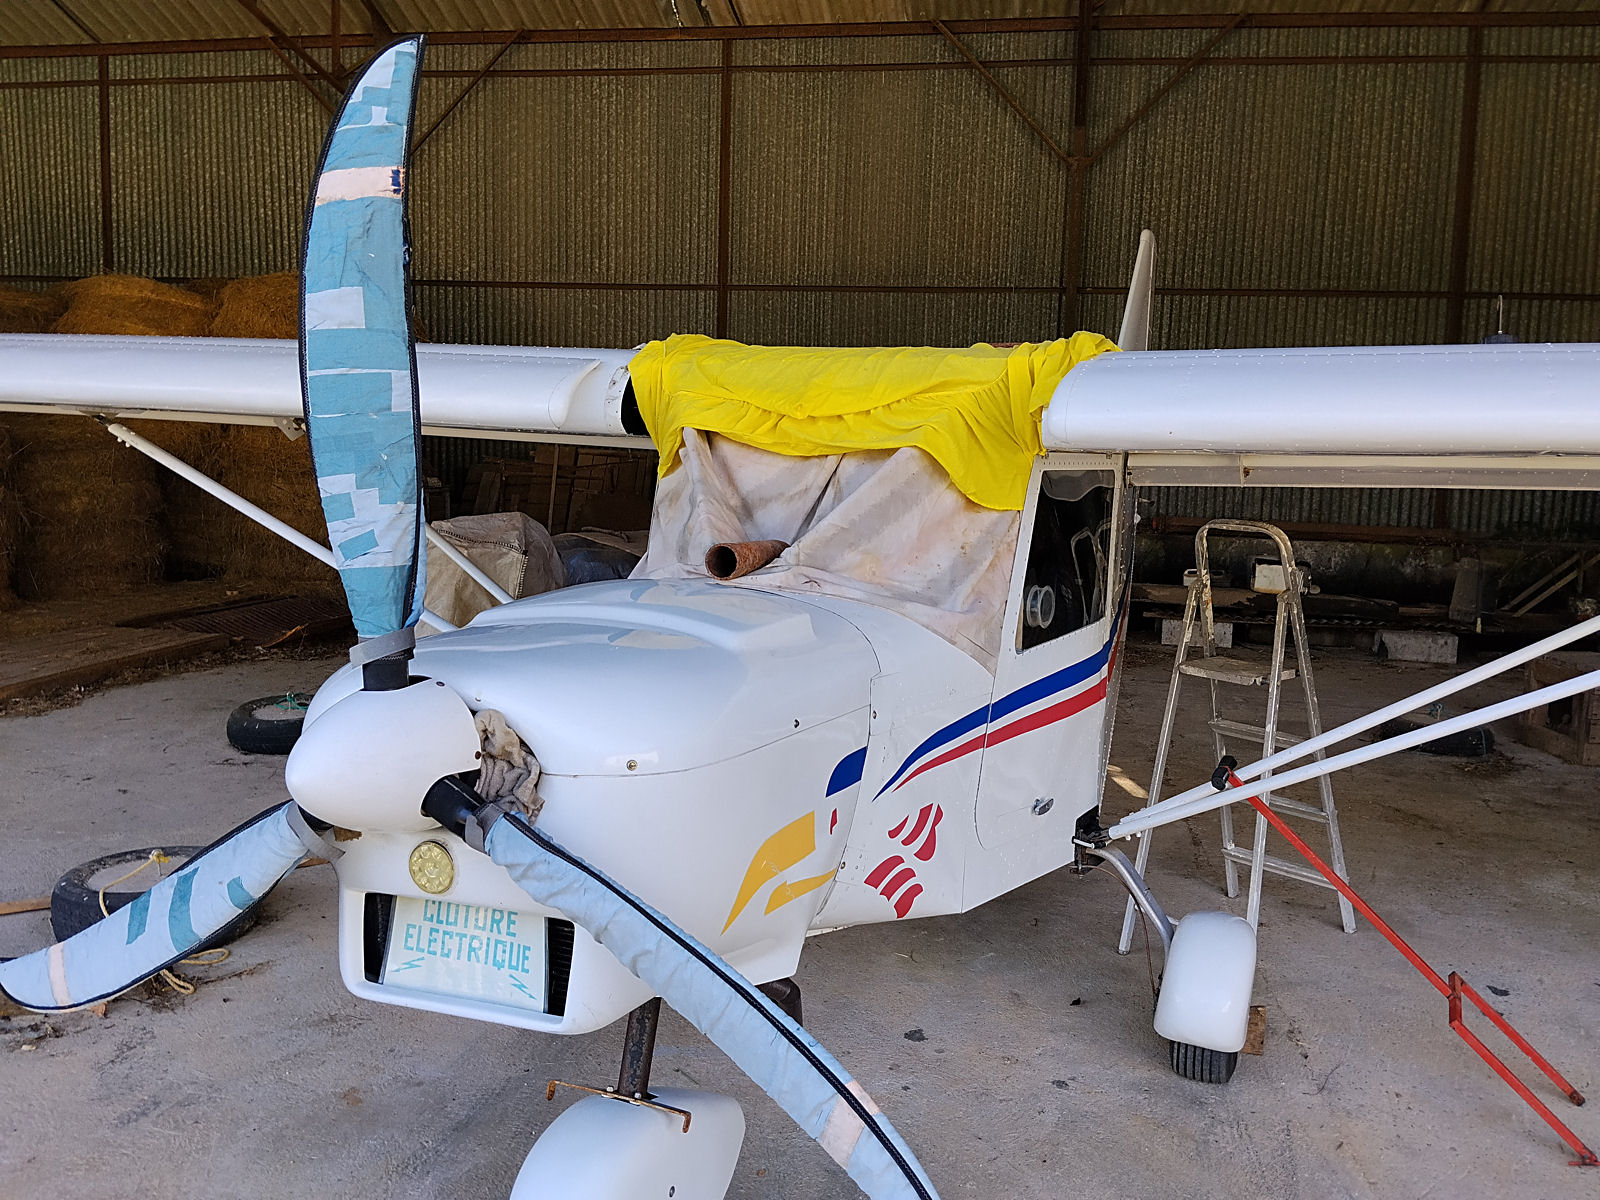
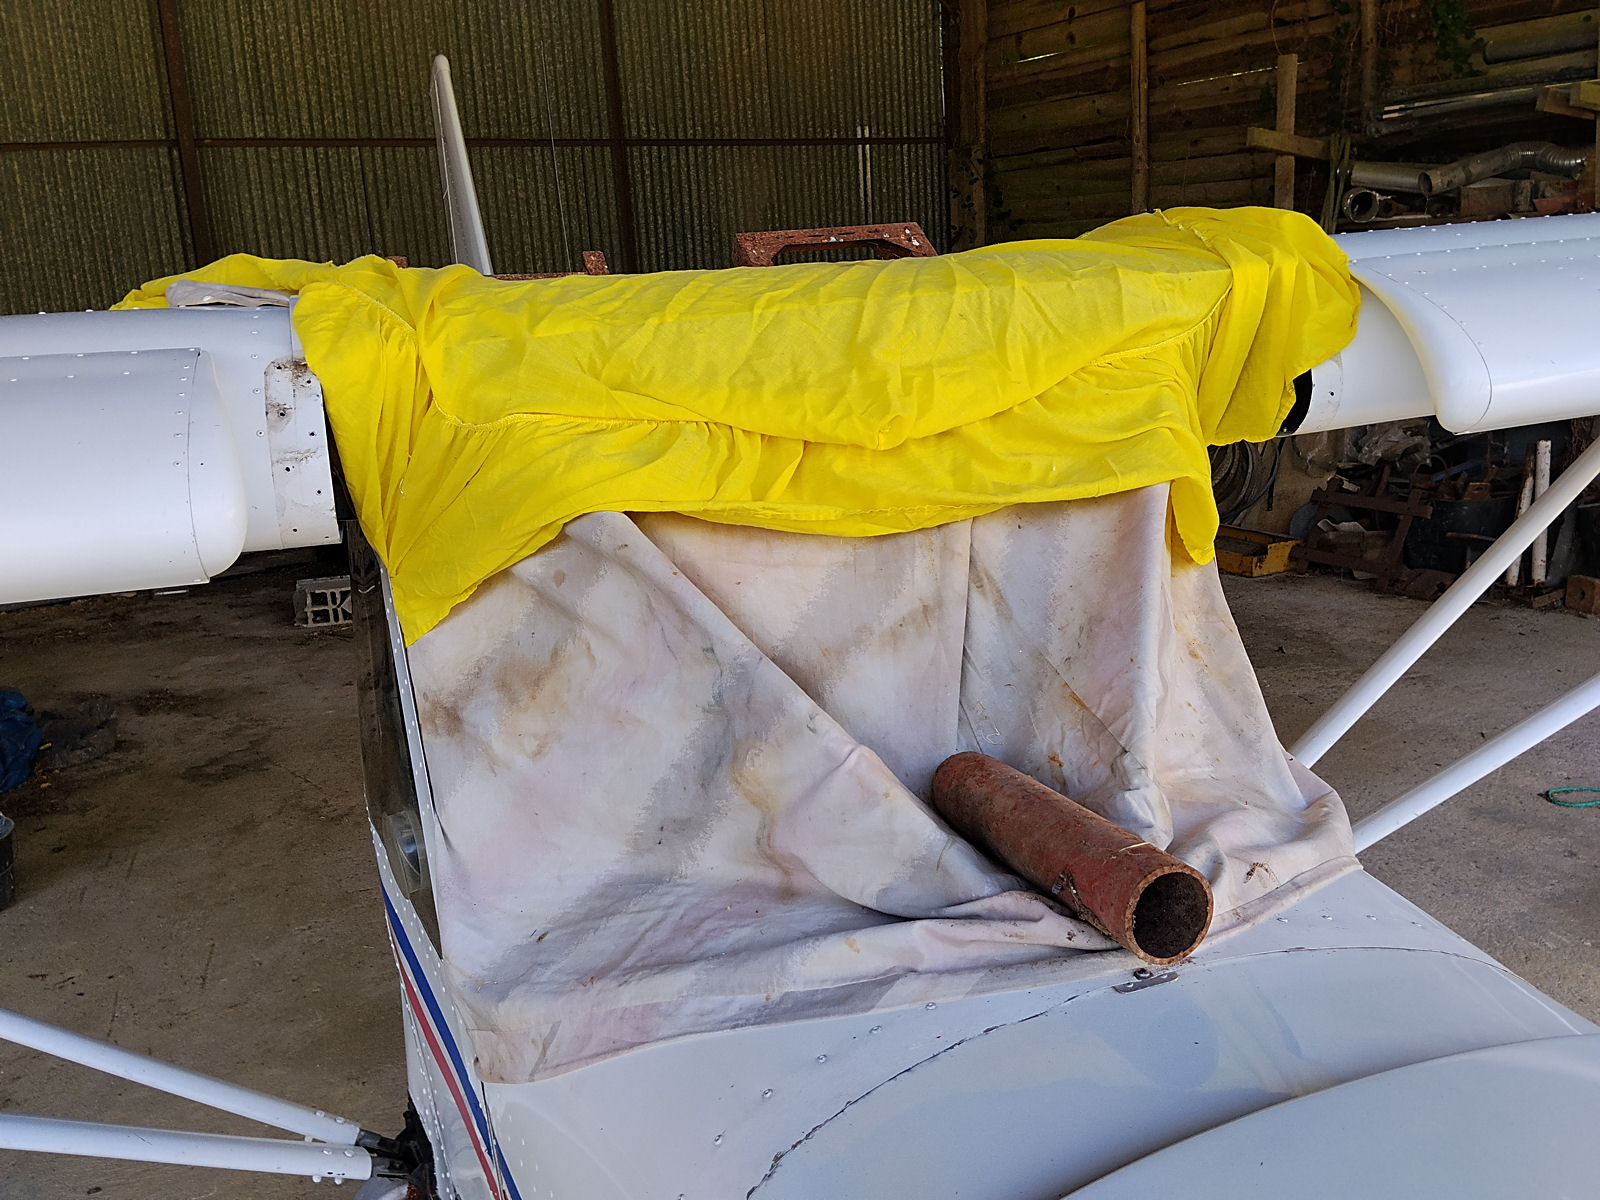
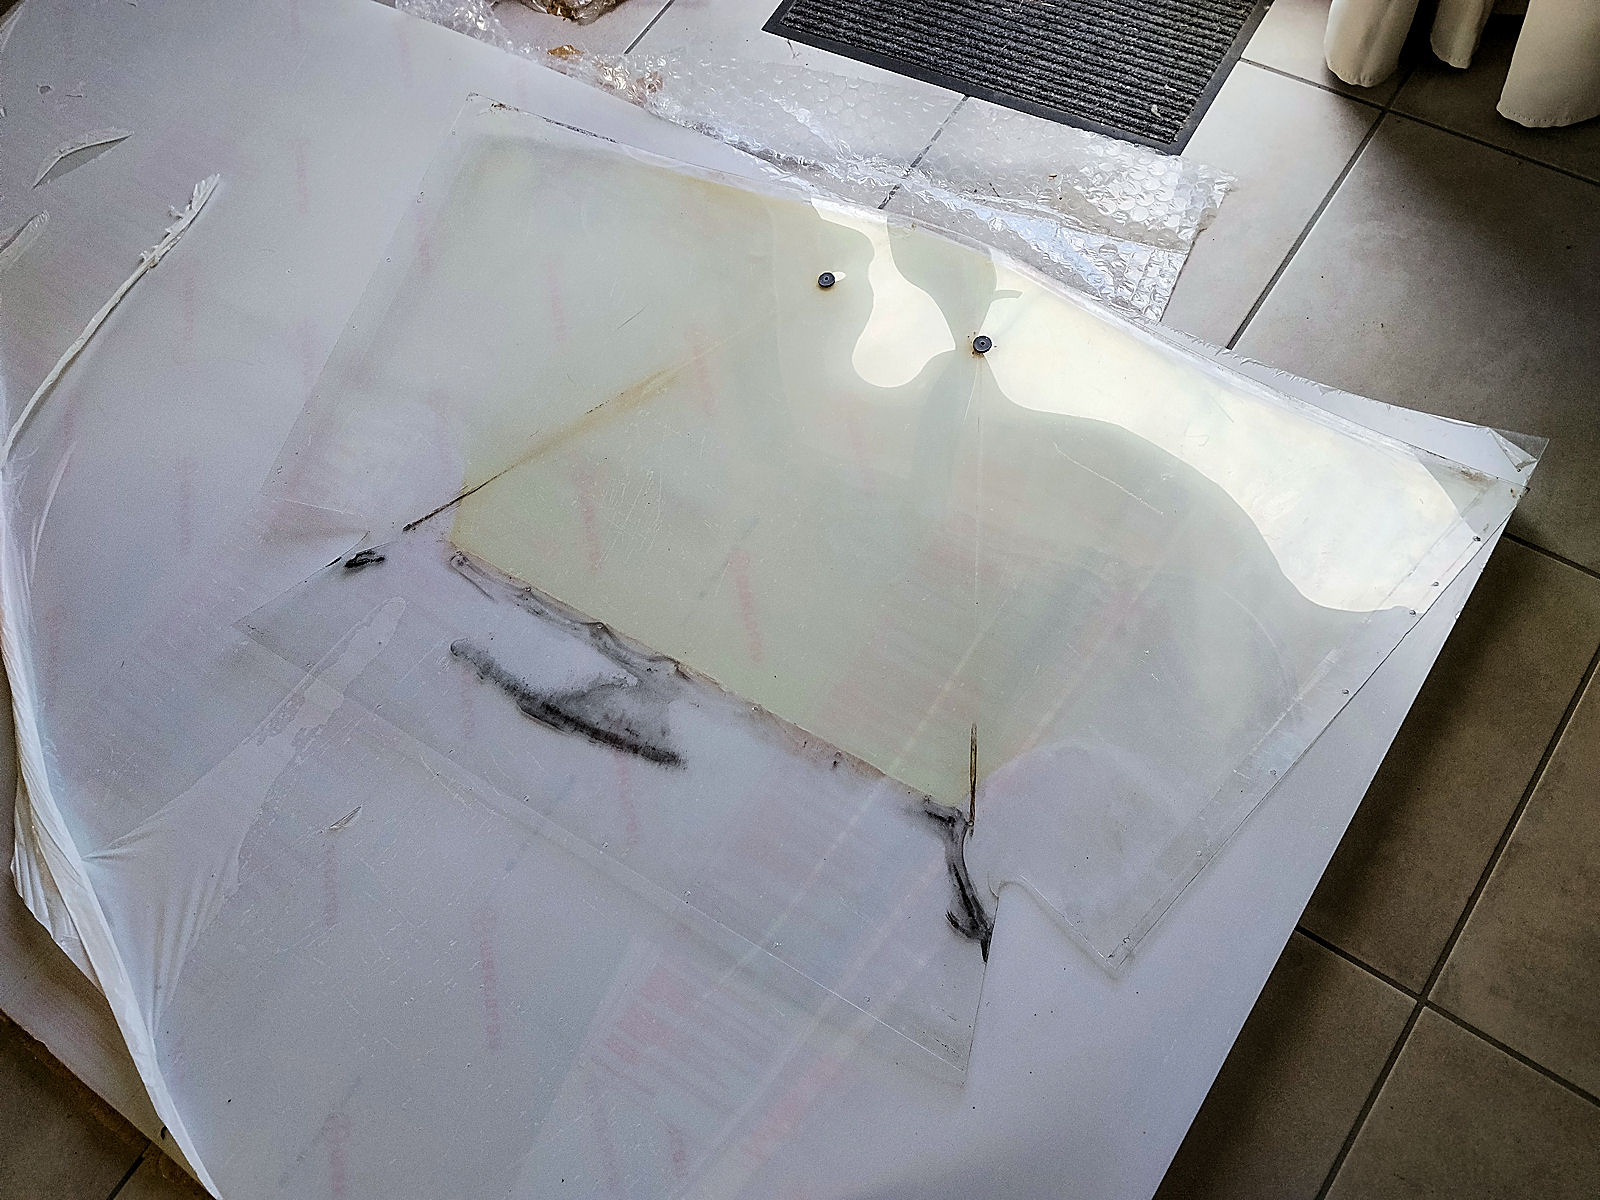
On inspection, the old screen that I made 10 years ago is now in pretty bad shape. It’s discoloured (brown tinge) and as well as having small cracks in its main surfaces on each side, it has bad crazing around the two rivet holes that secured it to the vertical front tubes and several cracks emanating from them. I’ve been thinking what to do about these in the new screen and to be honest, I’m wondering whether the securing rivets are necessary at all, or whether there might be a way to move the screen surface back closer to the tubes to reduce the stress in that area and/or to put rubber padding around the tubes themselves. But that’s for later after I’ve made the new screen. In the meantime I’ve temporarily replaced the roof panel and secured sheeting in the screen area to keep birds, insects and muck out of the cabin, all of which there’s plenty of at the moment.
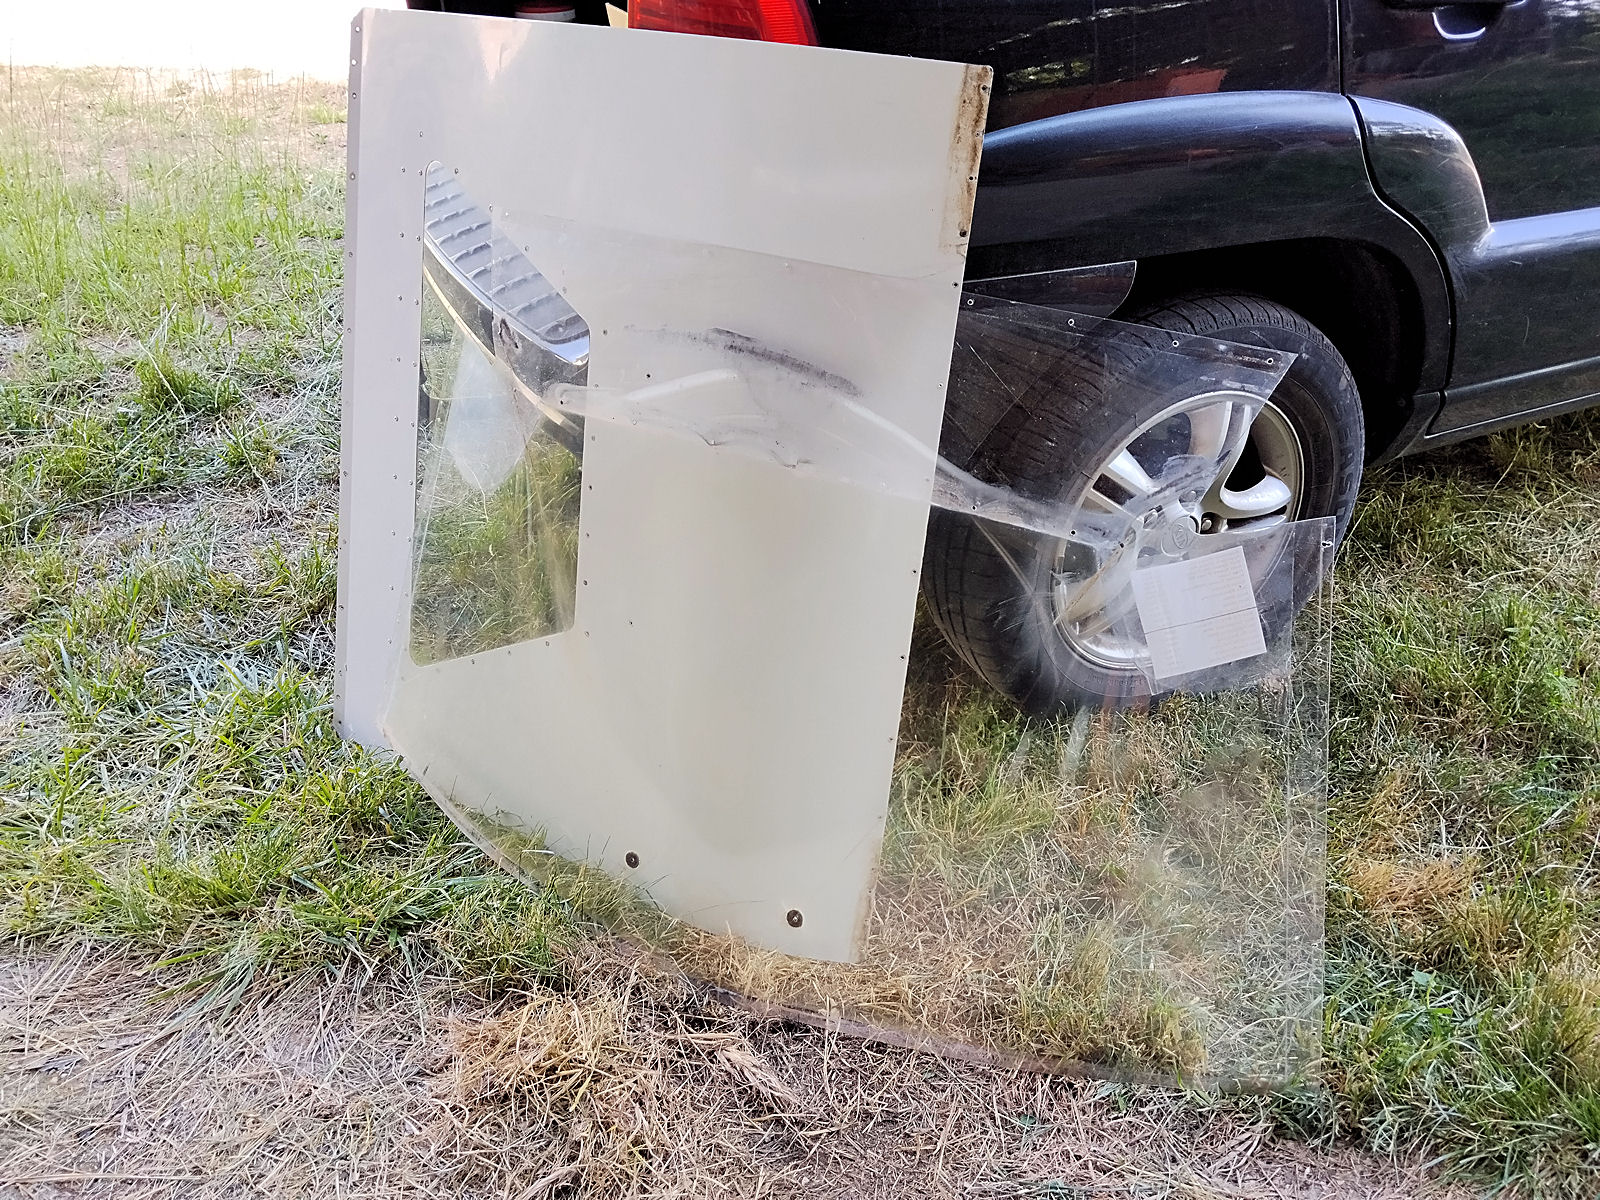
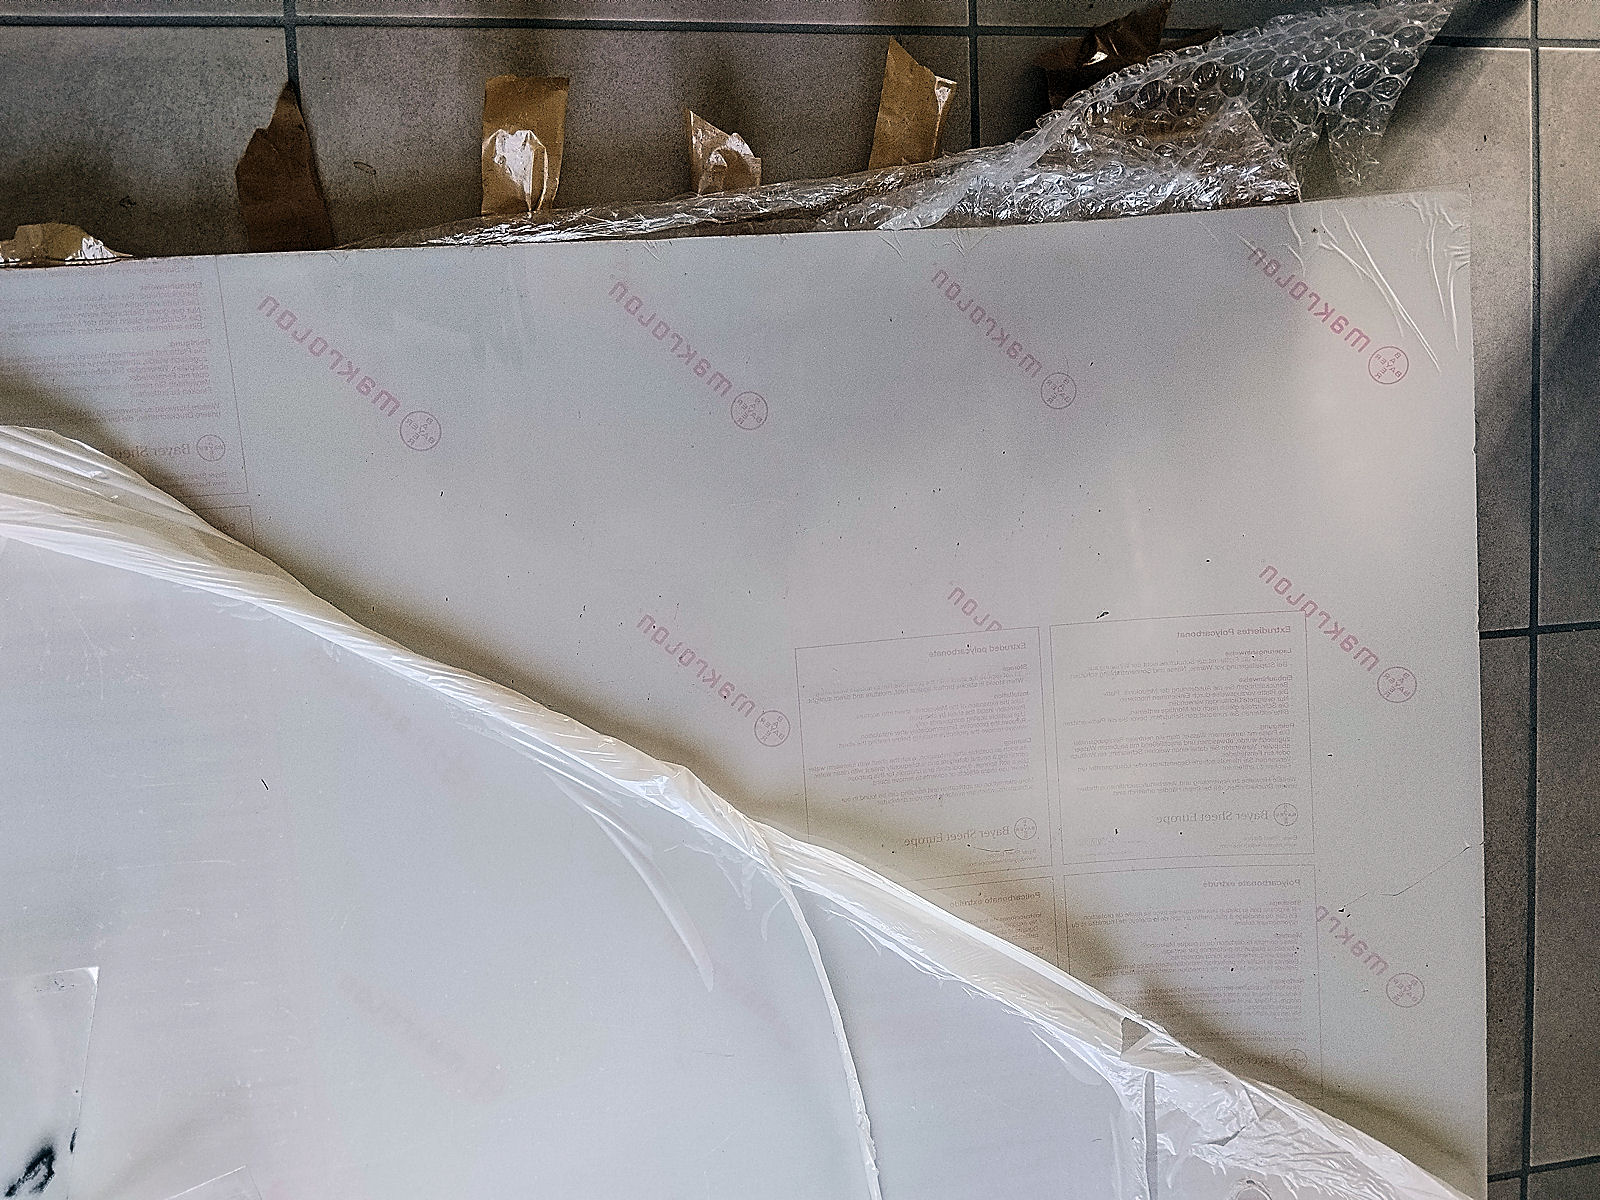
I previously mentioned that I already have a sheet of polycarbonate that I brought with me from the UK when I came to France and had forgotten about. It was supplied in the UK when I repaired MYRO, my old AX3 after its landing accident back in 2011. When the polycarbonate was delivered it had been scratched and the supplier told me to keep it and sent a replacement sheet. The Savannah’s screen is much smaller than the AX3’s and when I laid out the polycarbonate sheet (which had a 2011 delivery date on it) as the final images below show, there’s plenty of undamaged sheet from which to cut a new screen for the Savannah. And even a new top window I think. Now I’ve got to go ahead and cut the new screen.
 English
 Nederlands
 Français
 Deutsch
 Italiano
 Latviešu valoda
 Português
 Español