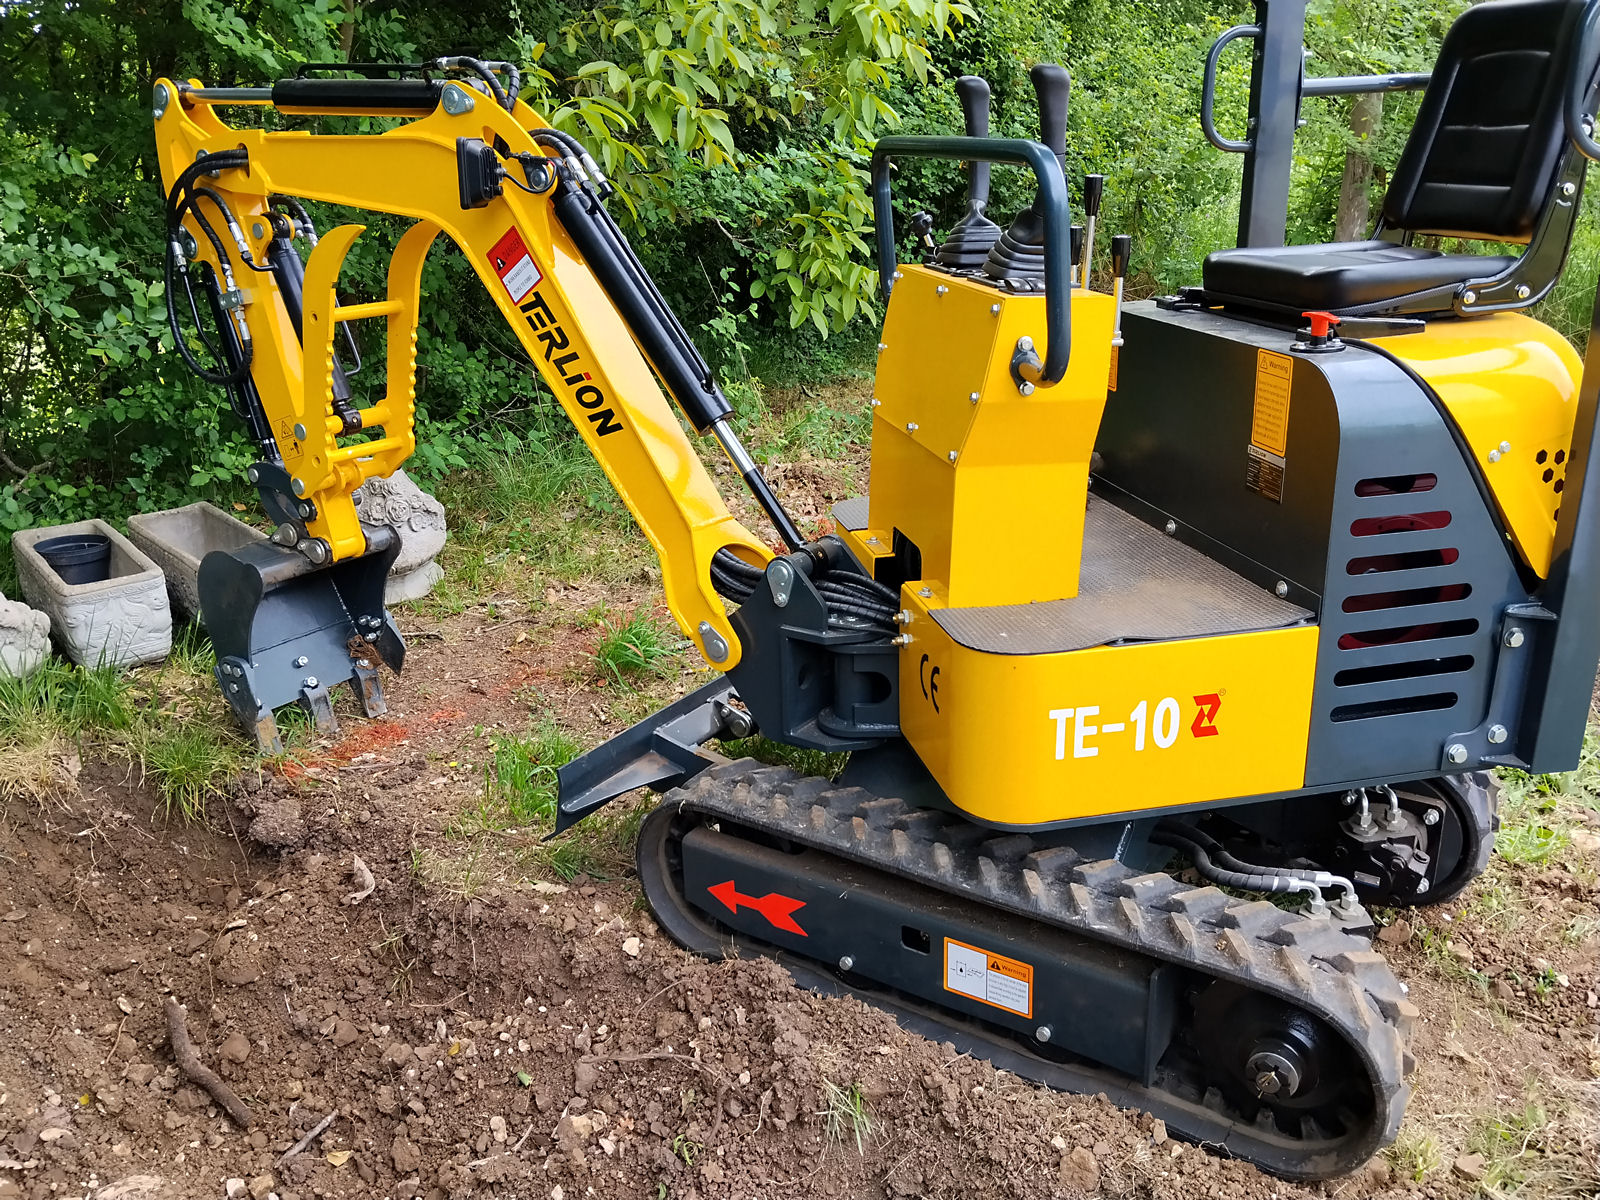
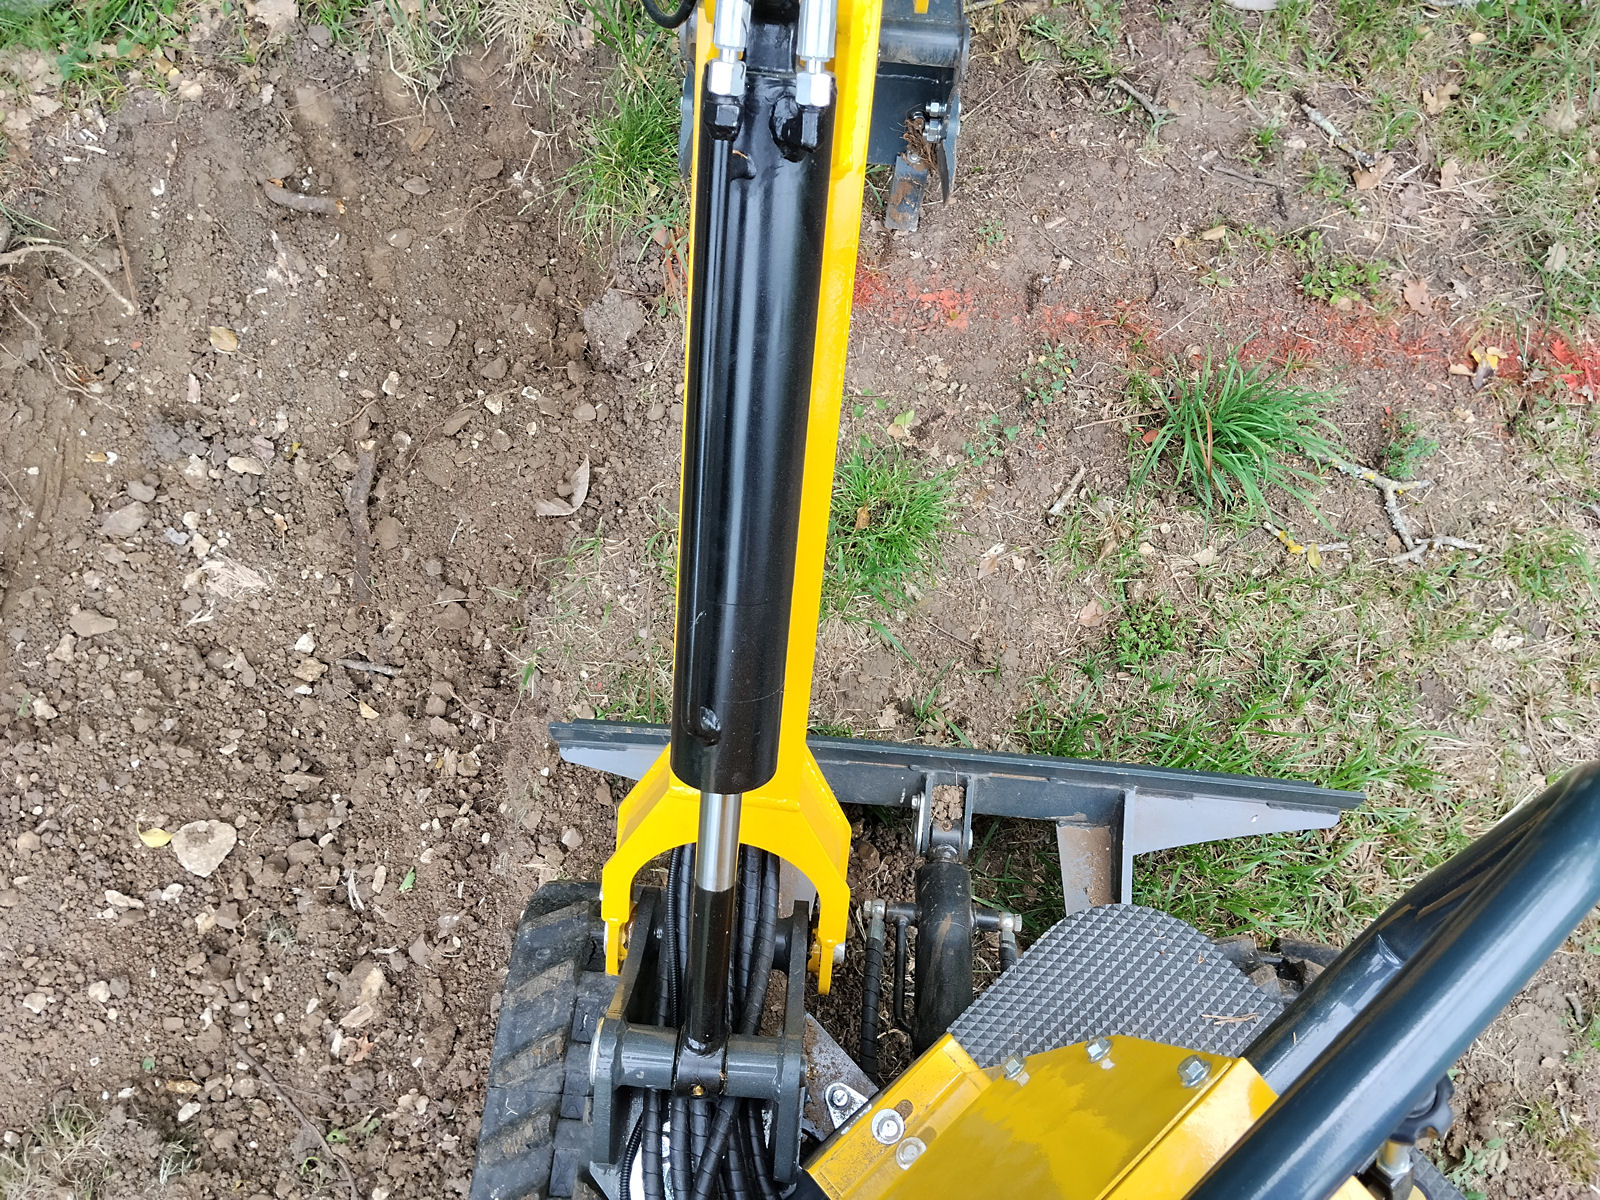
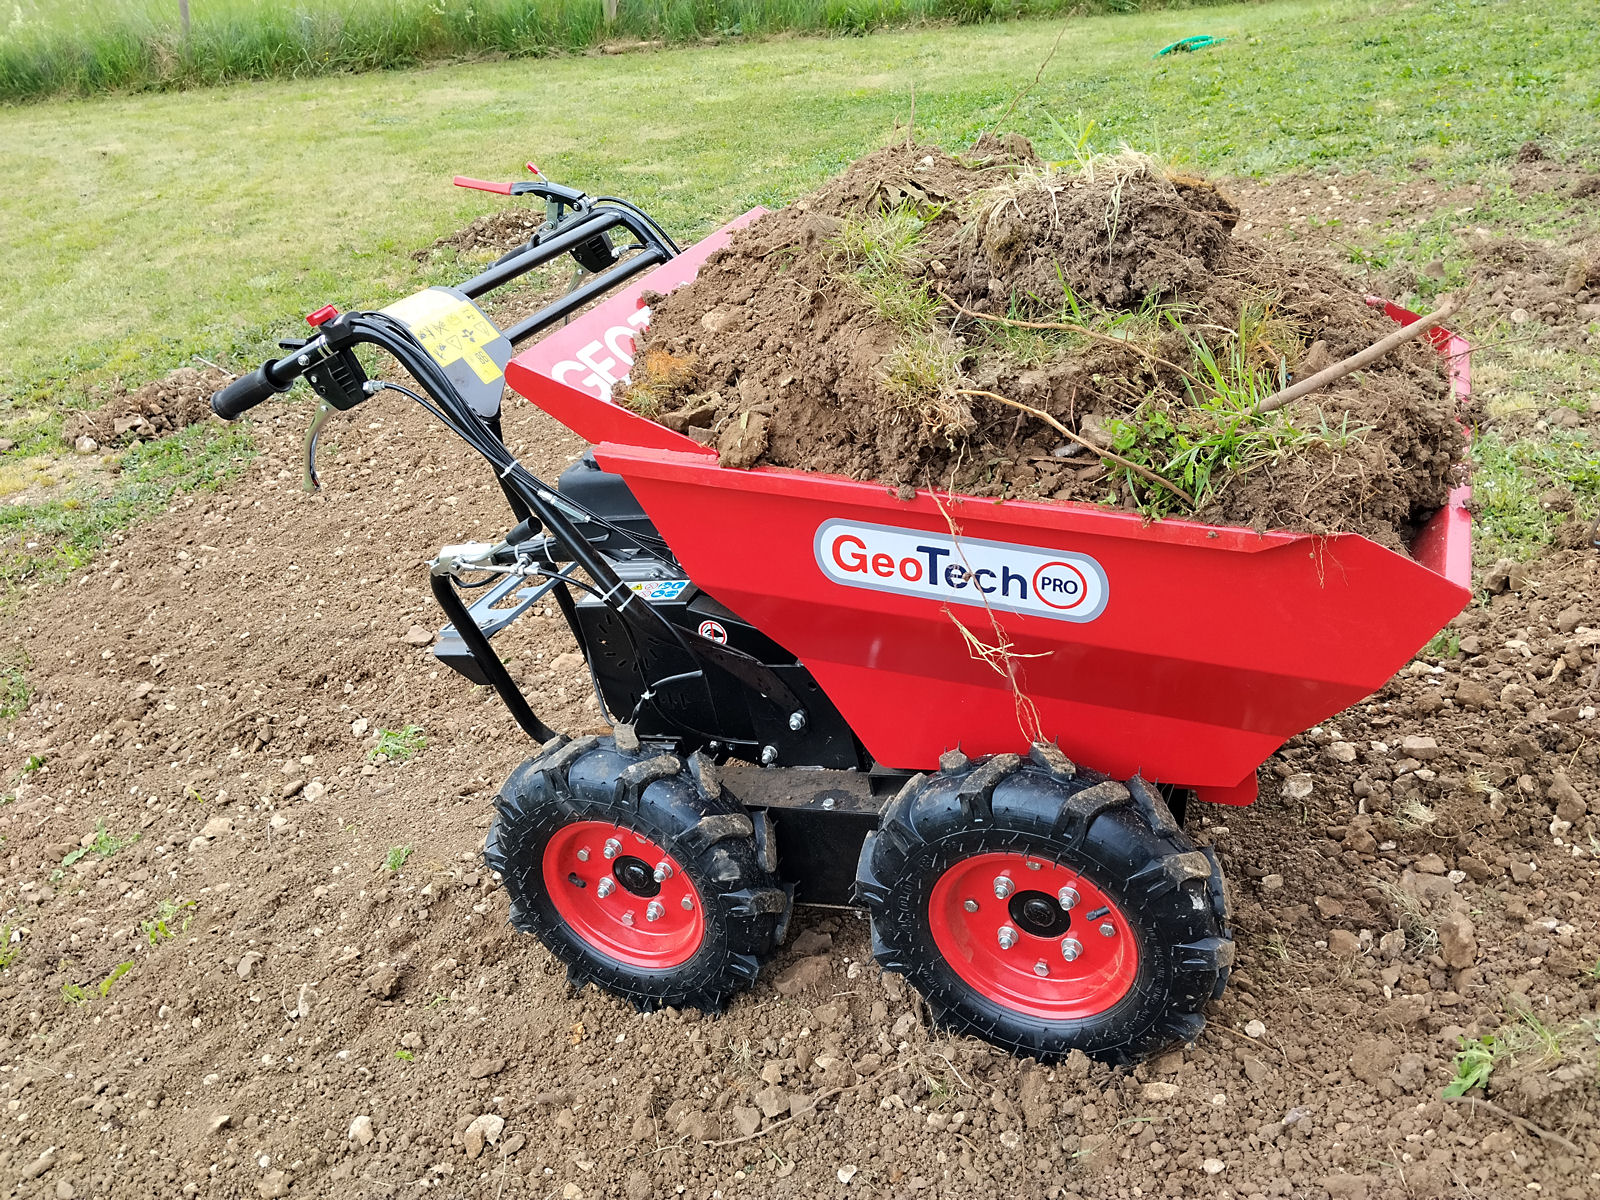
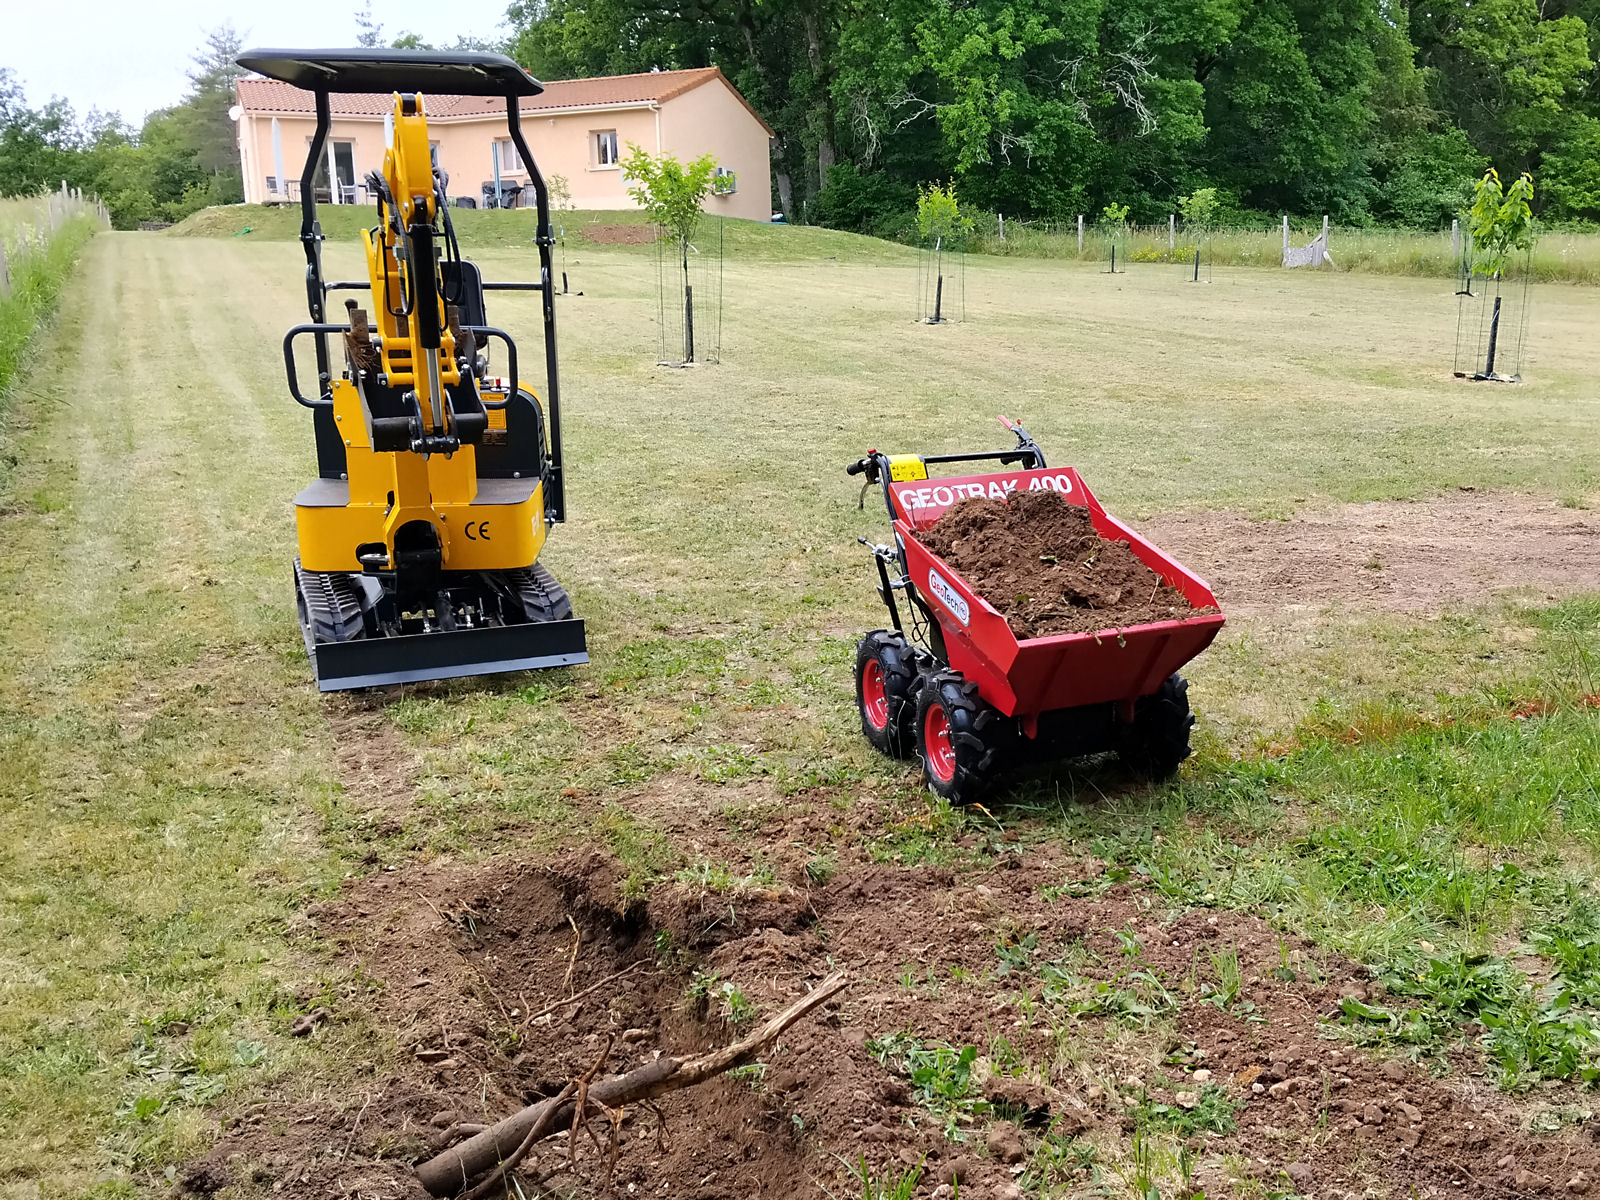
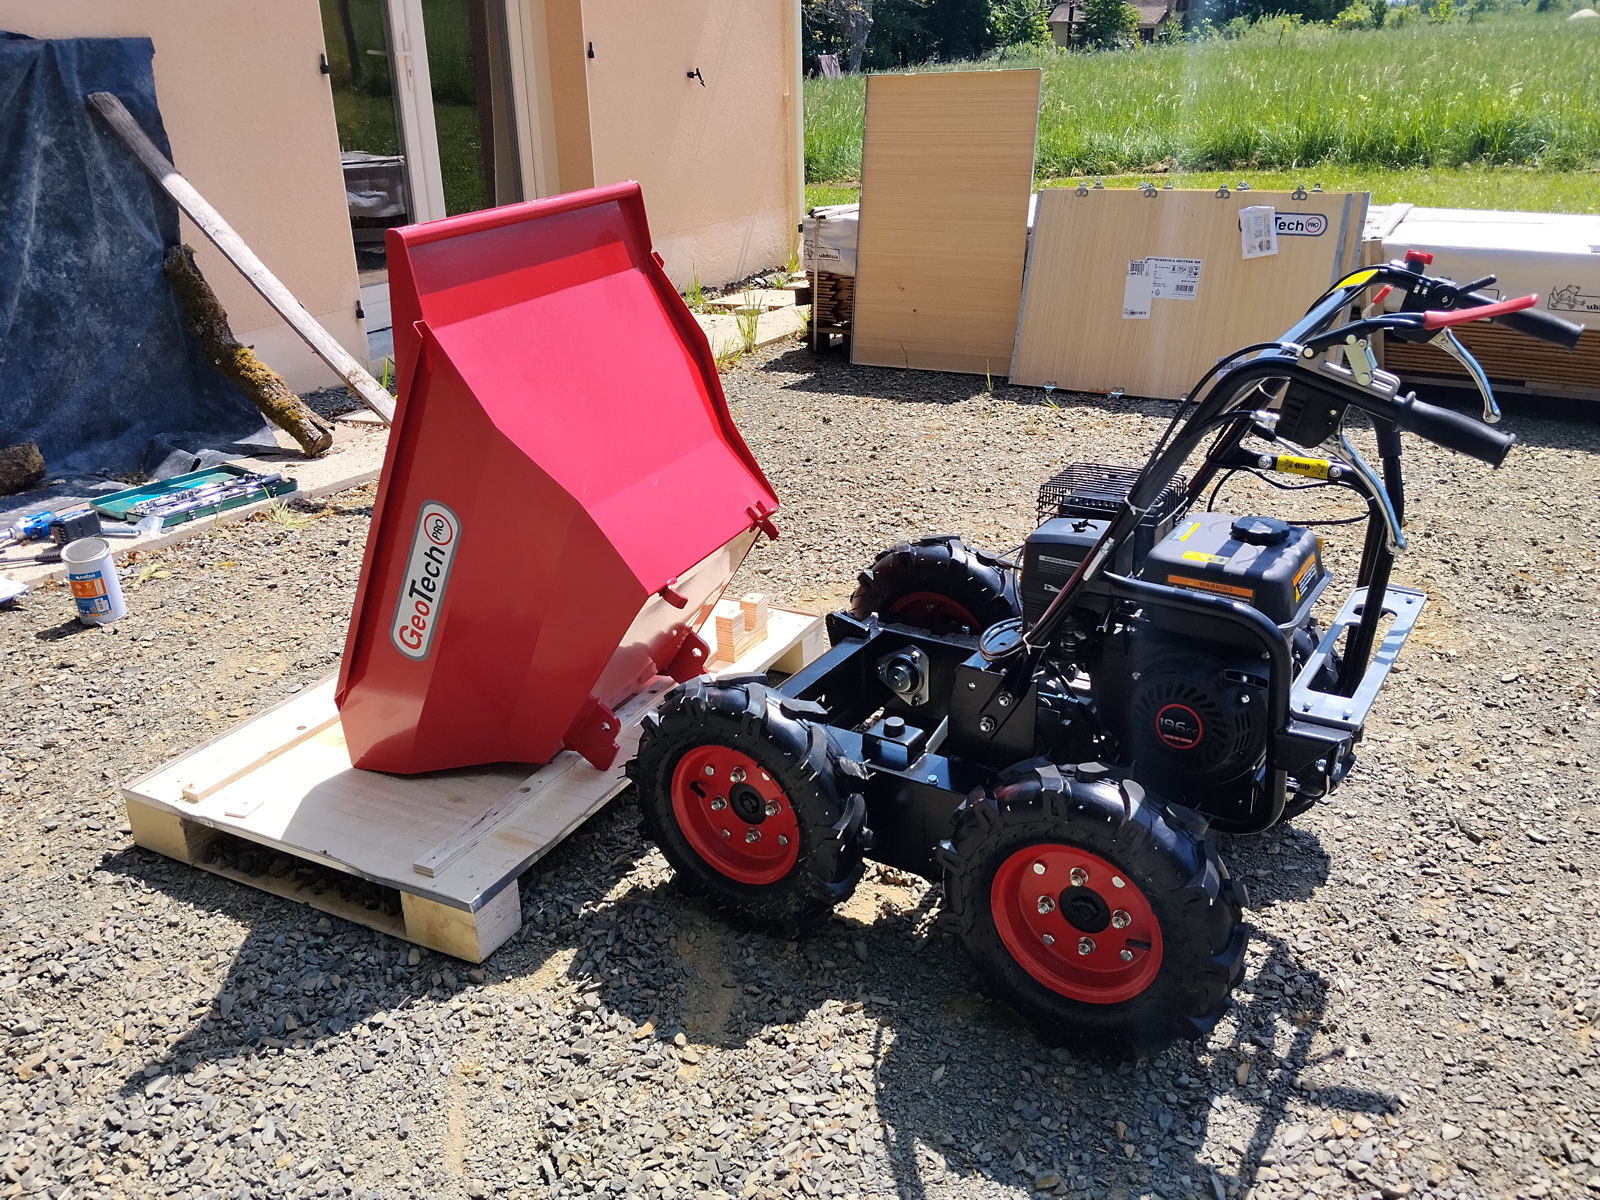
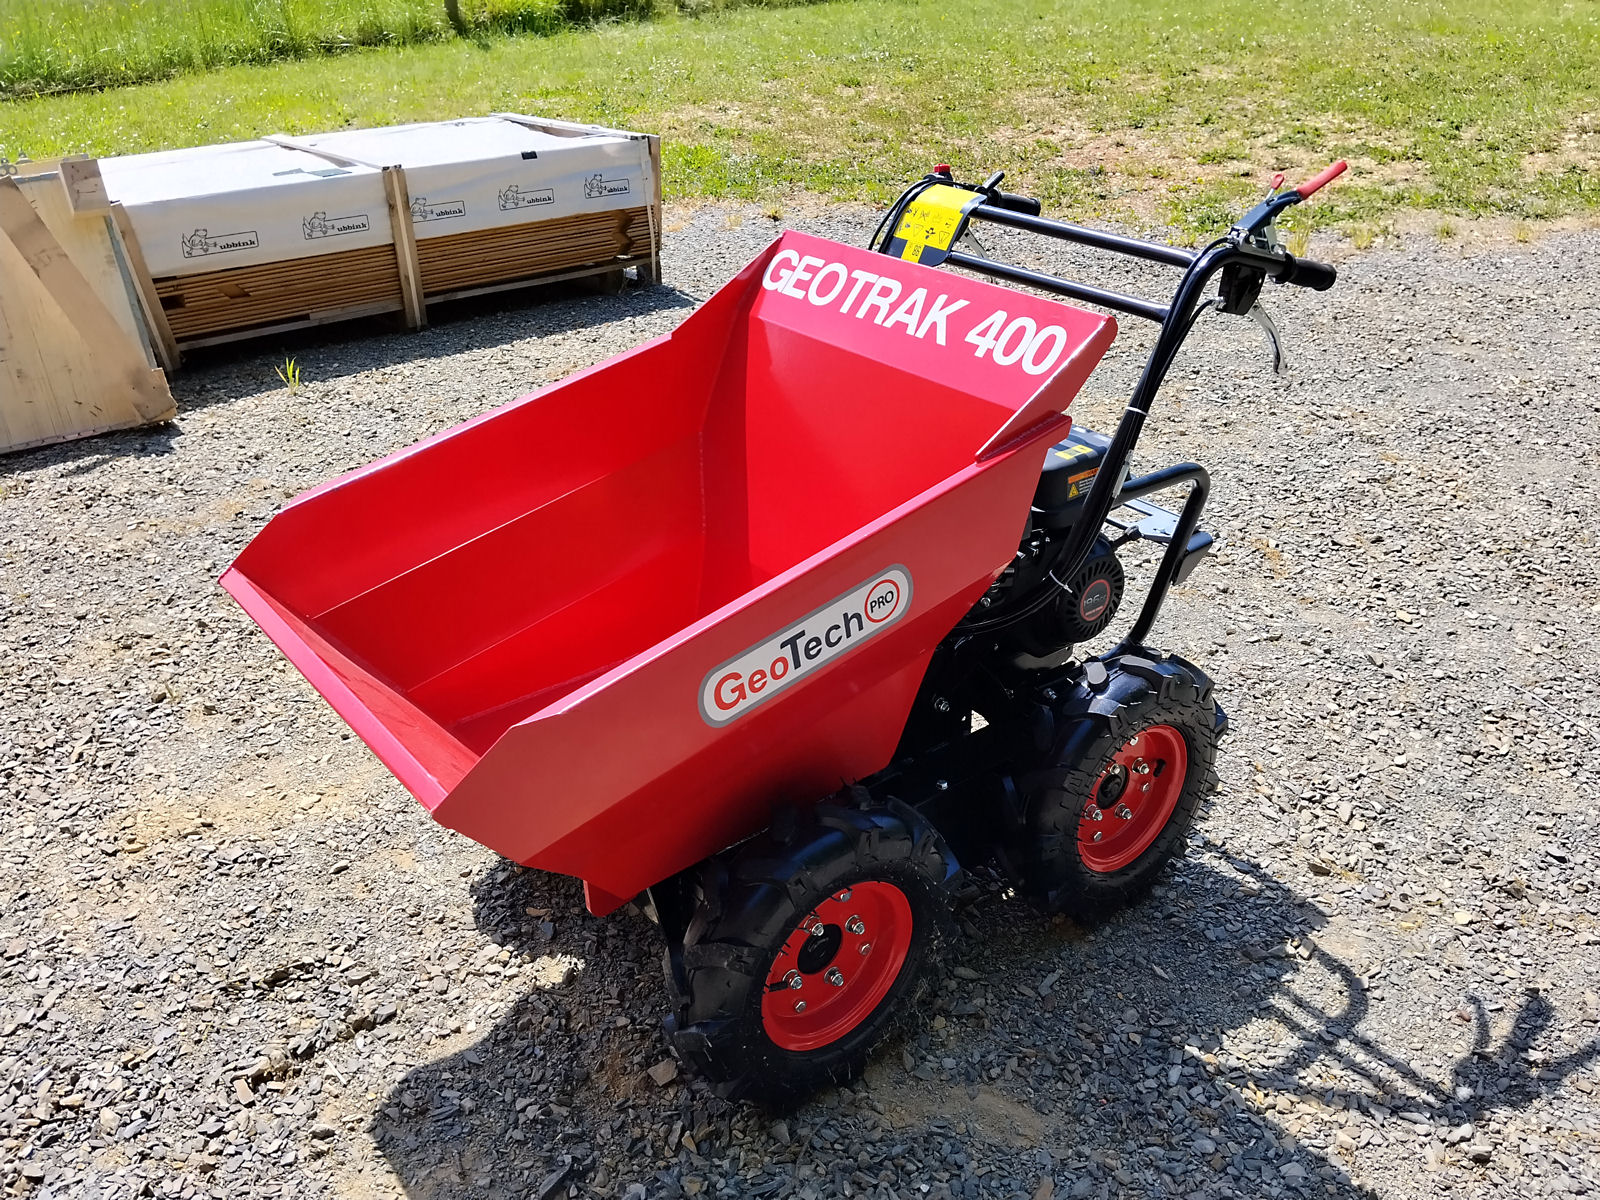
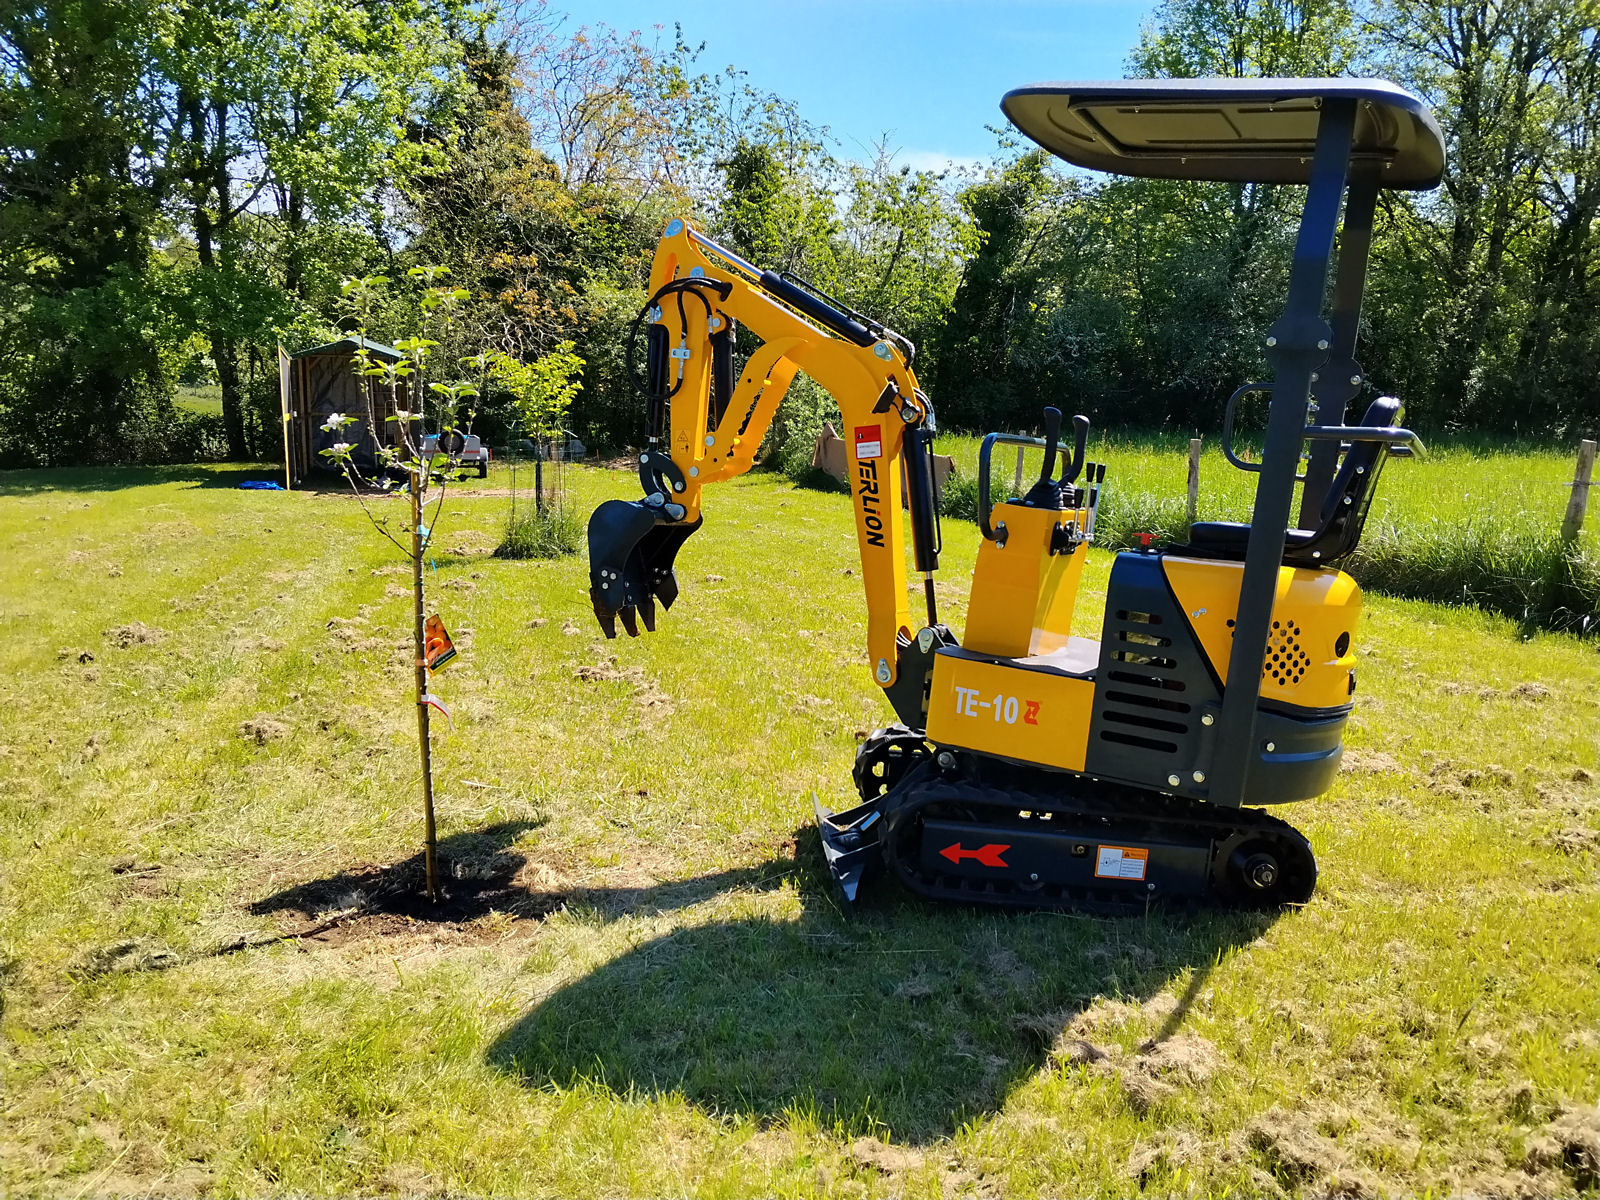
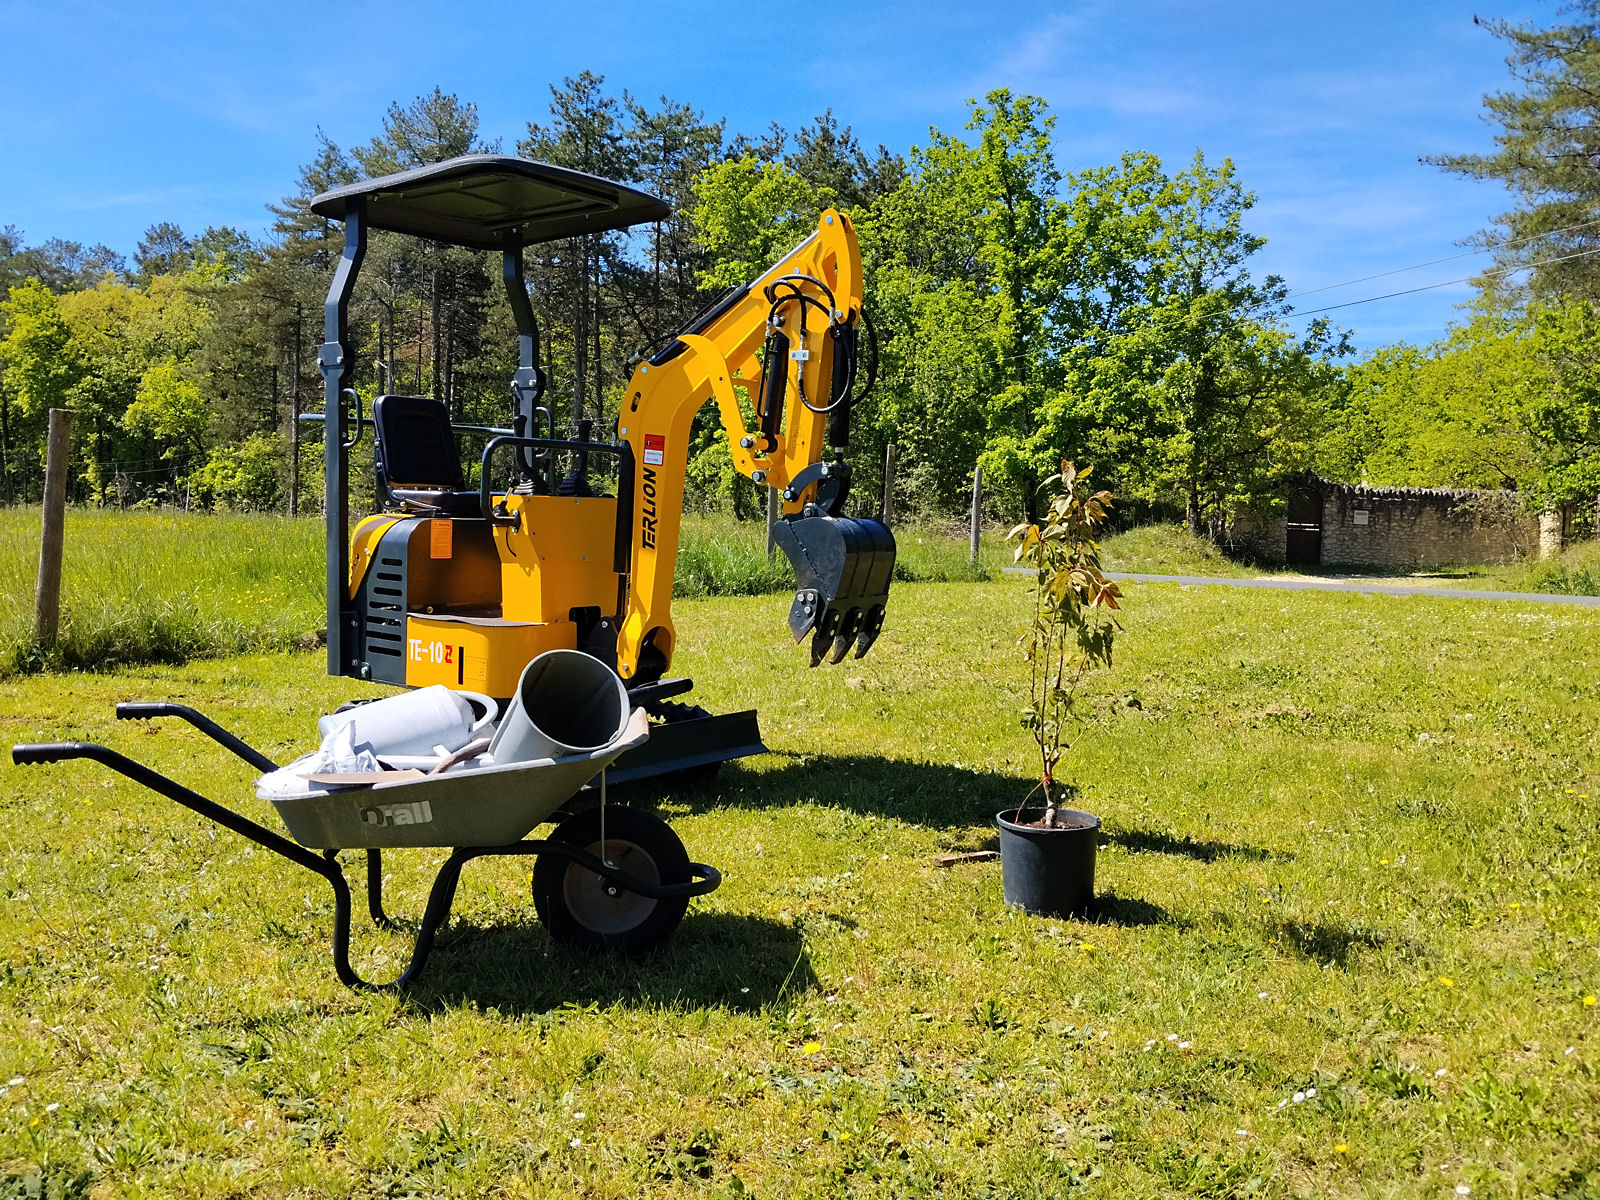
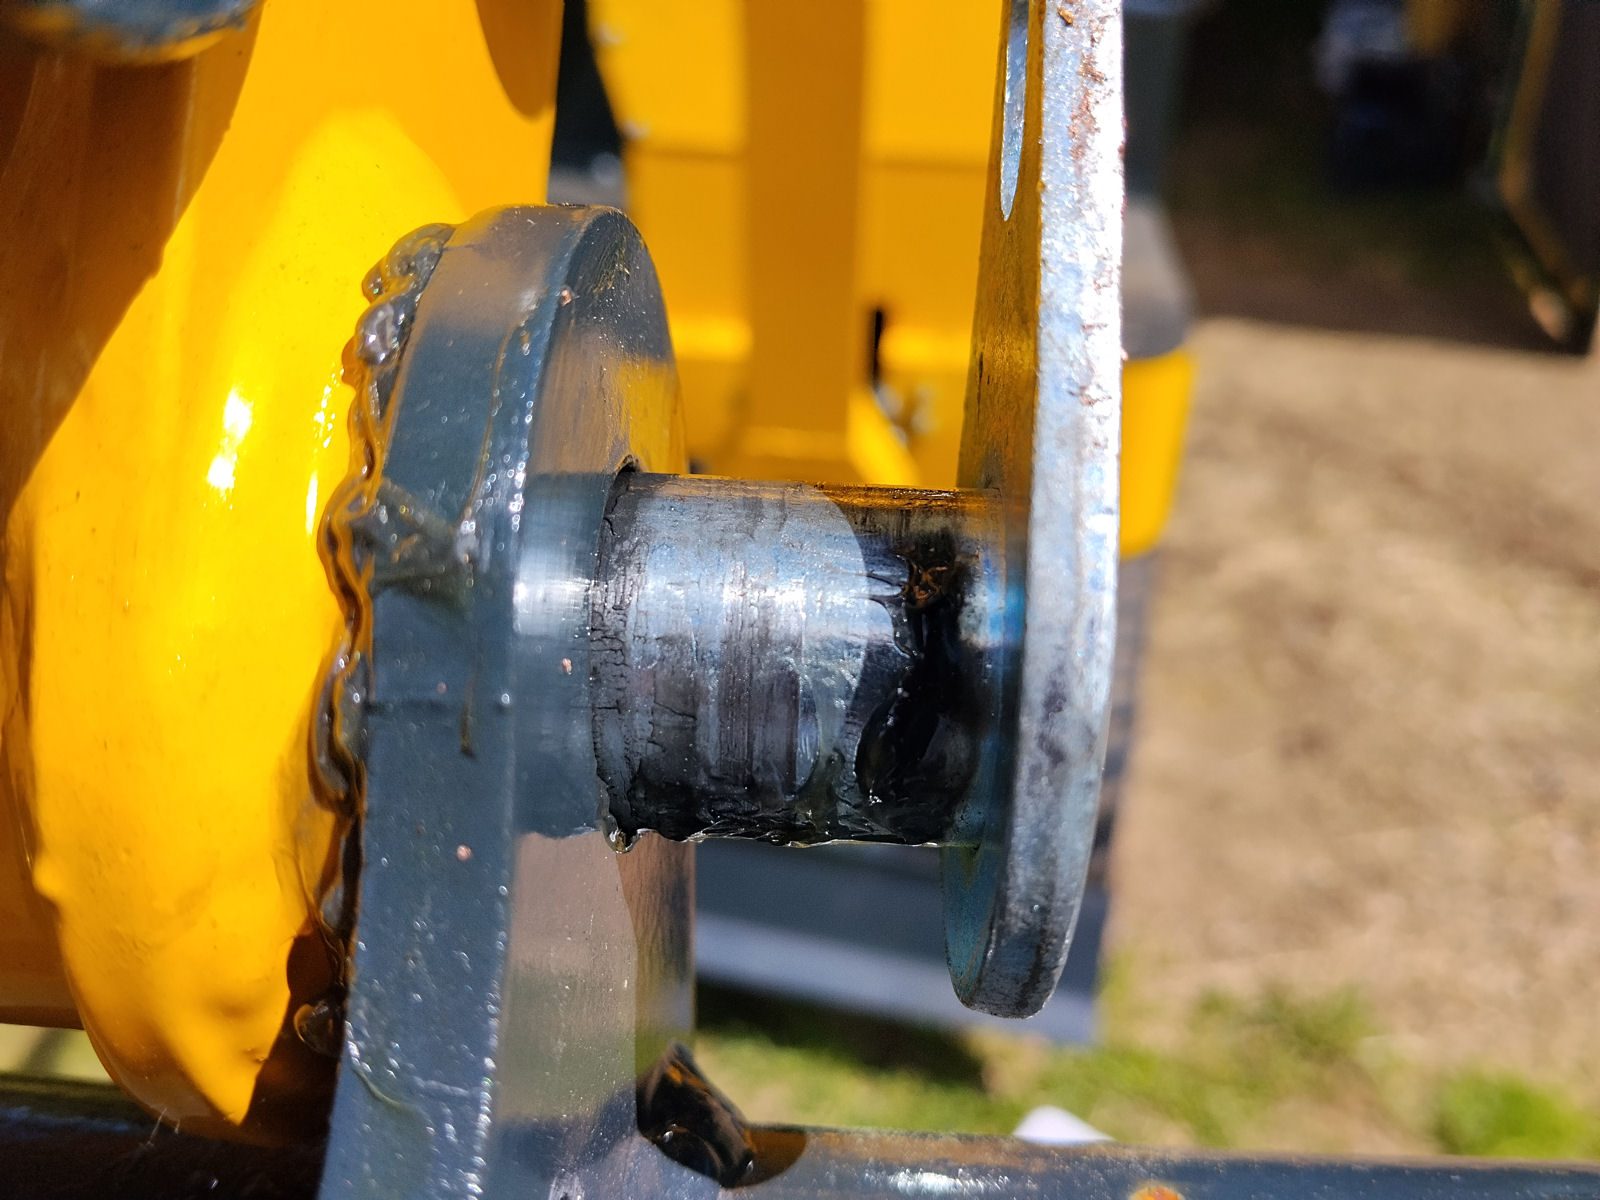
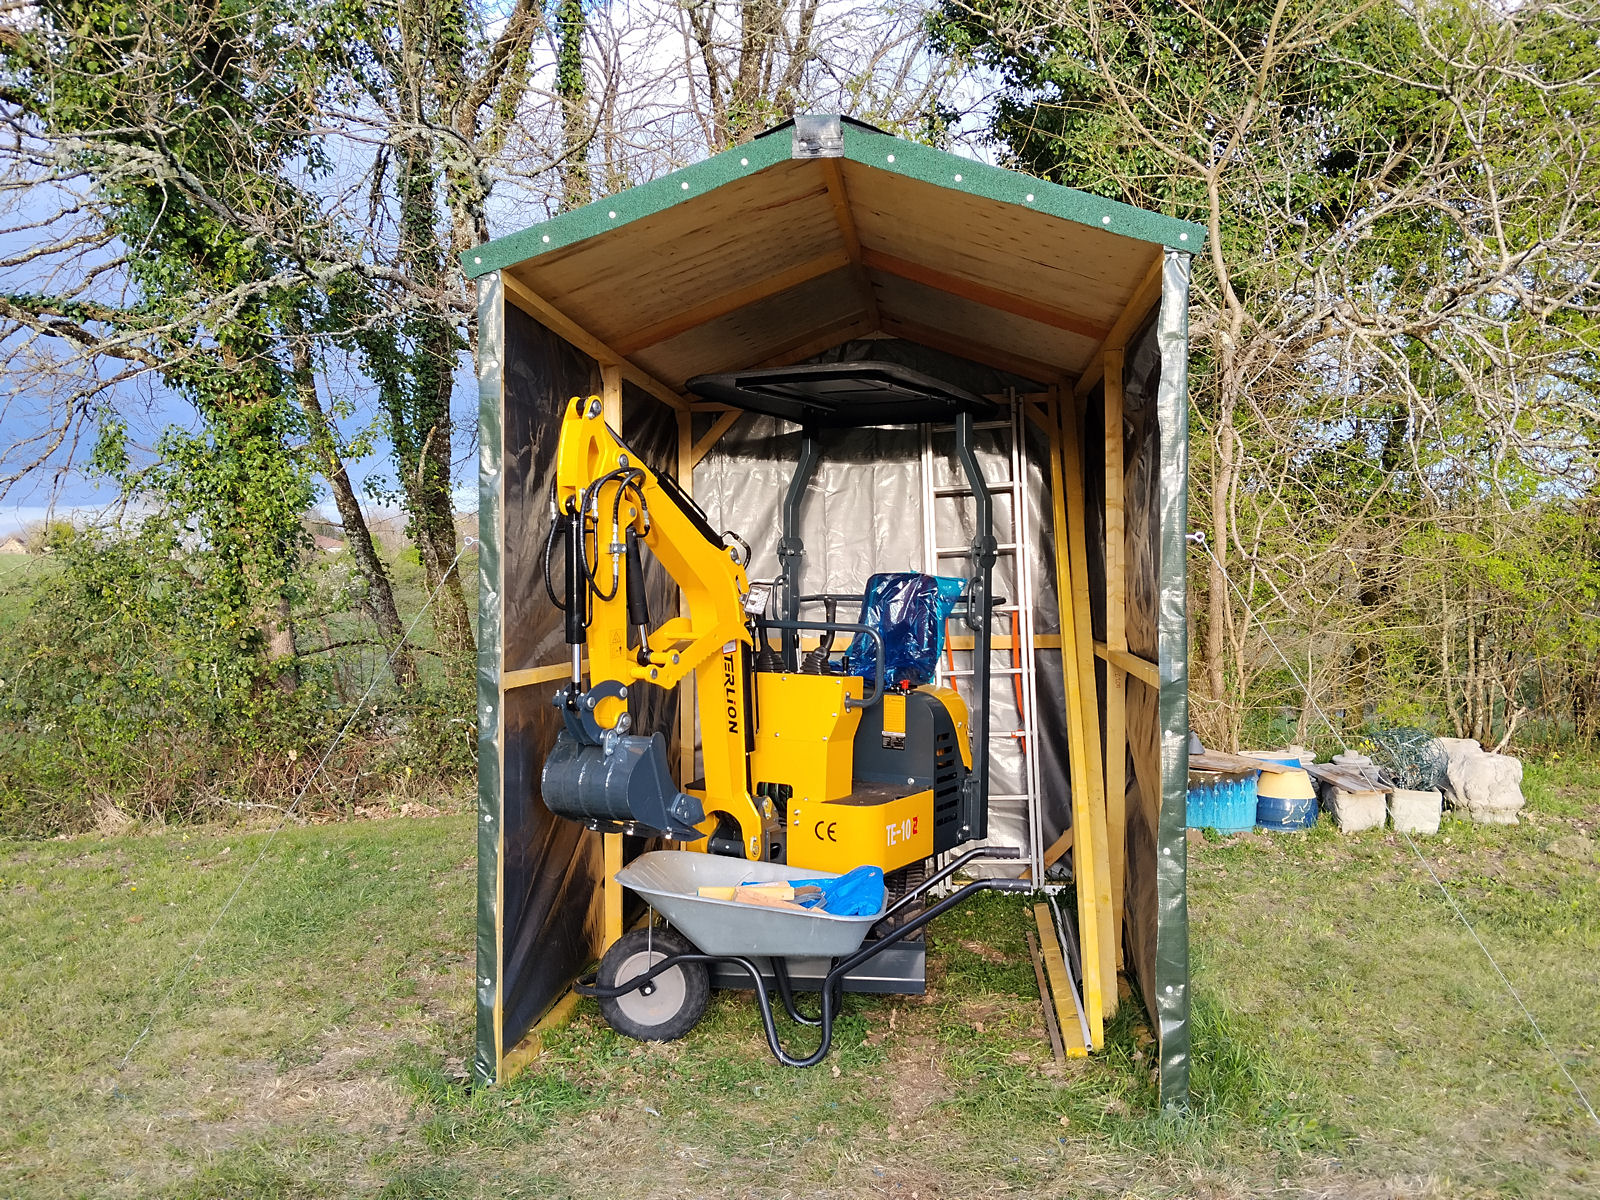
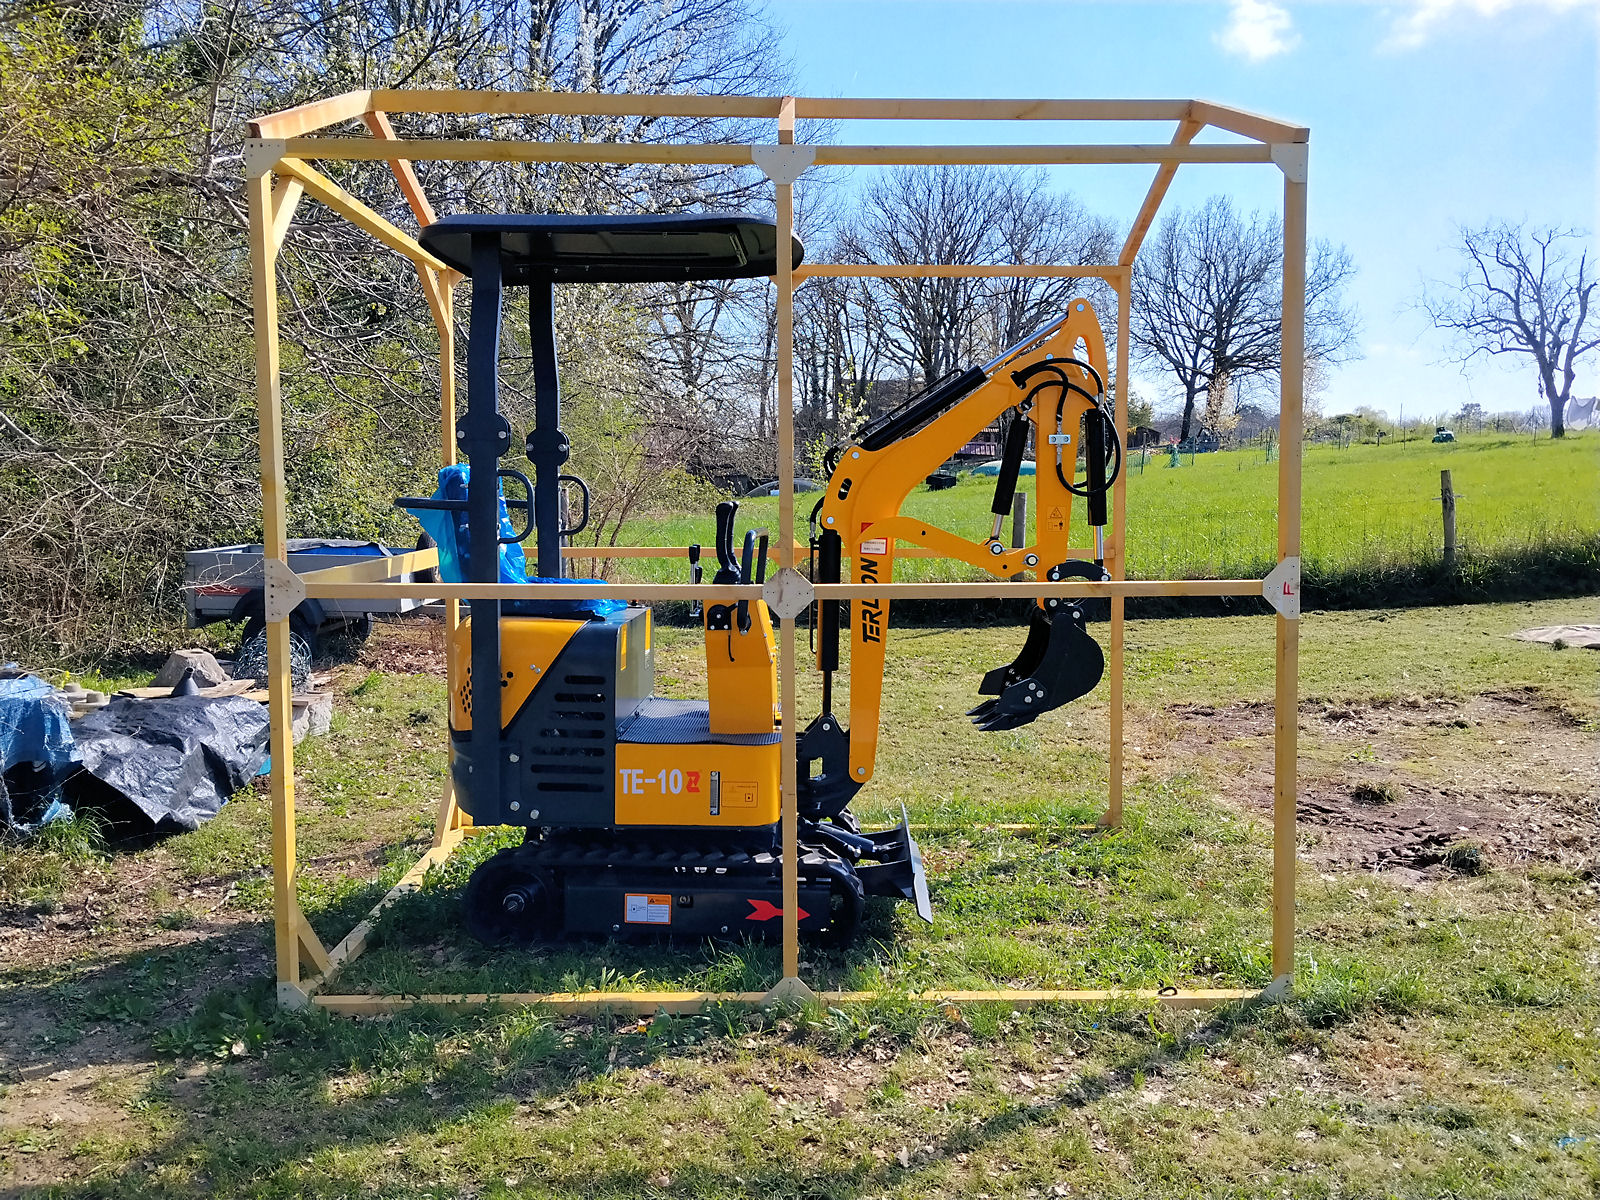
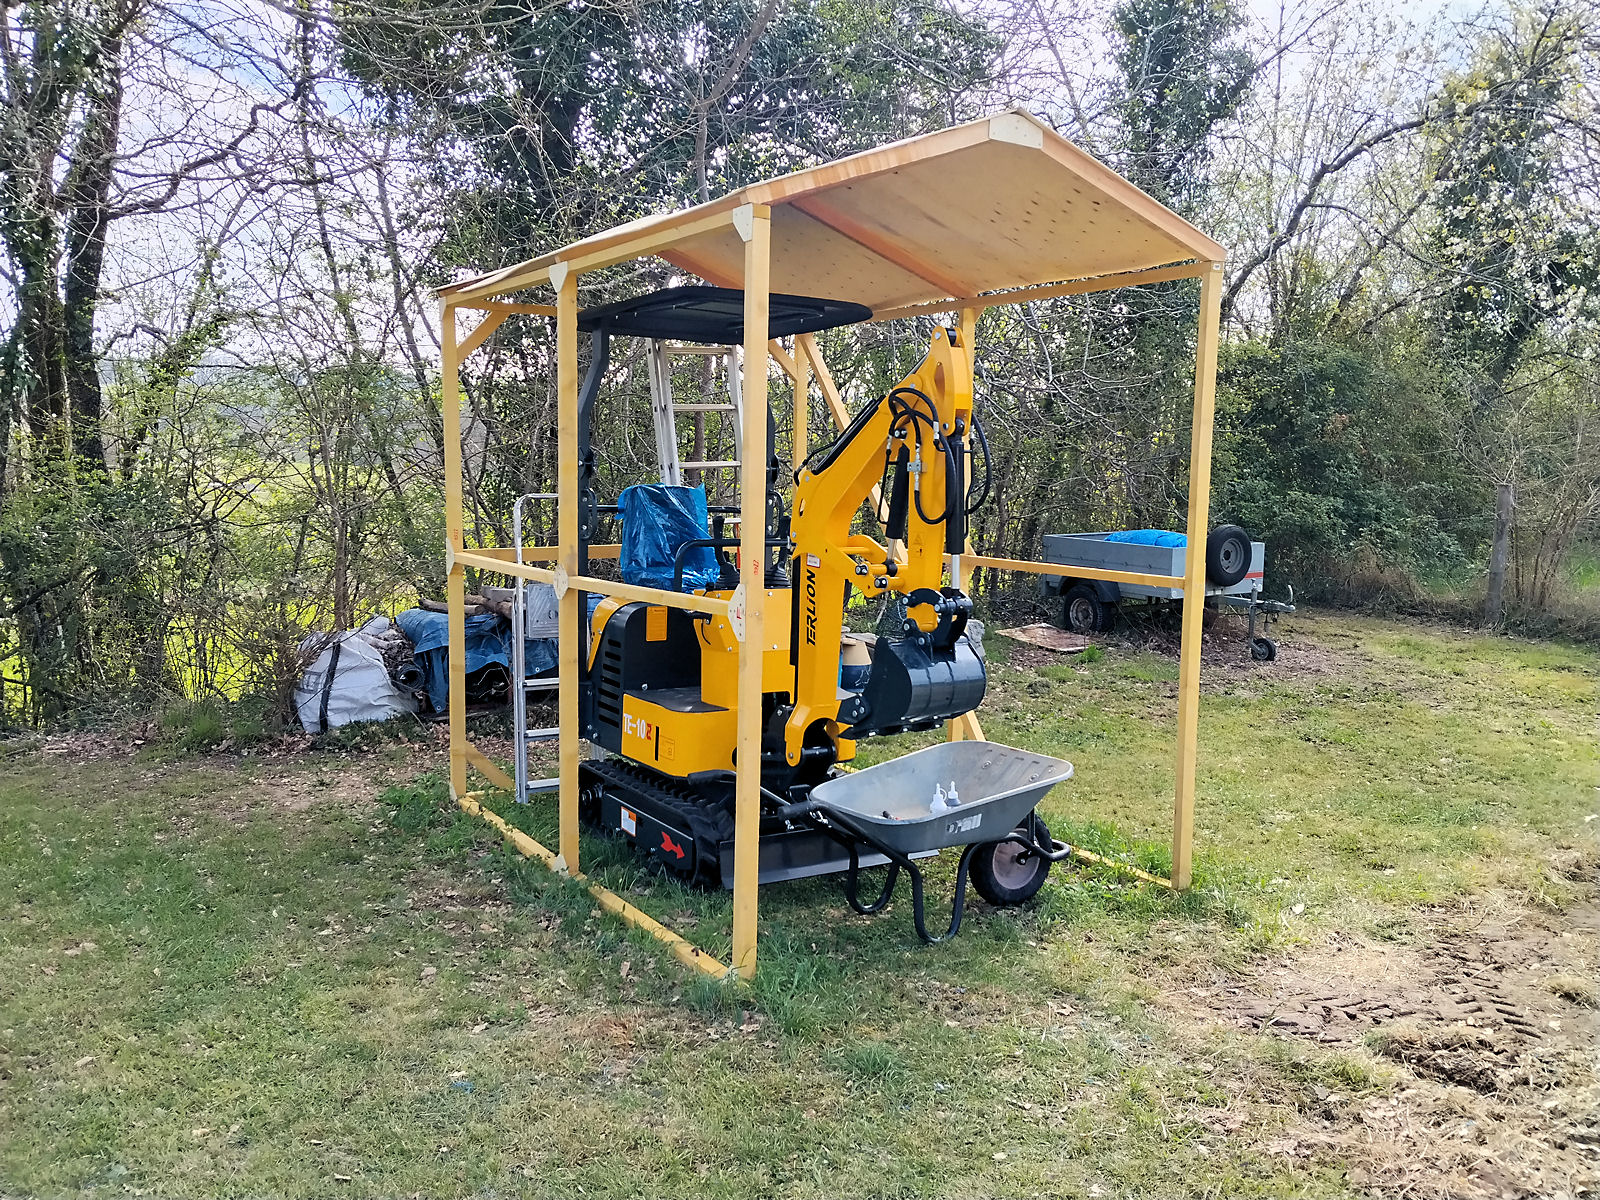
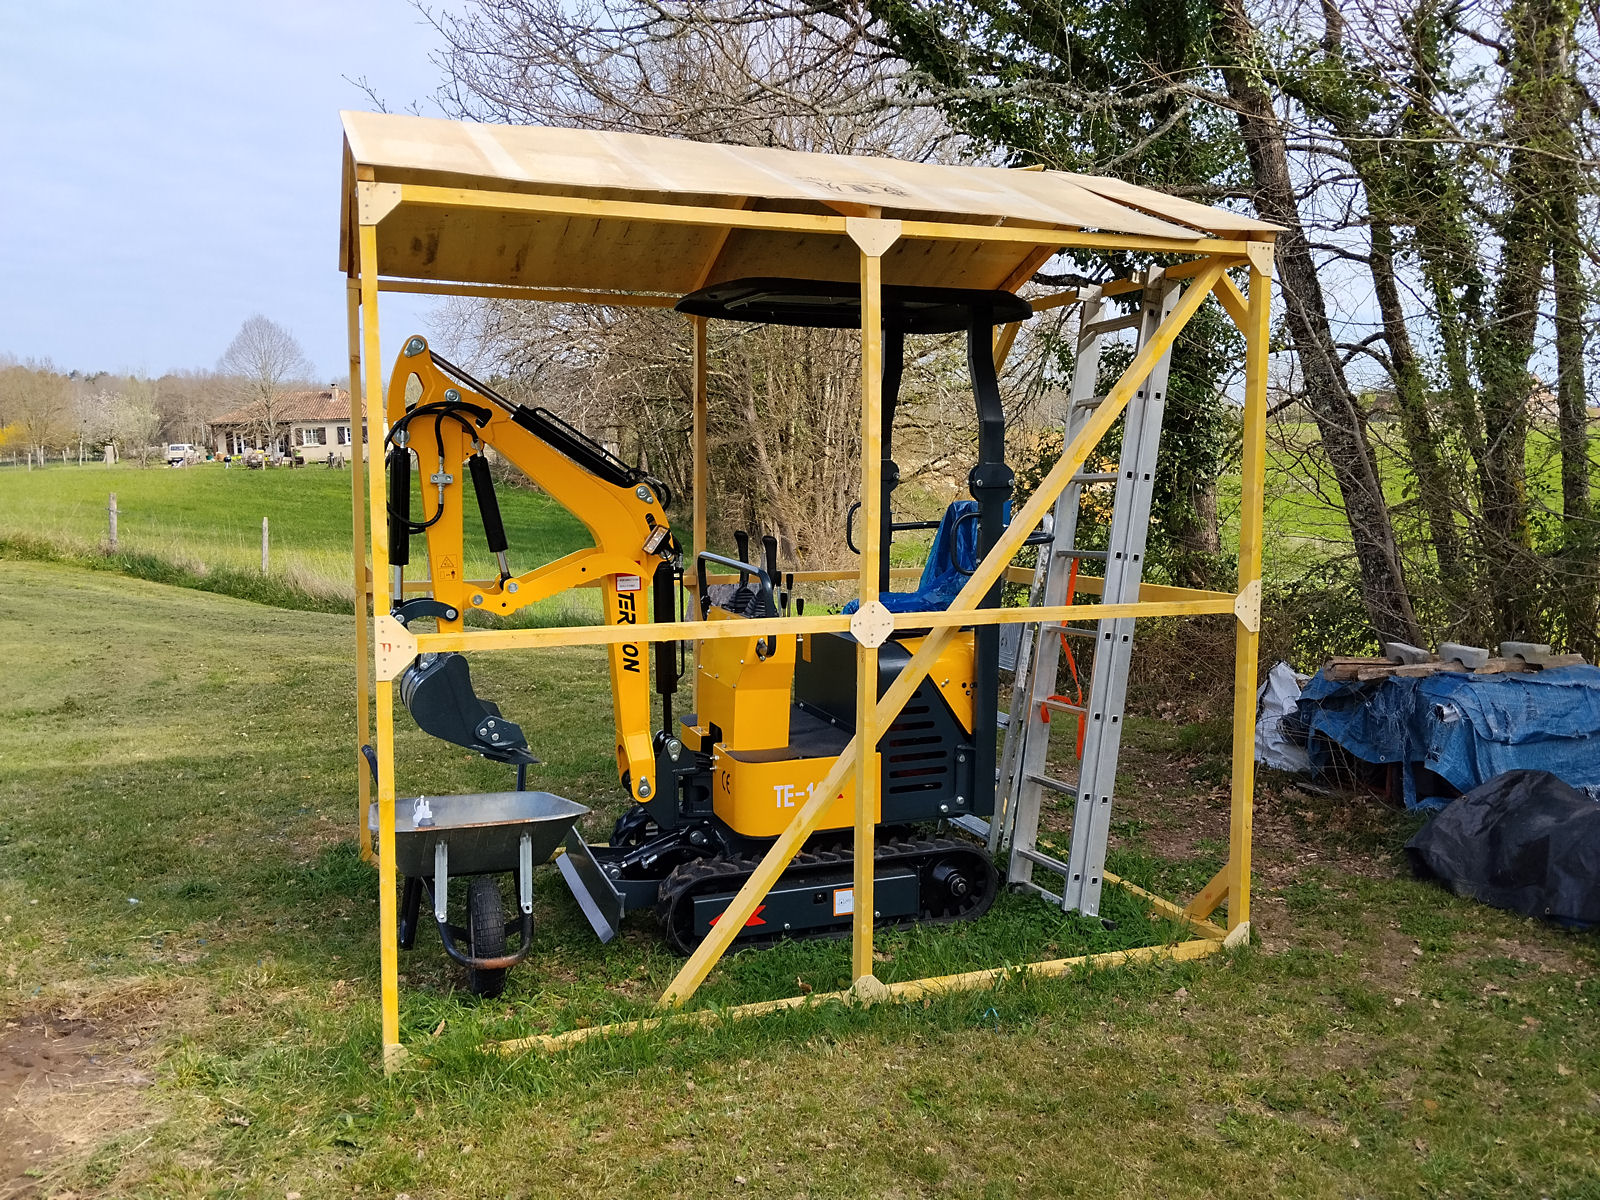
So I decided to devote my time this year to sorting out my garden, right? Getting it into the shape I wanted, building a garden tool store/workshop, installing an above-ground swimming pool that I’ve had for a year now, fixing the ground around my house that’s collapsing a bit because as I told the builder at the time, there wasn’t enough earth to backfill the void under the building, plus a few other jobs. And I equipped myself with the tools for the job – a mini excavator from China and a motorised dumper. So what could possibly go wrong?
Quite a lot as it happens. First several weeks were lost due to continuous heavy rain that prevented me even getting the excavator out of its garage let alone driving it on my land which its tracks would have cut to pieces. Then, when the rain did stop we had a couple of weeks of totally unseasonal intensely high temperatures that made working outside without cover more or less intolerable, so still very little progress was made.
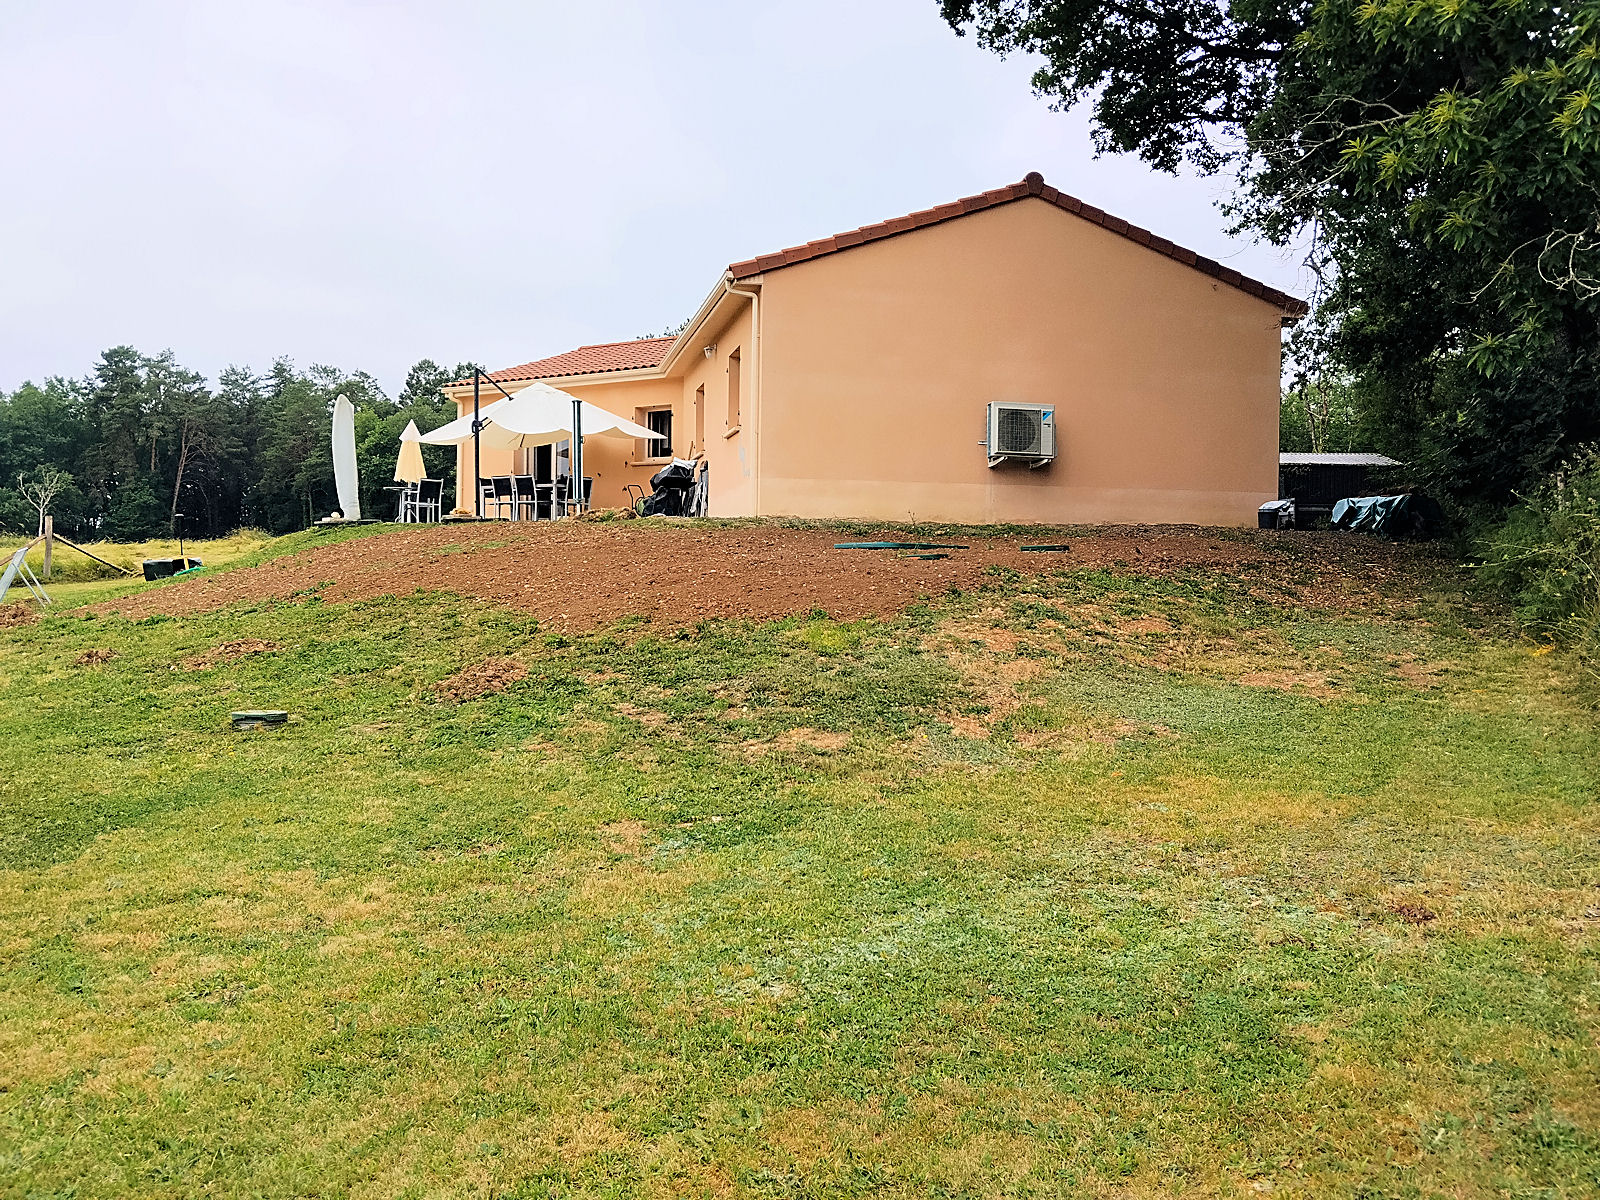
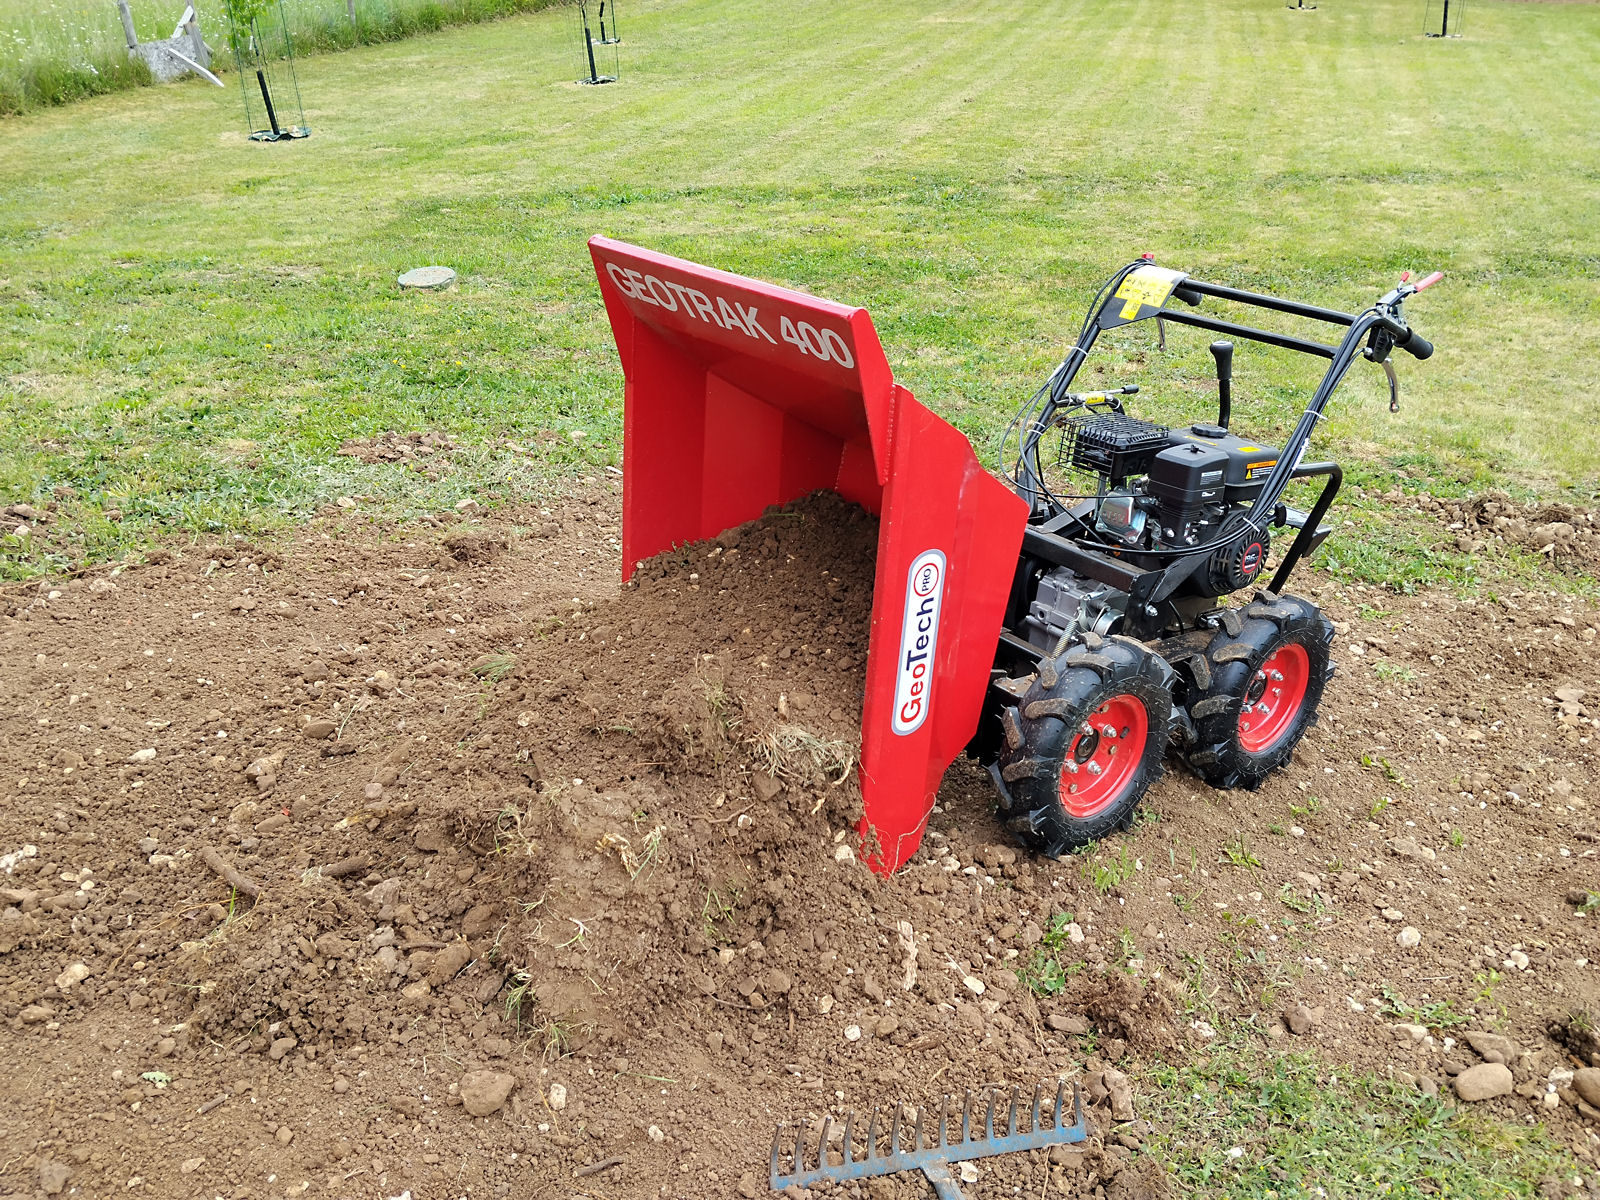
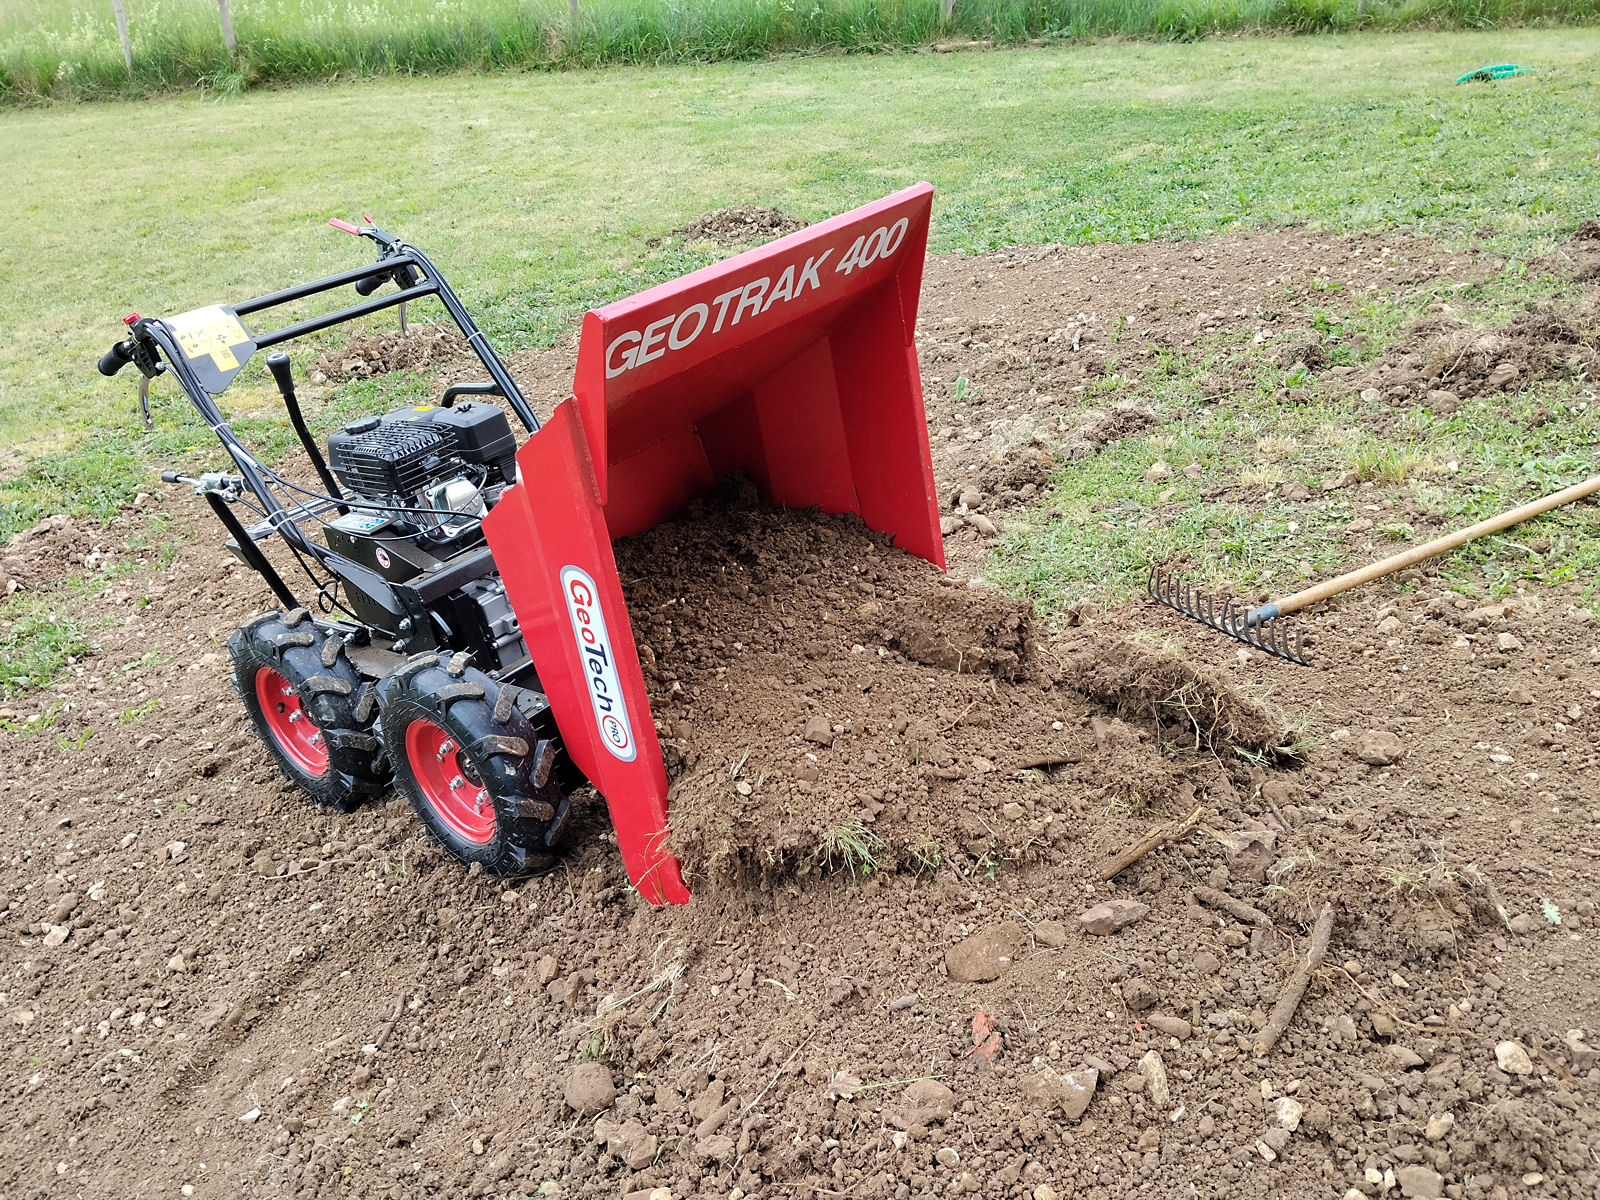
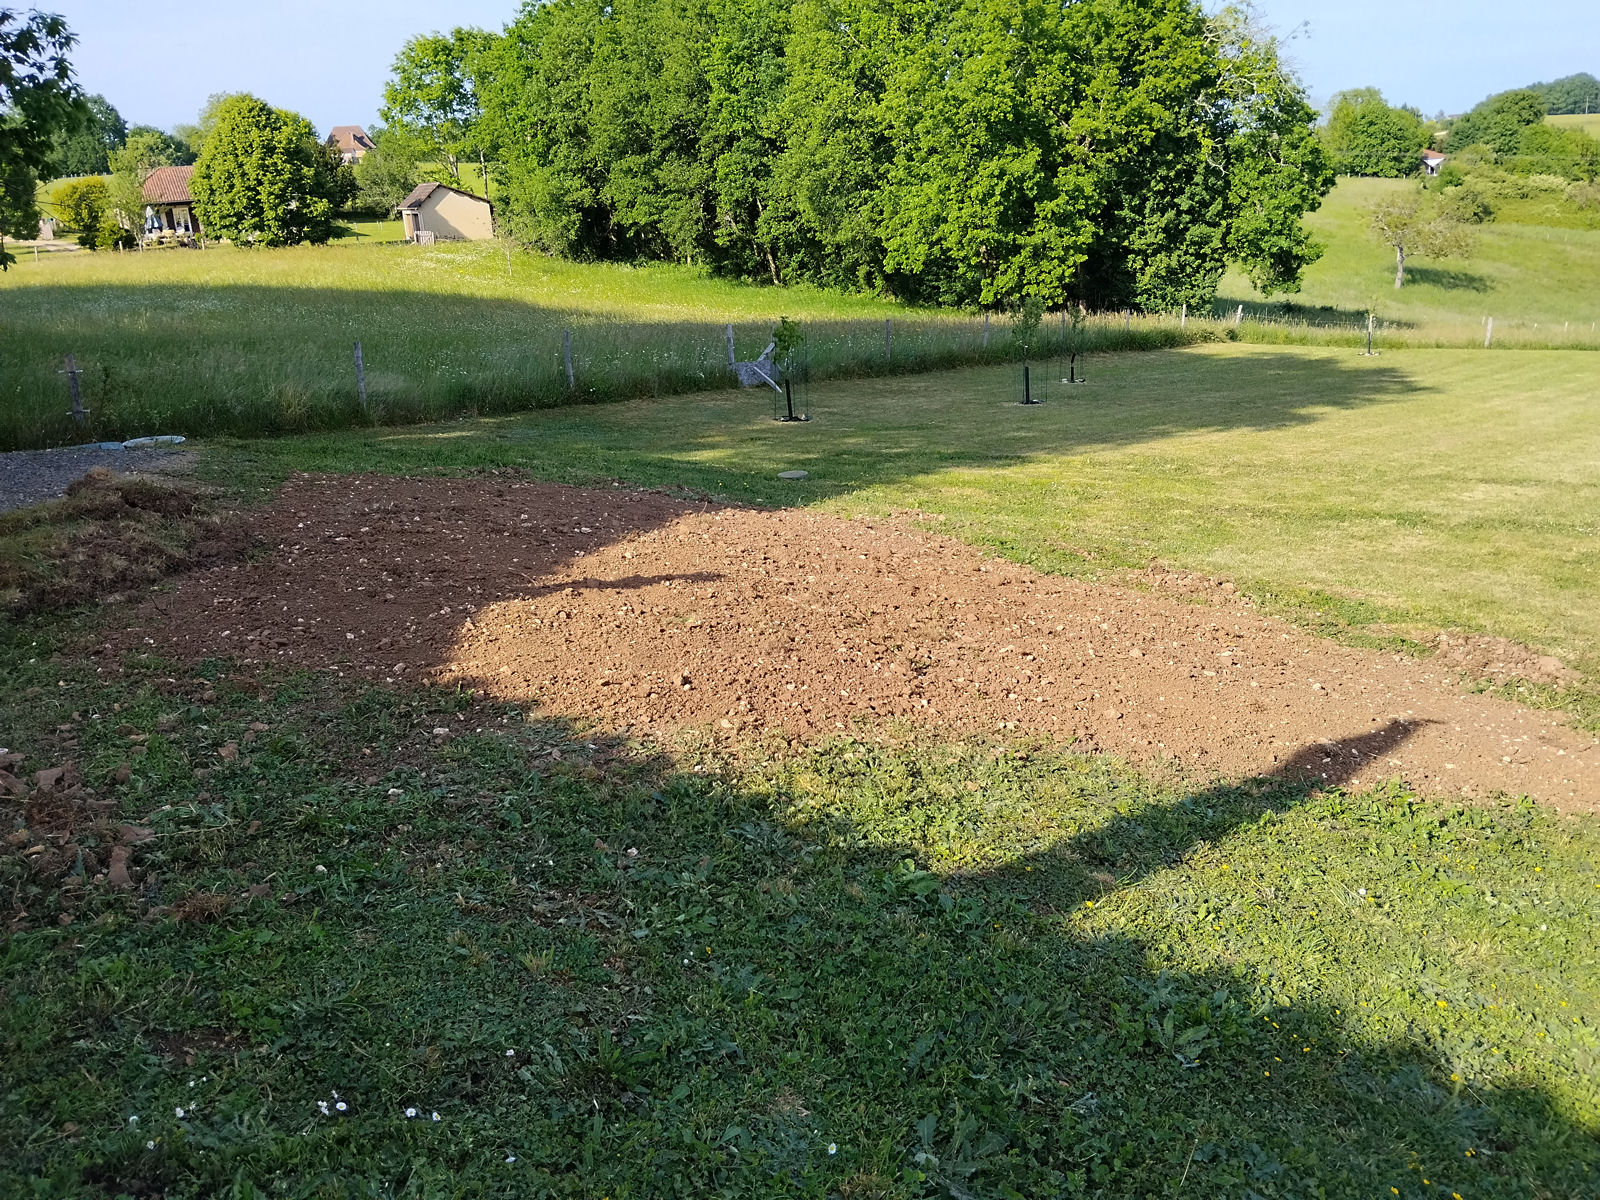
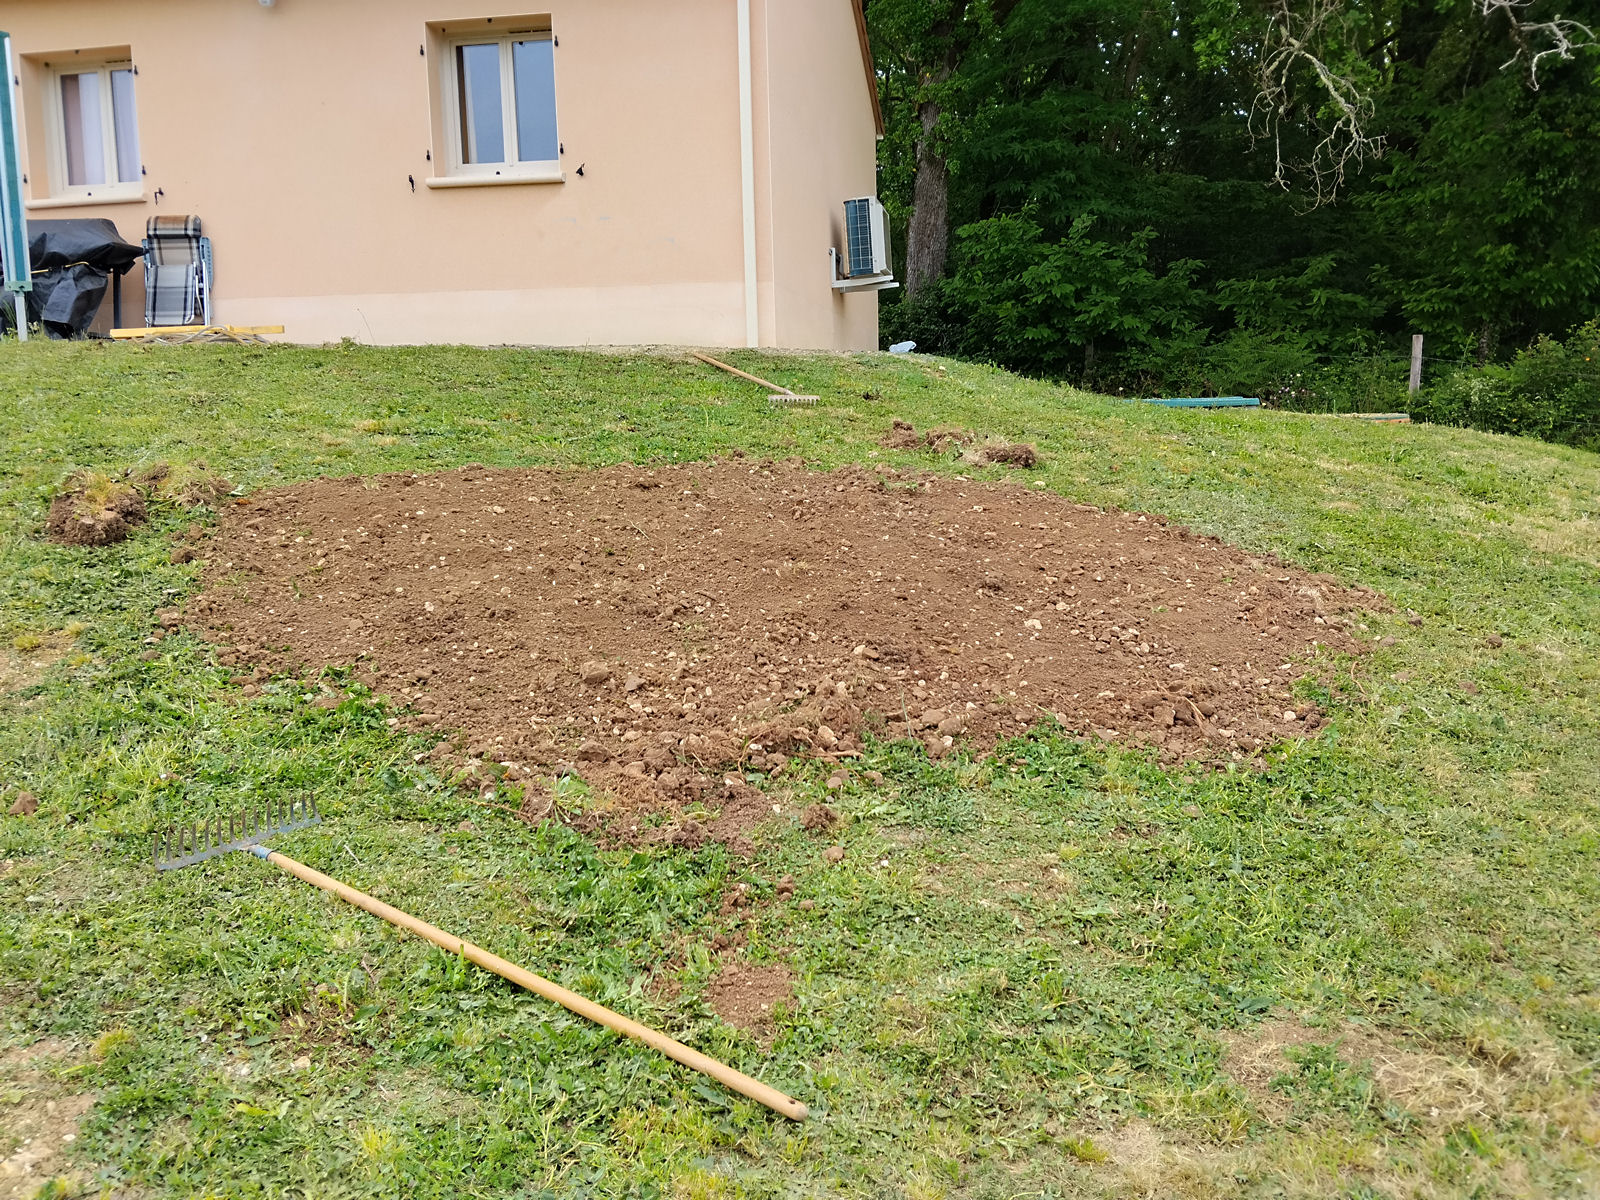
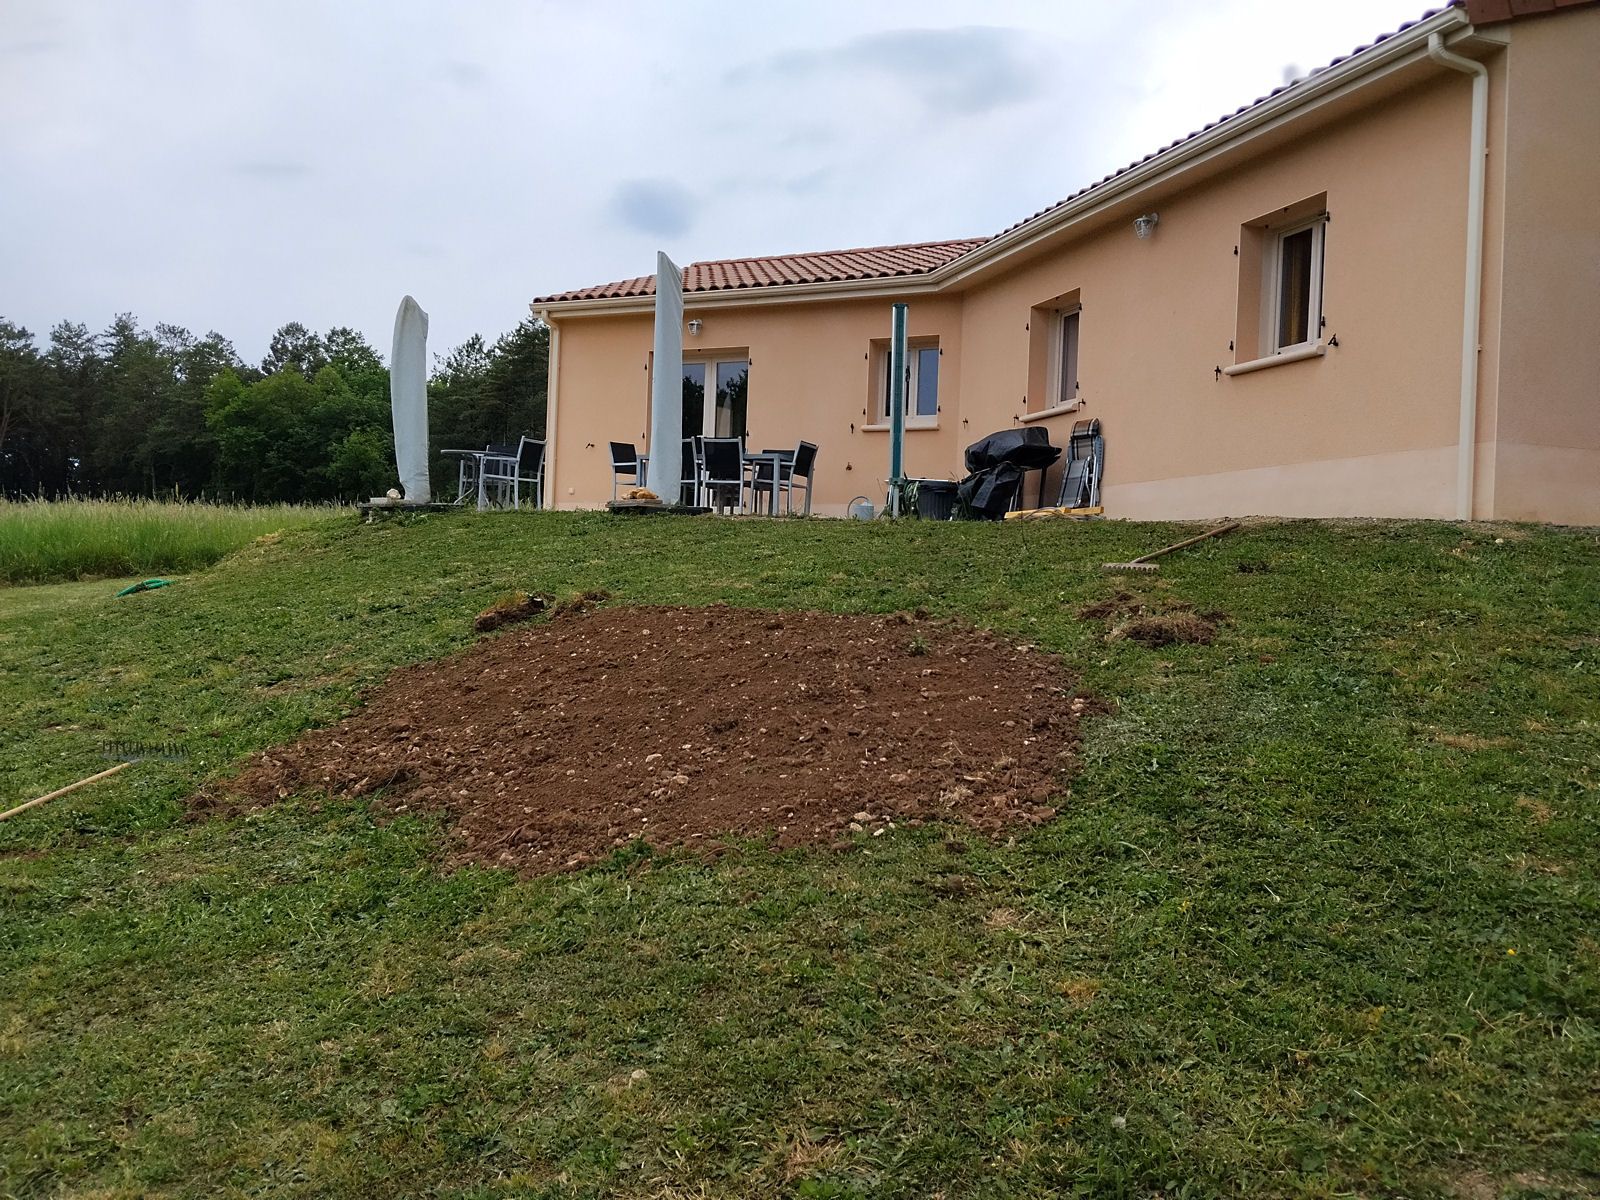
Little, but some as despite the heat I managed to get cracking on digging out for the base of my planned tool store and transporting the earth up to the top of the garden in order to reshape and reduce the severity of the downward slope from the (collapsing) terrace to the garden. So I was able therefore to concentrate fully on my garden work? Well, no actually.
Before I could I had to allocate several days of perfect working outside weather getting my car ready for its bi-annual test (CT). This unfortunately had to include stripping out its under-bonnet in order to replace the windscreen washer plastic tubing that had been gnawed away by the mice that got into the car a few weeks ago as if left it would have been an automatic fail. As it is I couldn’t fix the tubing for the rear washer that still doesn’t work, but that wasn’t needed for the CT, which my car fortunately sailed through.
So back to the garden, then, only to be confronted almost immediately with something of a personal disaster. Many months ago before I went off to Istanbul for implant work, I placed myself for a course of treatment in the hands of a dentist in Montignac. To say that the man is incompetent is an understatement. Crowns he fitted at my great expense were falling out repeatedly while the treatment was in progress and when in Turkey I had one of his crowns replaced with an implant in addition to the ones I’d planned for. The disaster was that a double crown, bridge almost, that he’d fitted then fell out leaving me in need of emergency dental treatment.
The problem is that it’s impossible now to find a dentist in this area and at the time of writing this the work hasn’t yet been done. I’ll have to try to find a local dentist (perhaps there’s one who has lost a few patients since I last phoned around) but if I can’t I’ll probably have to spend more time travelling back to my old dentist in the UK. I’ll have no alternative as my son is getting married in September and I’ll have to get the work done in time for that.
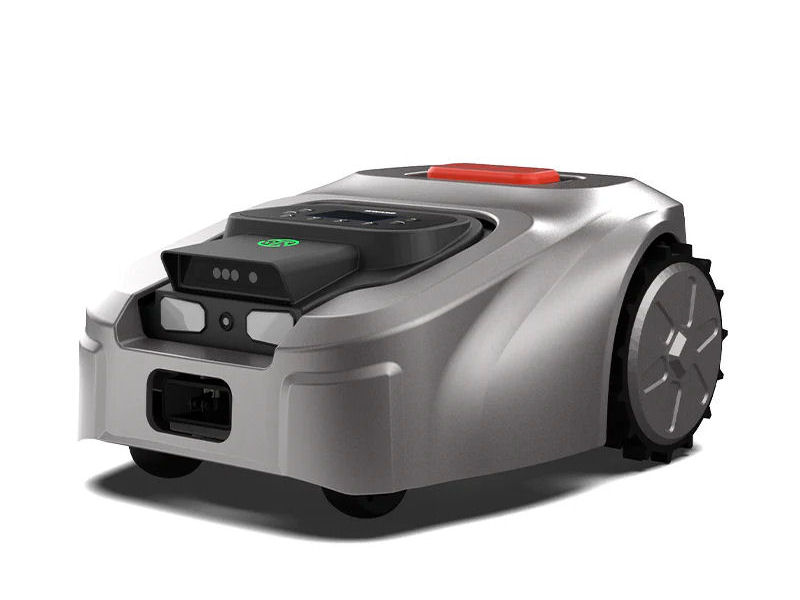
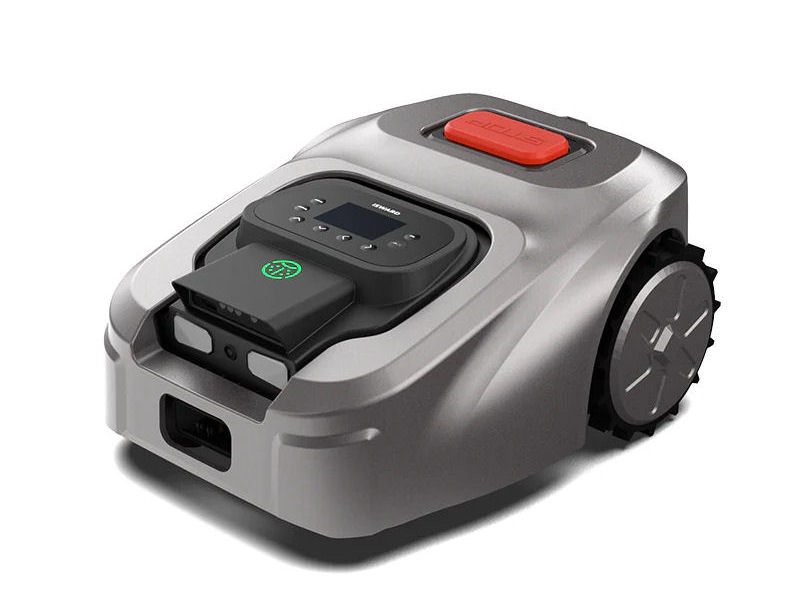
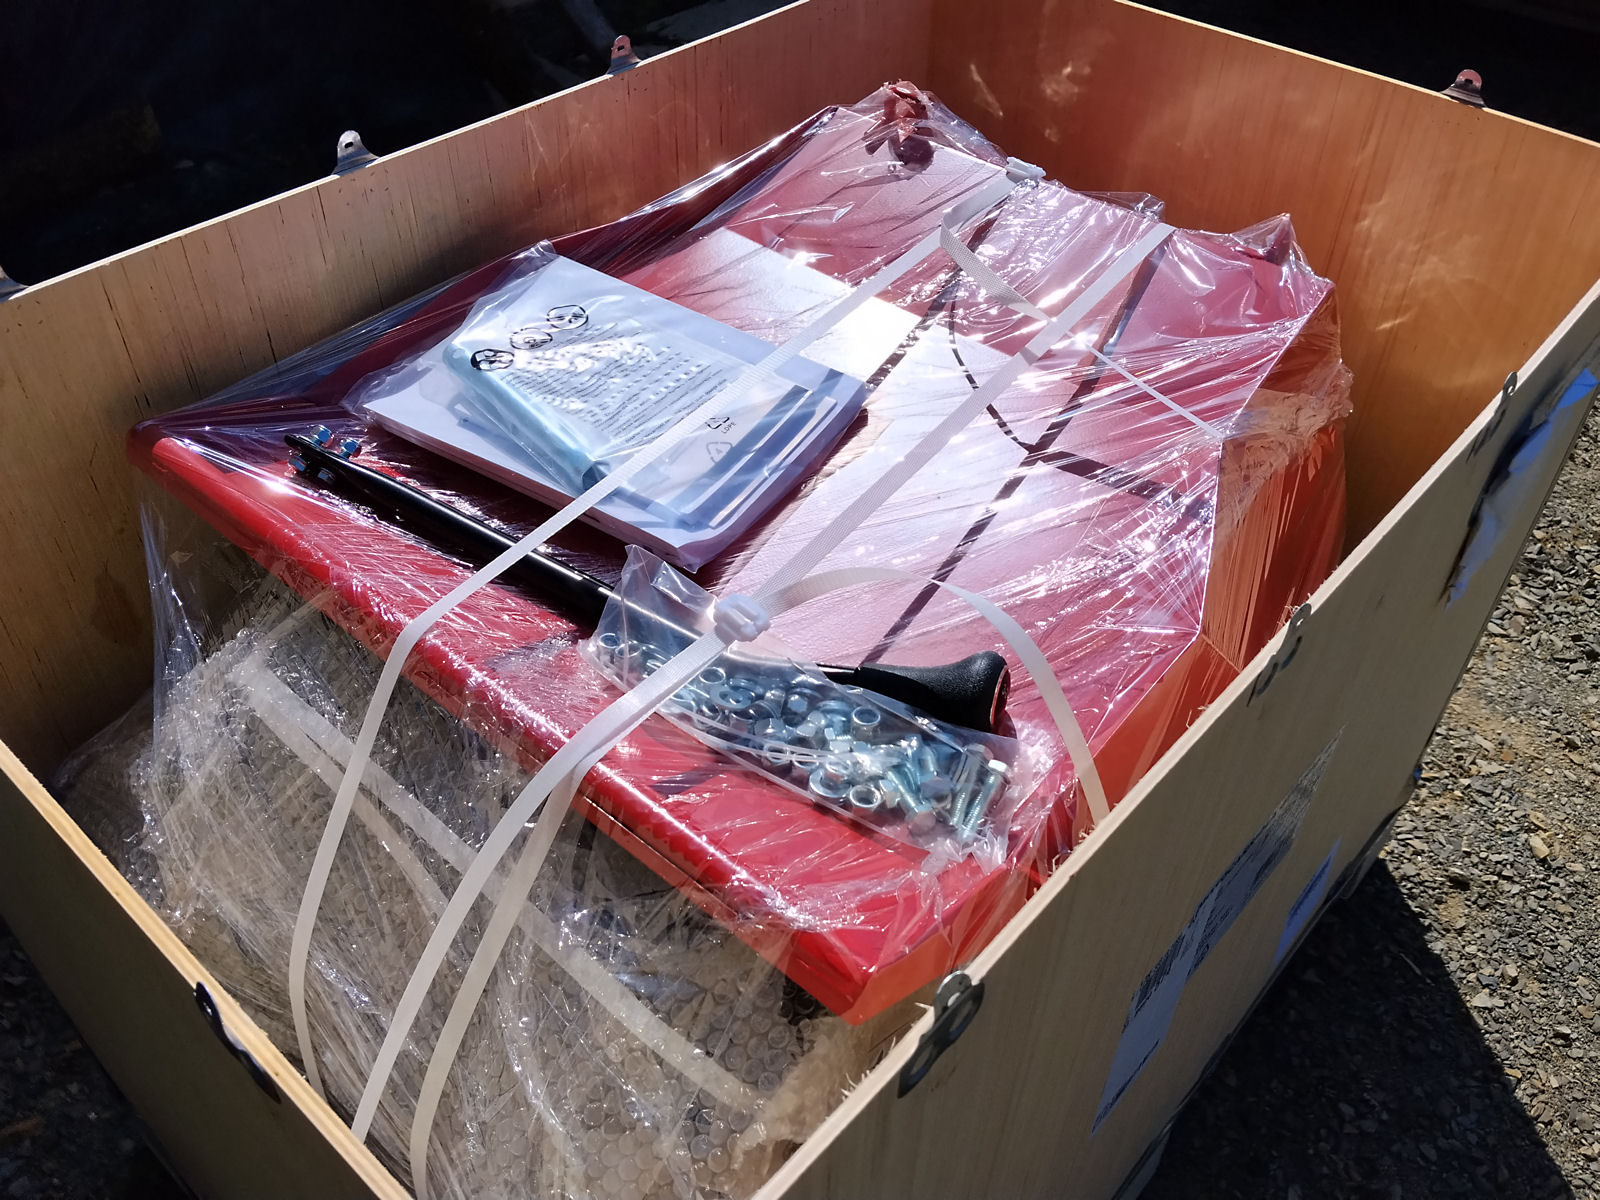
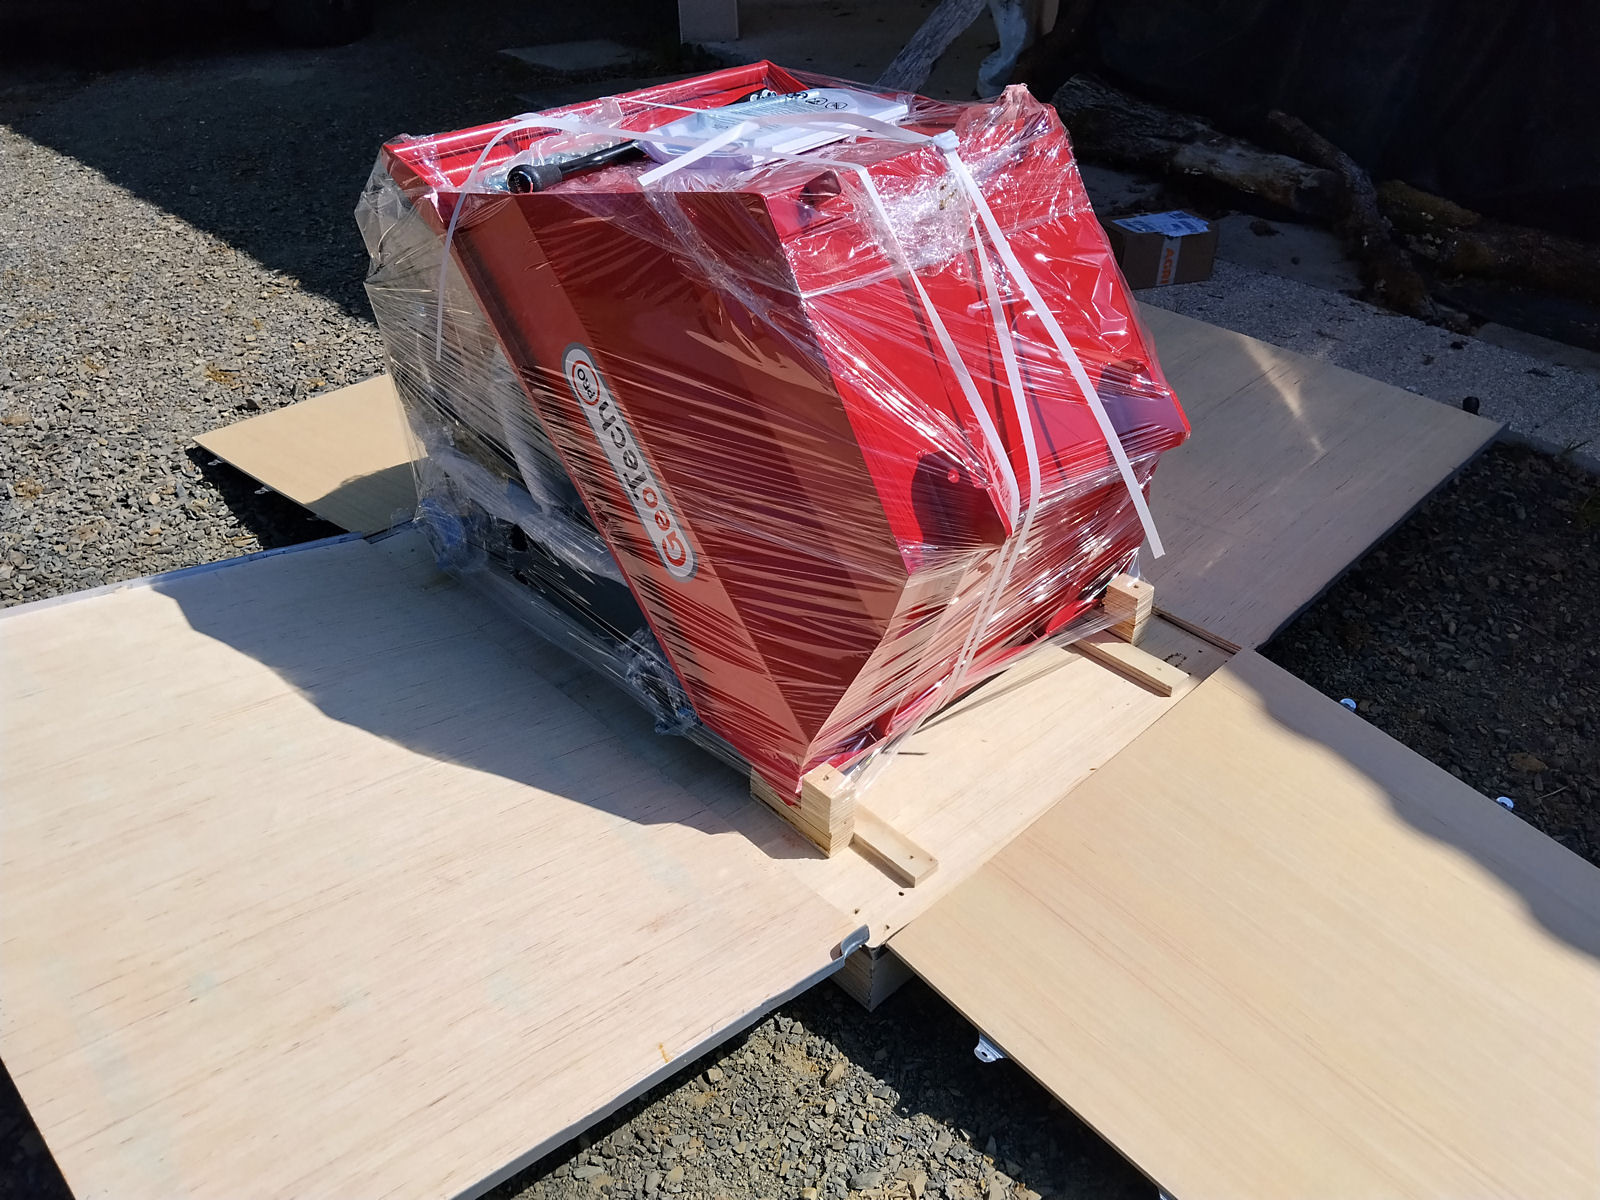
So then back to the garden? Well yes, but it soon became clear when the grass front and back of my house began to rapidly start growing that unless I did something I’d be spending all of my time keeping it under control rather than doing what I needed to do, namely following through with my plans to reshape my garden. So I took the plunge and invested not an inconsiderable sum in a lawn robot that I thought would take over the task of controlling the grass and thus freeing the time up for me.
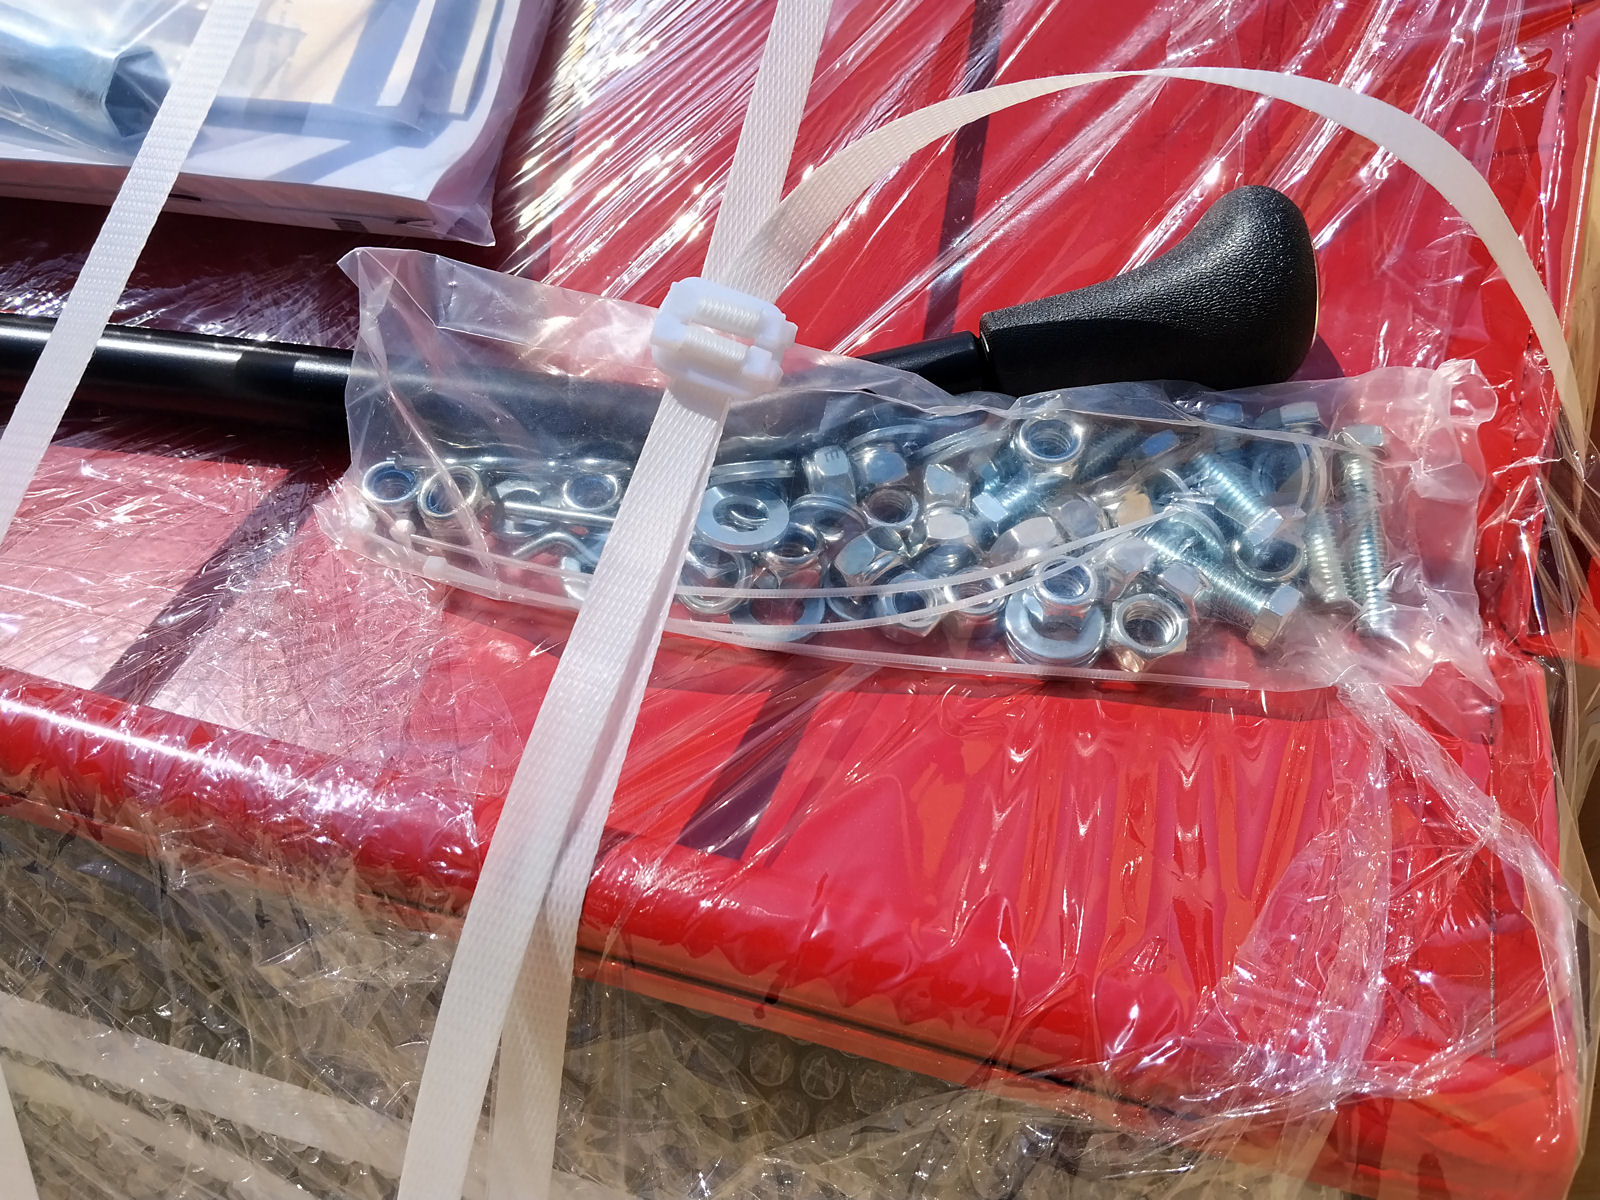
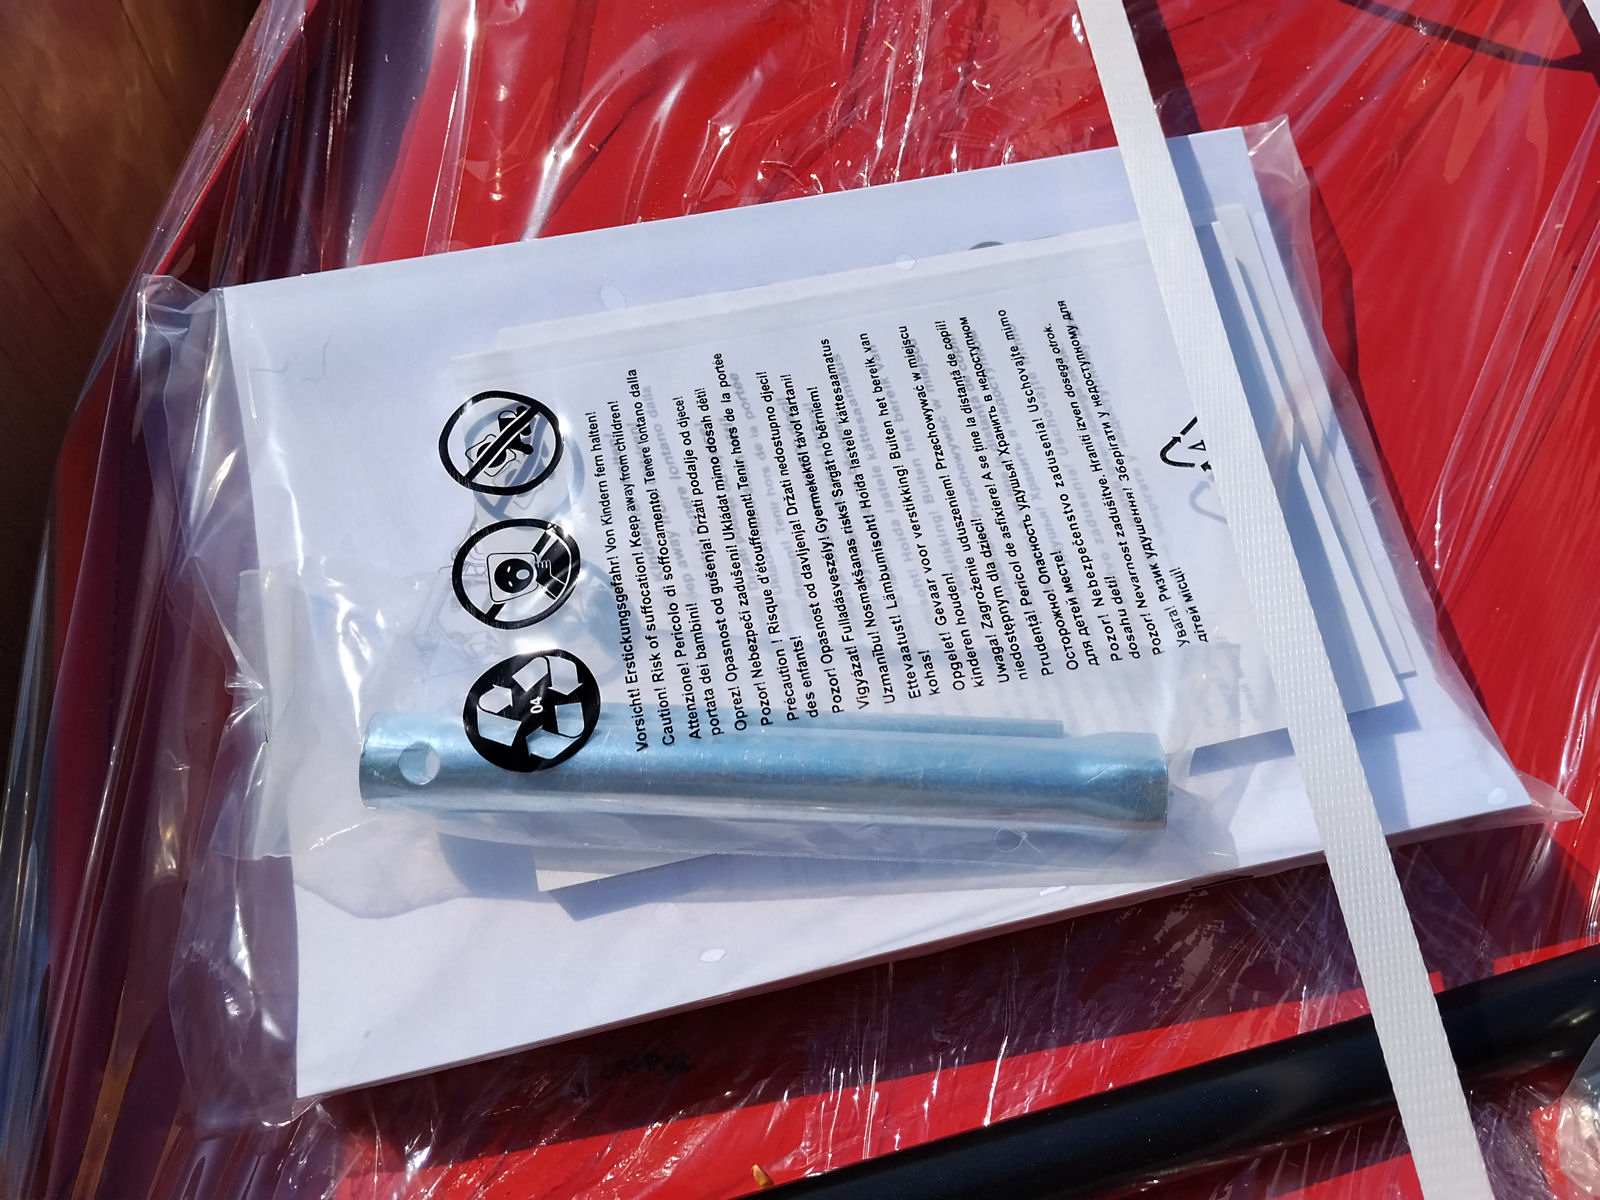
But there was just one snag. Setting the robot up was, let’s just say, more error-prone and more complicated than I’d reckoned for. And it took several days, the best part of a week actually, with Whatsapp messages going backwards and forwards between me and China. However, I eventually I found my way through the maze of instructions in the ‘user manual’ that in the usual Chinese way somehow omitted the ‘how to’ details of several of the crucial steps in the set-up process.
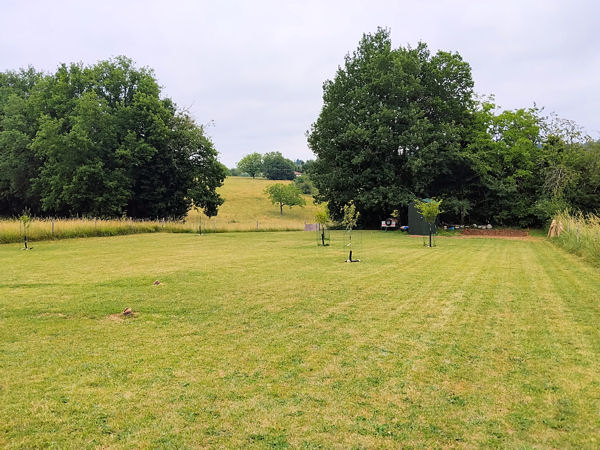
But I did it, albeit with several more days lost, and the robot began to do its job and pretty well too. In fact I have to say that I’ve never seen my weed-infested apologies for lawns looking as good as they do after a few days of Isward the robot quietly humming to himself as he rolled up and down and back and forth in my garden seemingly enjoying the job of keeping the grass and weeds under control while I did other things.


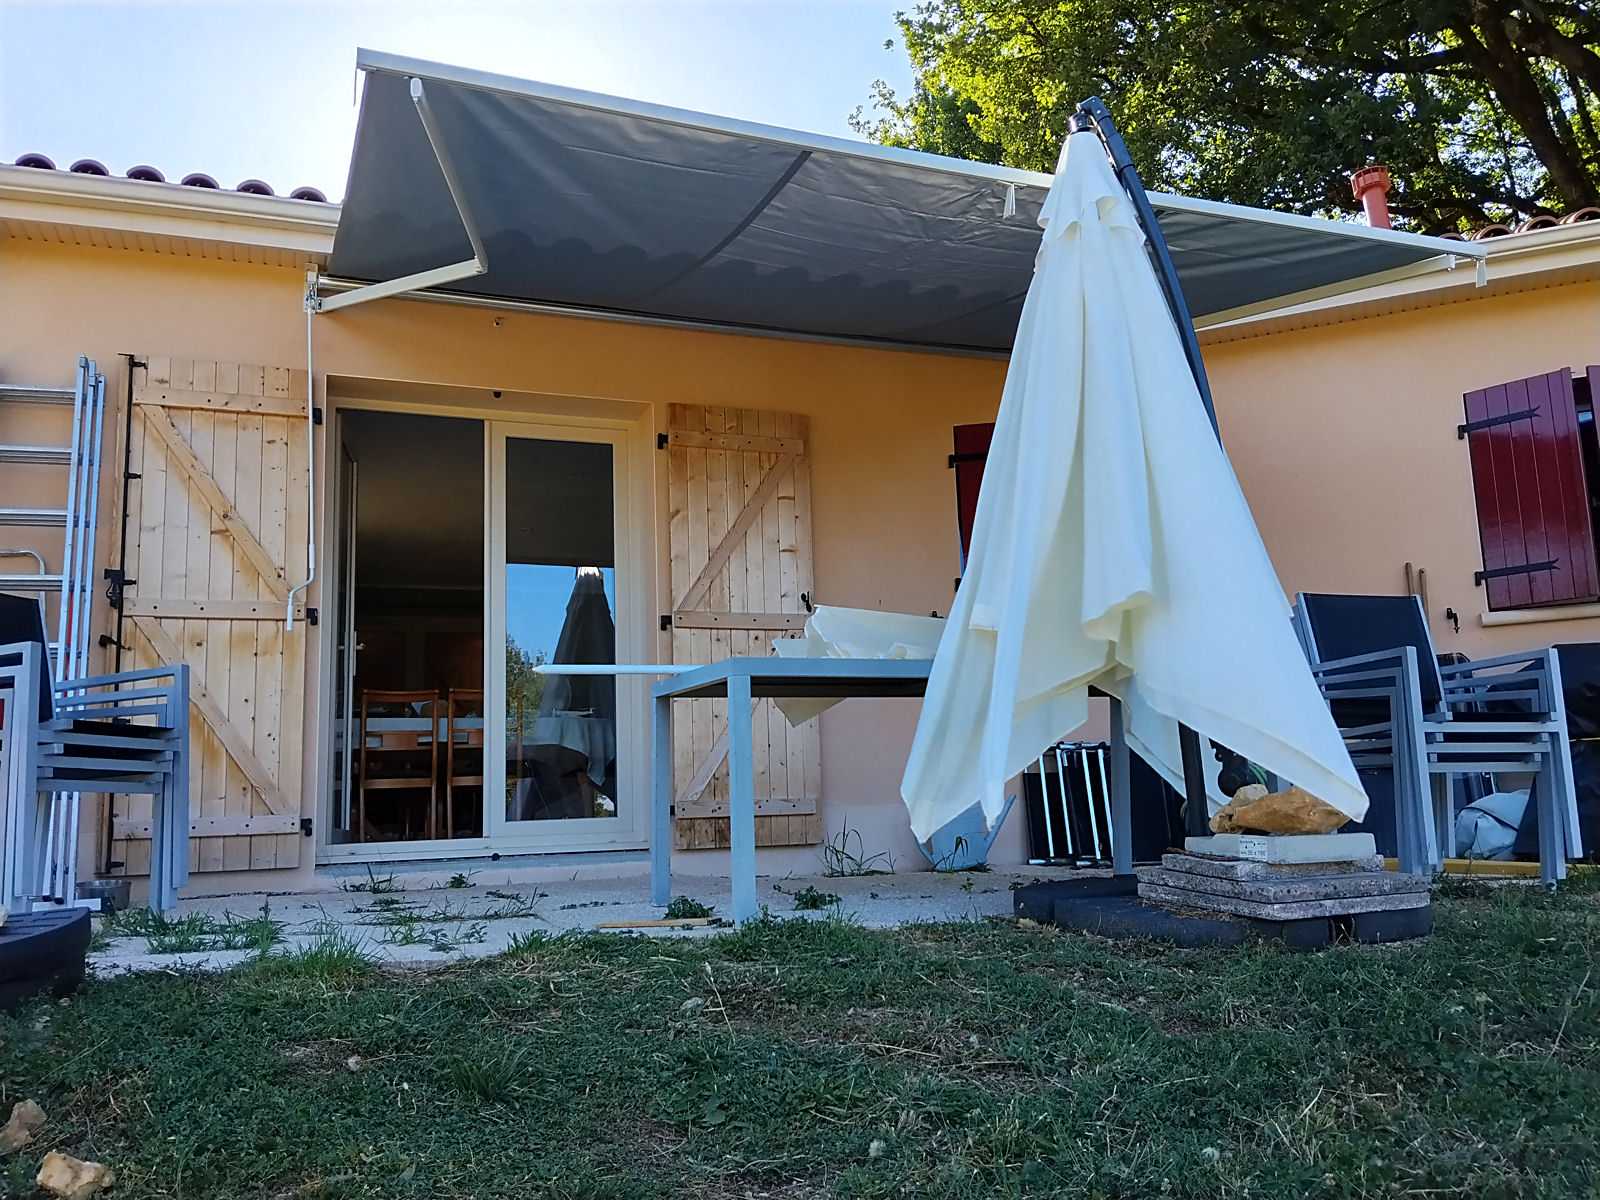
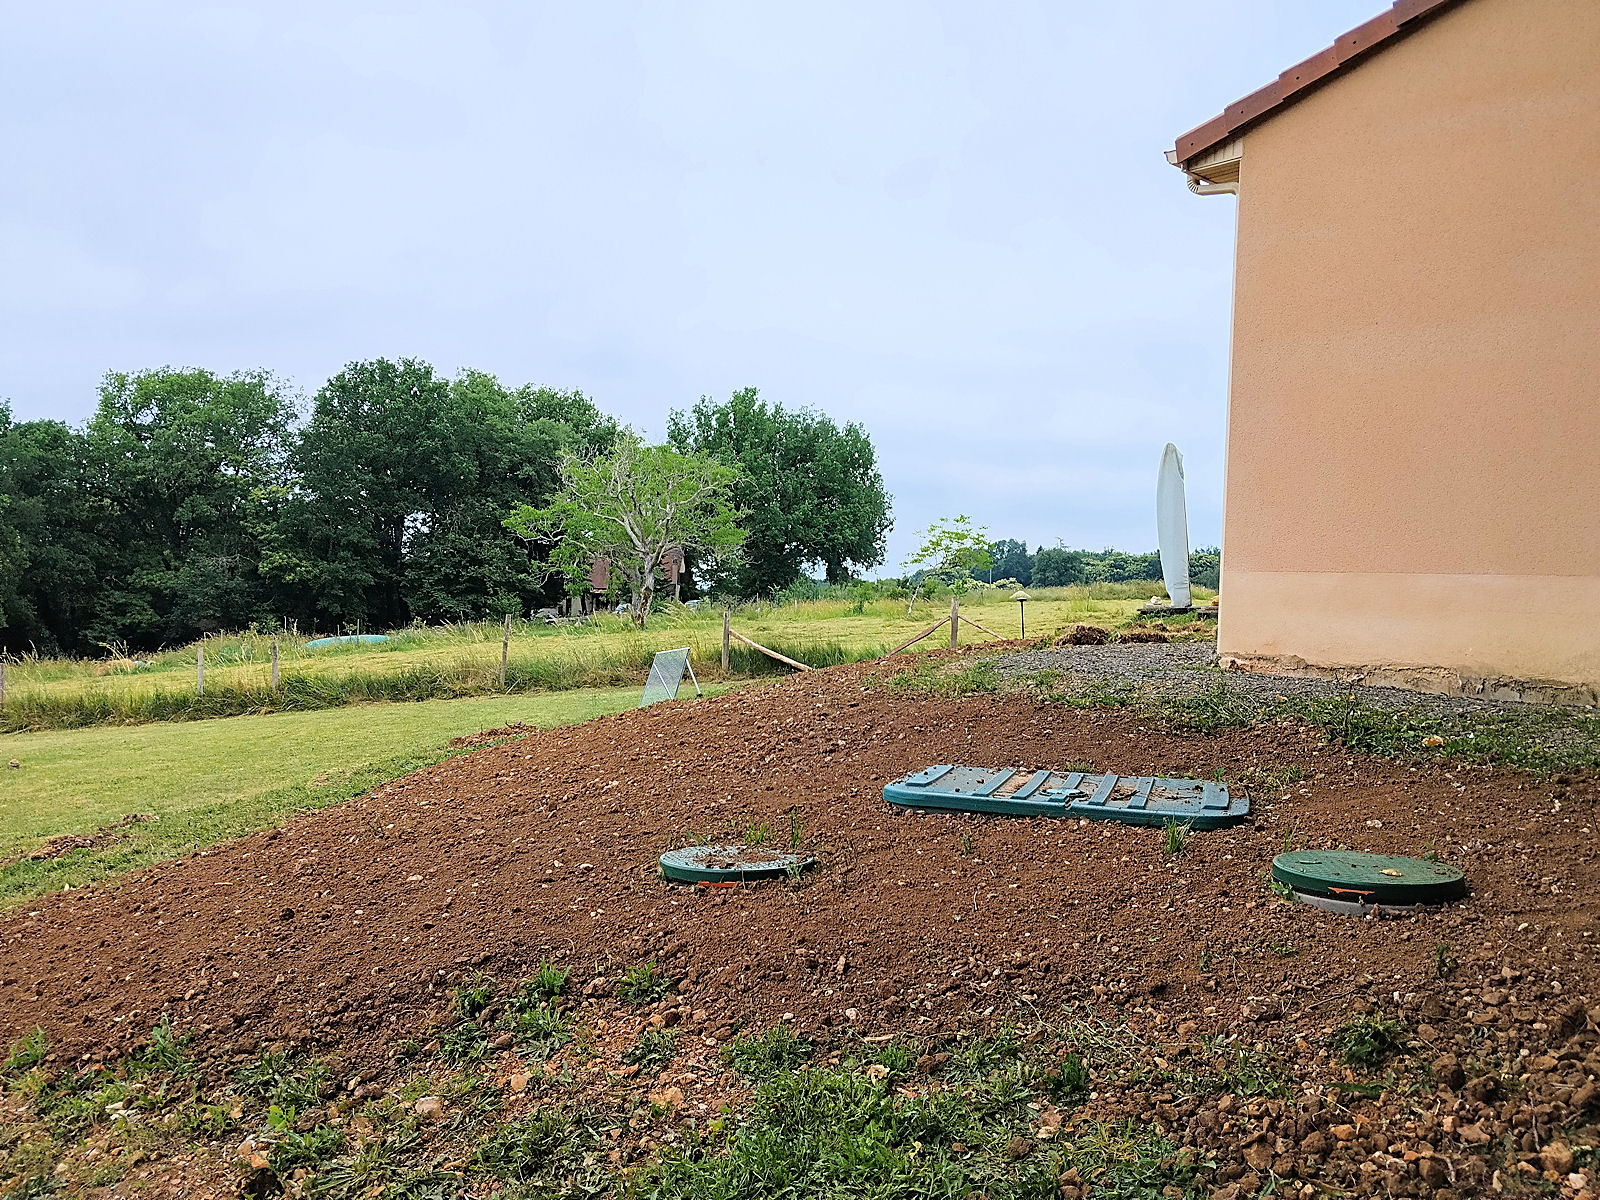
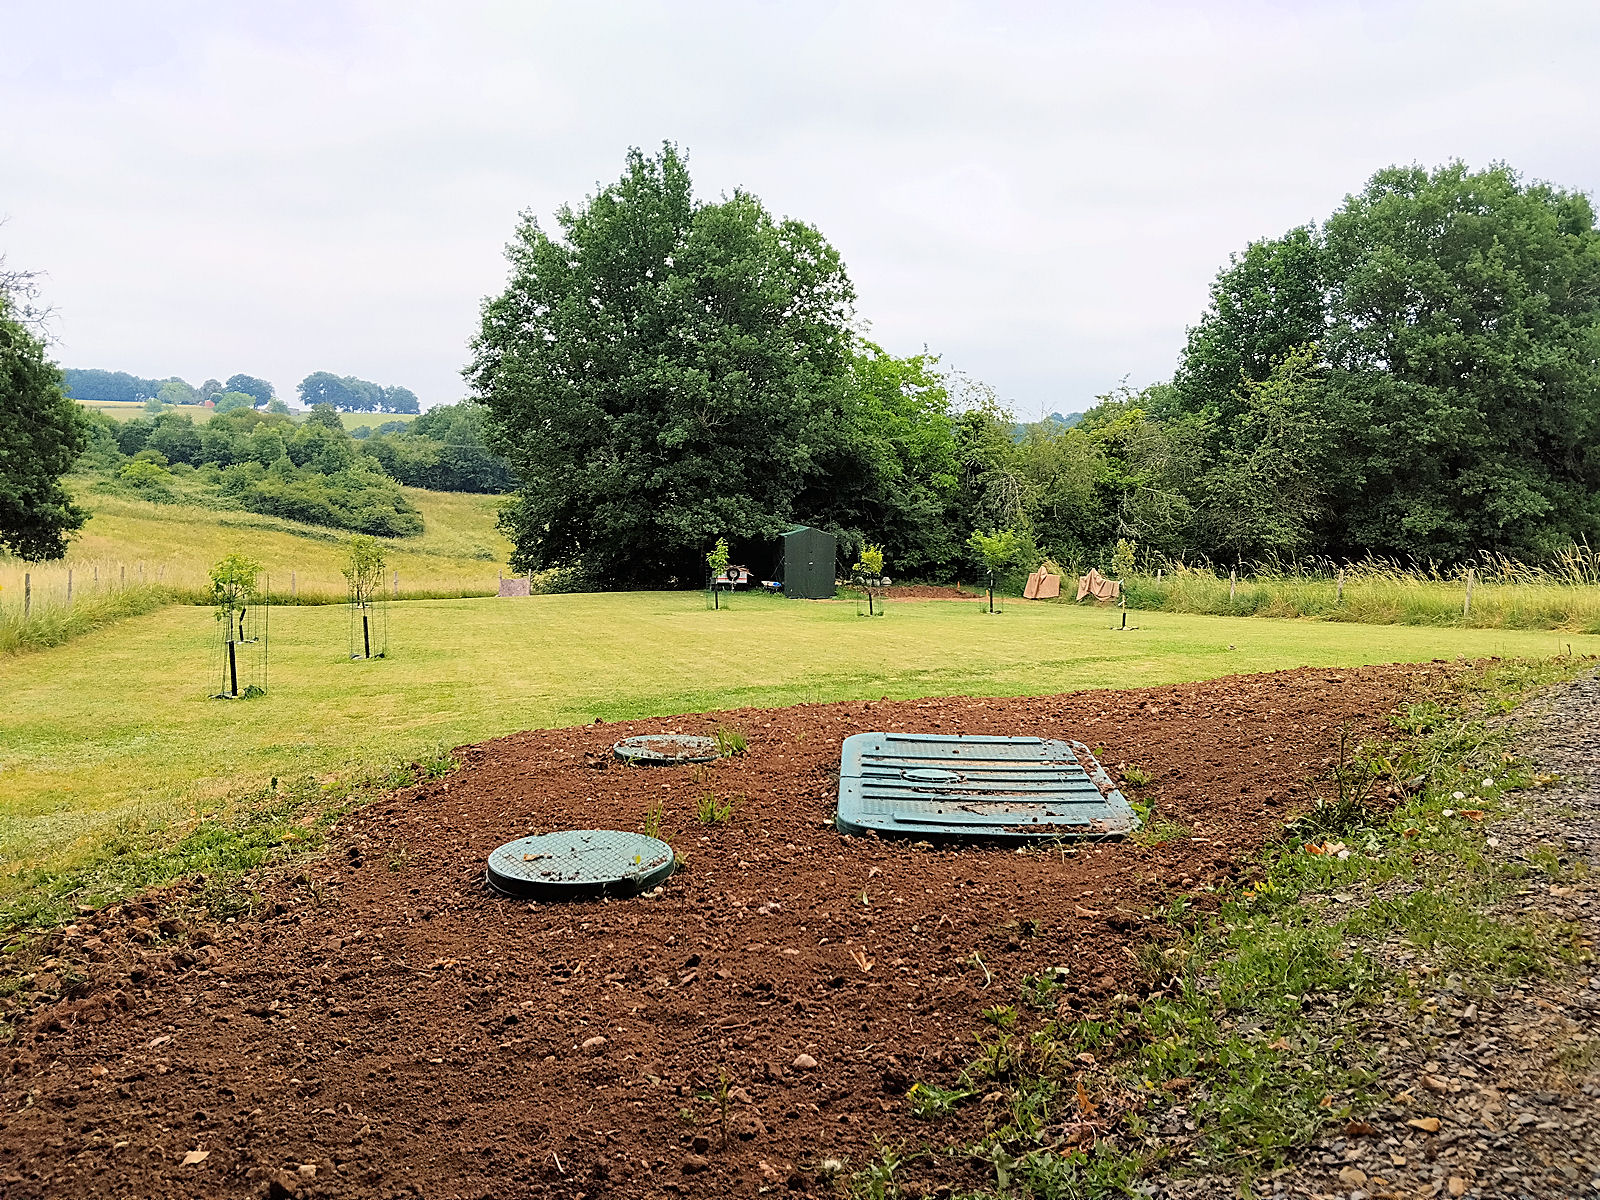
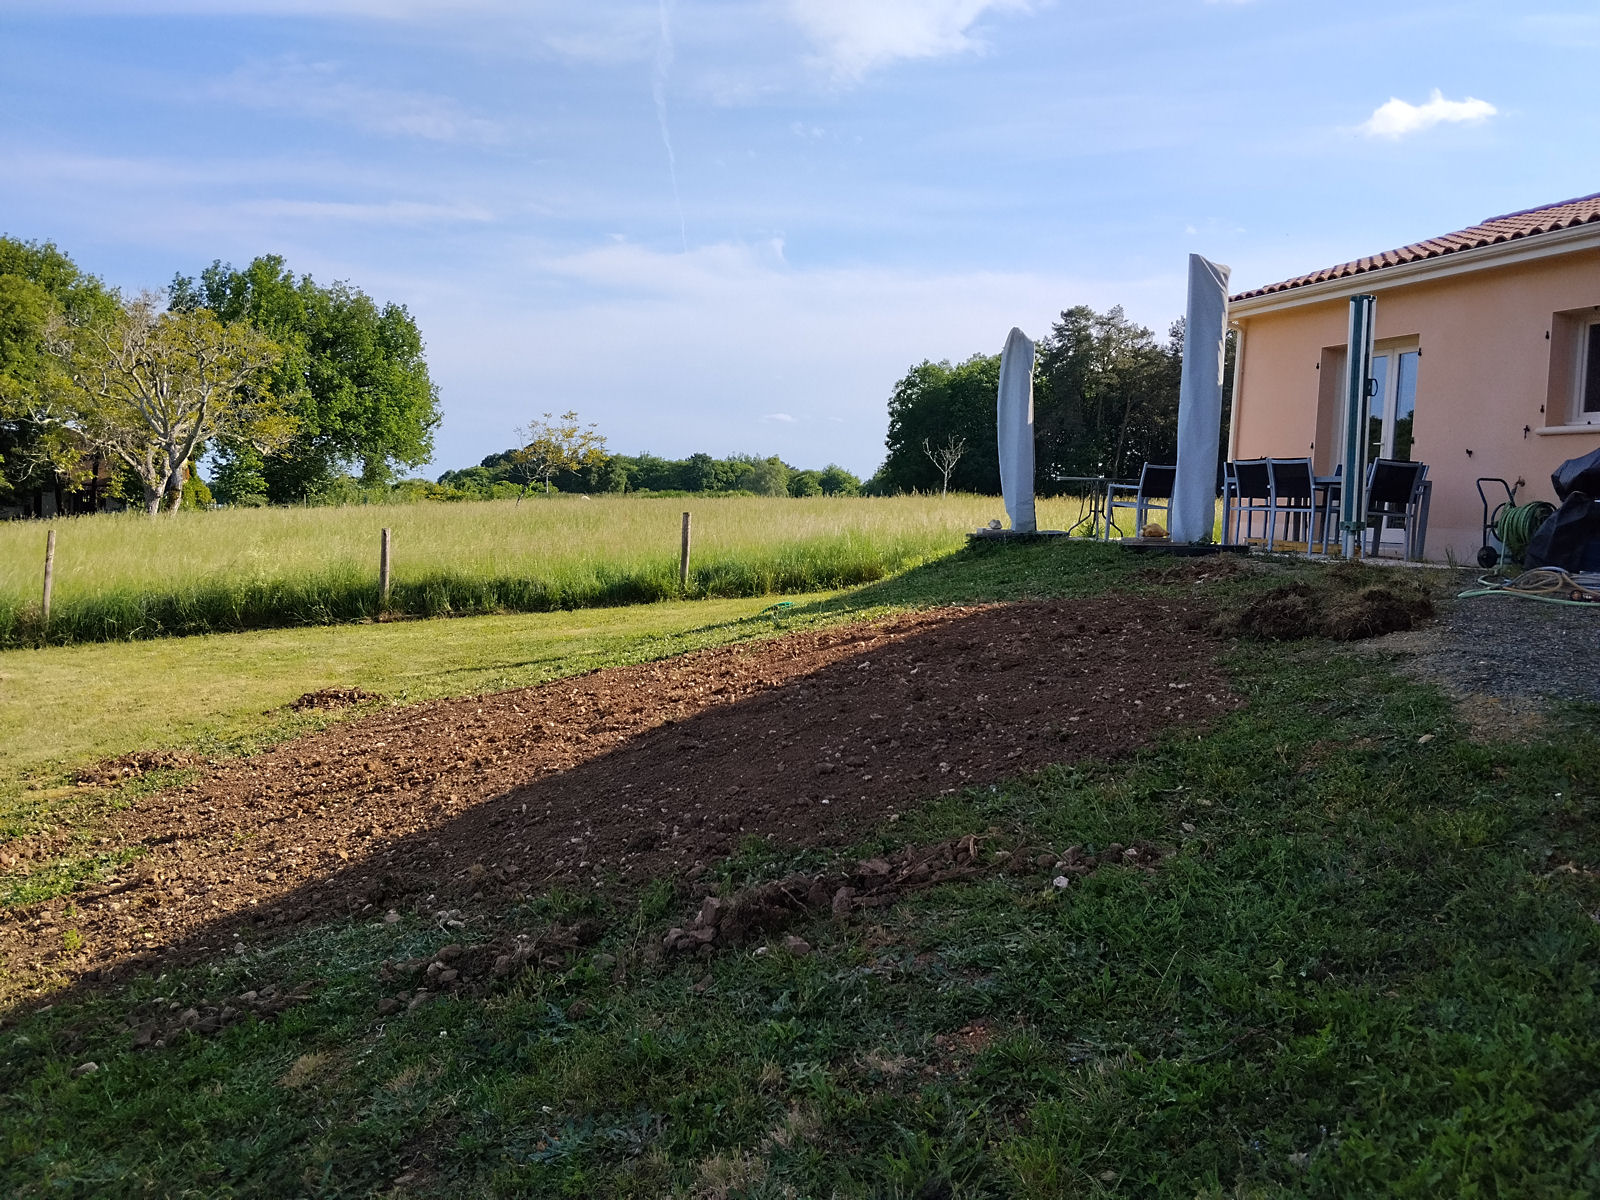
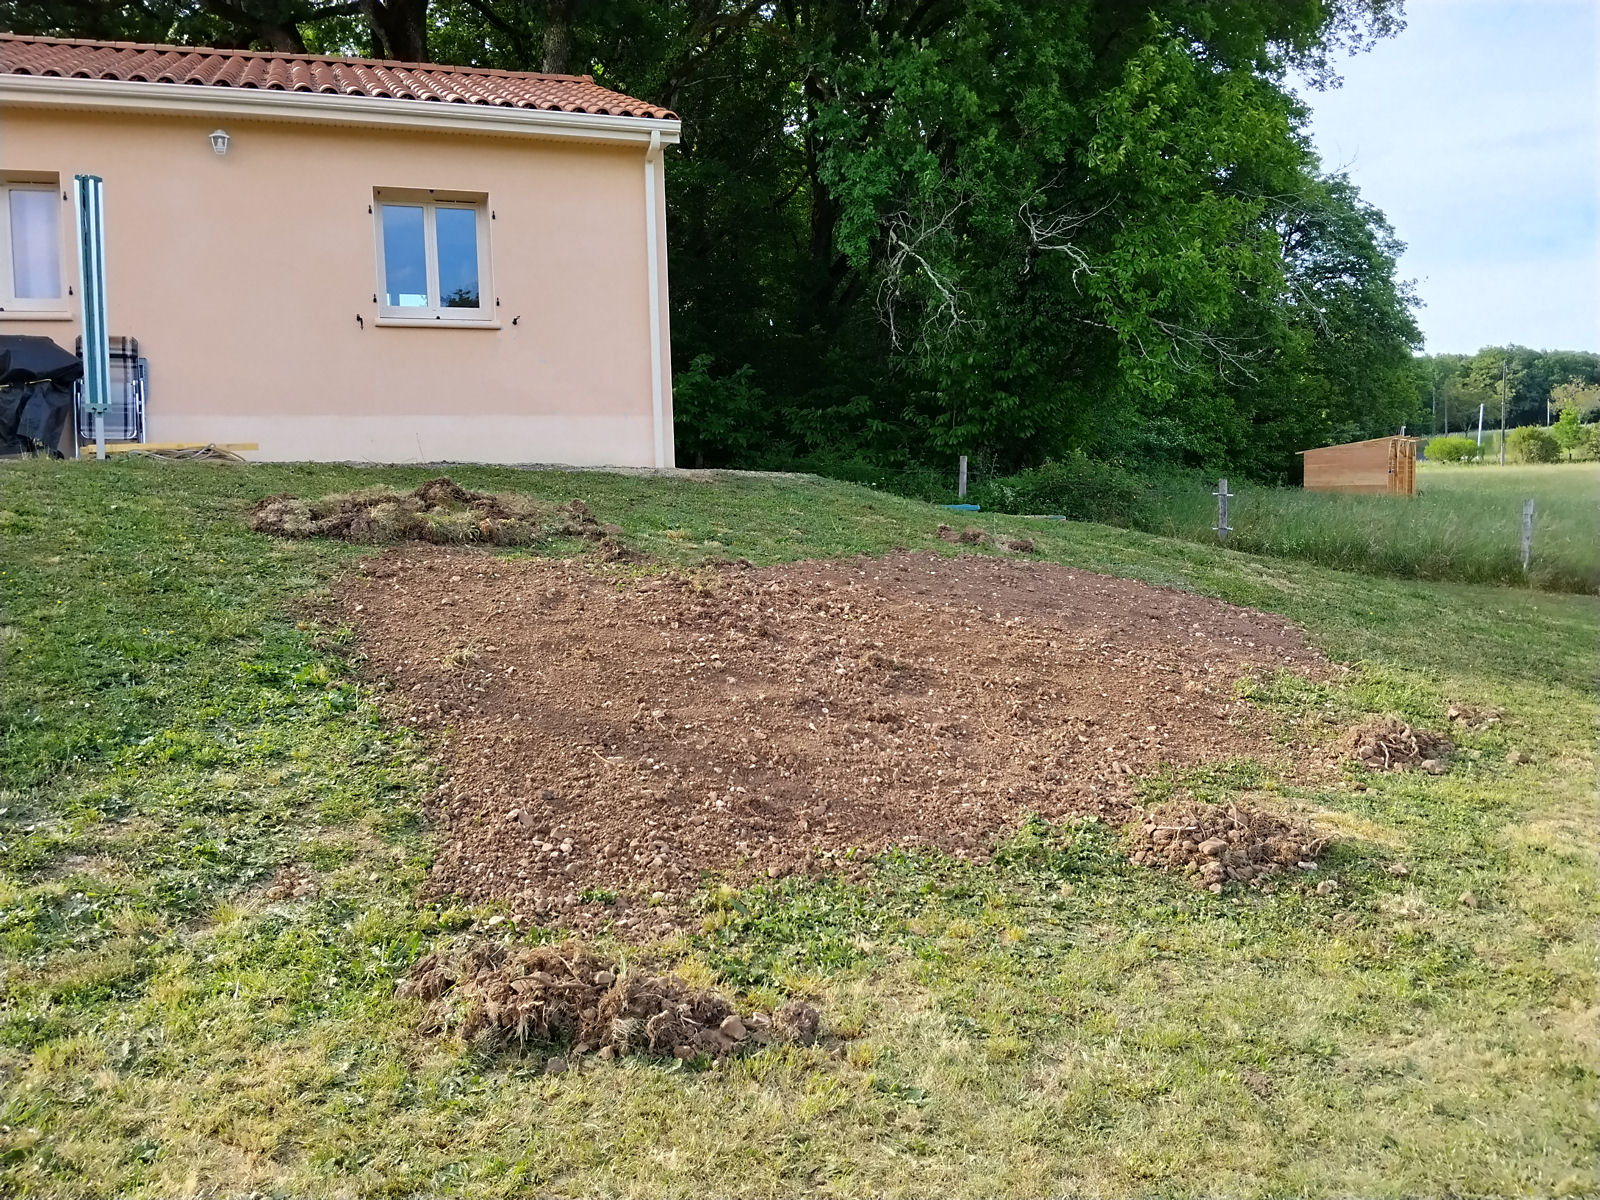
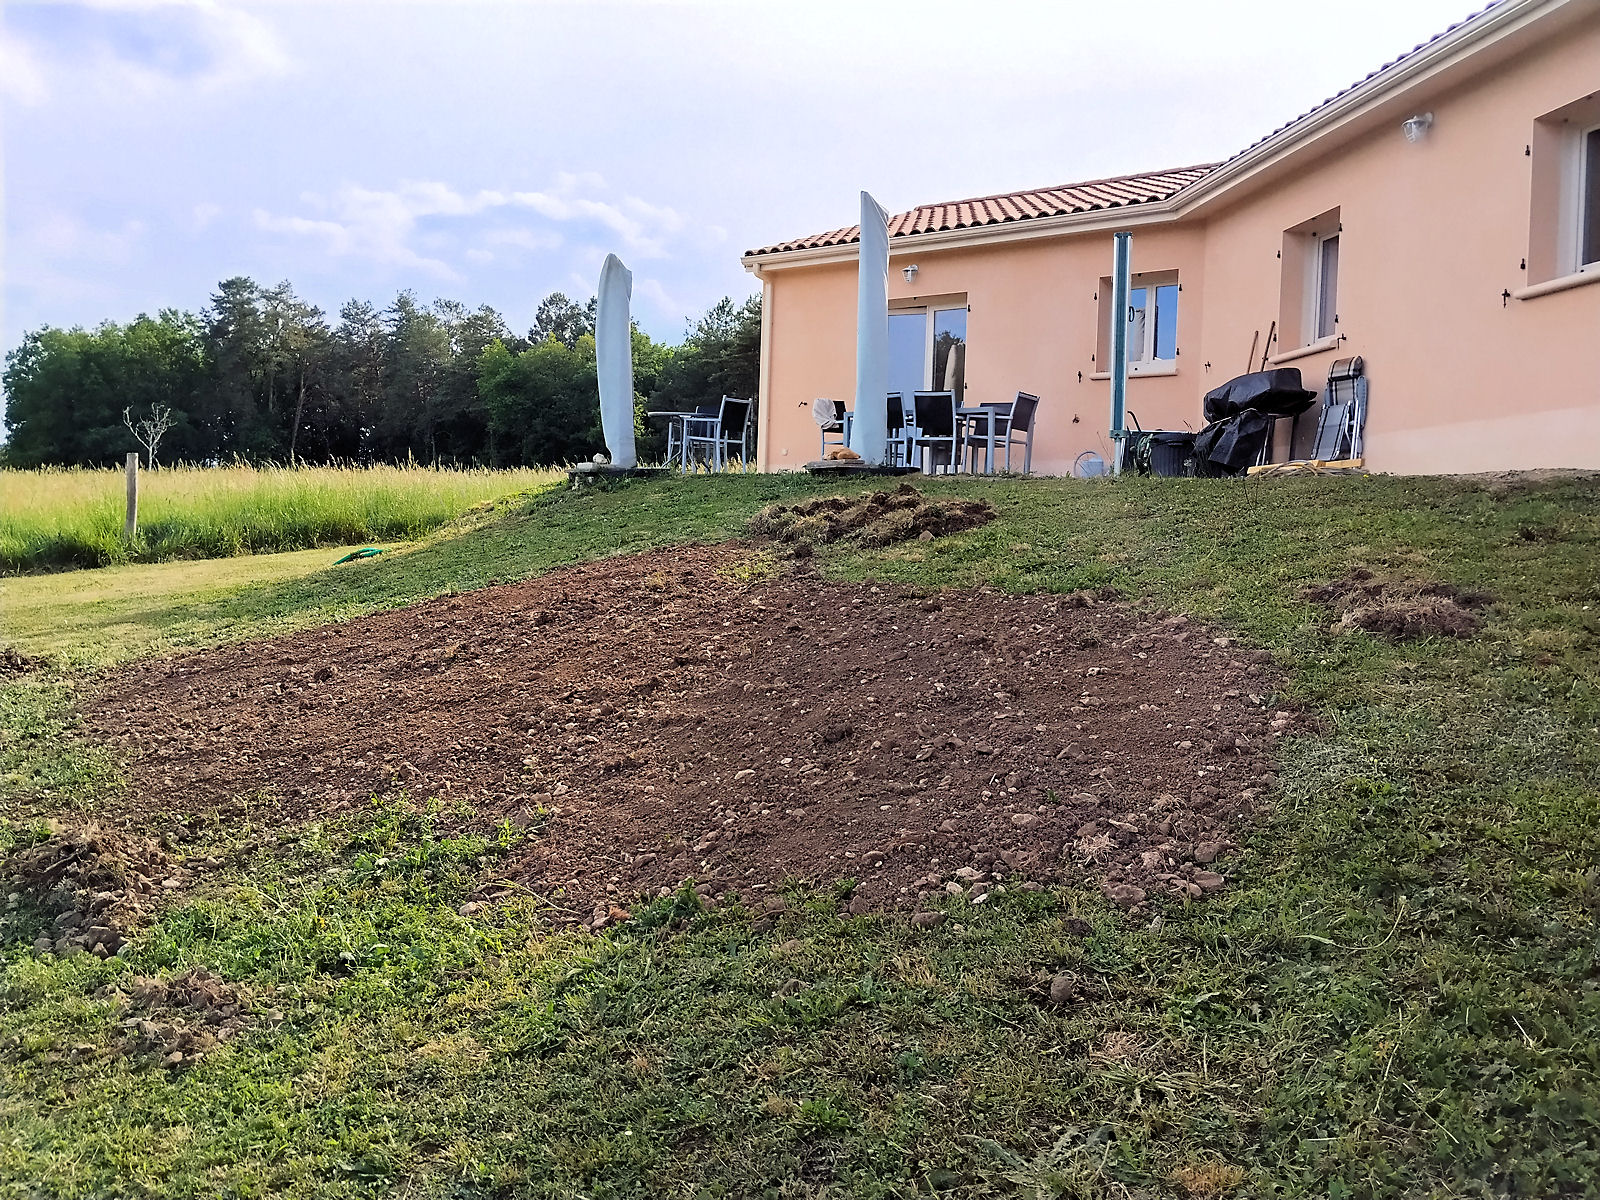
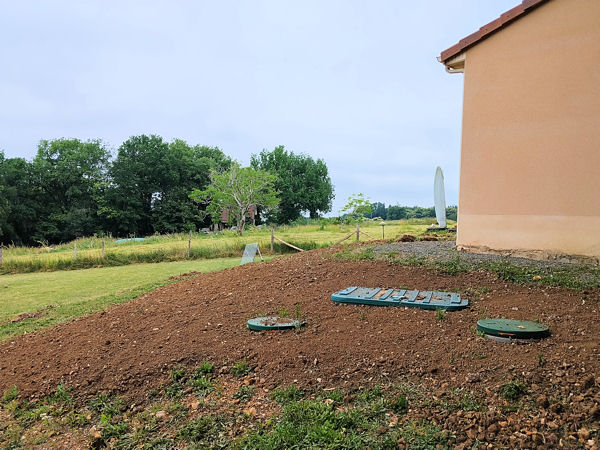
I’m especially pleased with the area close to my house’s northern wall where the septic tank is sited. The contractor placed it closer to the house than I would have liked making the spaces between the house and the septic tank covers rather steep. However, I’m succeeding in resolving the problem by building it up using earth brought up from the excavation and although it’s not yet finished, I think that eventually it’ll be possible to get a mower or strimmer around the area in question.
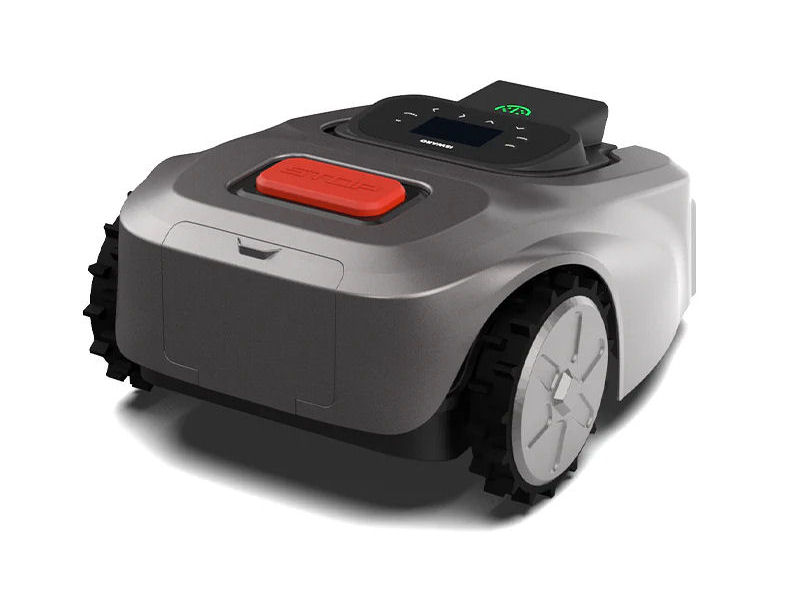
OK, so now if I put my tooth problem to one side I can concentrate solely on my garden? Unfortunately not. The day before yesterday while I was clearing more brush and scrub away from the corner of the garden where I’m excavating the base for tool store I noticed that Isward hadn’t moved for a while so went to investigate. It turned out that he’s expired. Not dead exactly but mortally wounded by a technical fault that couldn’t be cleared even after many attempts at doing so.
I followed the instructions of customer services explicitly but it transpires that a servo motor controlling the height of the cutting blades has failed. They apologised profusely for wasting yet more of my time and promised to send me a brand new replacement machine, together with yet four more replacement blades as a goodwill gift. This is already on its way from Germany but in the meantime before it arrives lawn mowing has come to a halt and I only hope that the grass doesn’t grow too long again requiring me to mow it manually.
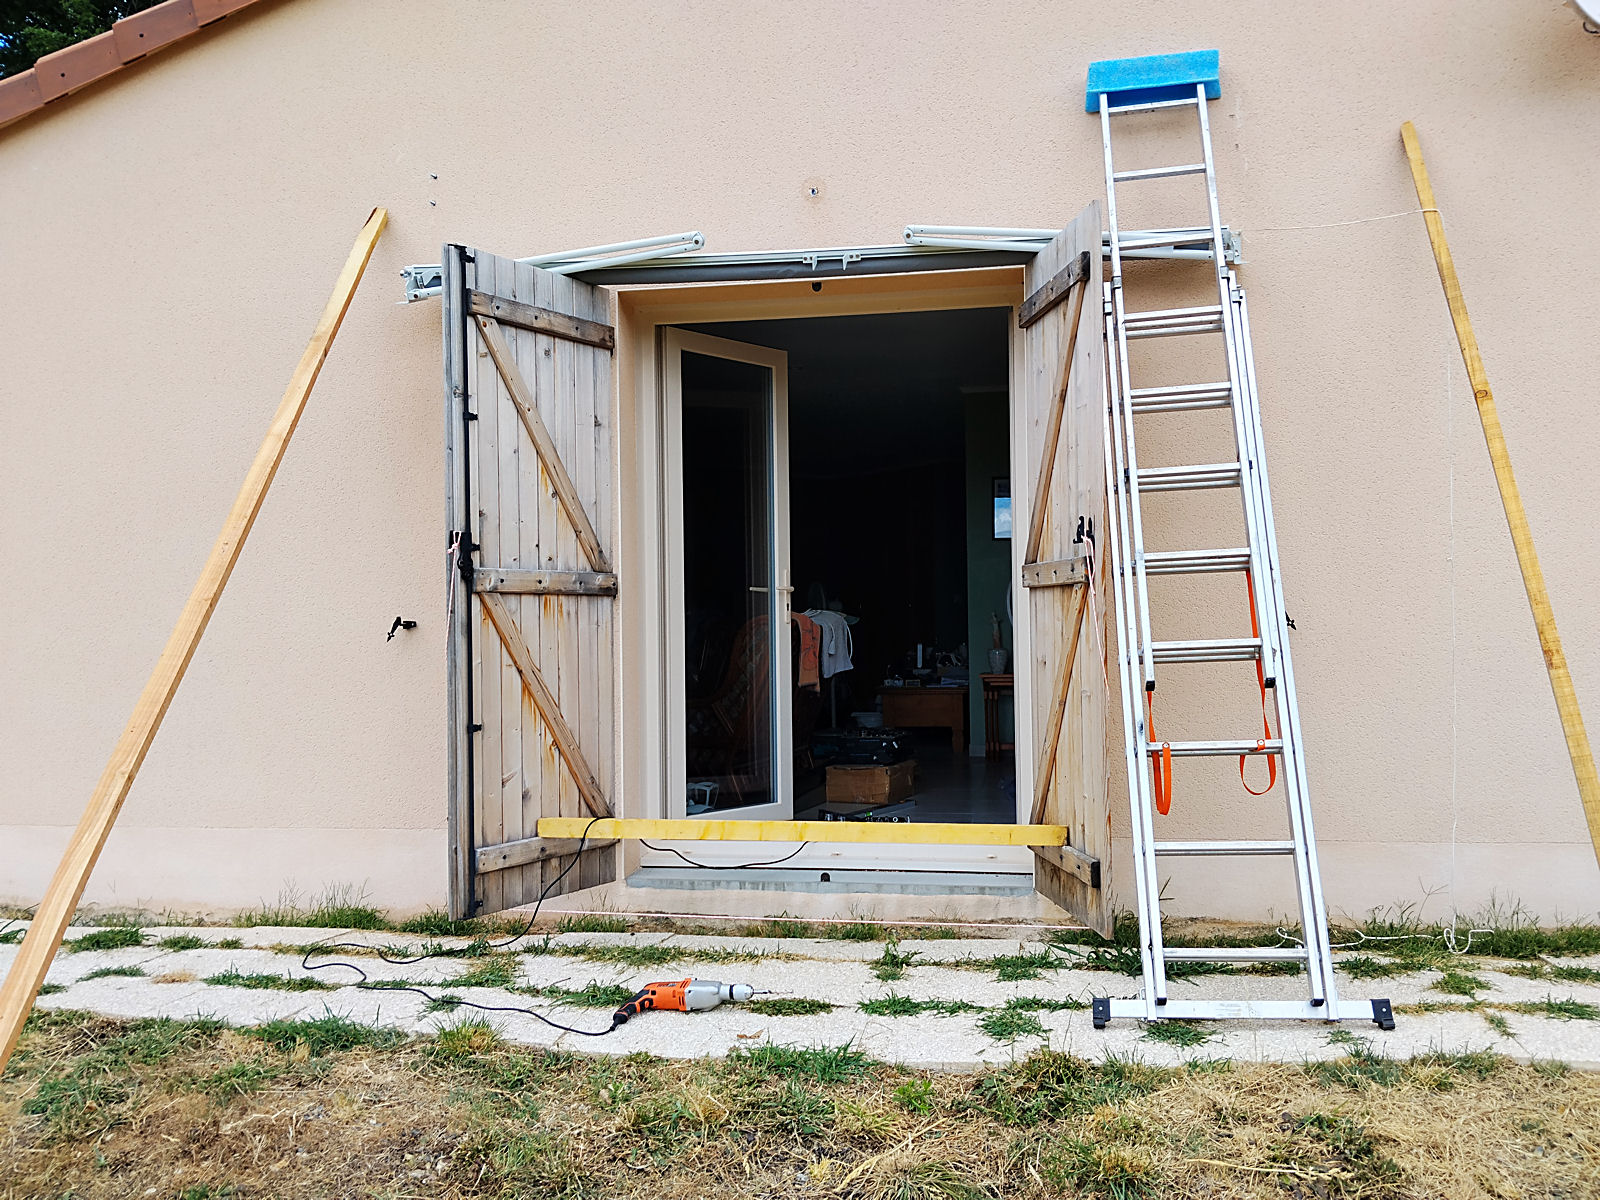
So back to uninterrupted excavating then? No, dammit! Just as I thought I’d be able to my computer has broken down. I’m writing this on my slow old laptop that I can’t continue using as all of my files, photographs and programs that I use are on my main machine. I thought I’d discovered the problem and bought a new network card, but before I could install it (after unpacking it unfortunately) the machine stopped booting up entirely.
I built the machine myself in the caravan while my house was being built so I know it pretty well. I think the problem may be the motherboard, the second most expensive component after the processor so have had to order a replacement. Luckily Amazon had a ‘used’ replacement at less than half price which I’m now waiting to be delivered, but it’s a complex machine and fitting it will involve almost a complete rebuild. My worst fear is that if it’s not the motherboard it’s the power supply. If it is, although it’s still within its 5-year warranty period, I could end up facing yet more delay.
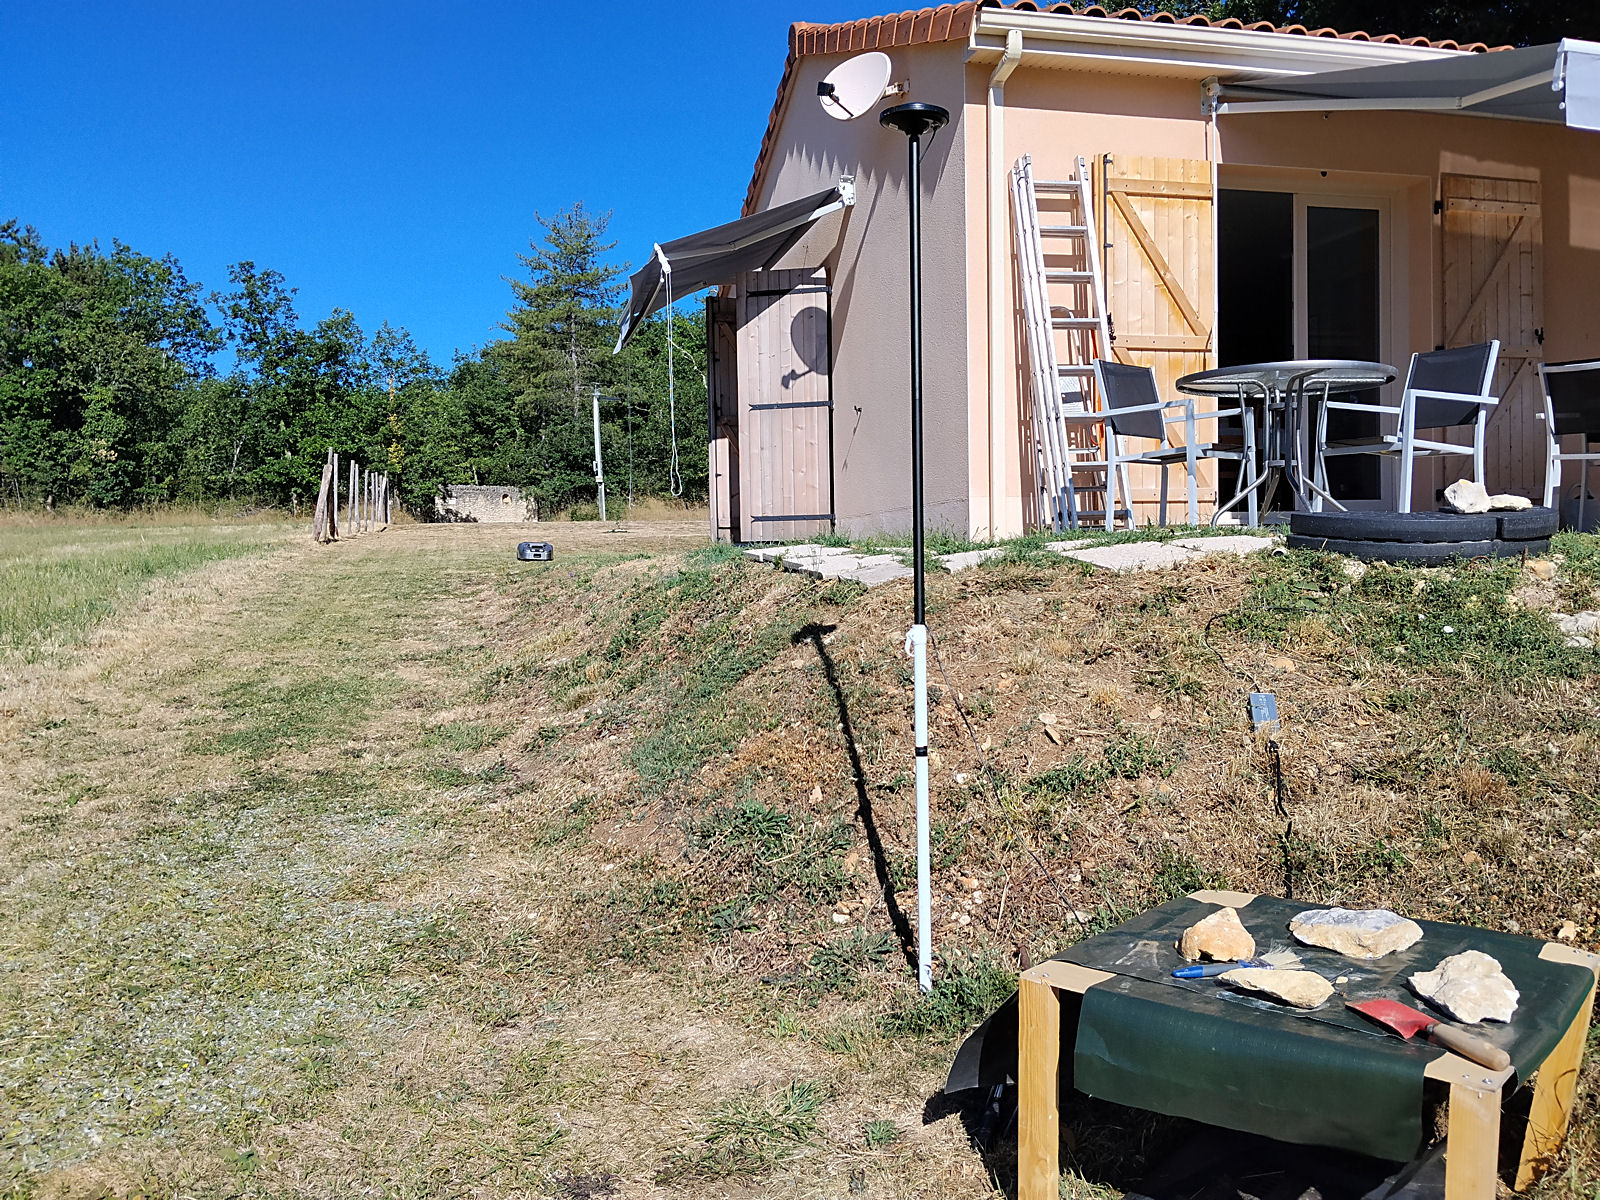
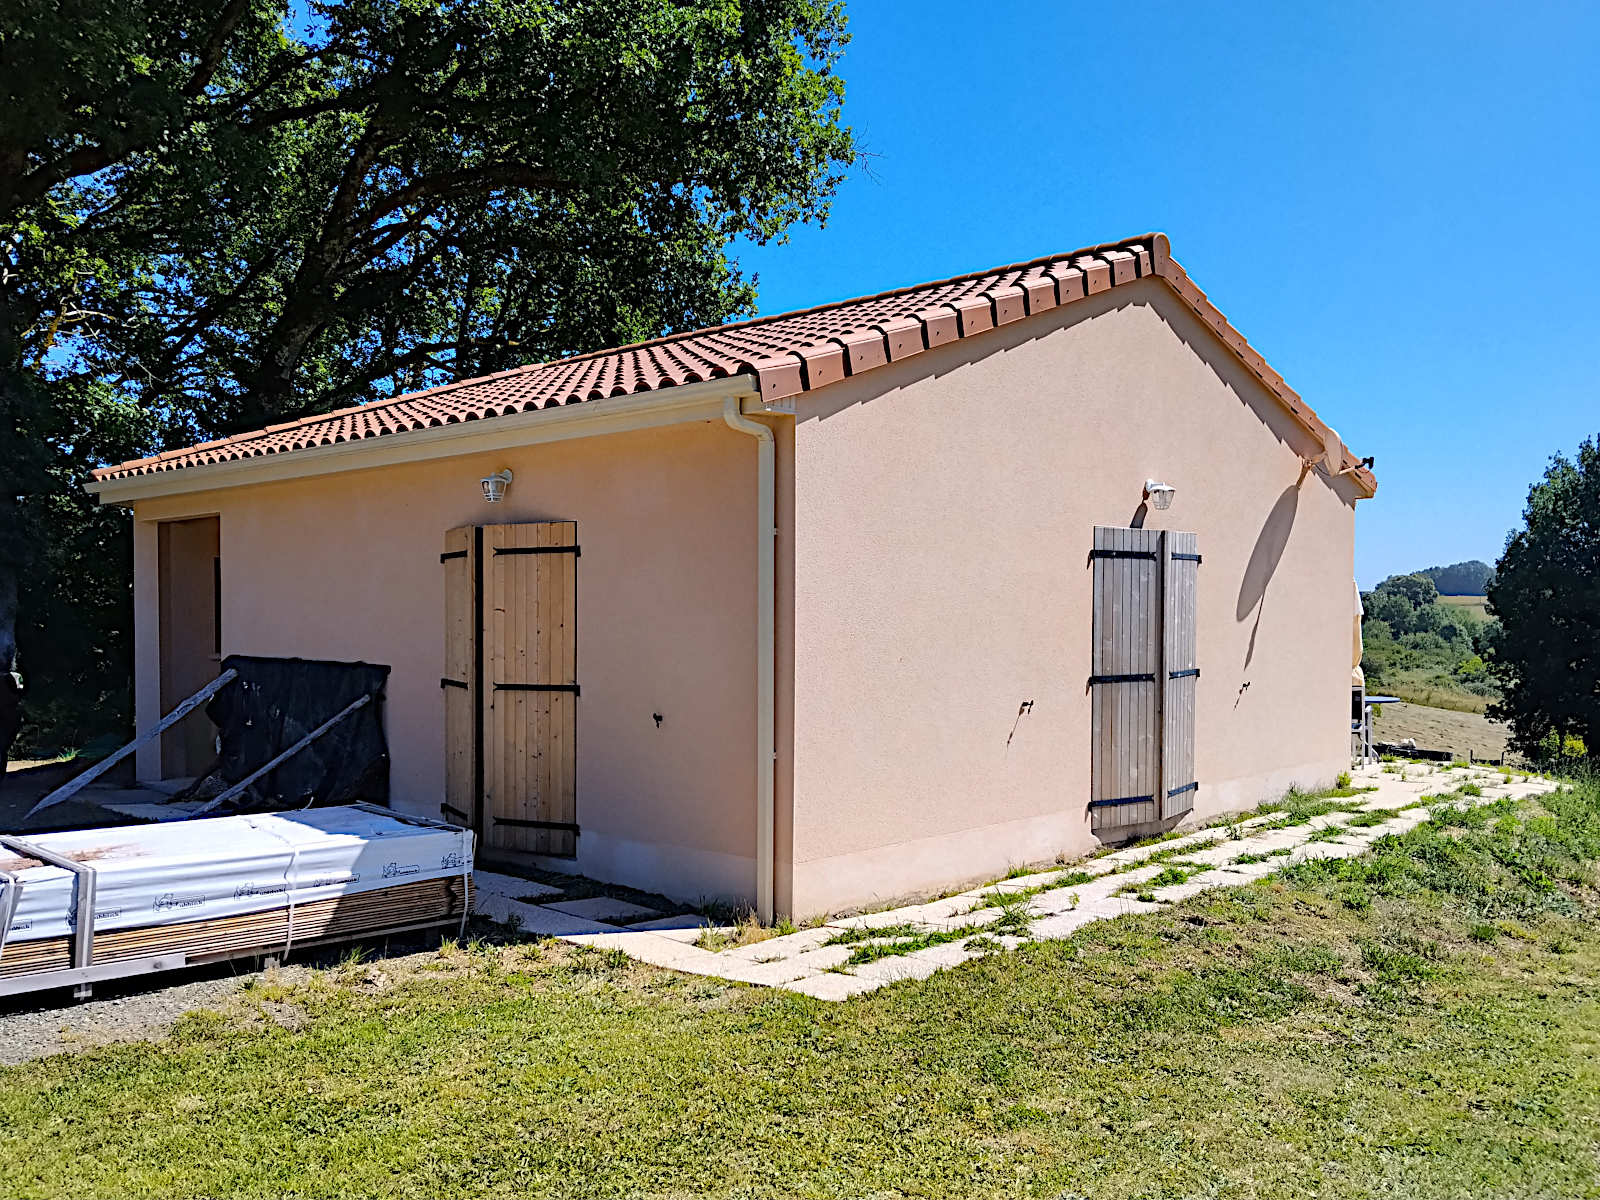
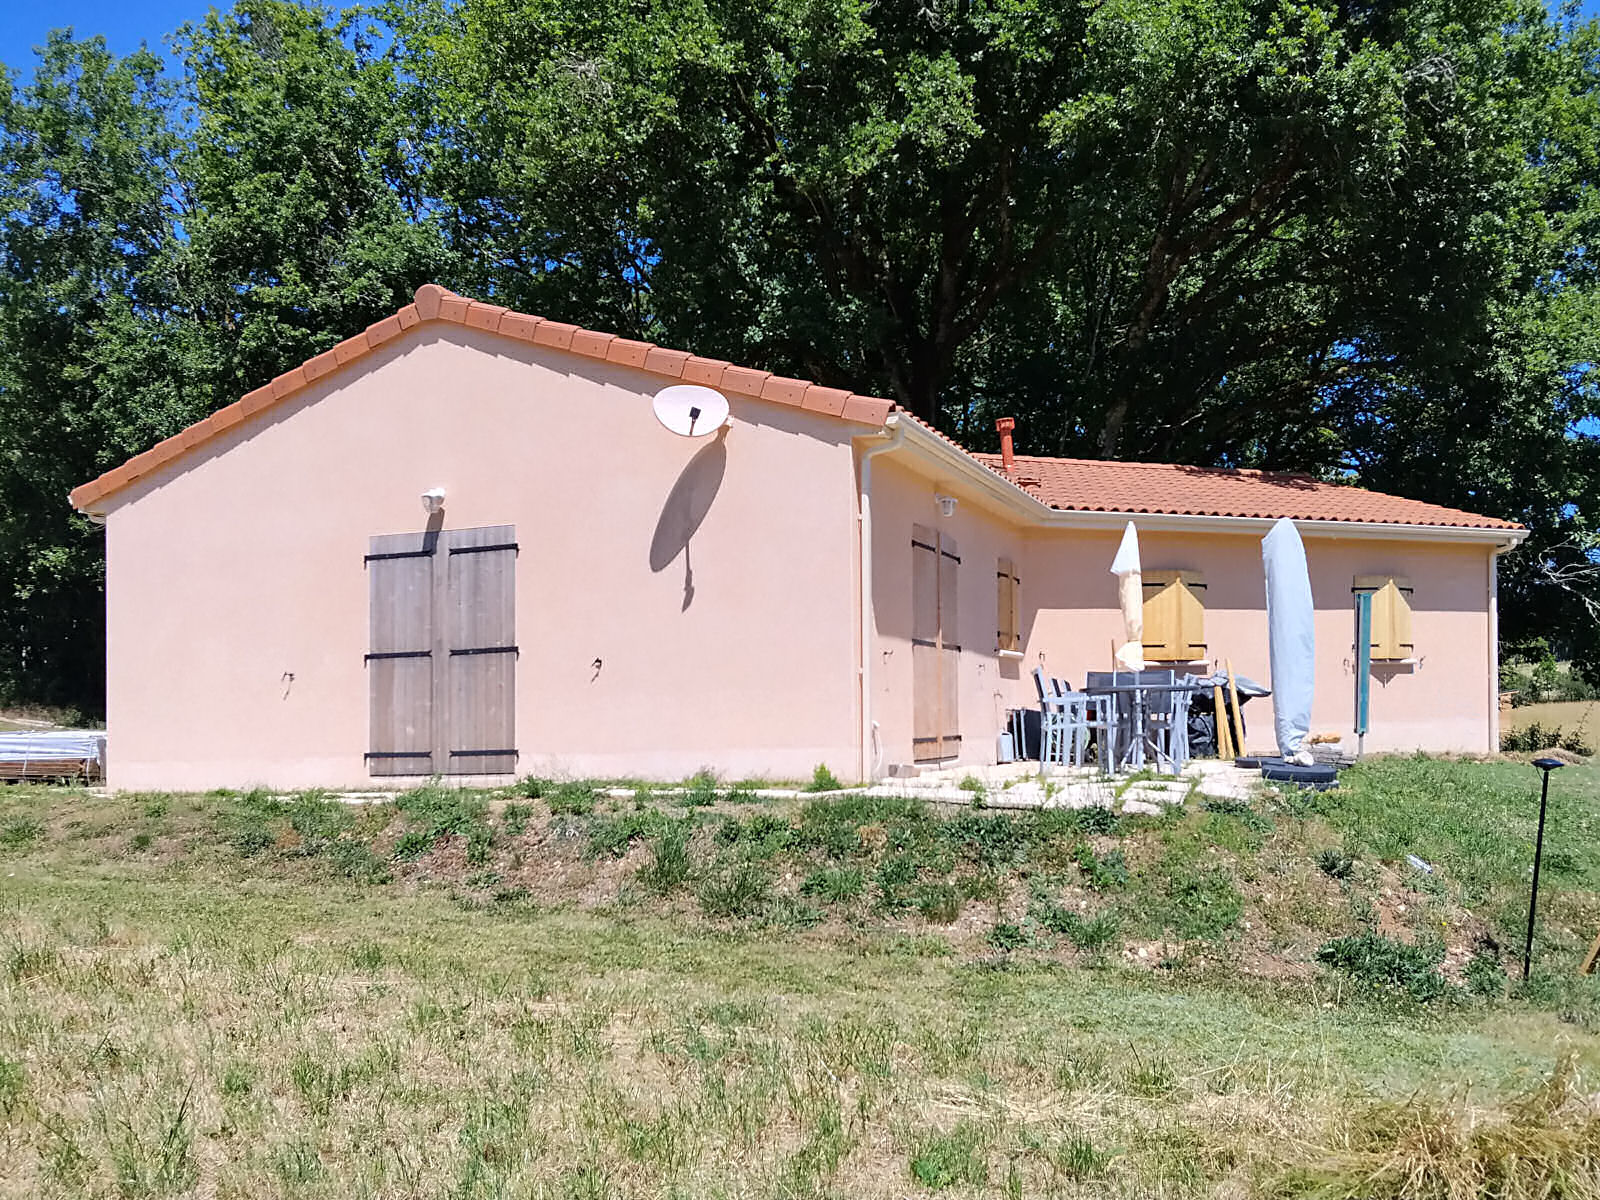
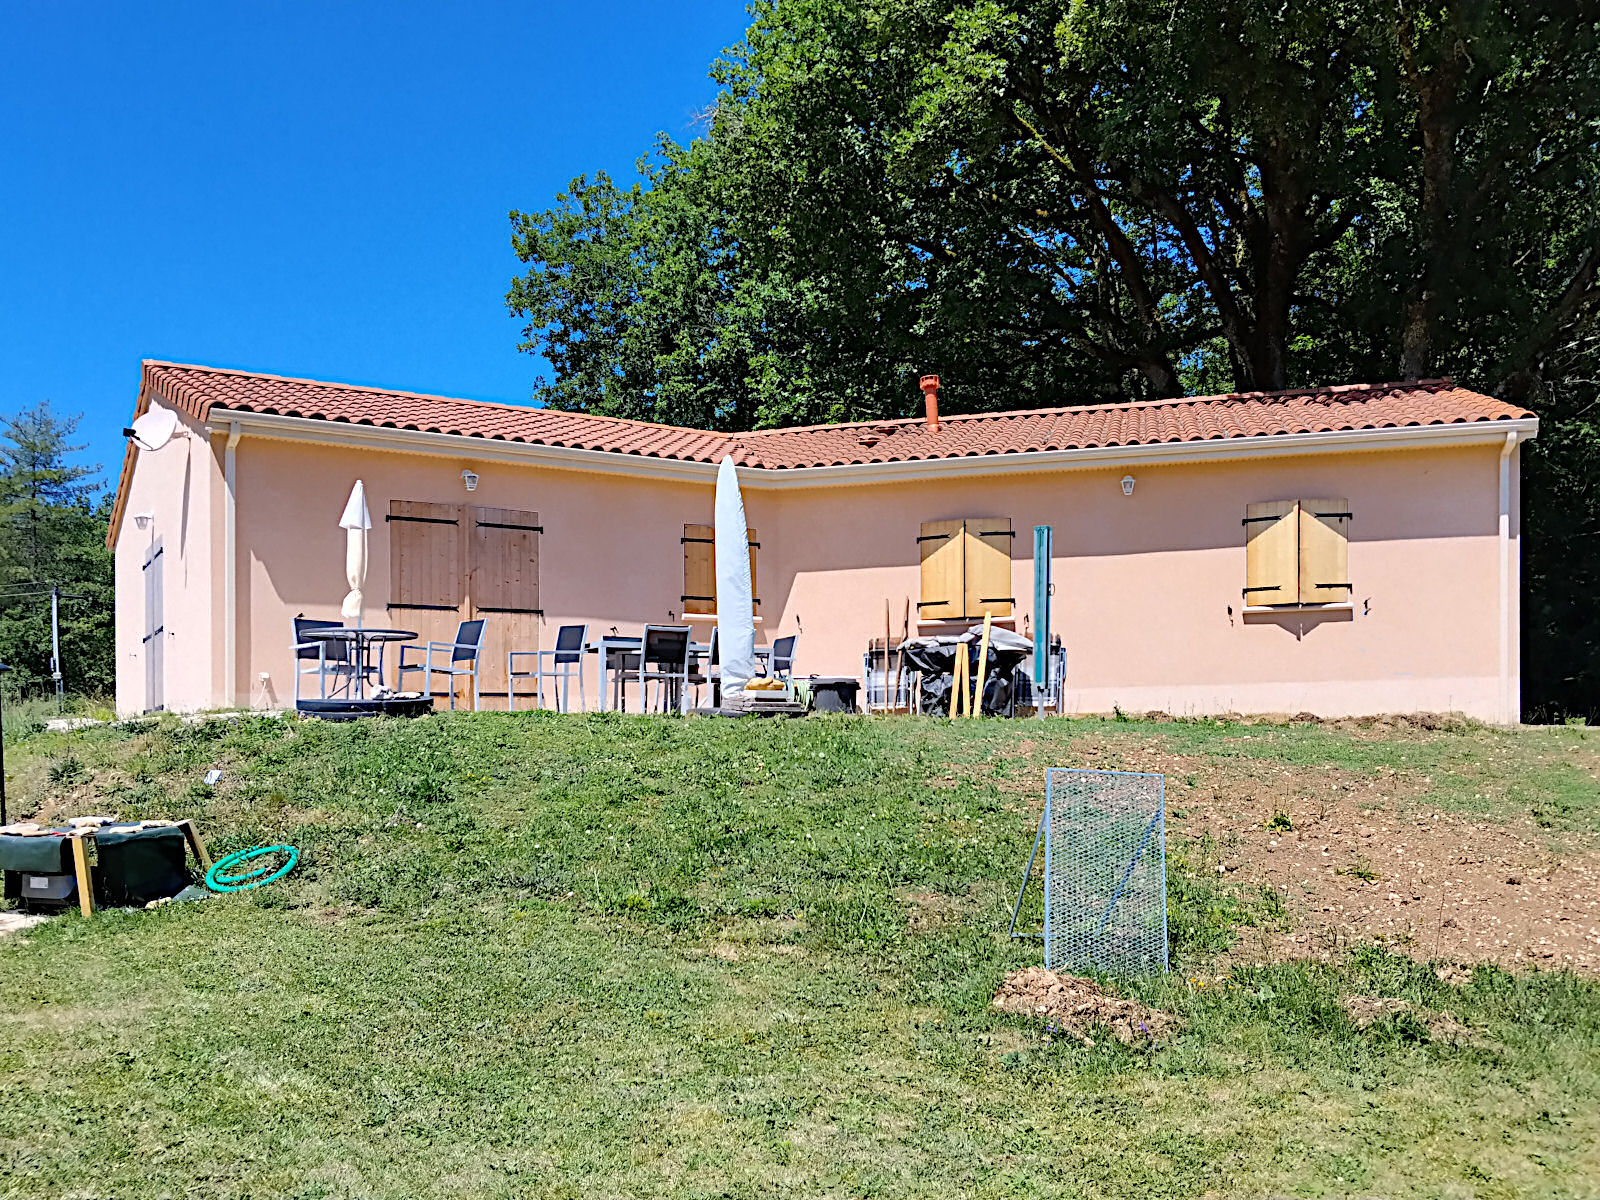
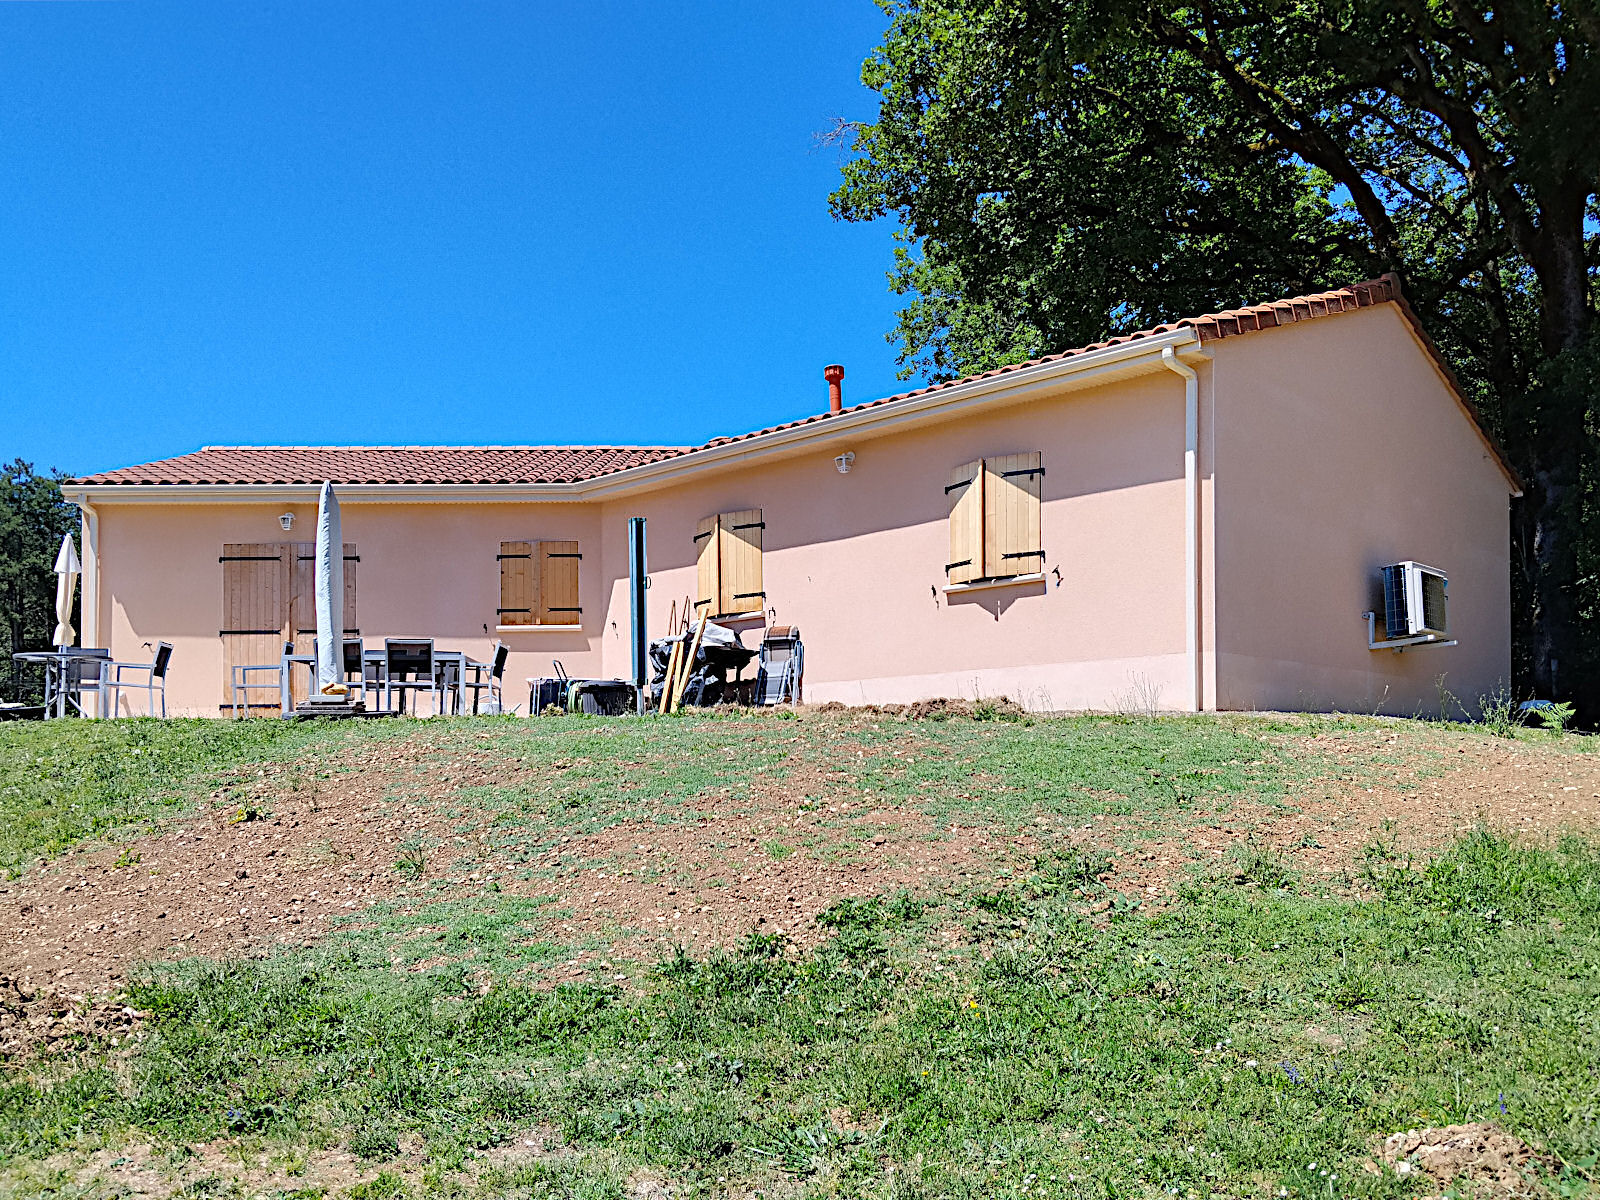
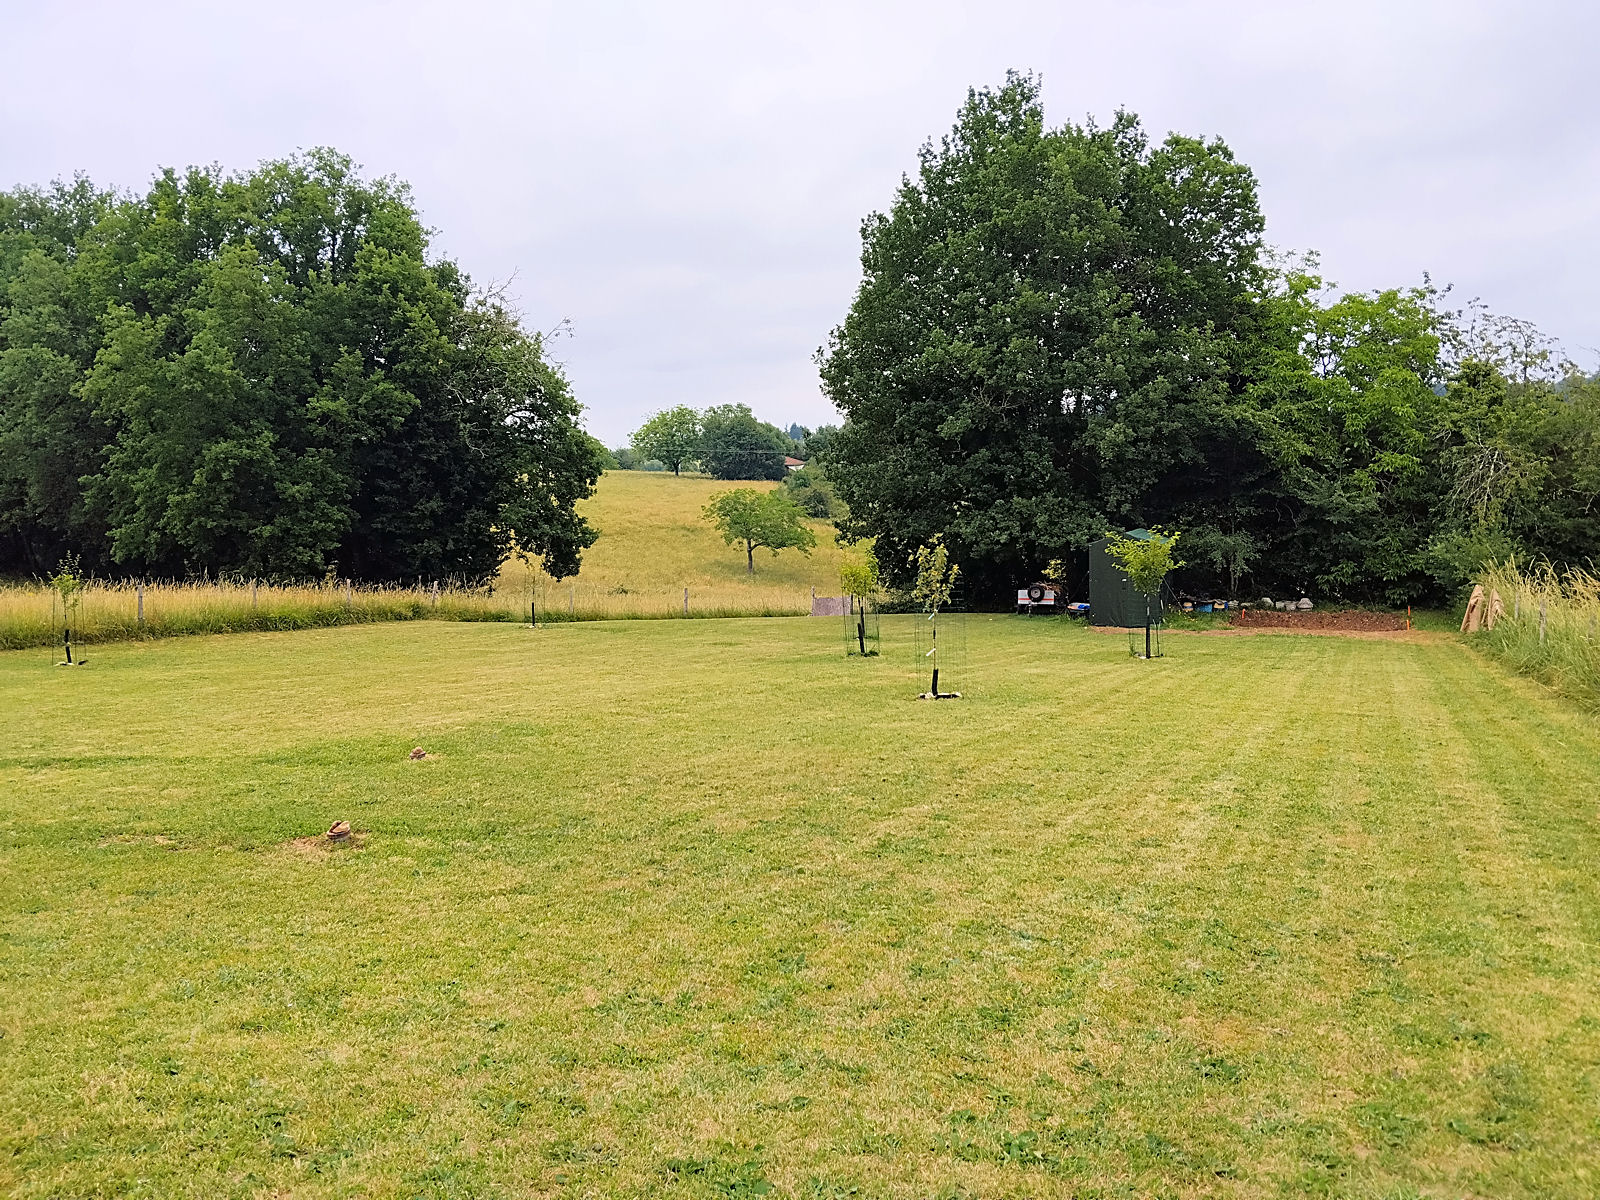
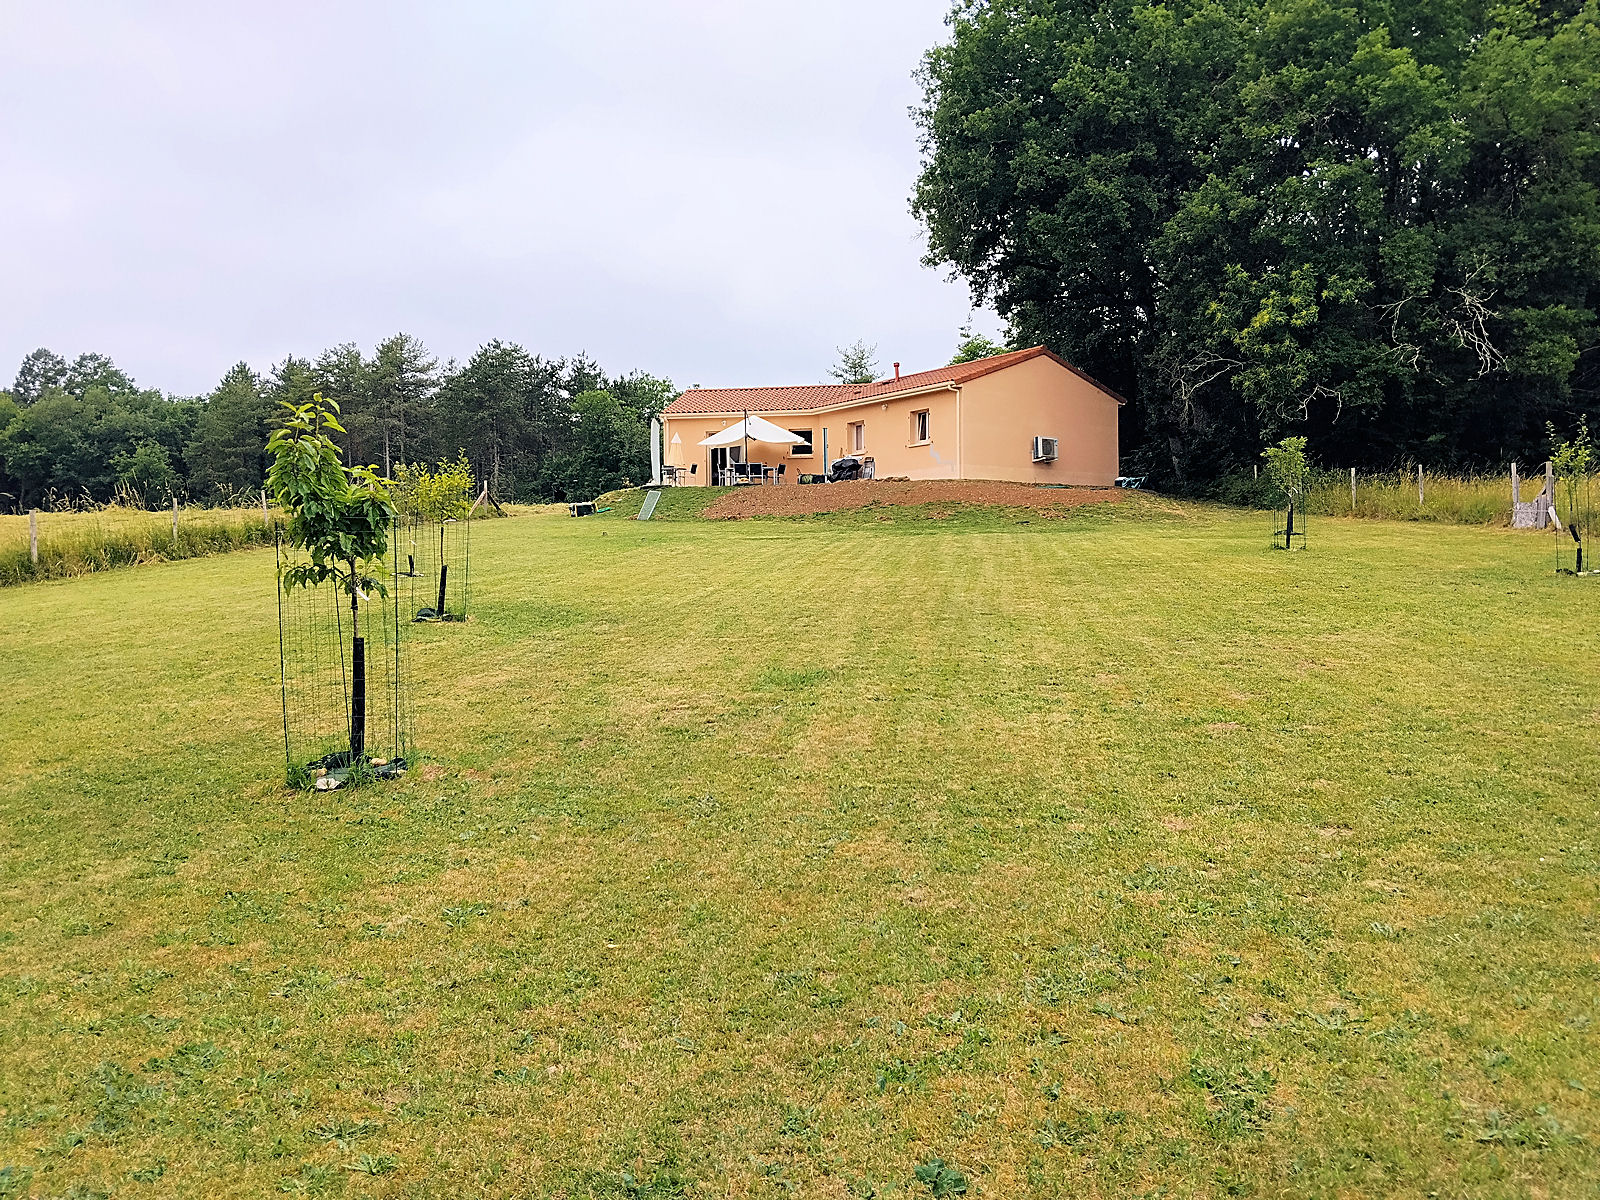
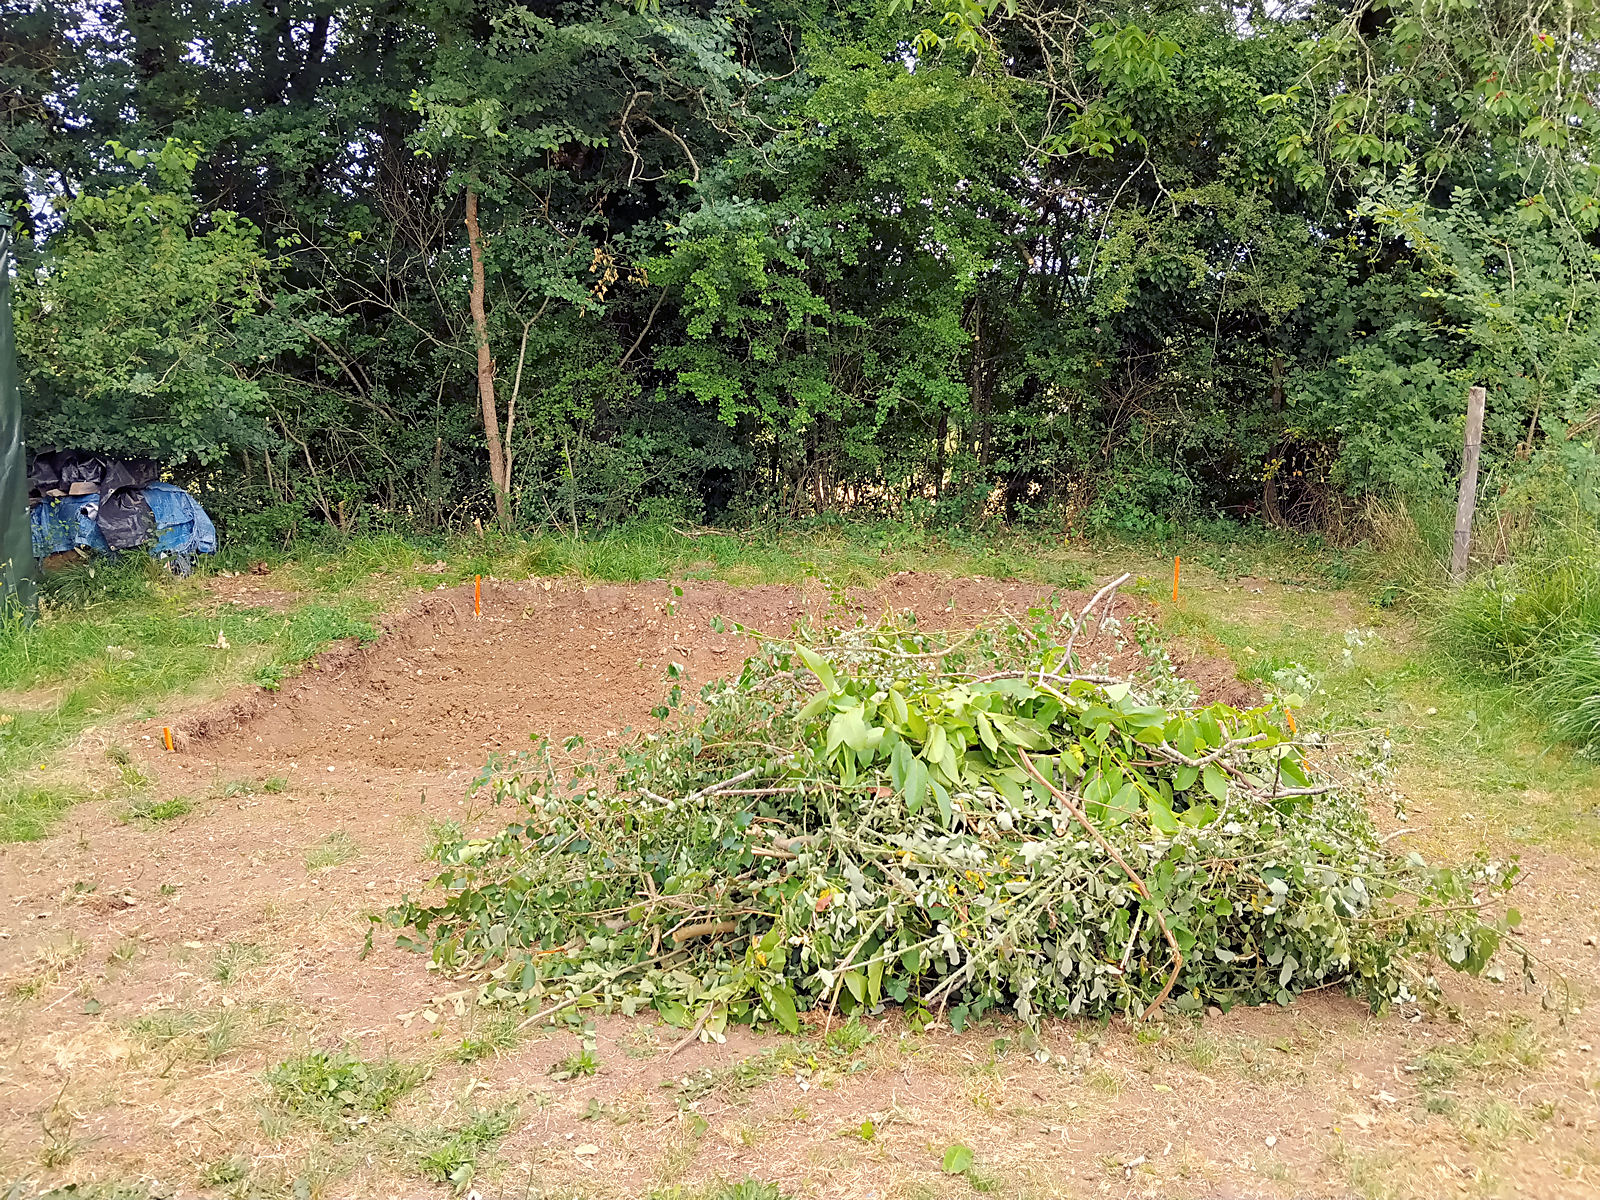
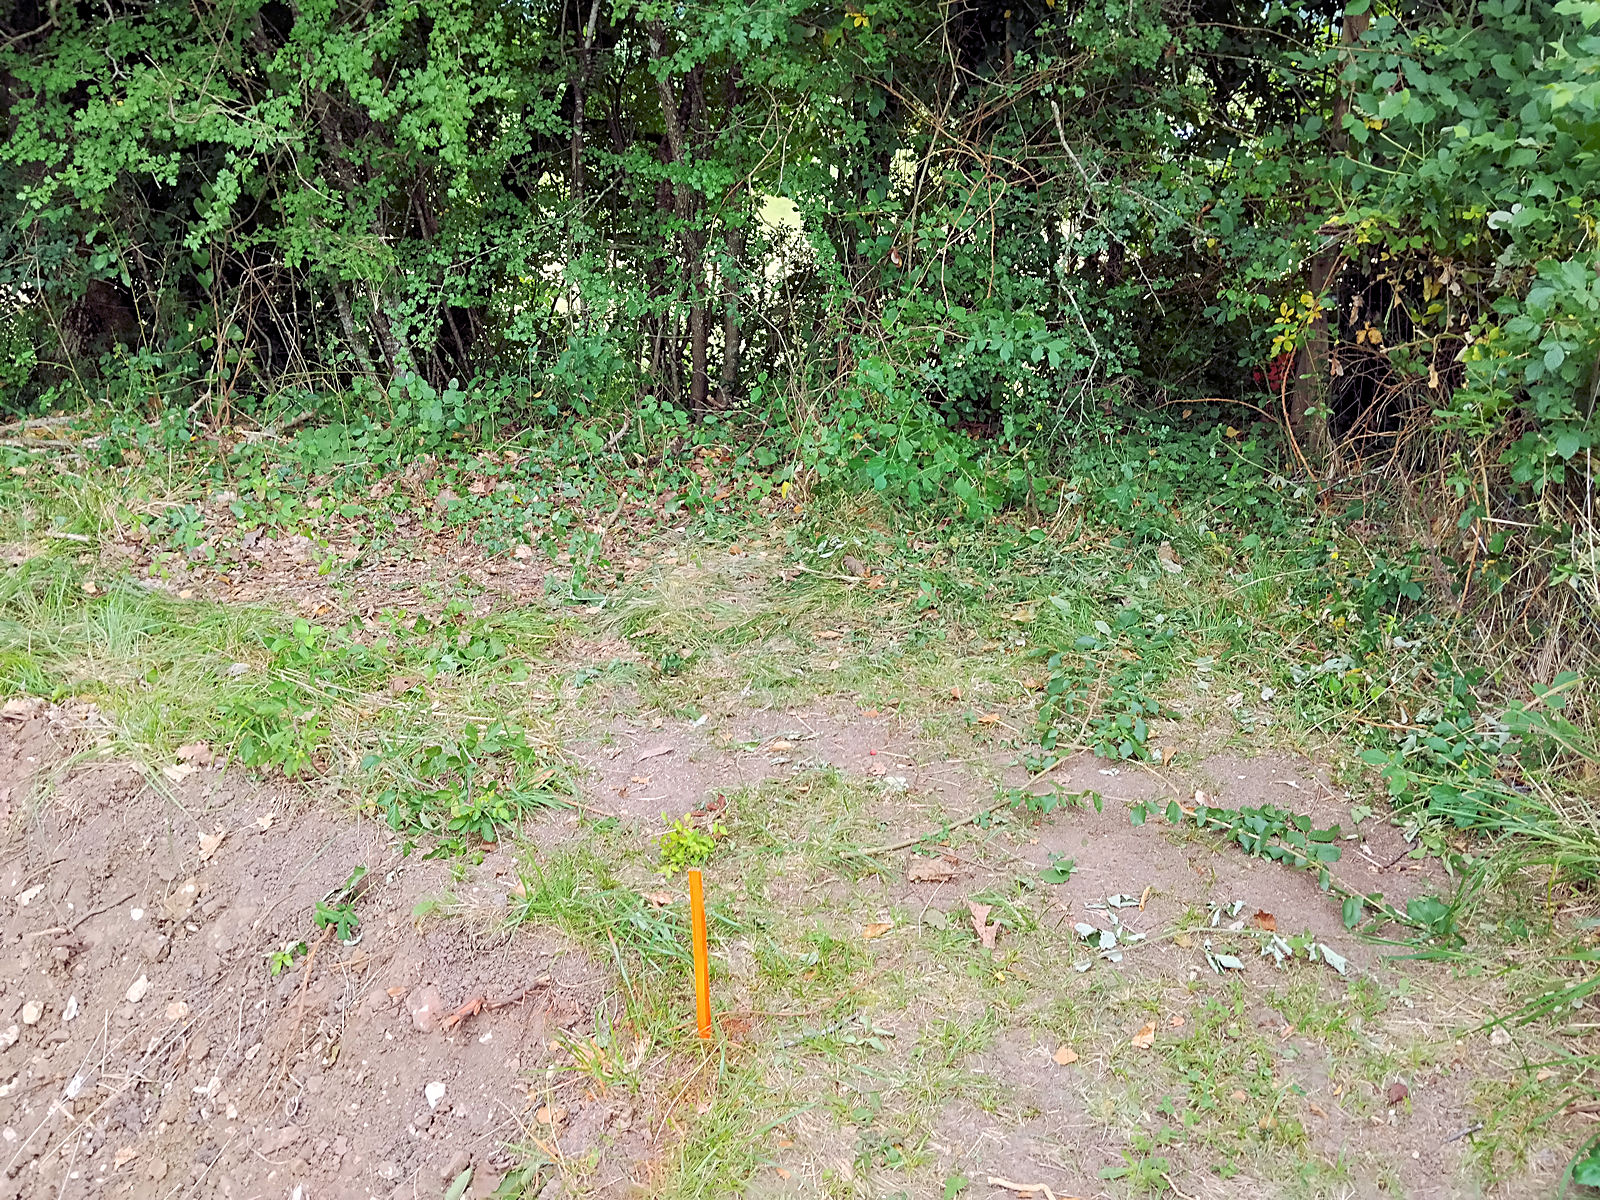
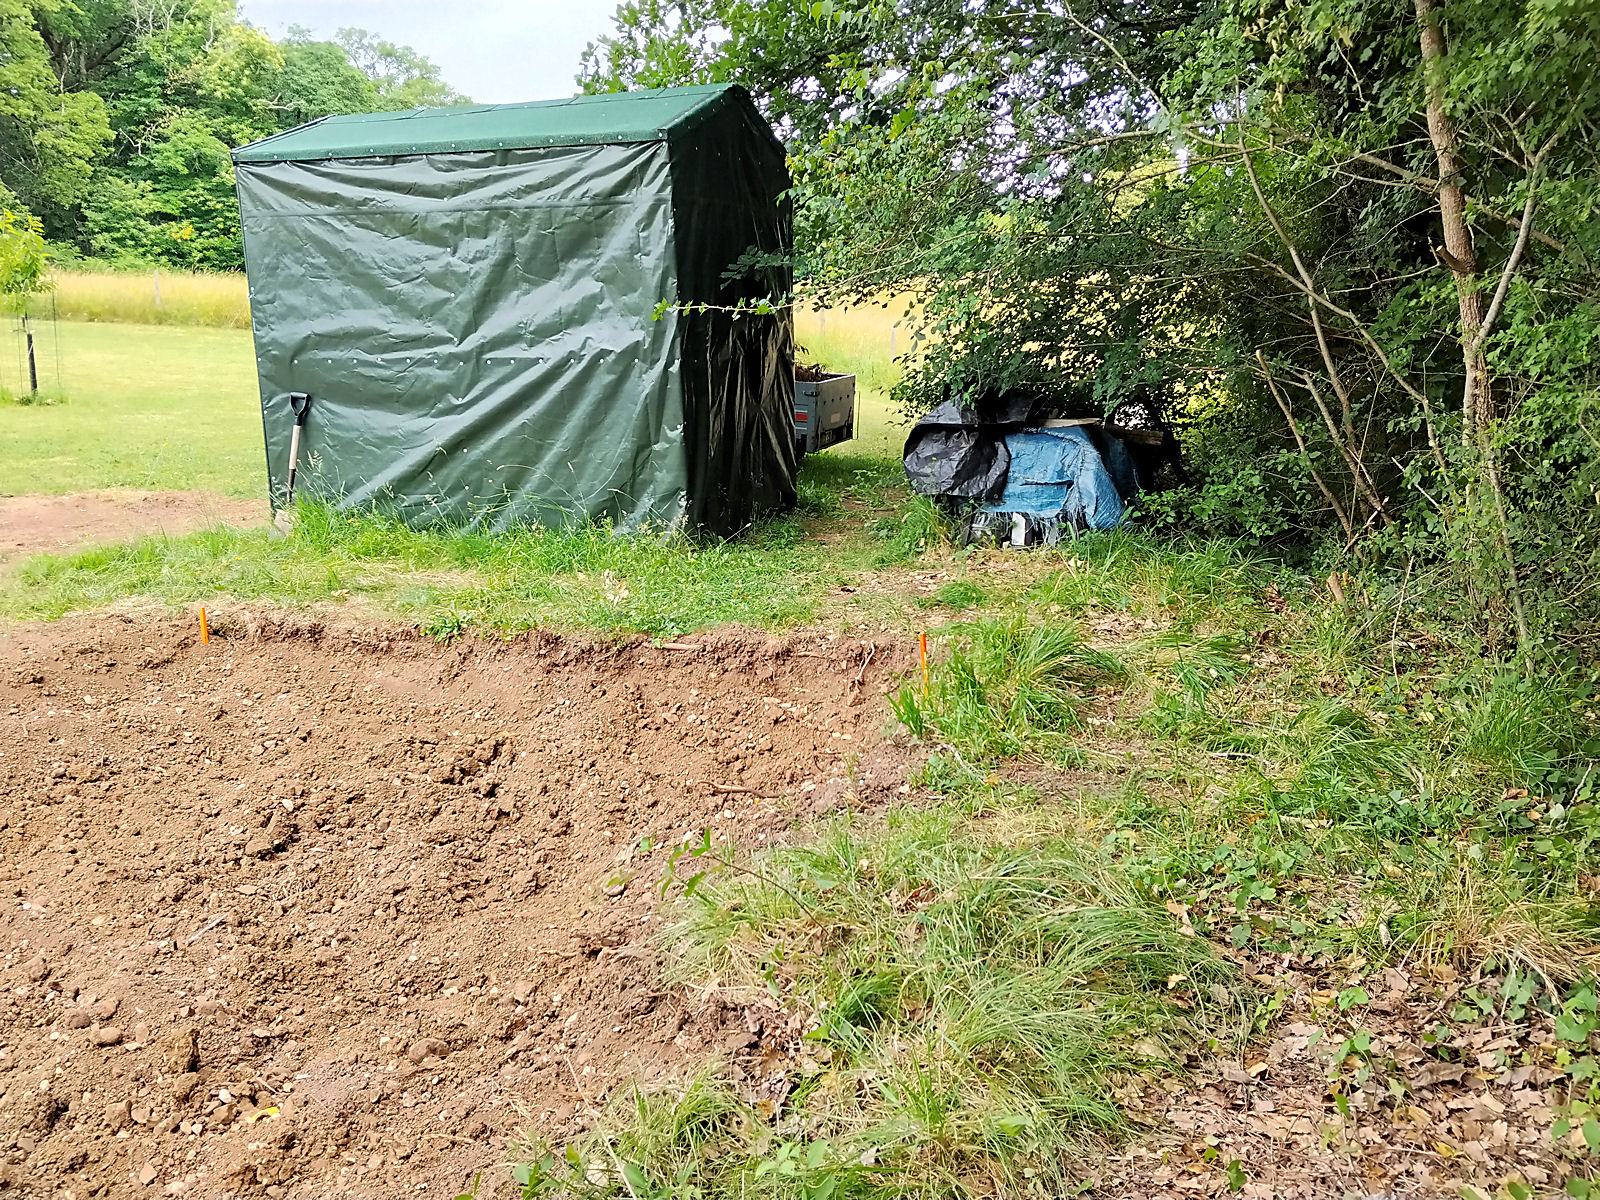
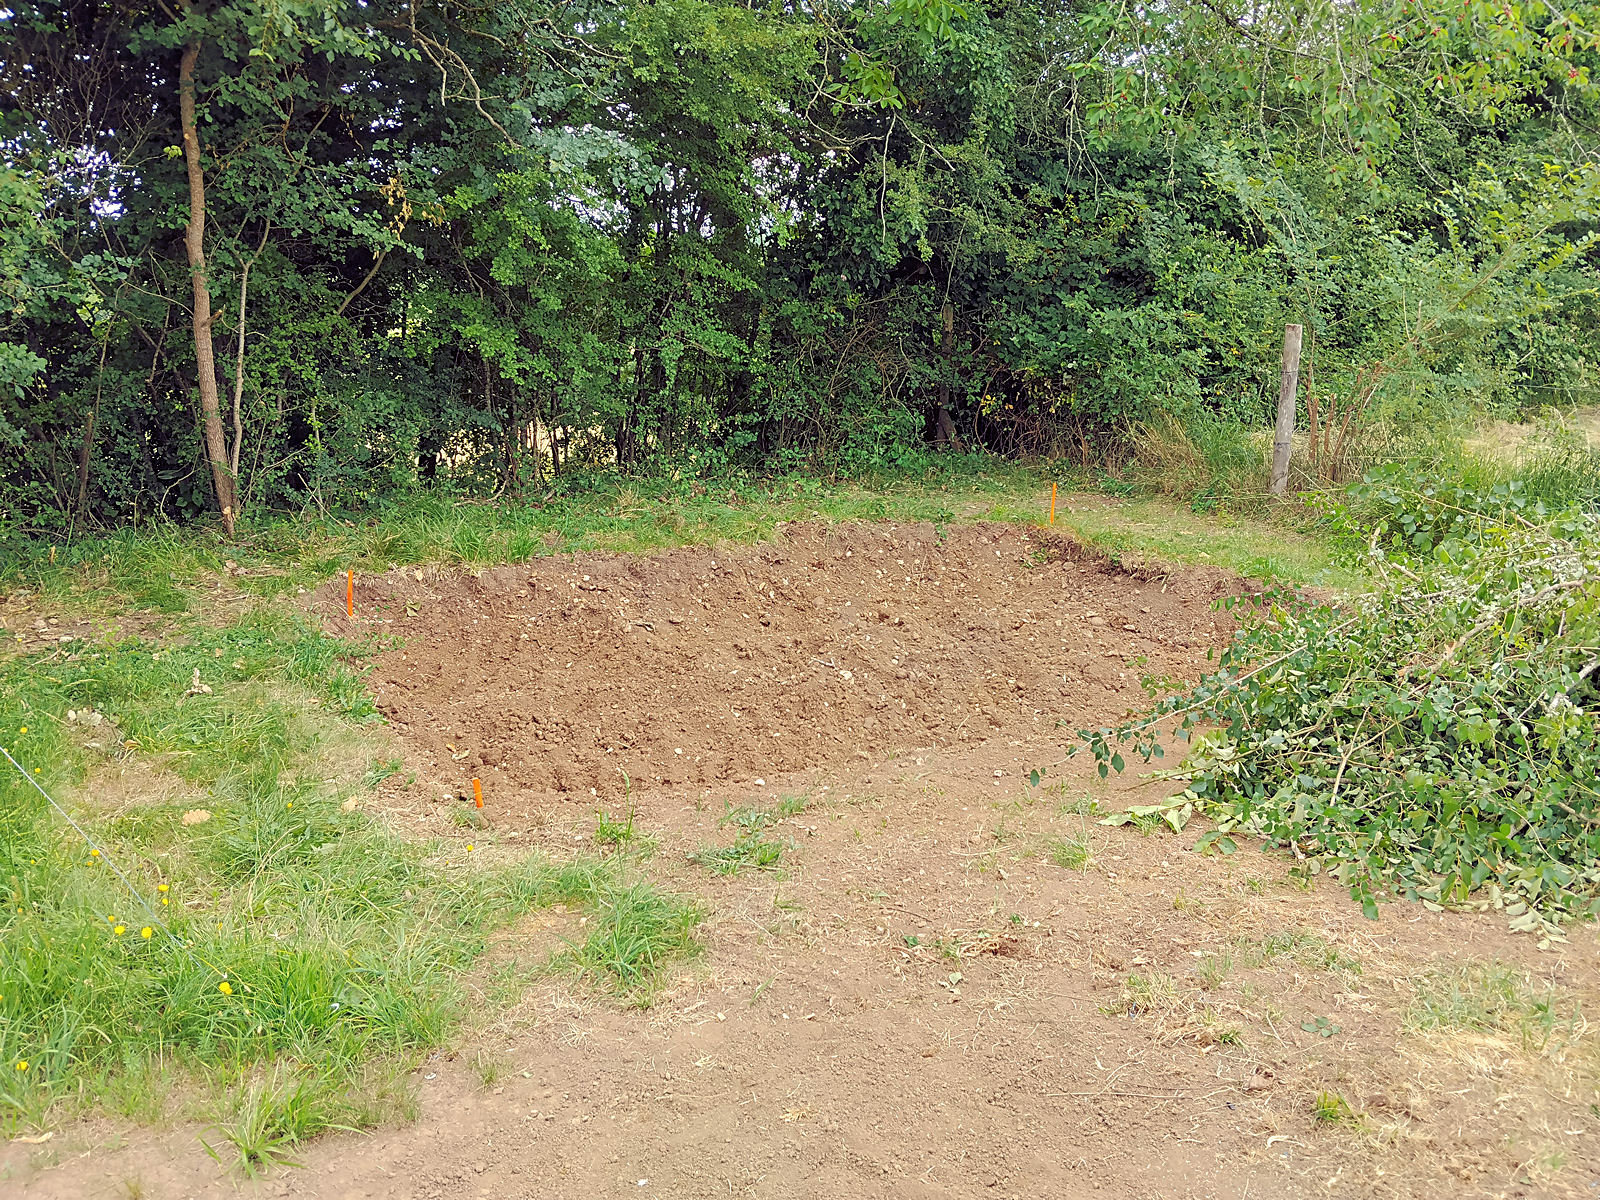
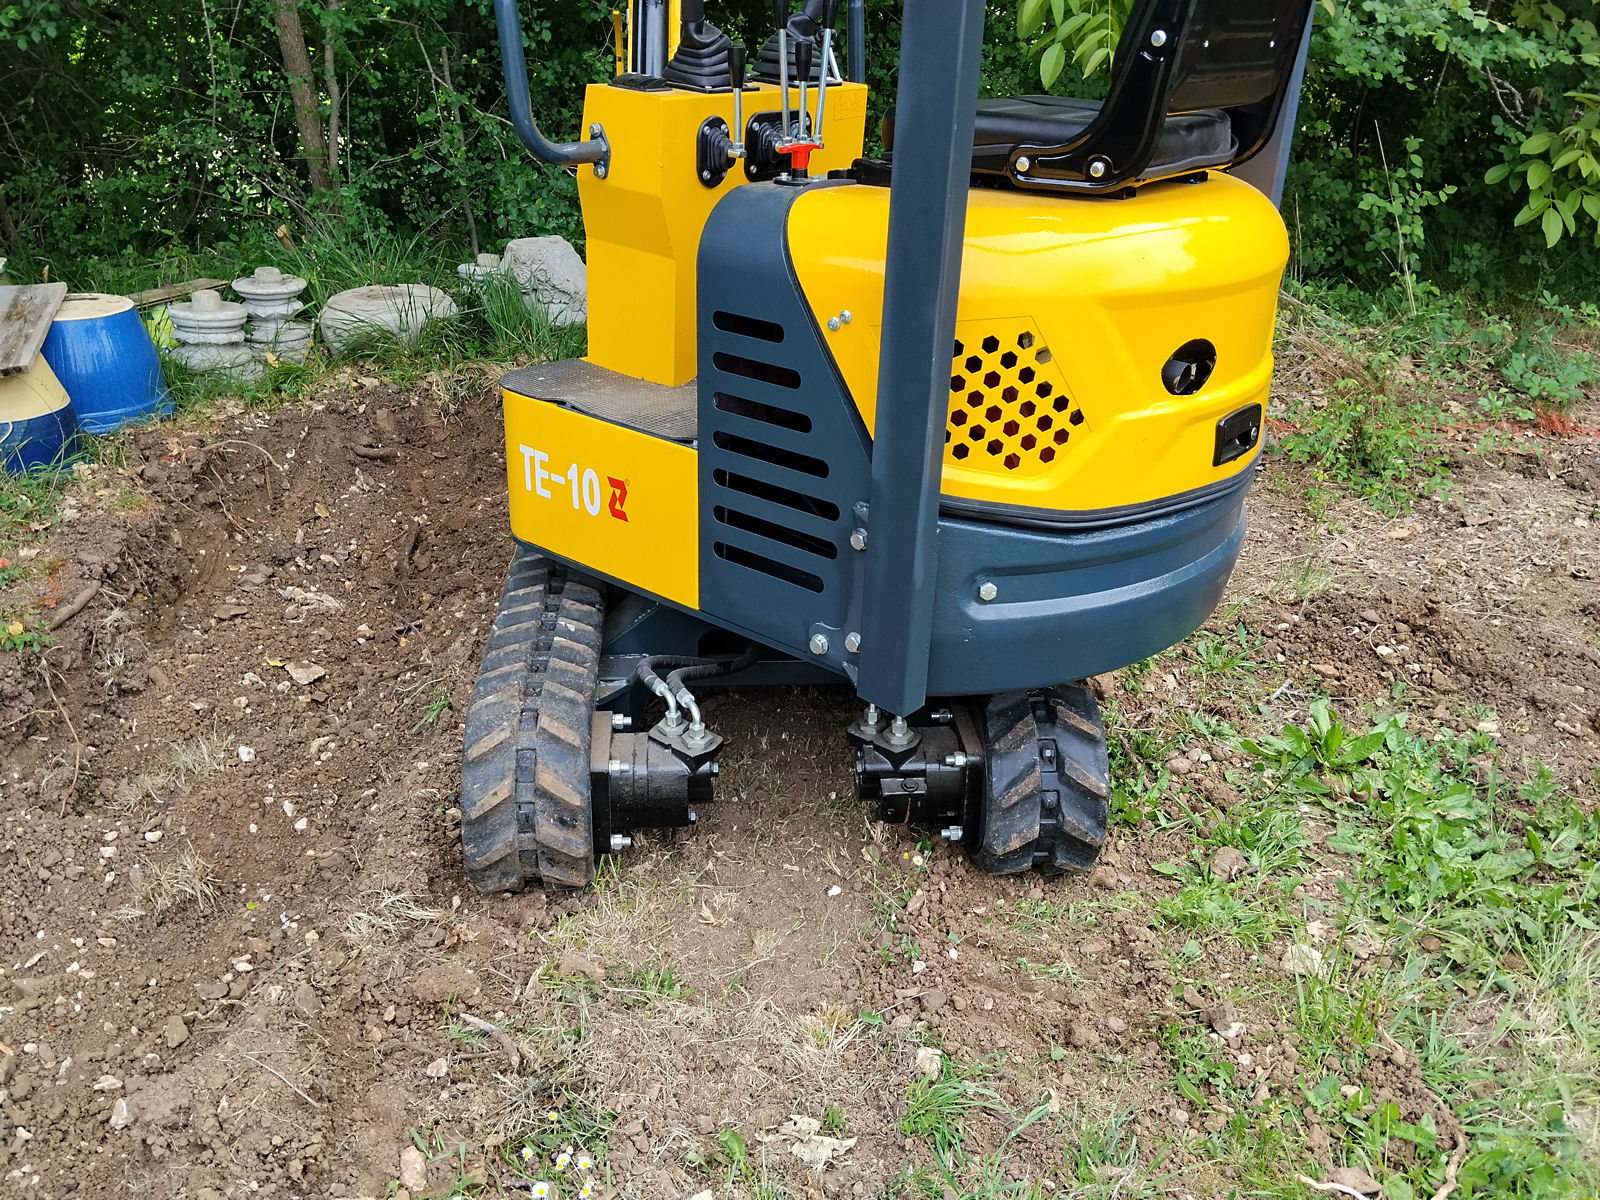
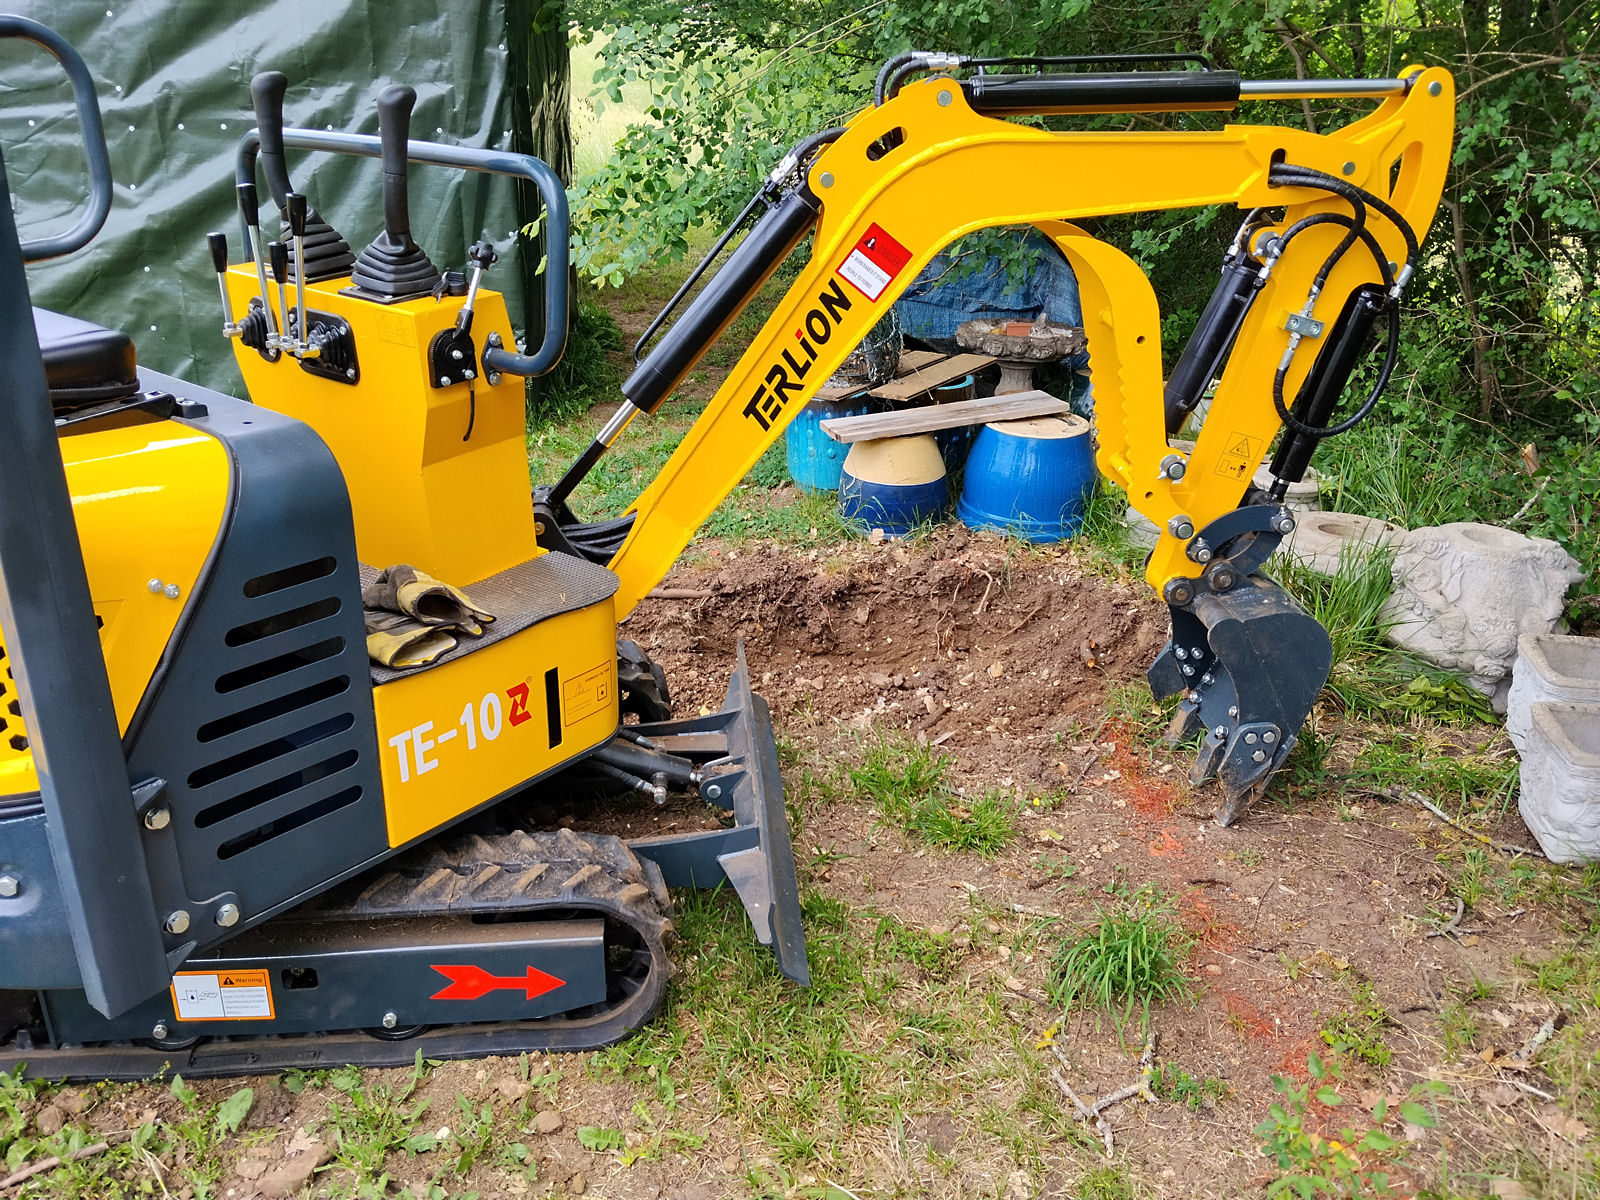
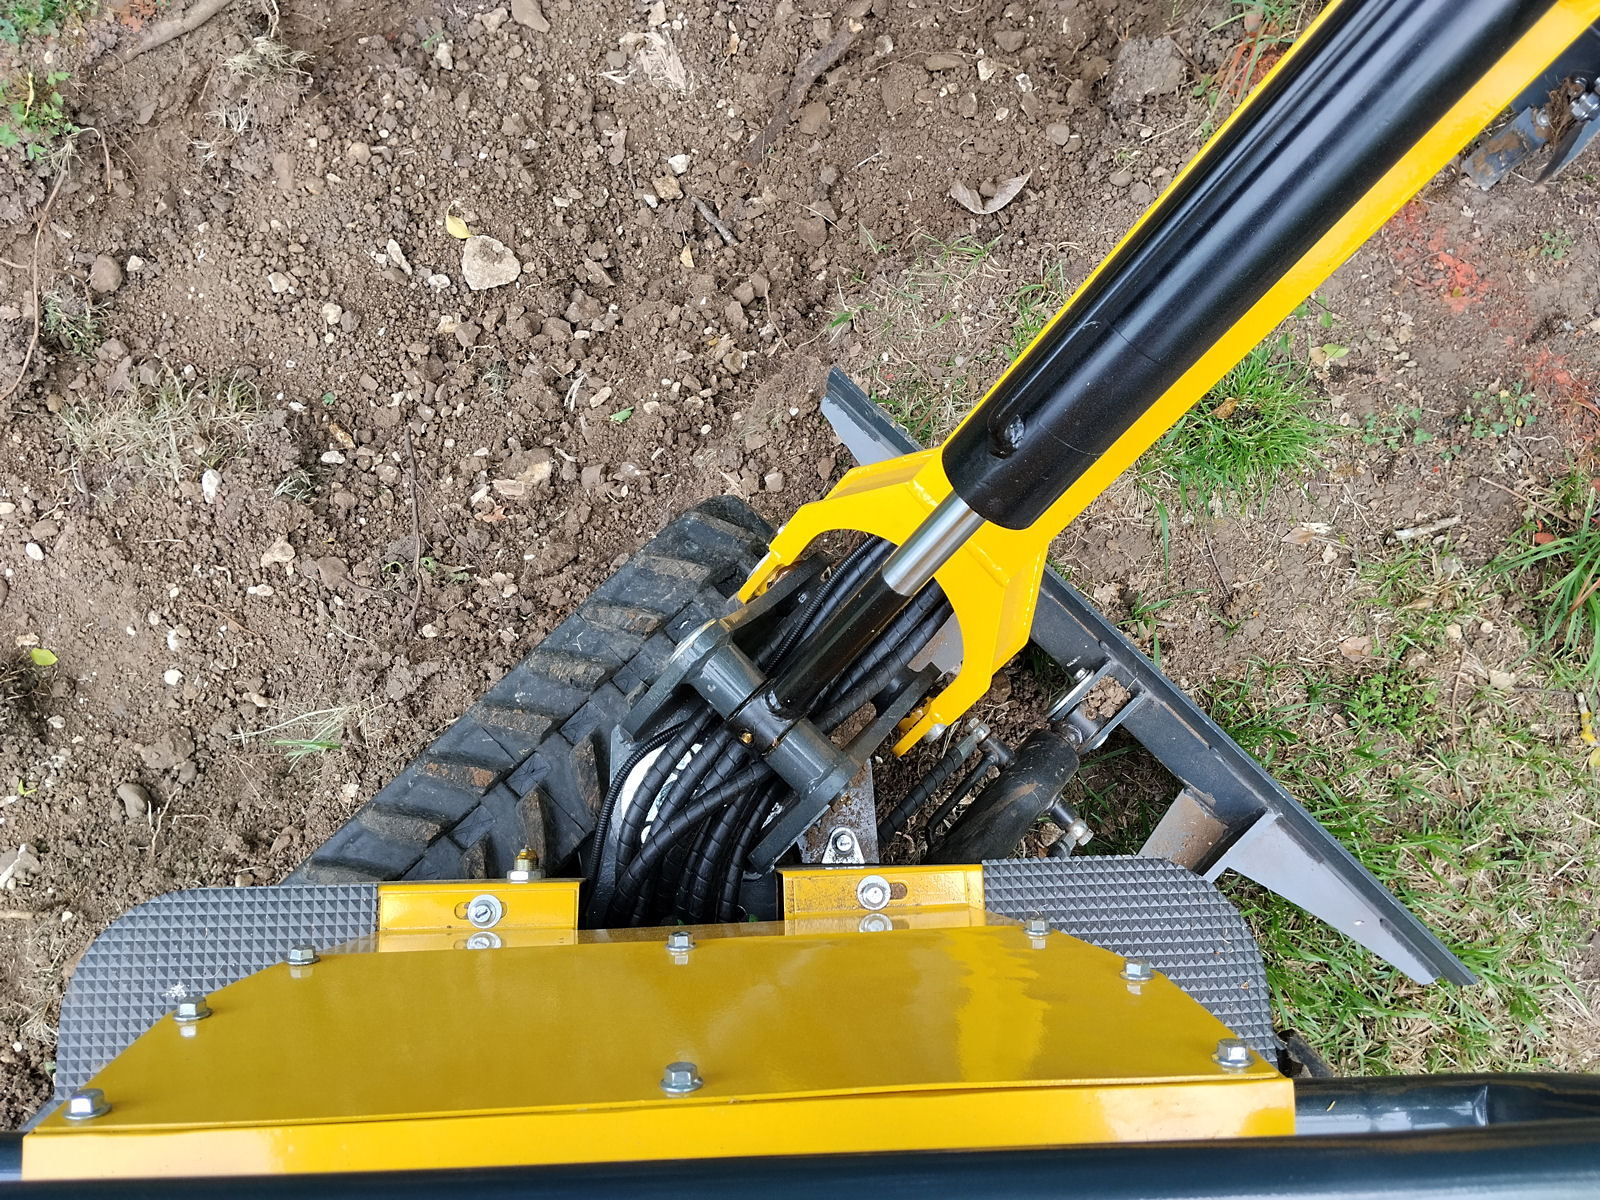
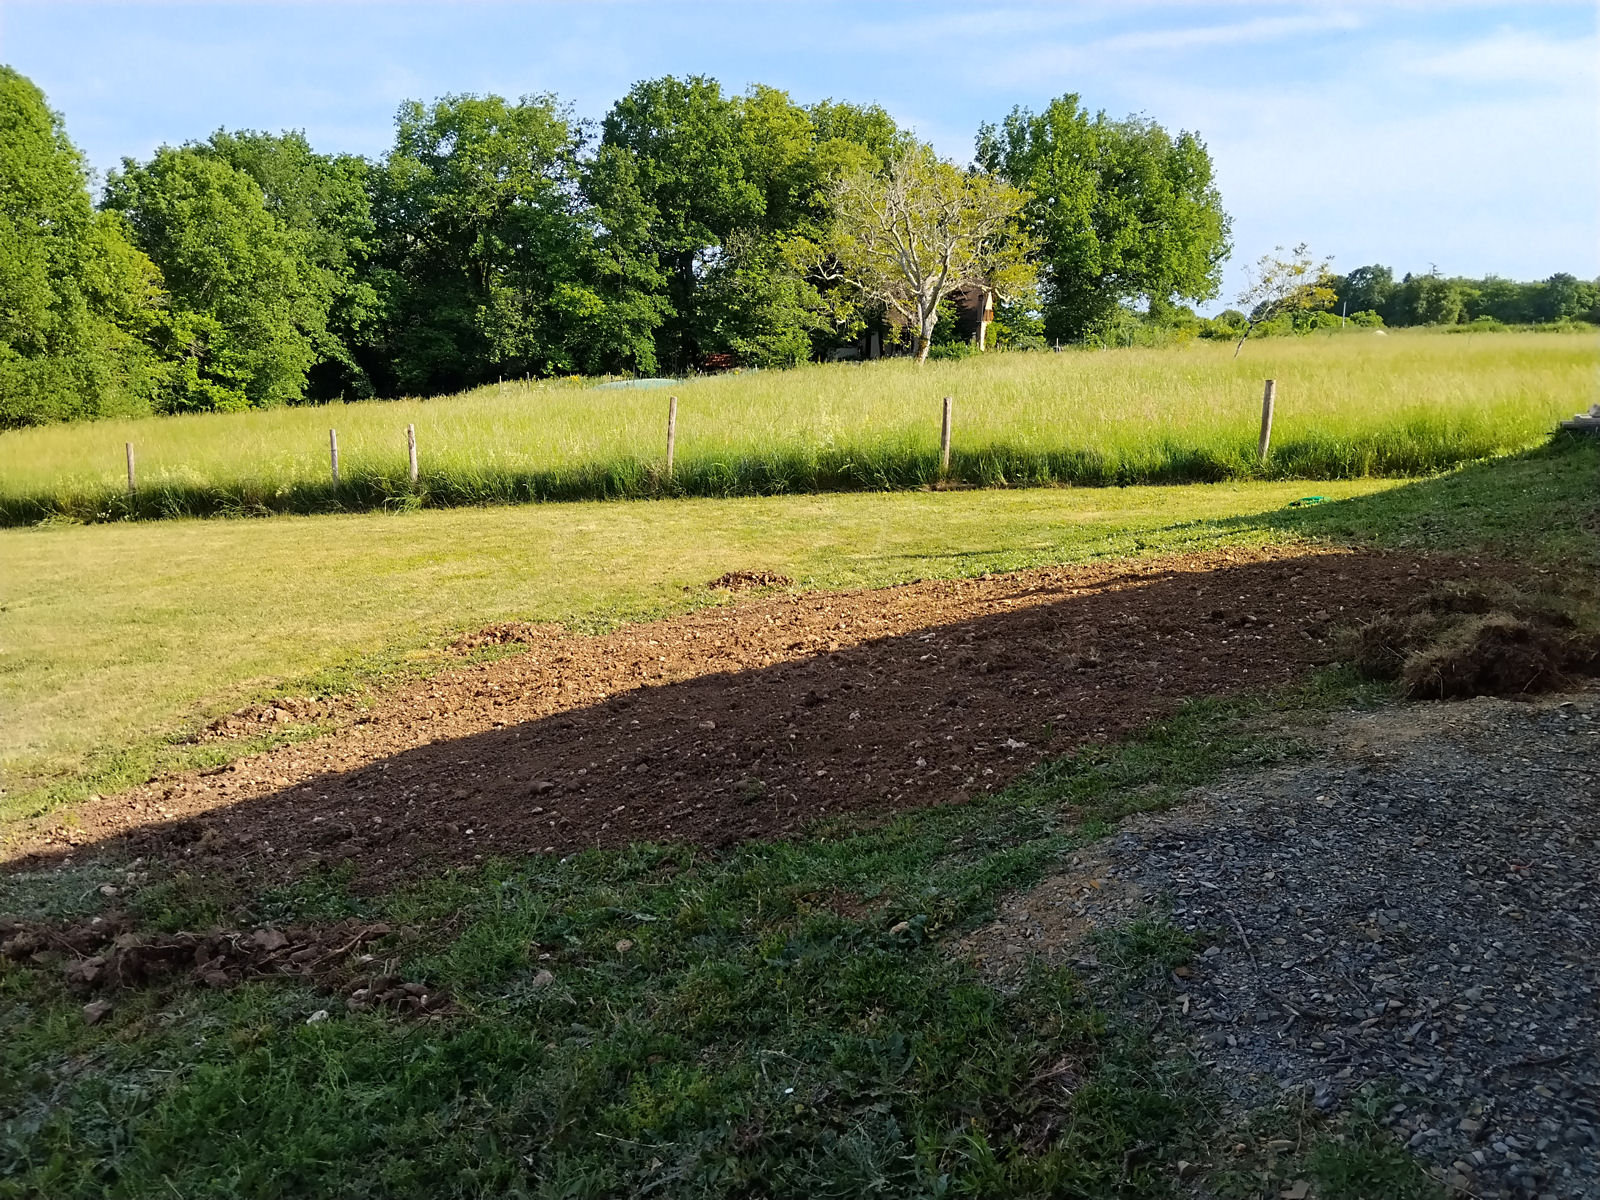
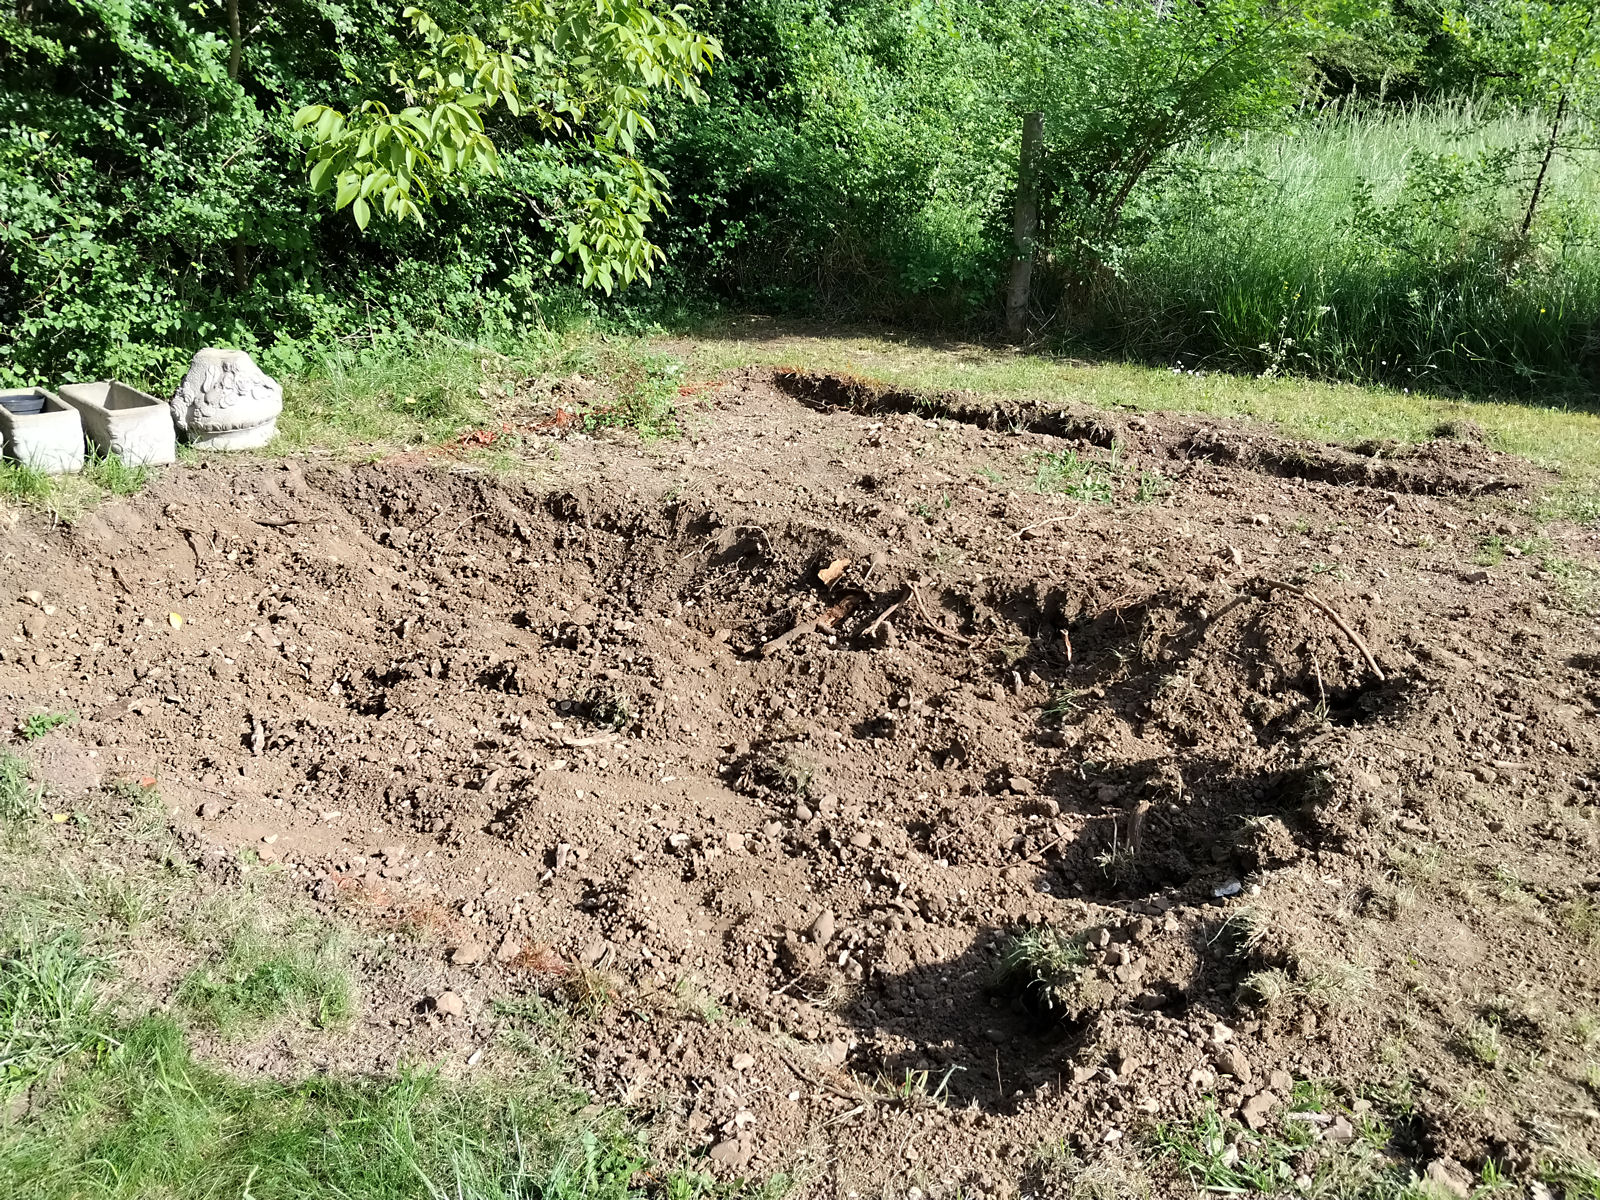
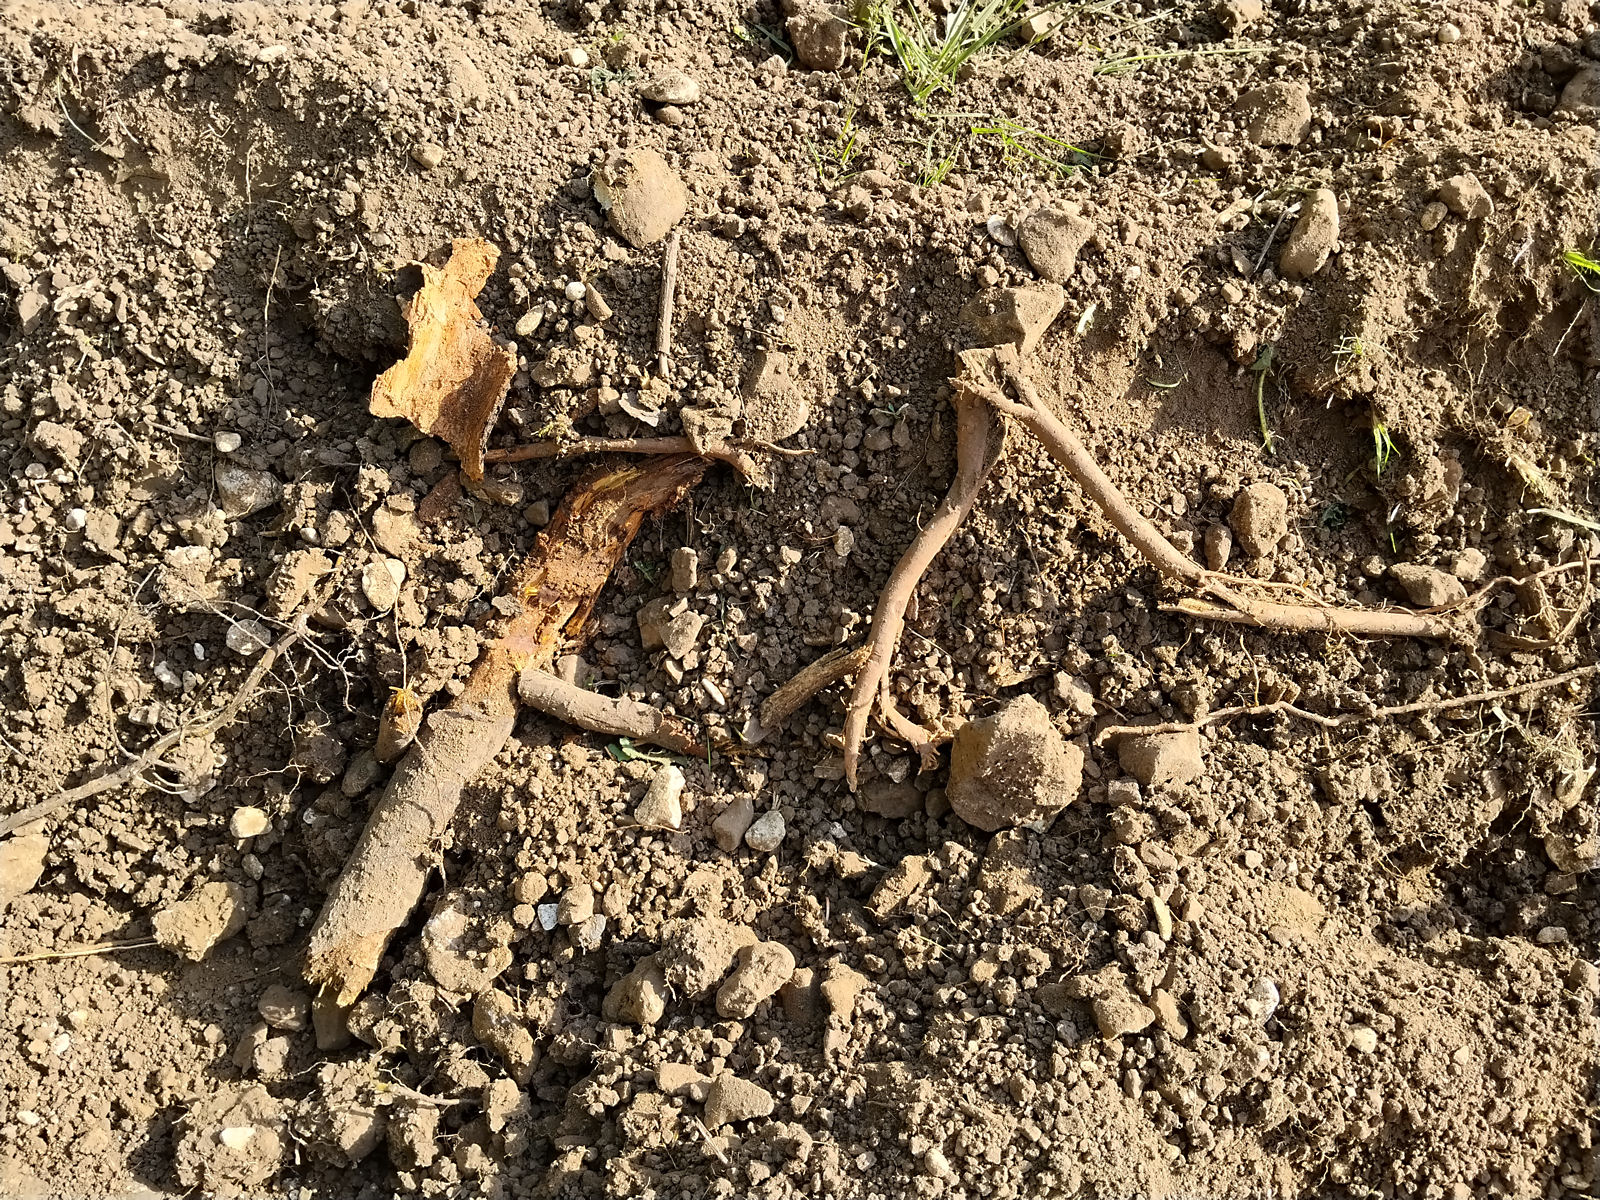
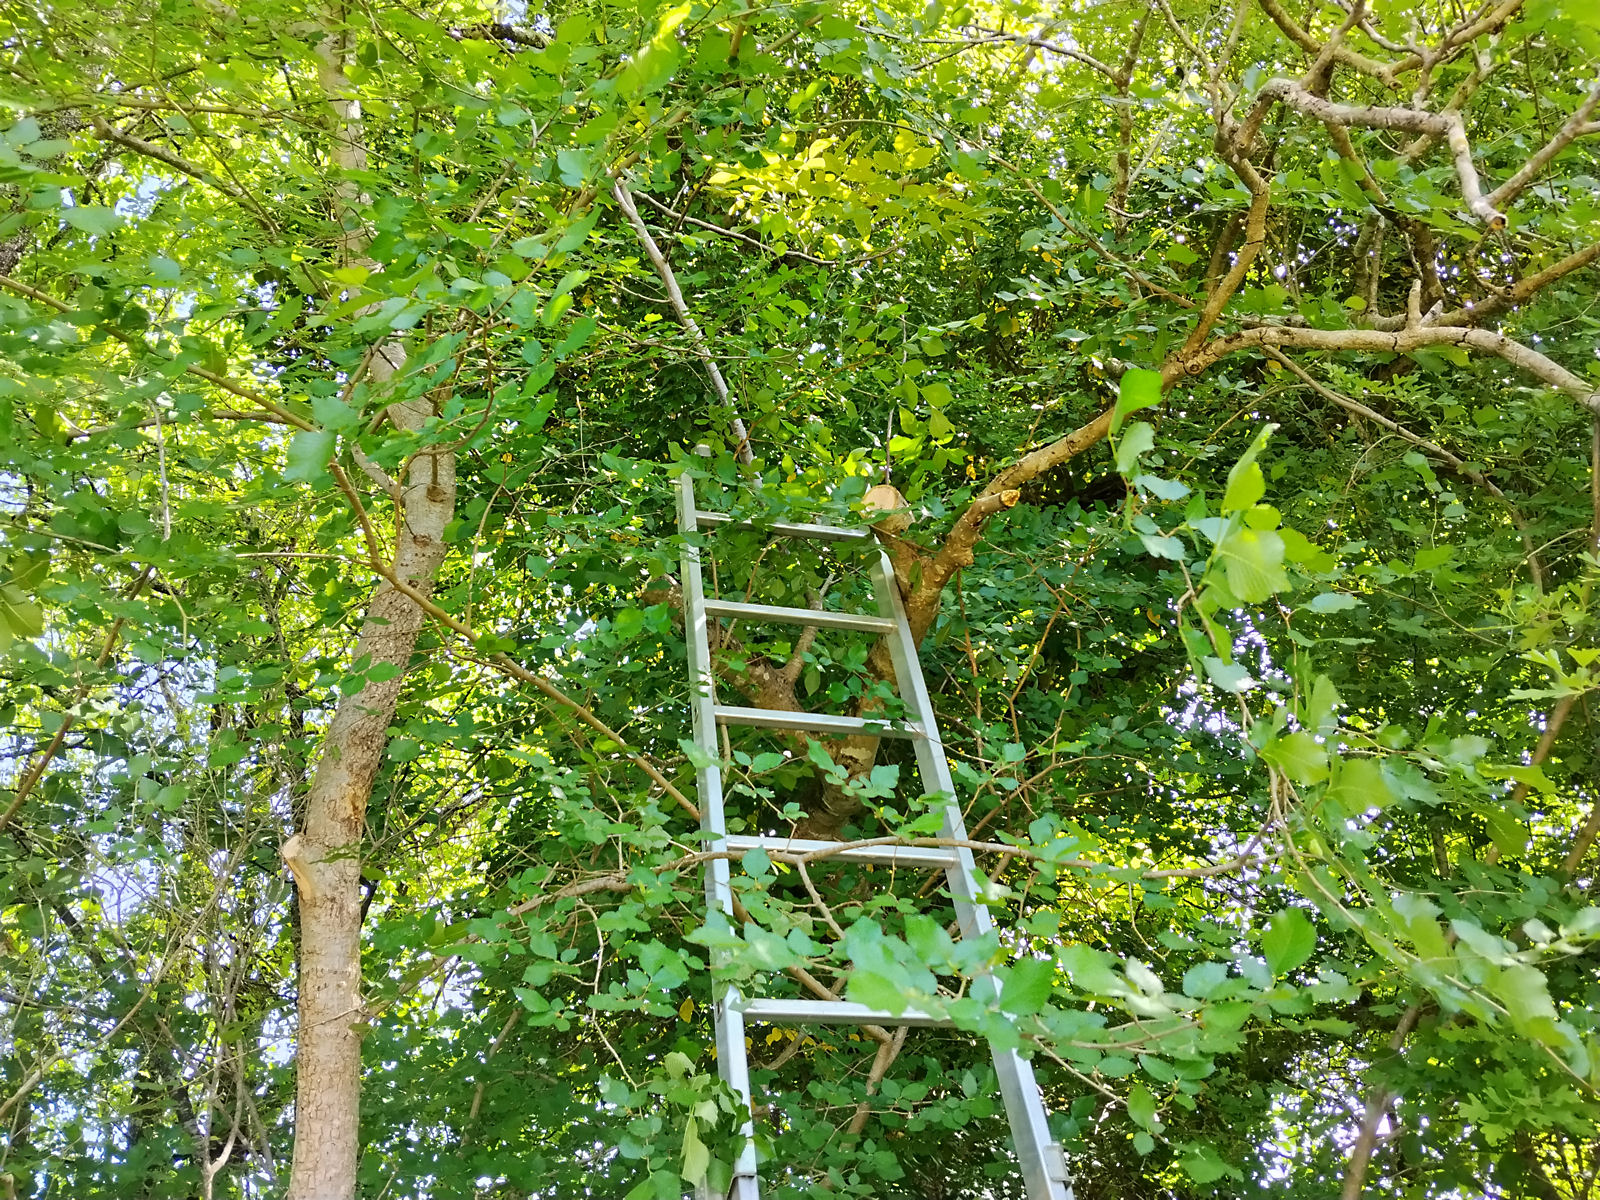
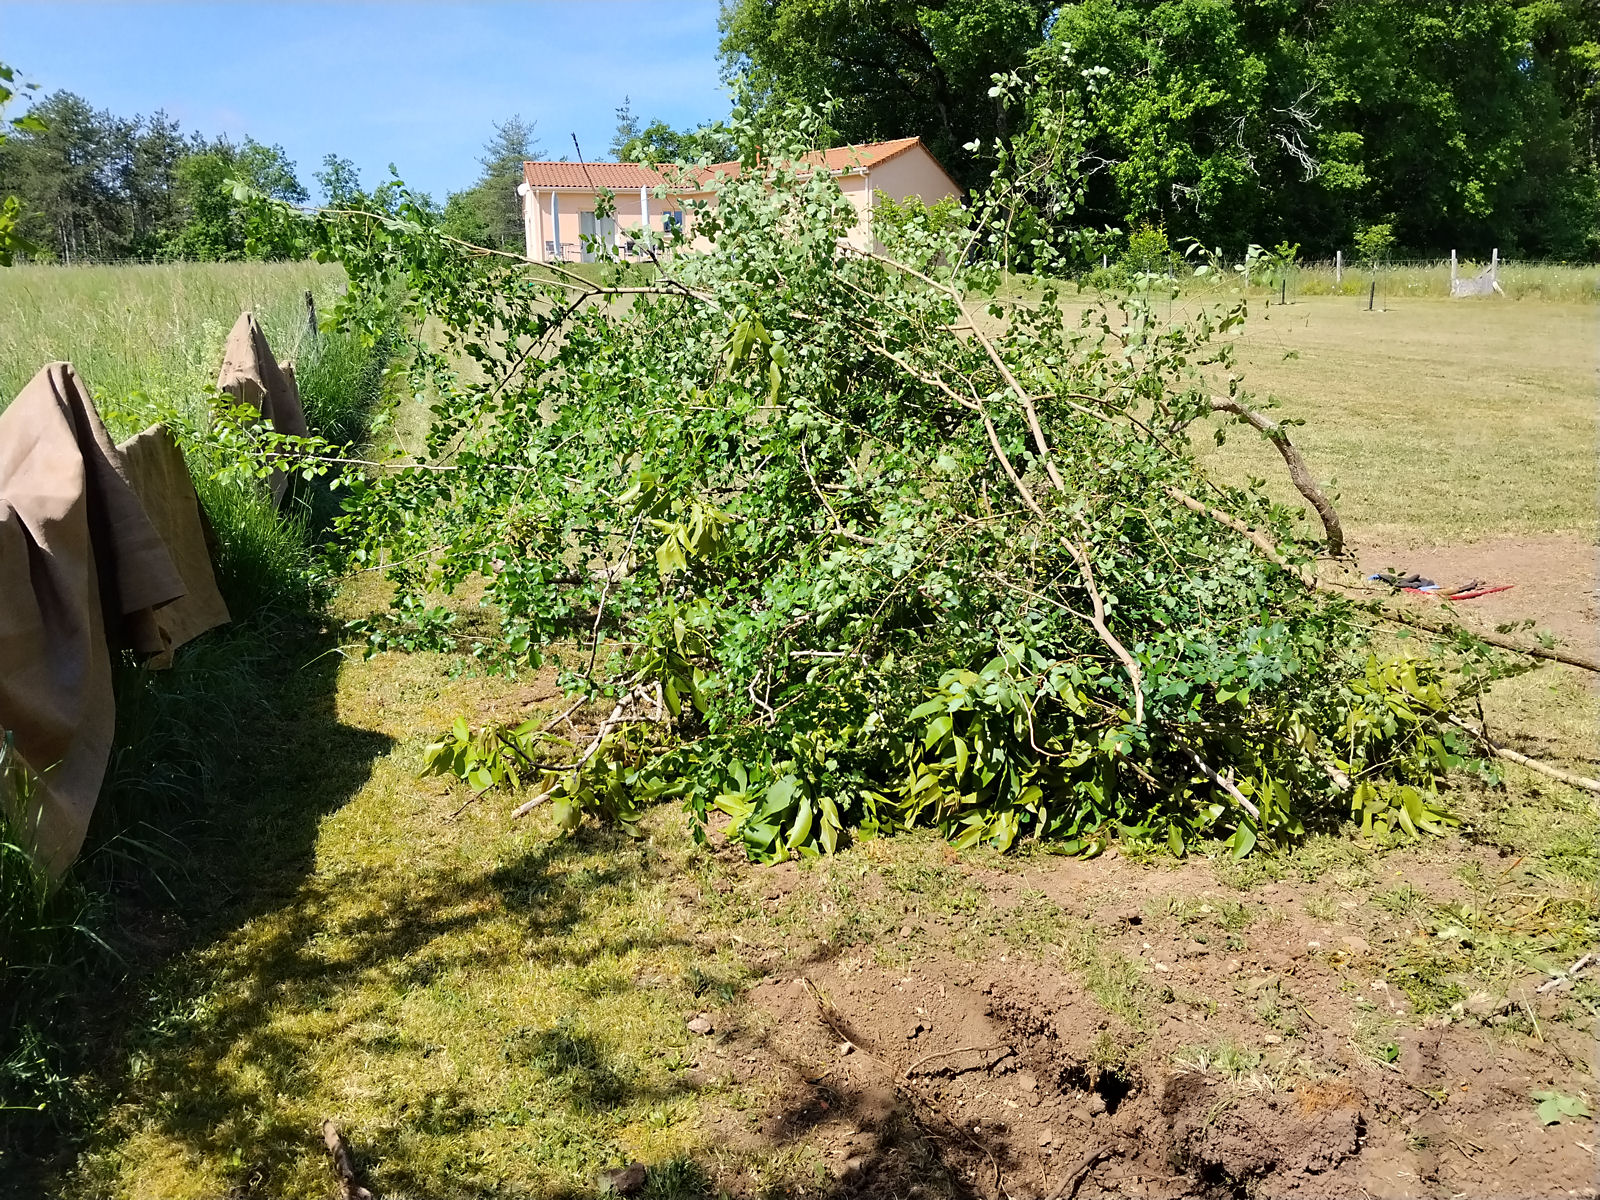
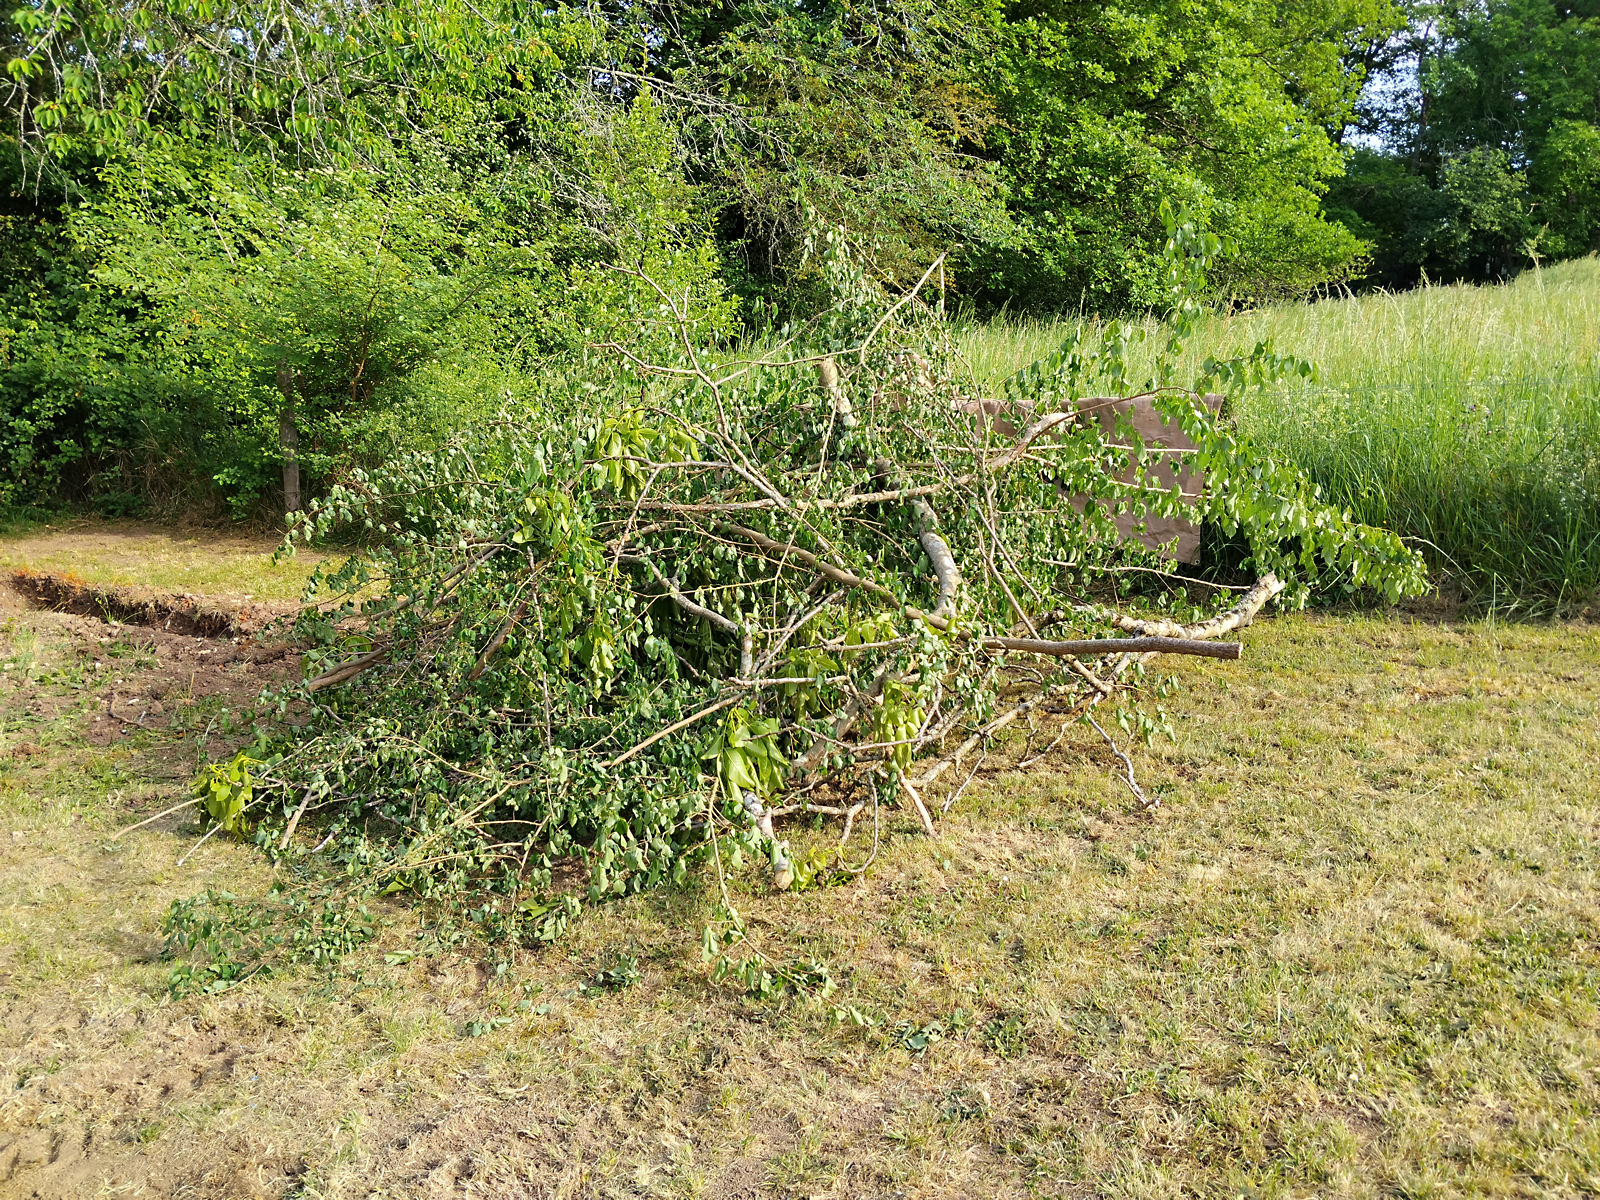
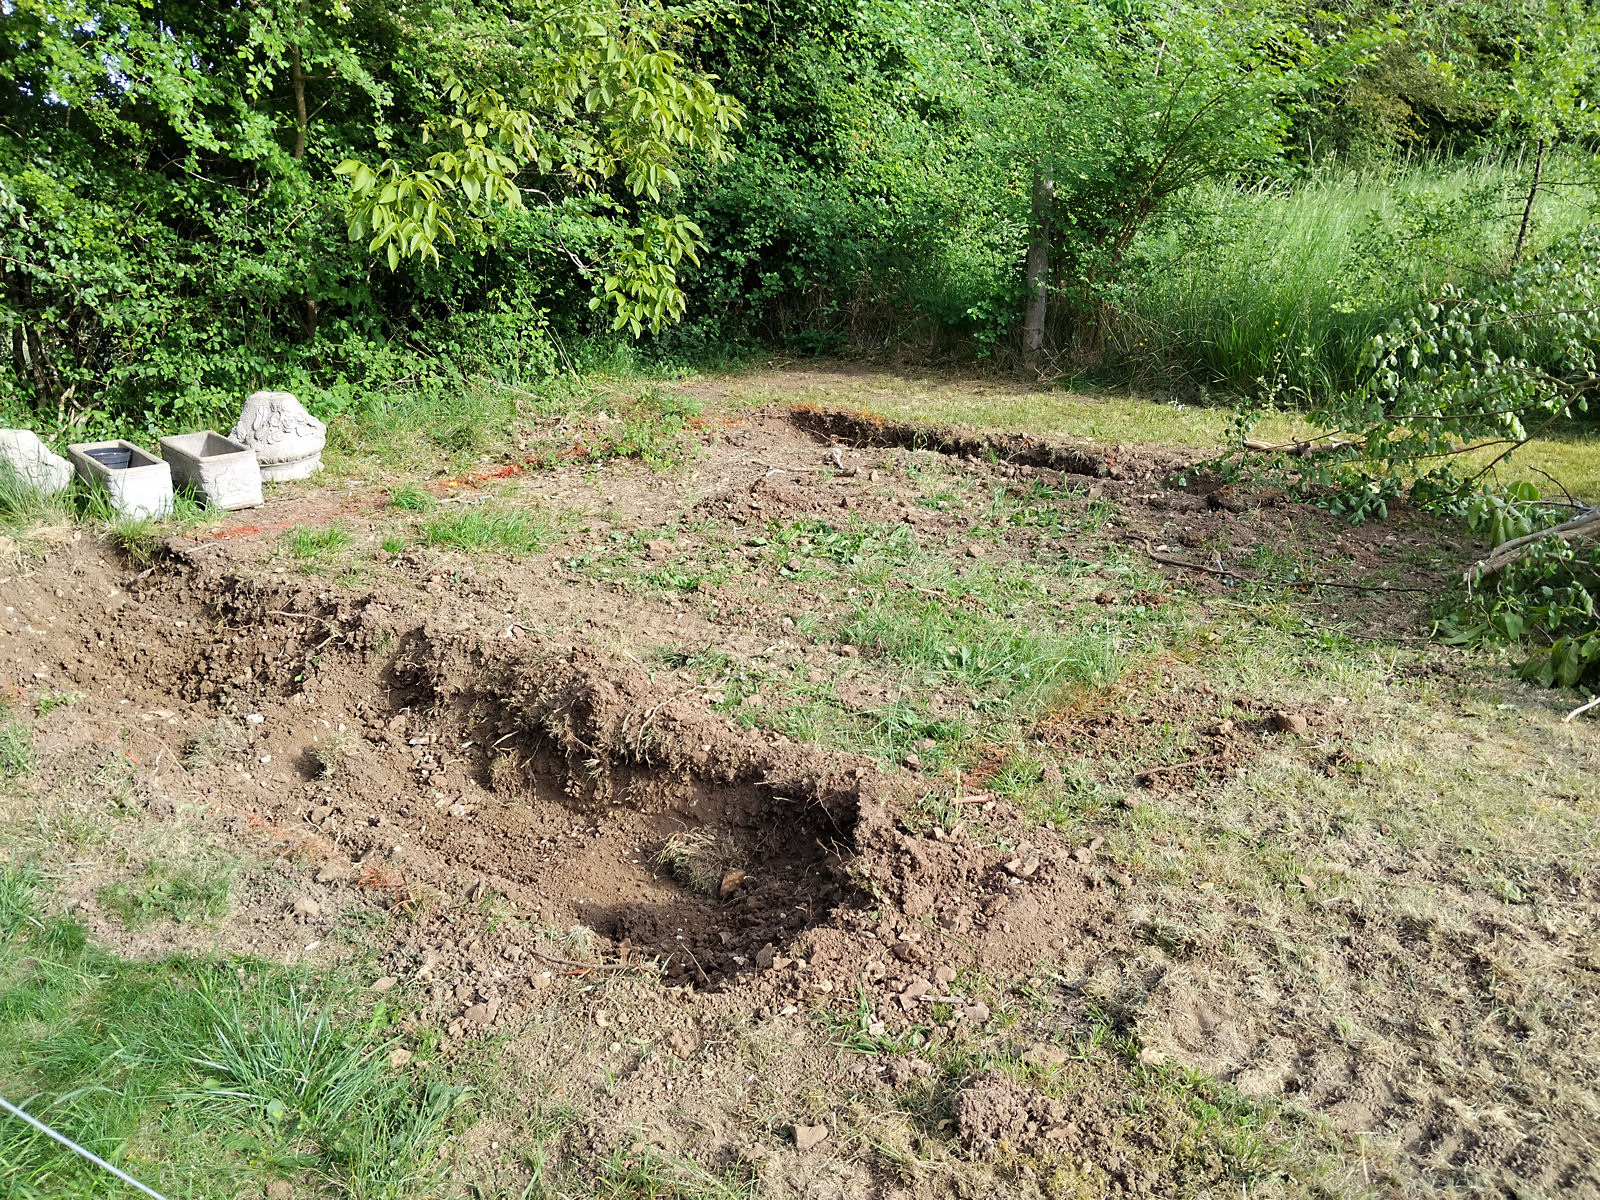
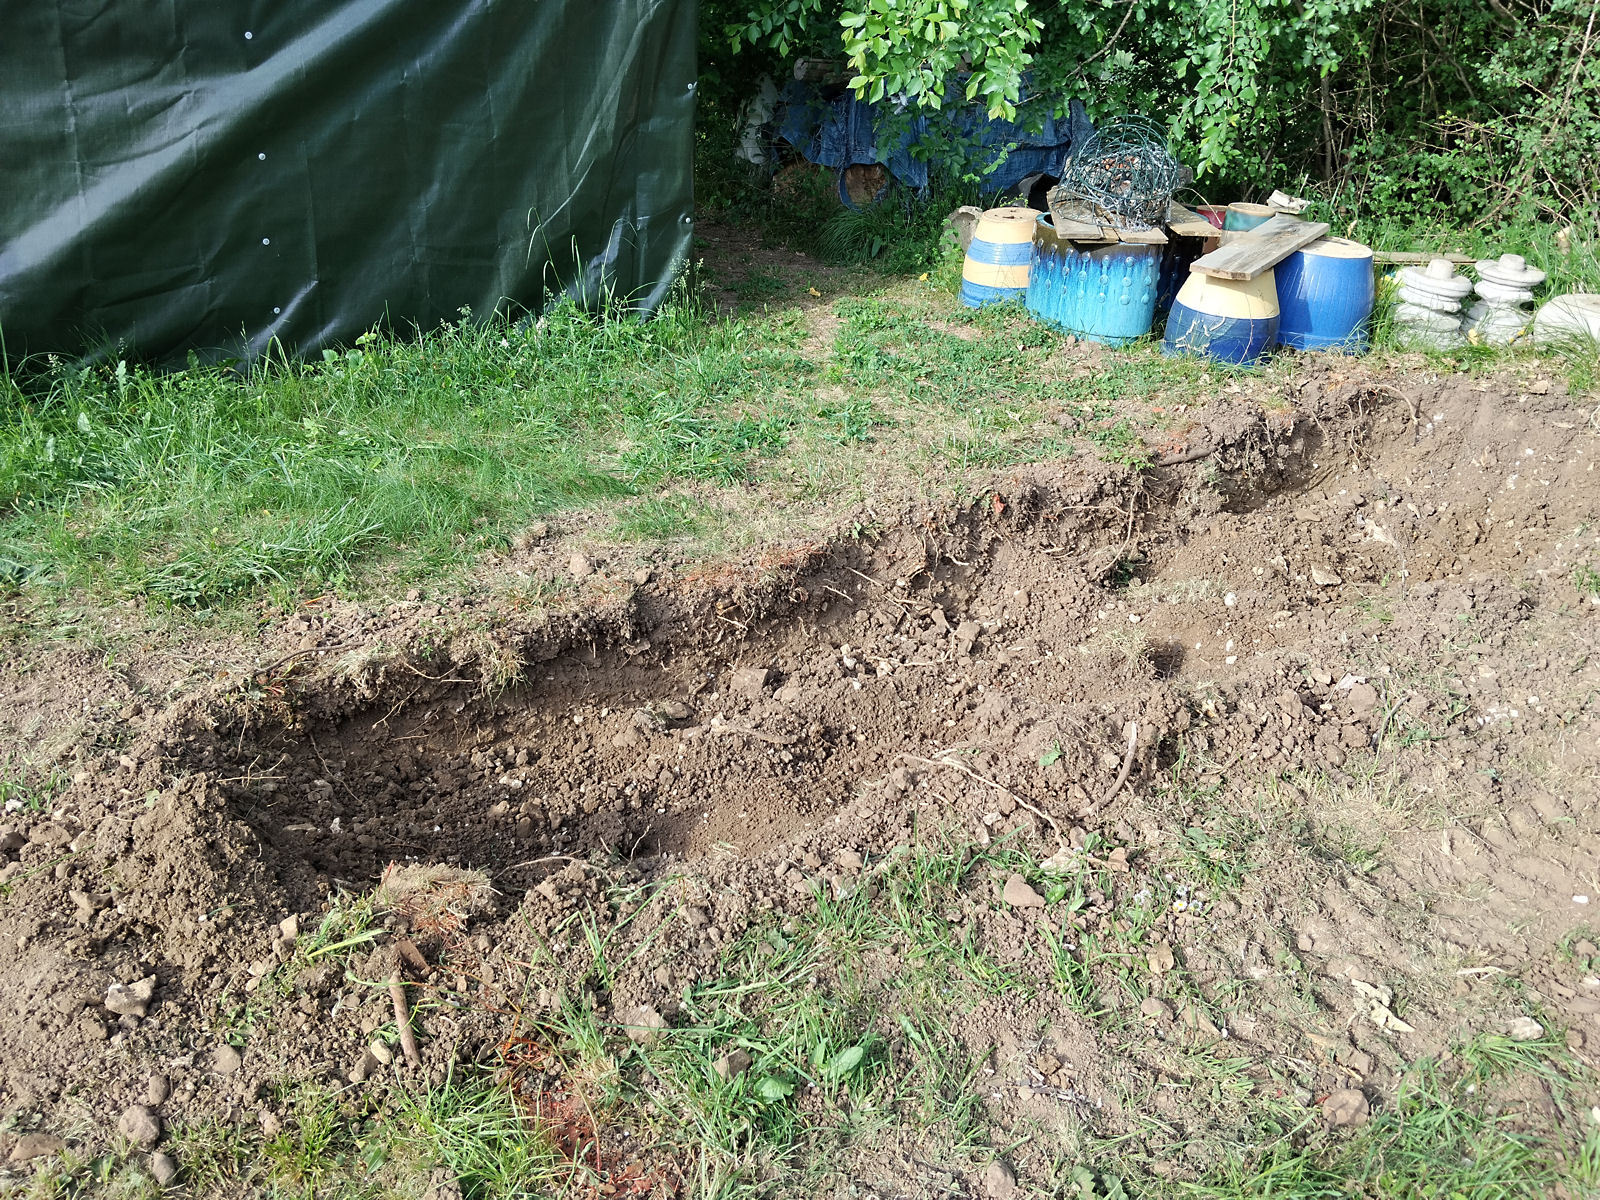
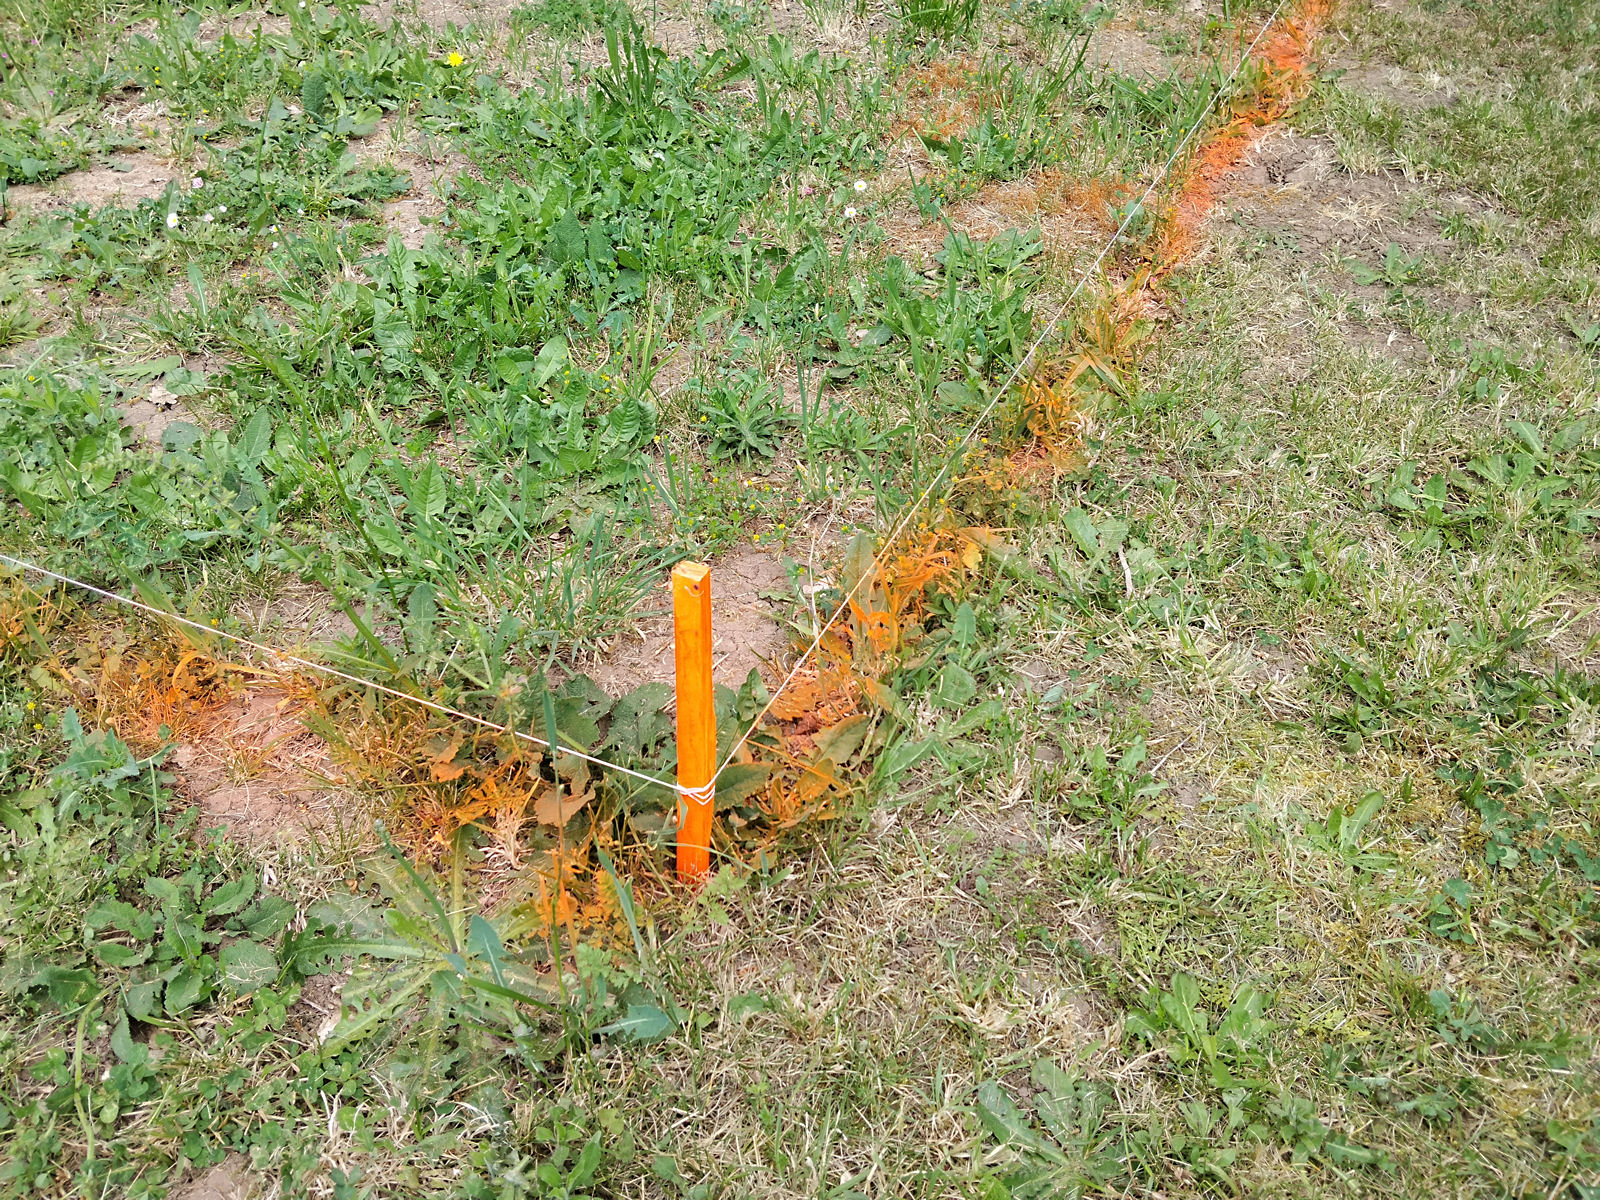
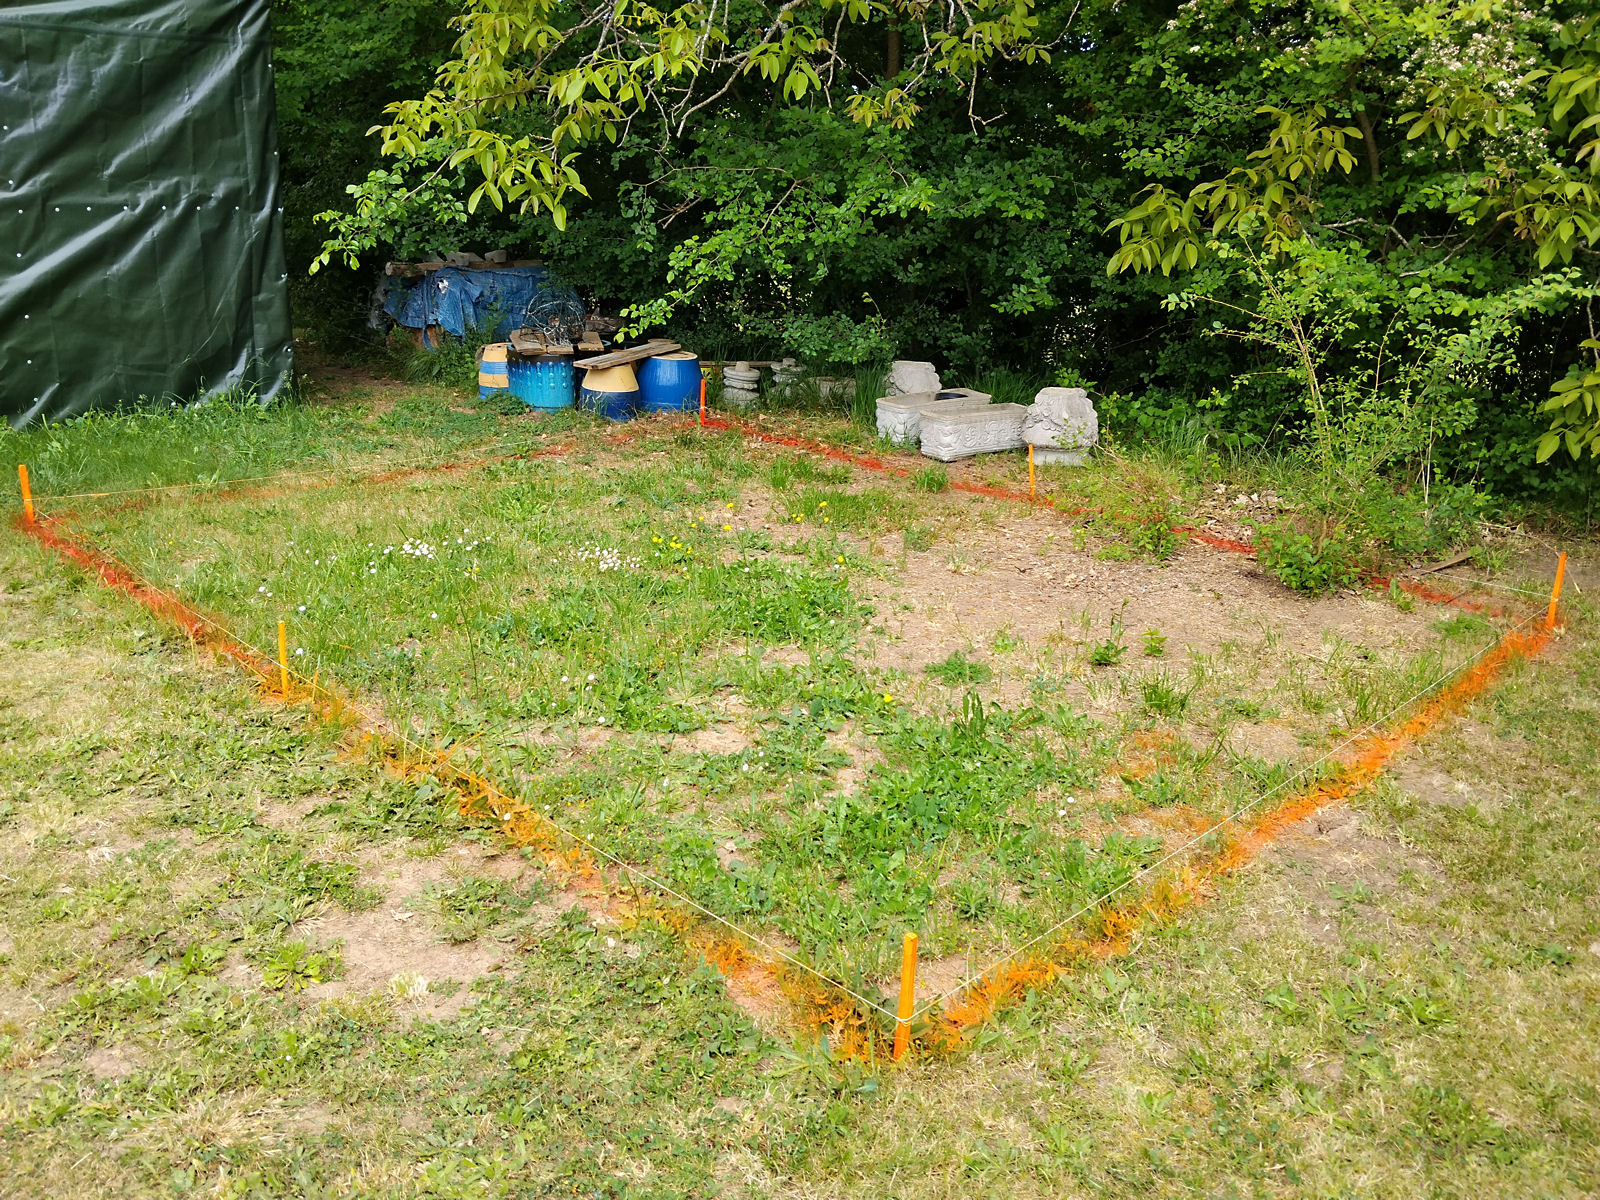
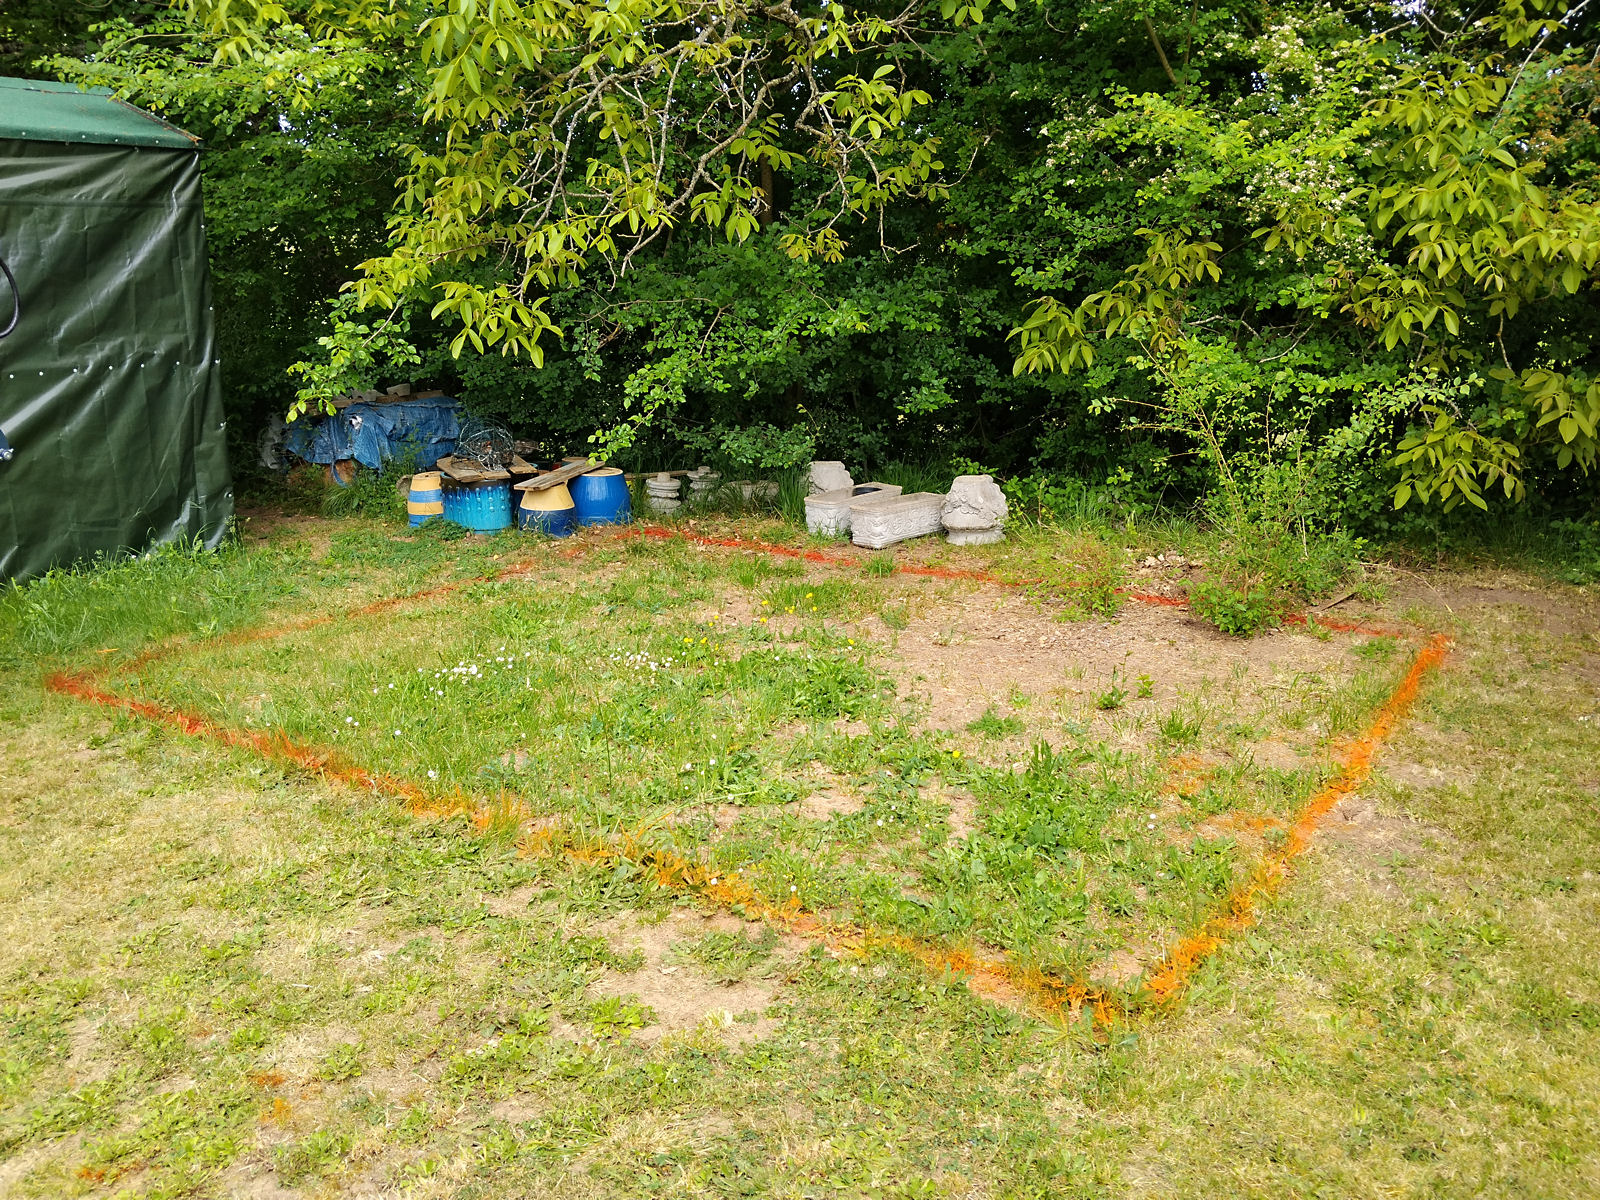
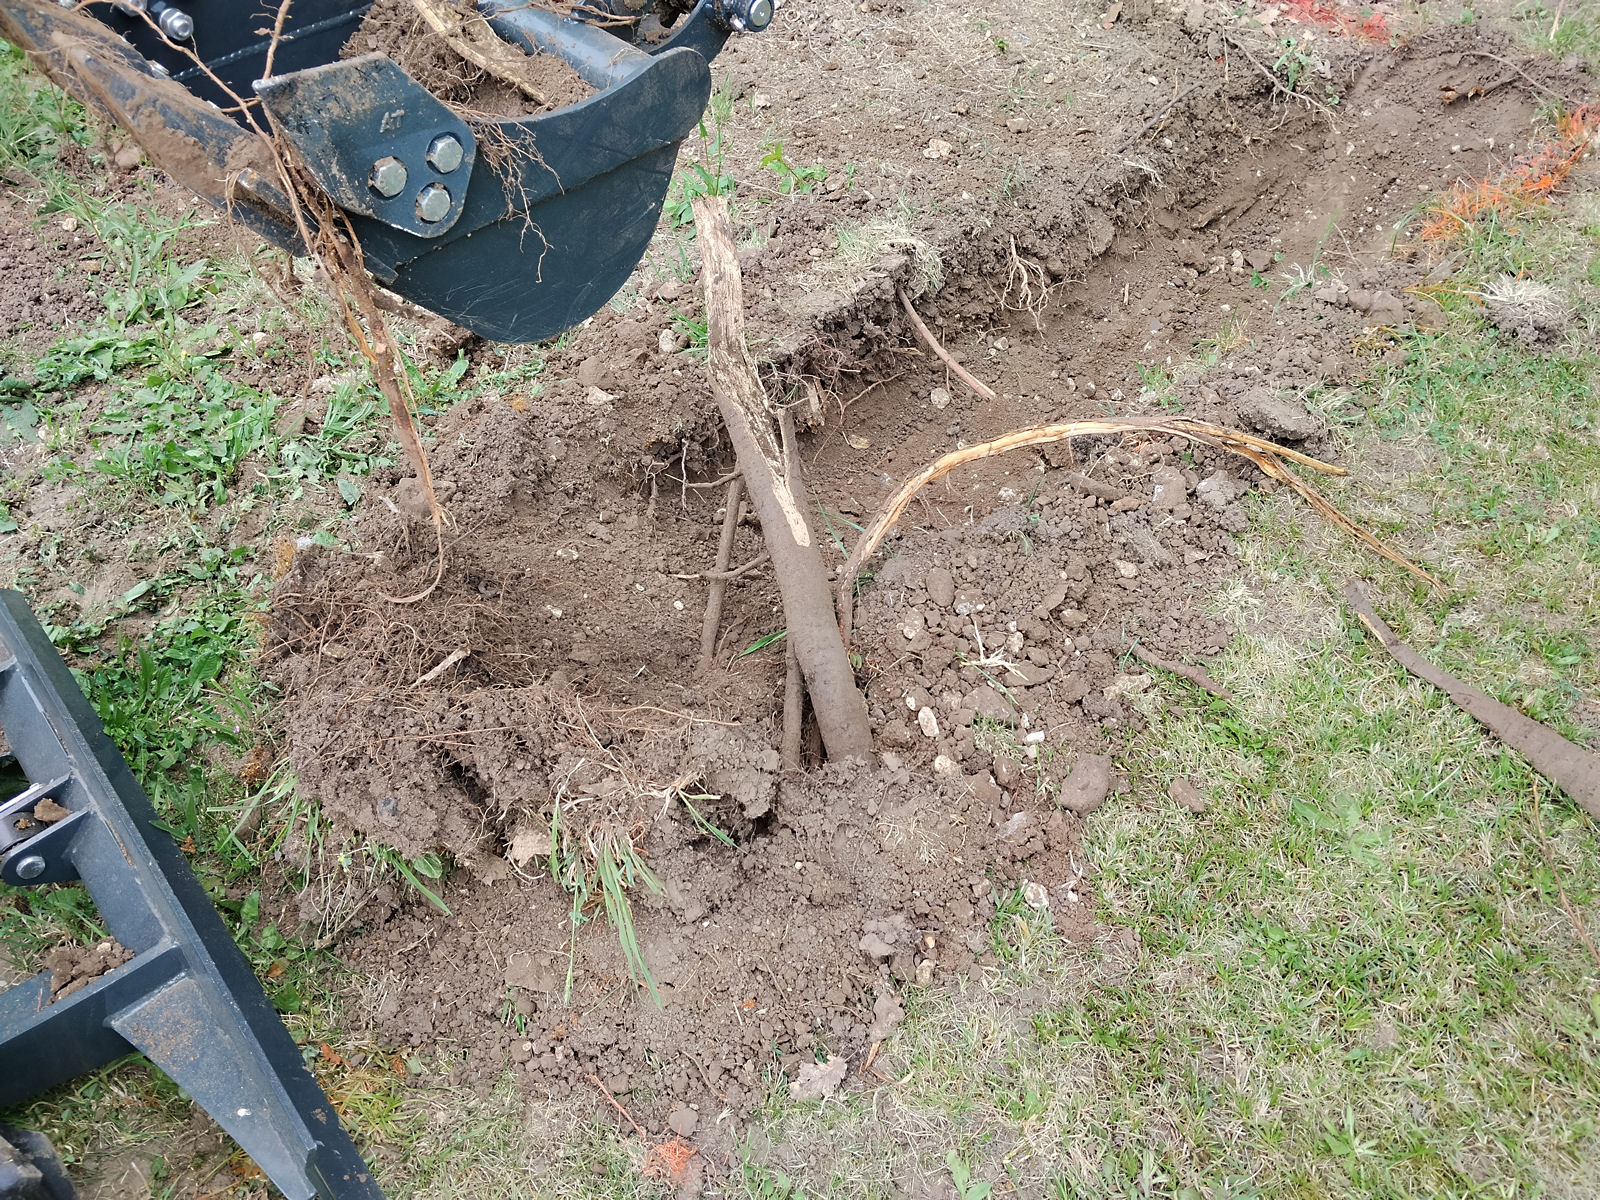
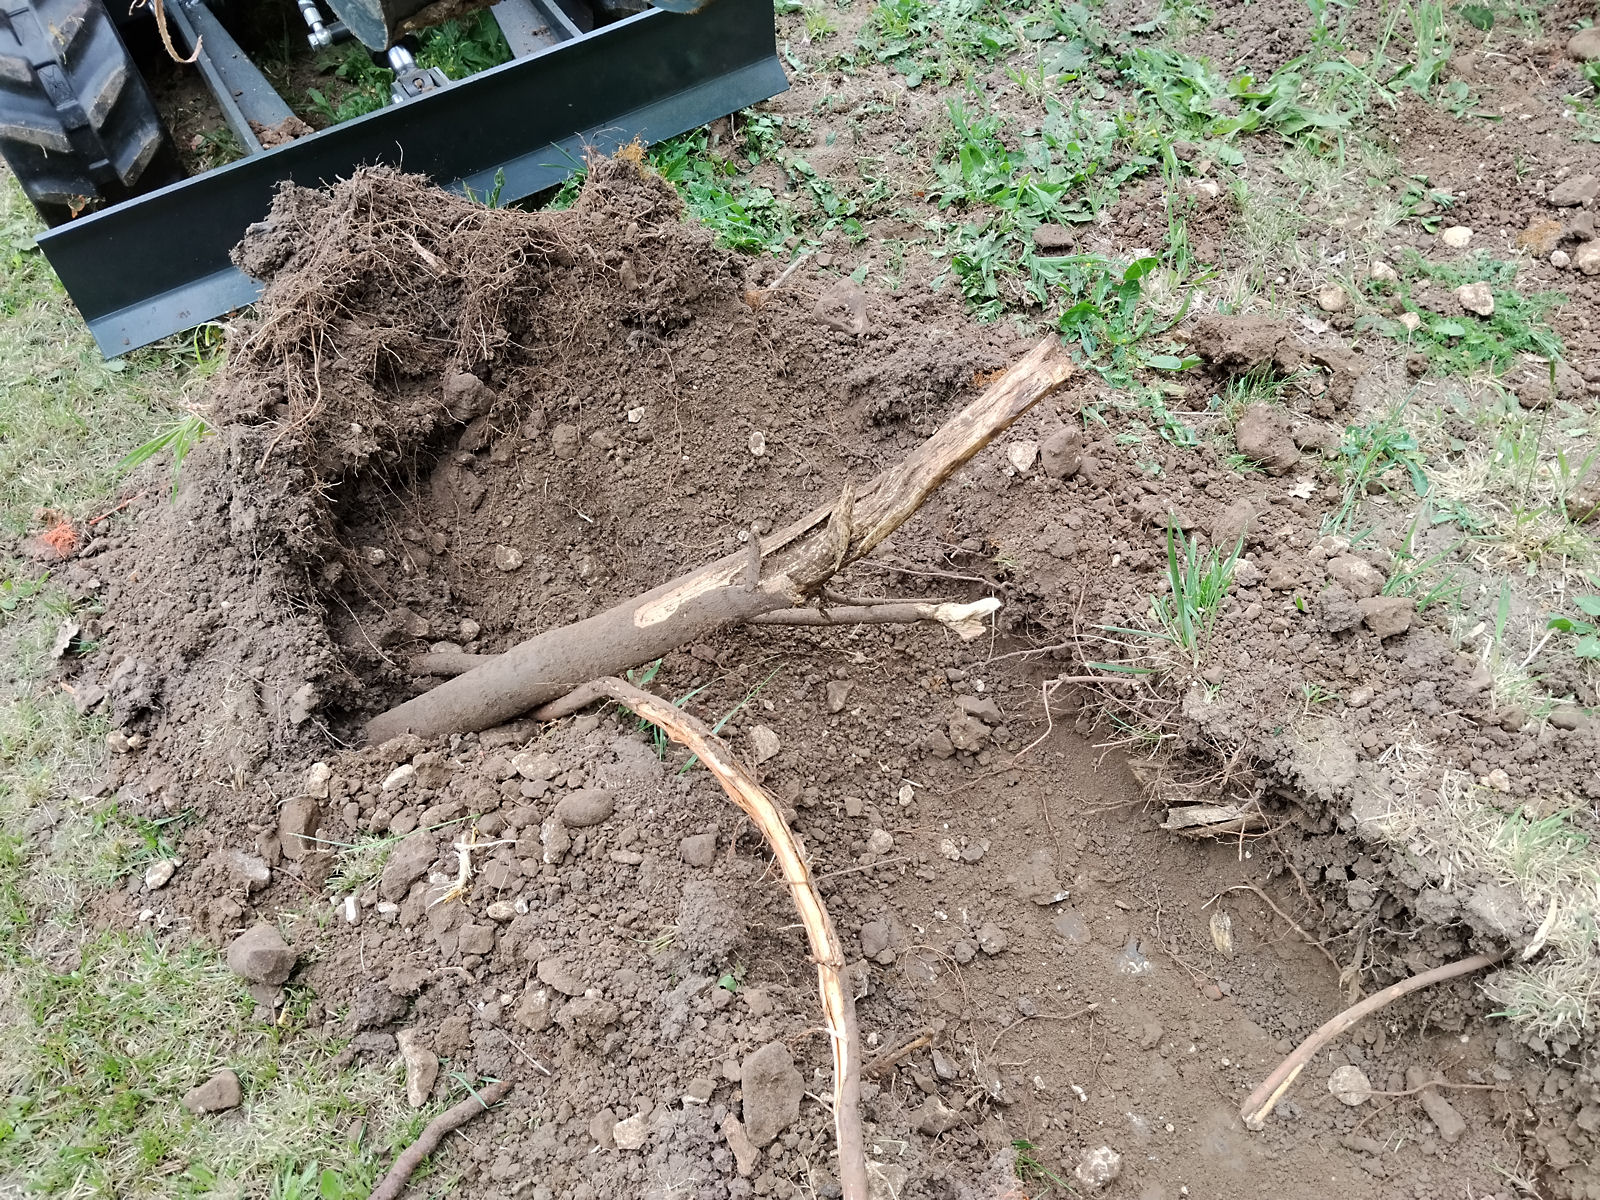
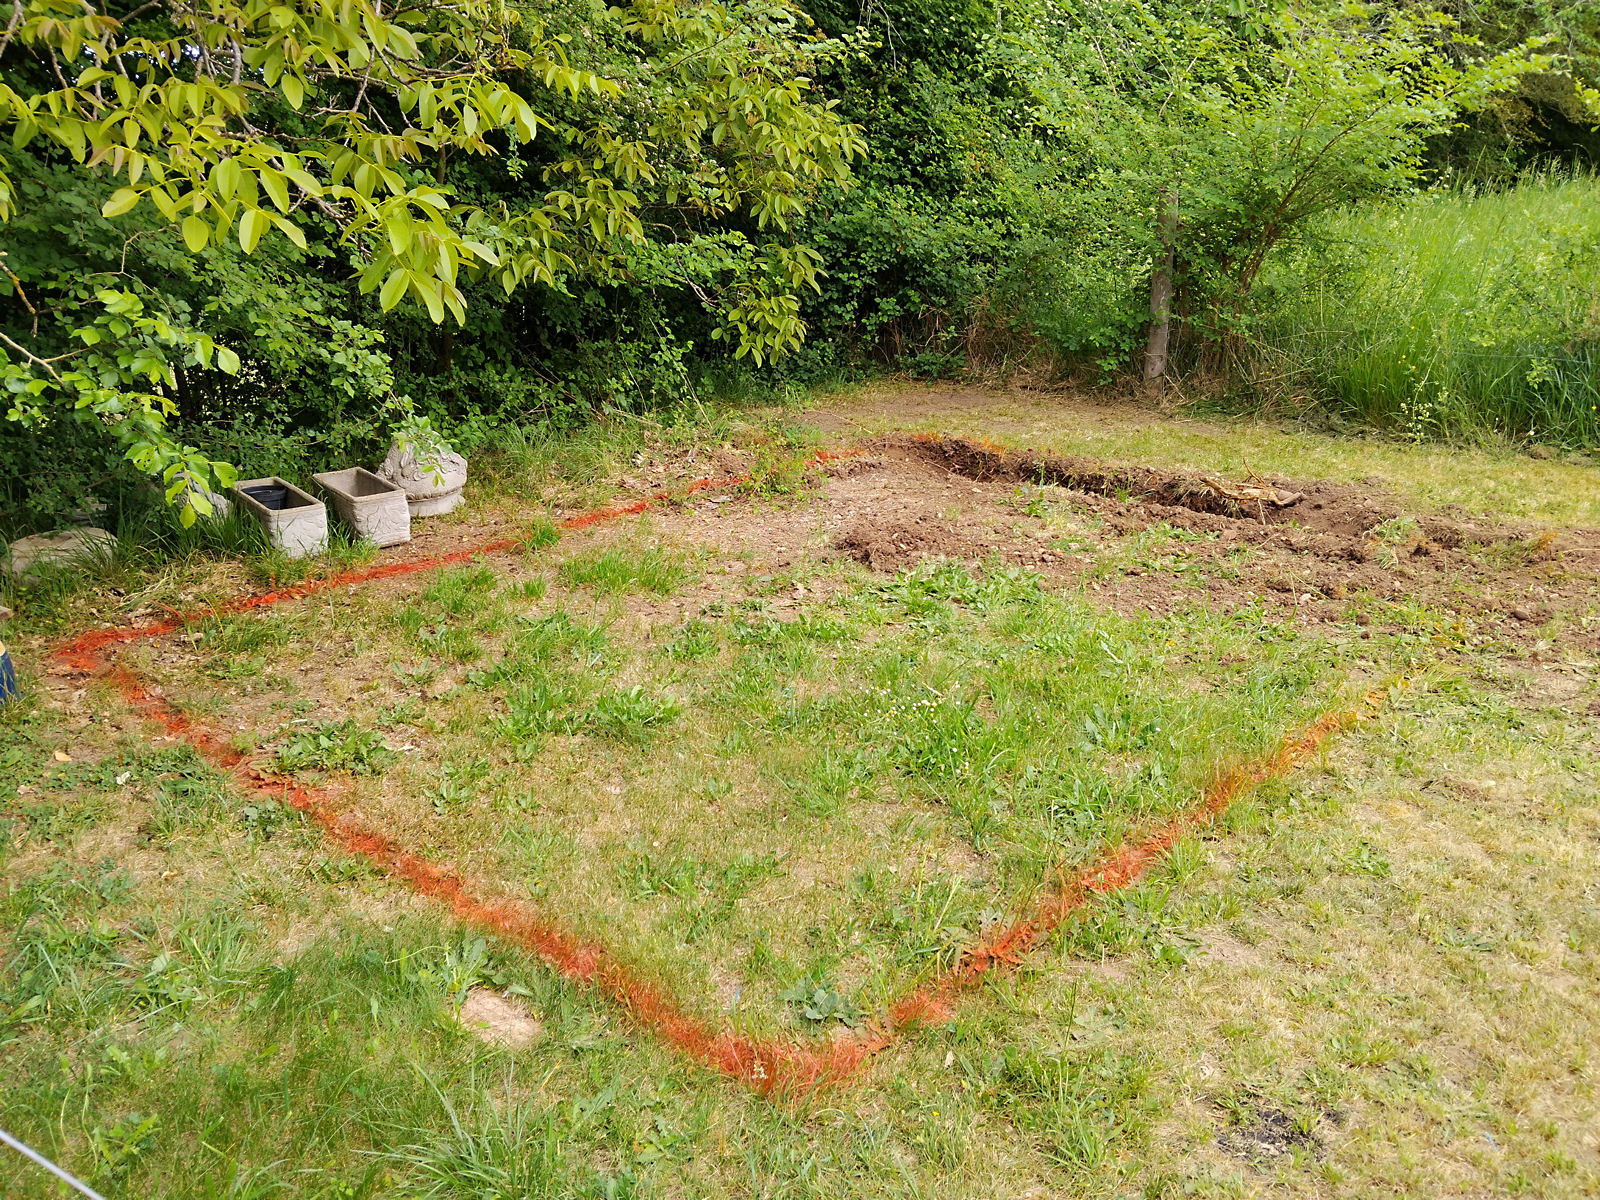
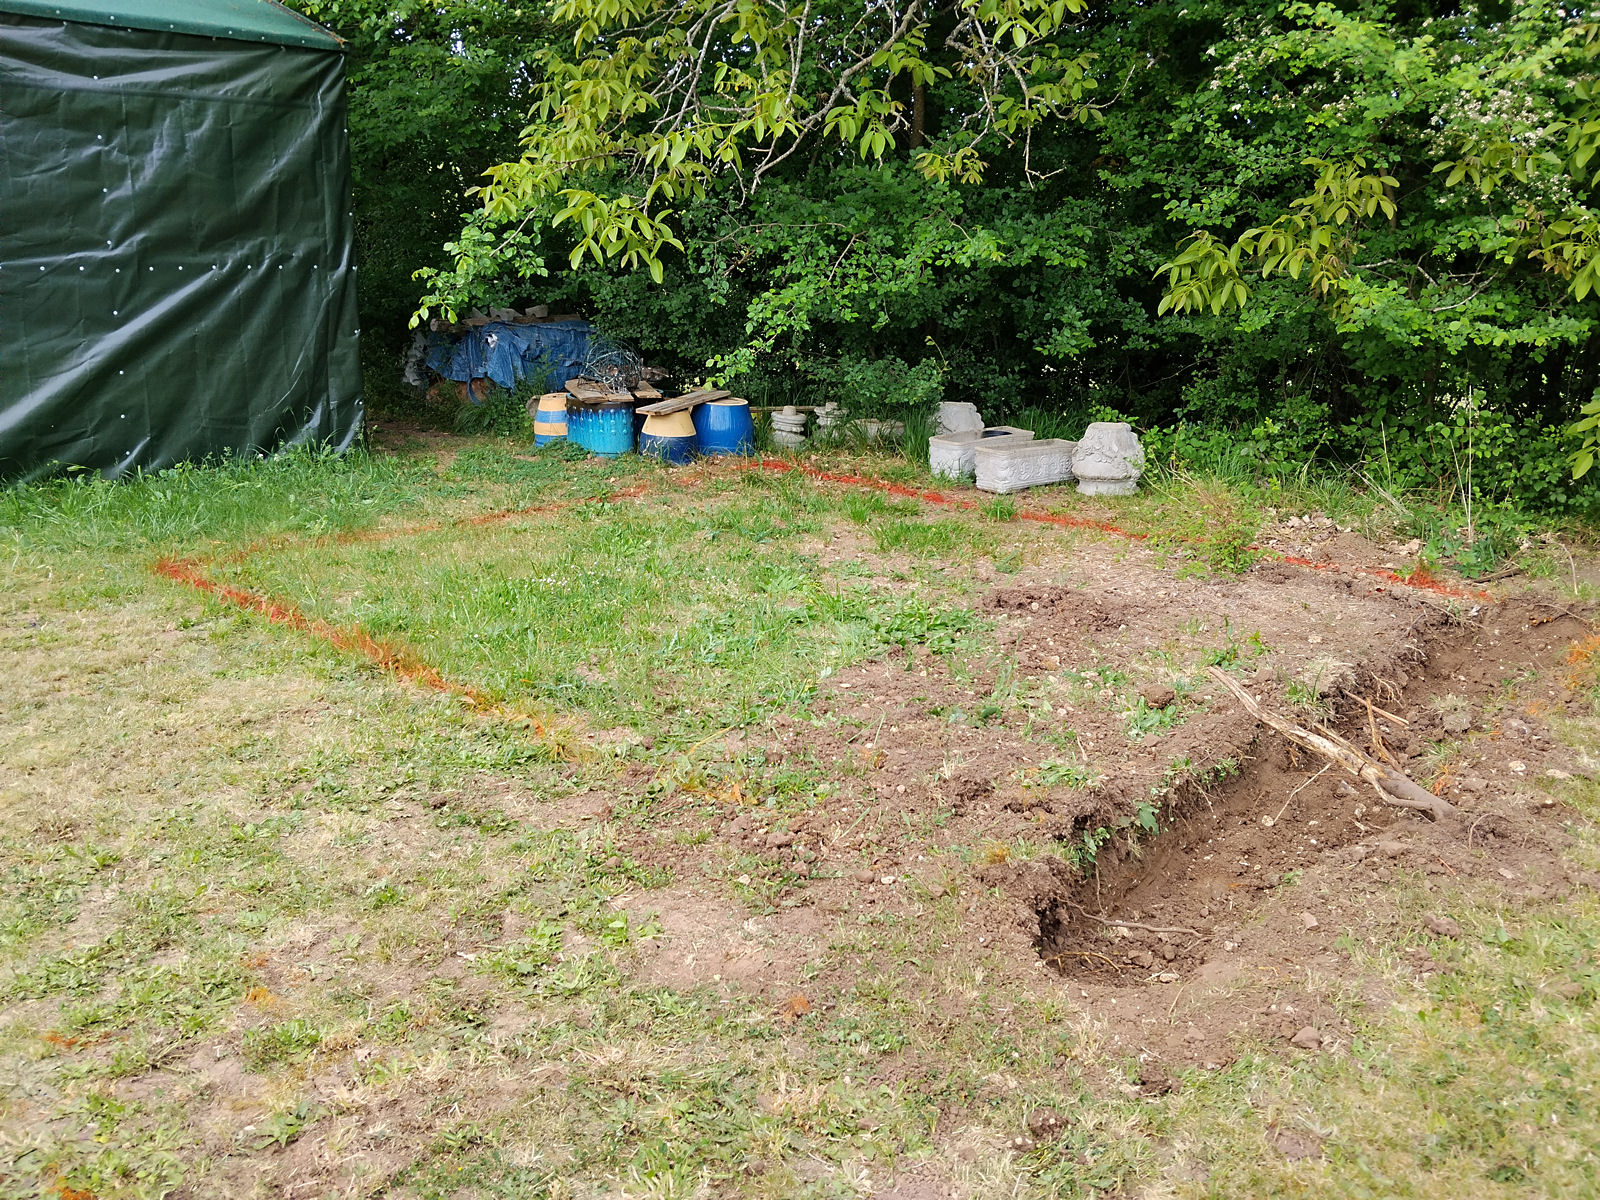
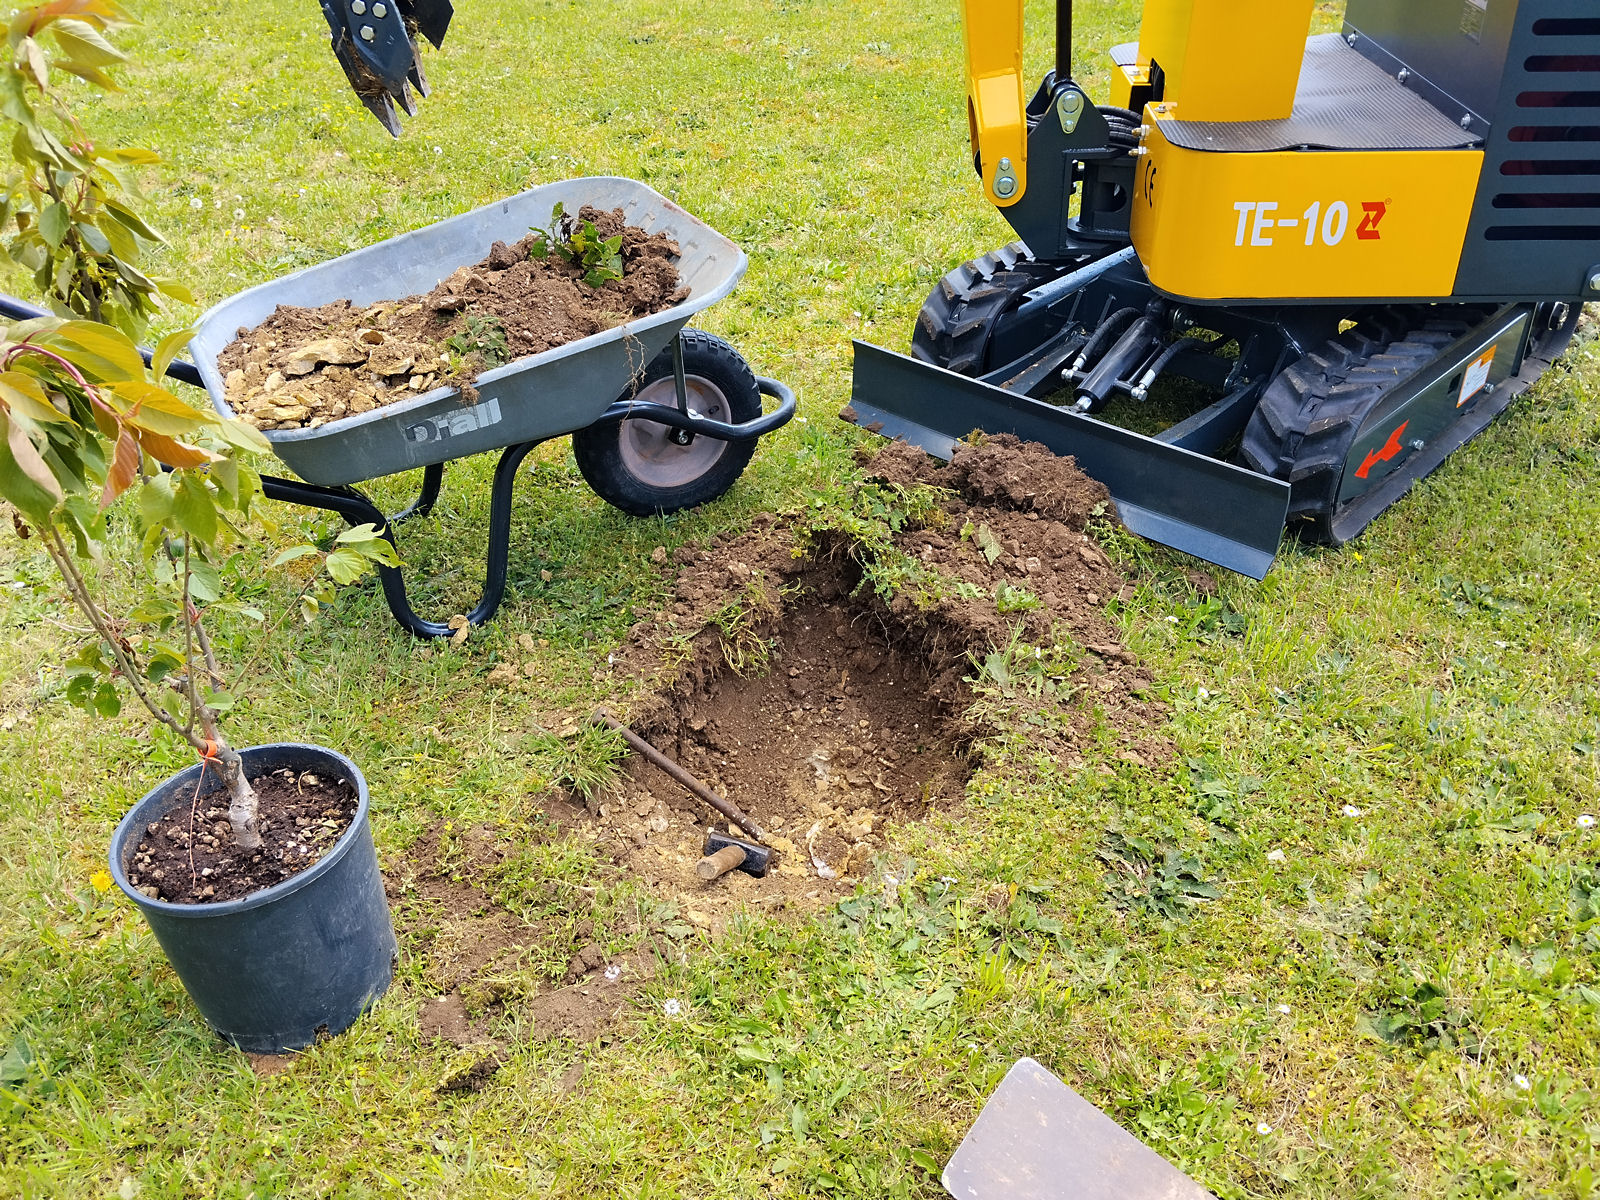
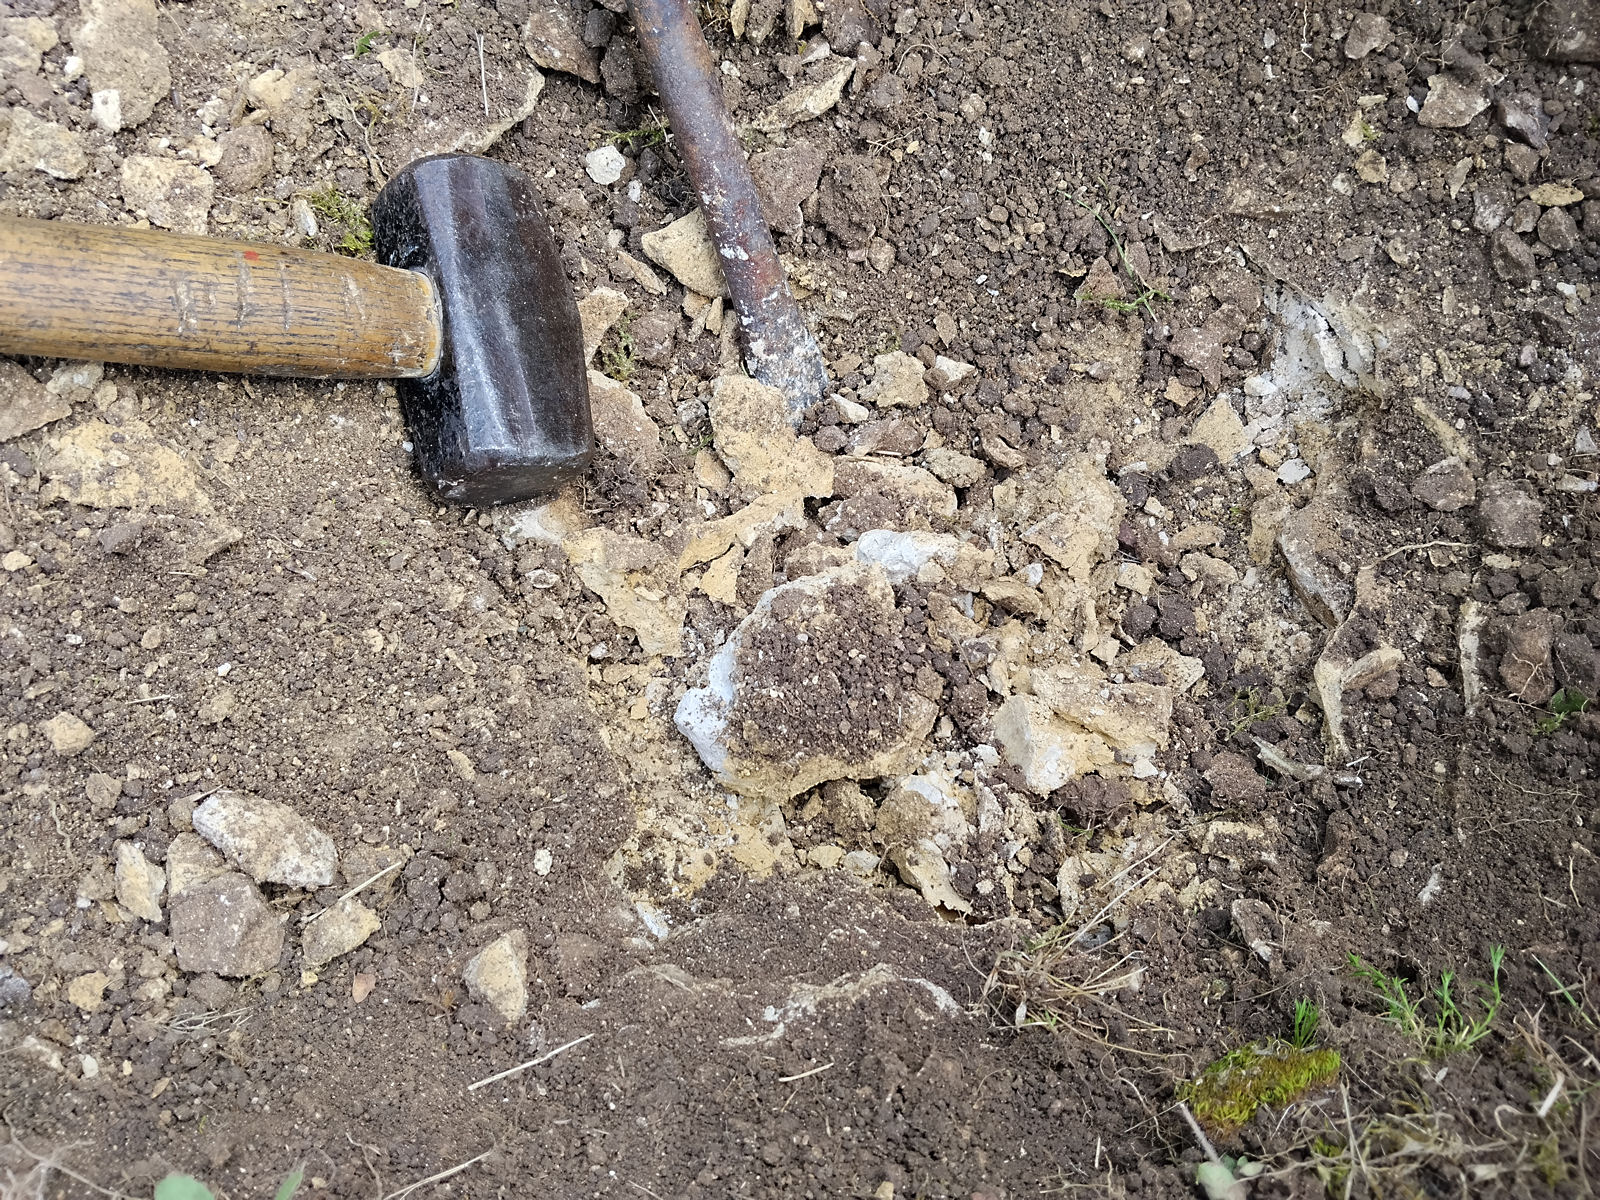
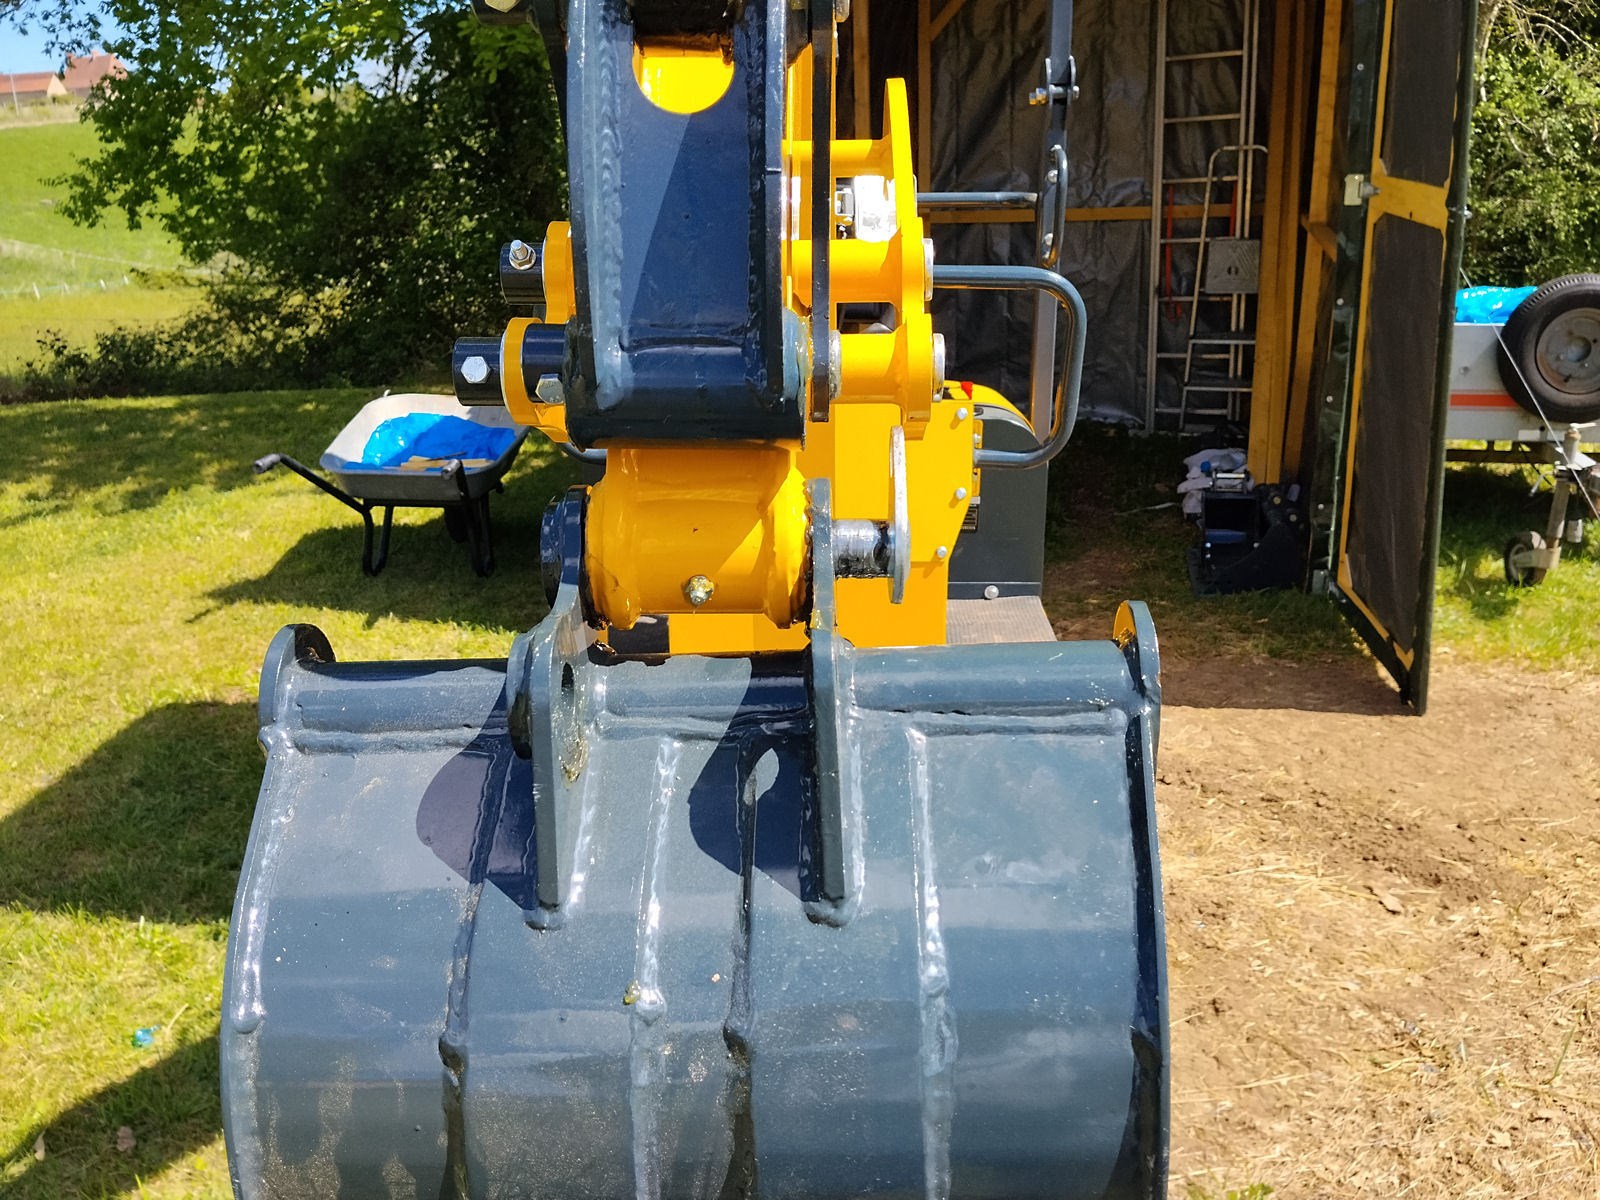
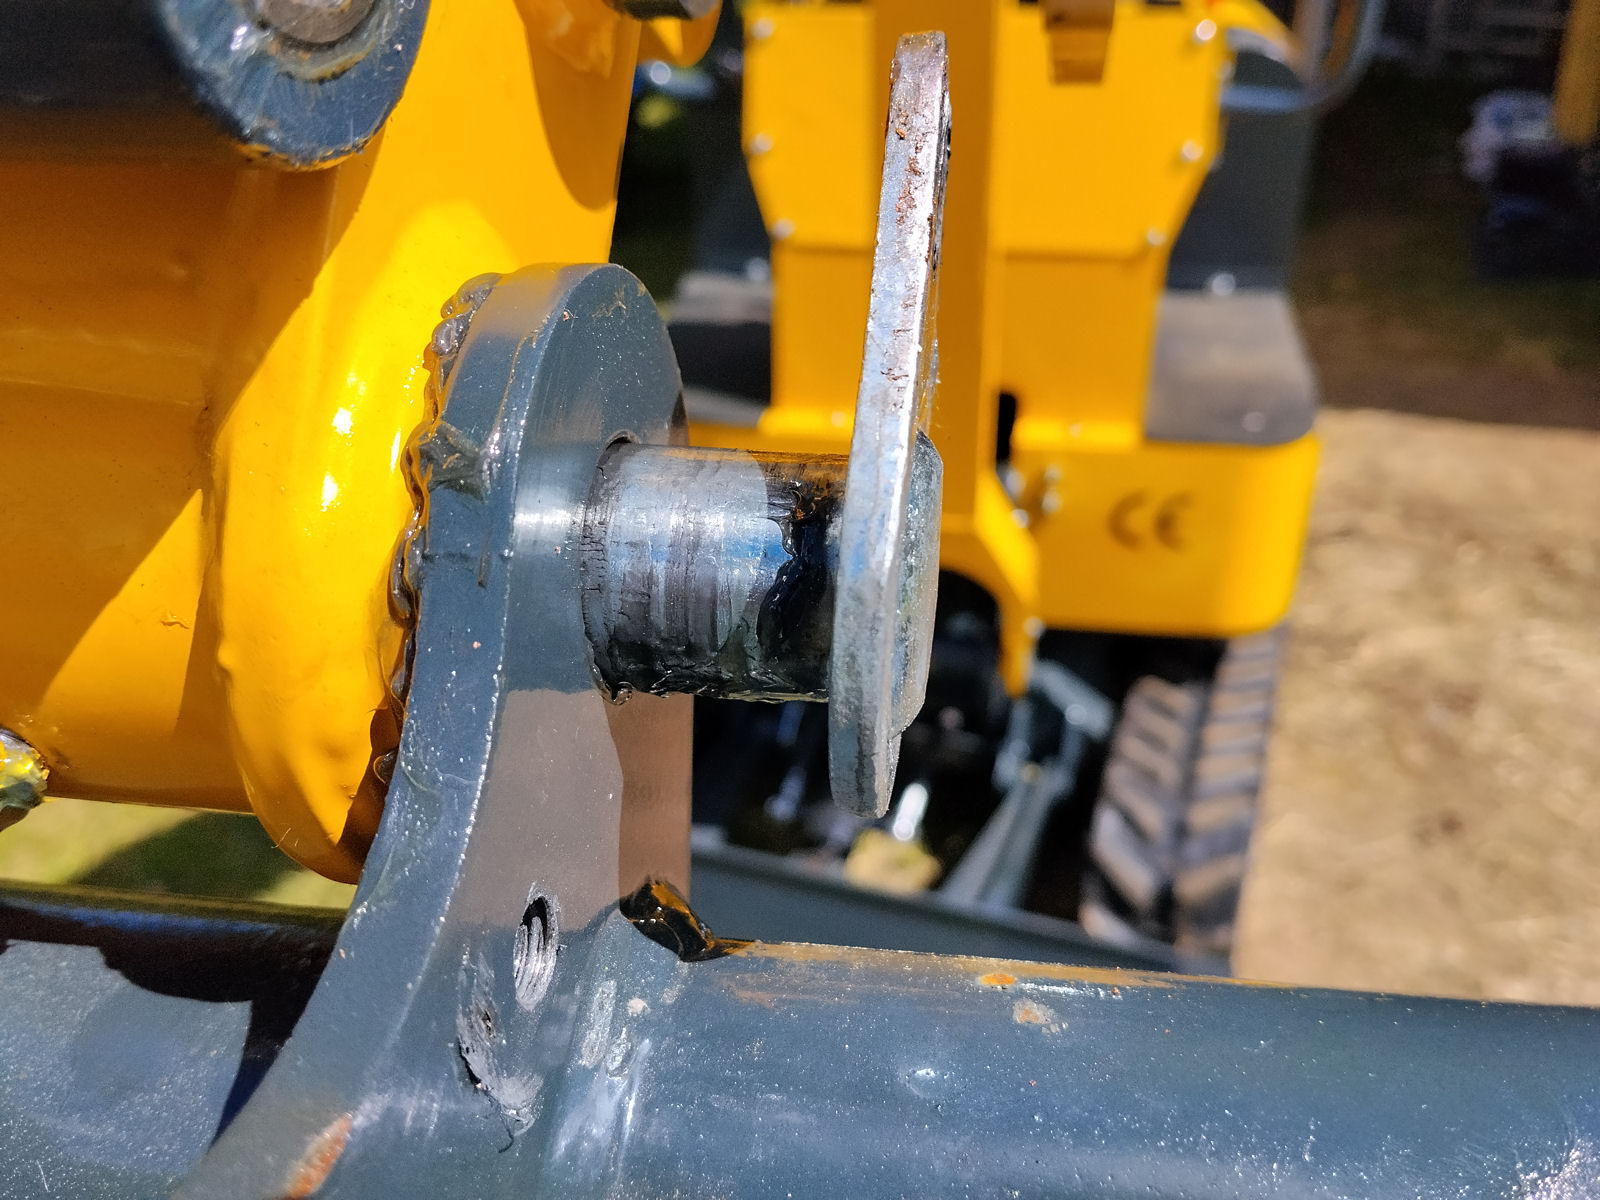
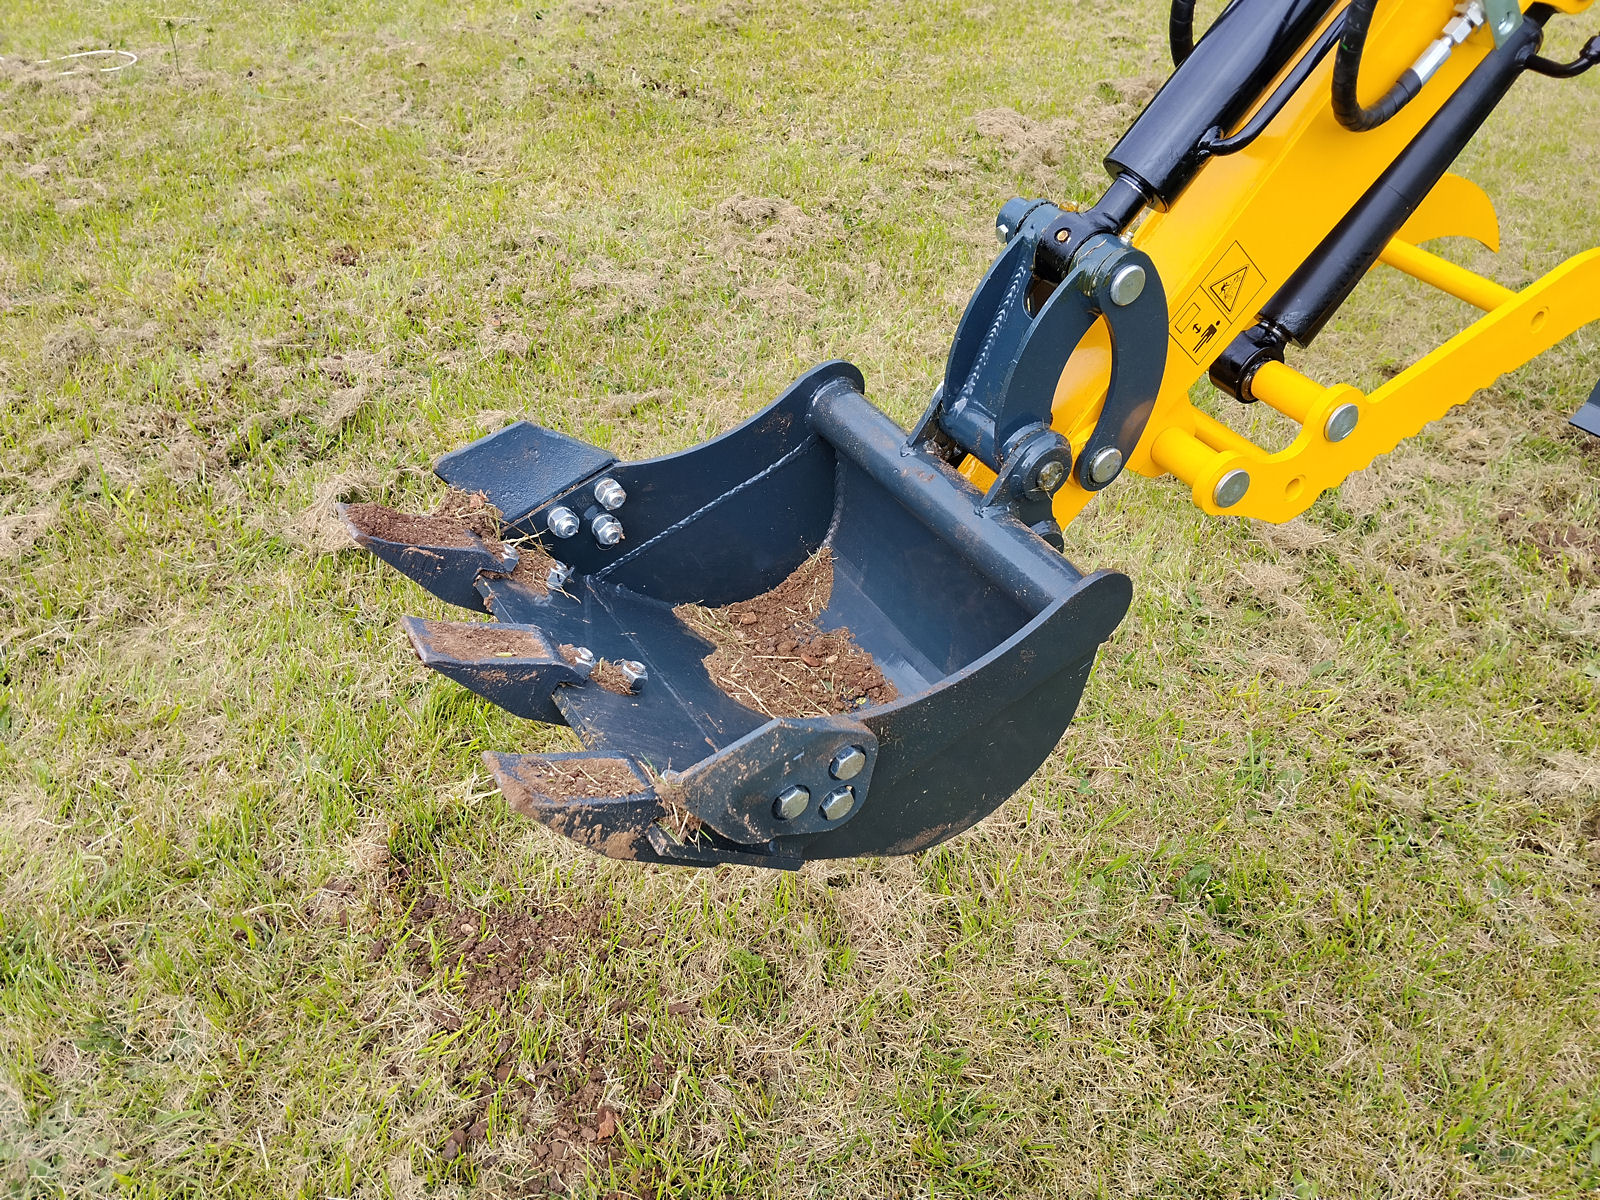
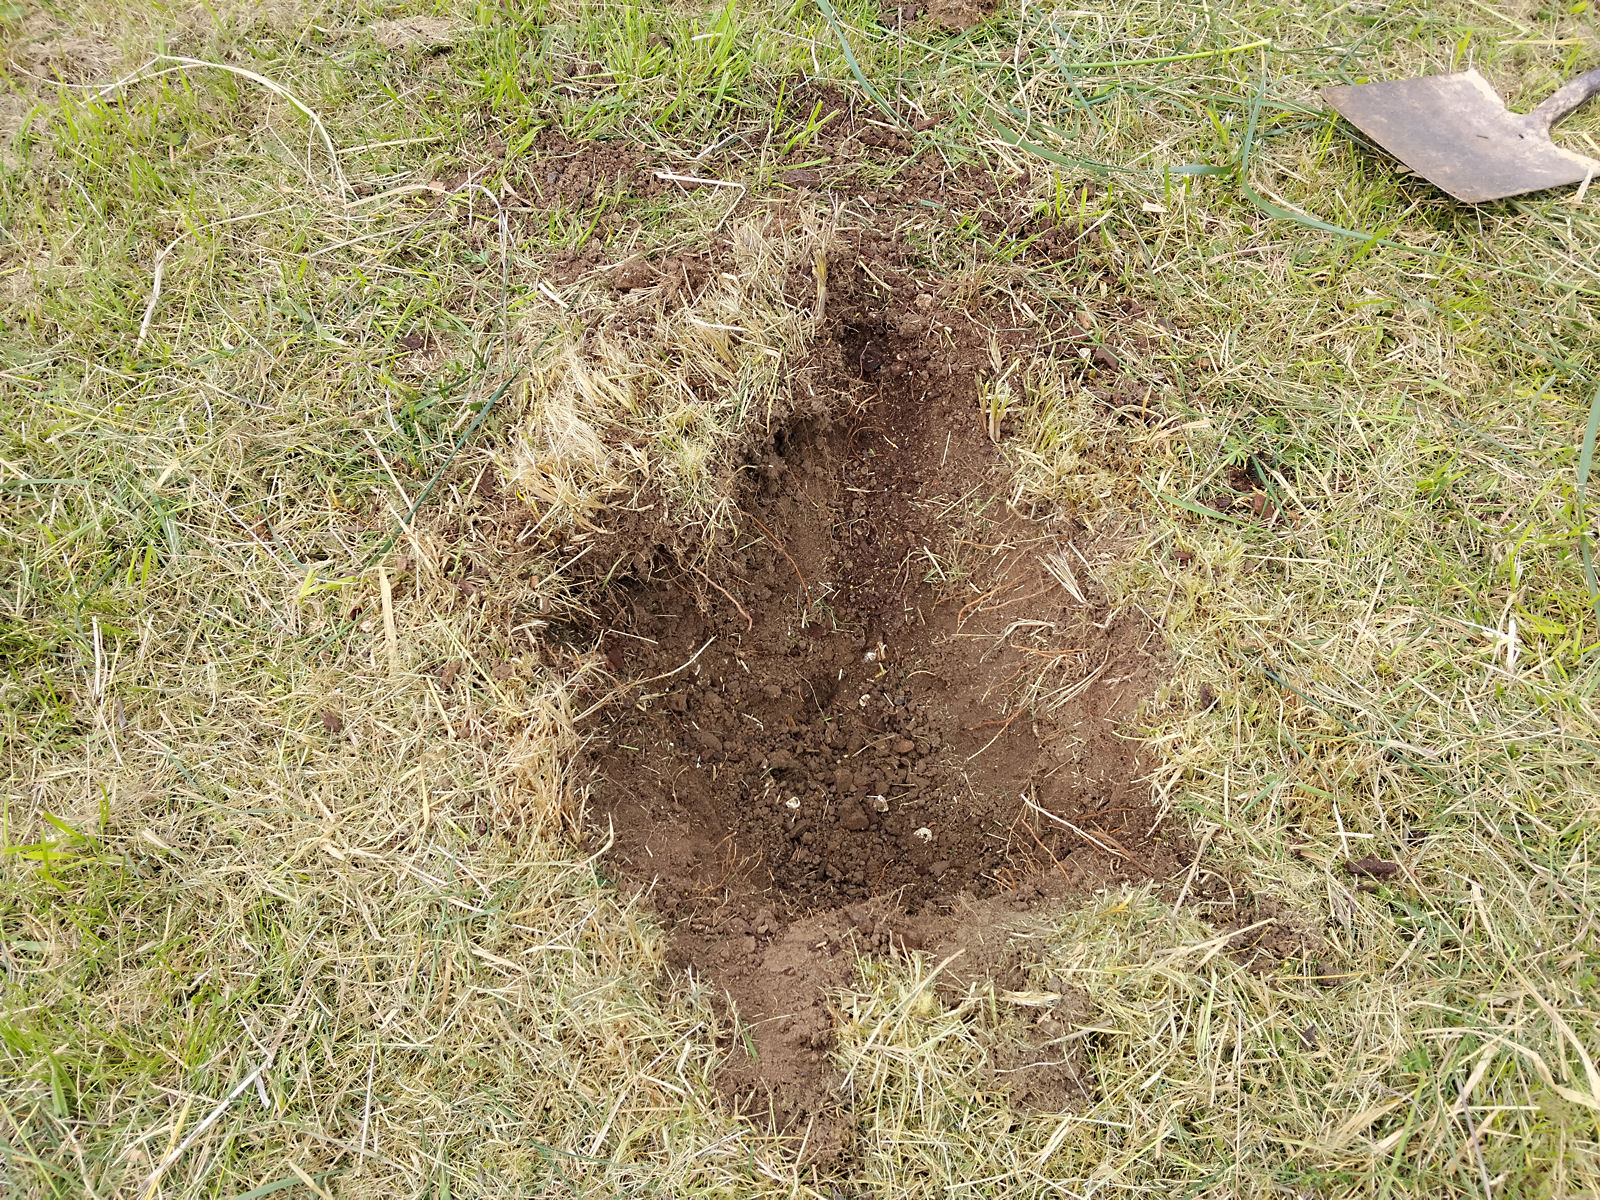
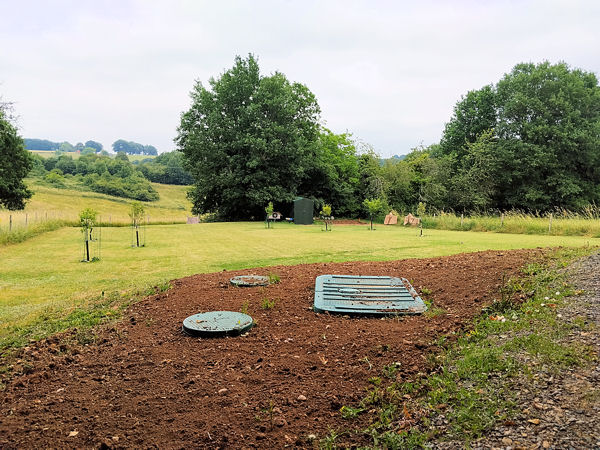
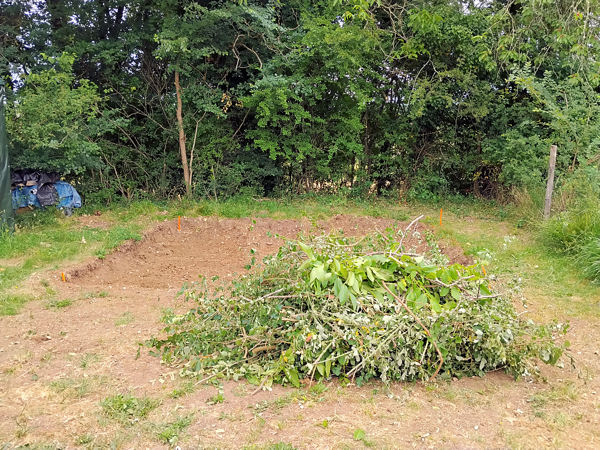
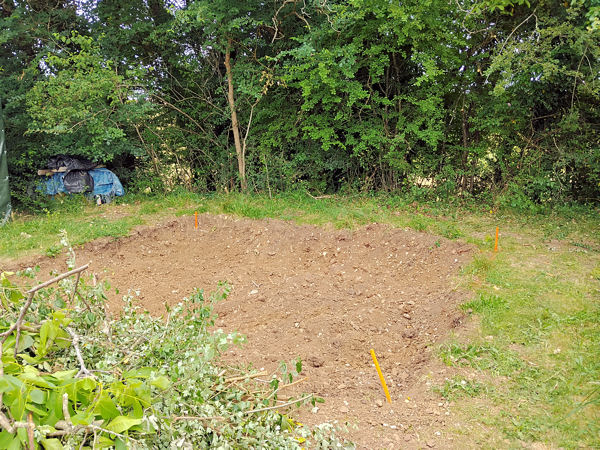
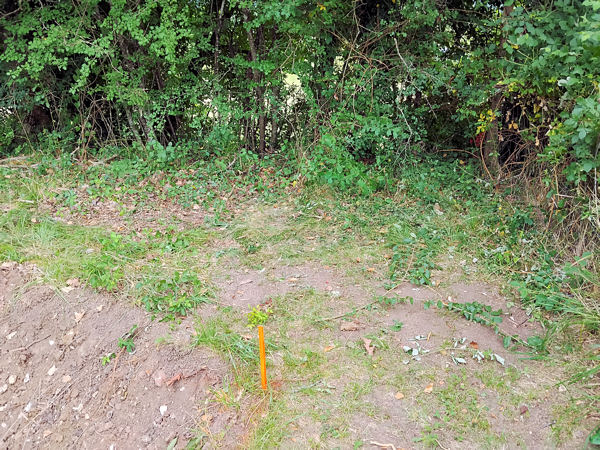
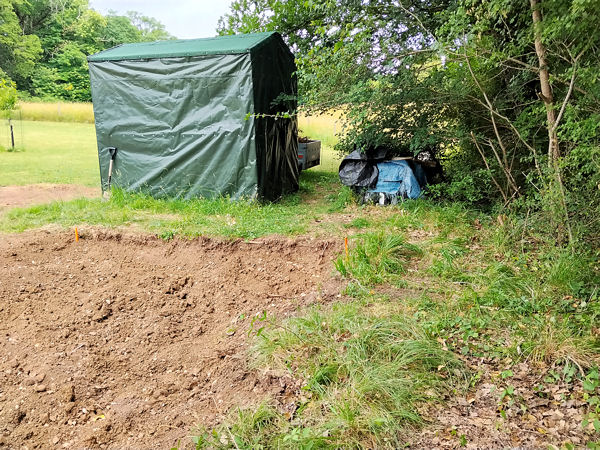
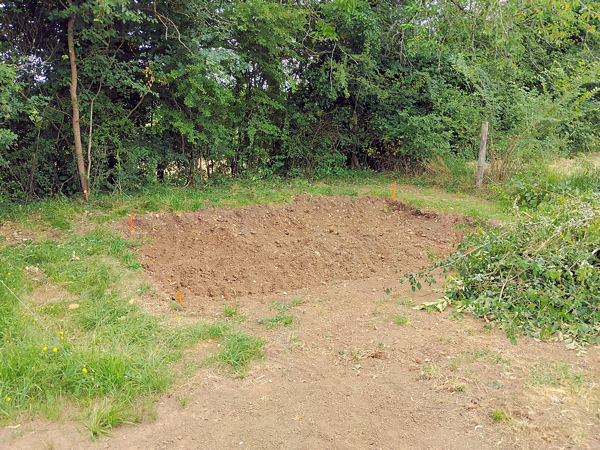
As mentioned, the day before yesterday I spent several exhausting hours in quite intense heat cutting and clearing away scrub, brush and small trees from the area at the back of the excavation to allow access for my excavator and the images below show the results. I need the access to clean up the hole I’ve dug and also adjust its side, front and back levels.
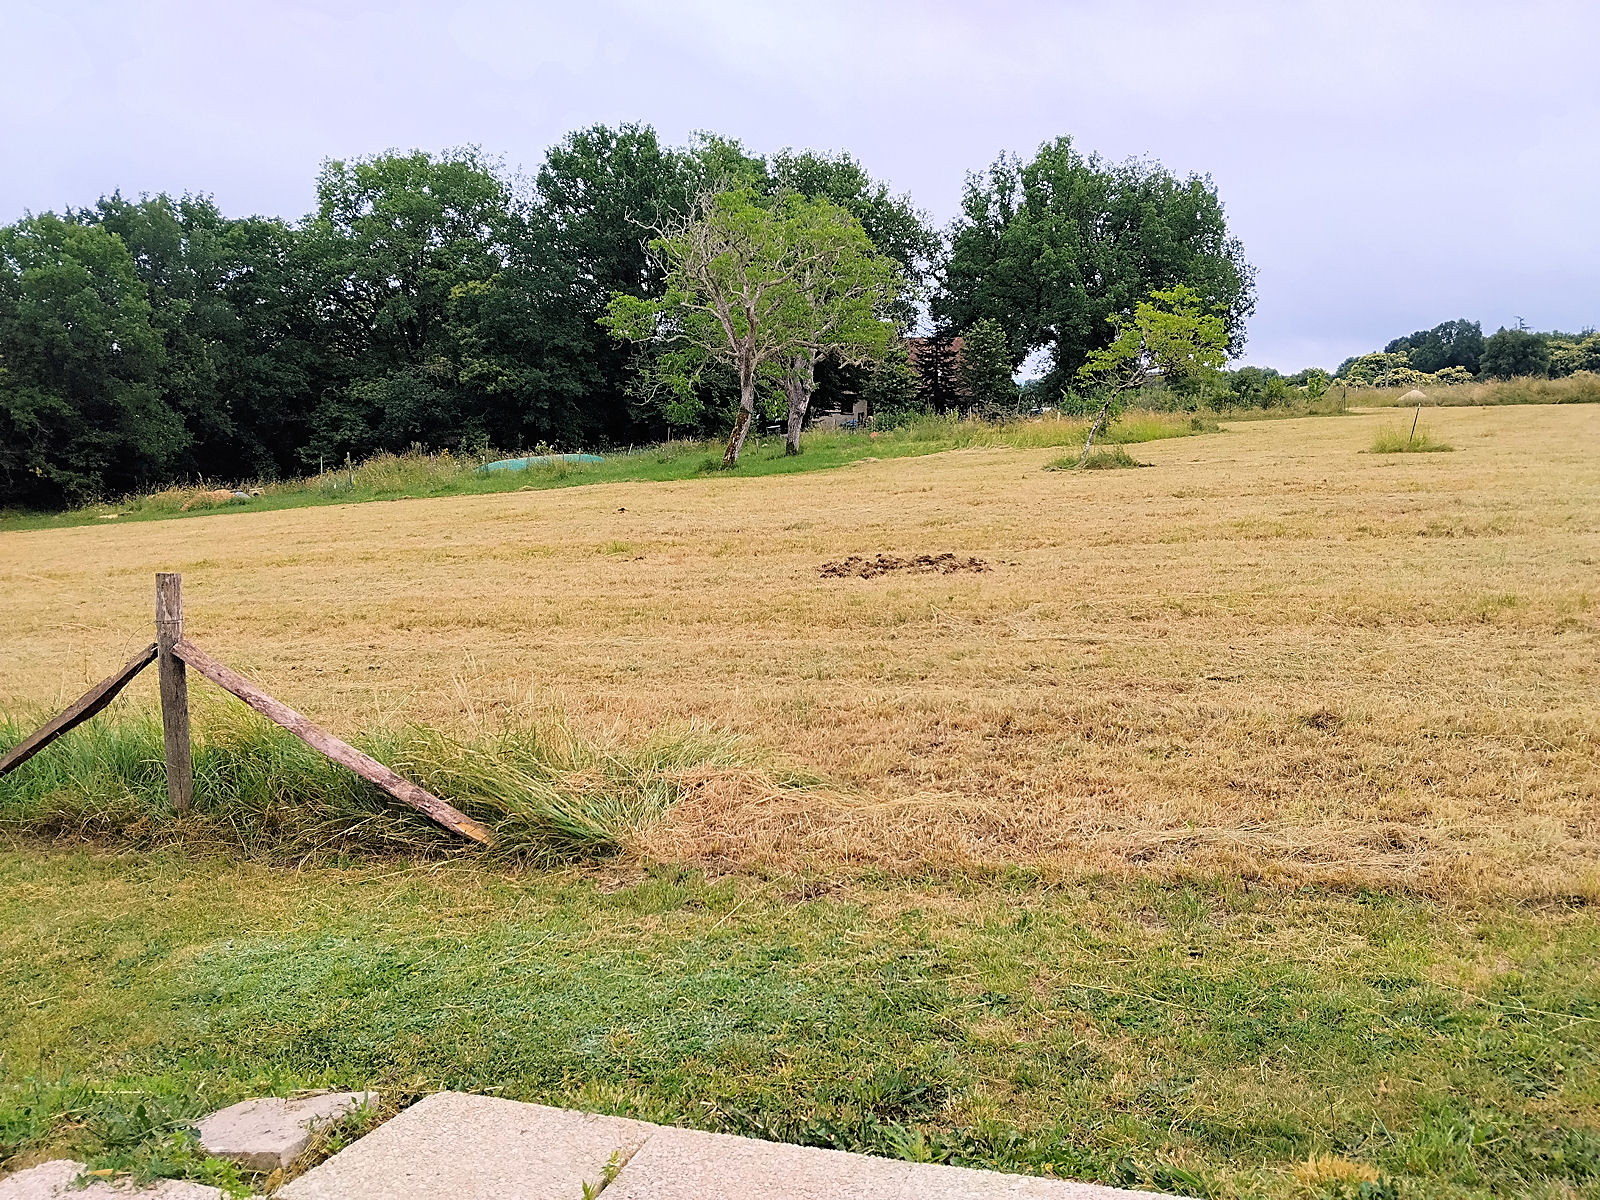
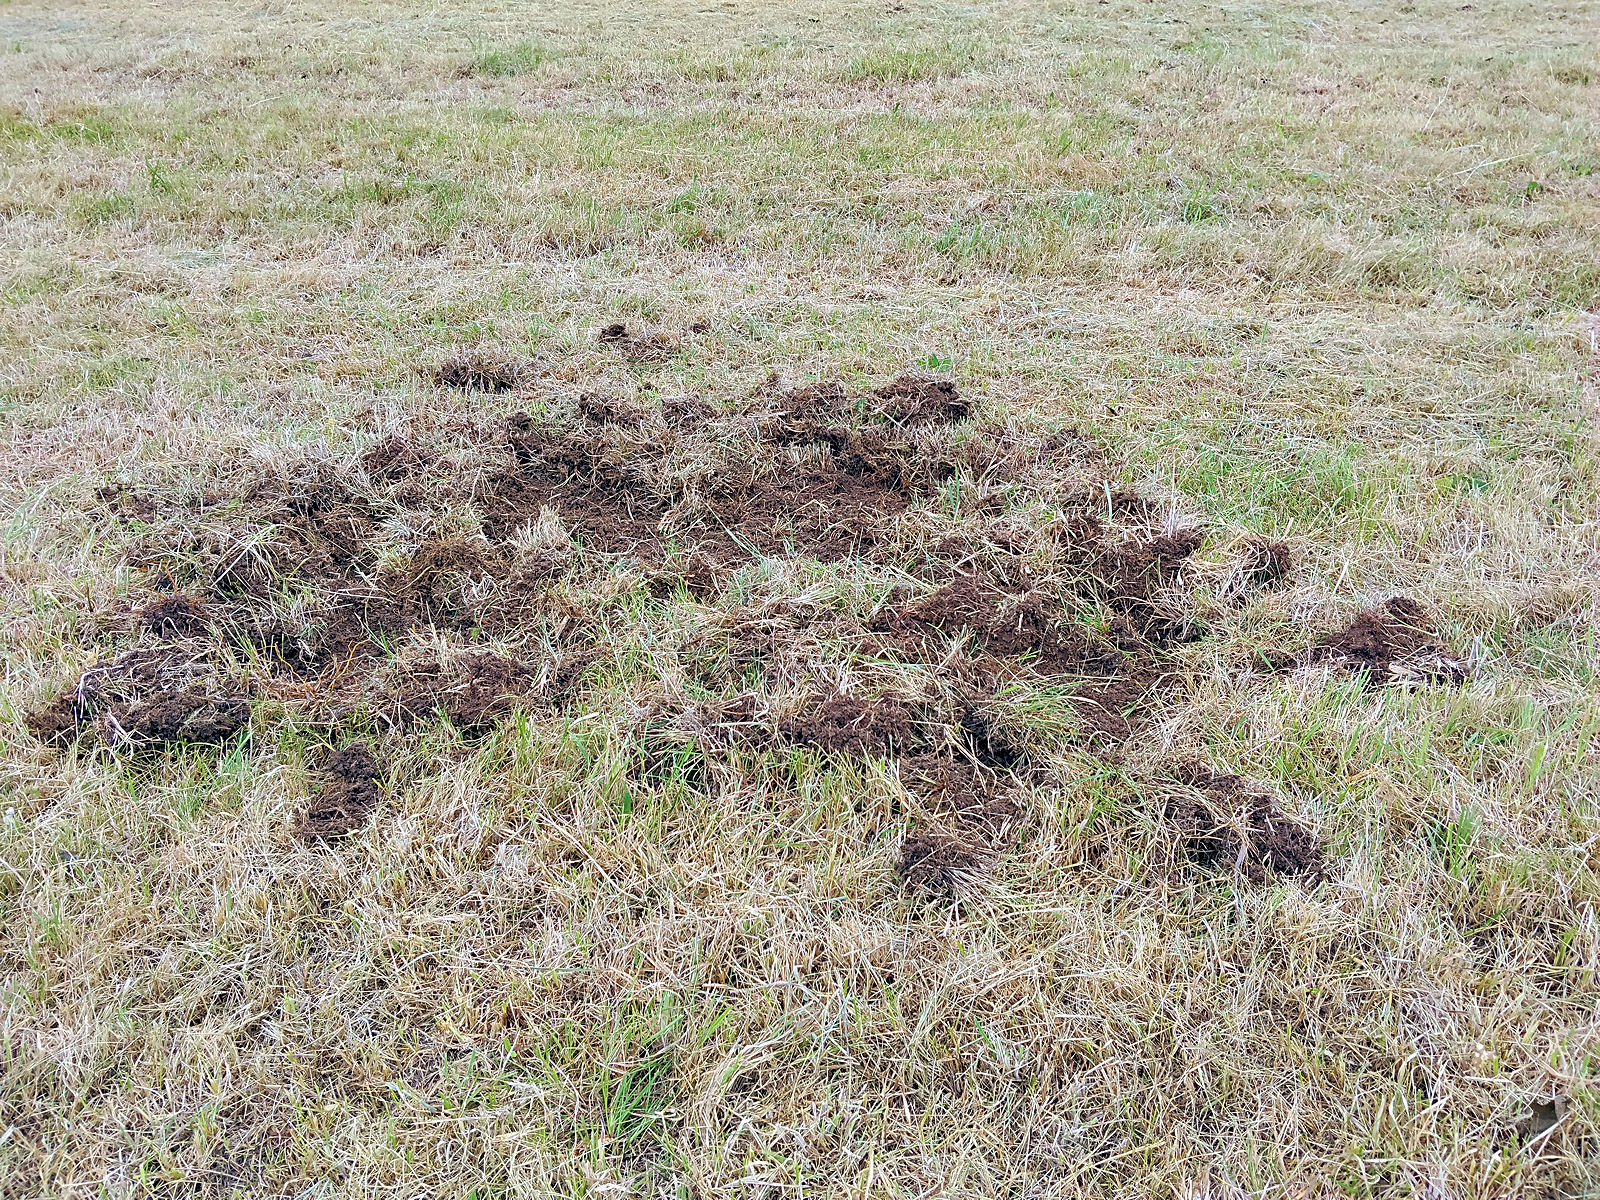
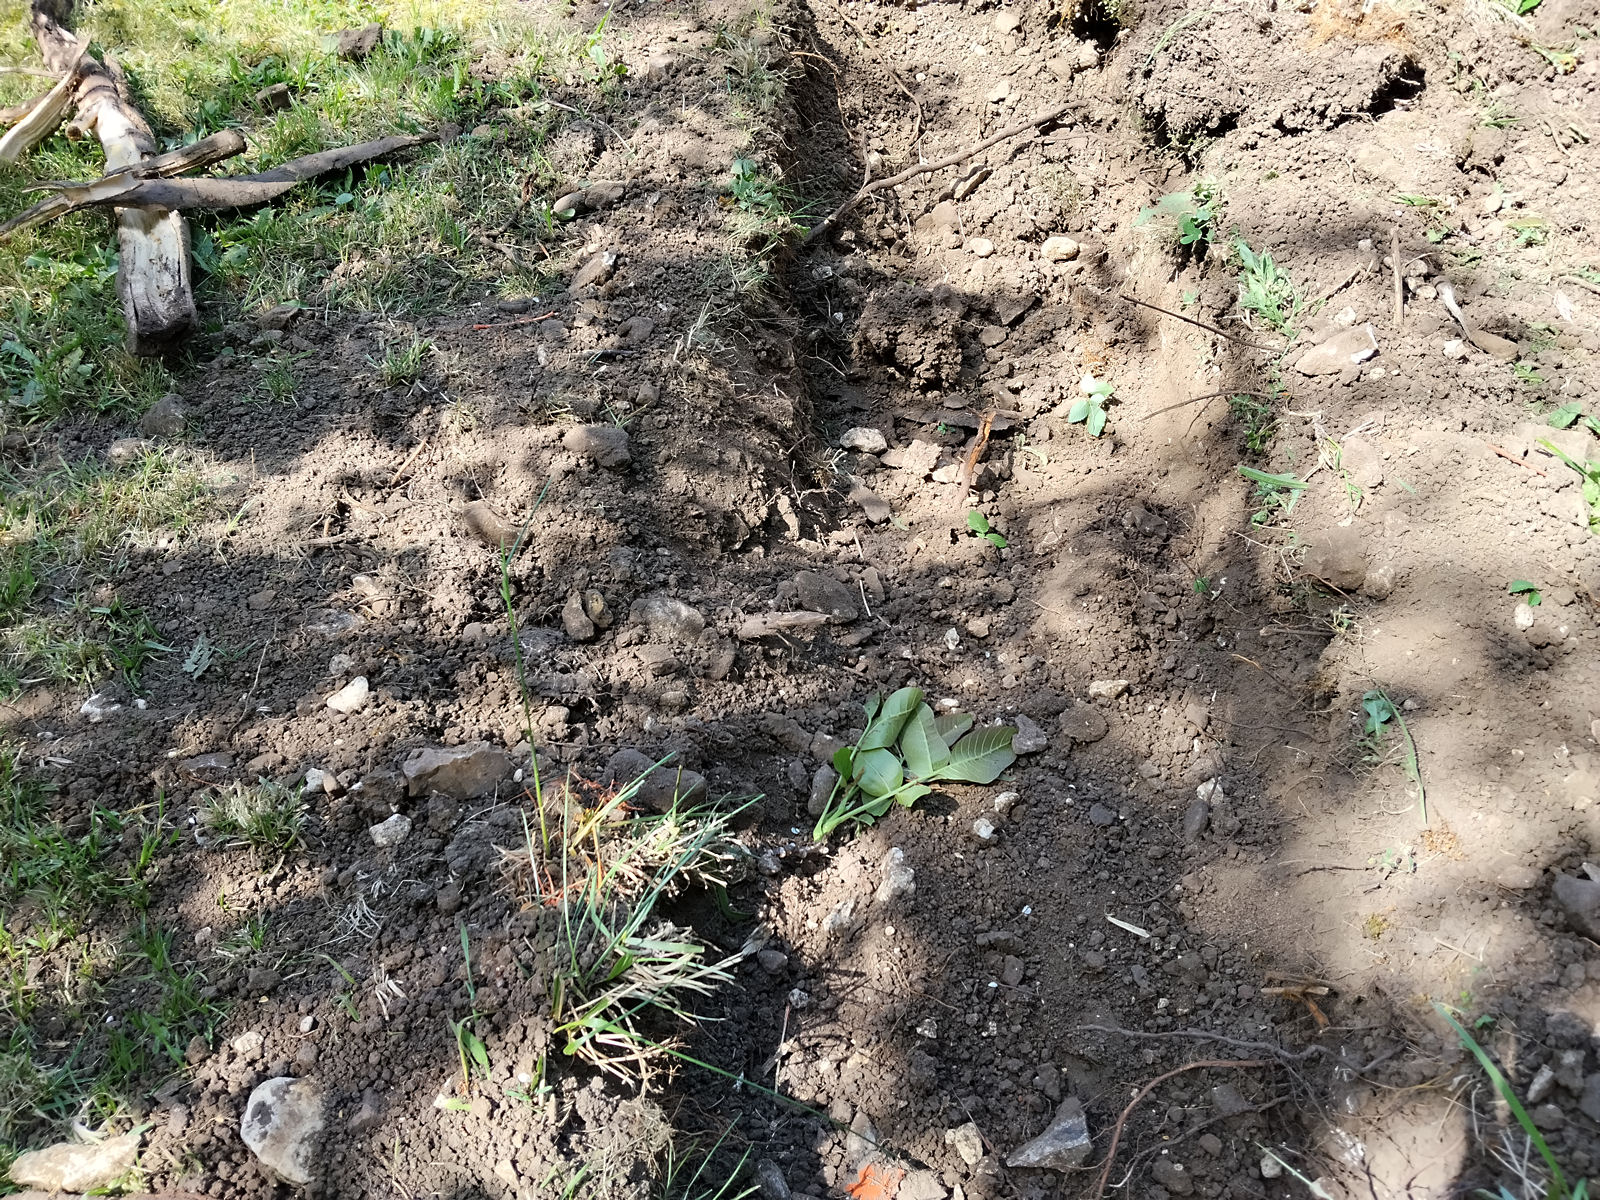
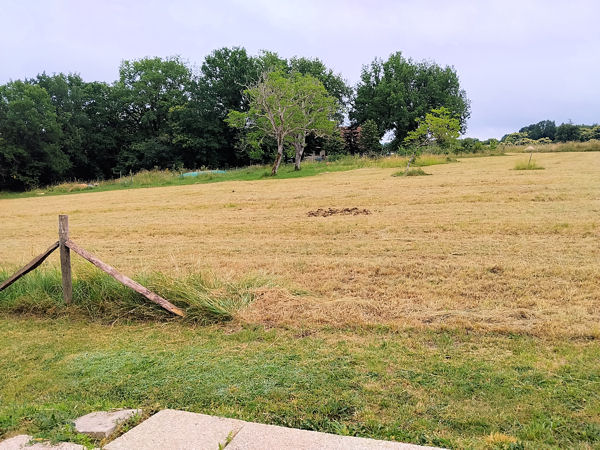
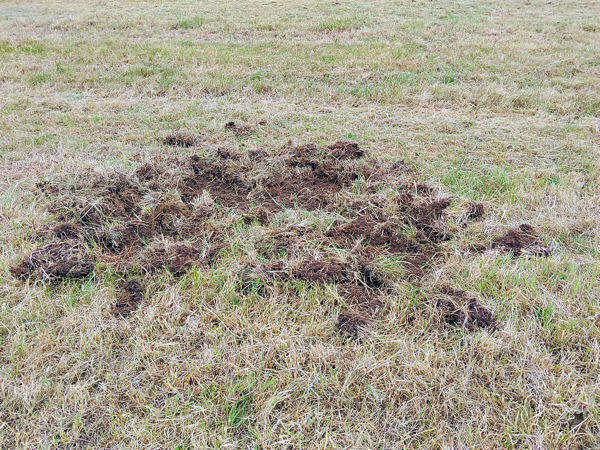
The following morning, yesterday, I looked out first thing and was amazed by what I saw. The wild boar, which I haven’t seen any sign of for months, had come up during the night onto the field next to my house that the local farmers had cut and cleared of hay while I was doing my brush removal work and had dug a large crater just yards from my garden.
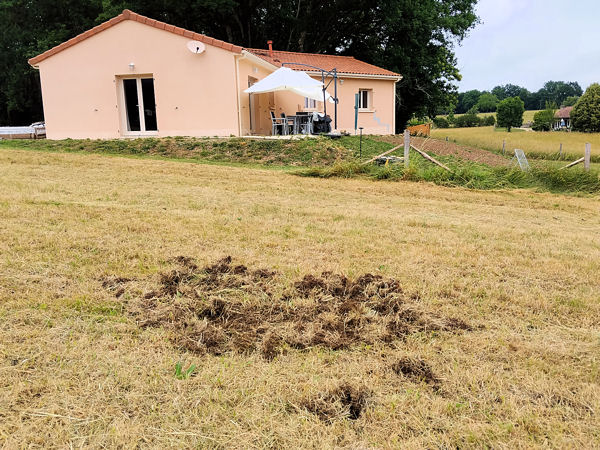
I still haven’t had a chance to finish my fence to keep them out. I ordered the parts to connect my post auger to my excavator but specified the wrong size and am still awaiting two connectors. My fear now is that they may try to get into my back garden and wreak havoc as they did several times previously and have set up some barriers that won’t really be up to the job of holding them back.
On top of all this, did I mention that due to an ear wax problem I’m almost deaf and need to arrange an appointment with my doctor to get my ears syringed? No? Sorry, what did you say? I couldn’t quite catch it… 🙁