Today was the last hot, sunny day that we’re going to get for a while and even when dry weather does resume, the temperature is forecast to be in the low 20s, which is about 10 degrees lower than it has been recently.
Having said that, working outside on the Weedhopper today was almost unbearable – even just moving around made the perspiration stream, and when I started working for real it was in my eyes, over the lenses of the glasses that I wear when I’m doing this kind of work and dripping onto the things that I was working on.
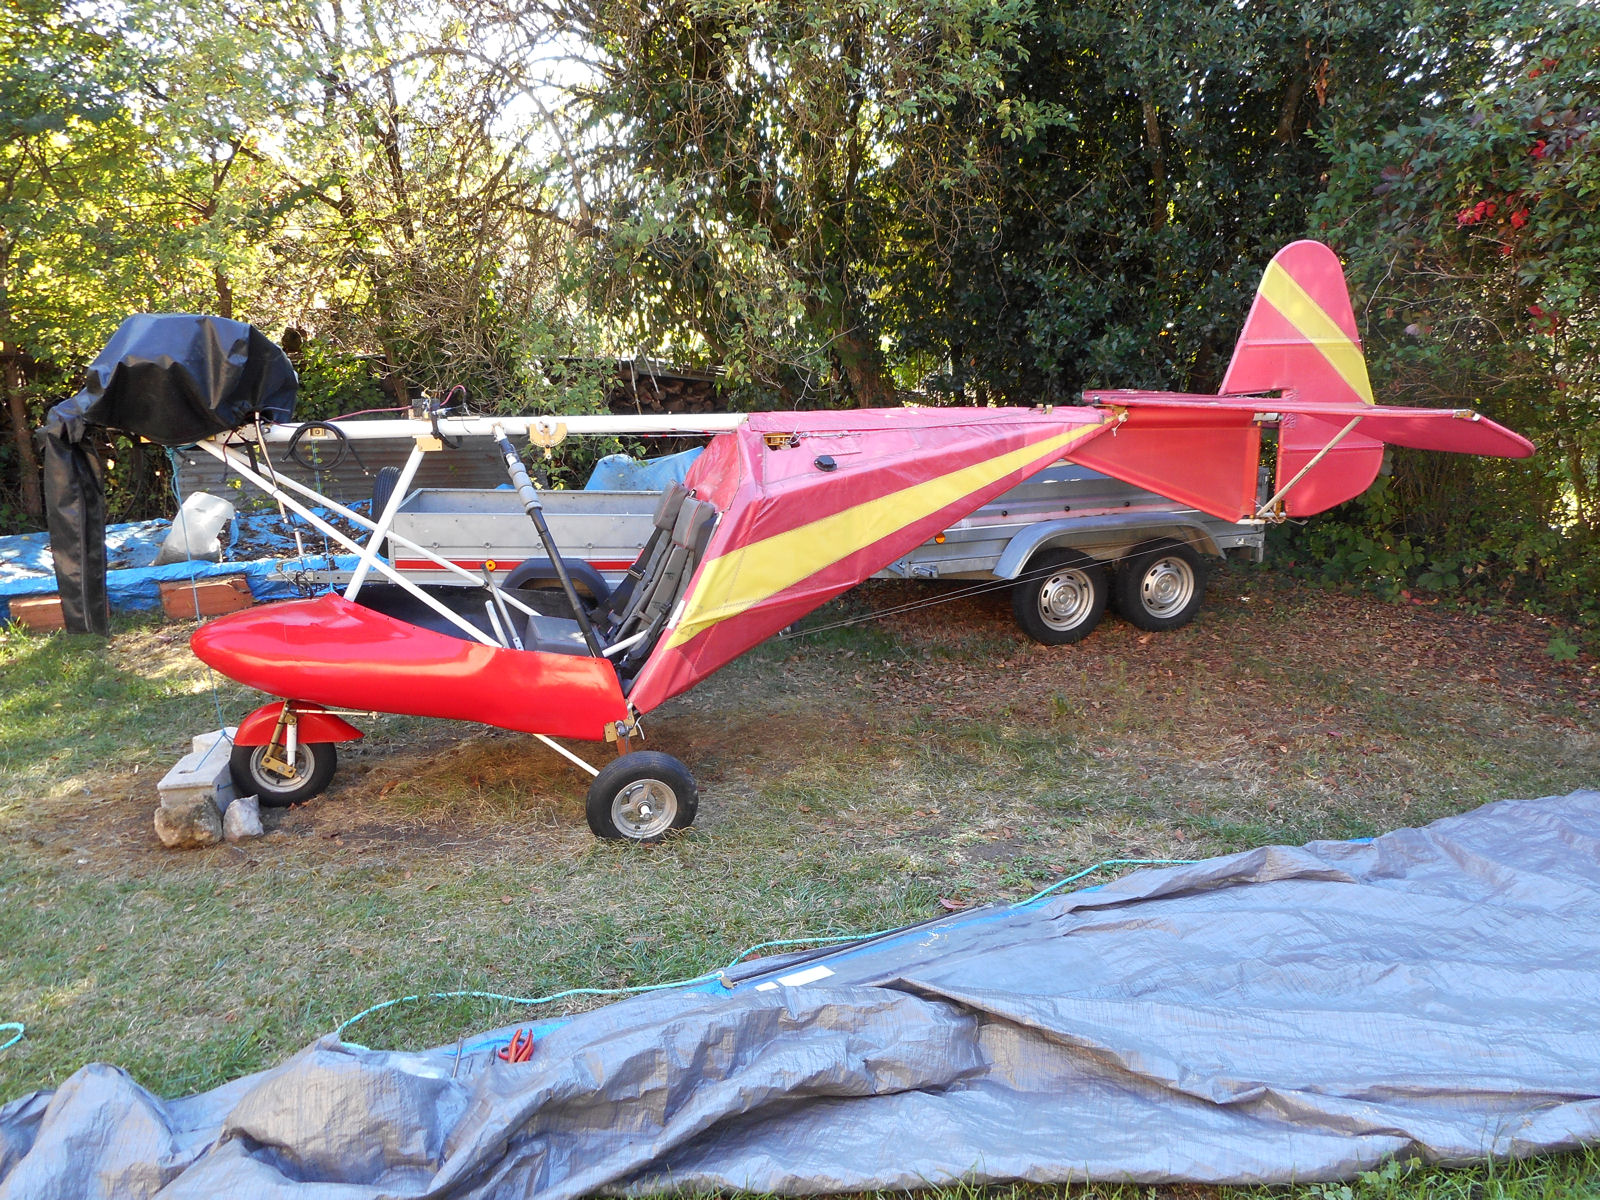
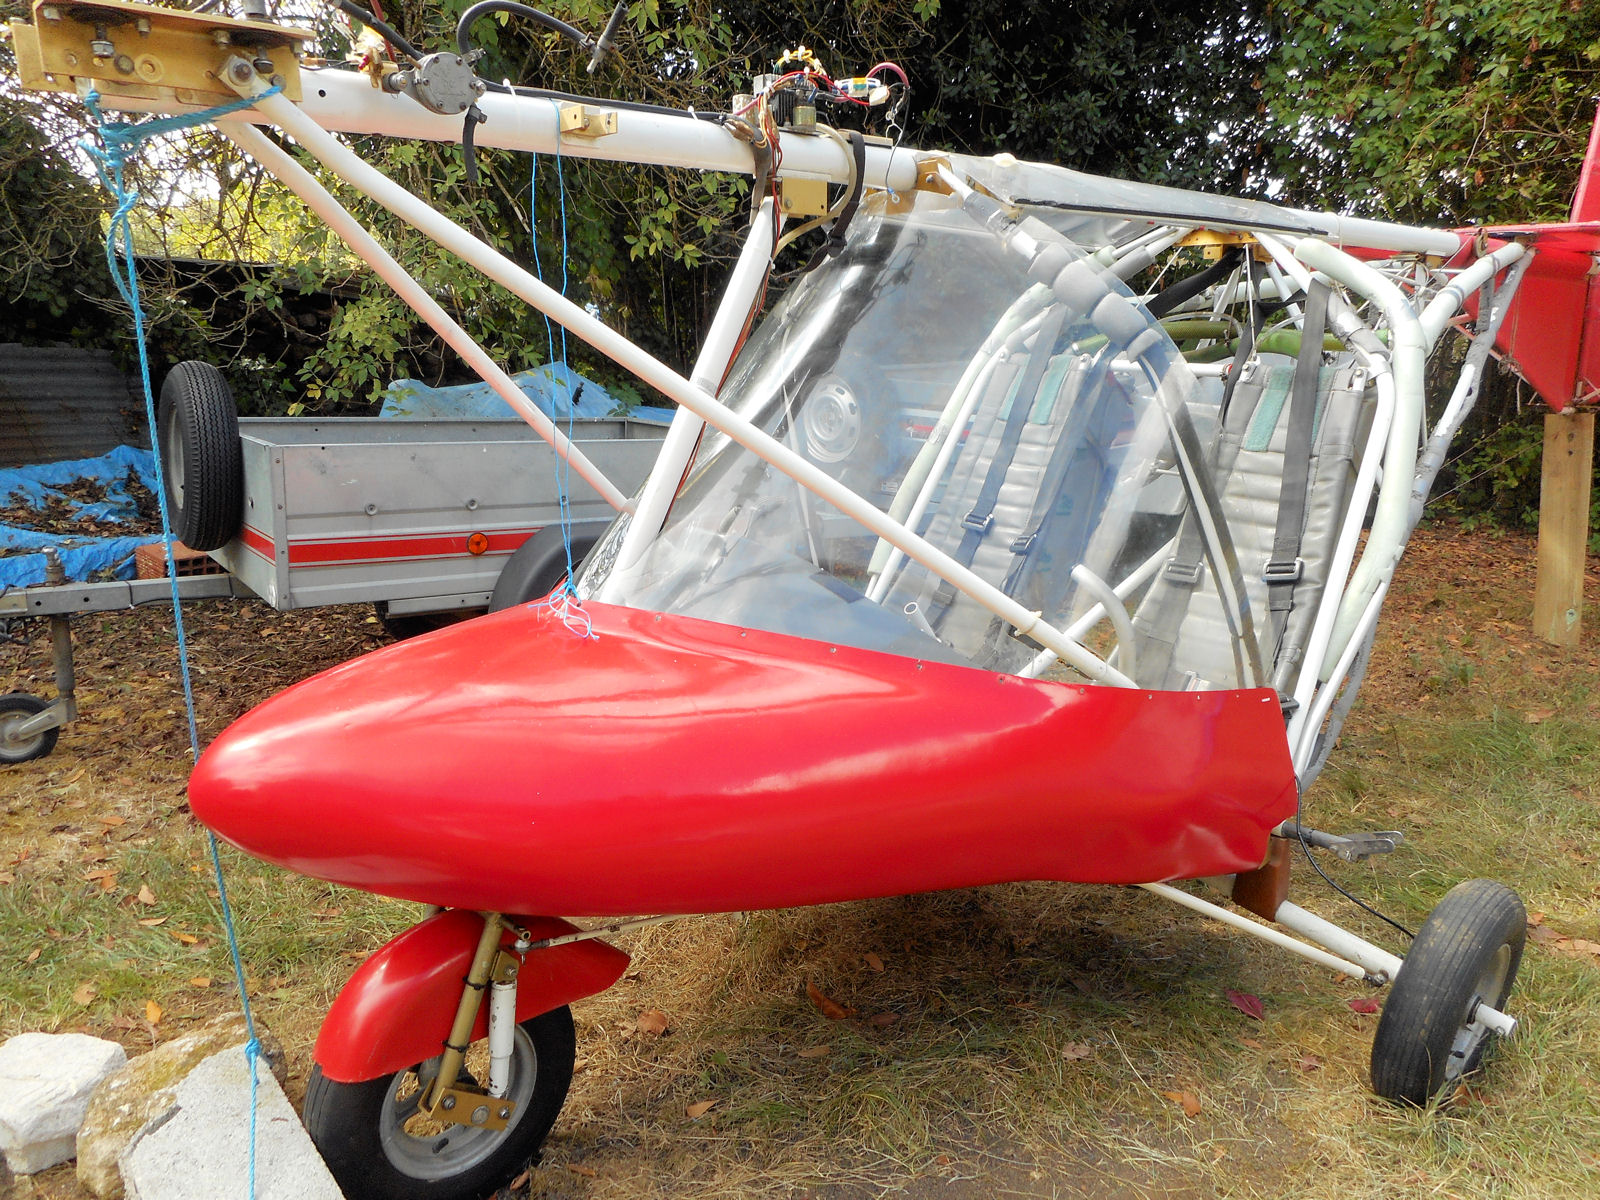
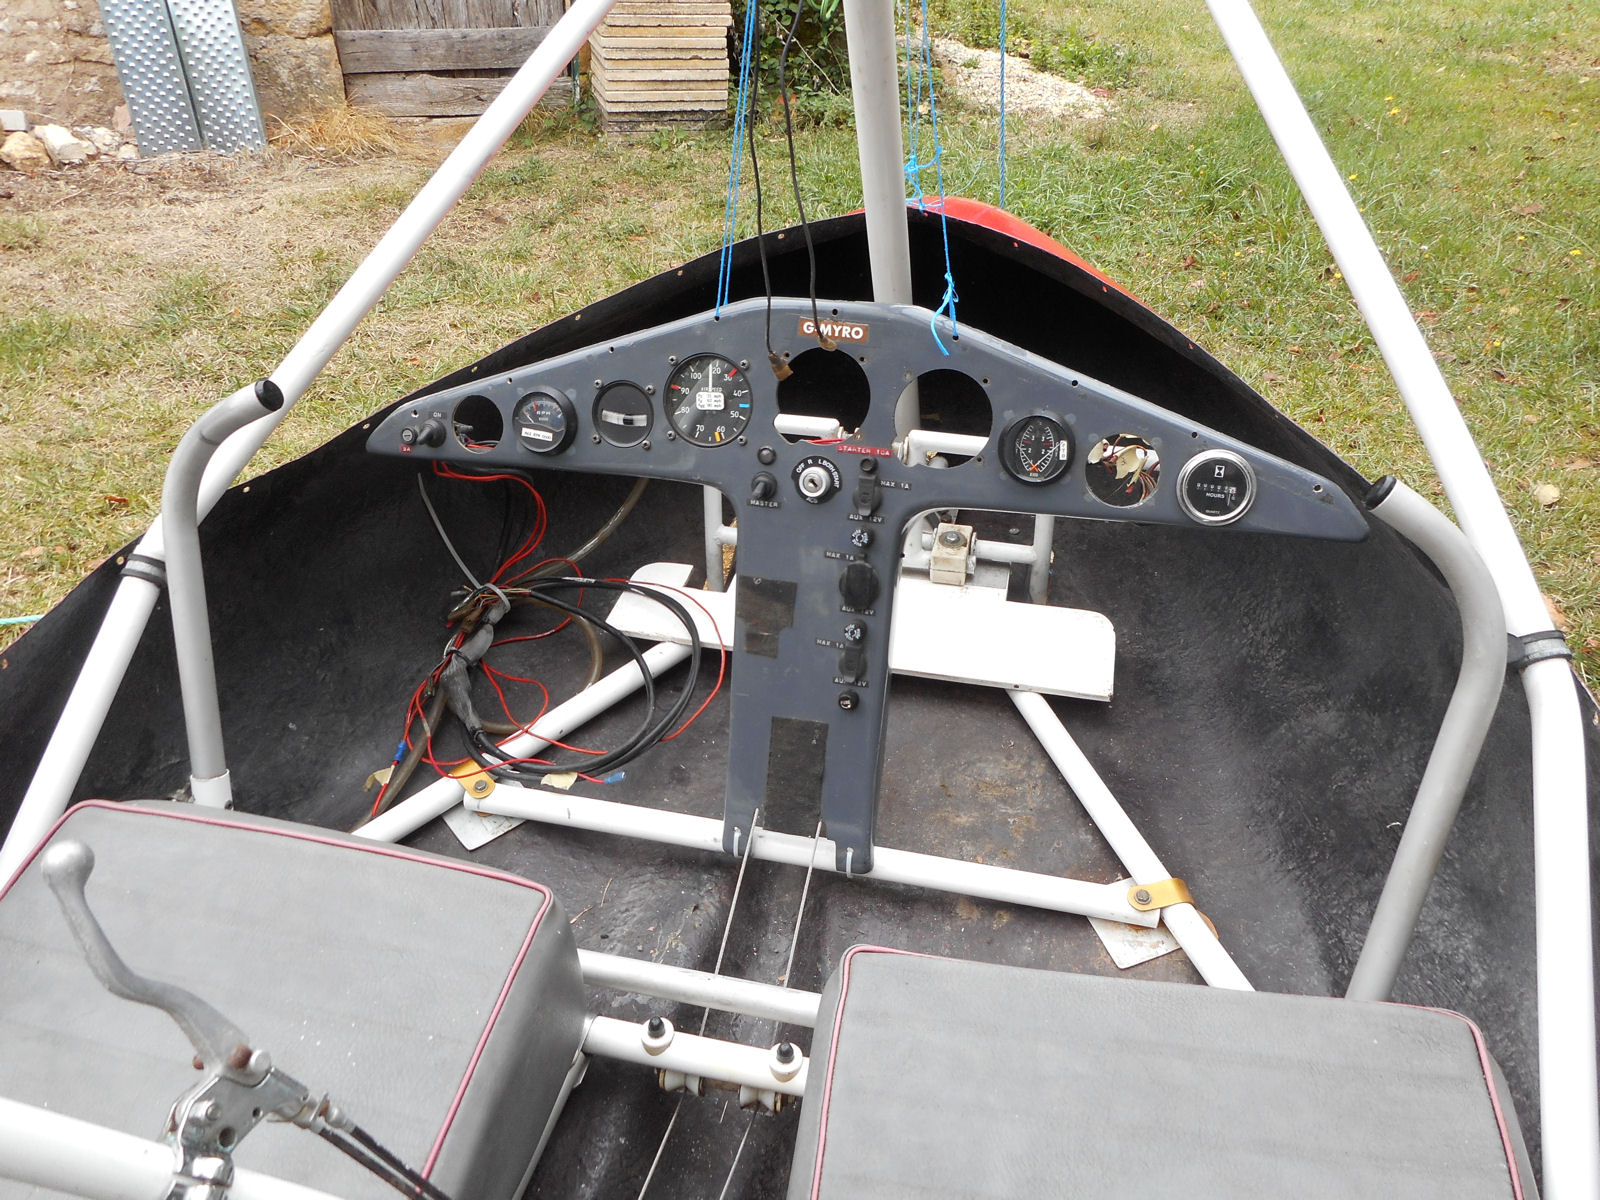
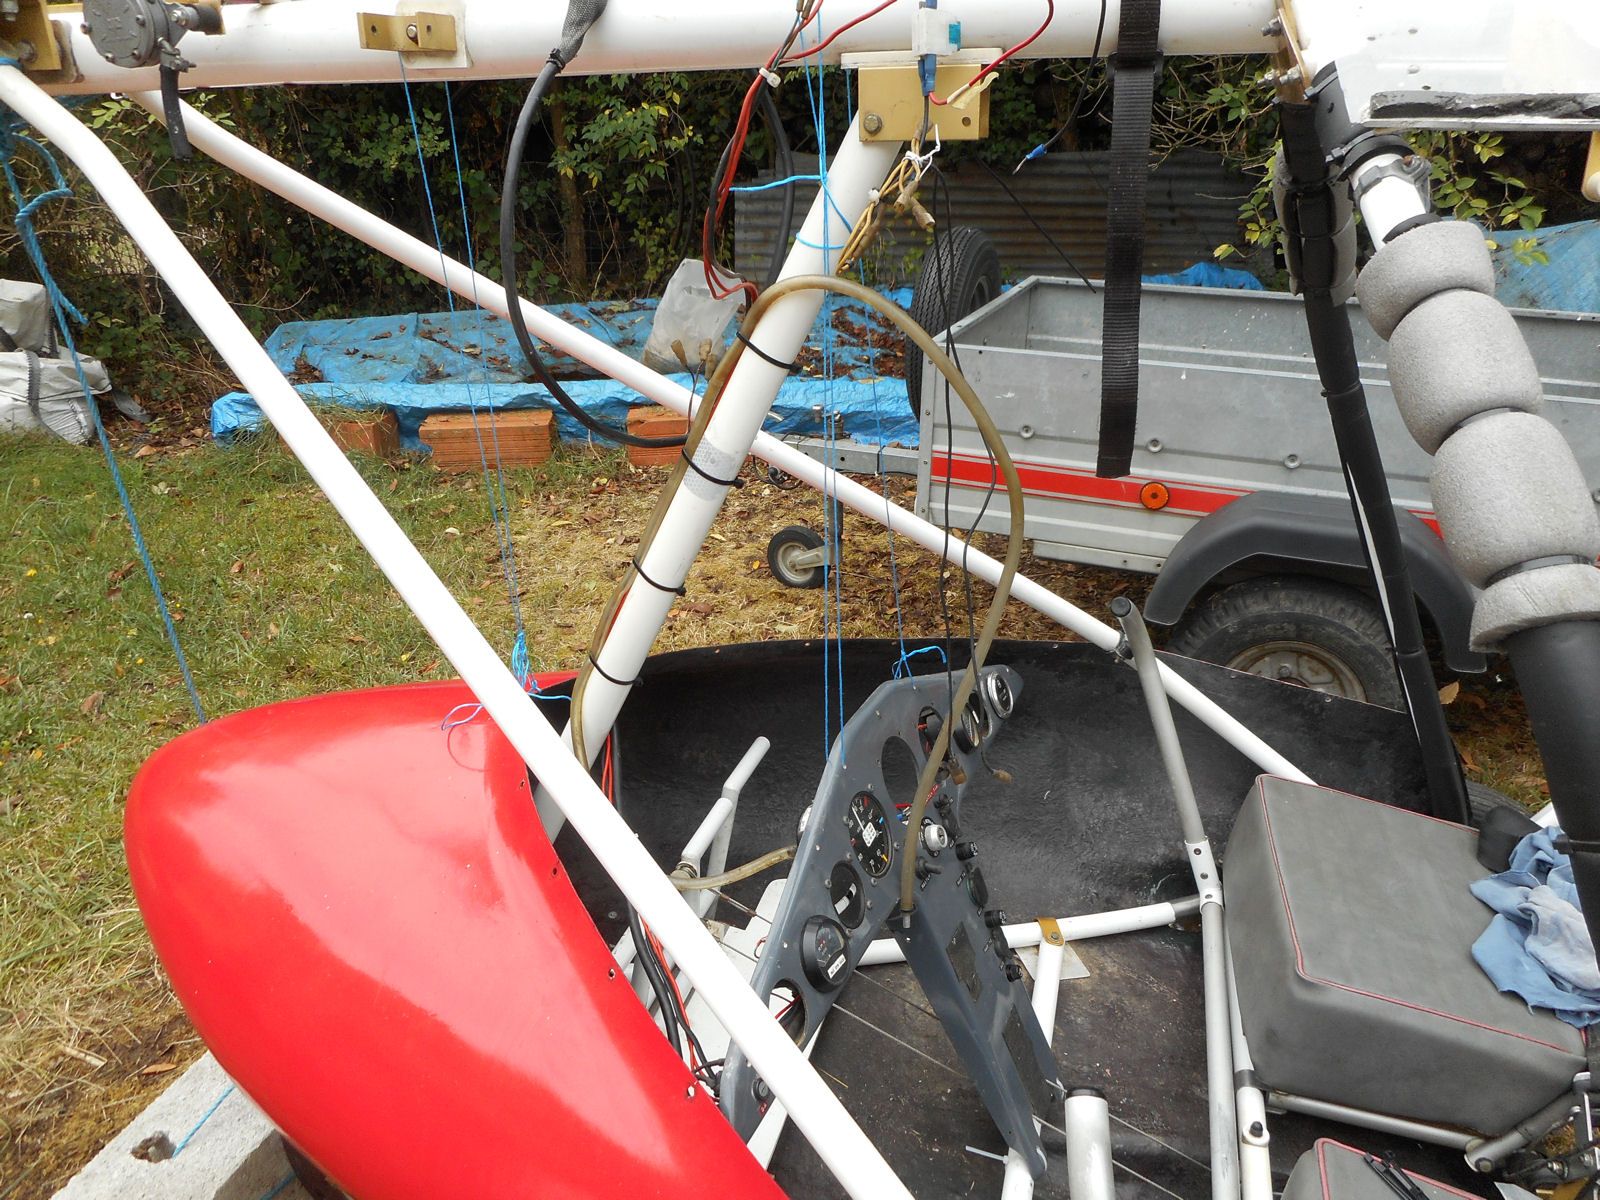
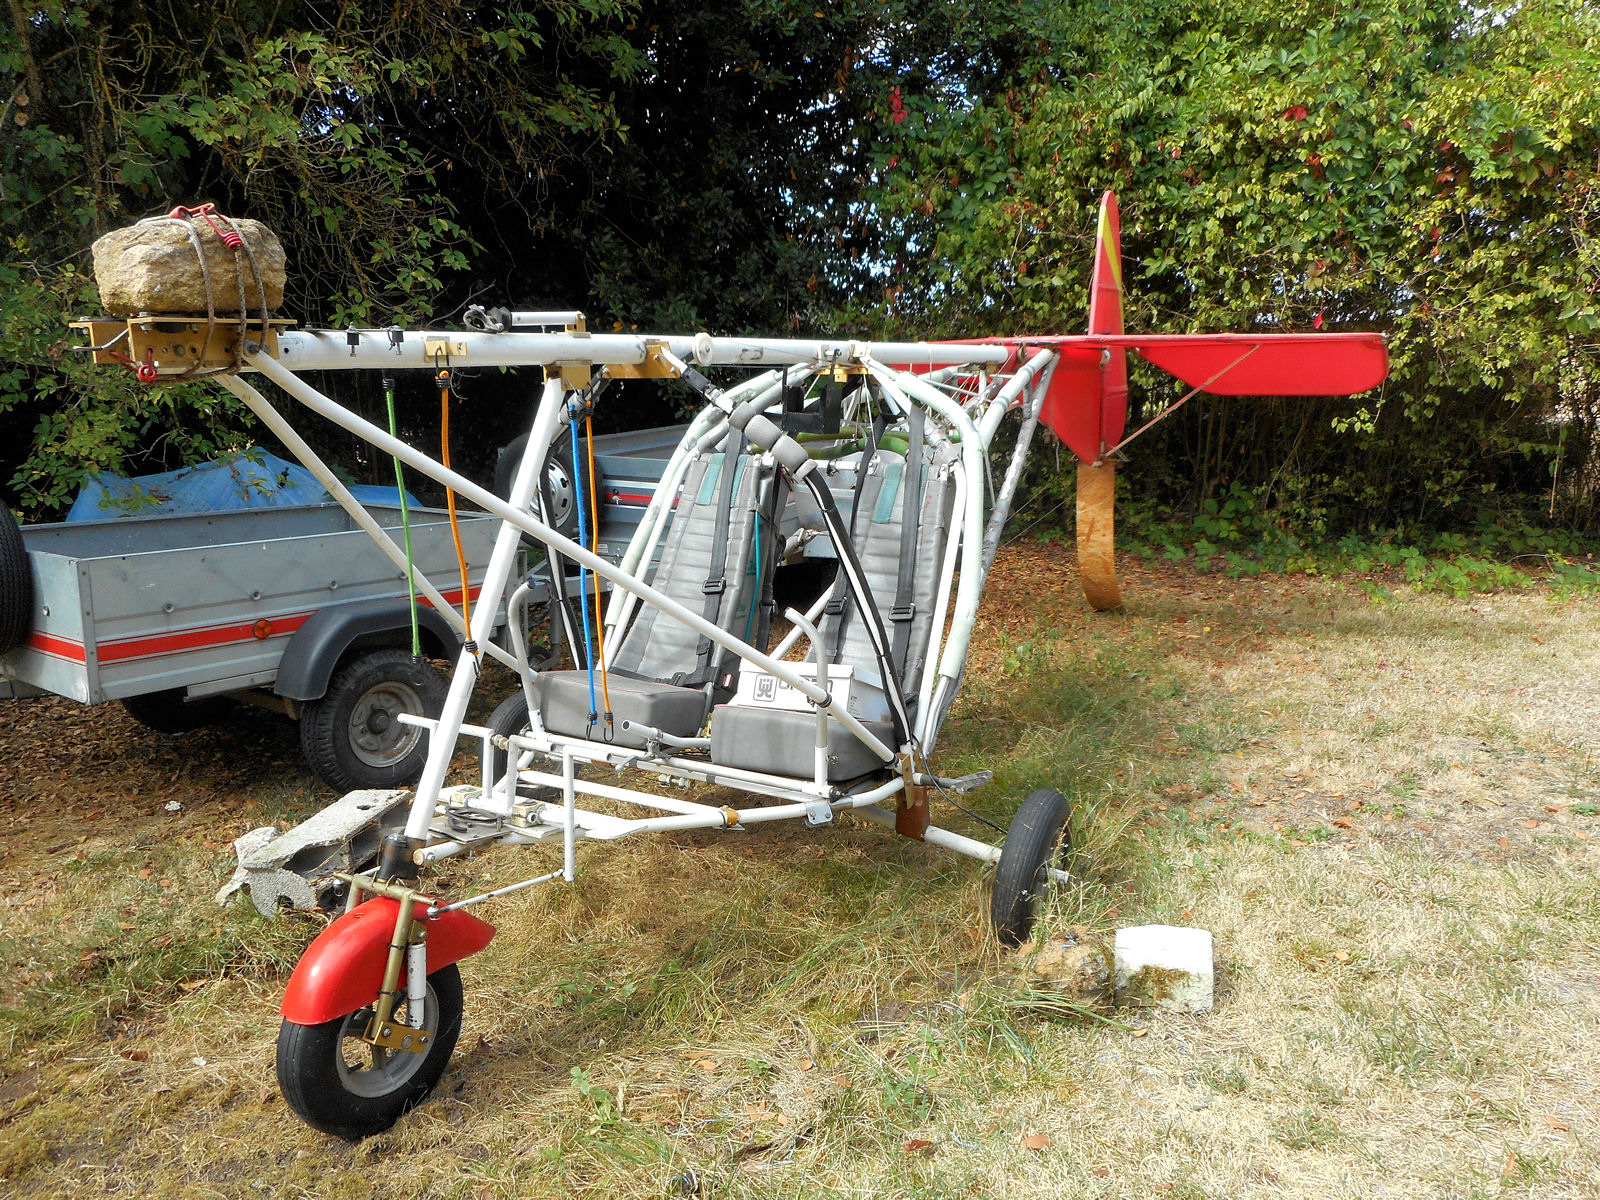
But I had to put all of that to one side because after the good progress made yesterday, today I had to get 28AAD’s pod in place and fitted, which I succeeded in doing. For anyone who may be wanting to do something similar, here are the steps to go through.
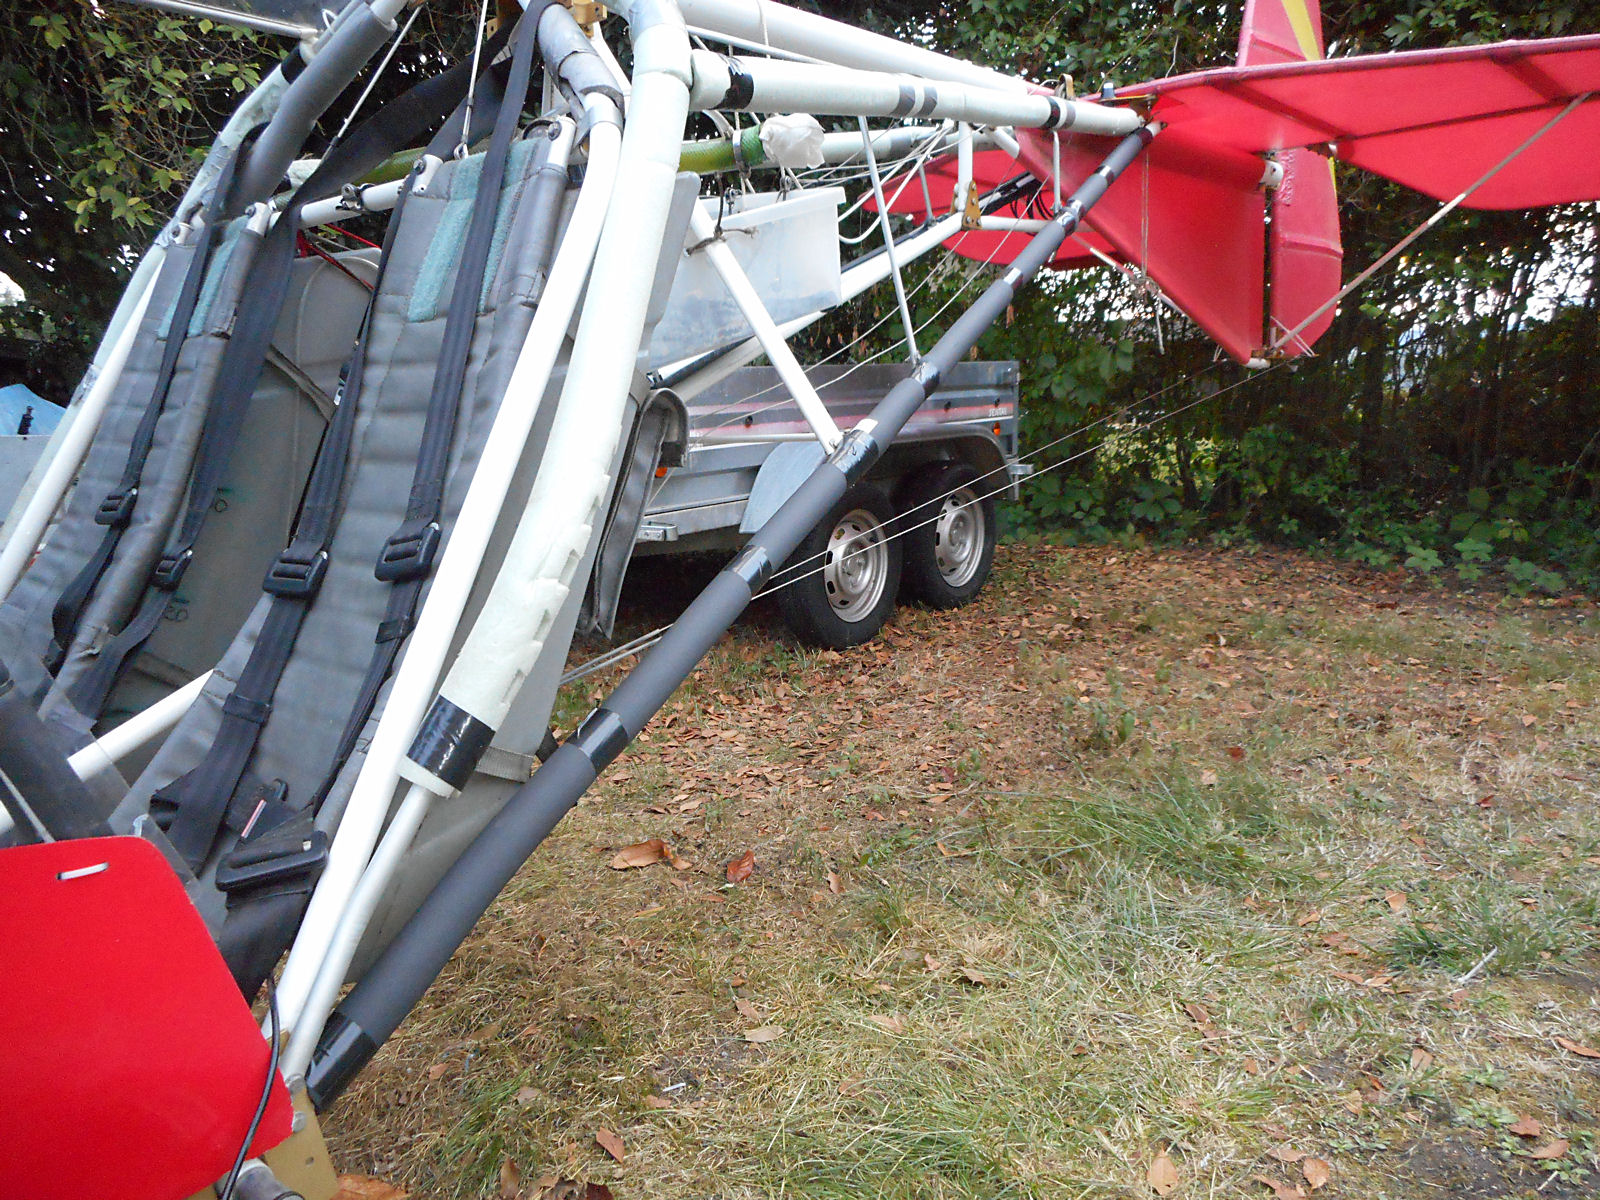
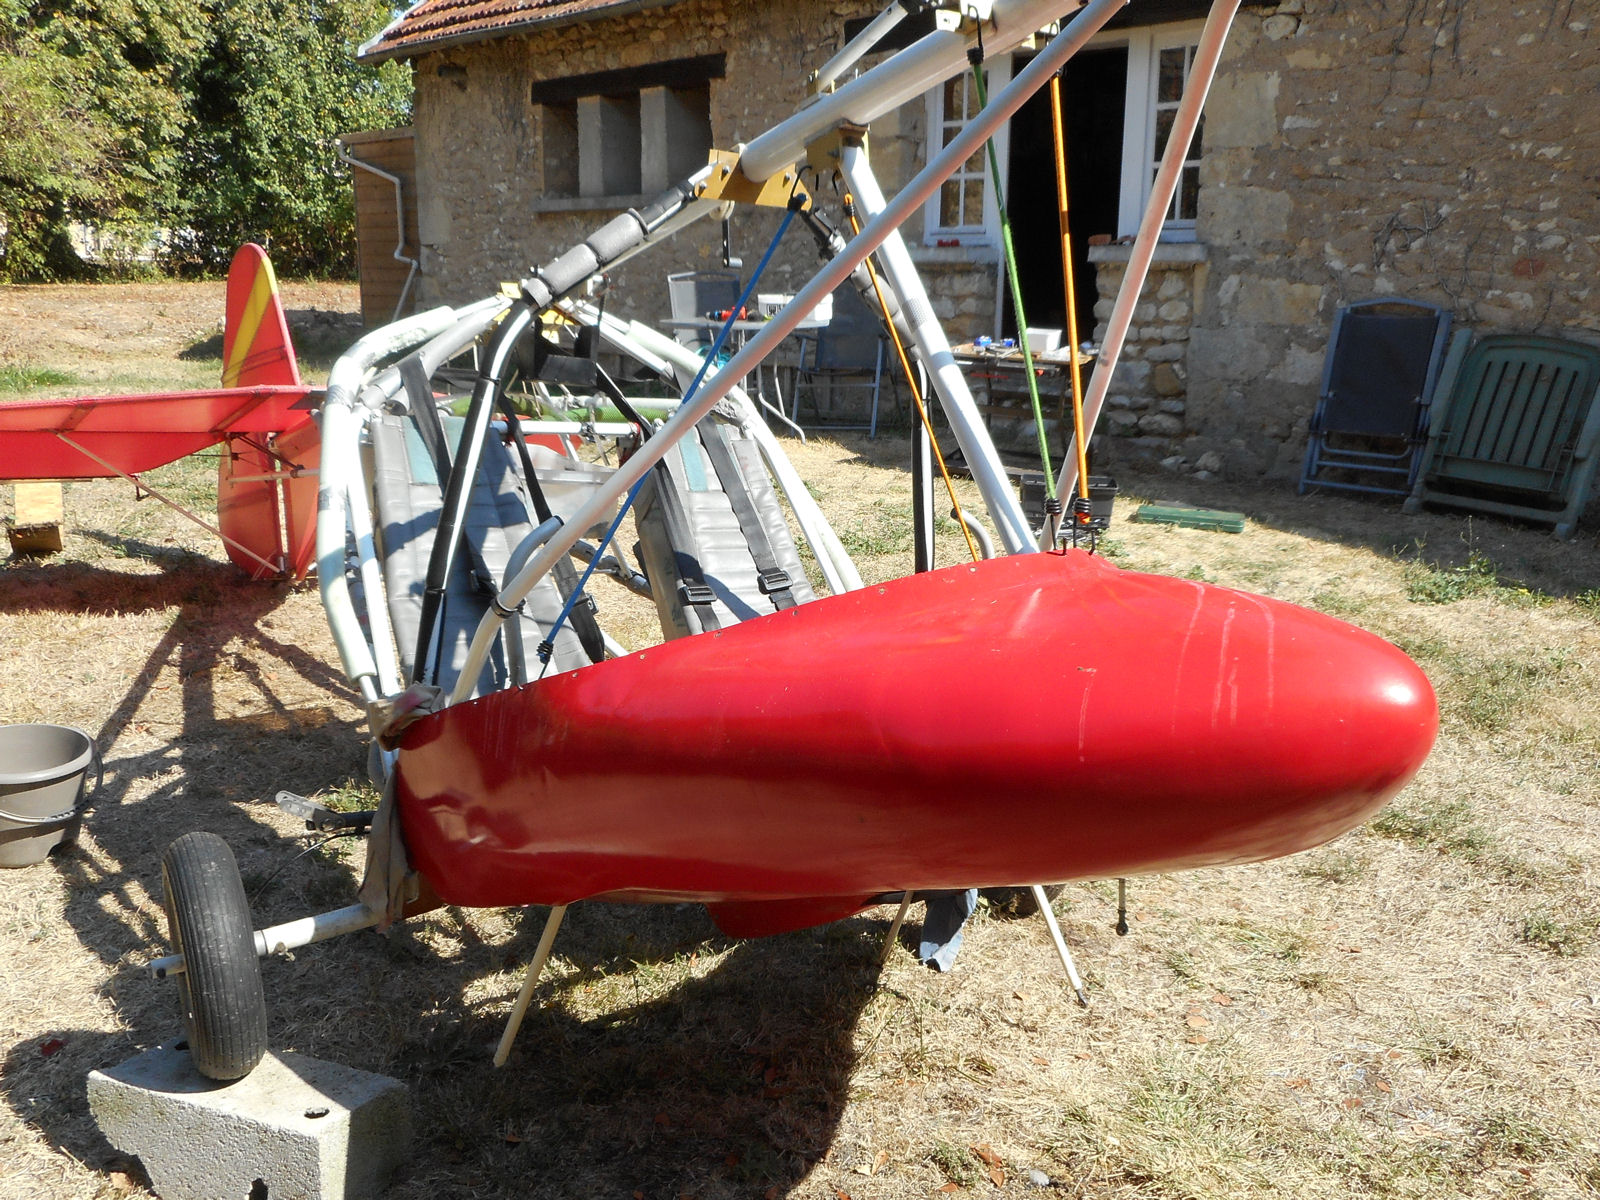
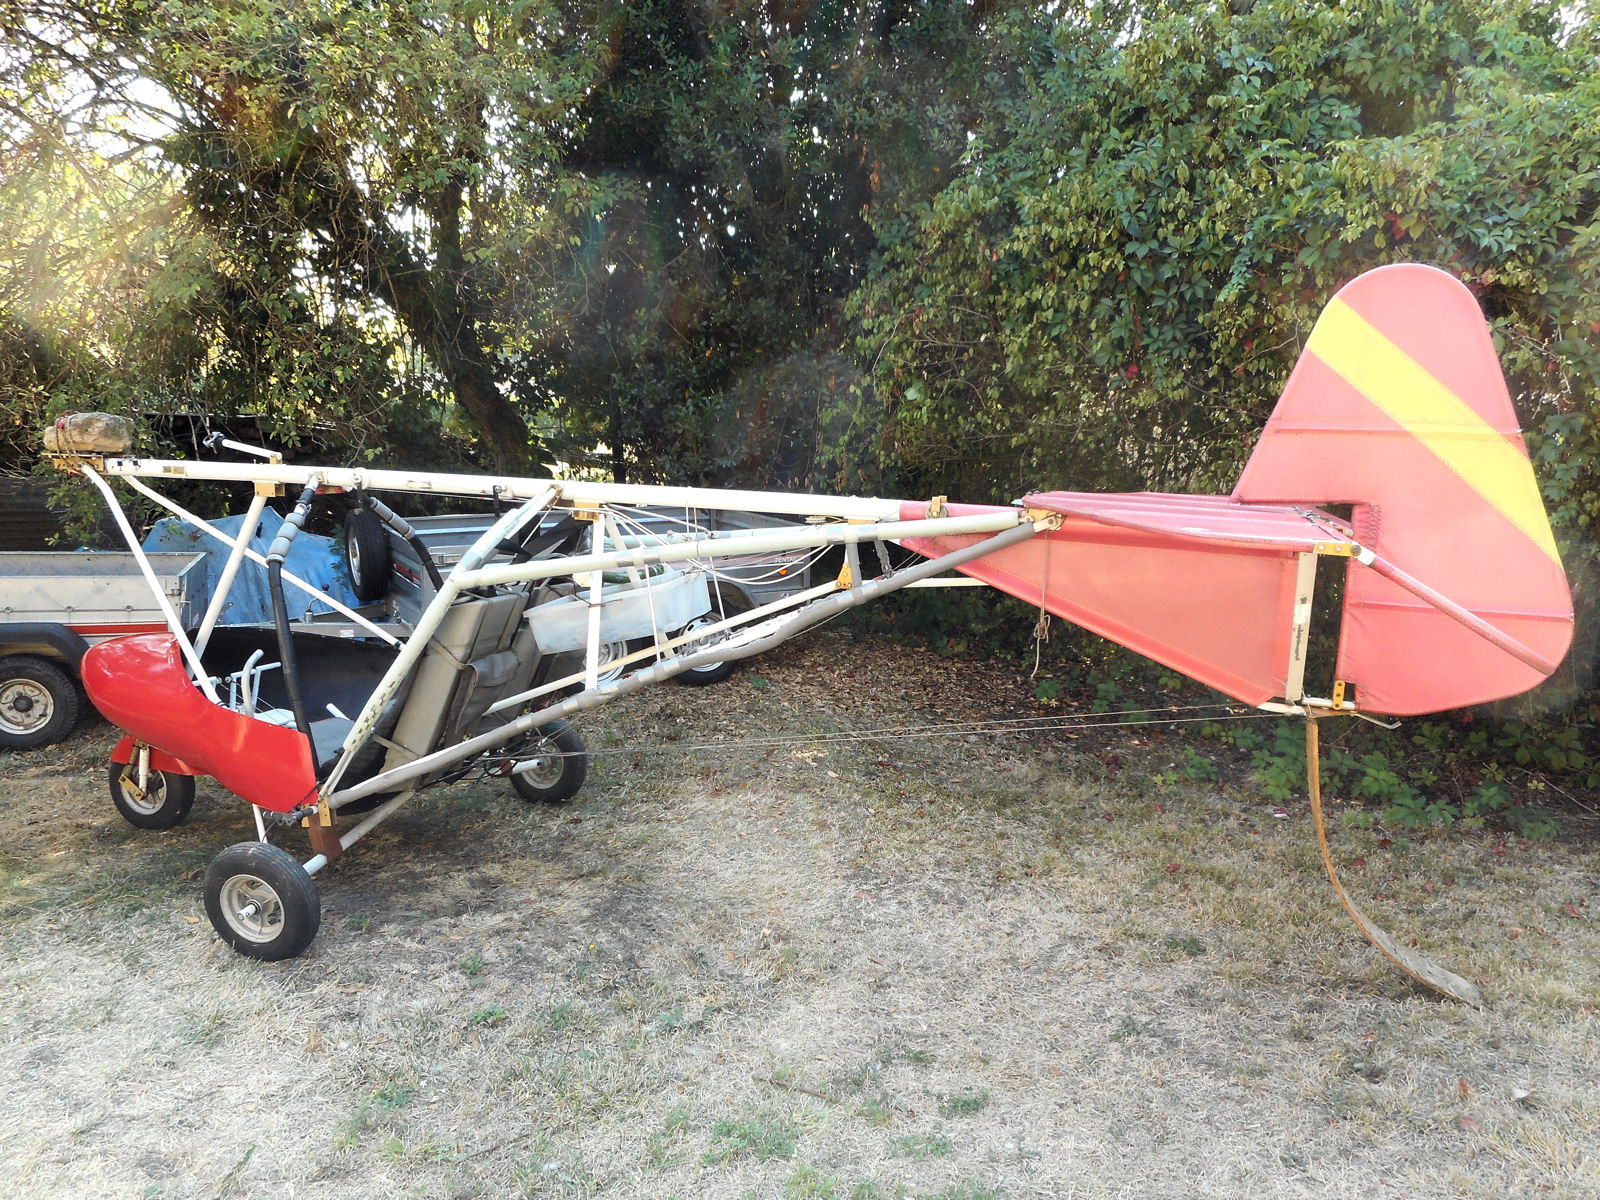
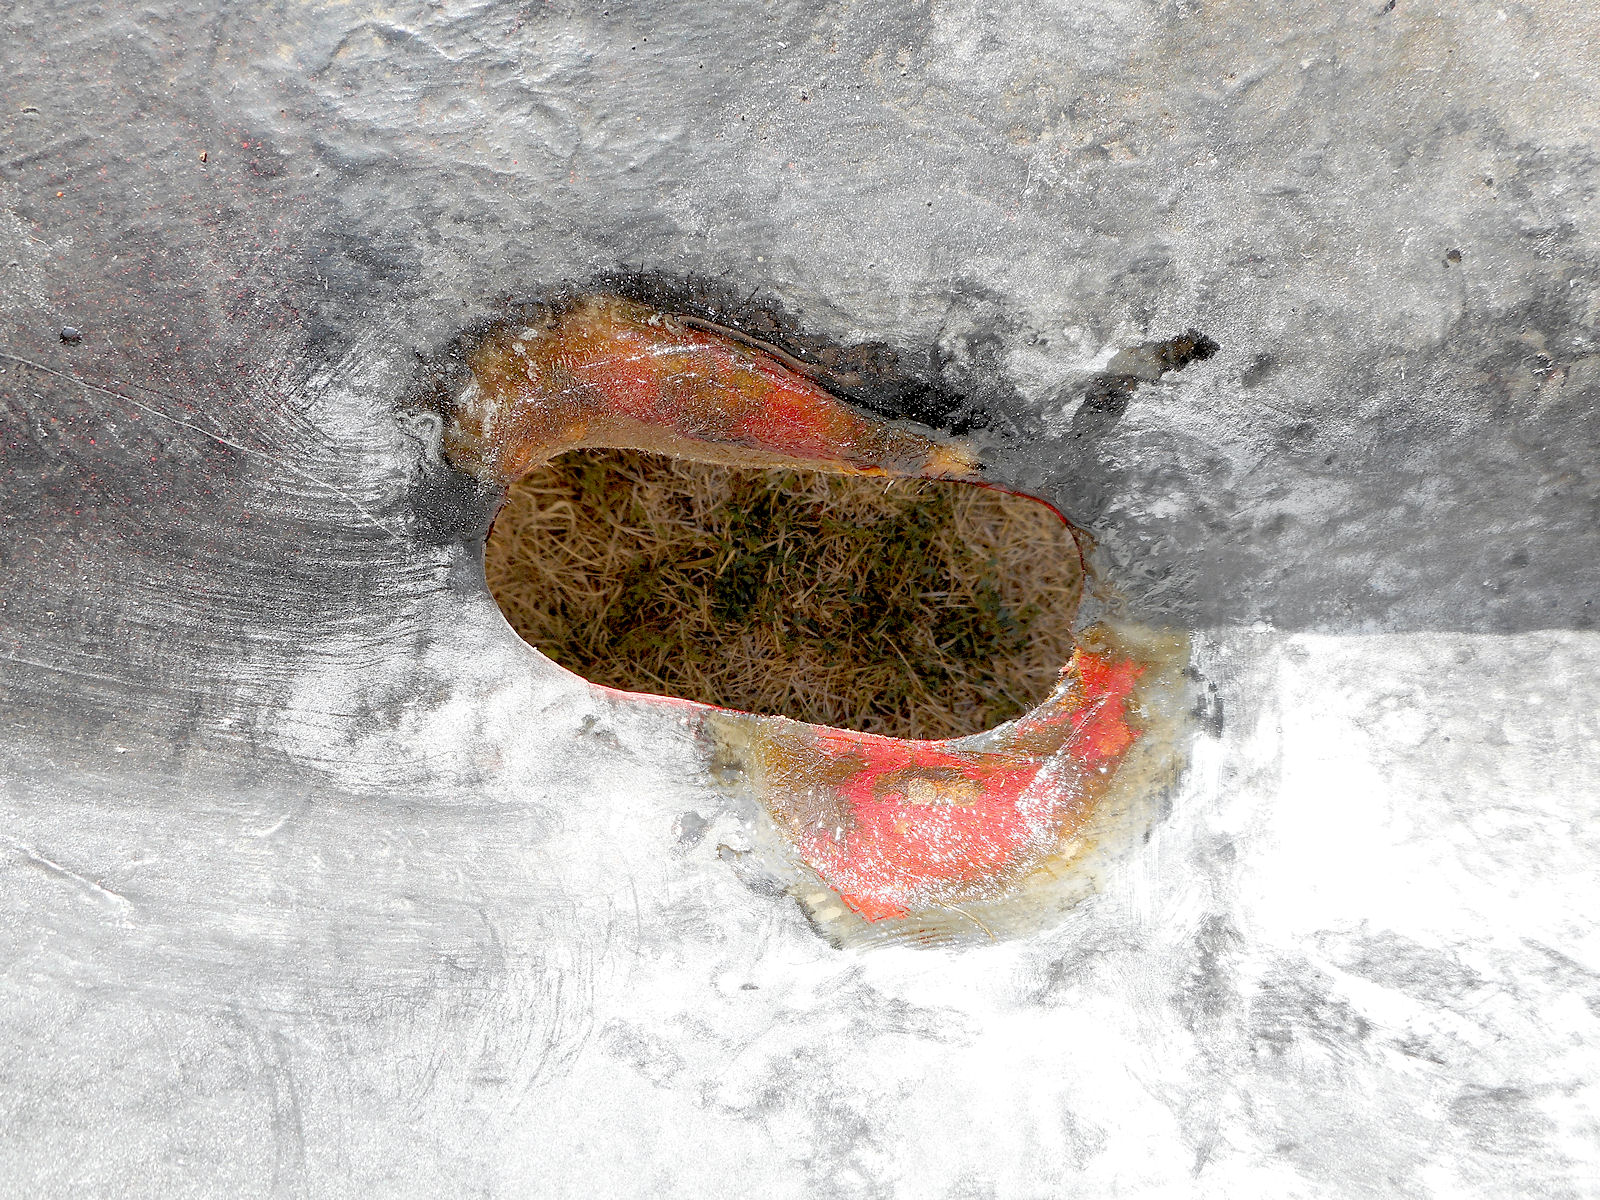
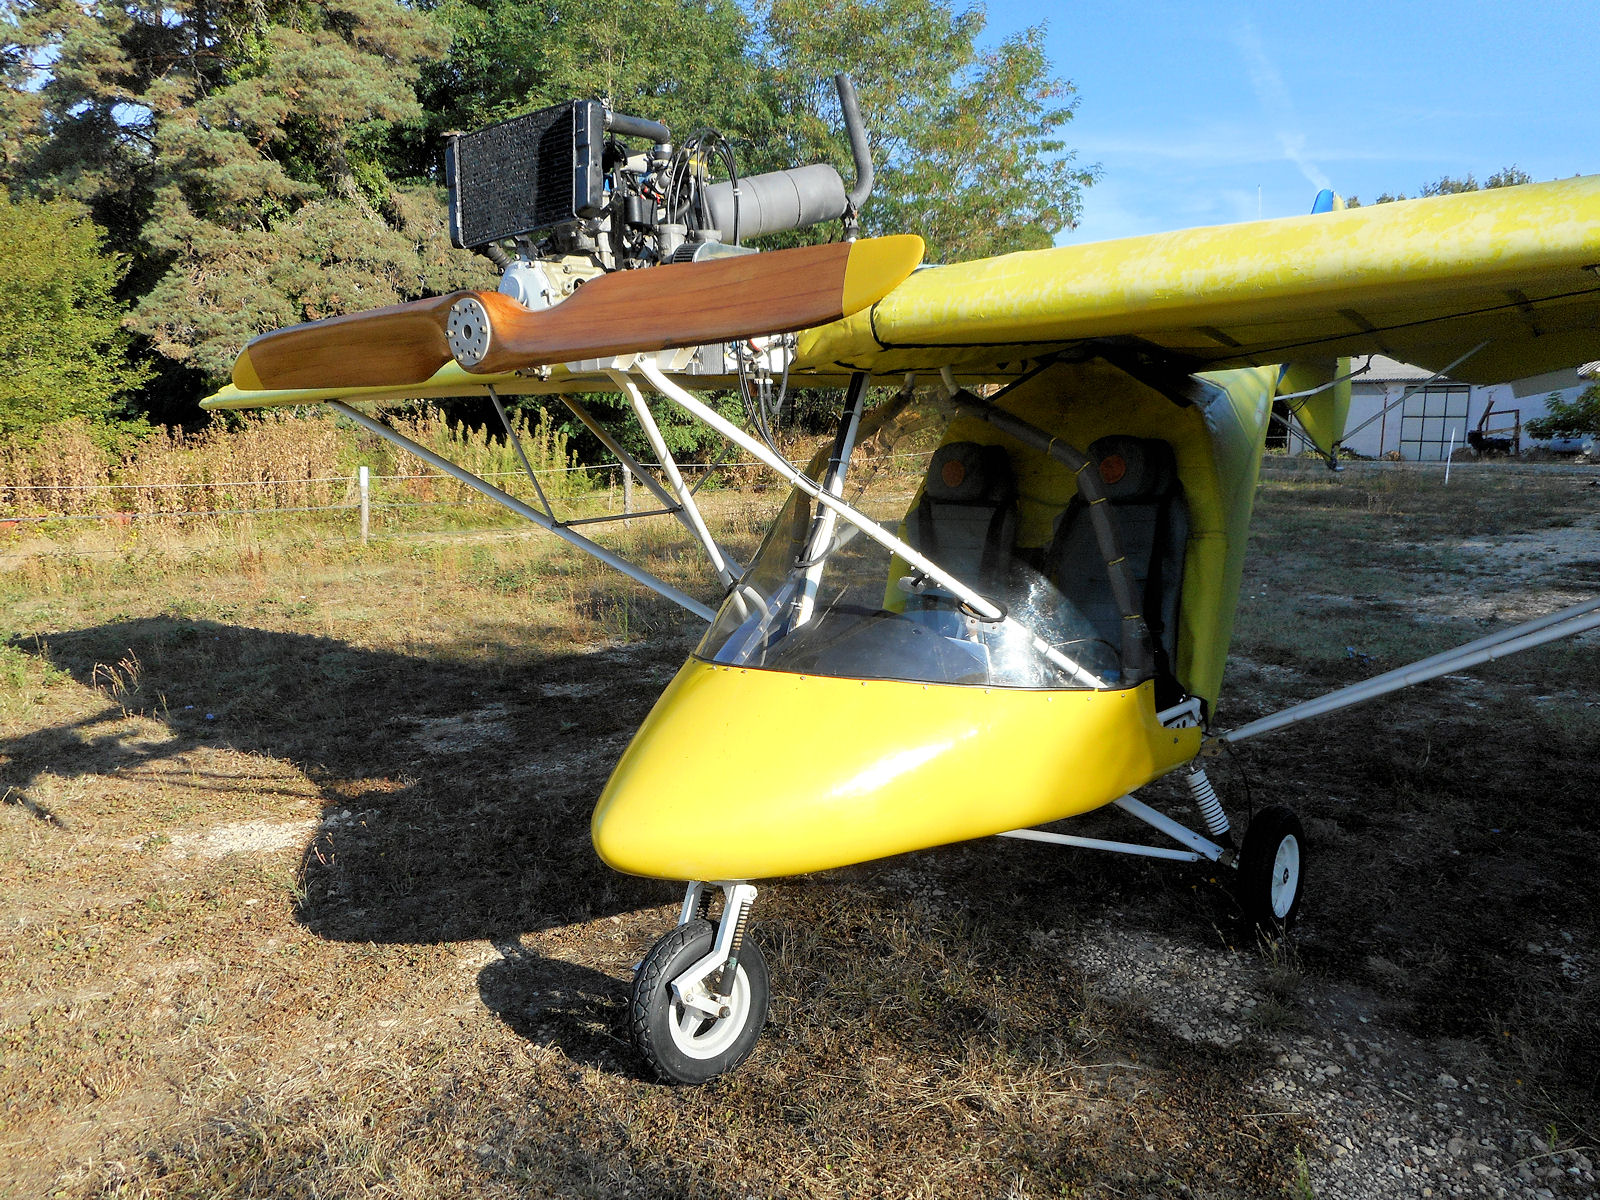
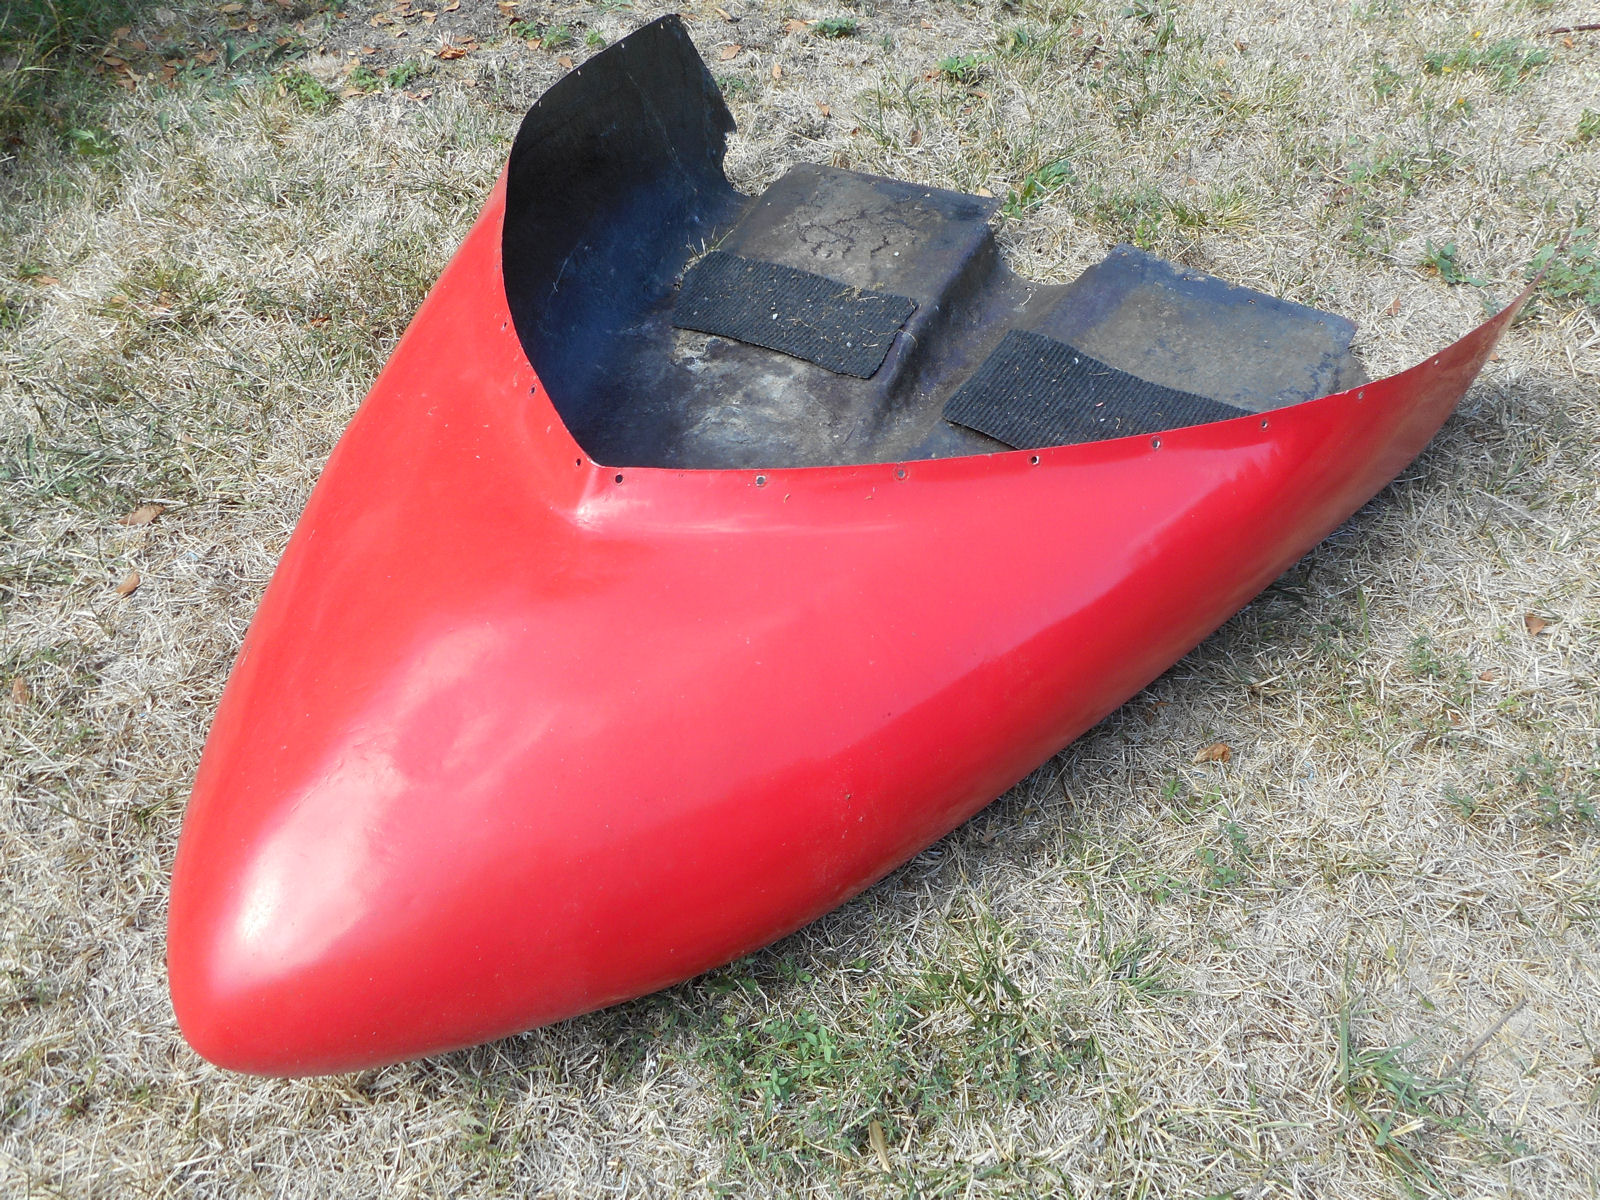
The trailing links need to be attached but loosened at the cabin end and disconnected at the axles. The front wheel must be removed and the front of the aircraft allowed to rise because the idea is to offer the pod up to the fuselage by placing it below it and sliding it towards the rear along the ground until the hanging trailing links can be entered into the slots on each side of the pod. Here’s a picture of the first stage.

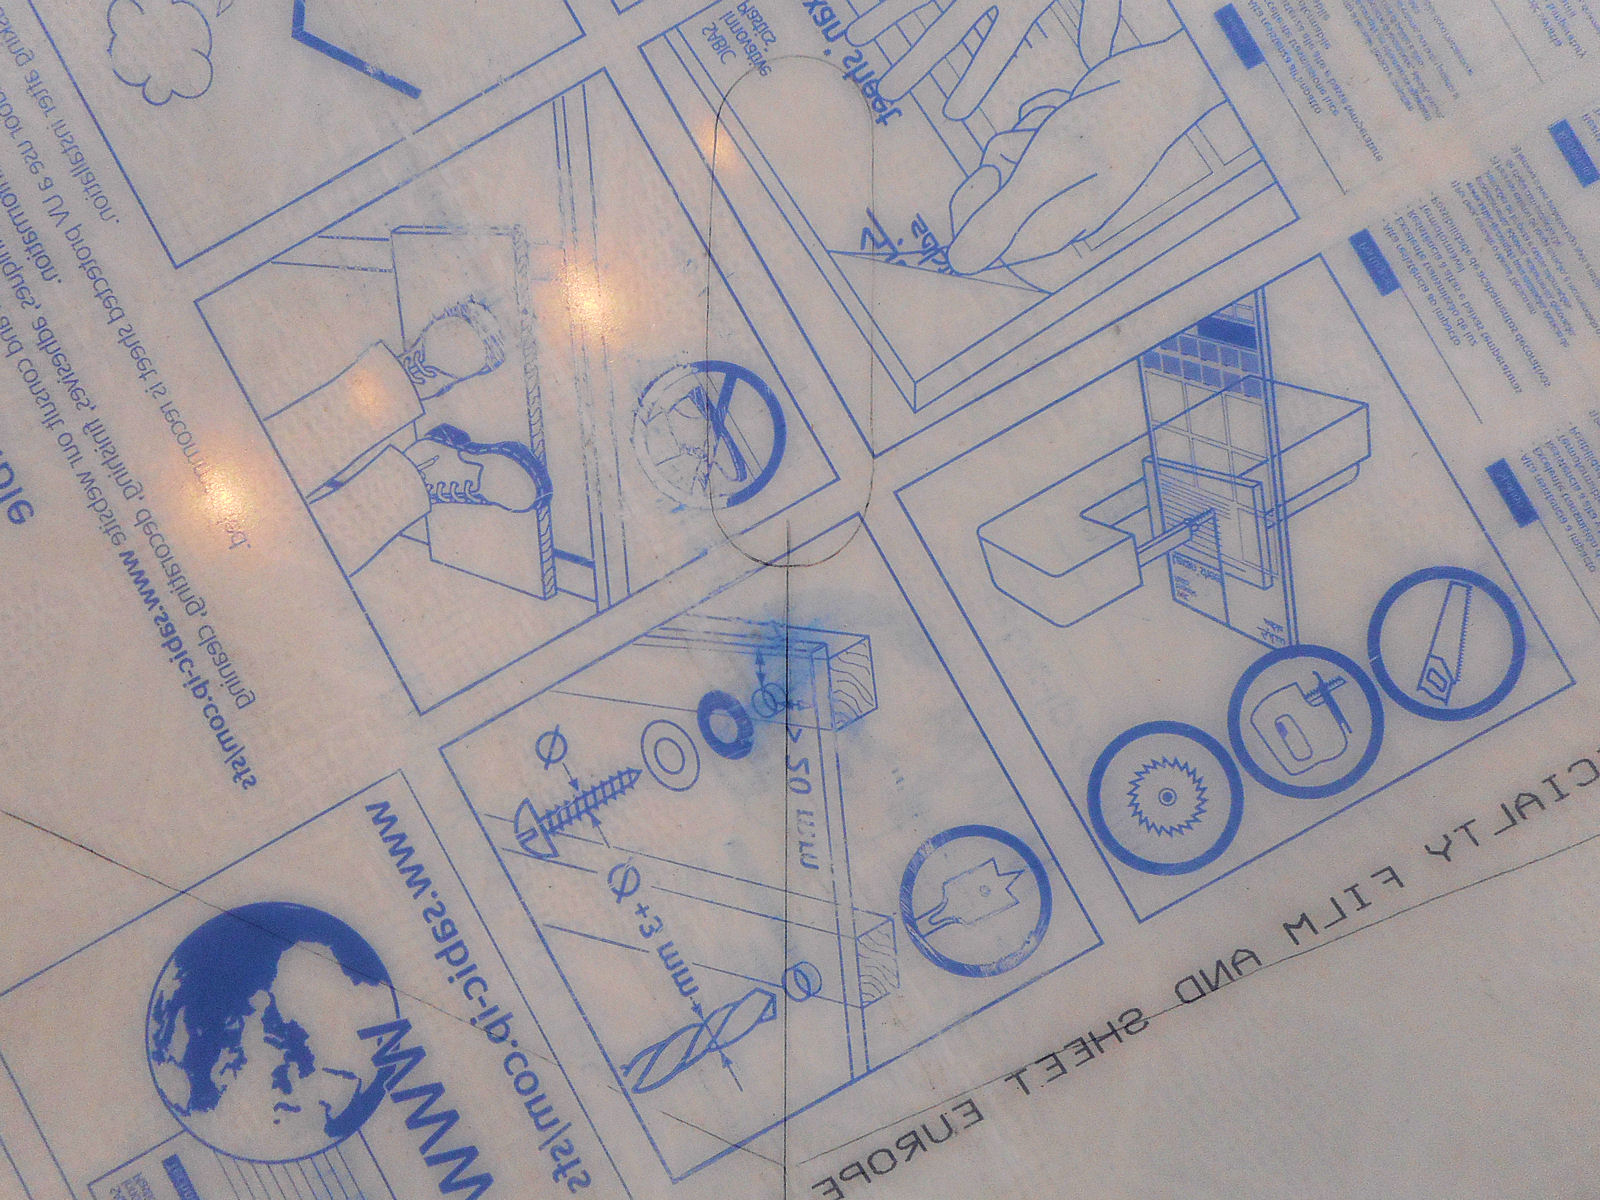
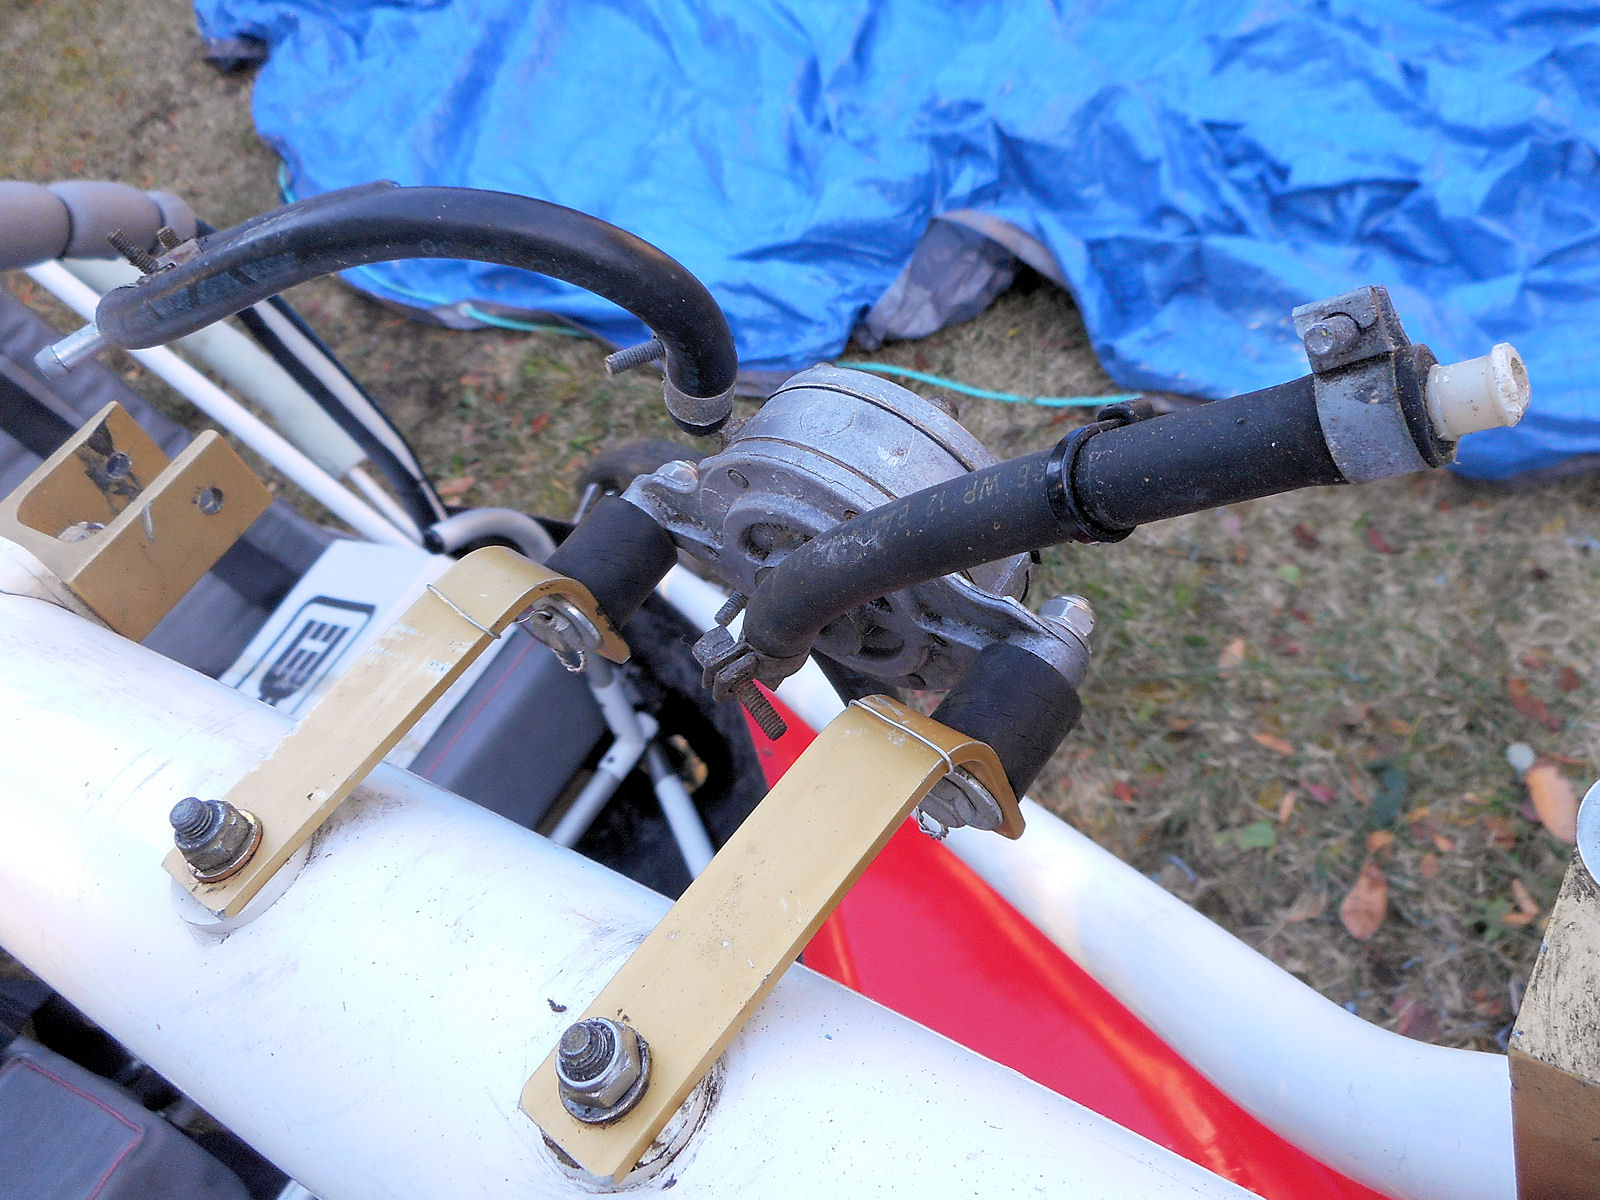
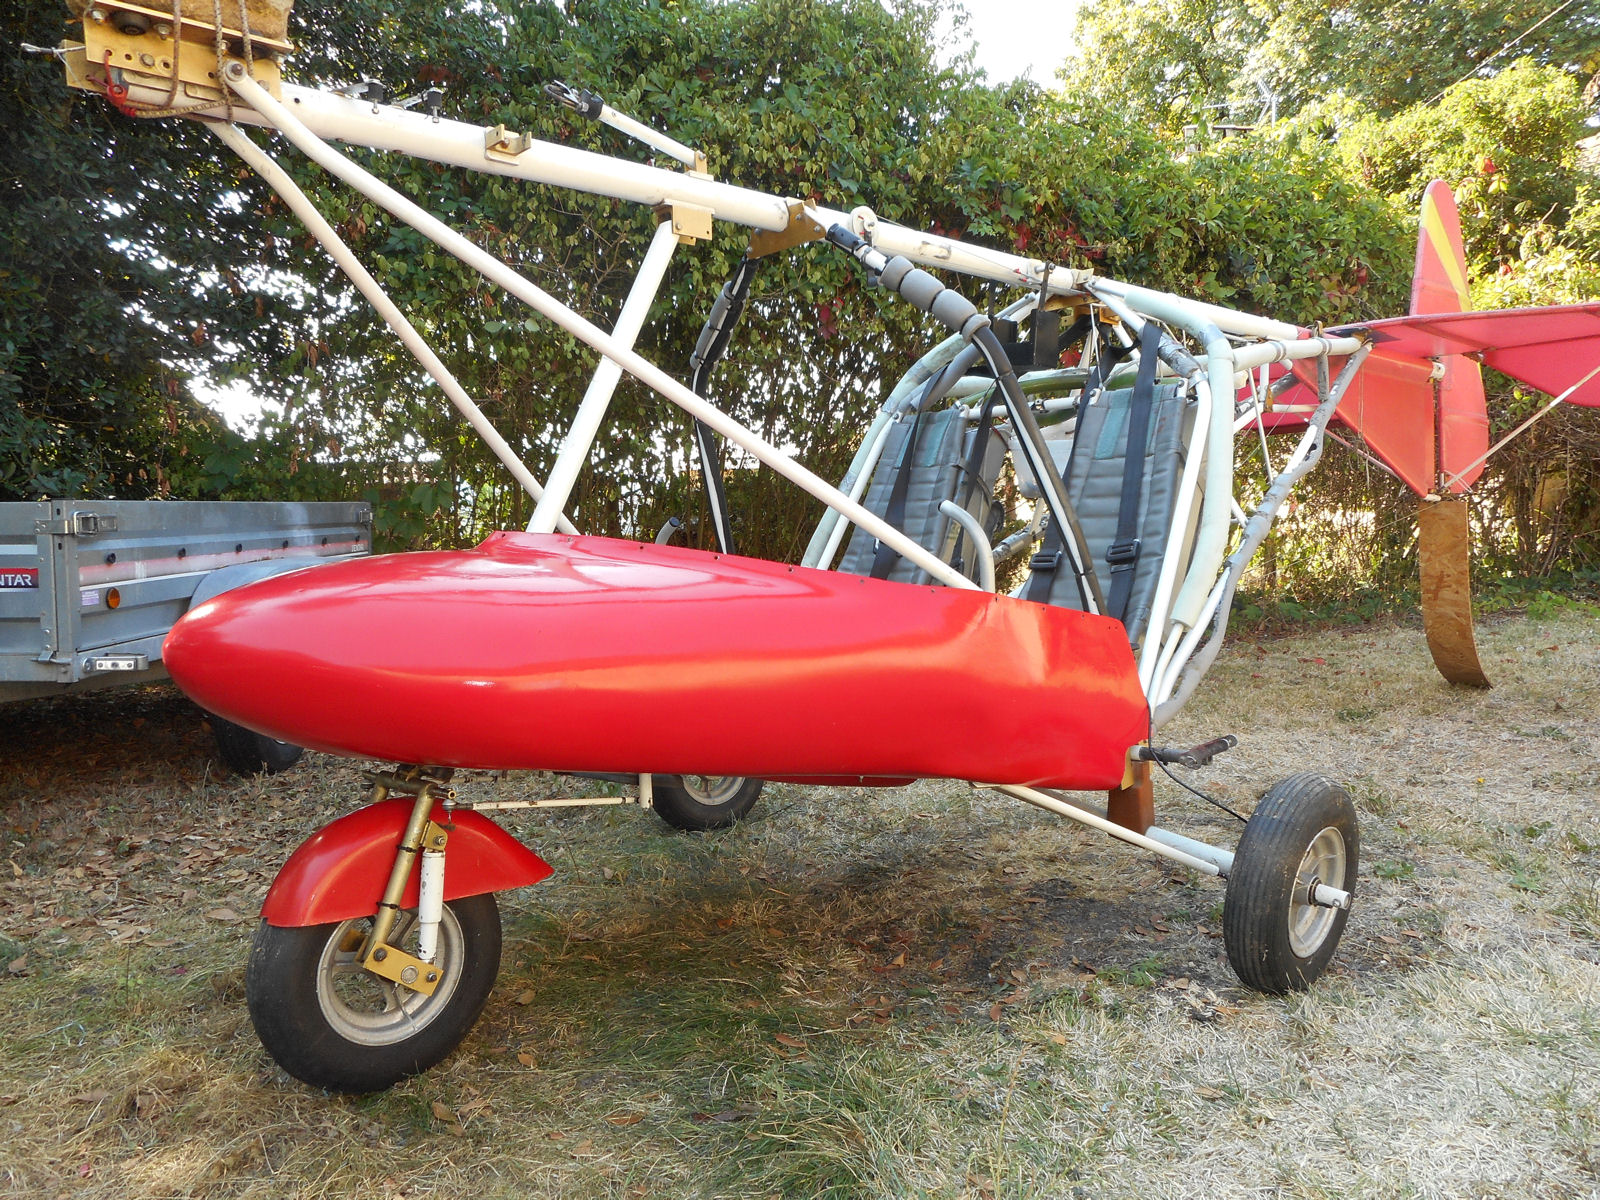
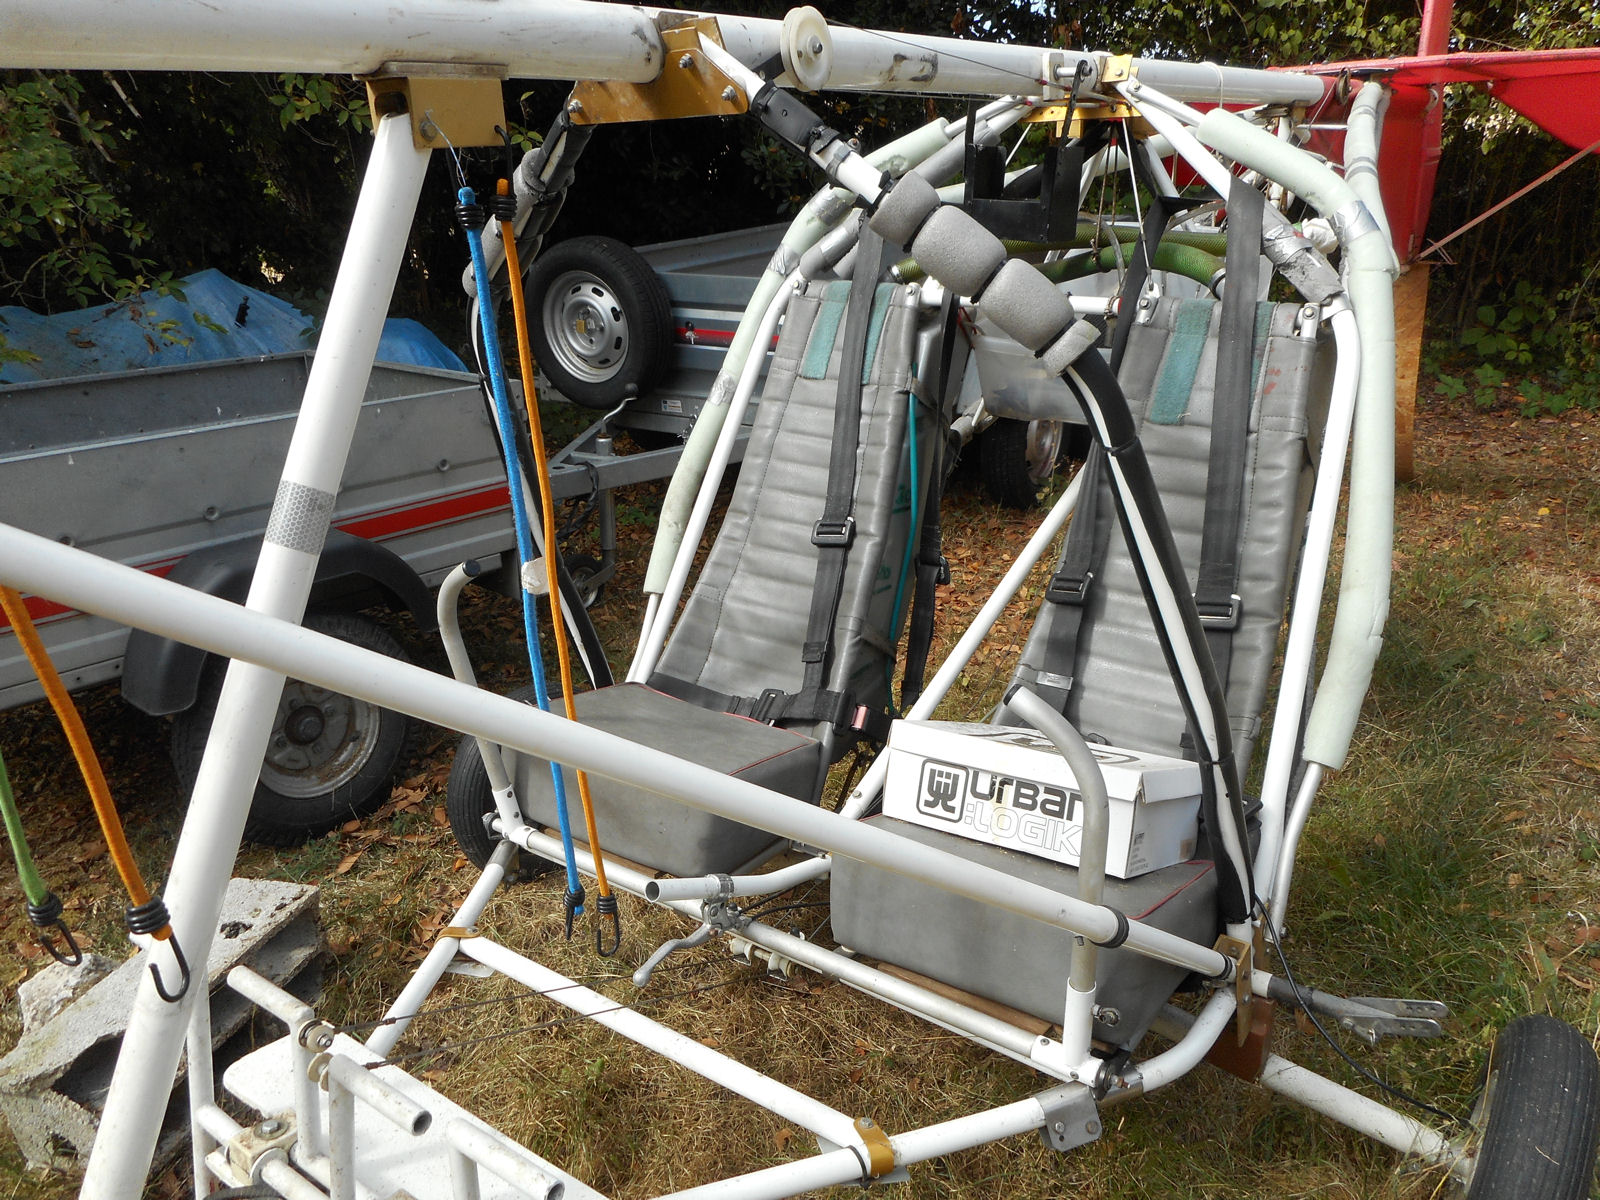
Note that in the above and the next image, the steering arms are still attached to the rudder pedal legs and MUST be removed before proceeding any further as the slots in the pod are not large enough to accommodate both them and the rudder pedal legs.

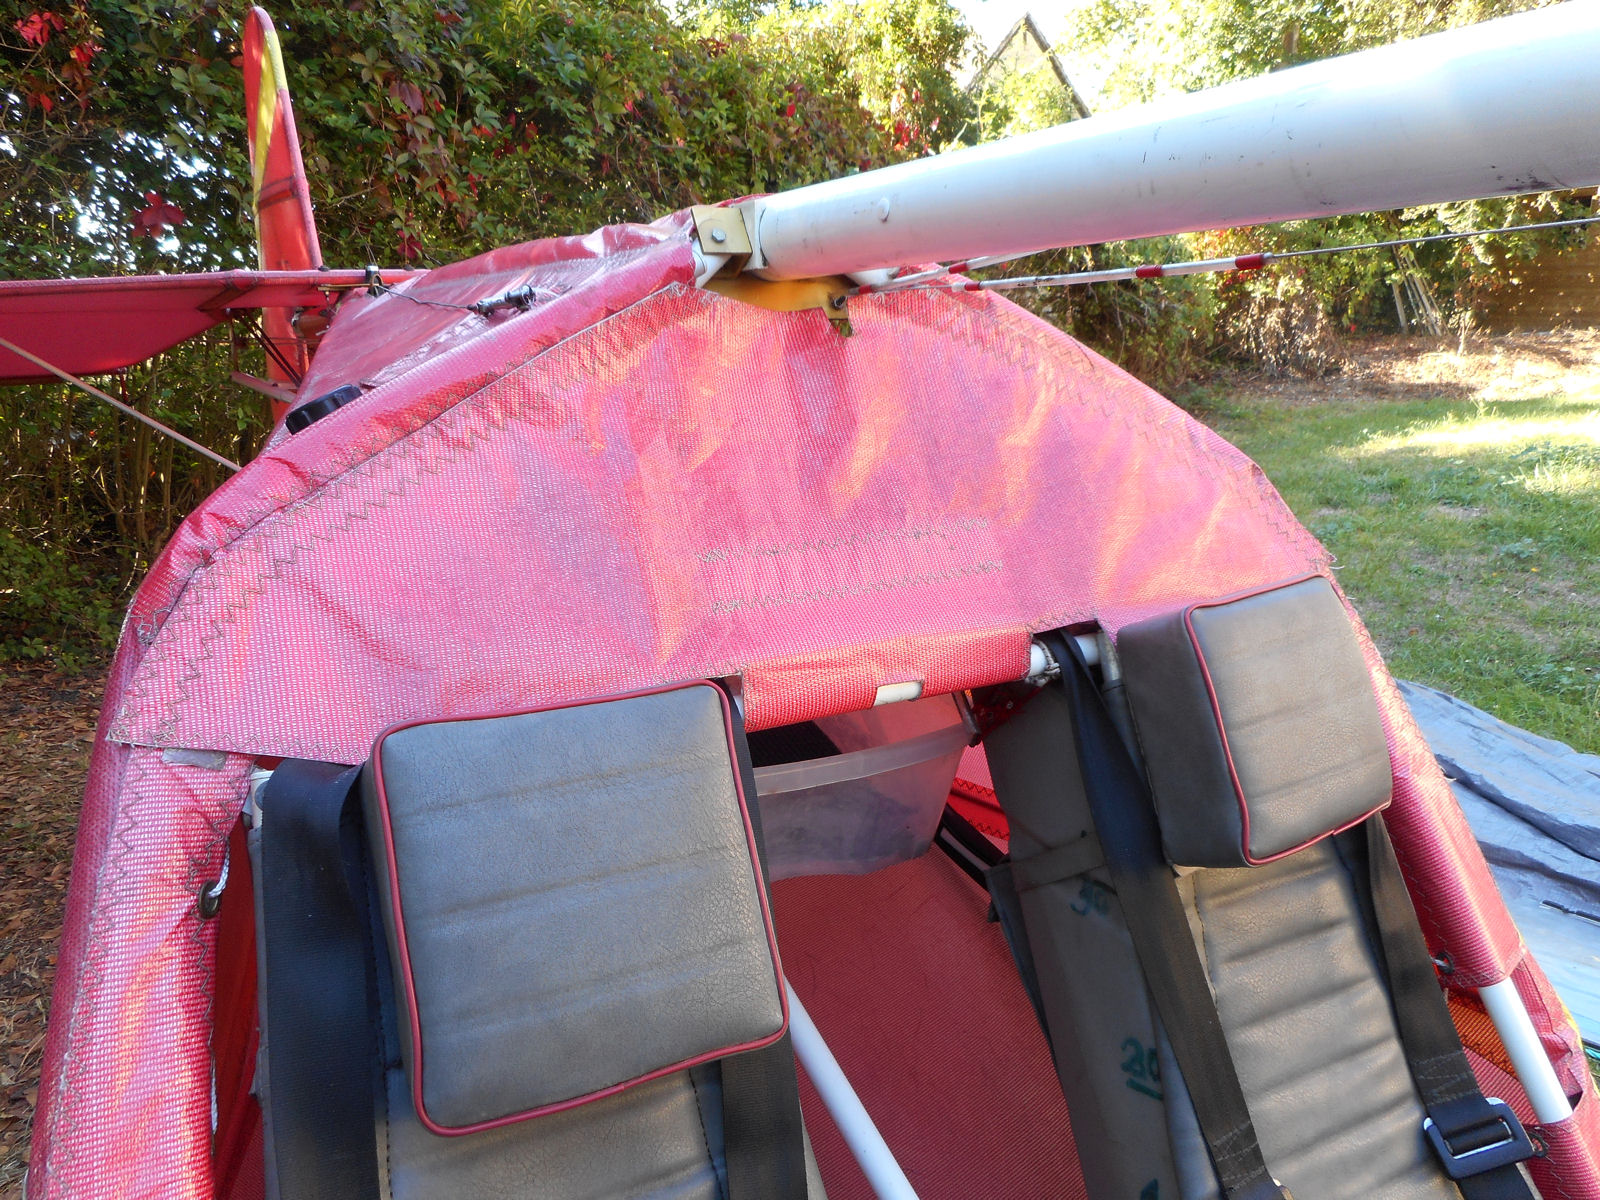
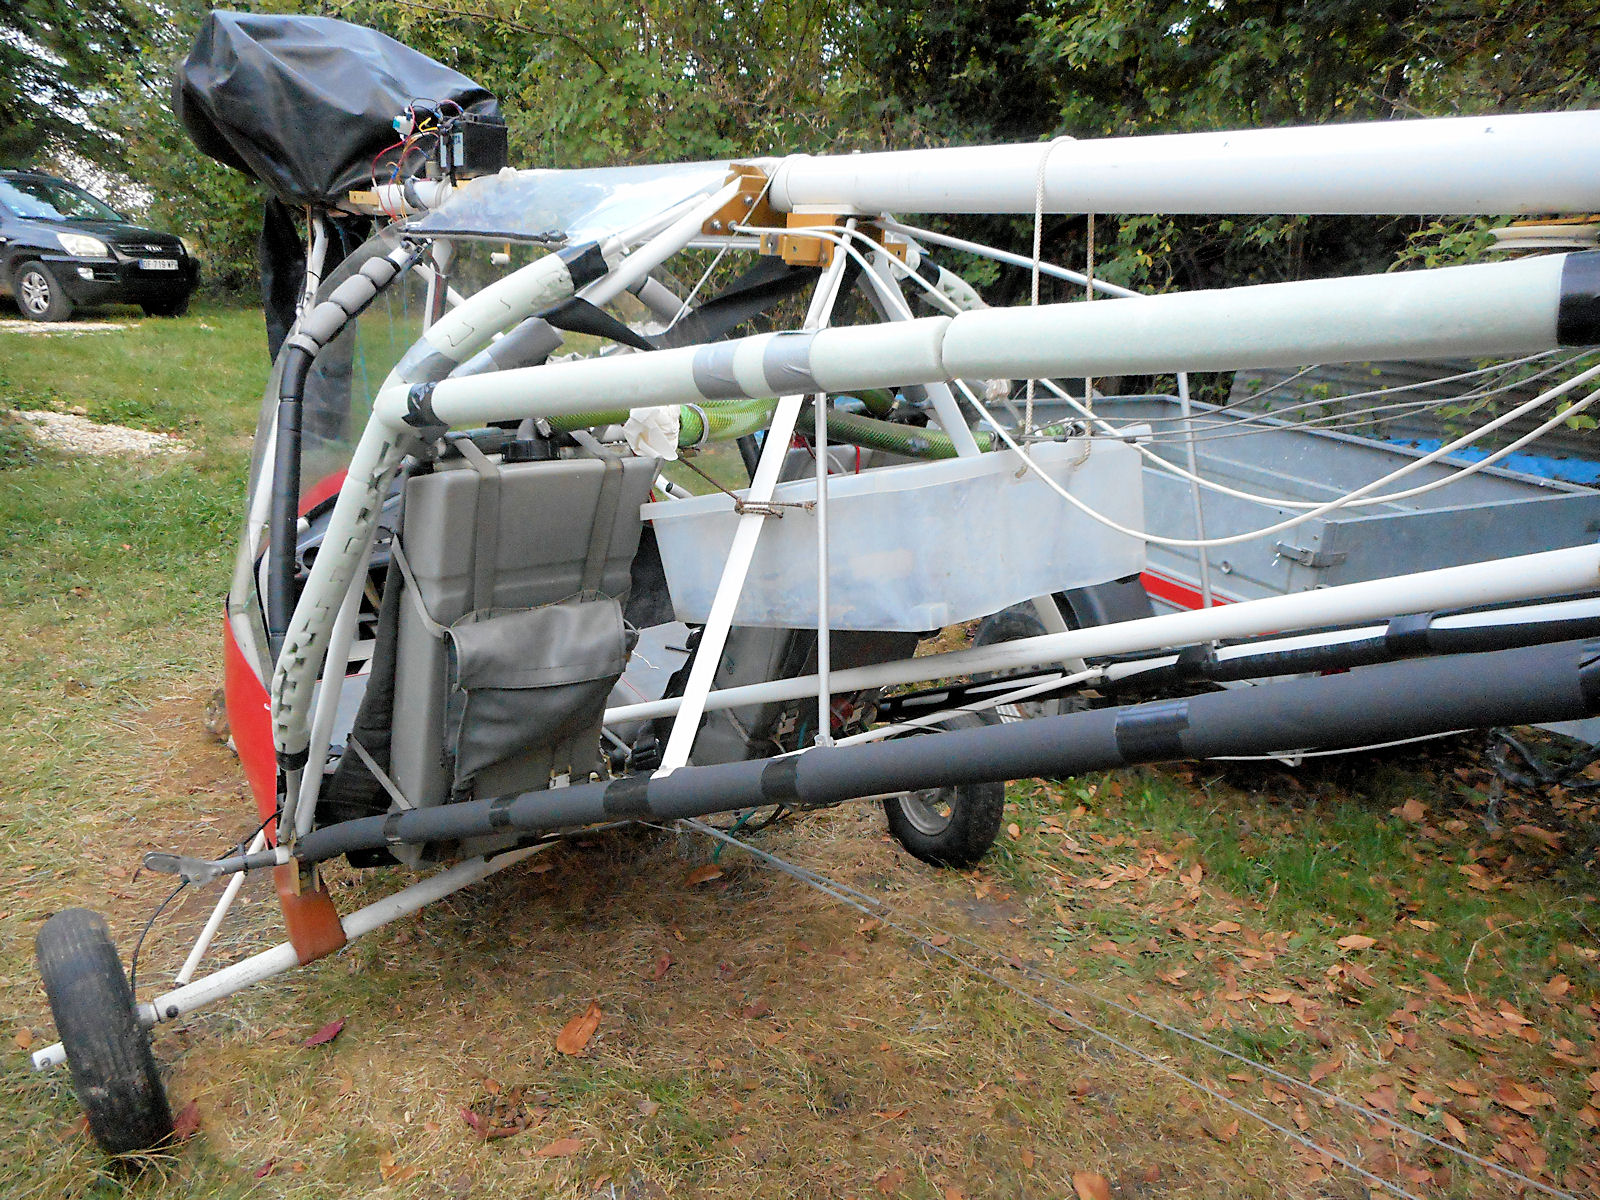
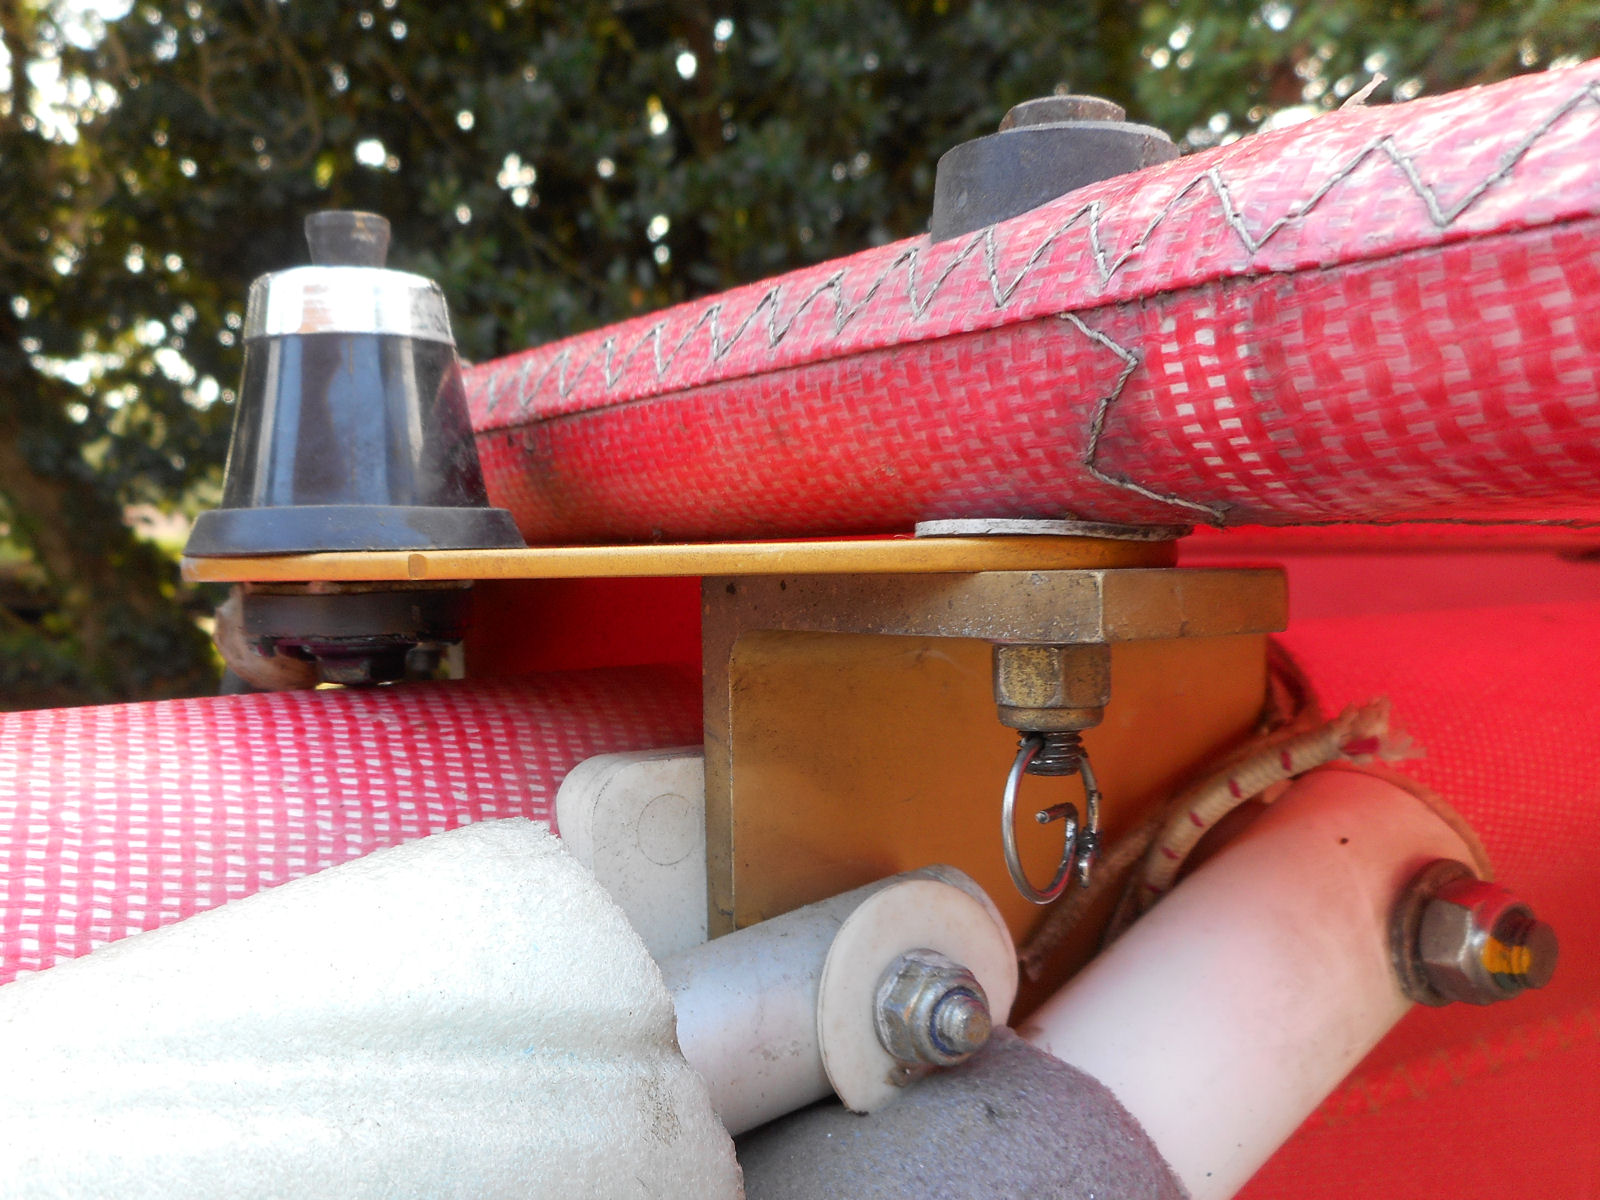
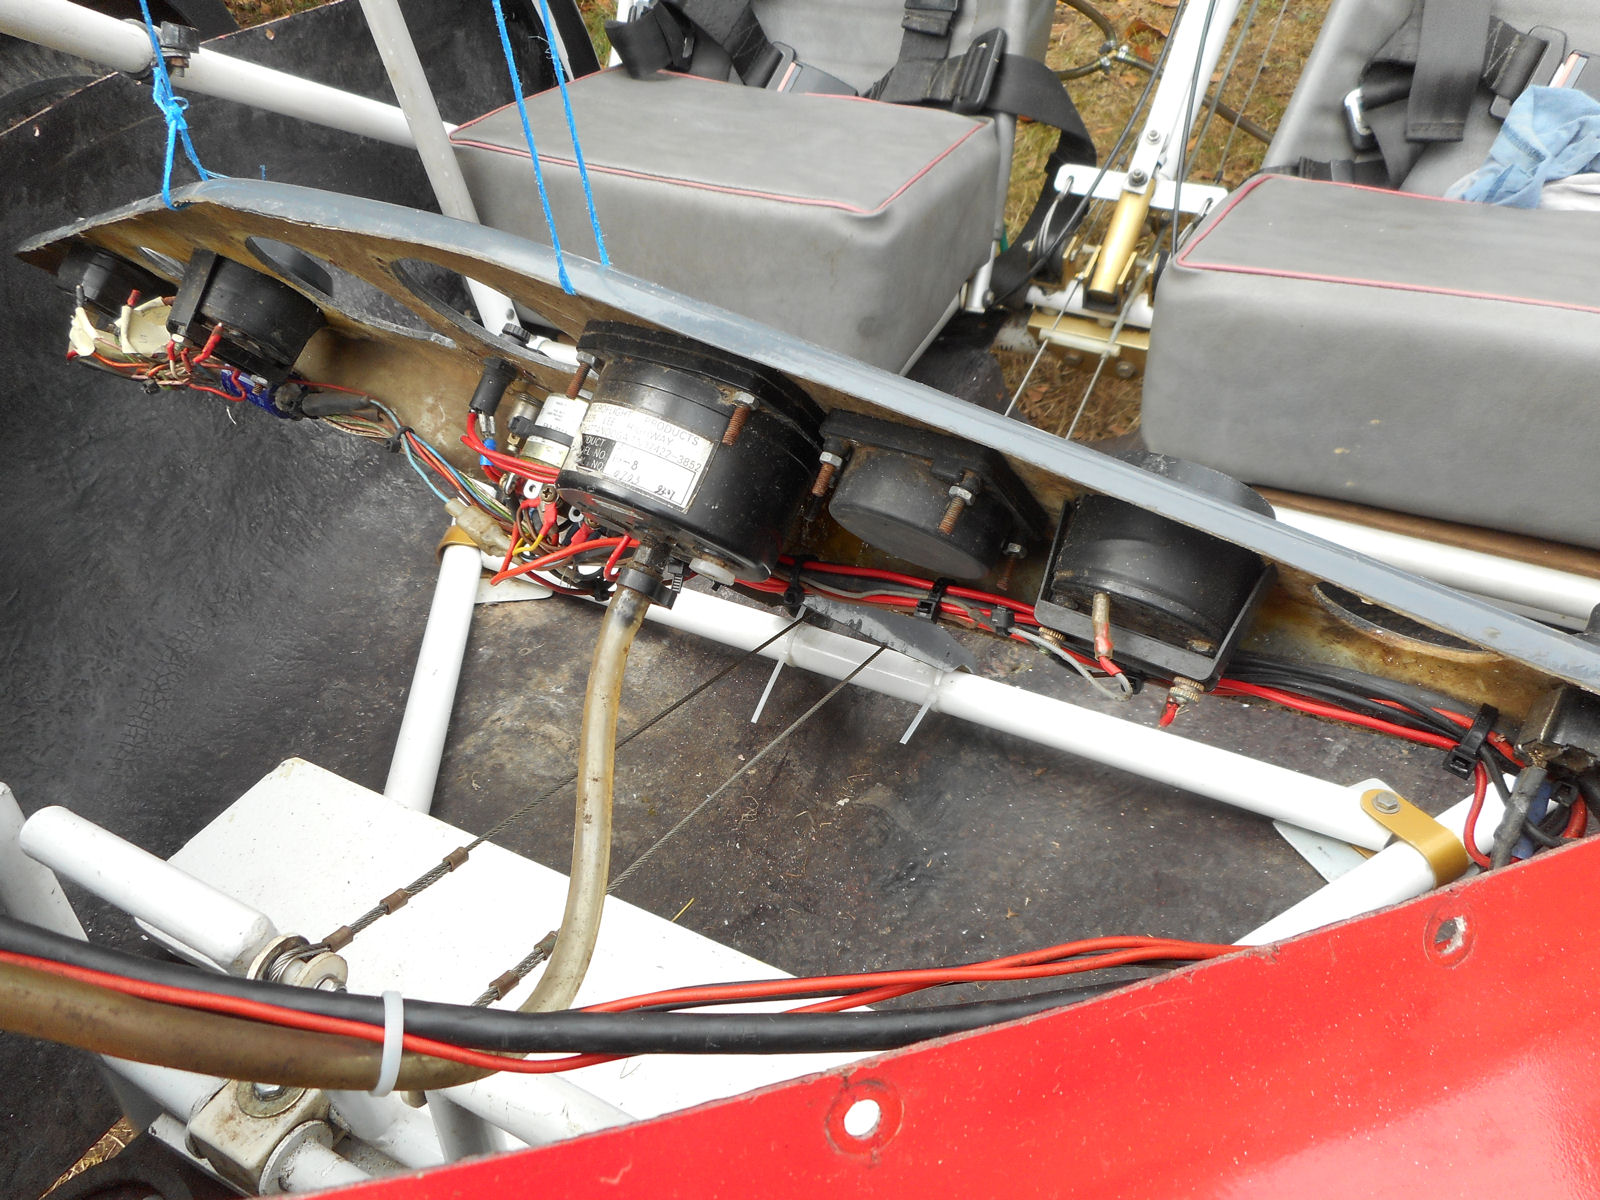
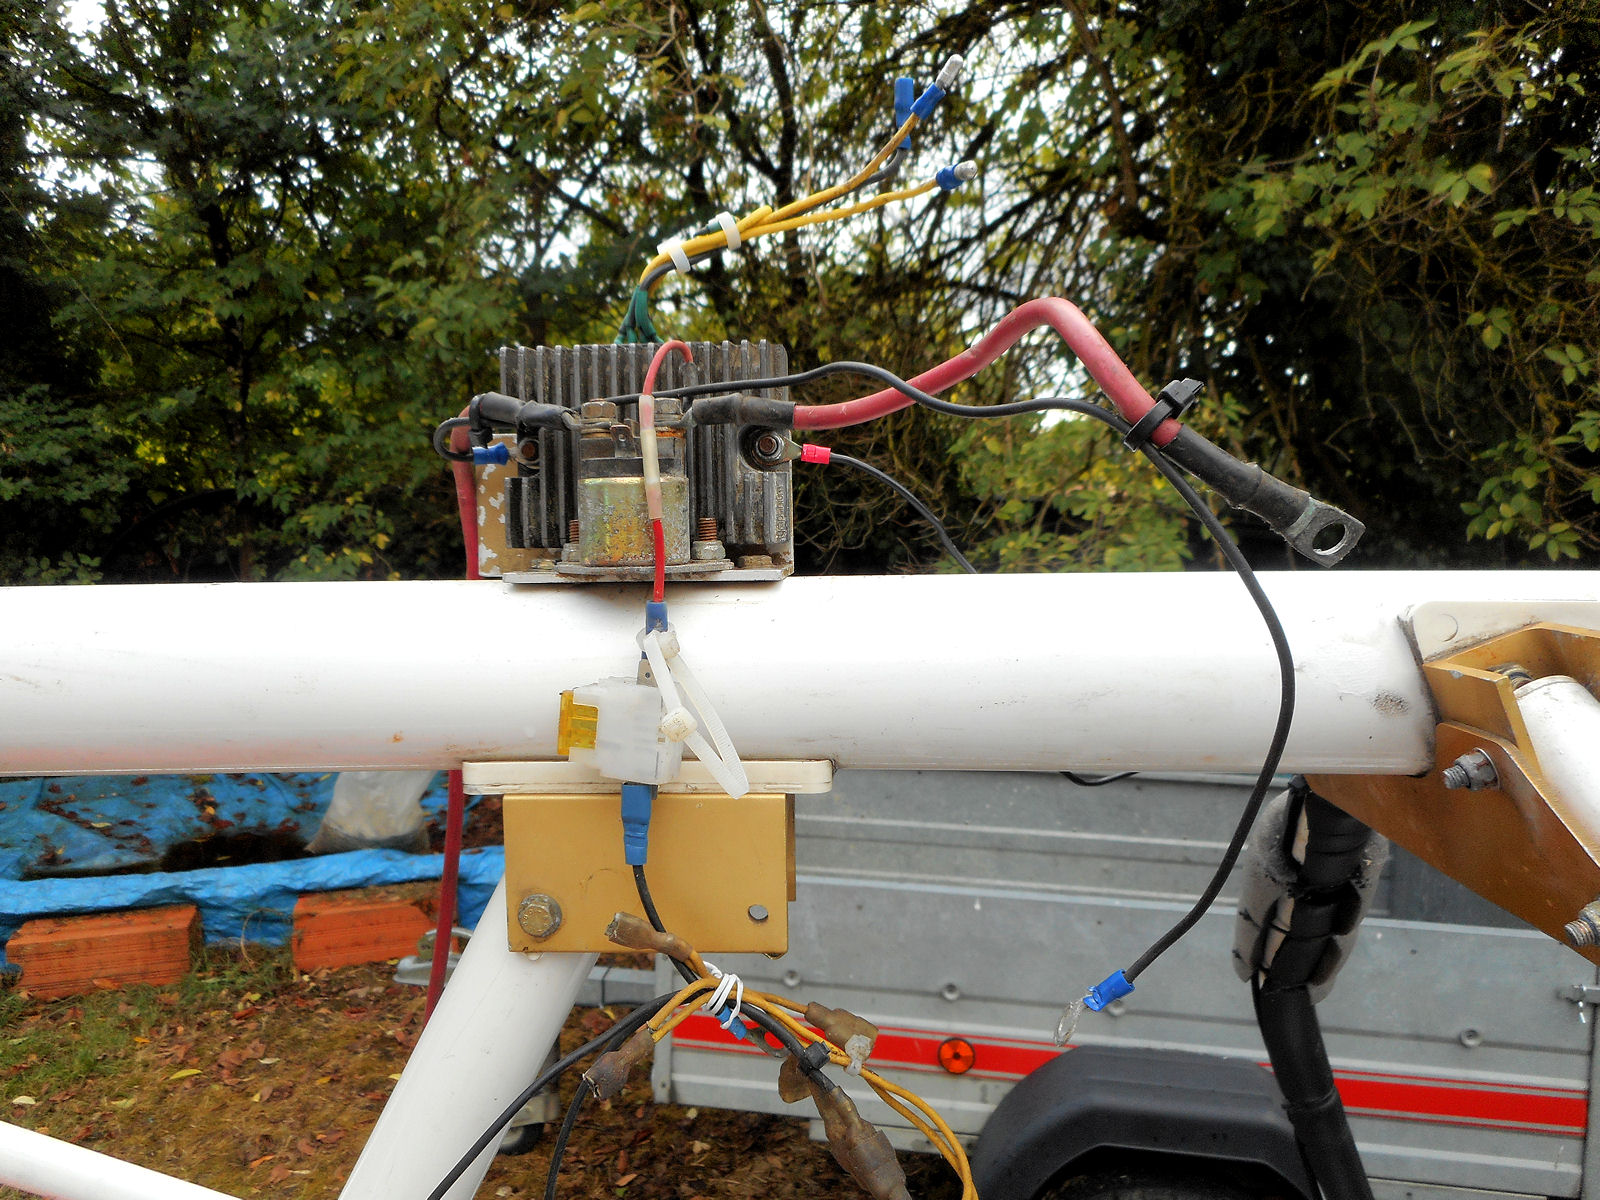
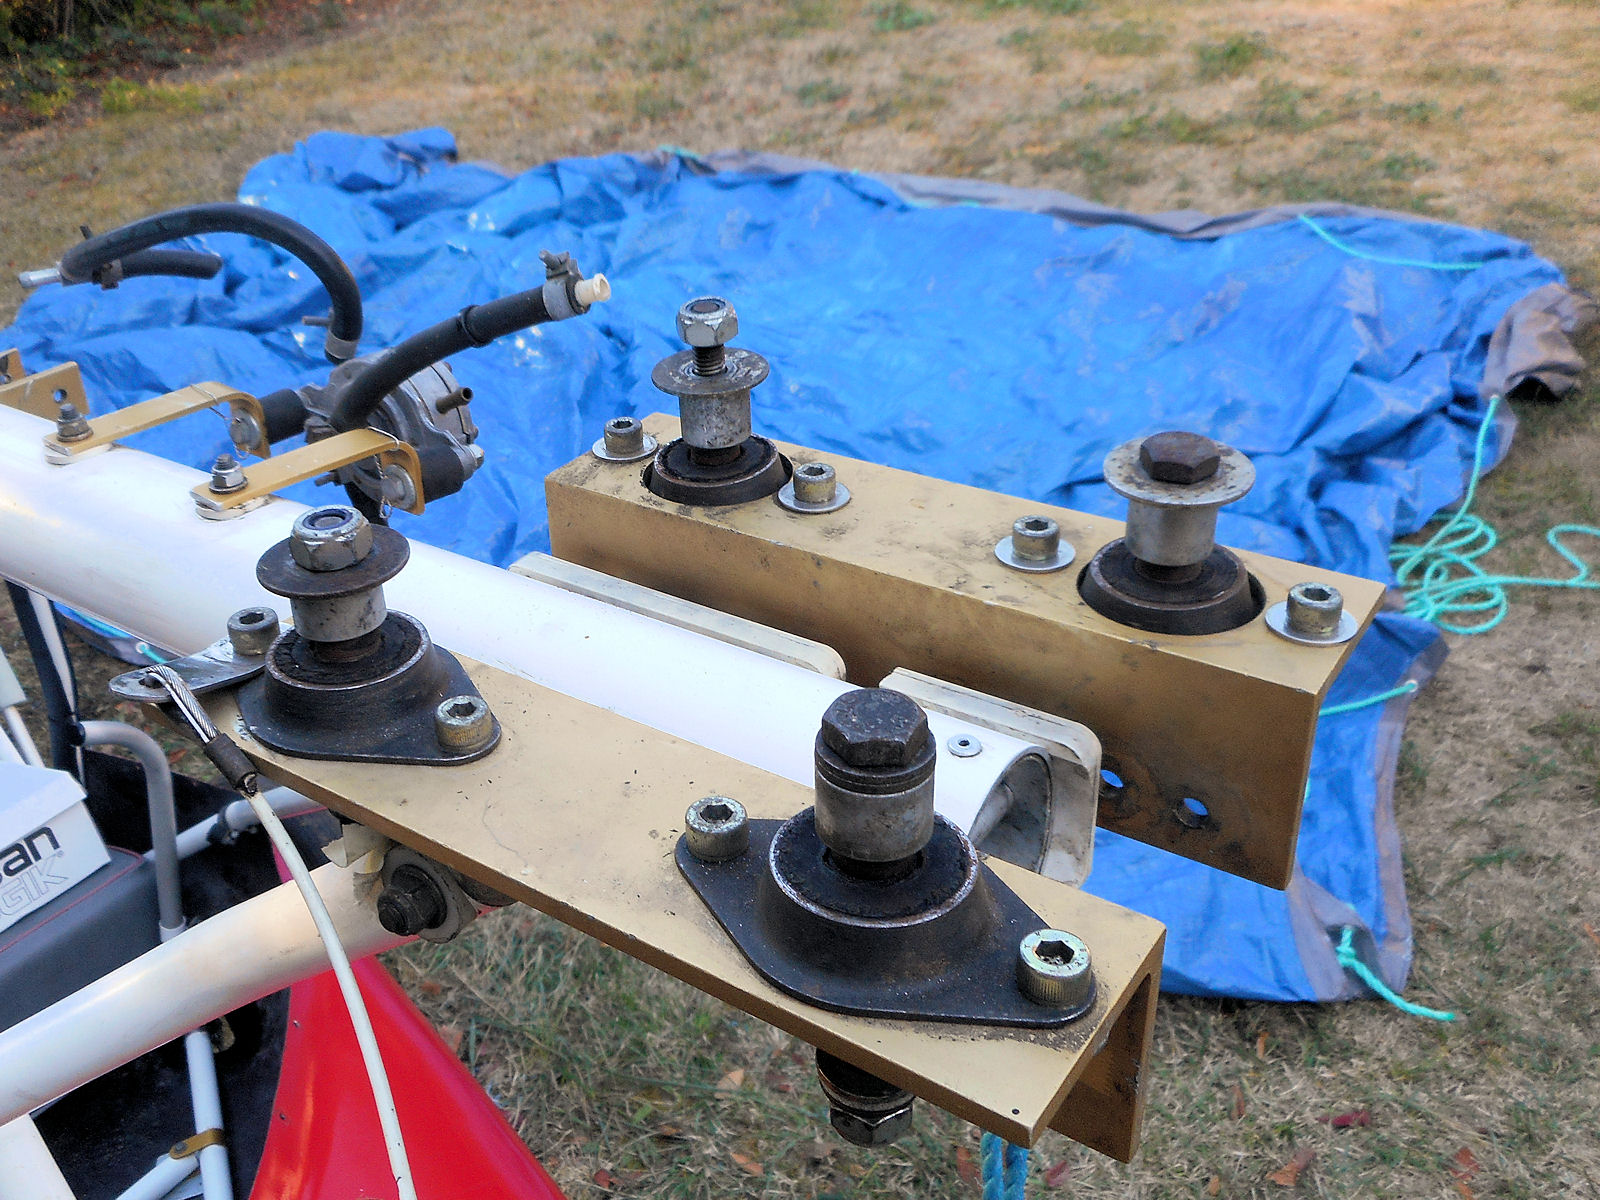
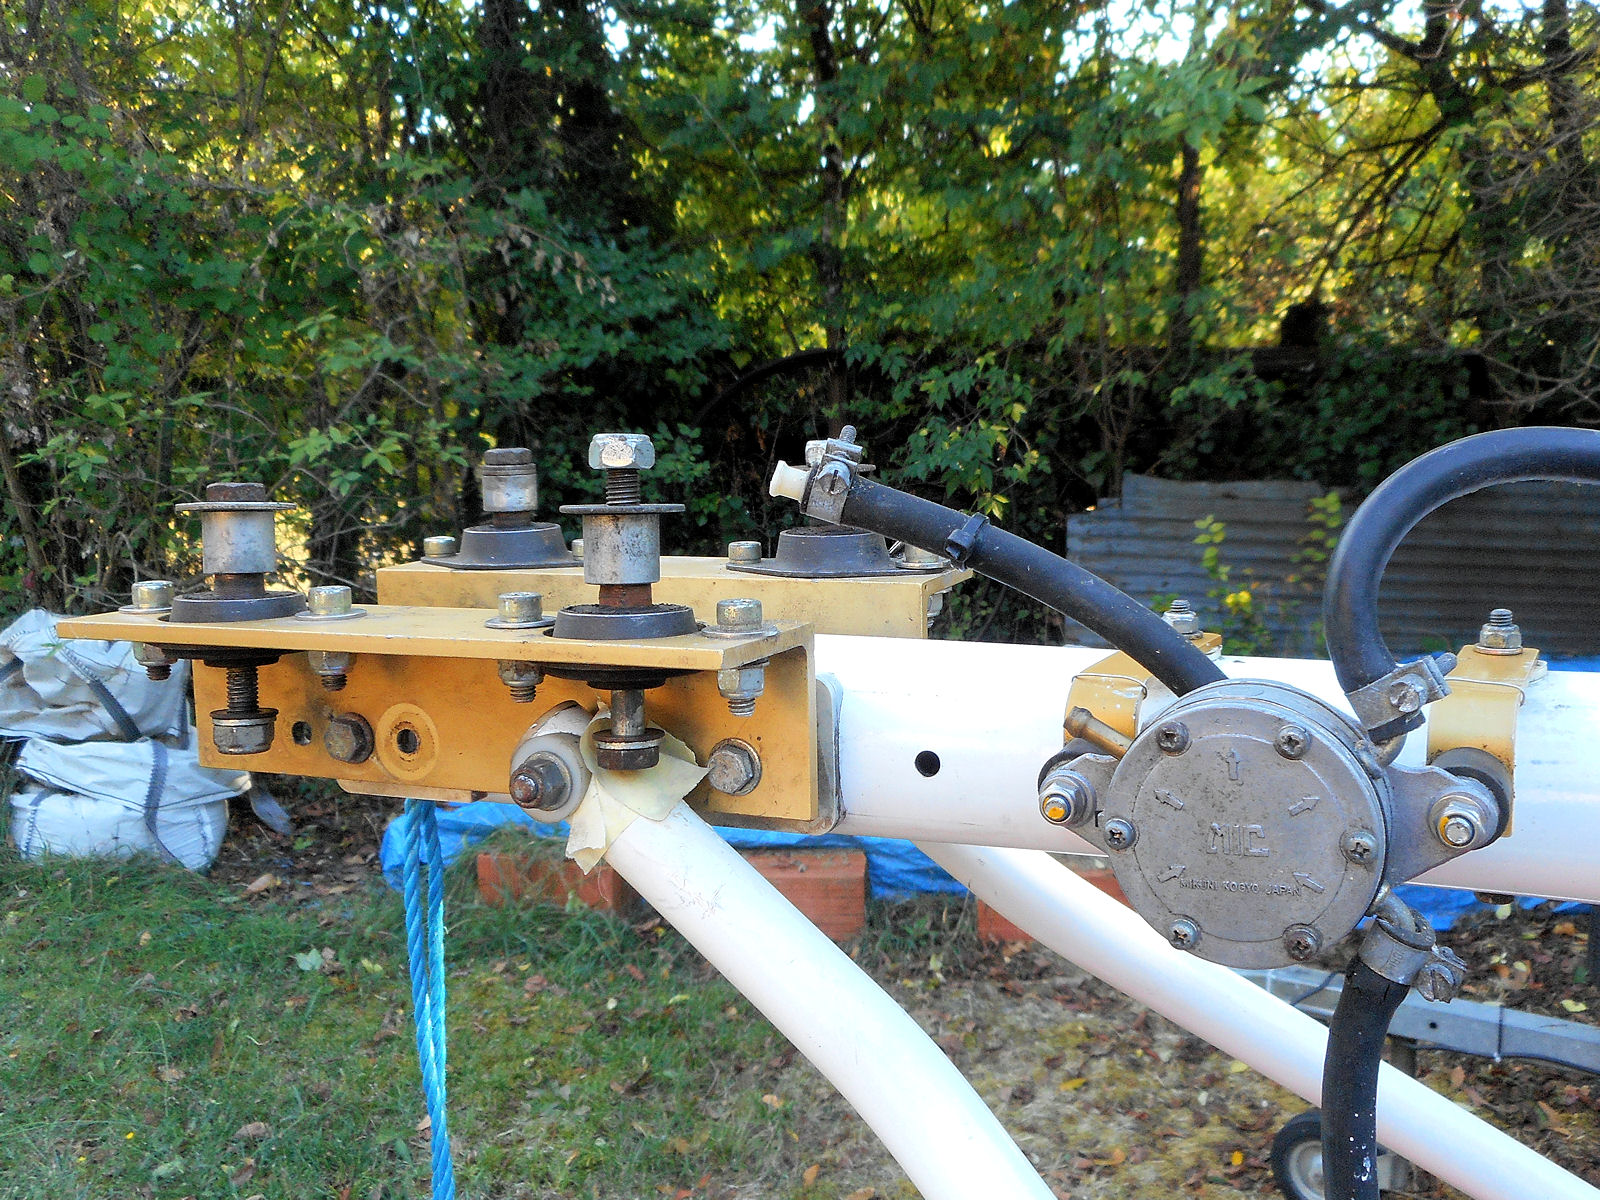
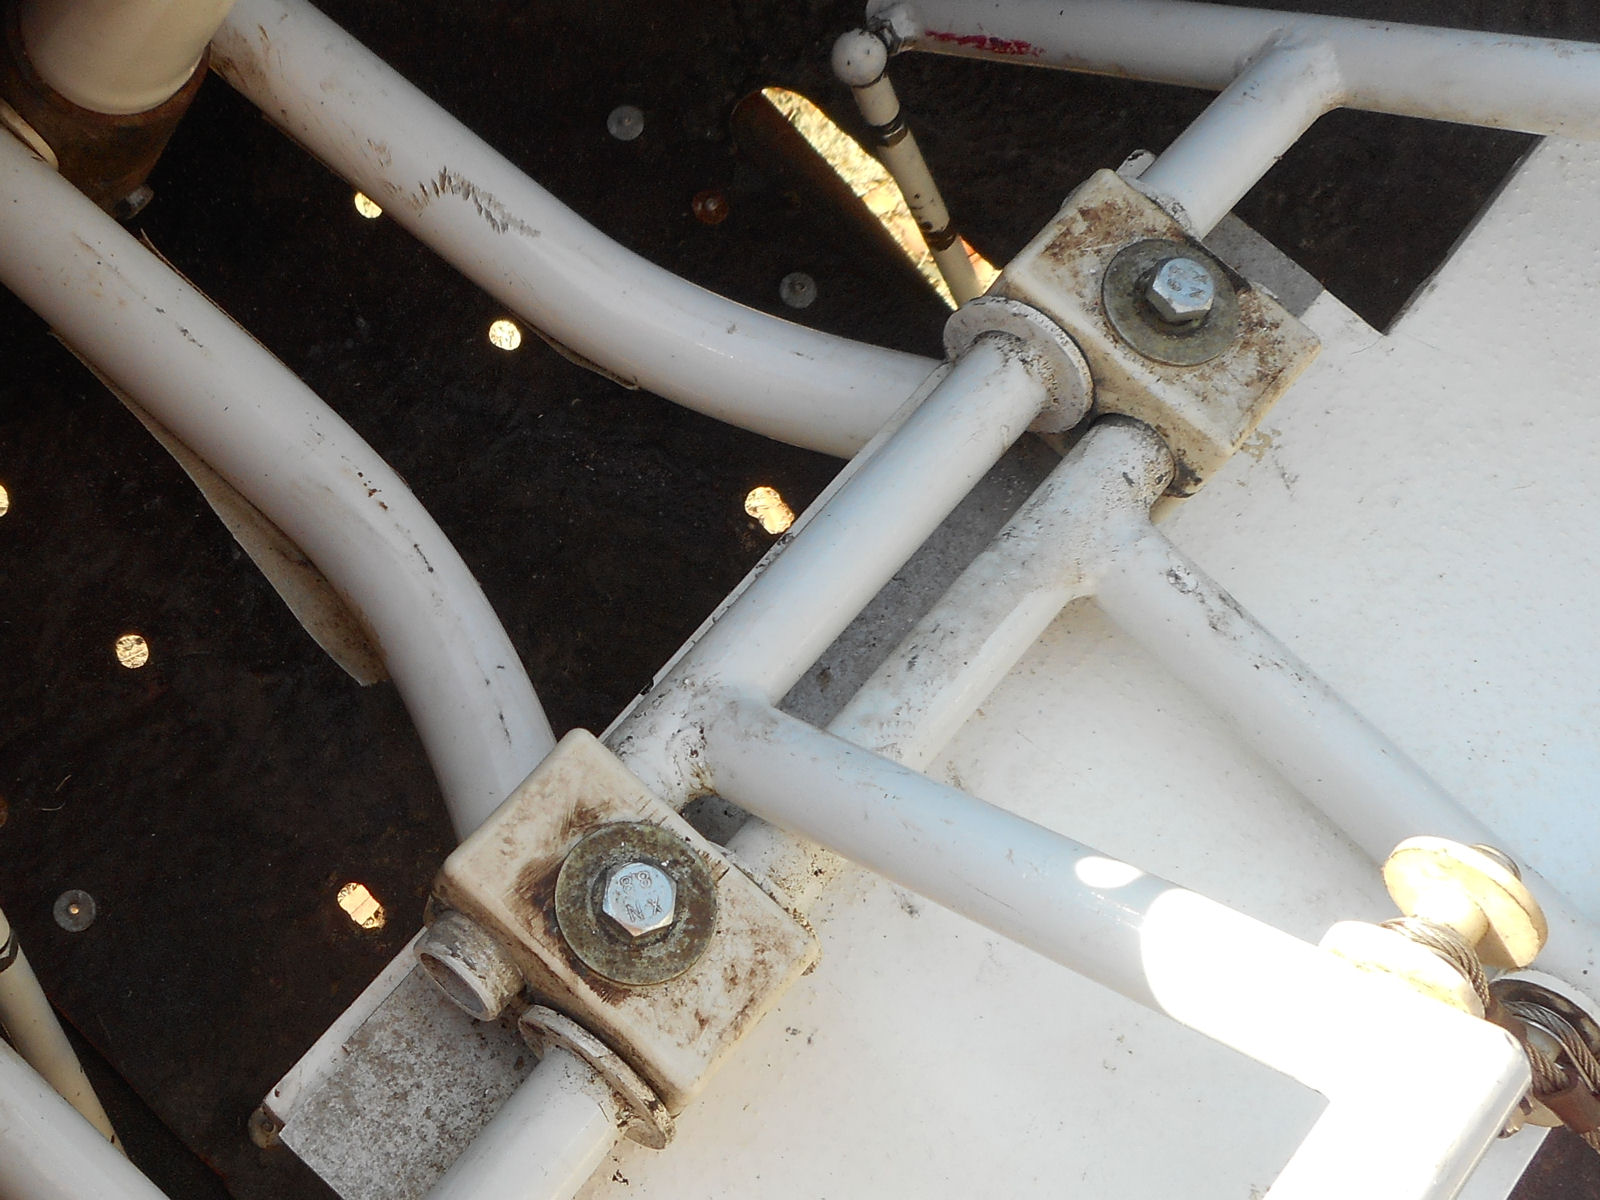
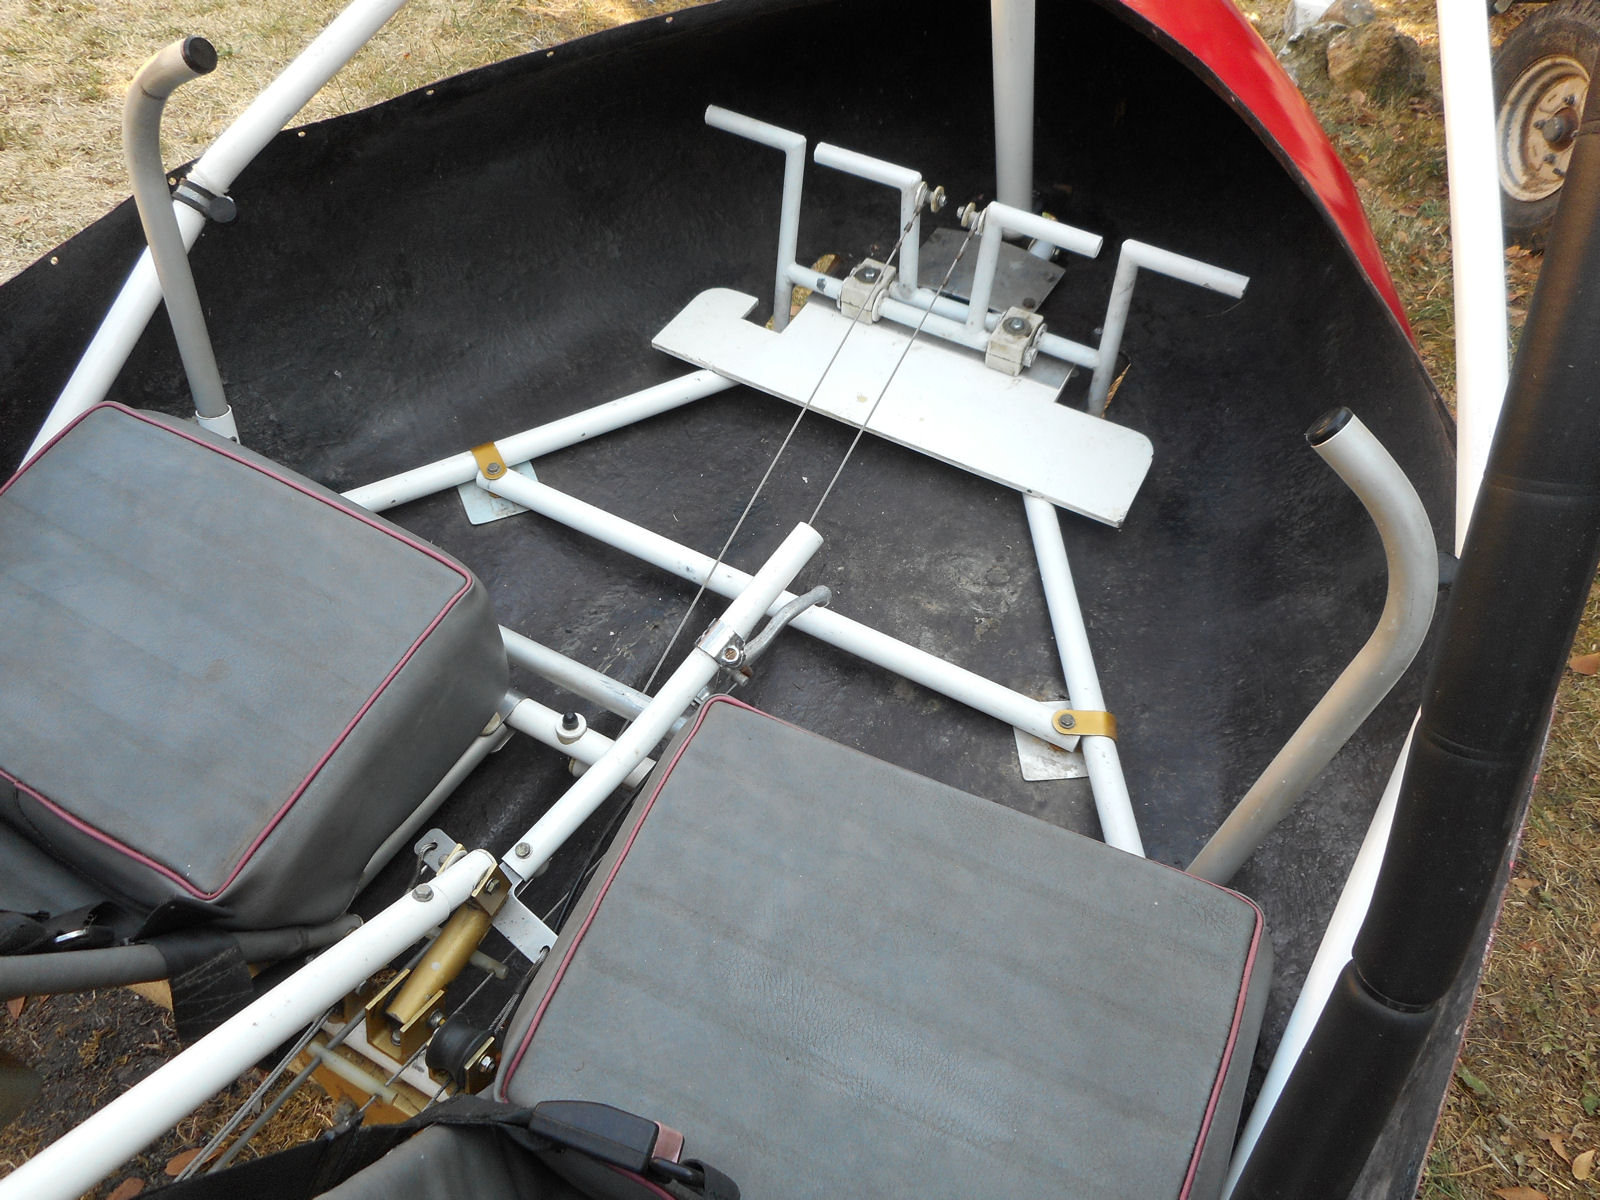
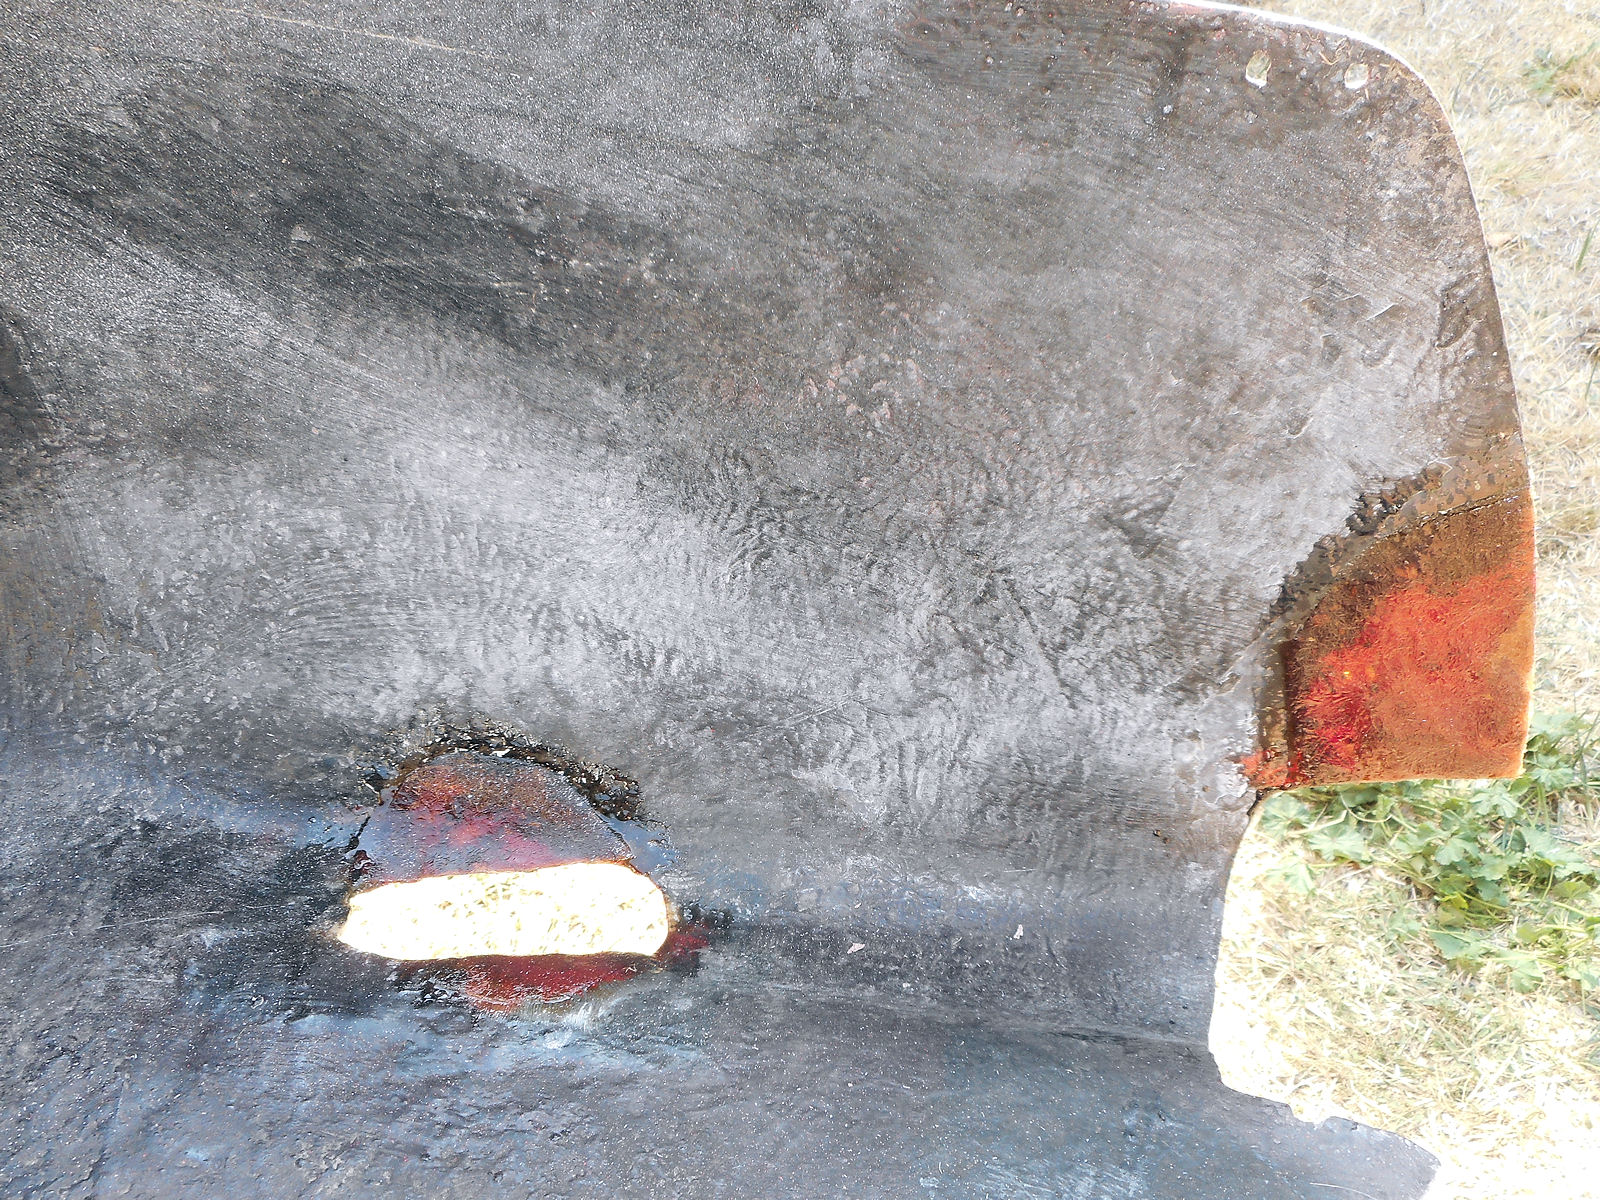
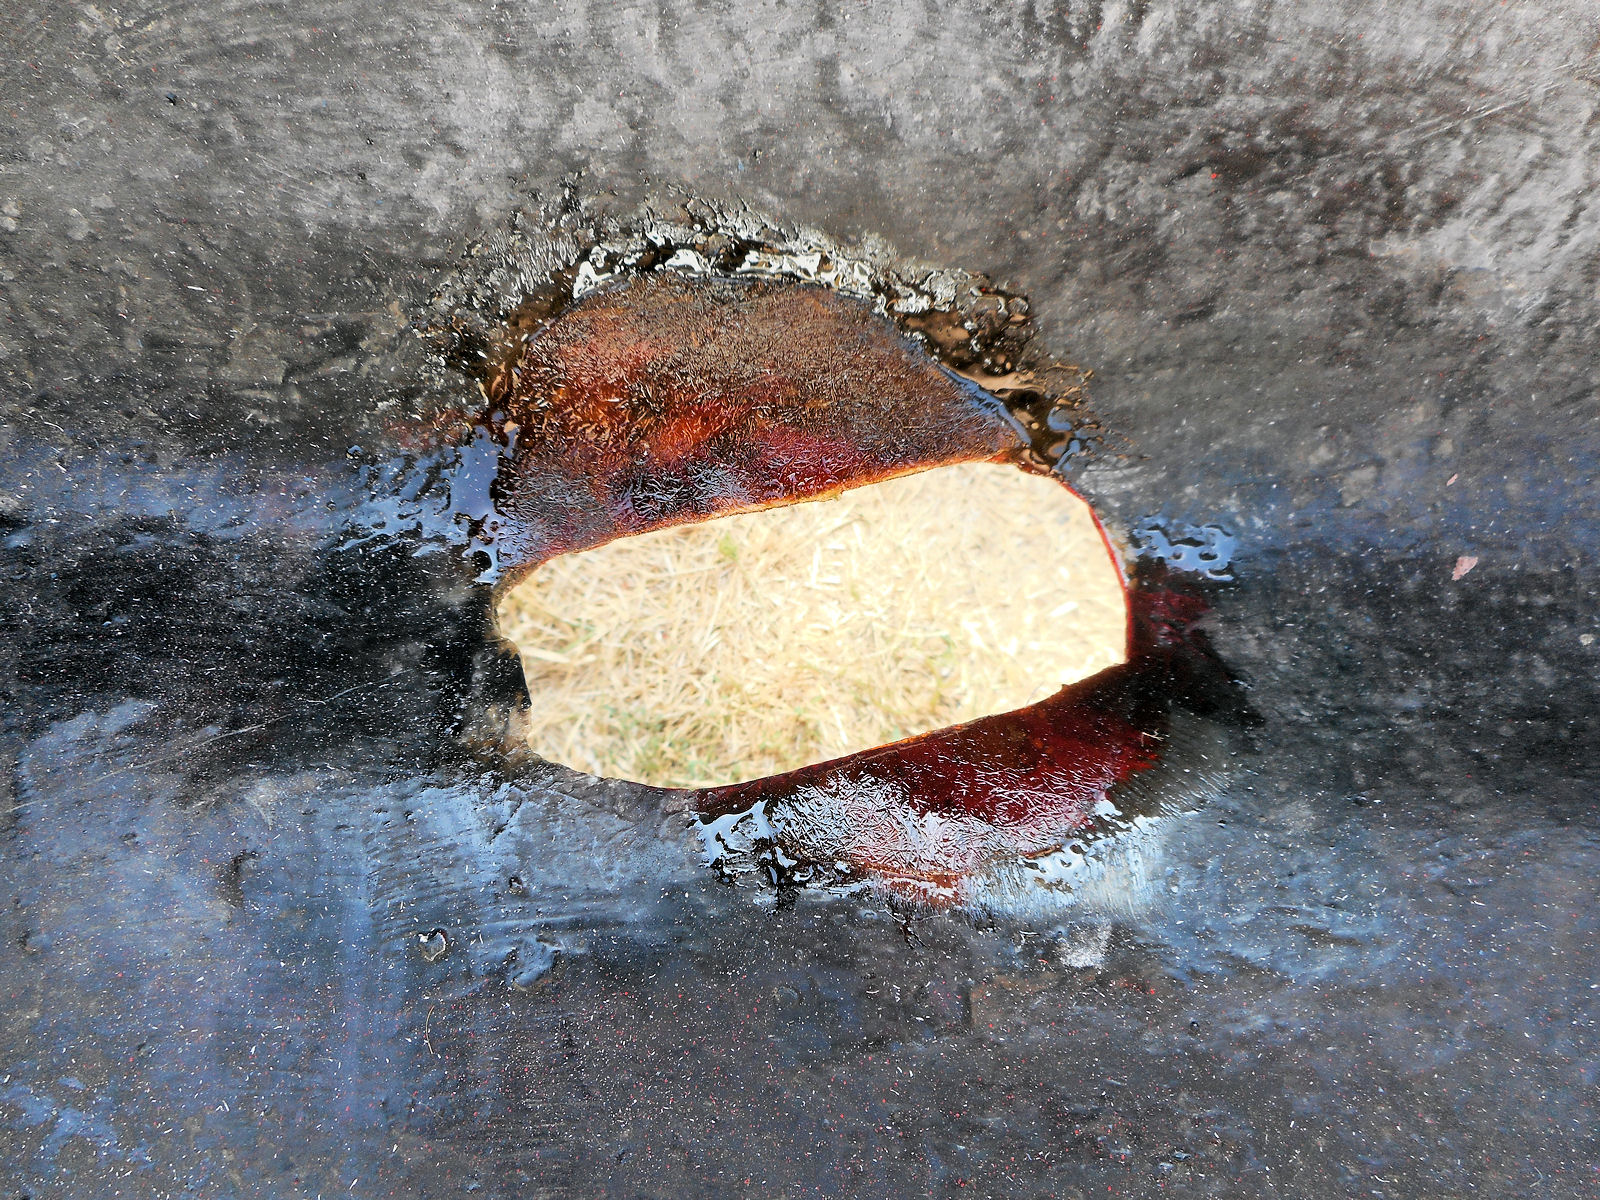
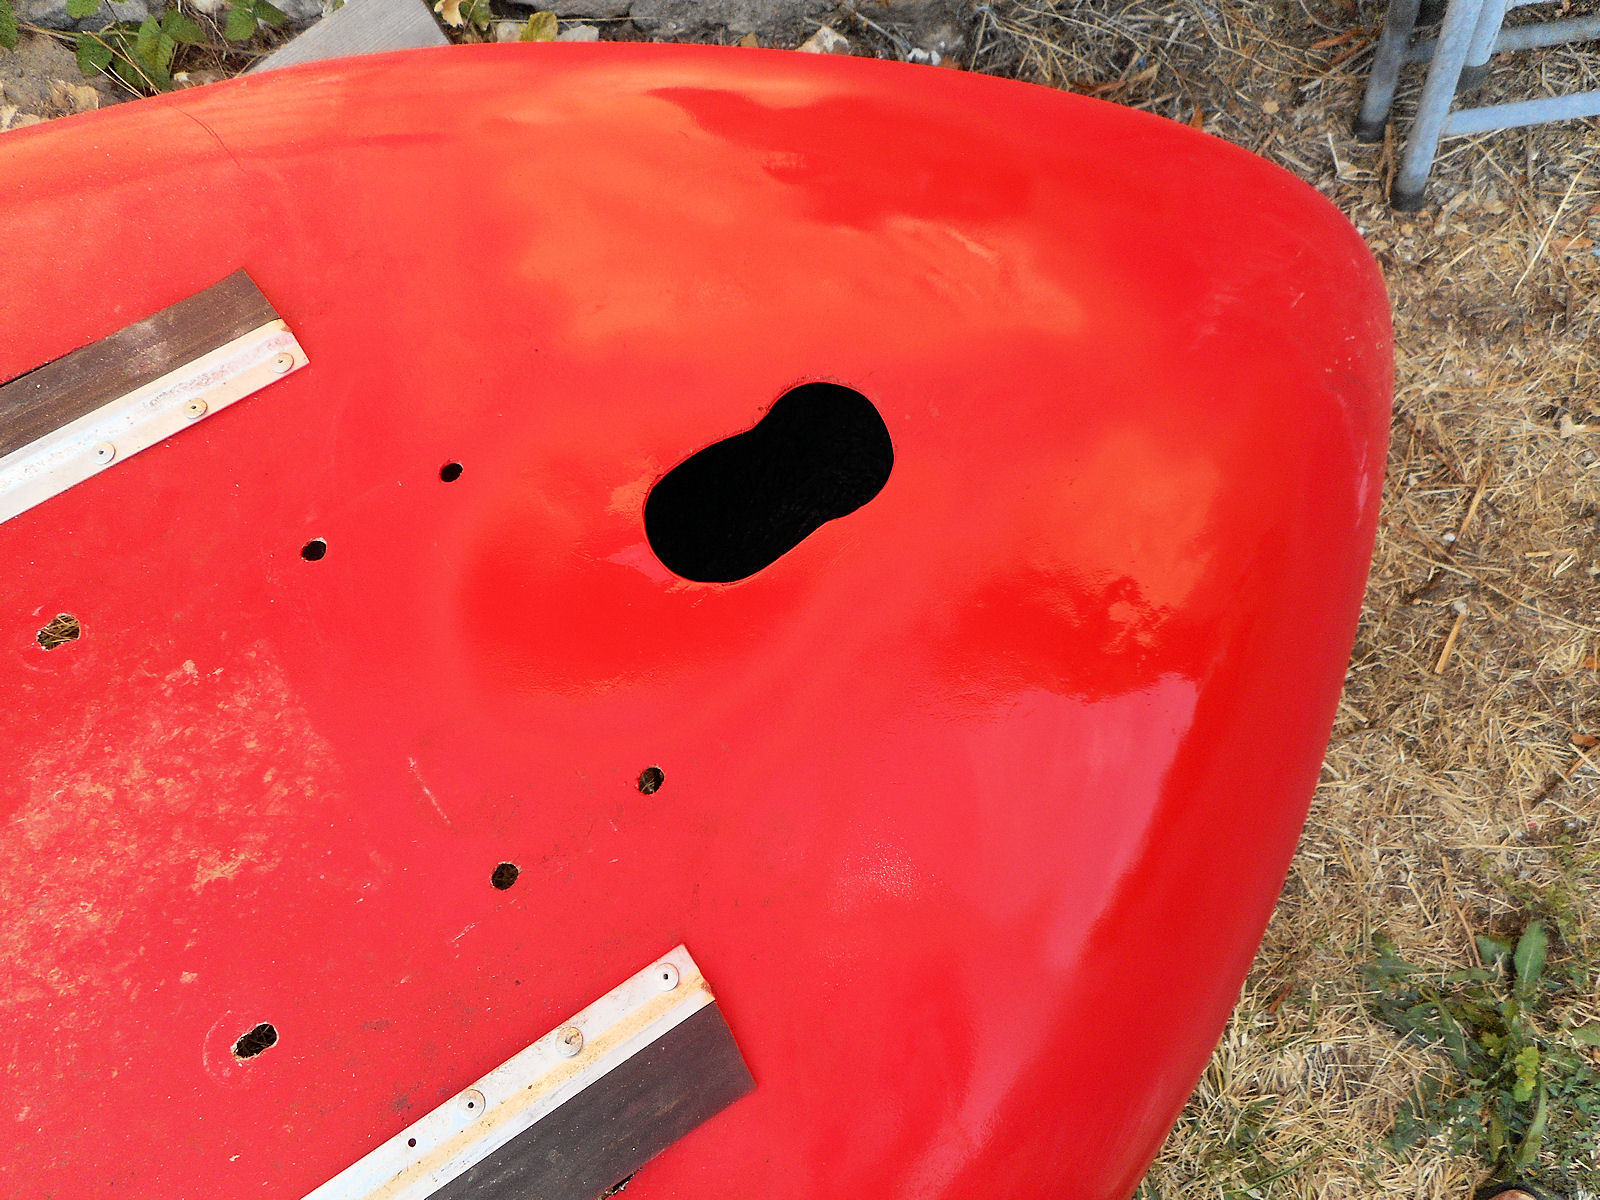
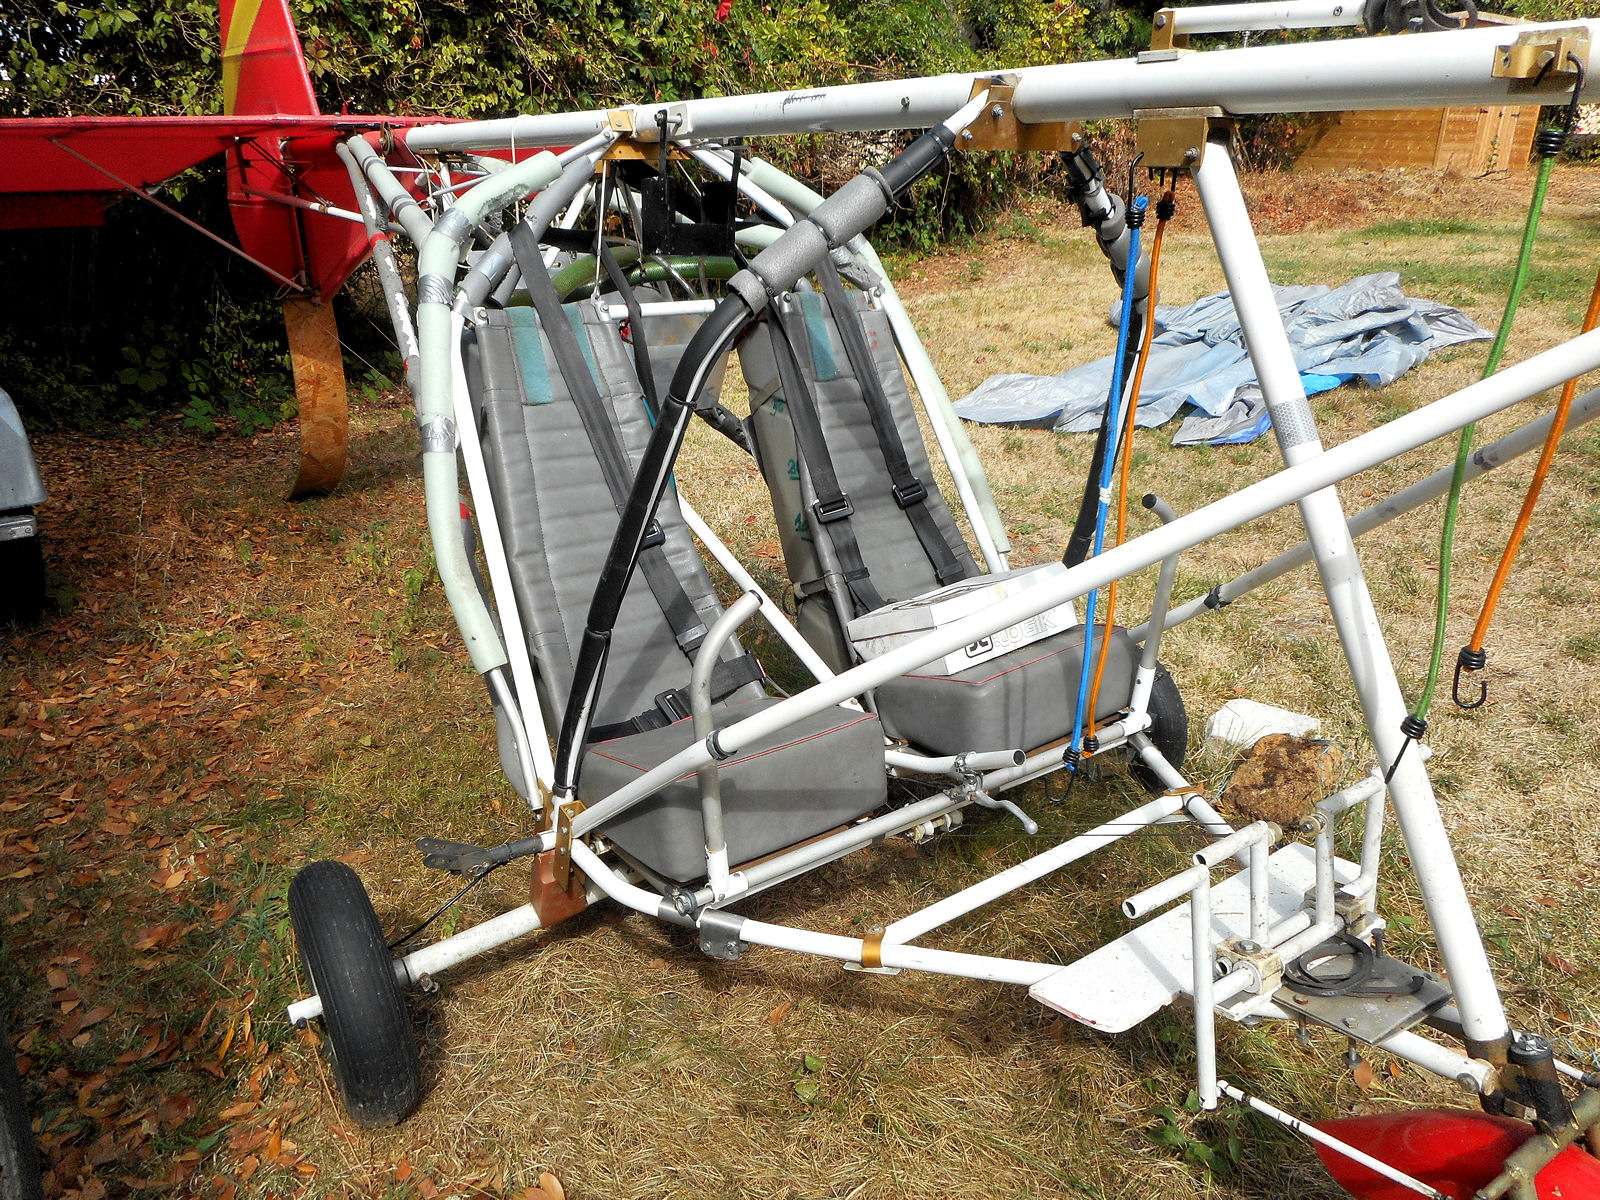
There are also 4 bolts (more for 28AAD) that pass through the pod and attach it to the cabin sub-frame and although they should be left in place, their nuts and washers MUST be removed before proceeding further. The next 2 shots show where these bolts are located, the first shot shows the left hand side and there’s one also on the other side supporting the cabin cross member, and the second of the two shots shows the two large bolts that hold the rudder pedal assembly.


On 28AAD there were 4 more bolts in front of the rudder pedals (you can see the holes for them in the above shot) but I do not know if these are standard only on French Weedhoppers as they were not fitted on MYRO when I did this job previously.
It helps to have the fuselage standing on level ground but as my garden slopes where I was working, I just put a large block under the lower wheel.

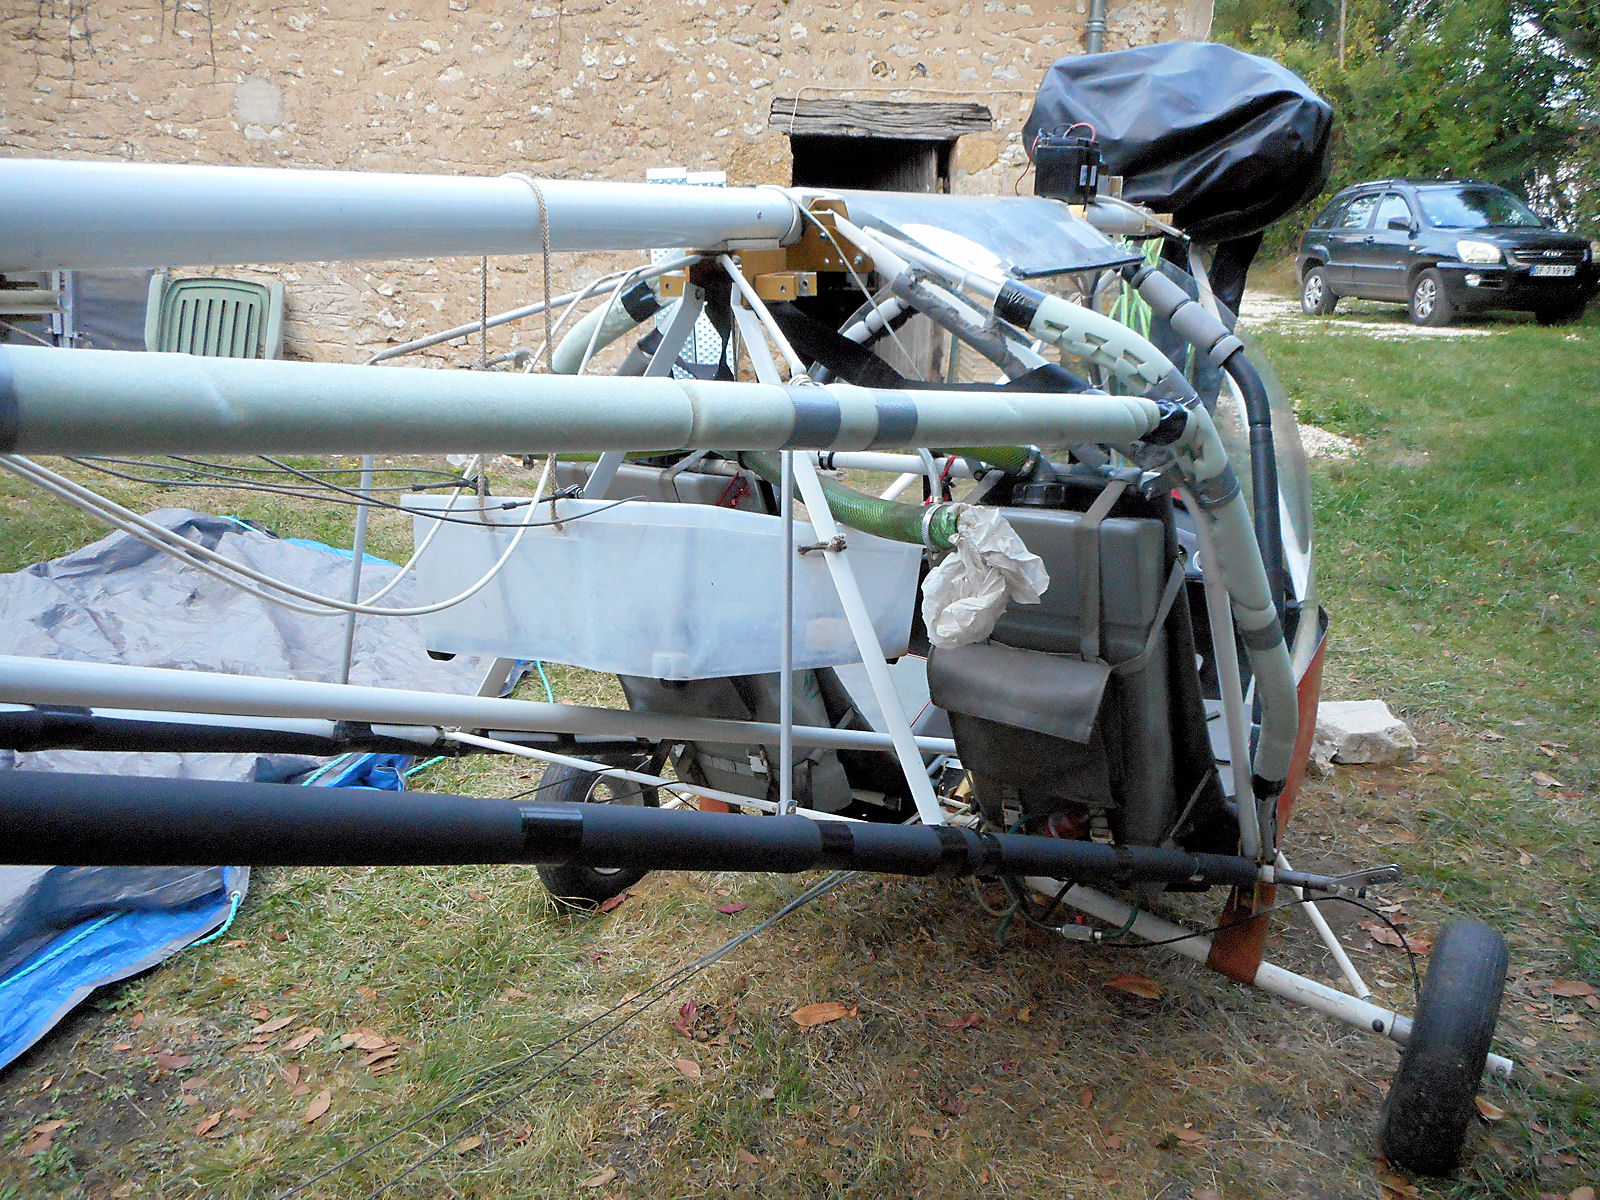
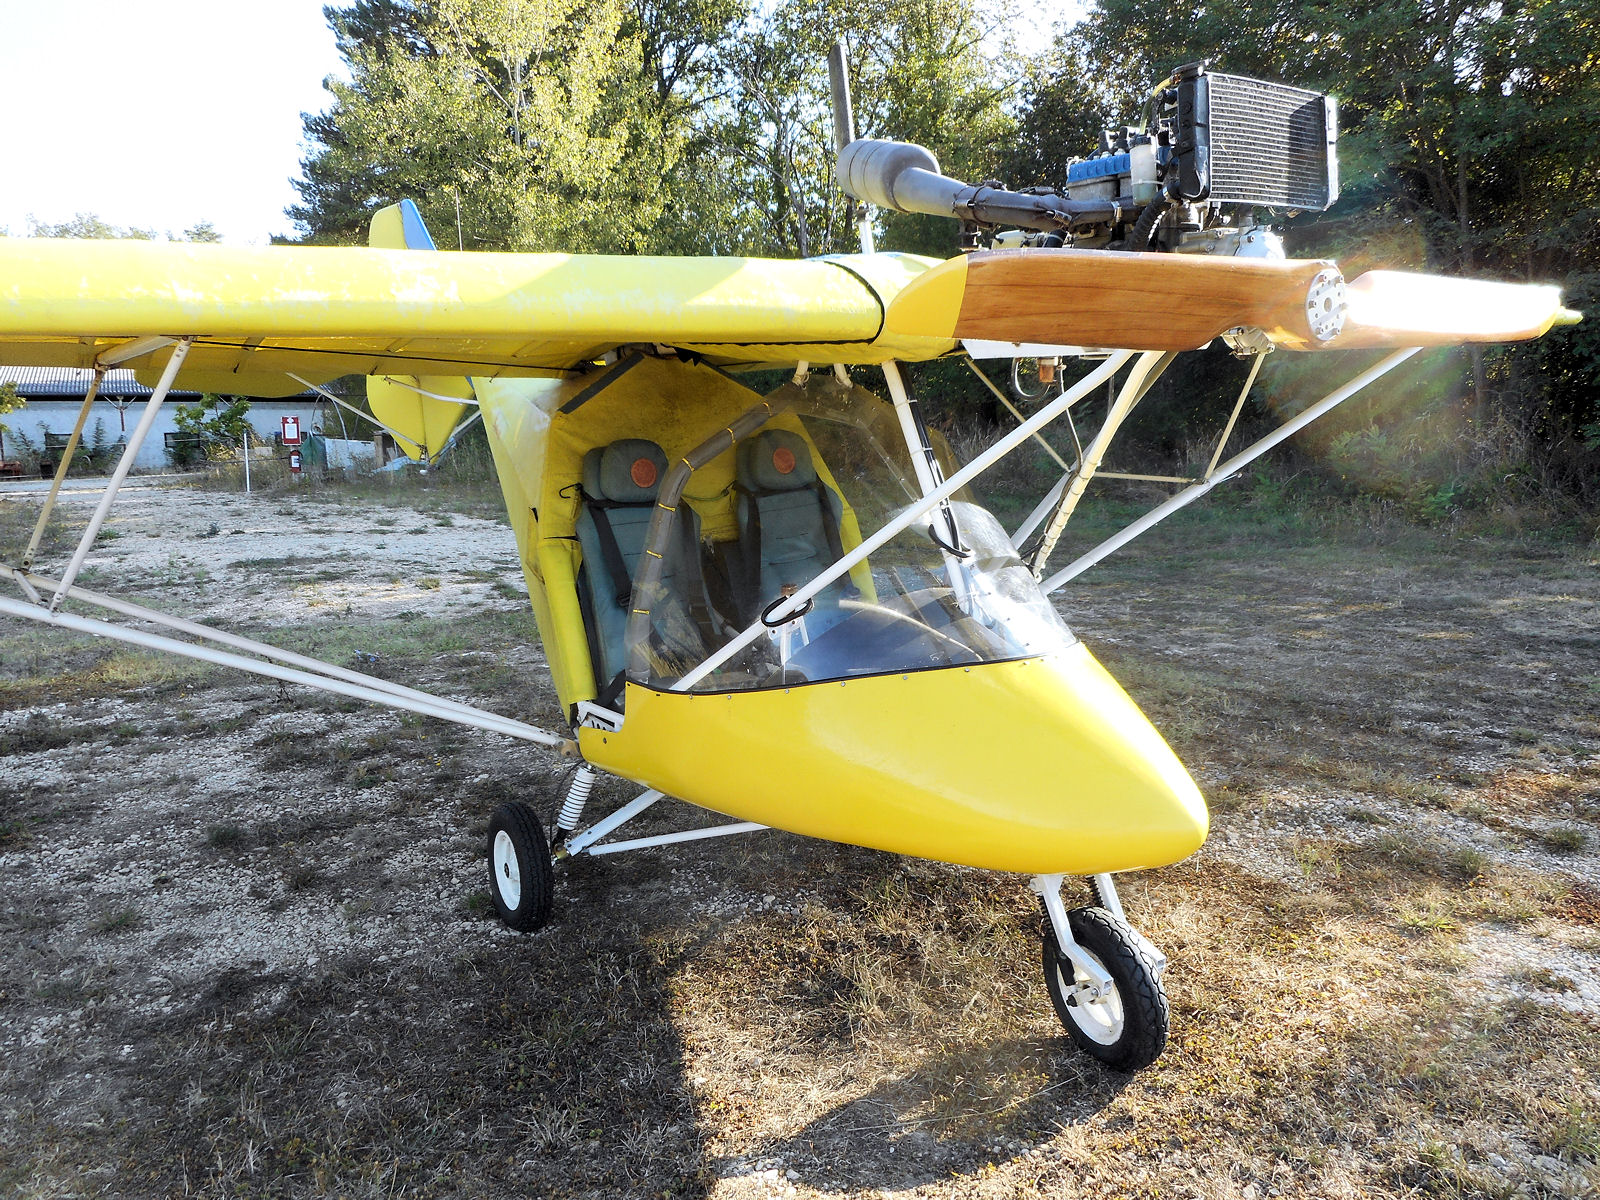
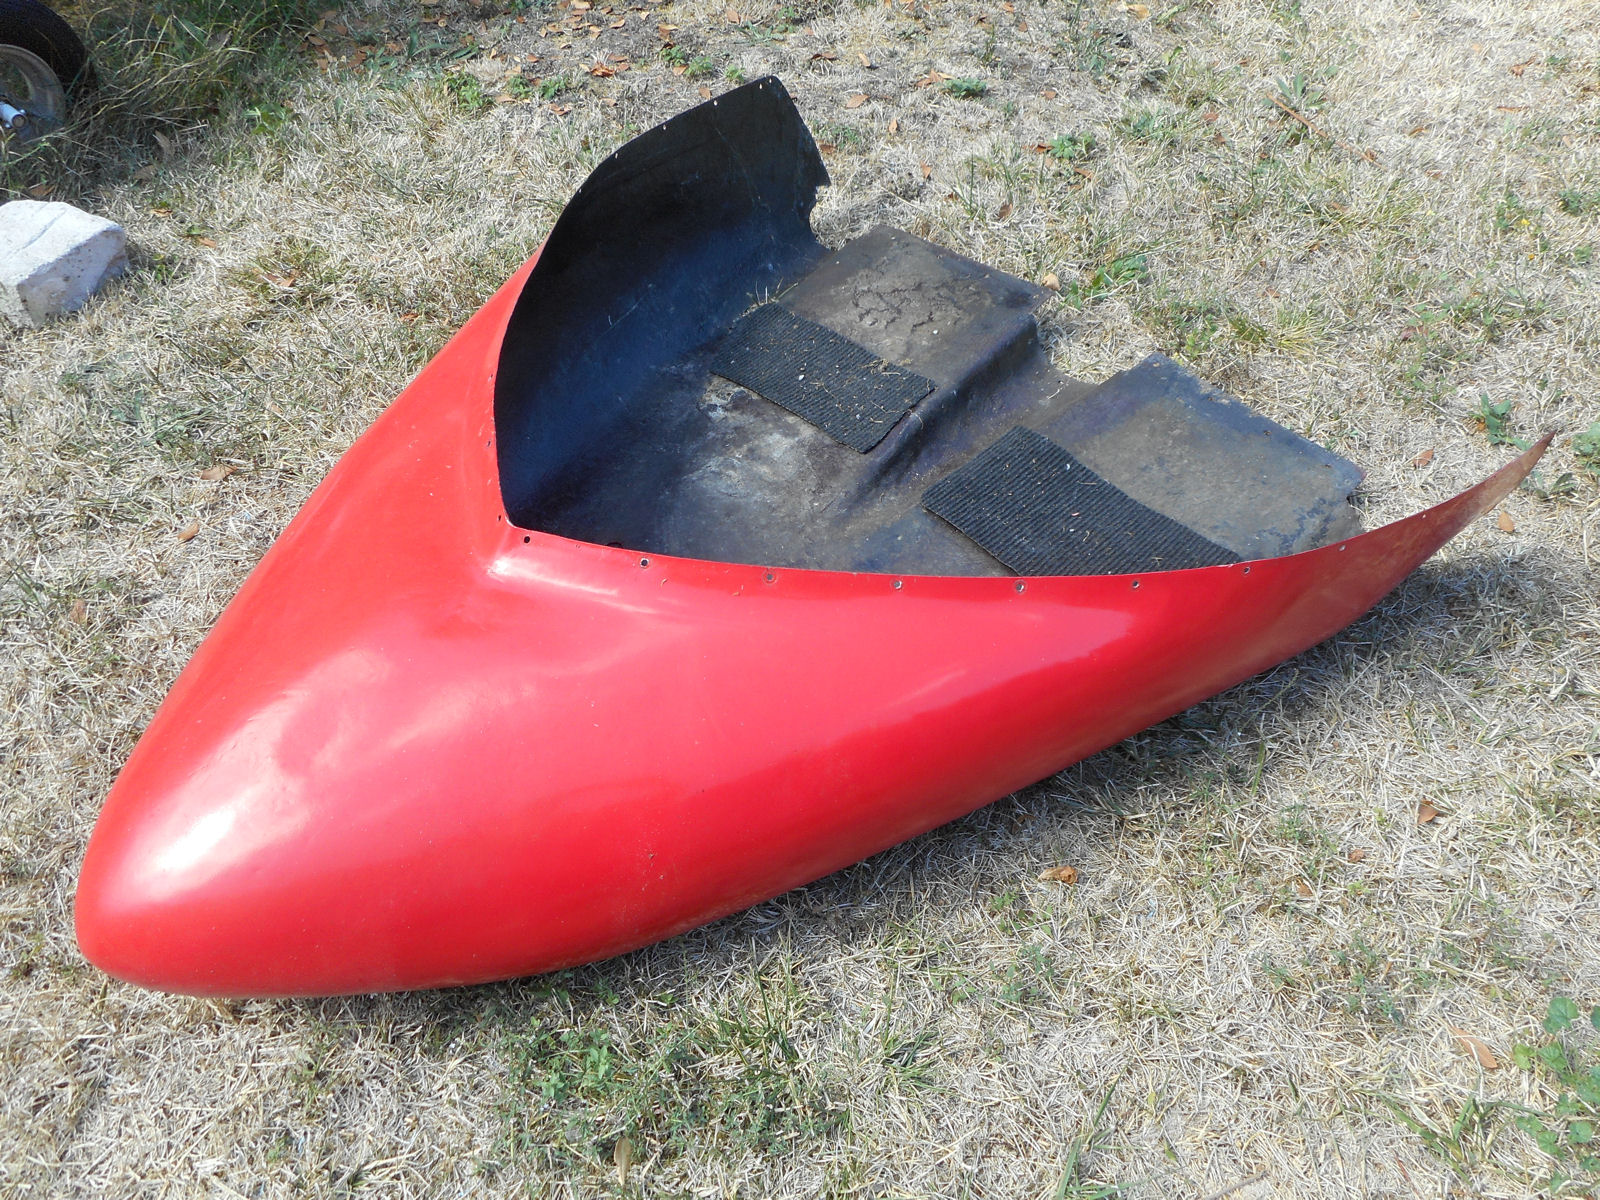
Then it’s just a matter of offering the pod up while raising it into position using supports or hangers. I always use bungee cords as shown in the above pic. You must also take great care to protect the pod’s rear edges as otherwise they WILL be damaged when they come up against the fuselage metal tubes and the sharp edges of nuts.
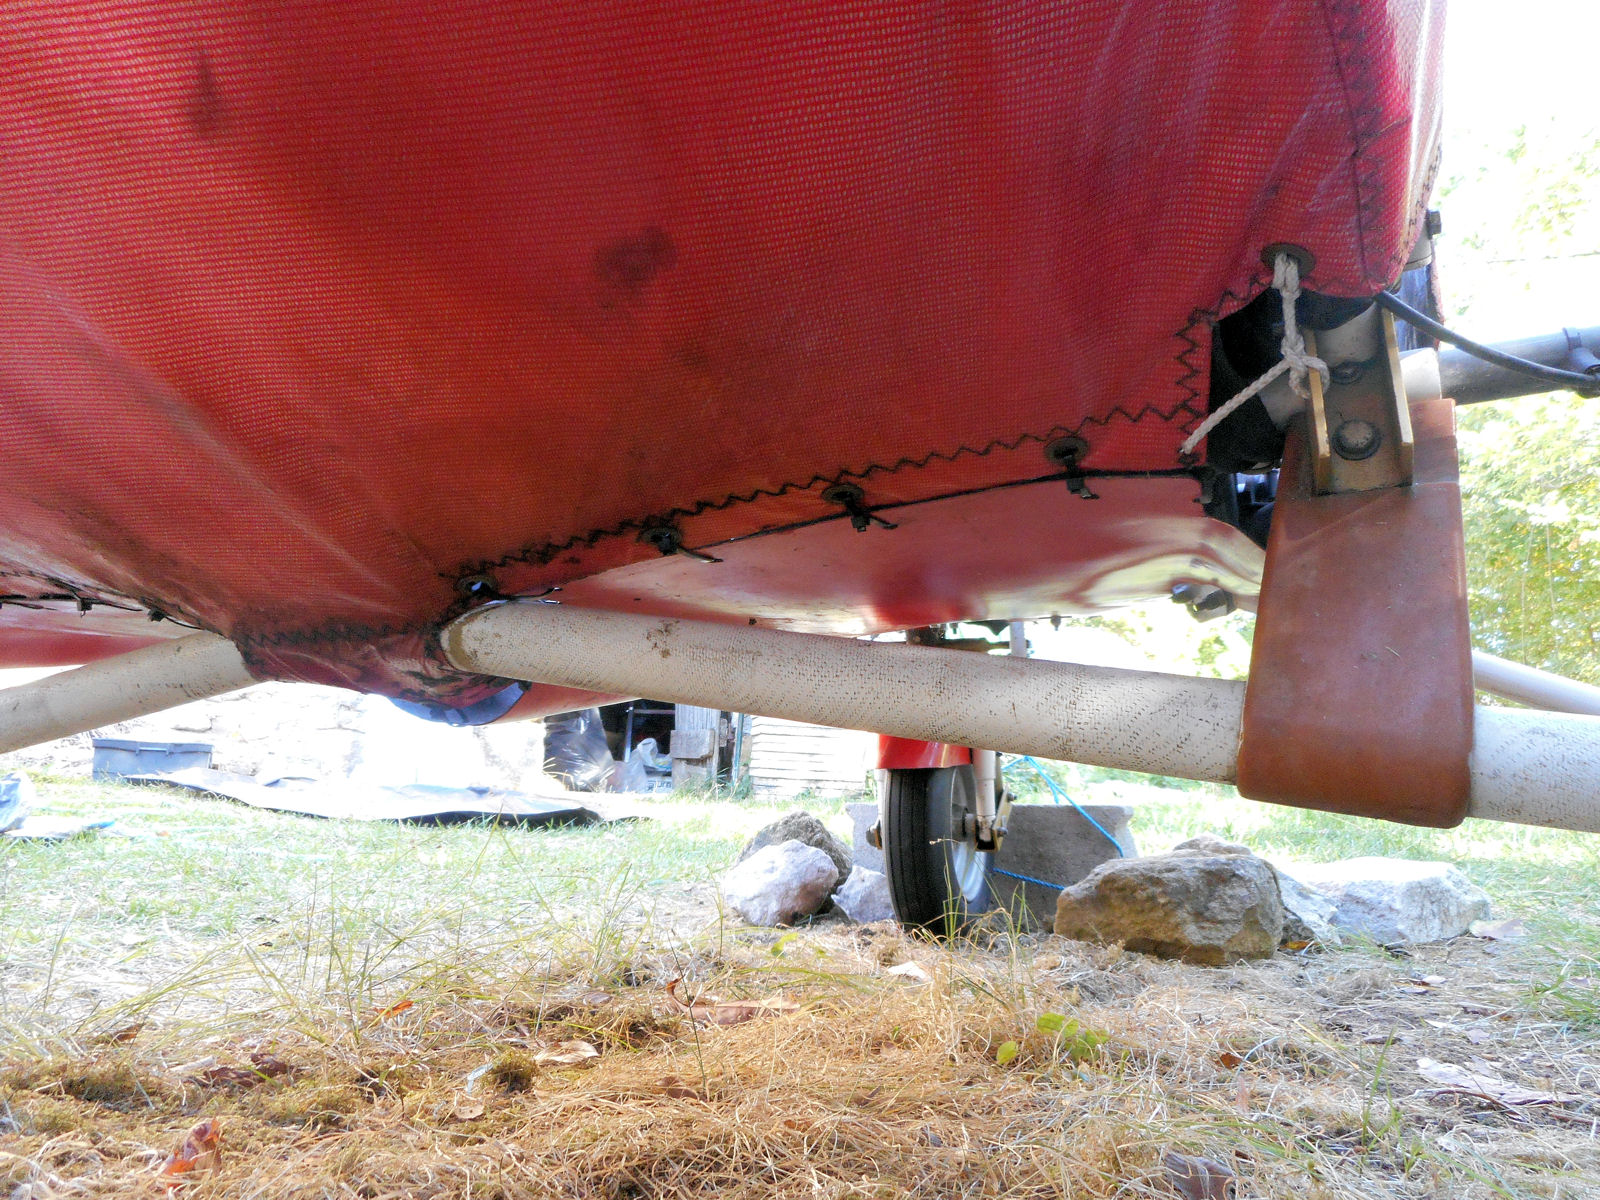
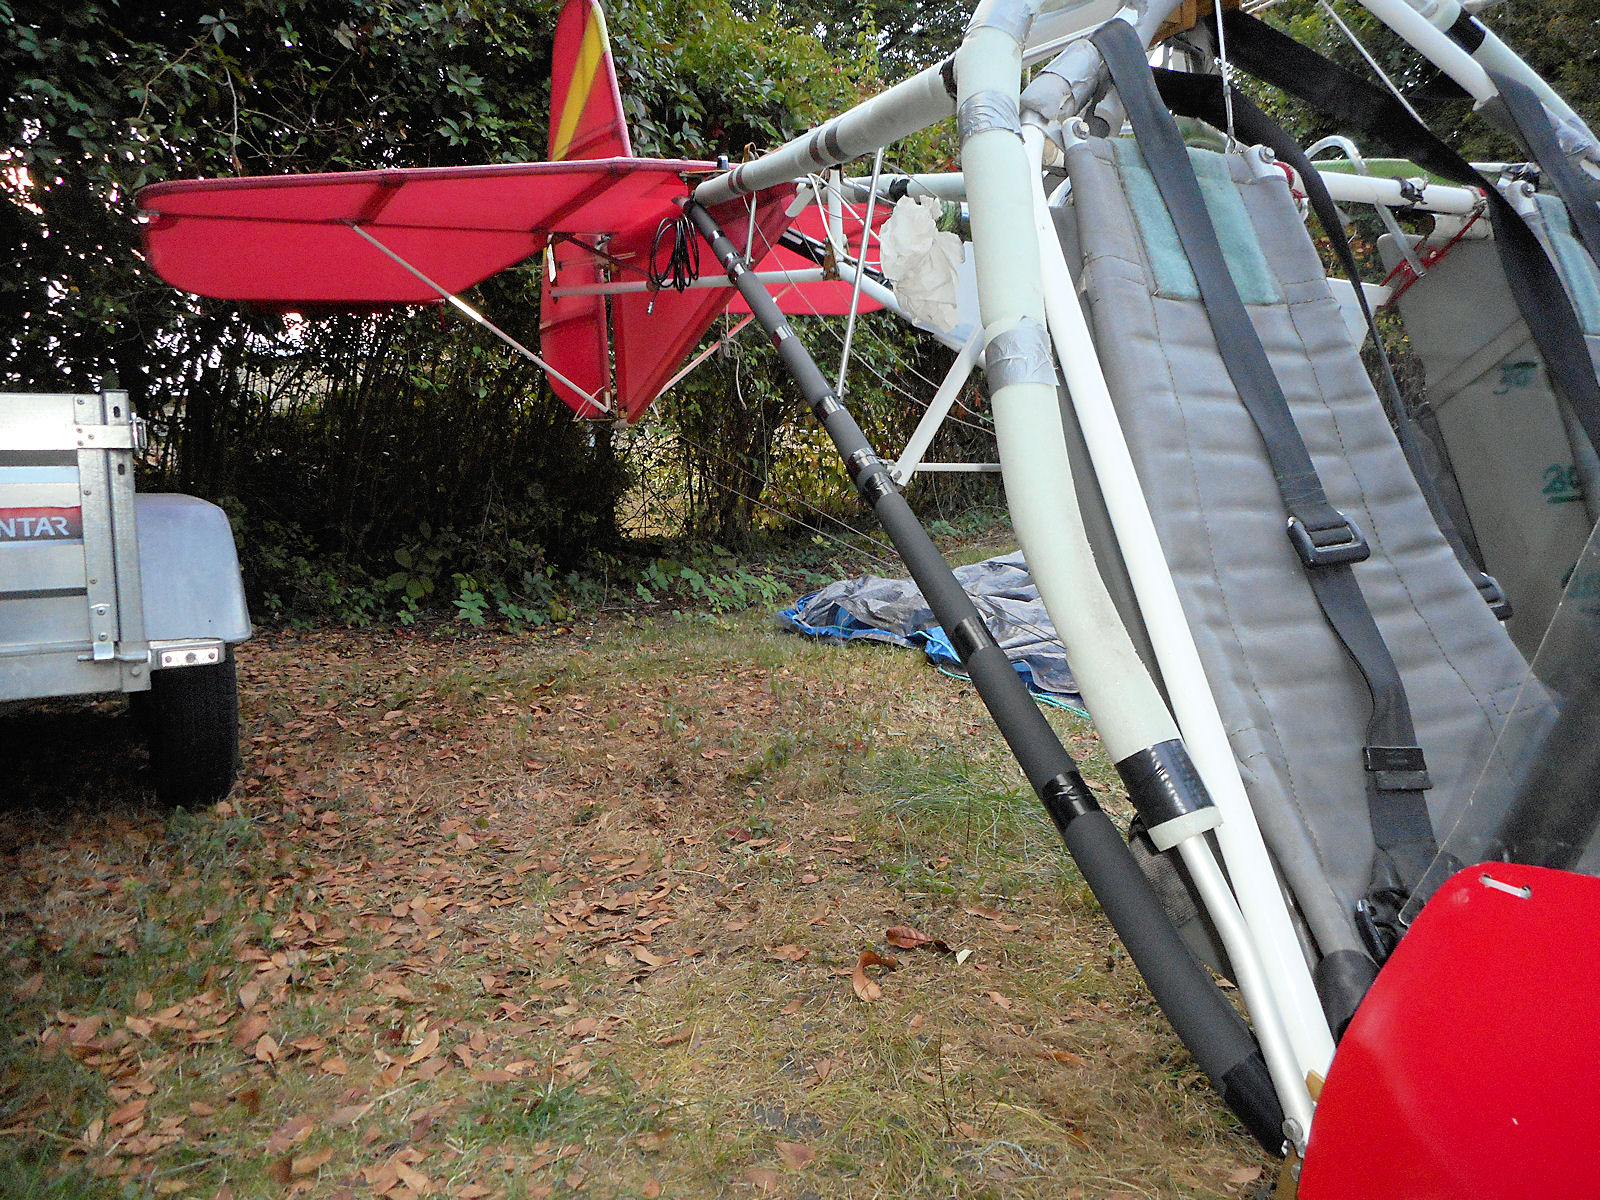
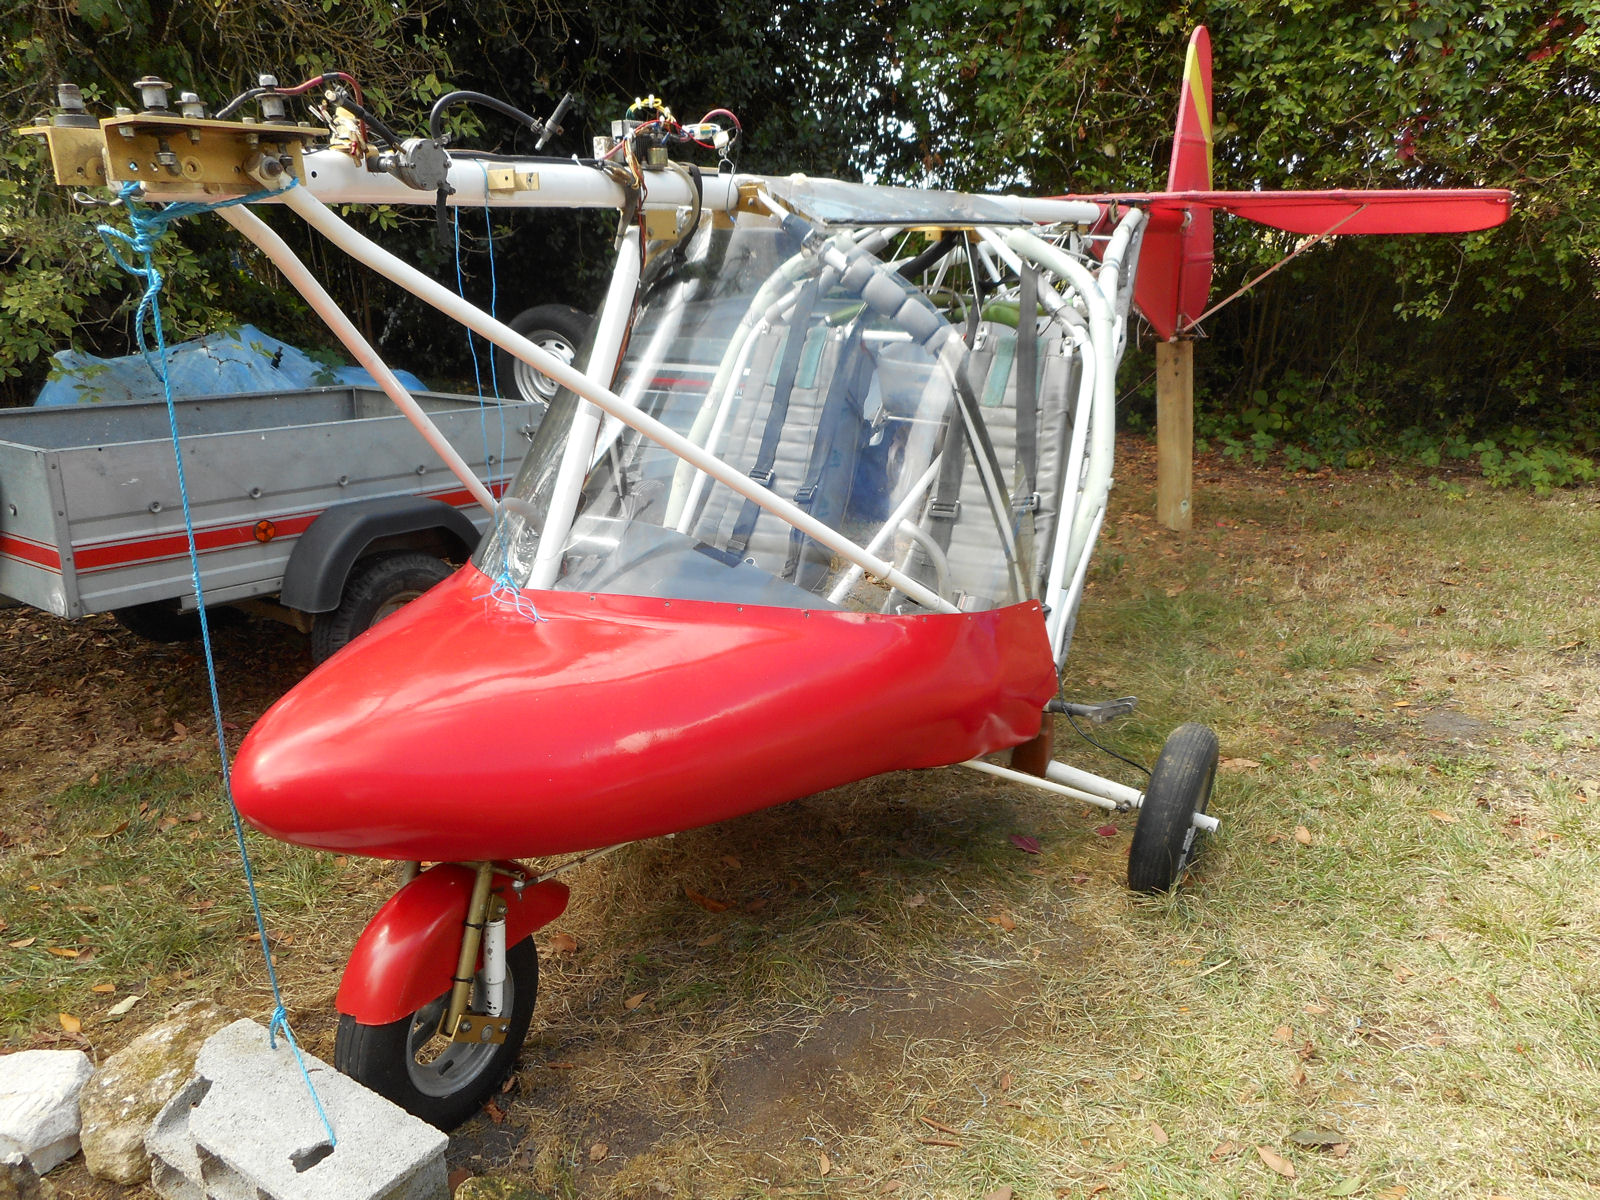
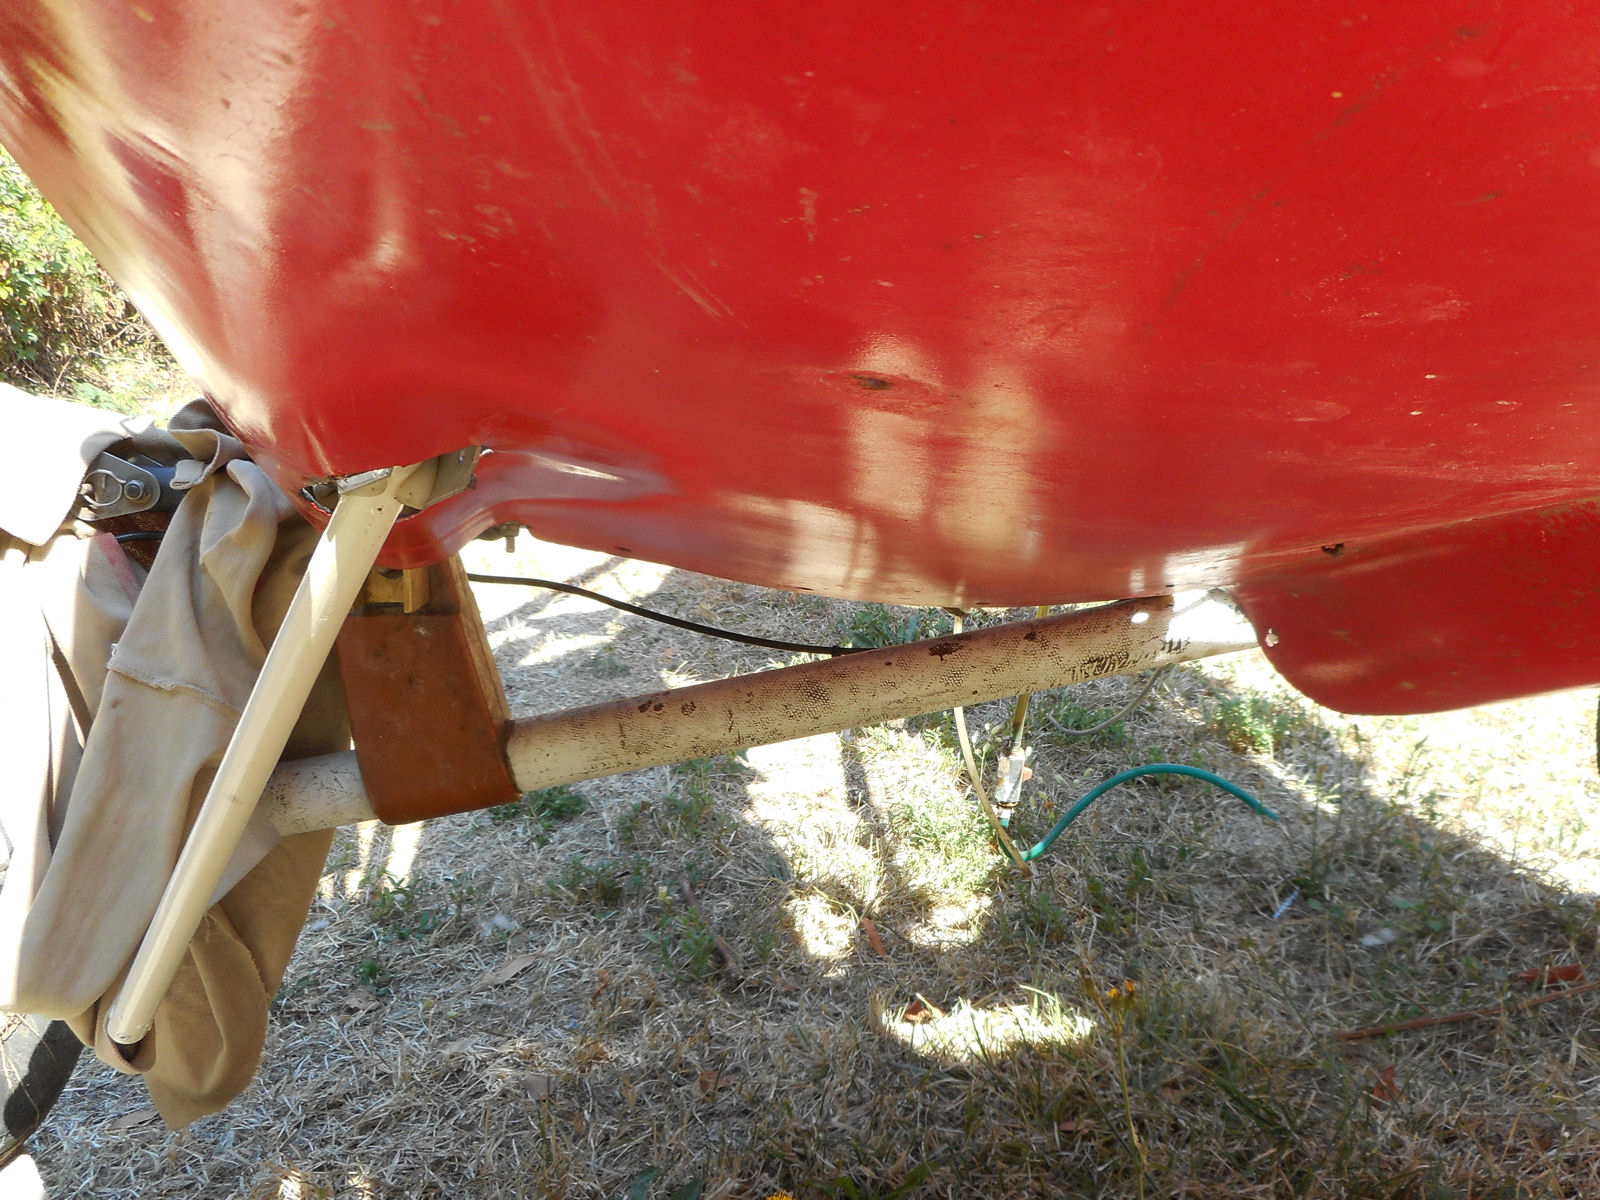
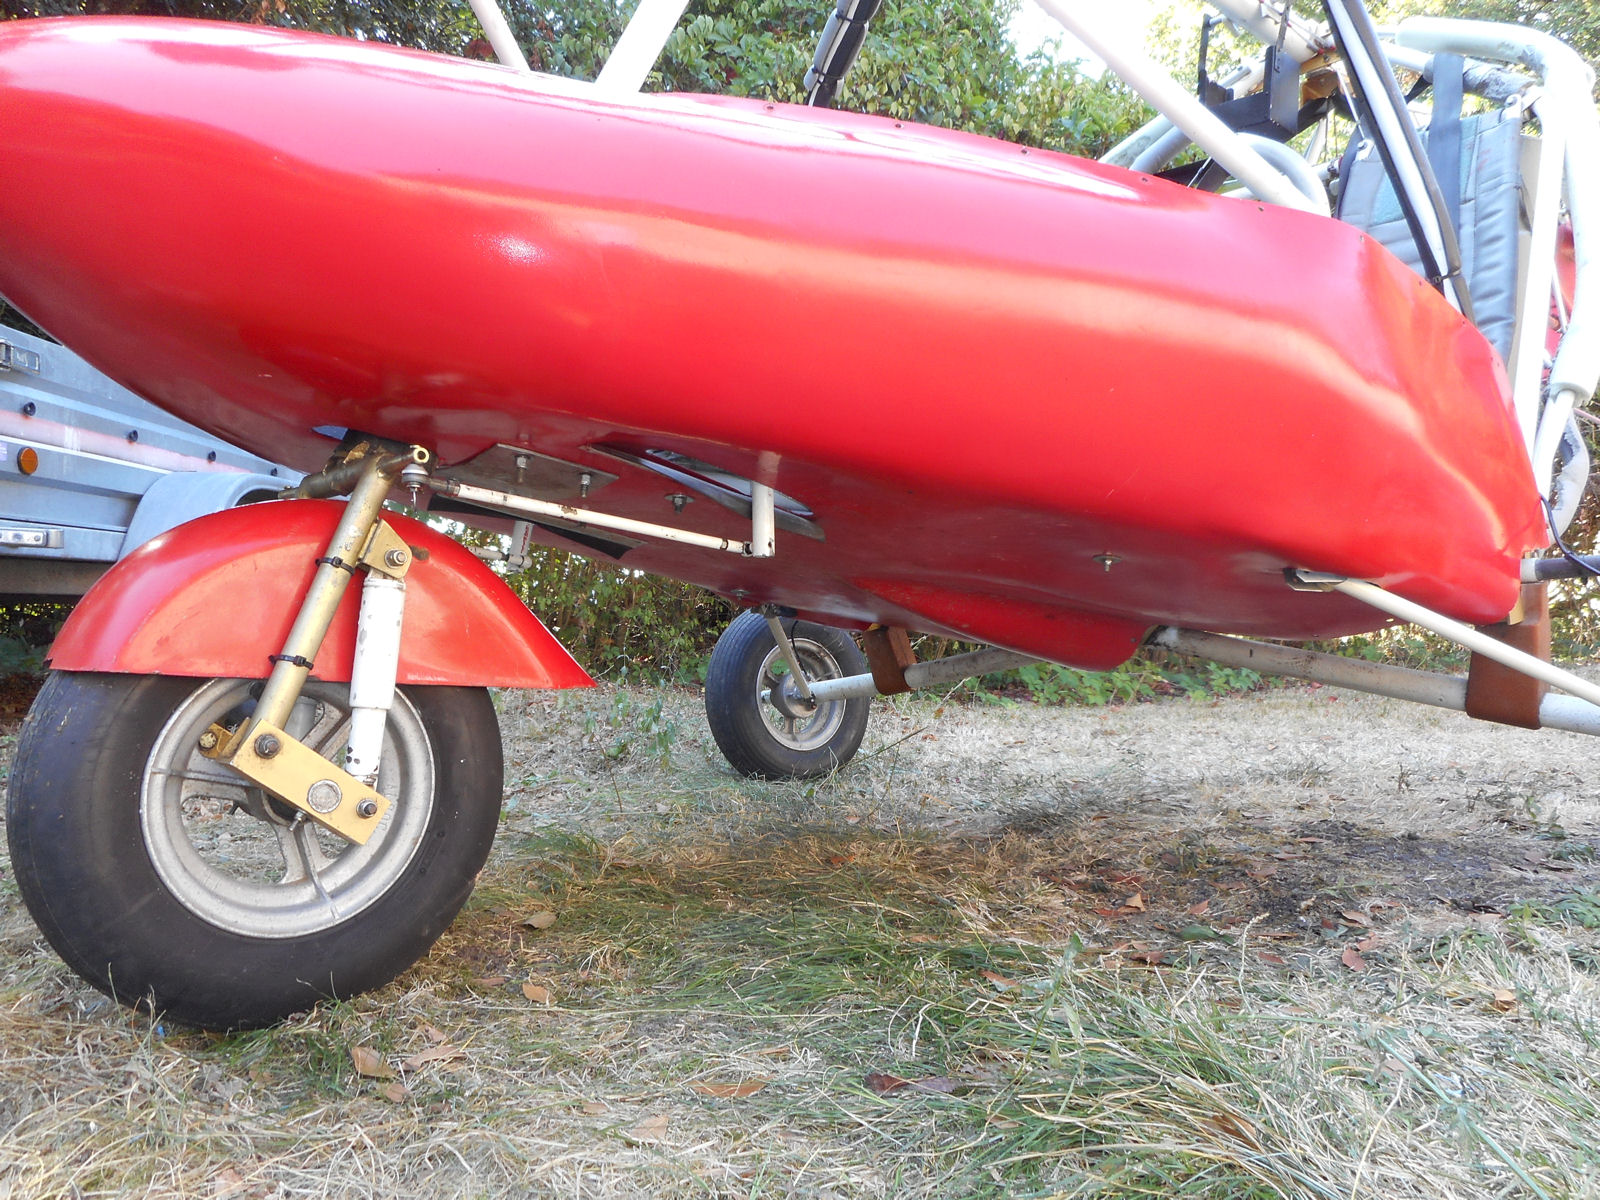
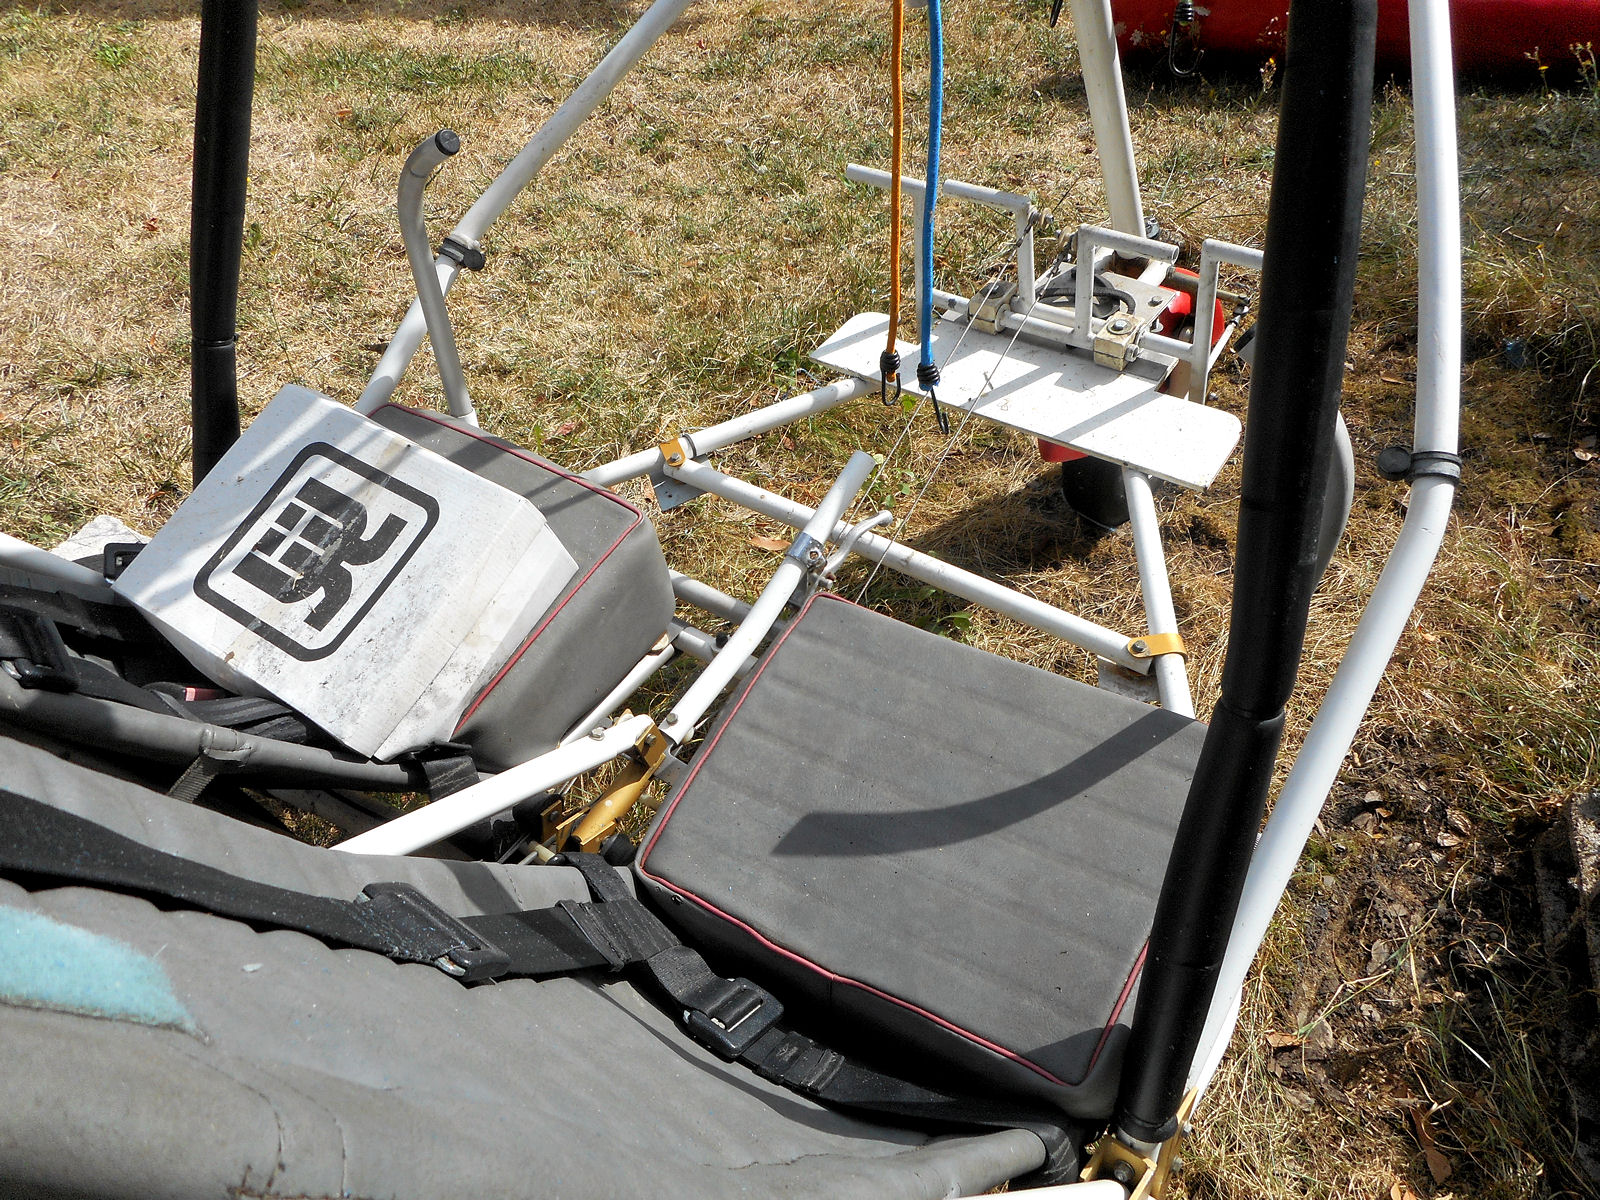
There comes a time when the pod stops moving backwards but no worries as although at that point it feels as though it’s stuck solid and won’t budge, the reason is just that its rear edges have dropped a bit and are impacting against the main axle bar. All that’s needed is to get underneath and flip the pod edges up over the axle on both sides, as shown in the following picture.

The pod will then more or less snick backwards into place but care must be taken not to try doing it too quickly as damage is likely to result. Also while pushing the pod towards the rear, its nose has to be carefully raised to keep the whole thing level and in shape, which is why the bungee support method is so handy.
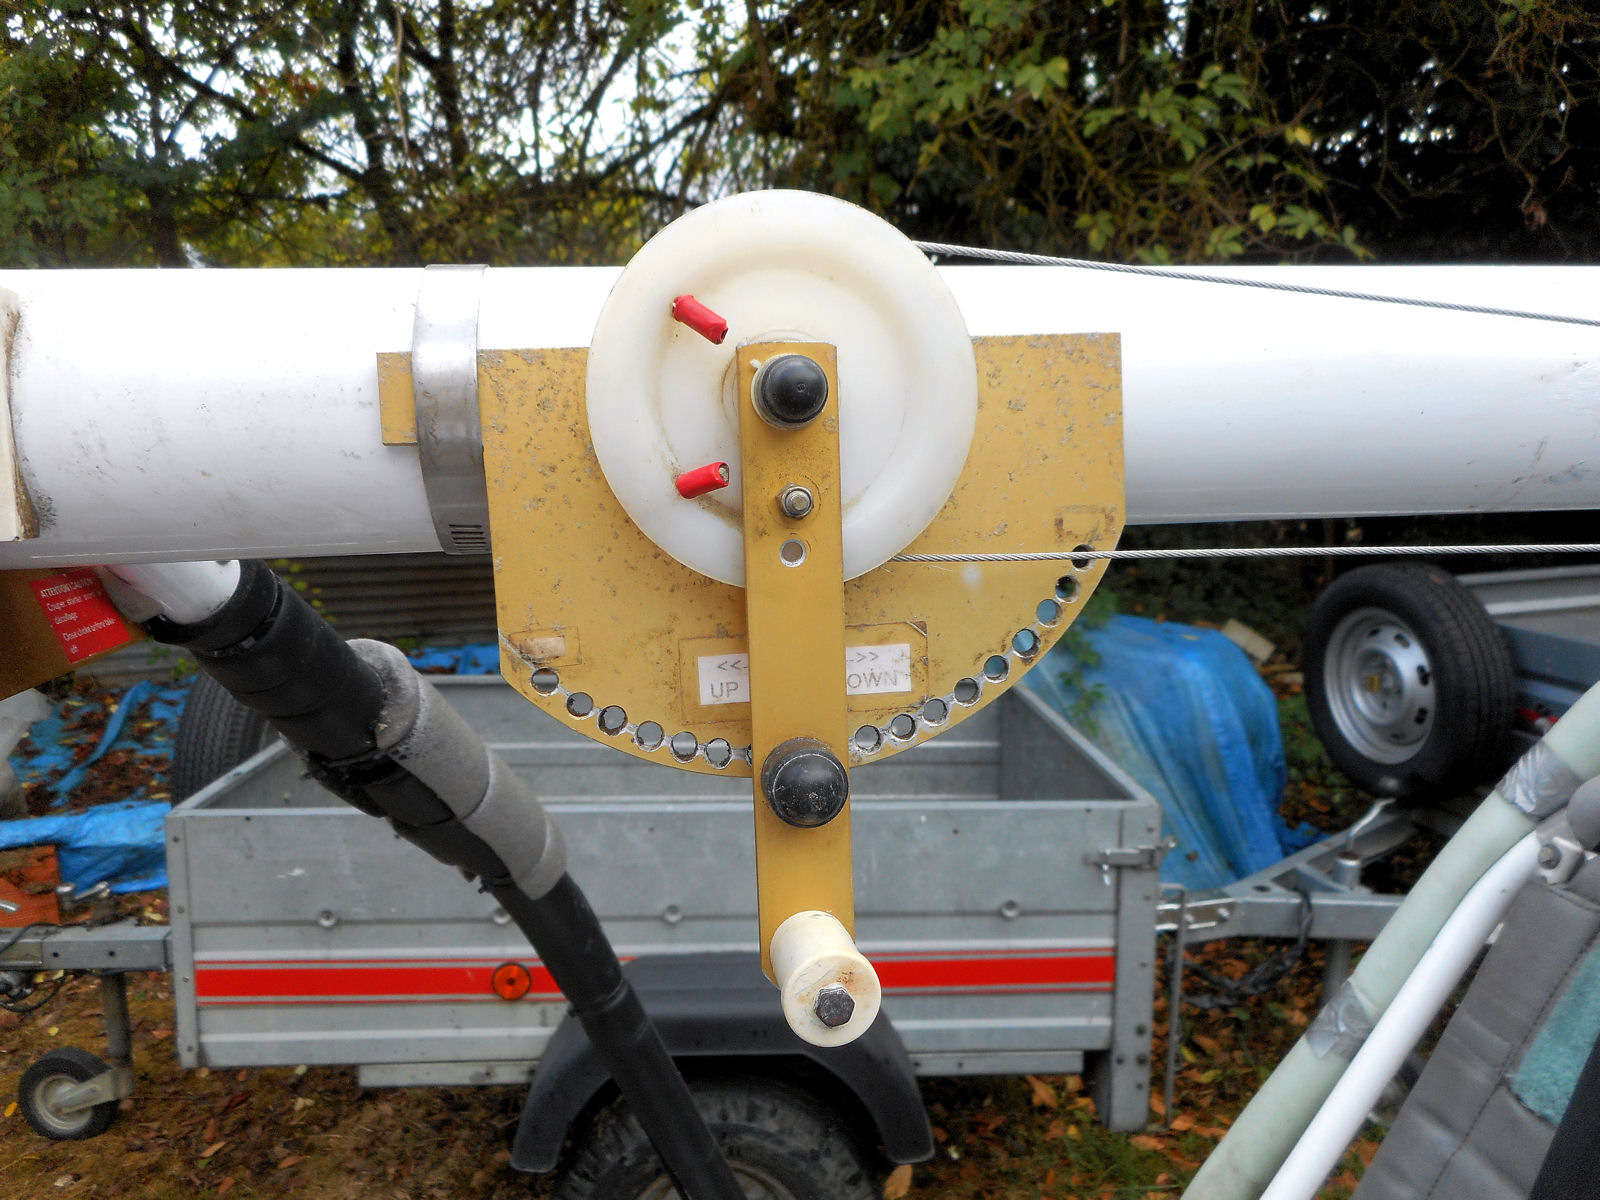
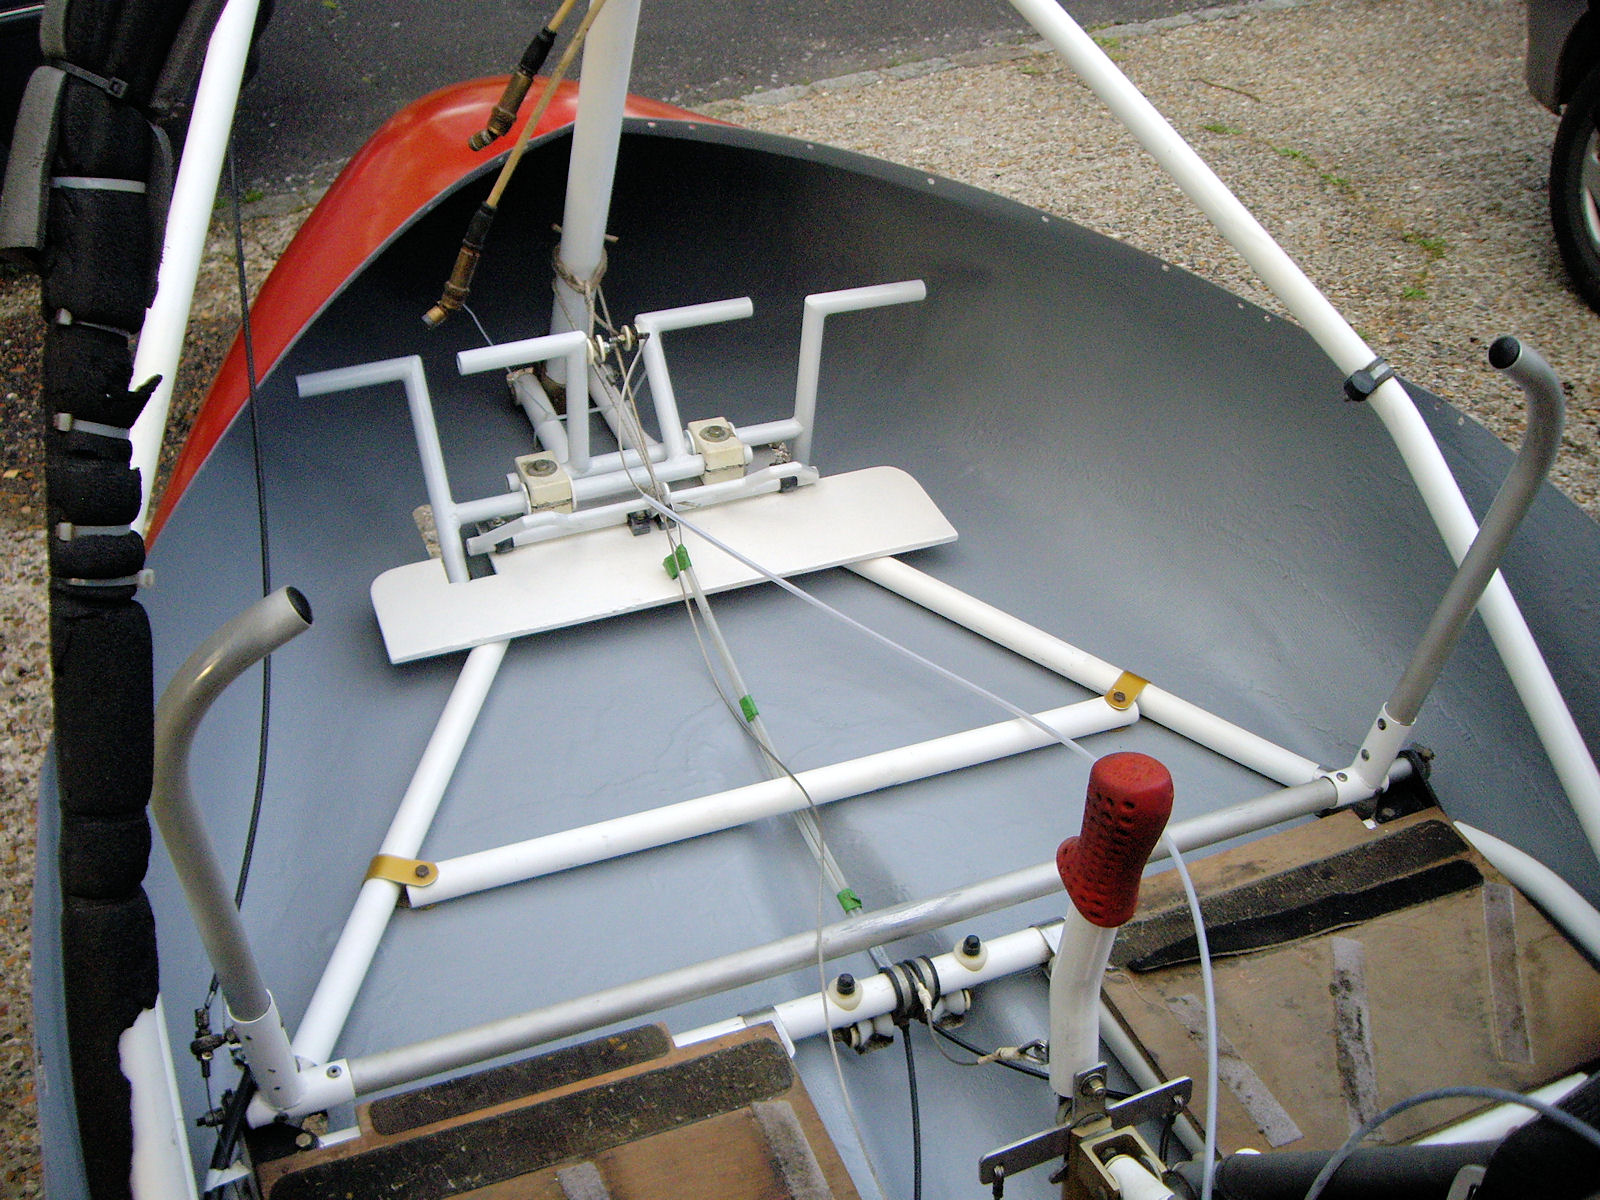
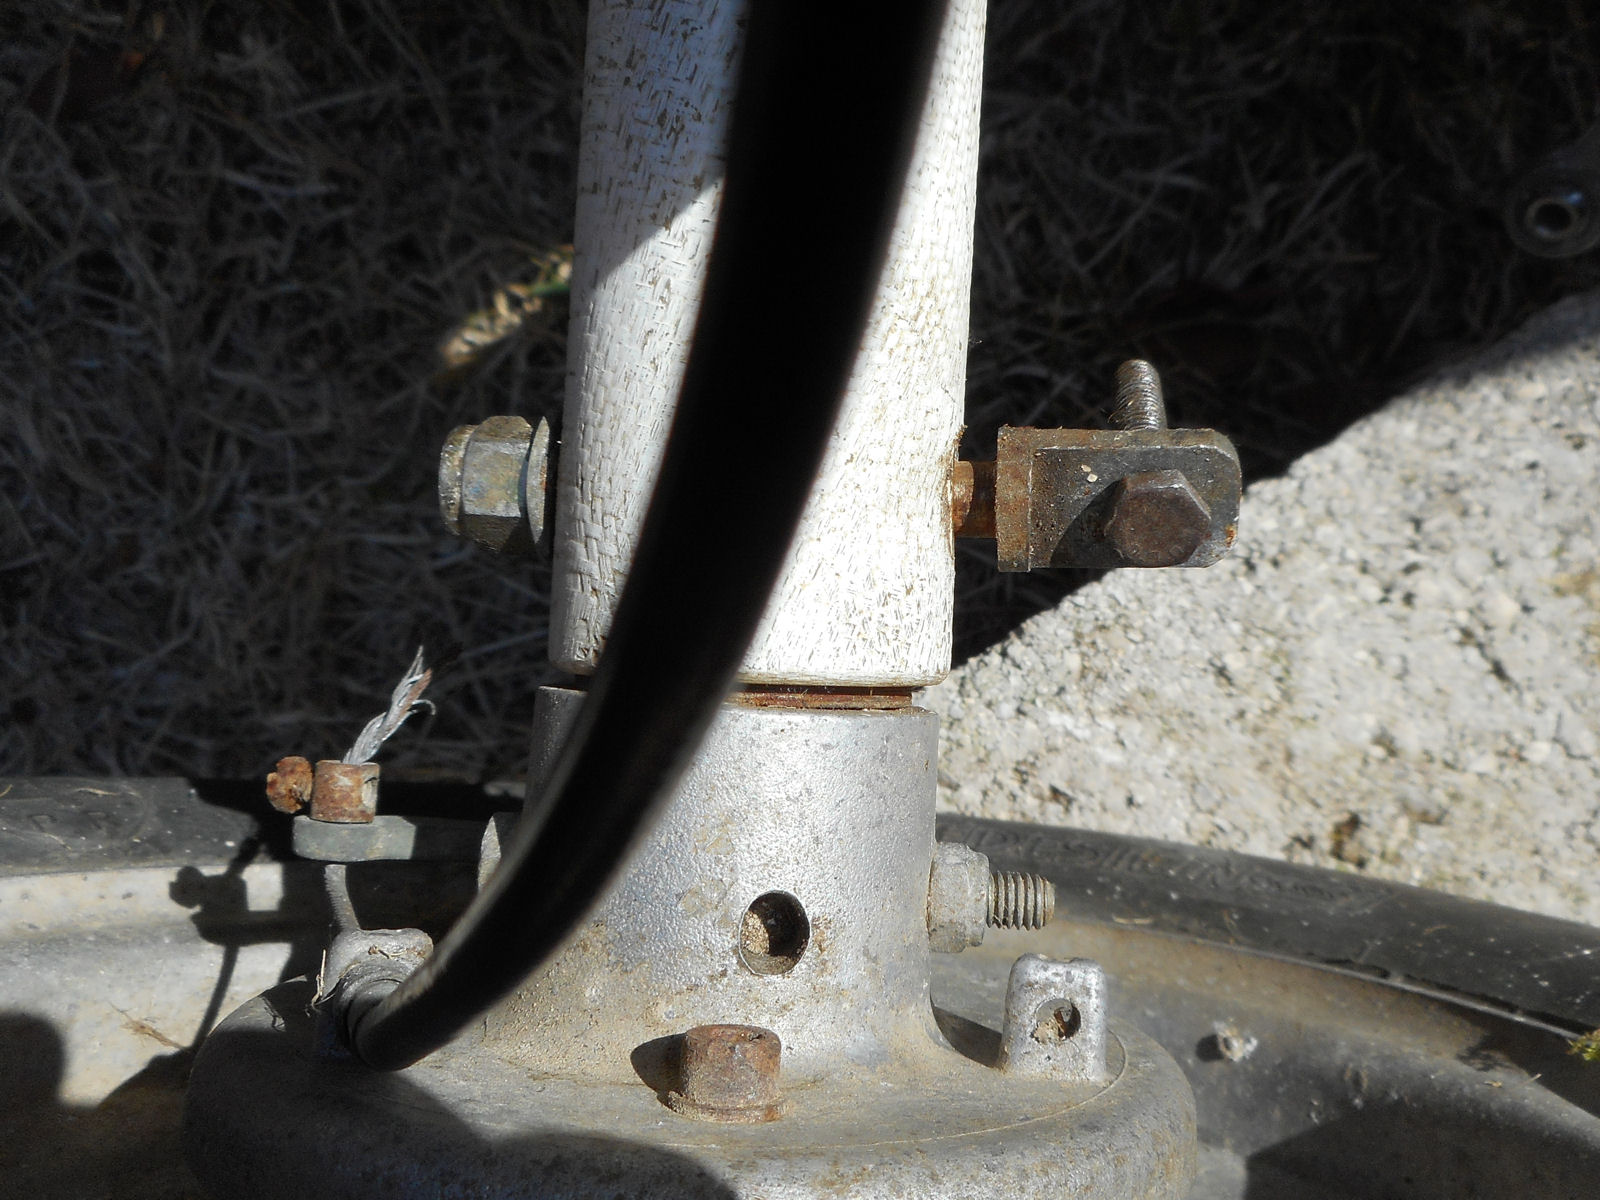
Now’s the time to connect the trailing links to the main axle, which can be a bit tricky as the wheels have to be forced forward until the securing bolts can be pushed through the connecting pieces. It can be done by brute force alone, especially if you have an assistant to help, but I find that much less force is necessary if you loosen the connectors at the axle end, which has the effect of moving them forwards just enough. See what I mean in the next shot that shows the right trailing link connector.

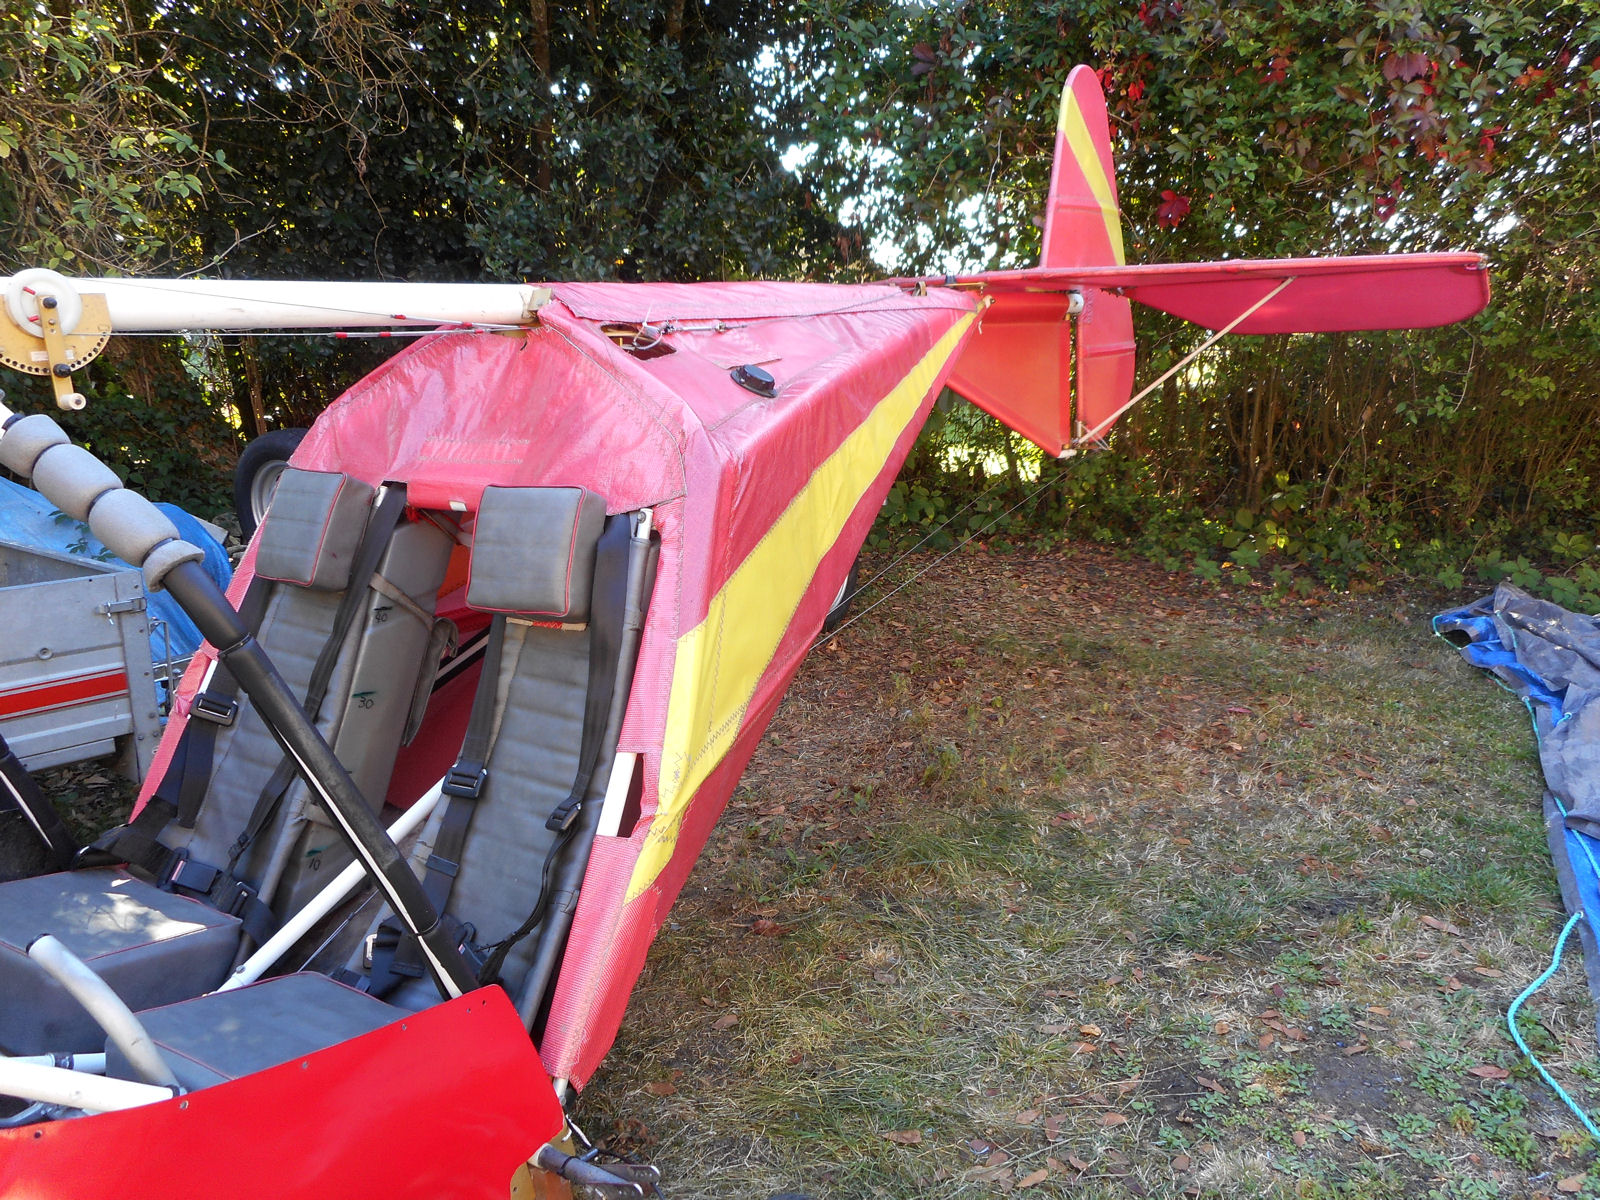
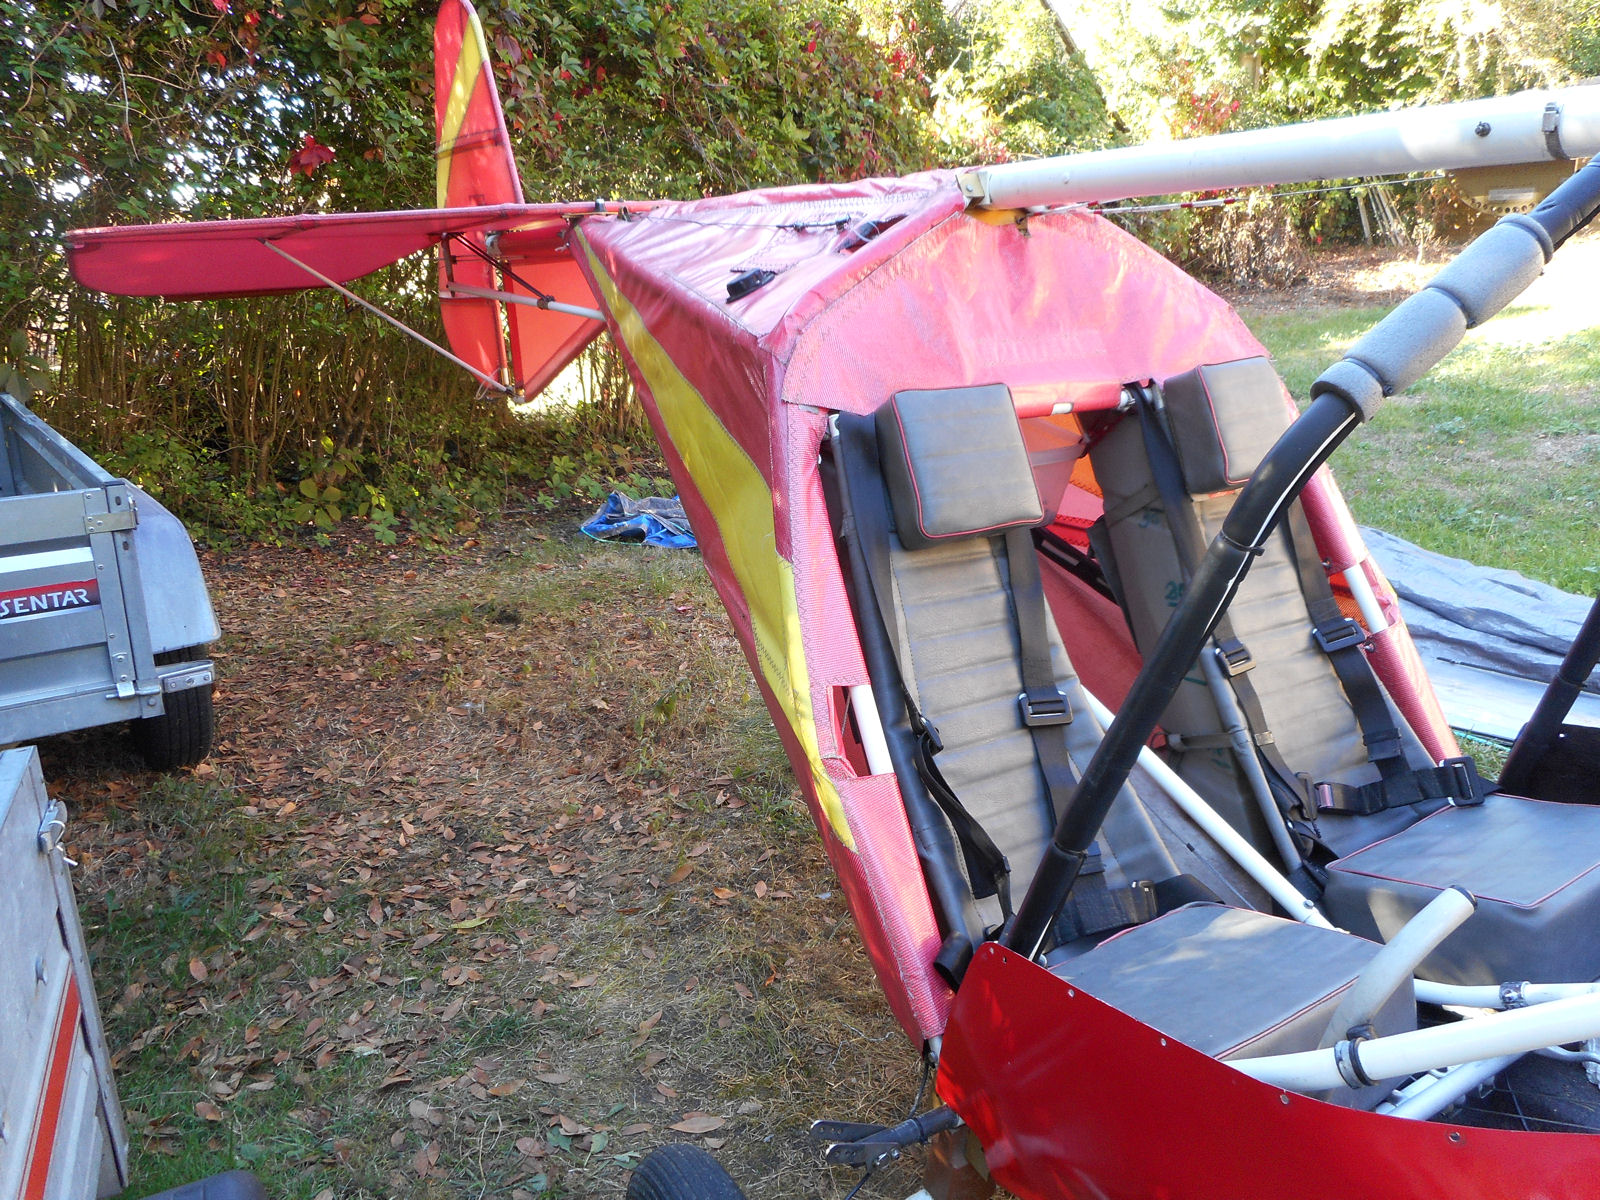
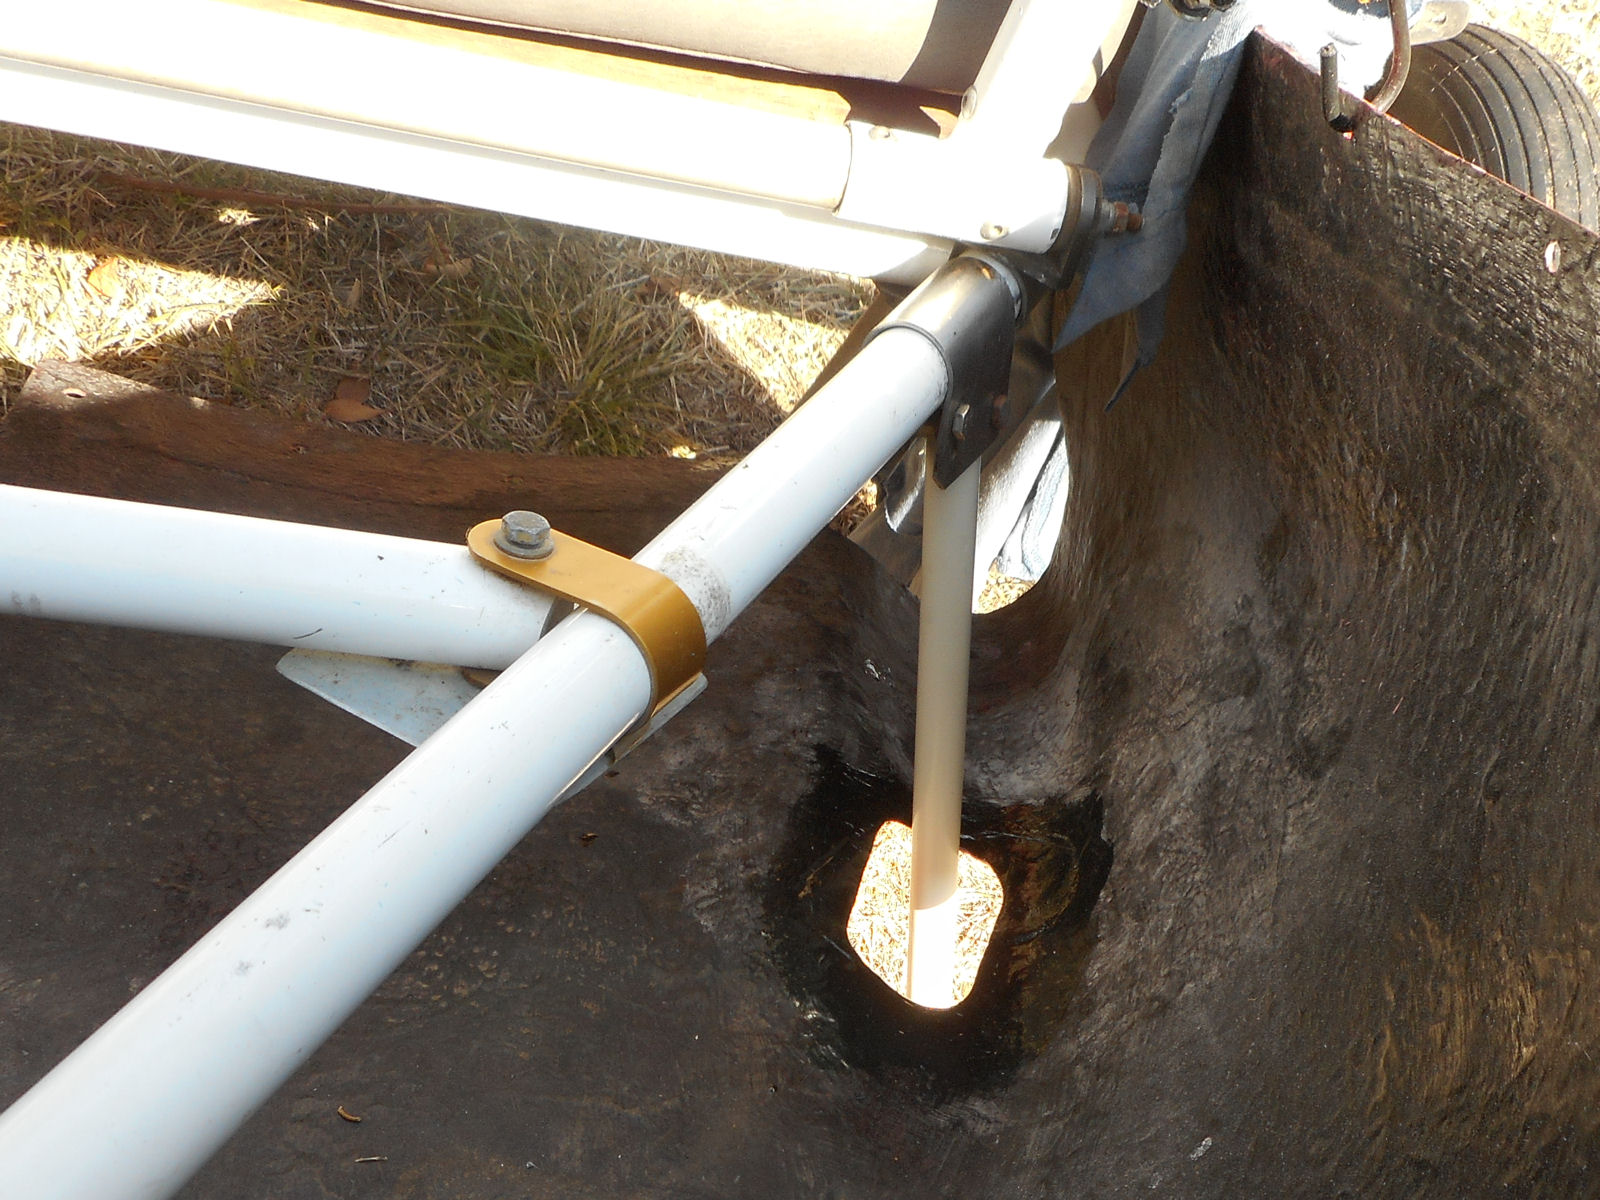
And that’s basically it. It’s then just a matter of tightening up the trailing links at both ends and fitting and tightening the four bolts (with their large washers) that I mentioned previously that secure the pod to the cabin floor tubes. But you must take great care while doing so and be careful not to force anything as fibreglass always loses against metal and it would be a shame to damage the underside of the pod at this late stage, by for example, banging the bolts down from the top when they are not correctly aligned with the pod holes.
Assembly of the nose wheel and steering gear is just the reverse of disassembly. First, reattach the nose wheel assembly and maintain it in the straight-ahead position. Then move the rudder pedals so the rudder pedal steering legs hang down below the pod through their respective slots.
Then attach the steering arms in turn, noting that one is shorter than the other because of how the pedals are mounted inside the cabin. When finished, make sure that the rudder cables are taught but not over-tight and the nose wheel and rudder are aligned and pointing straight ahead when the rudder pedals are in the neutral position. And should they have been disconnected, it MUST be remembered that the rudder cables cross over themselves.
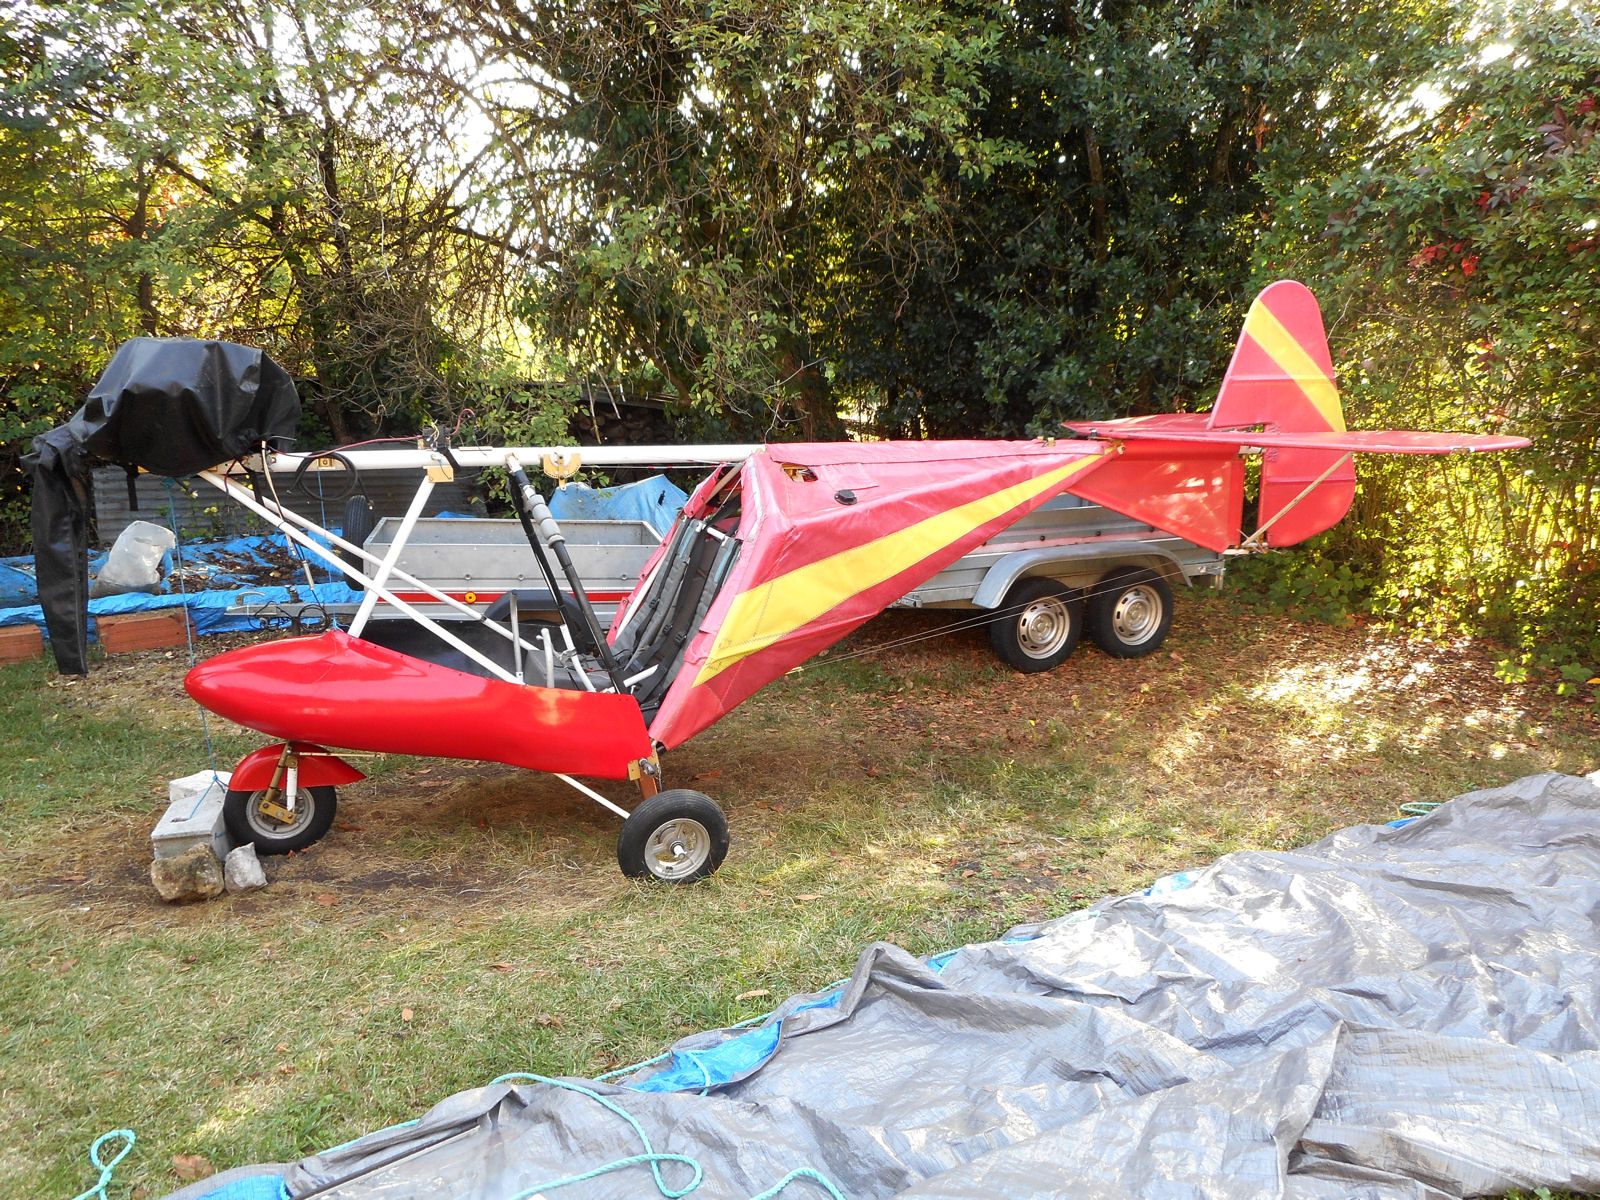
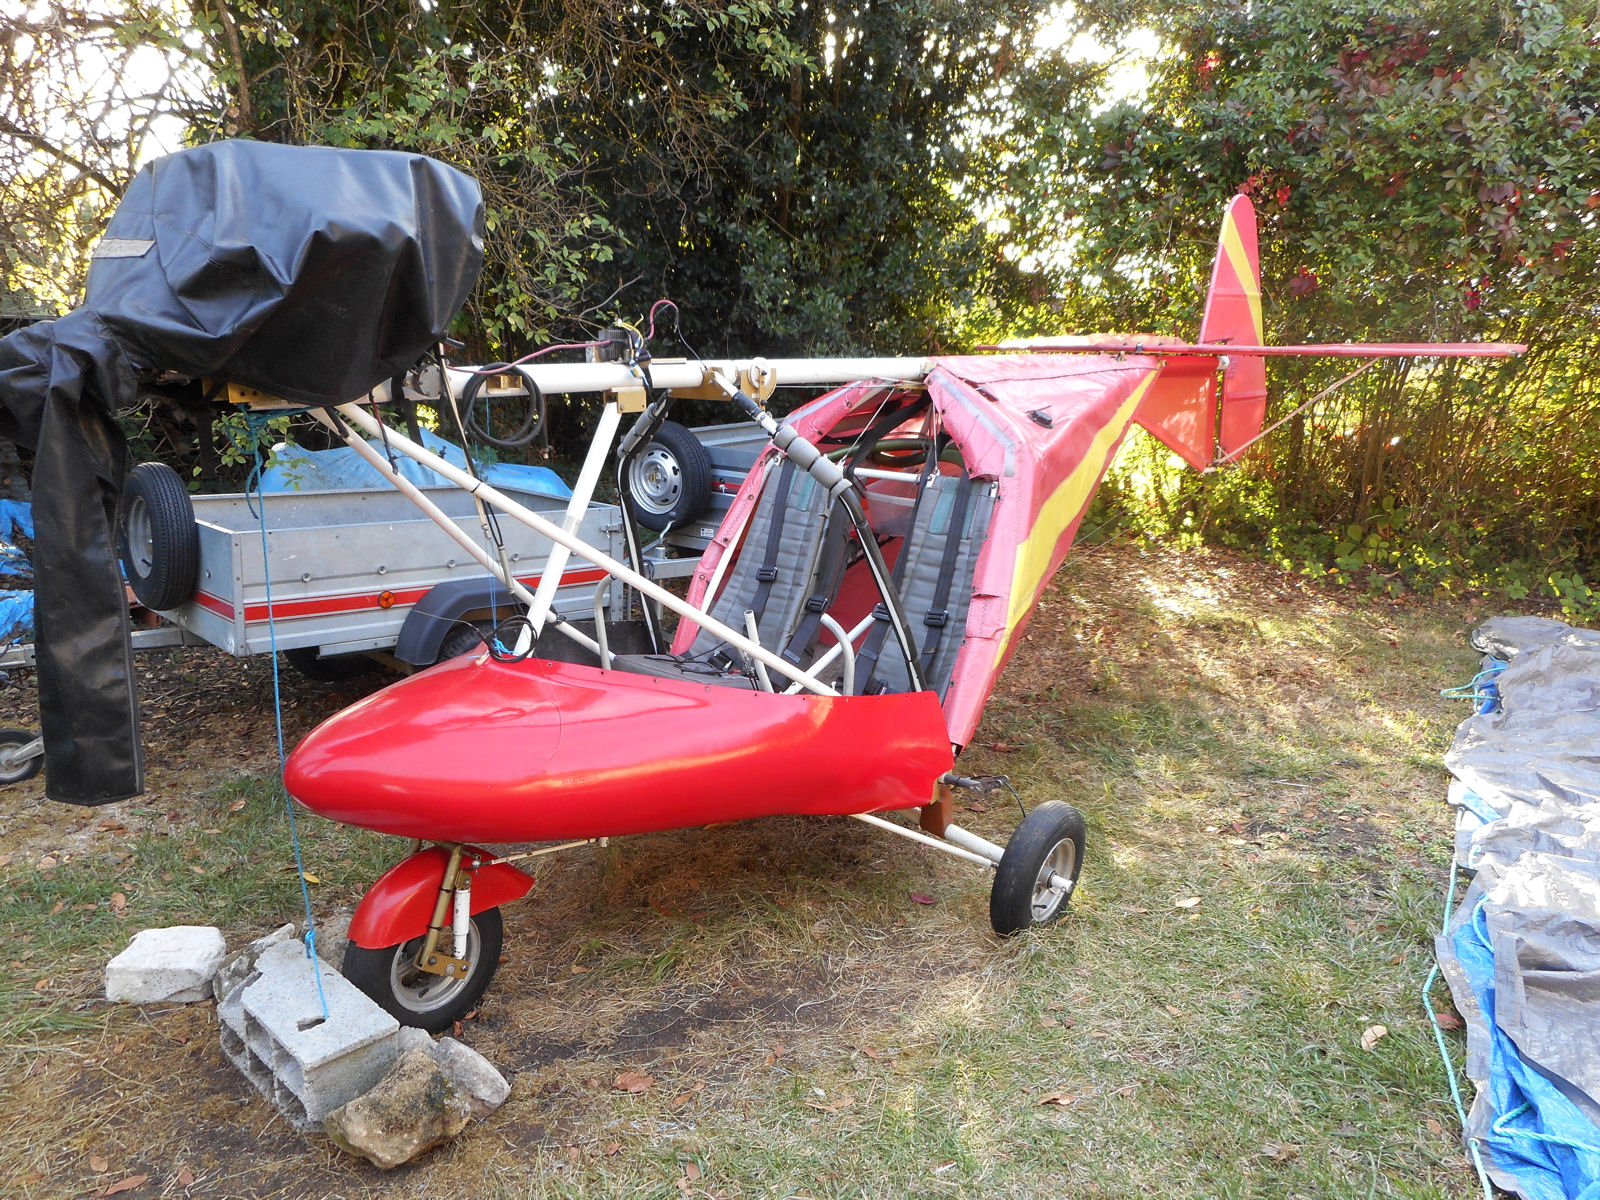
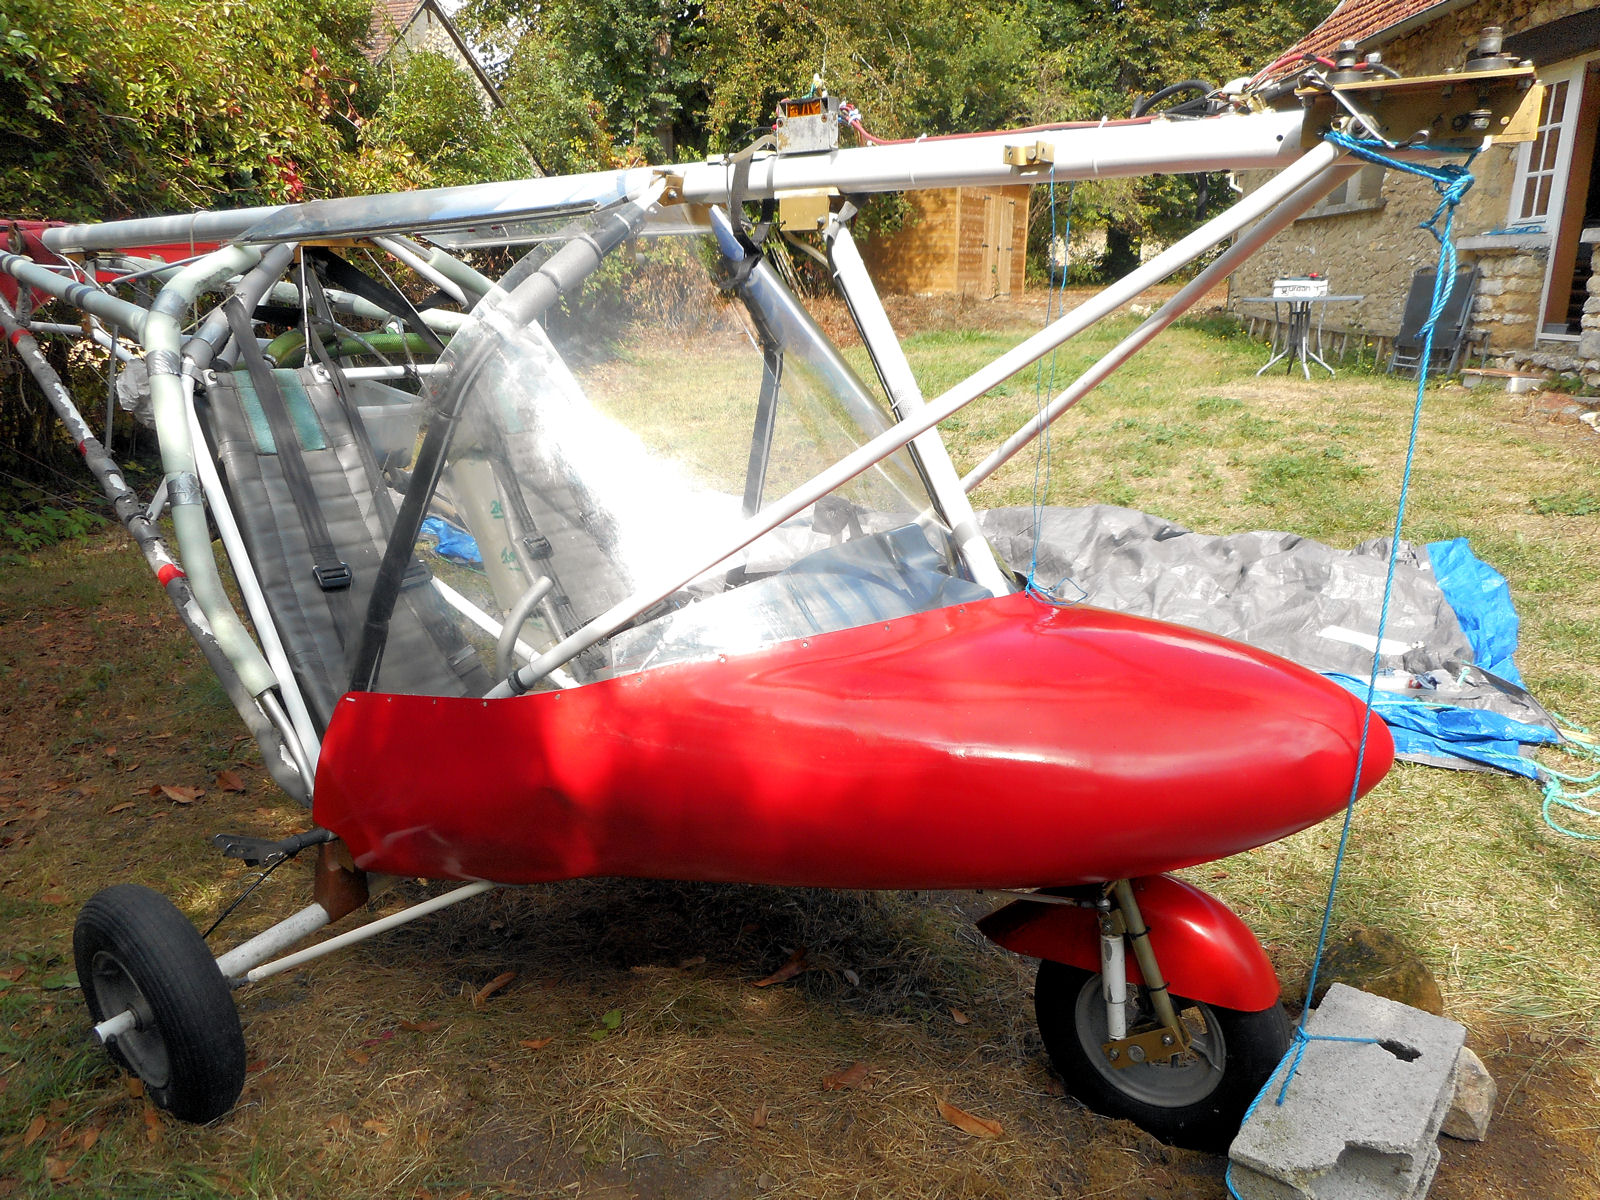
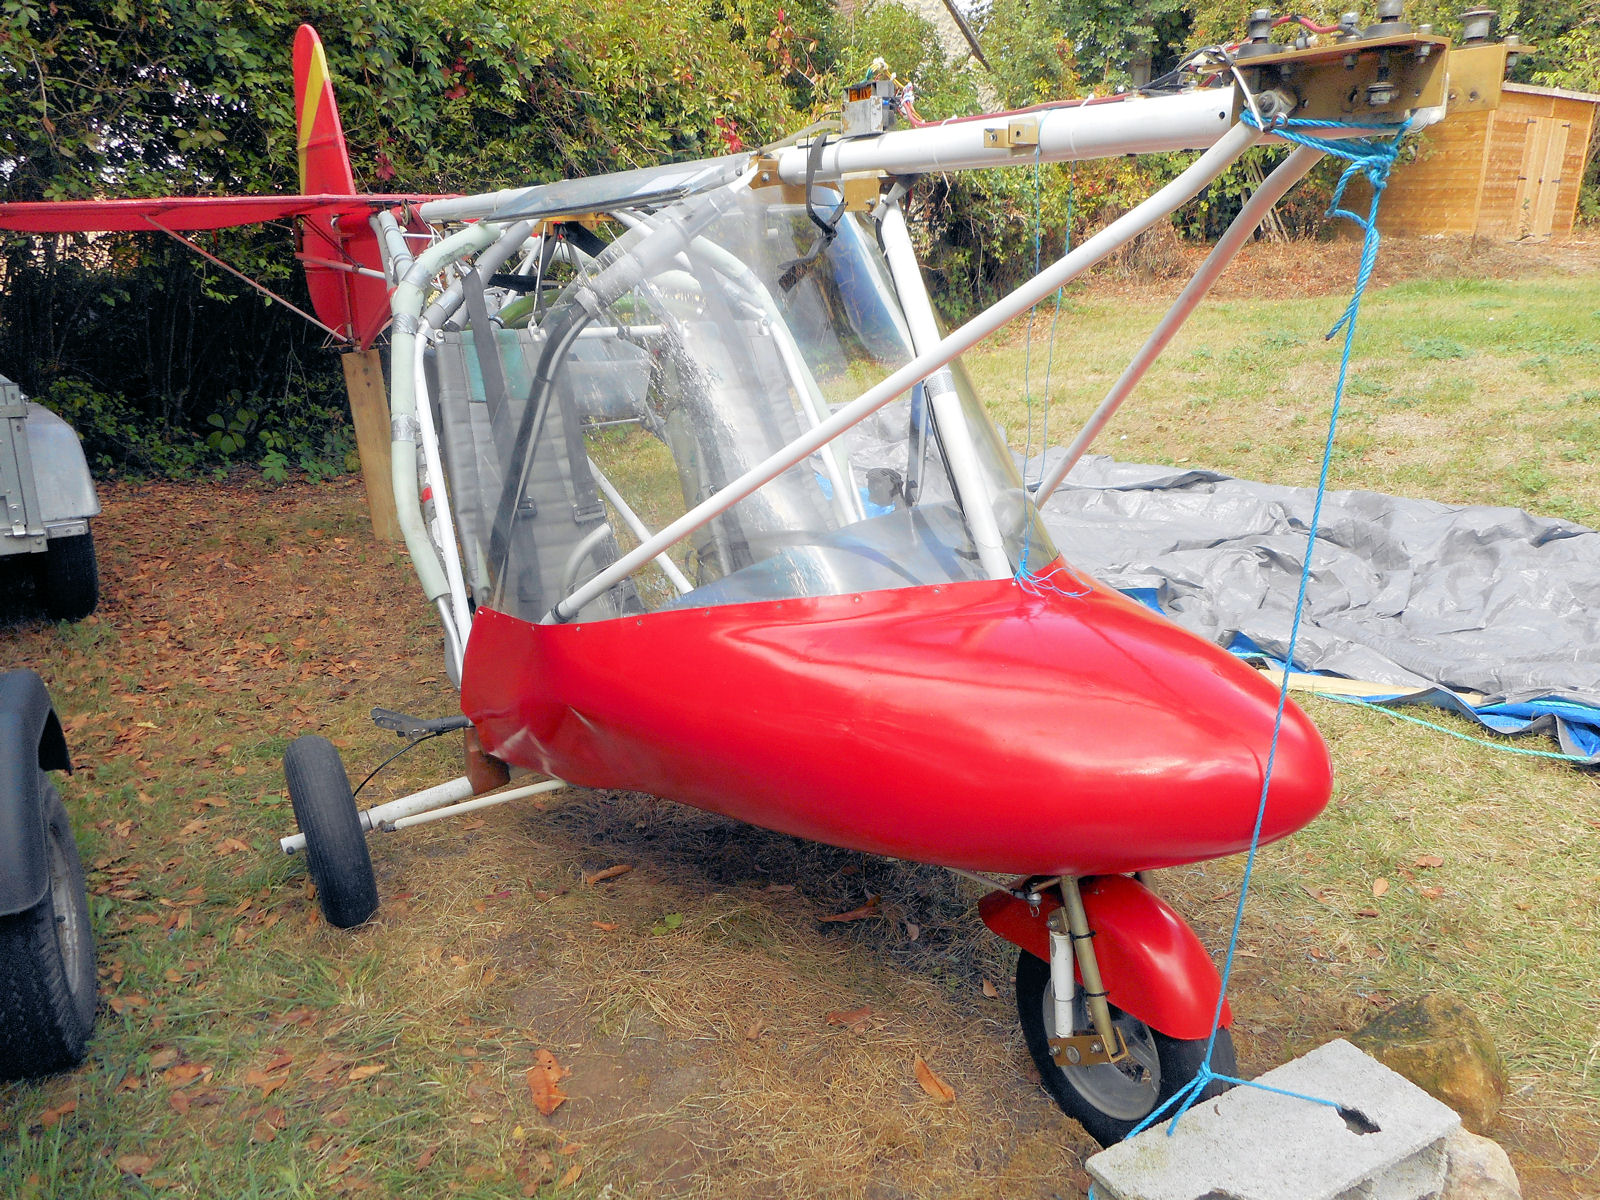
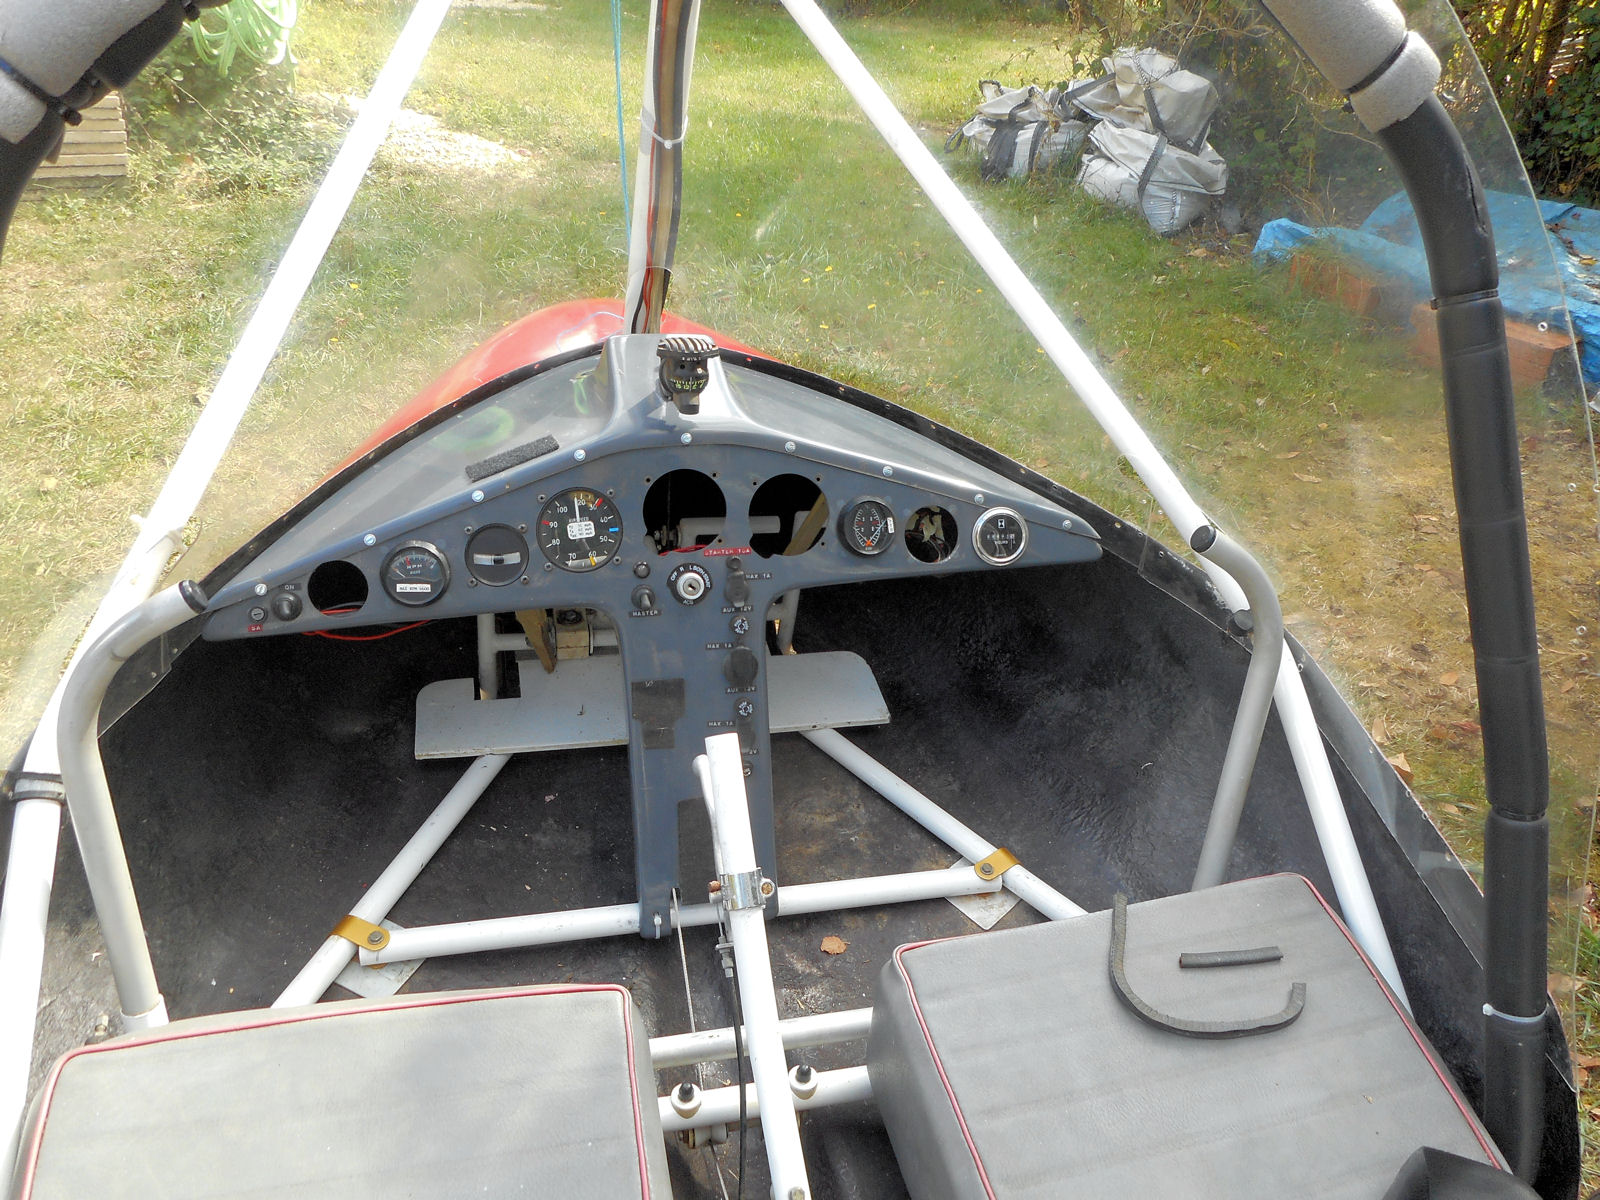
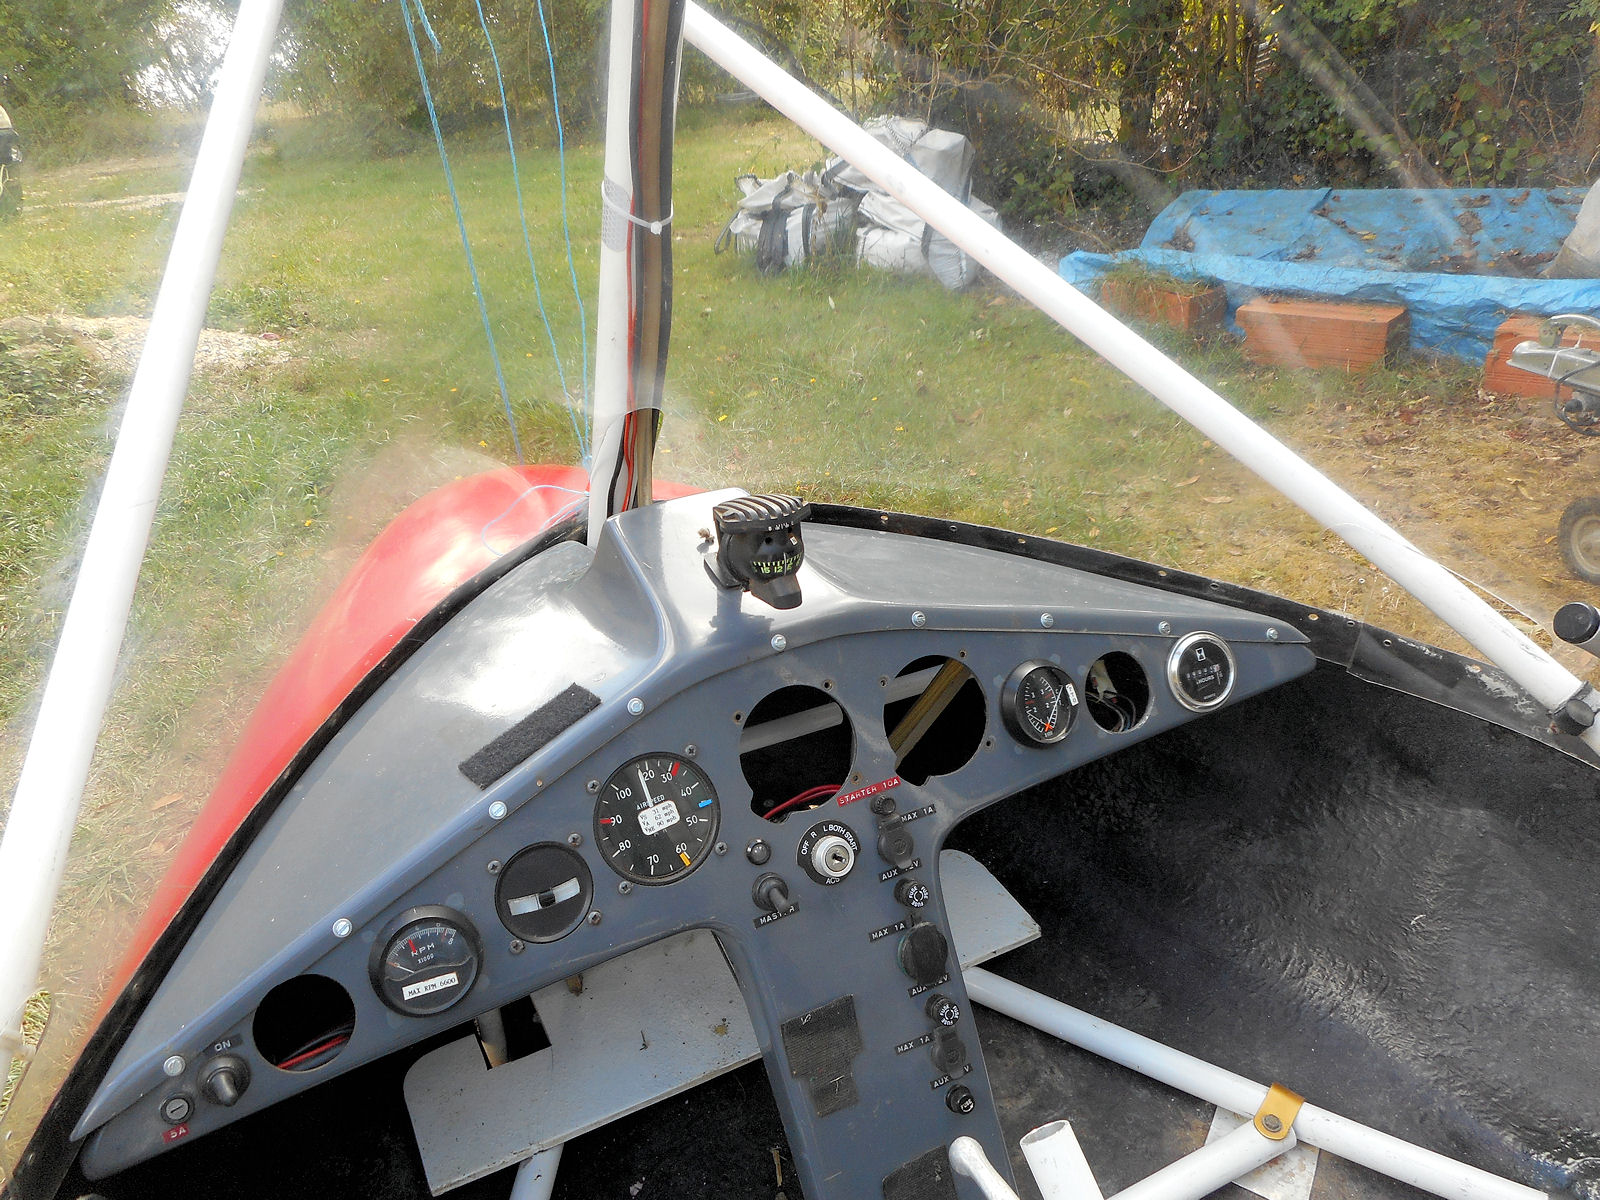
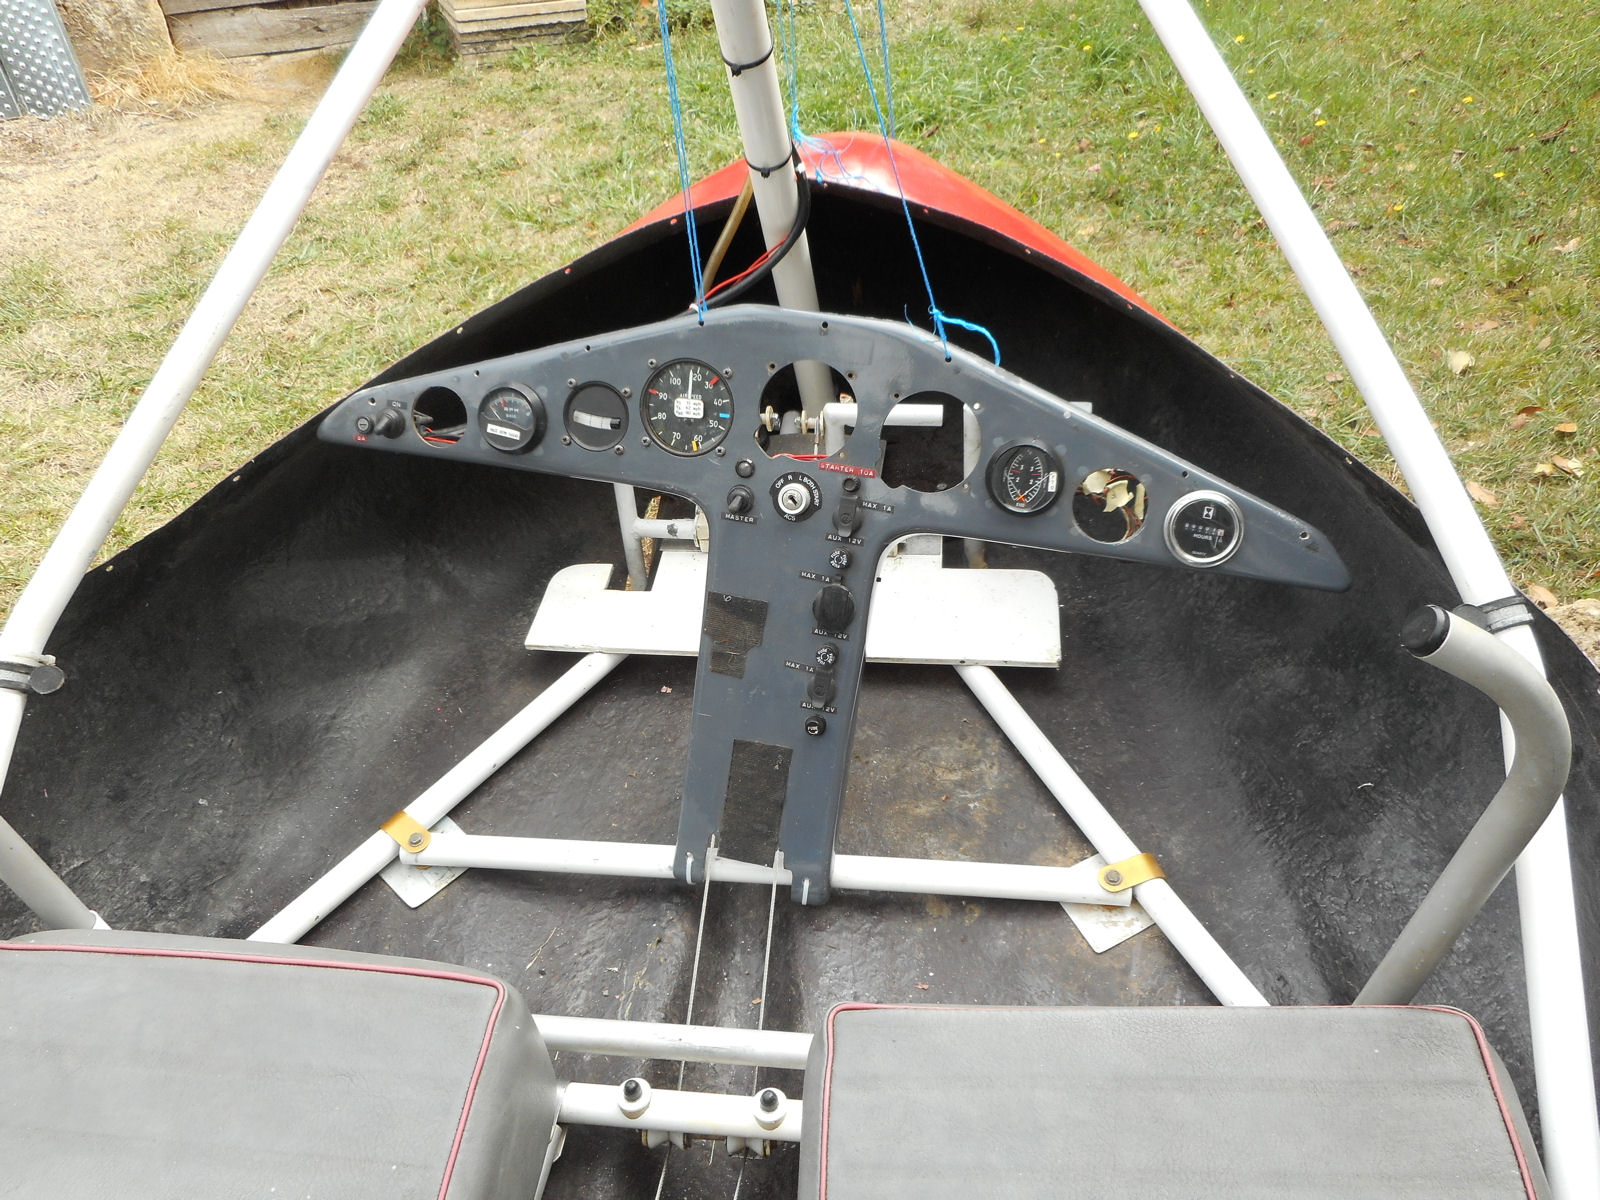
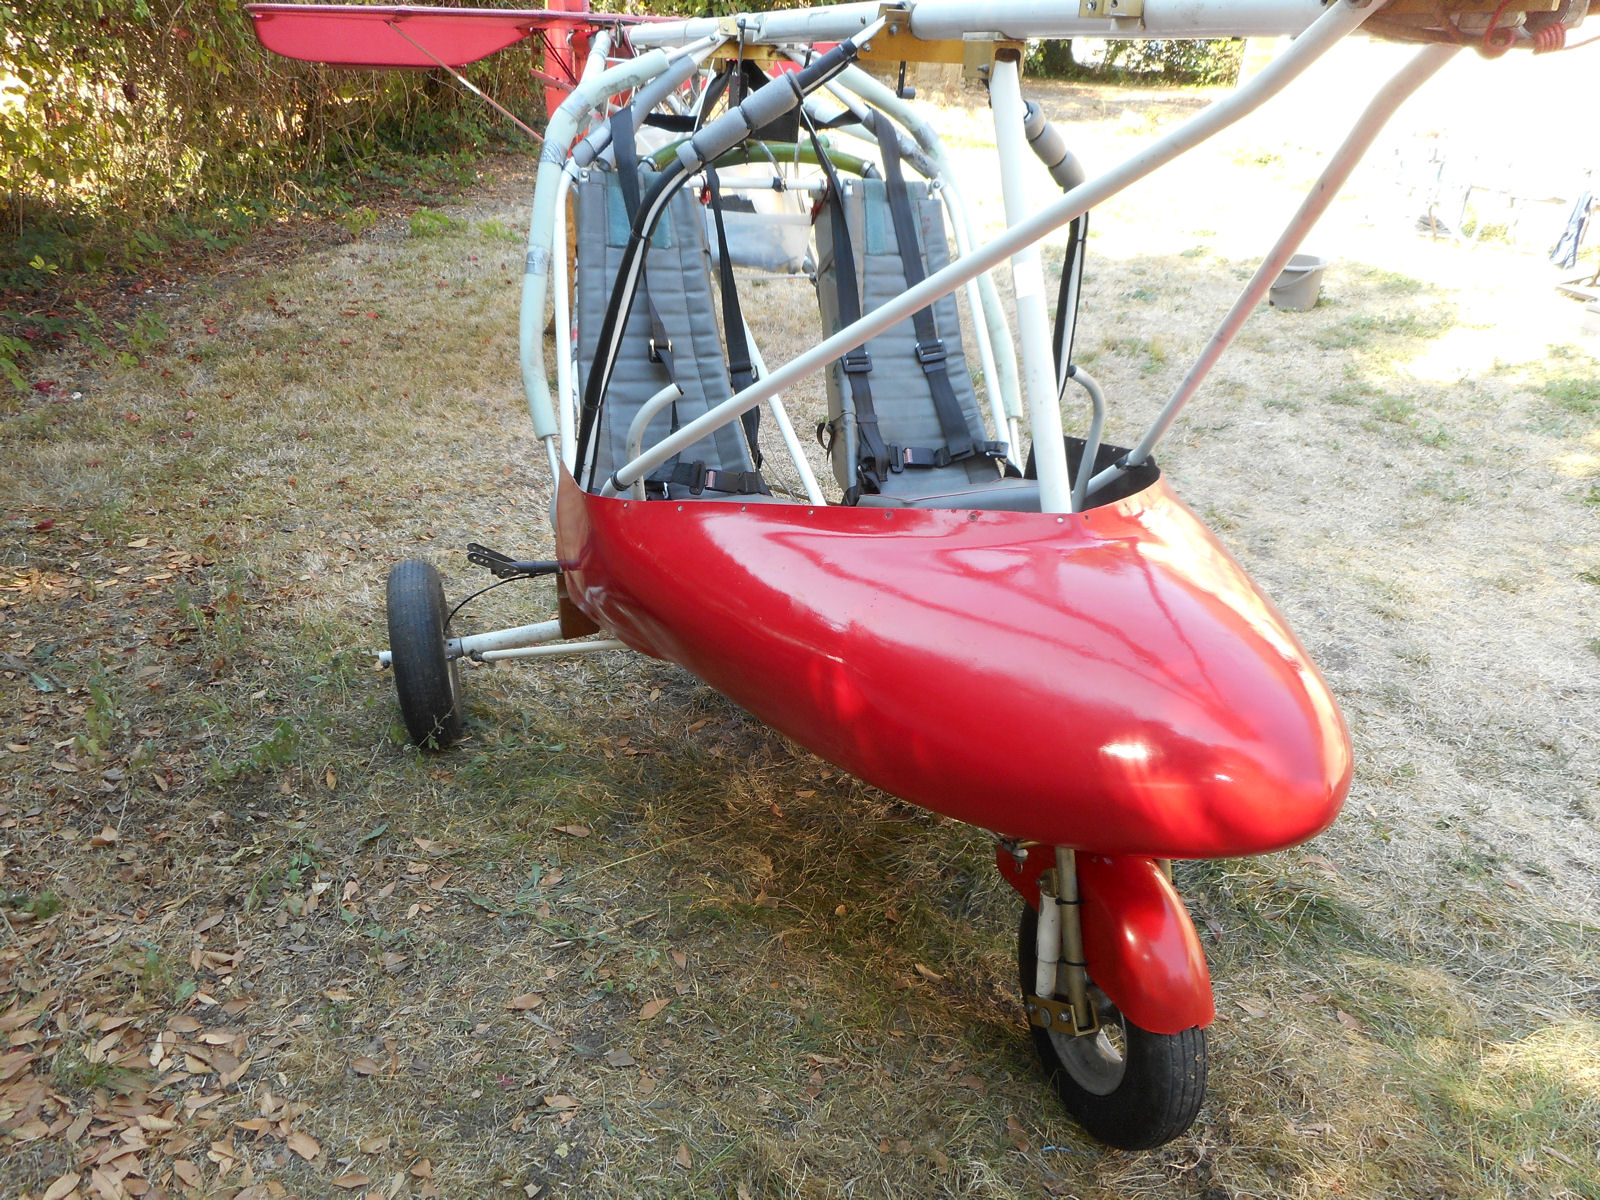
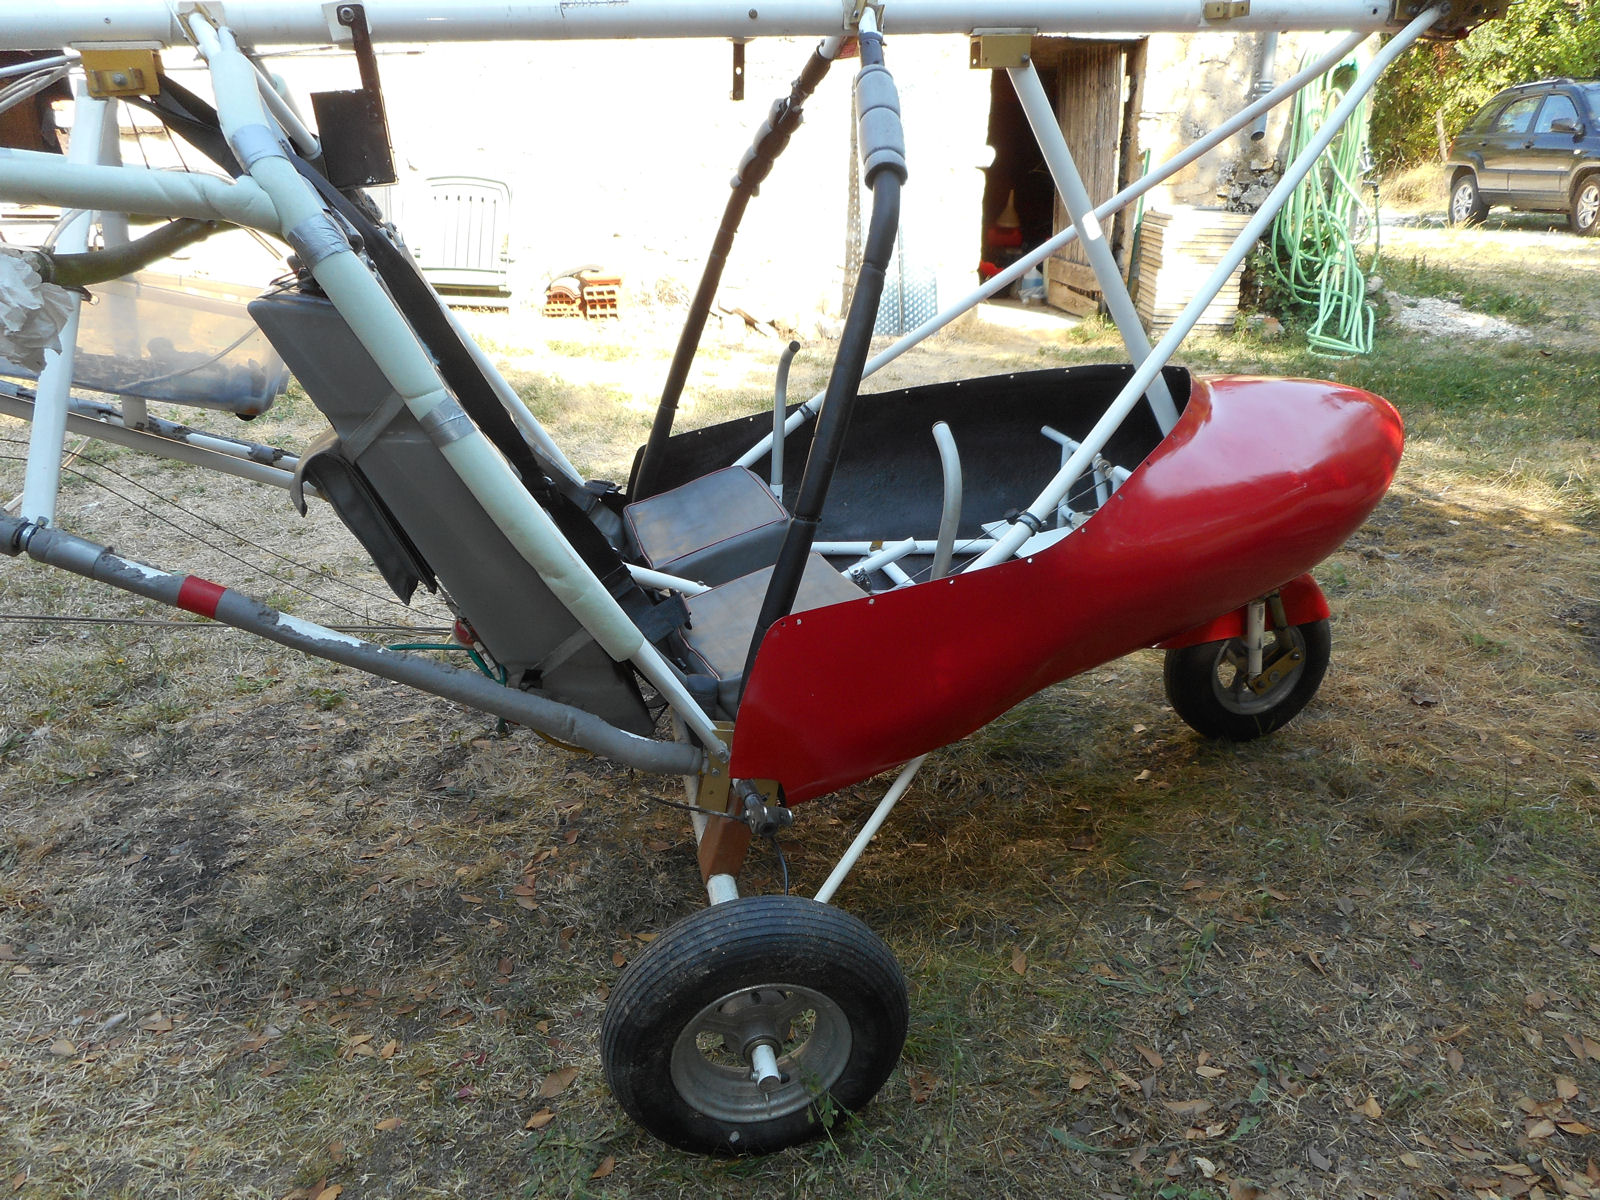
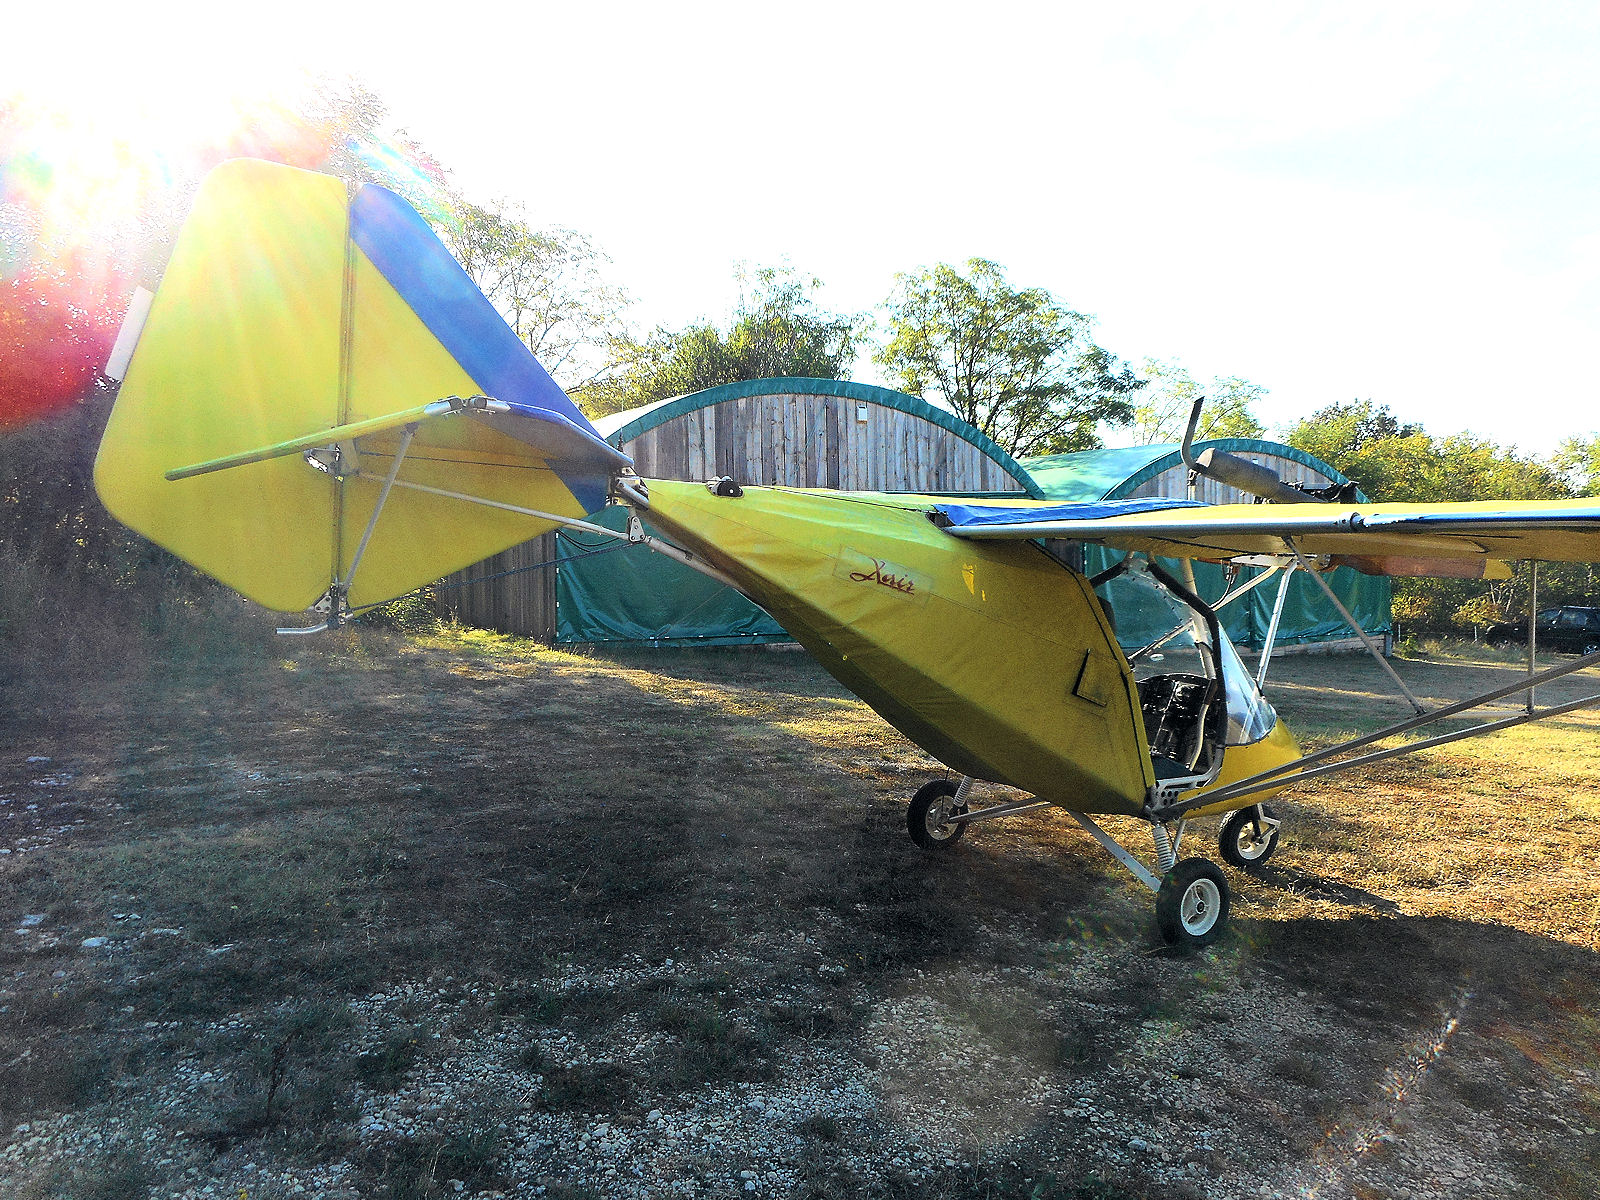
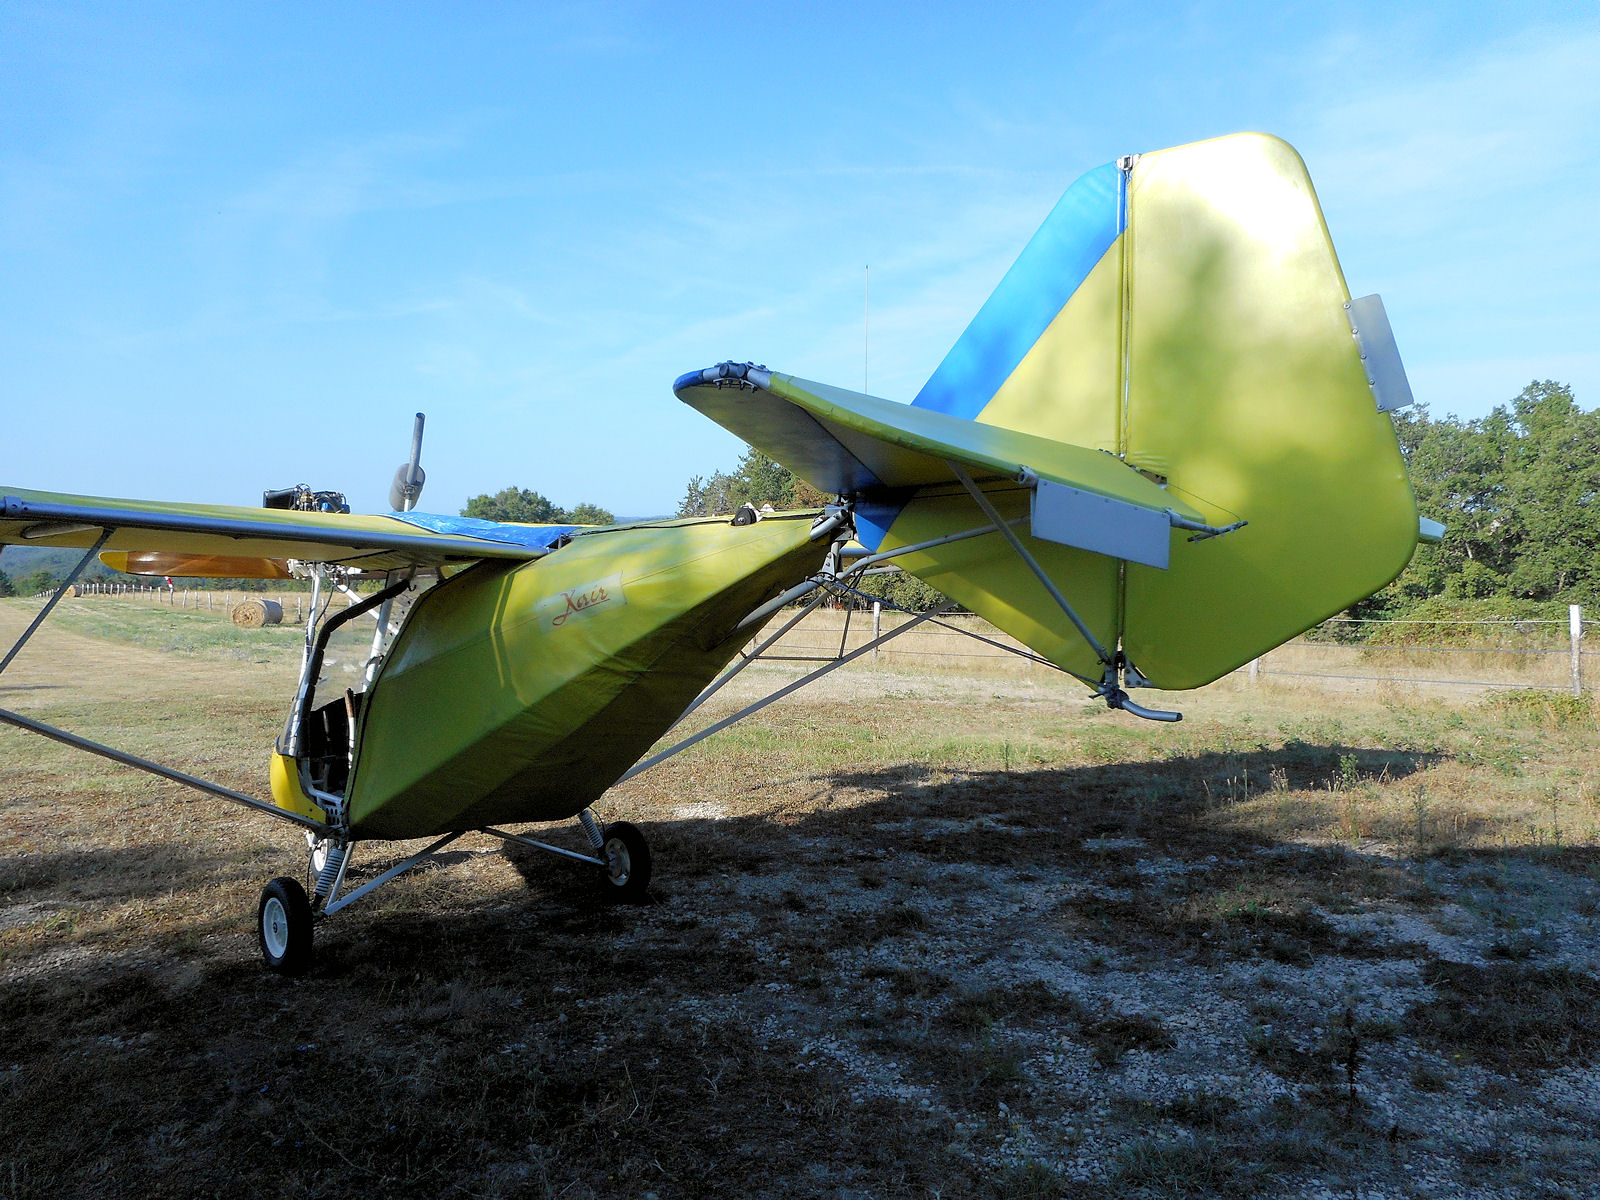
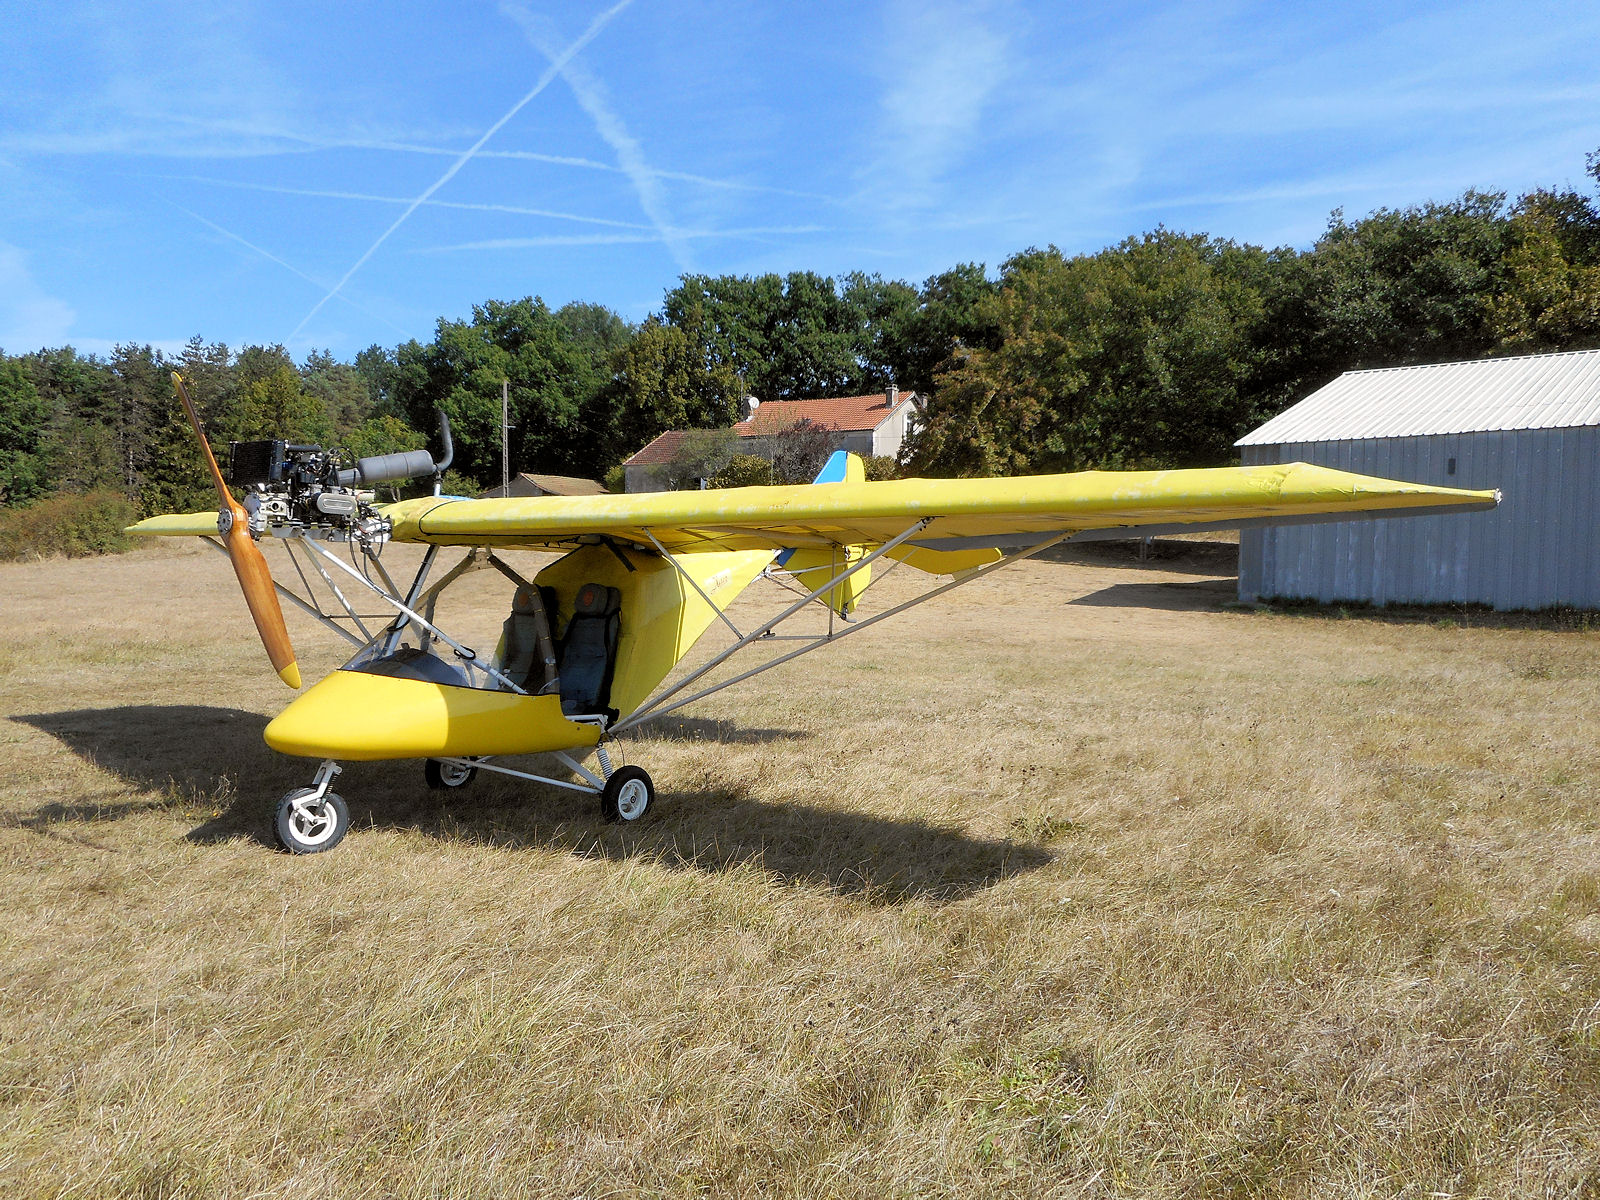
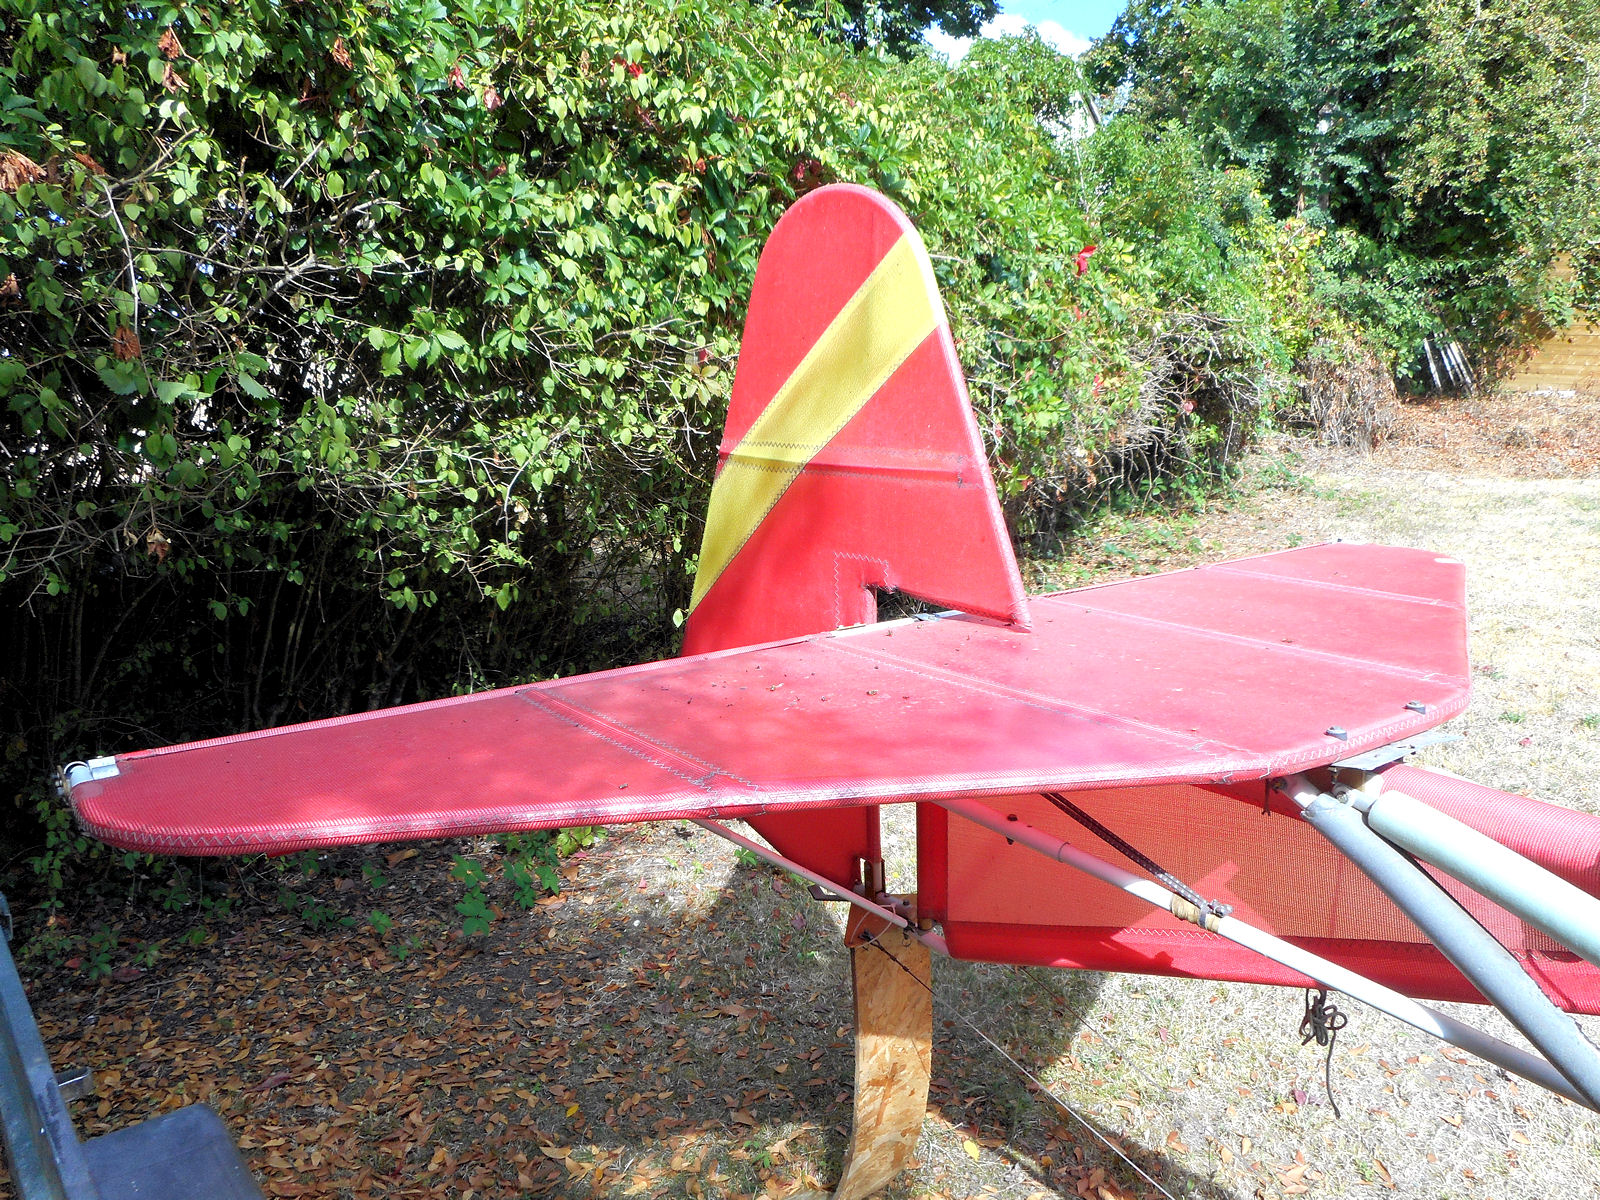
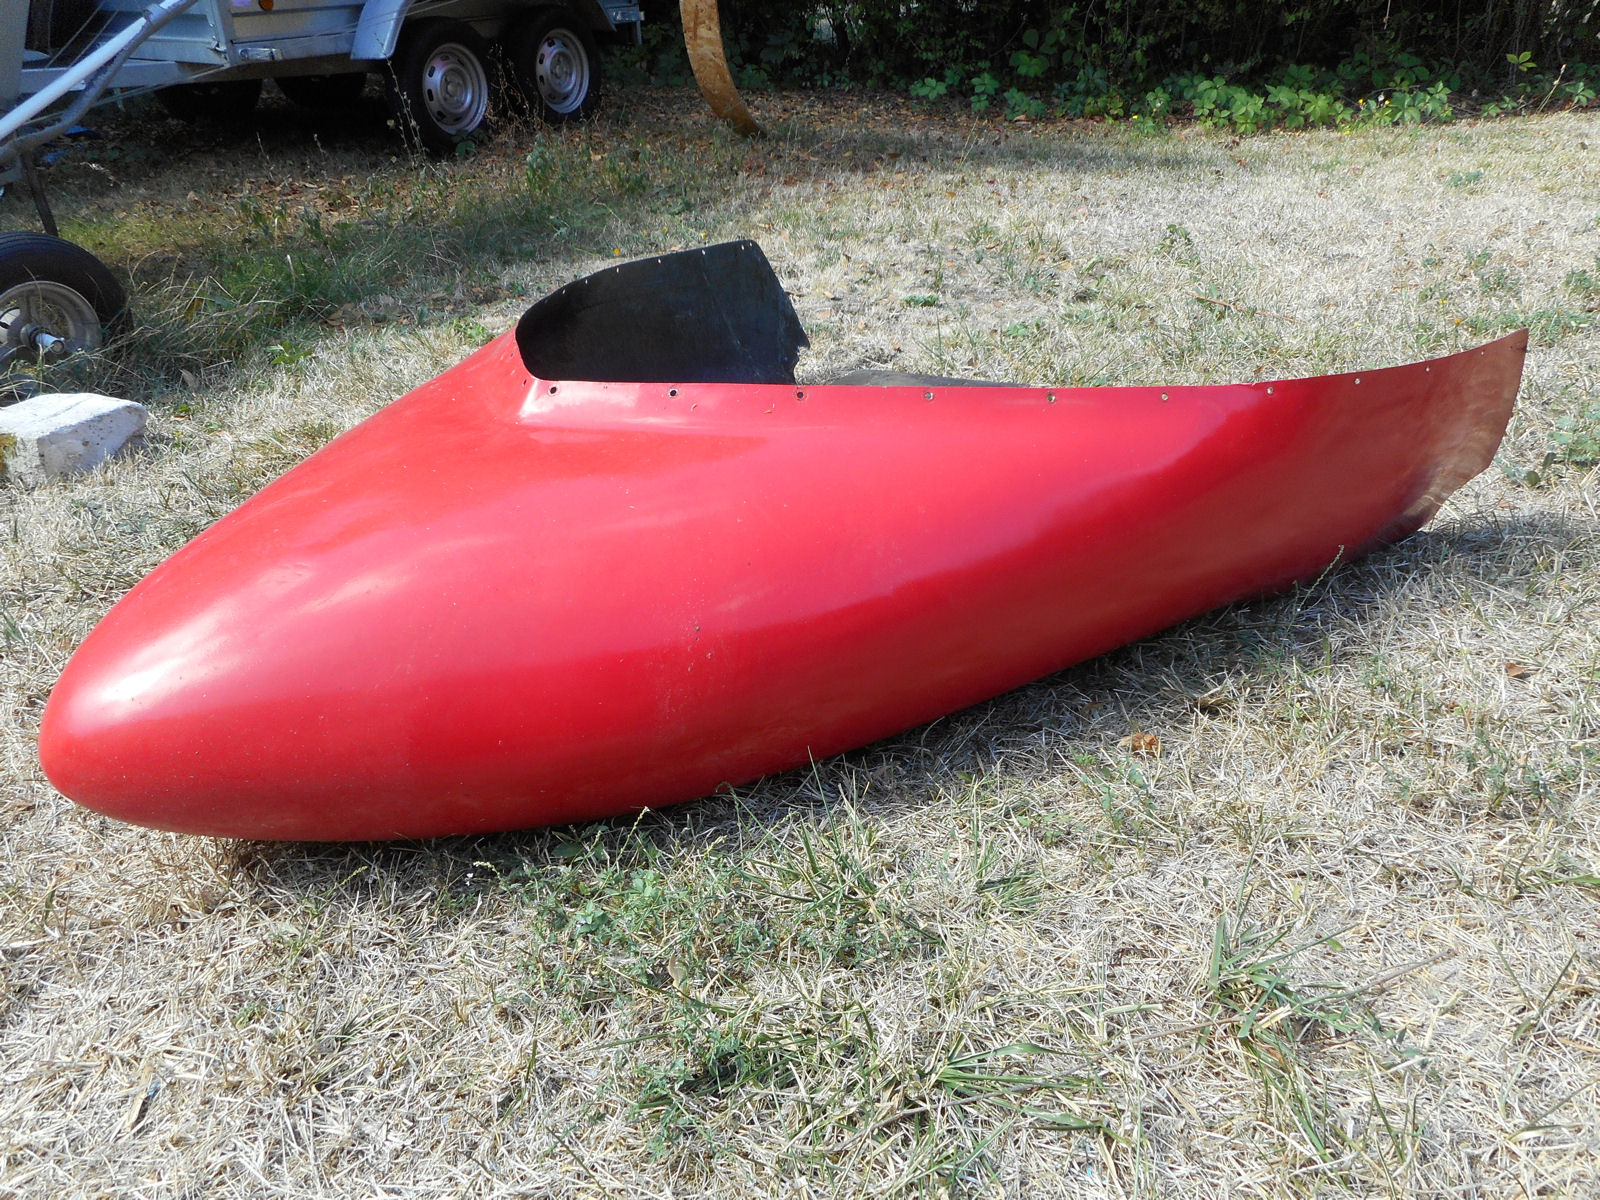
Here are the first shots that I took of 28AAD with its undercarriage repaired and its pod fitted.


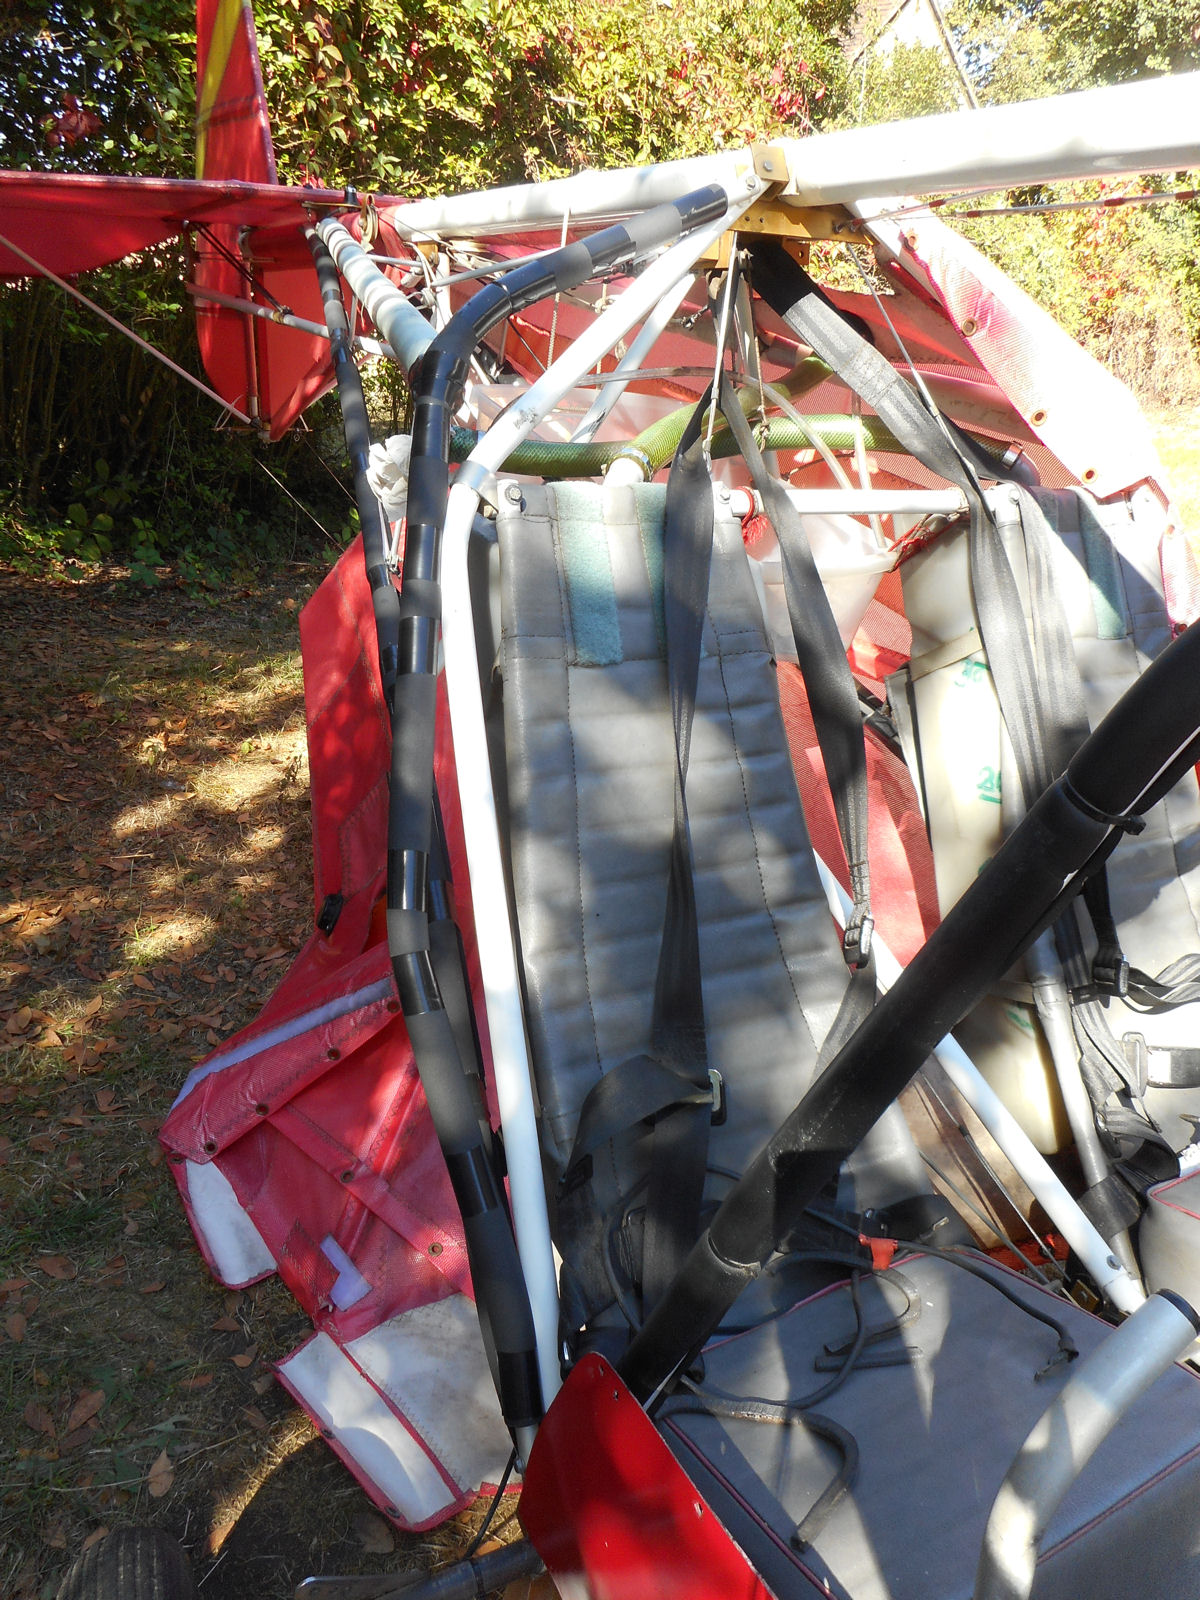
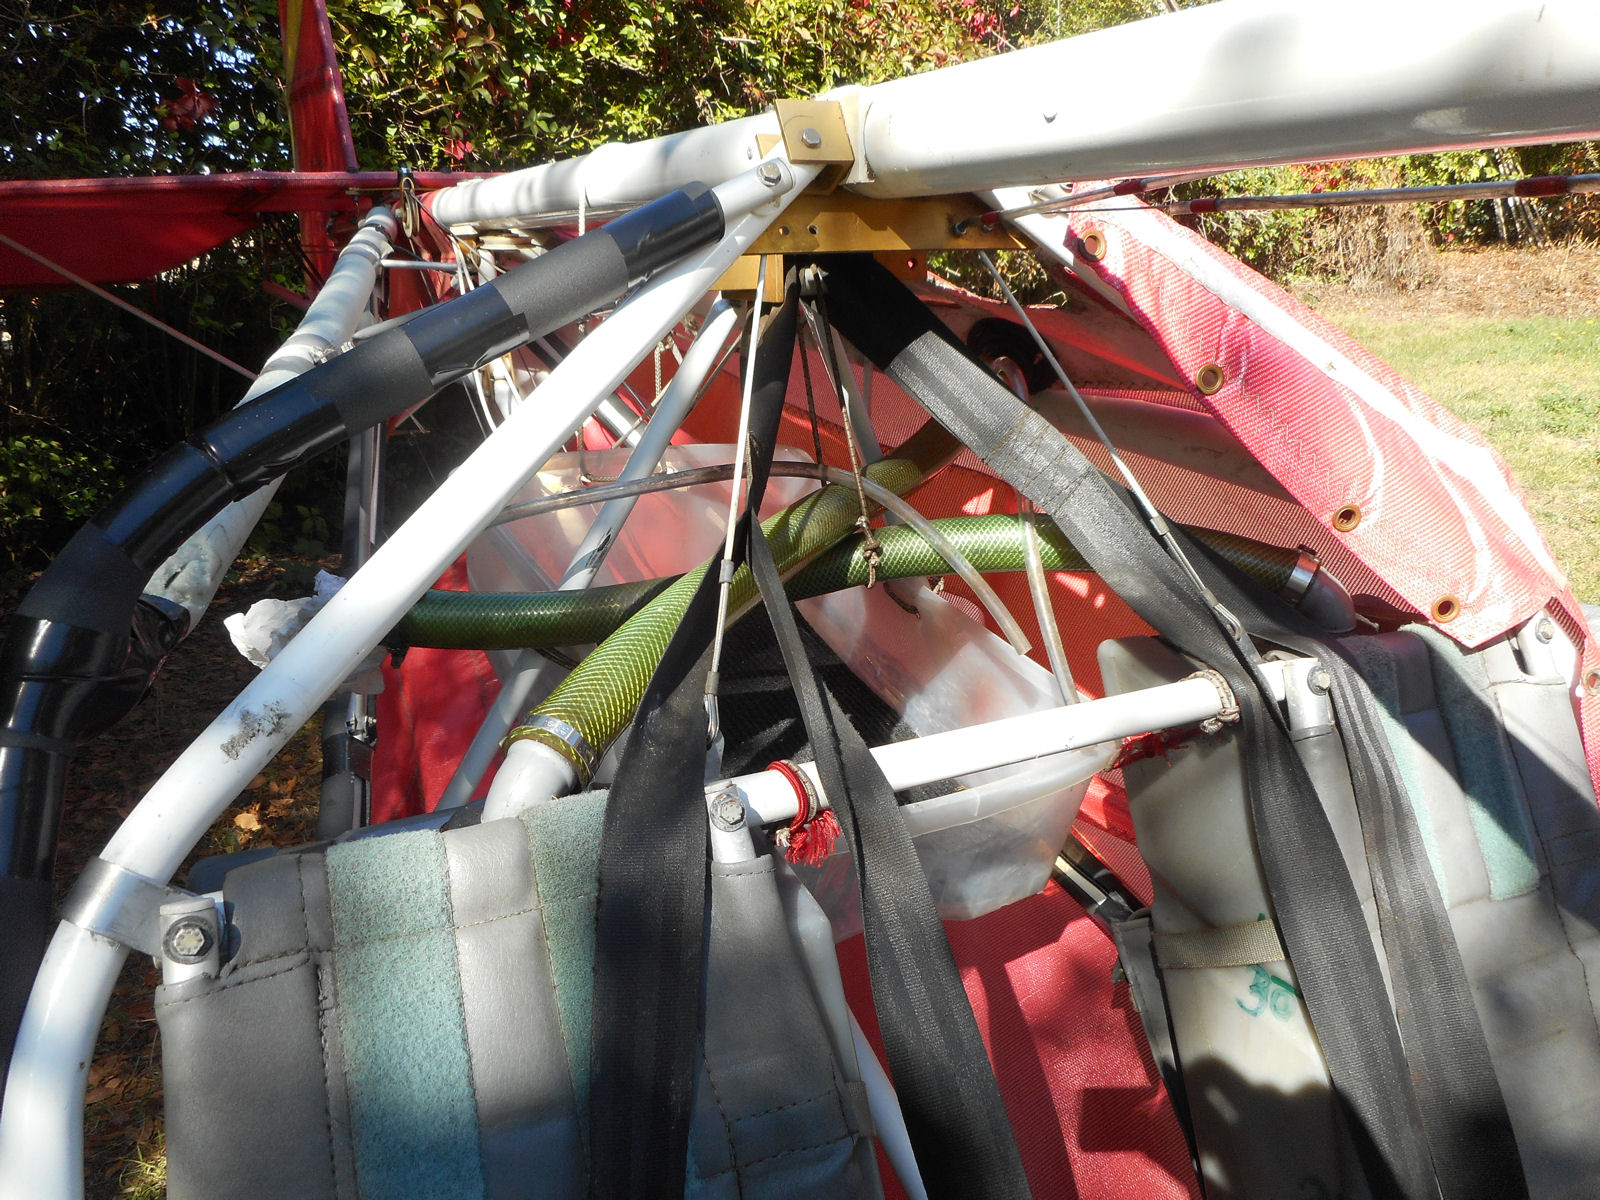
Nice and tidy all round I think, including the underneath of the pod.


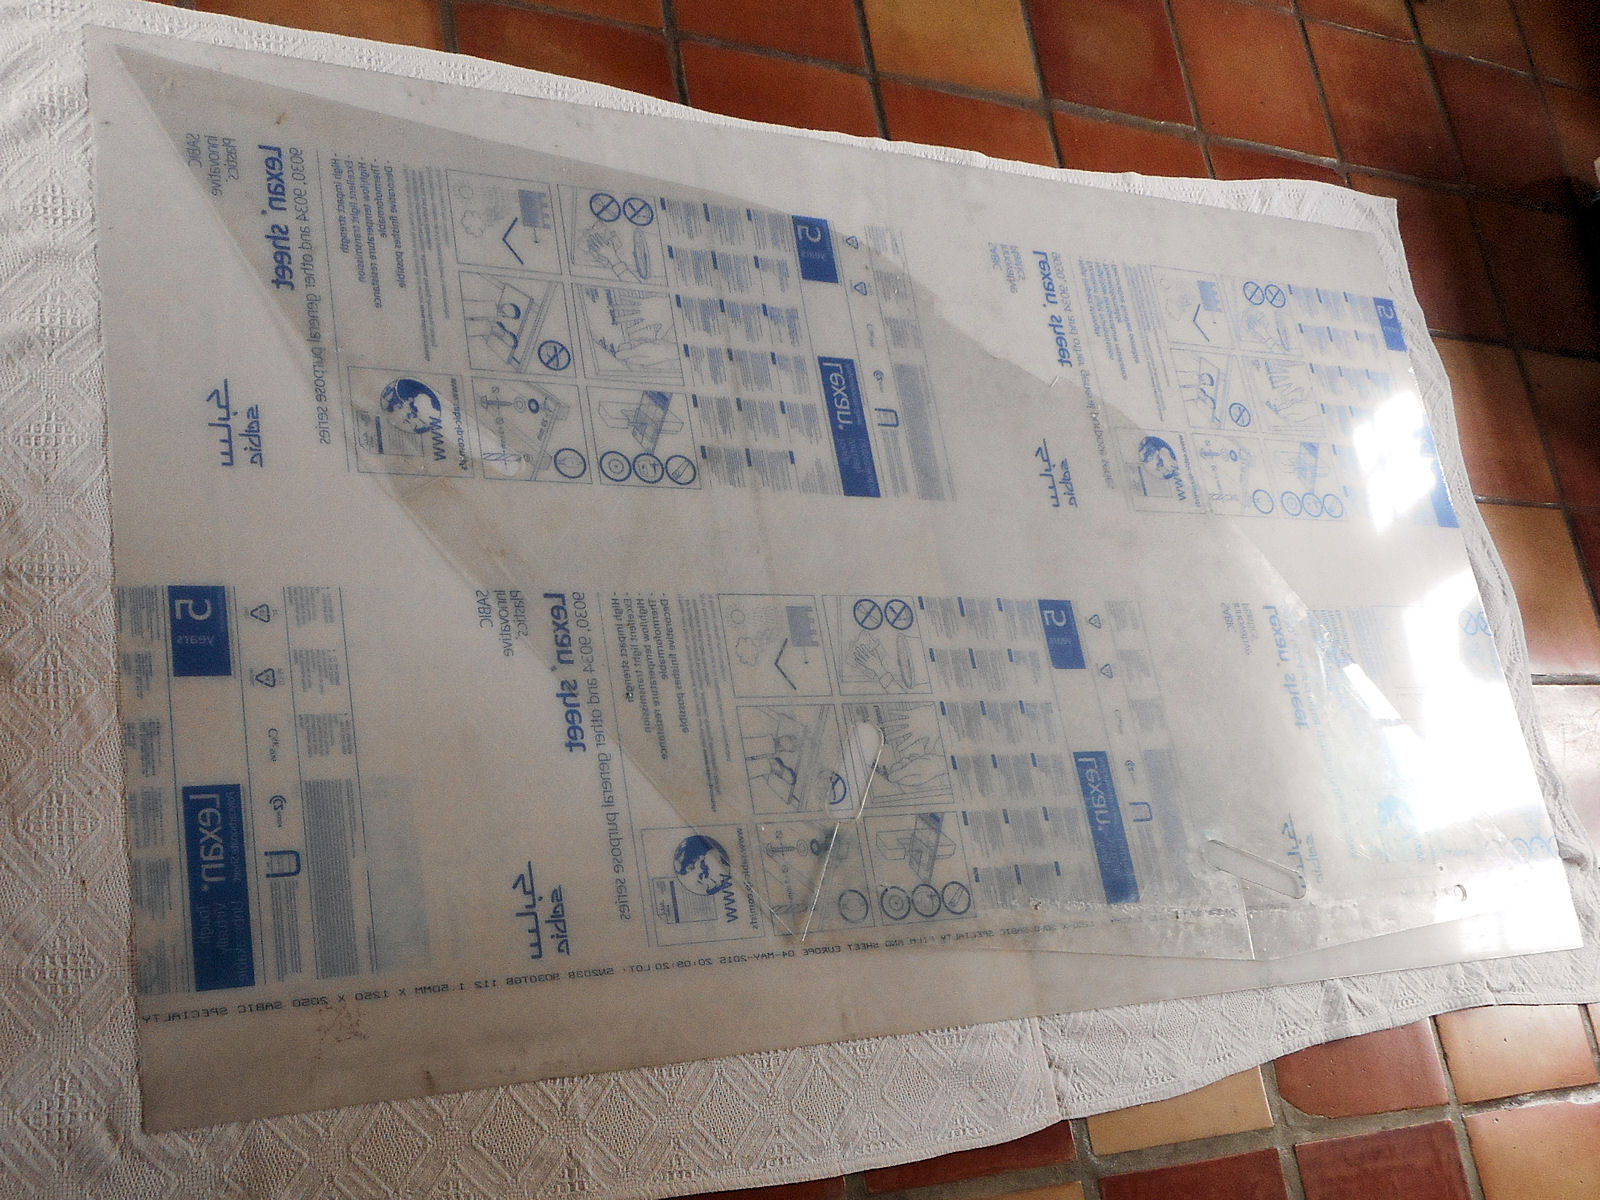
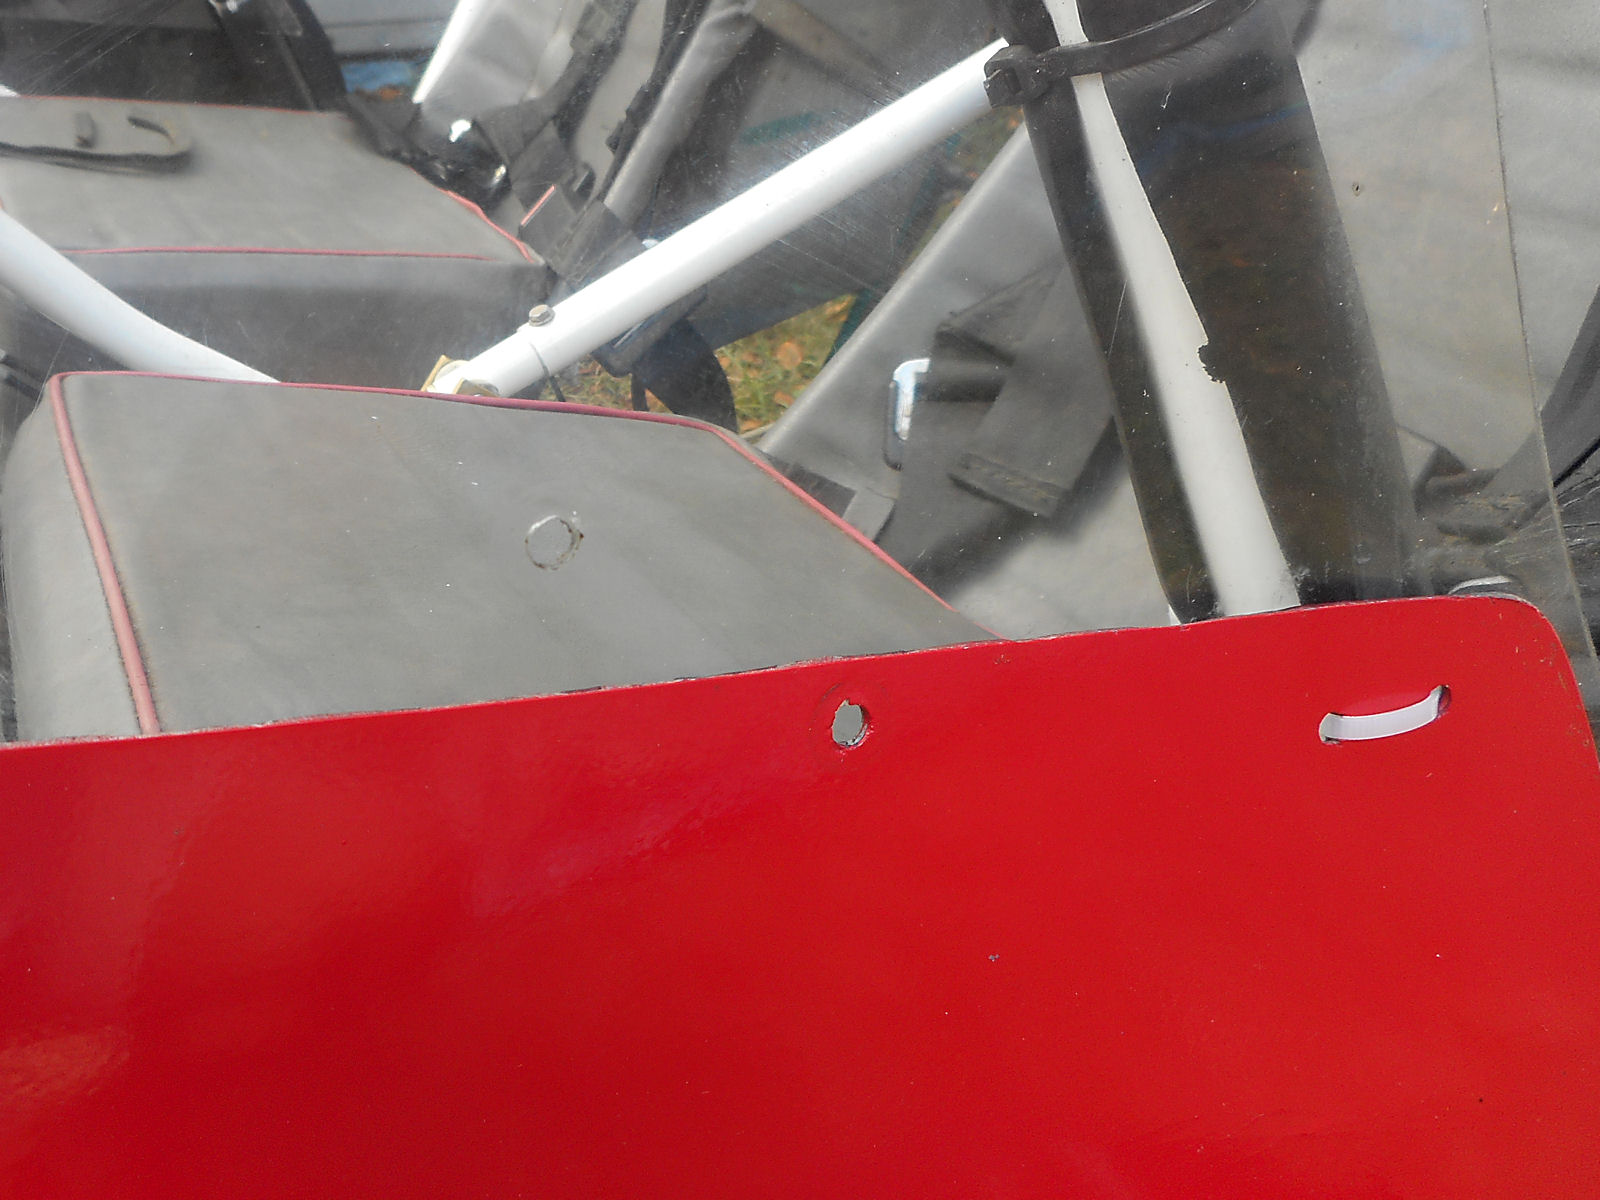
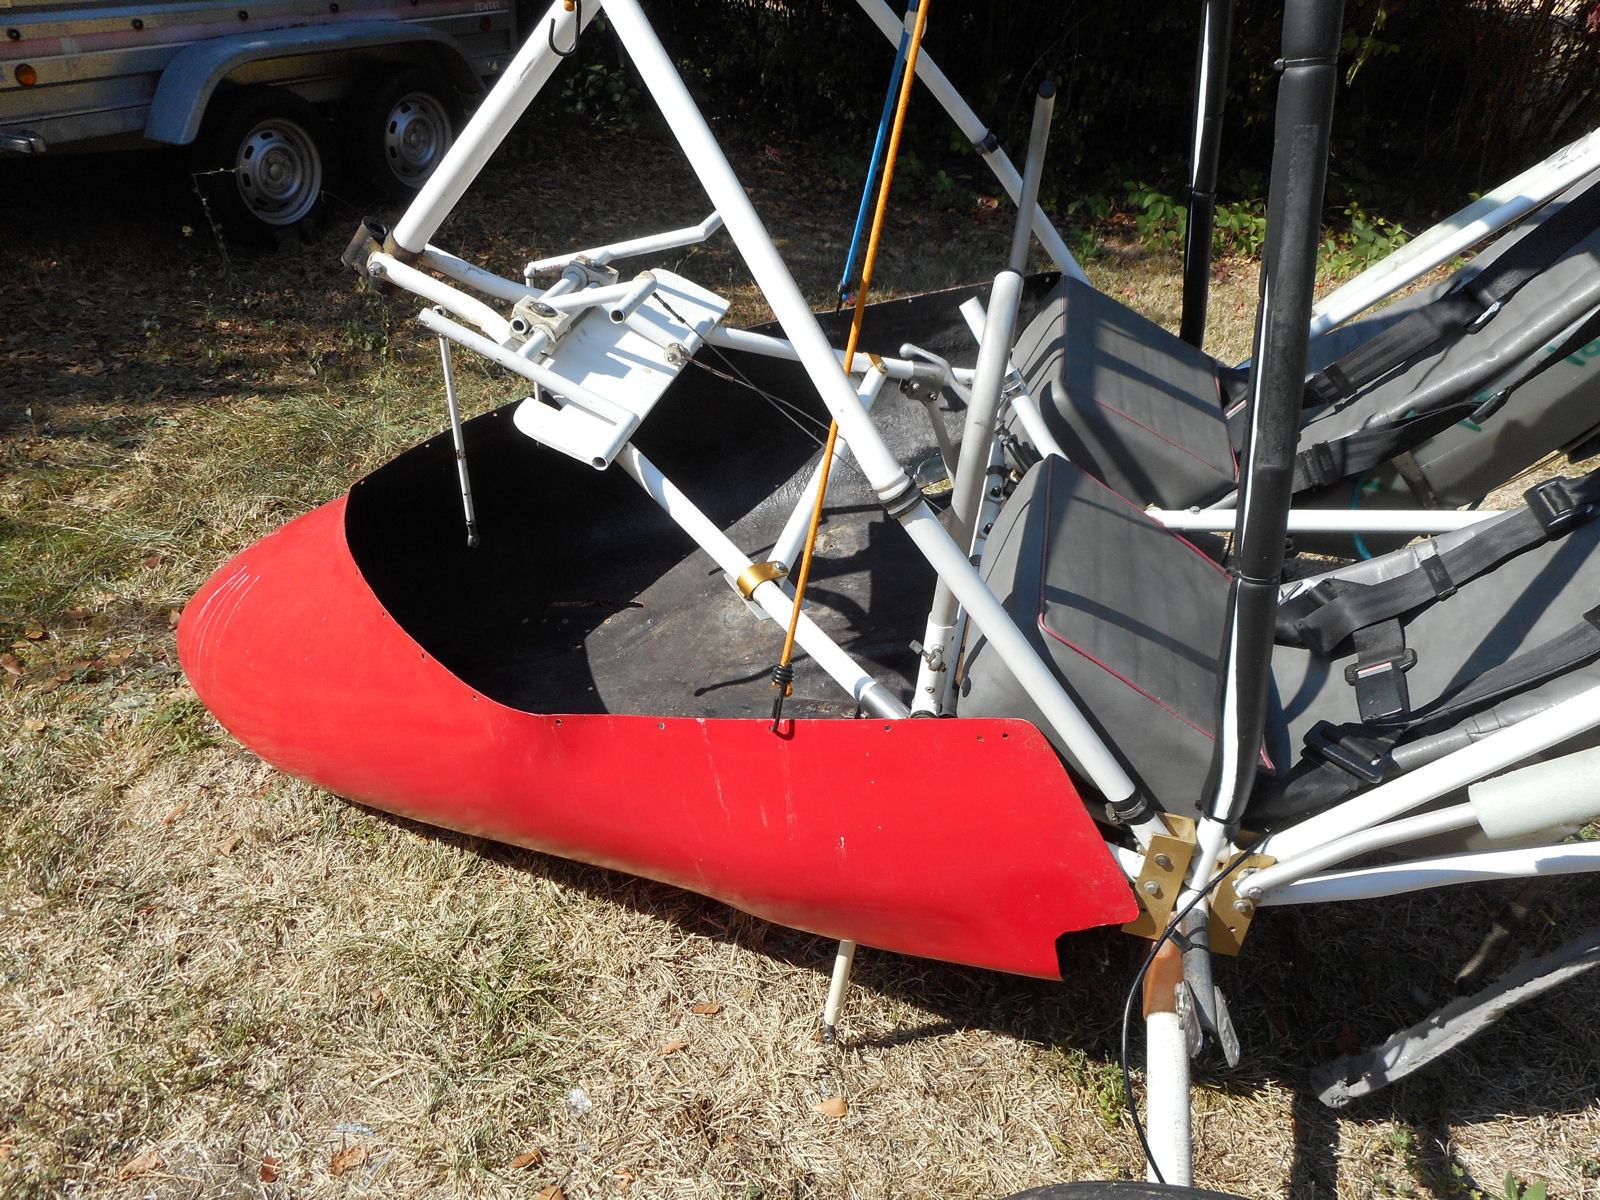
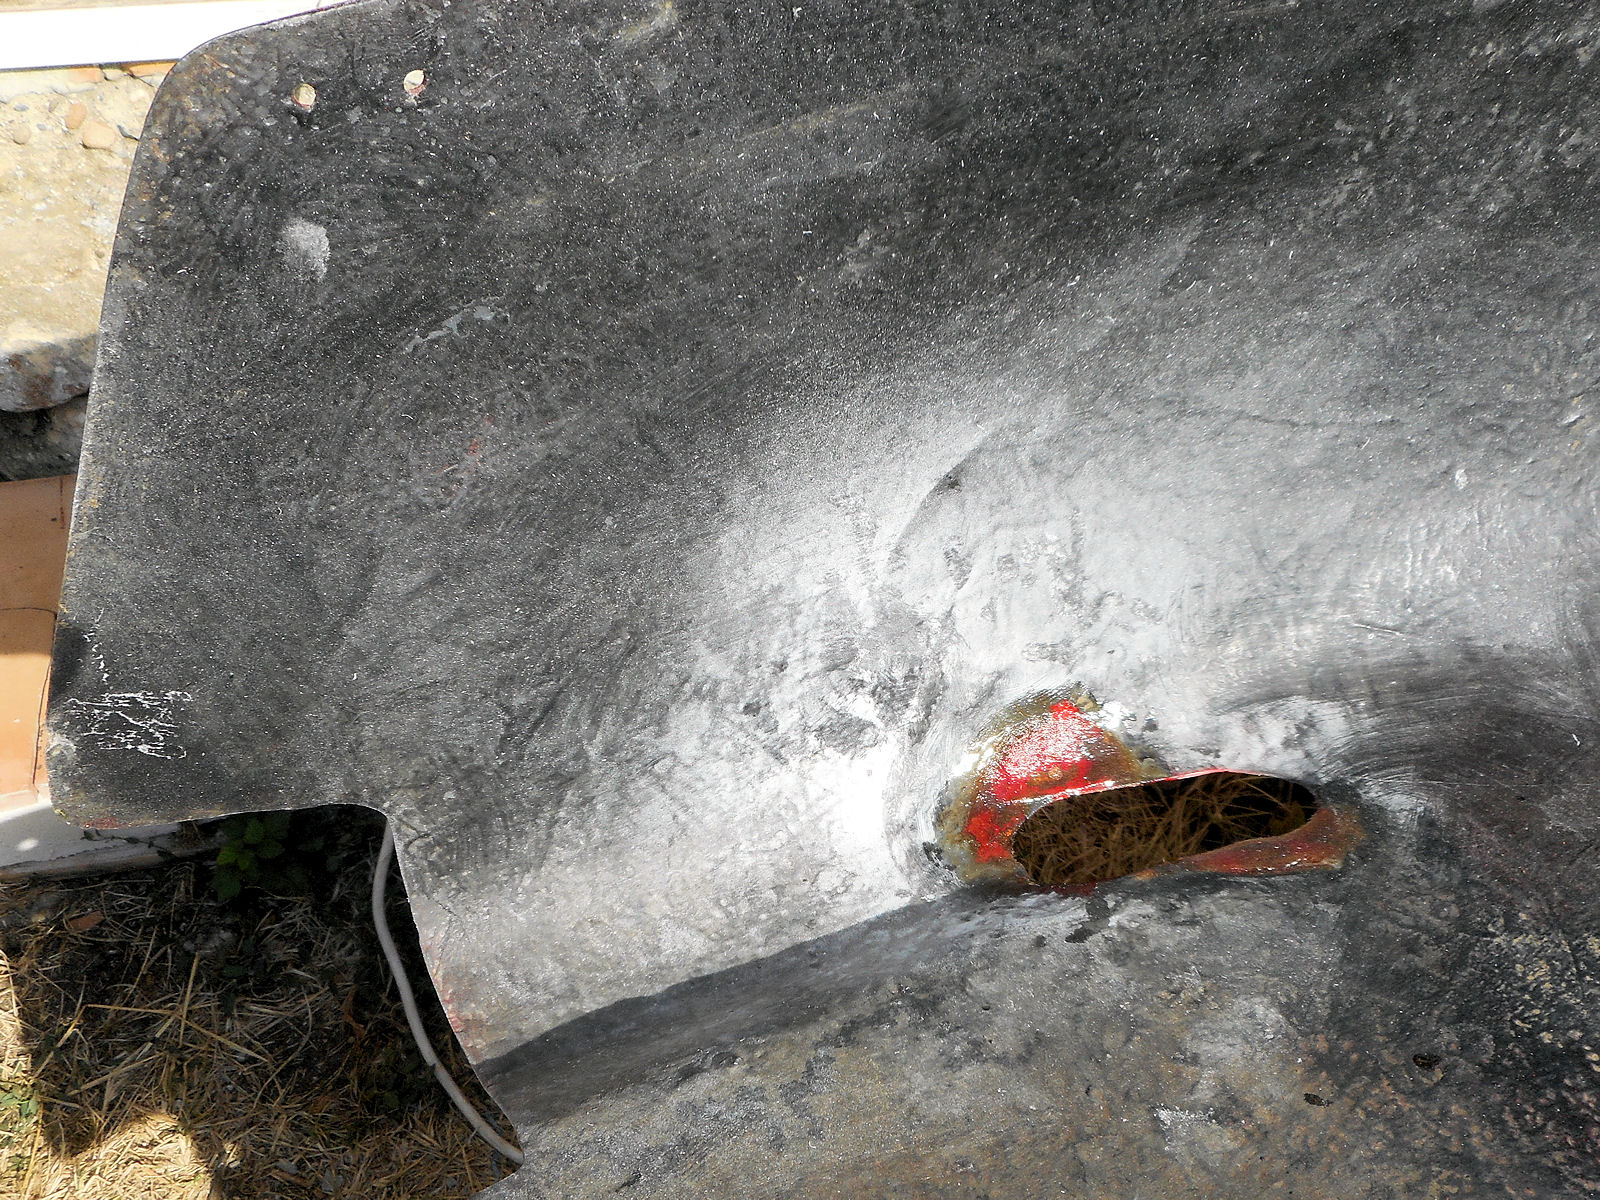
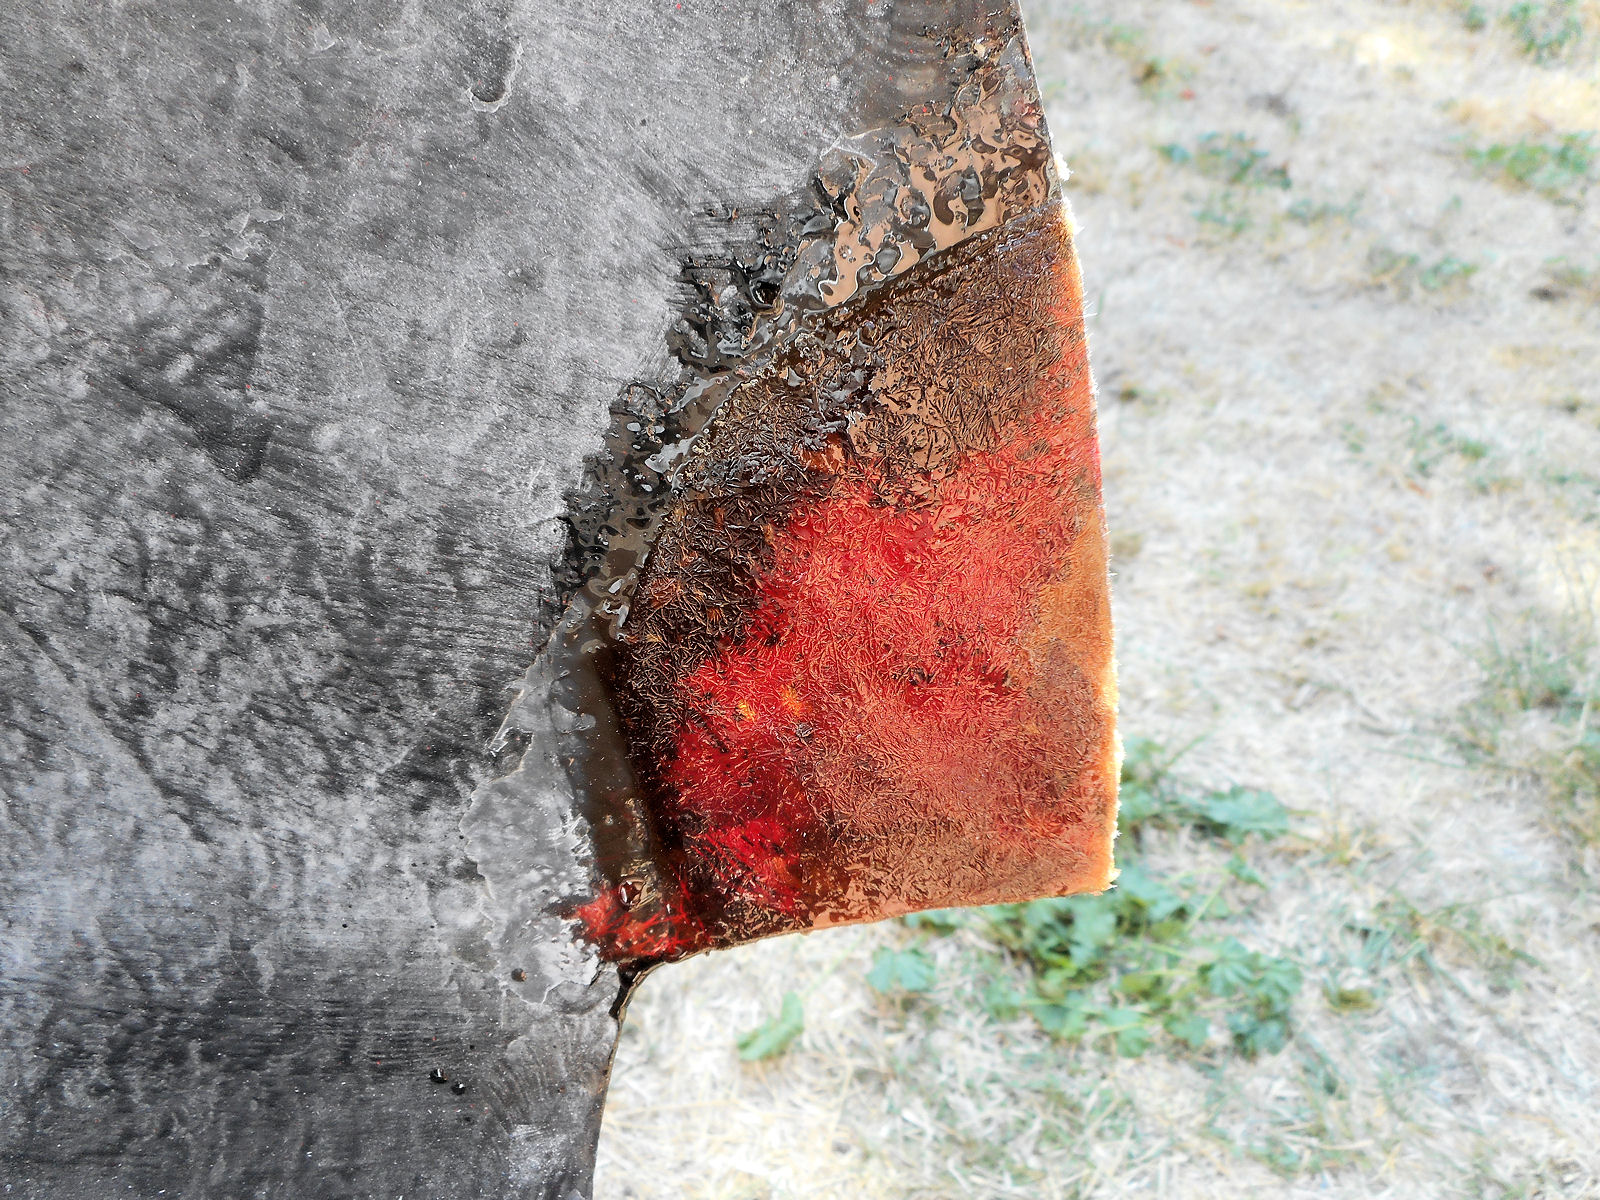
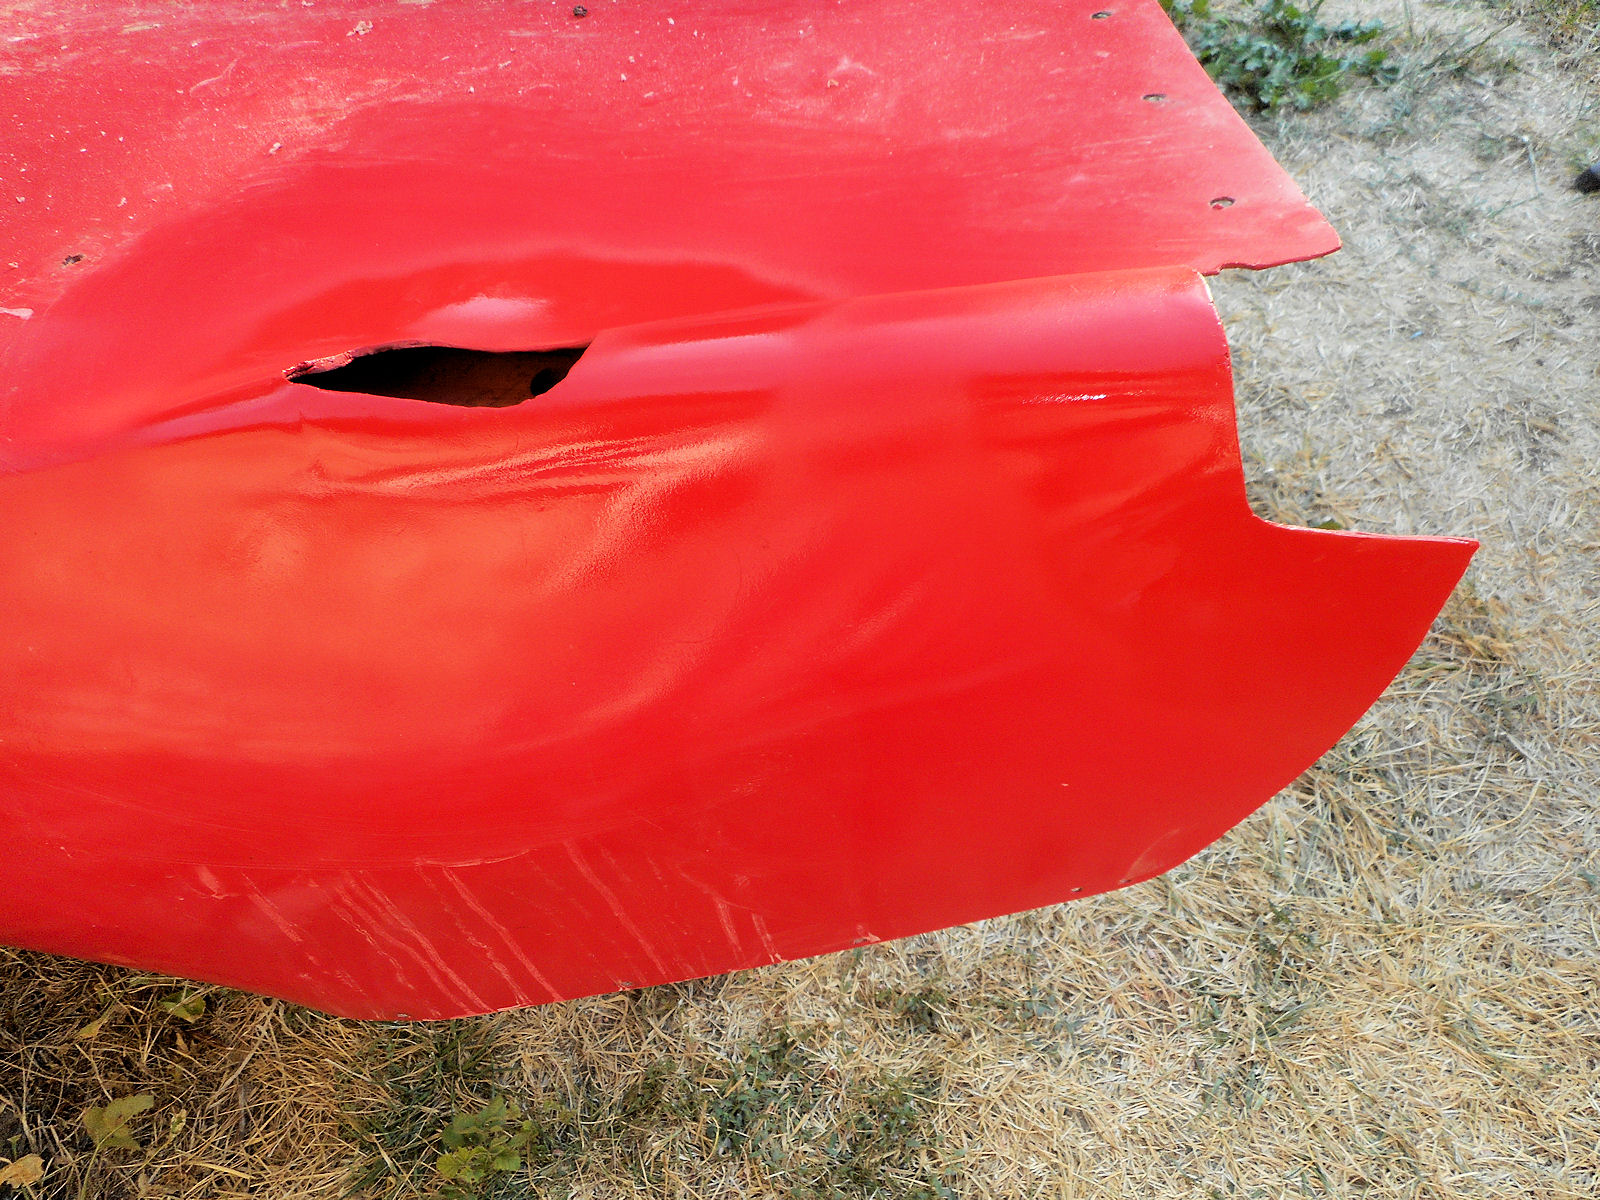
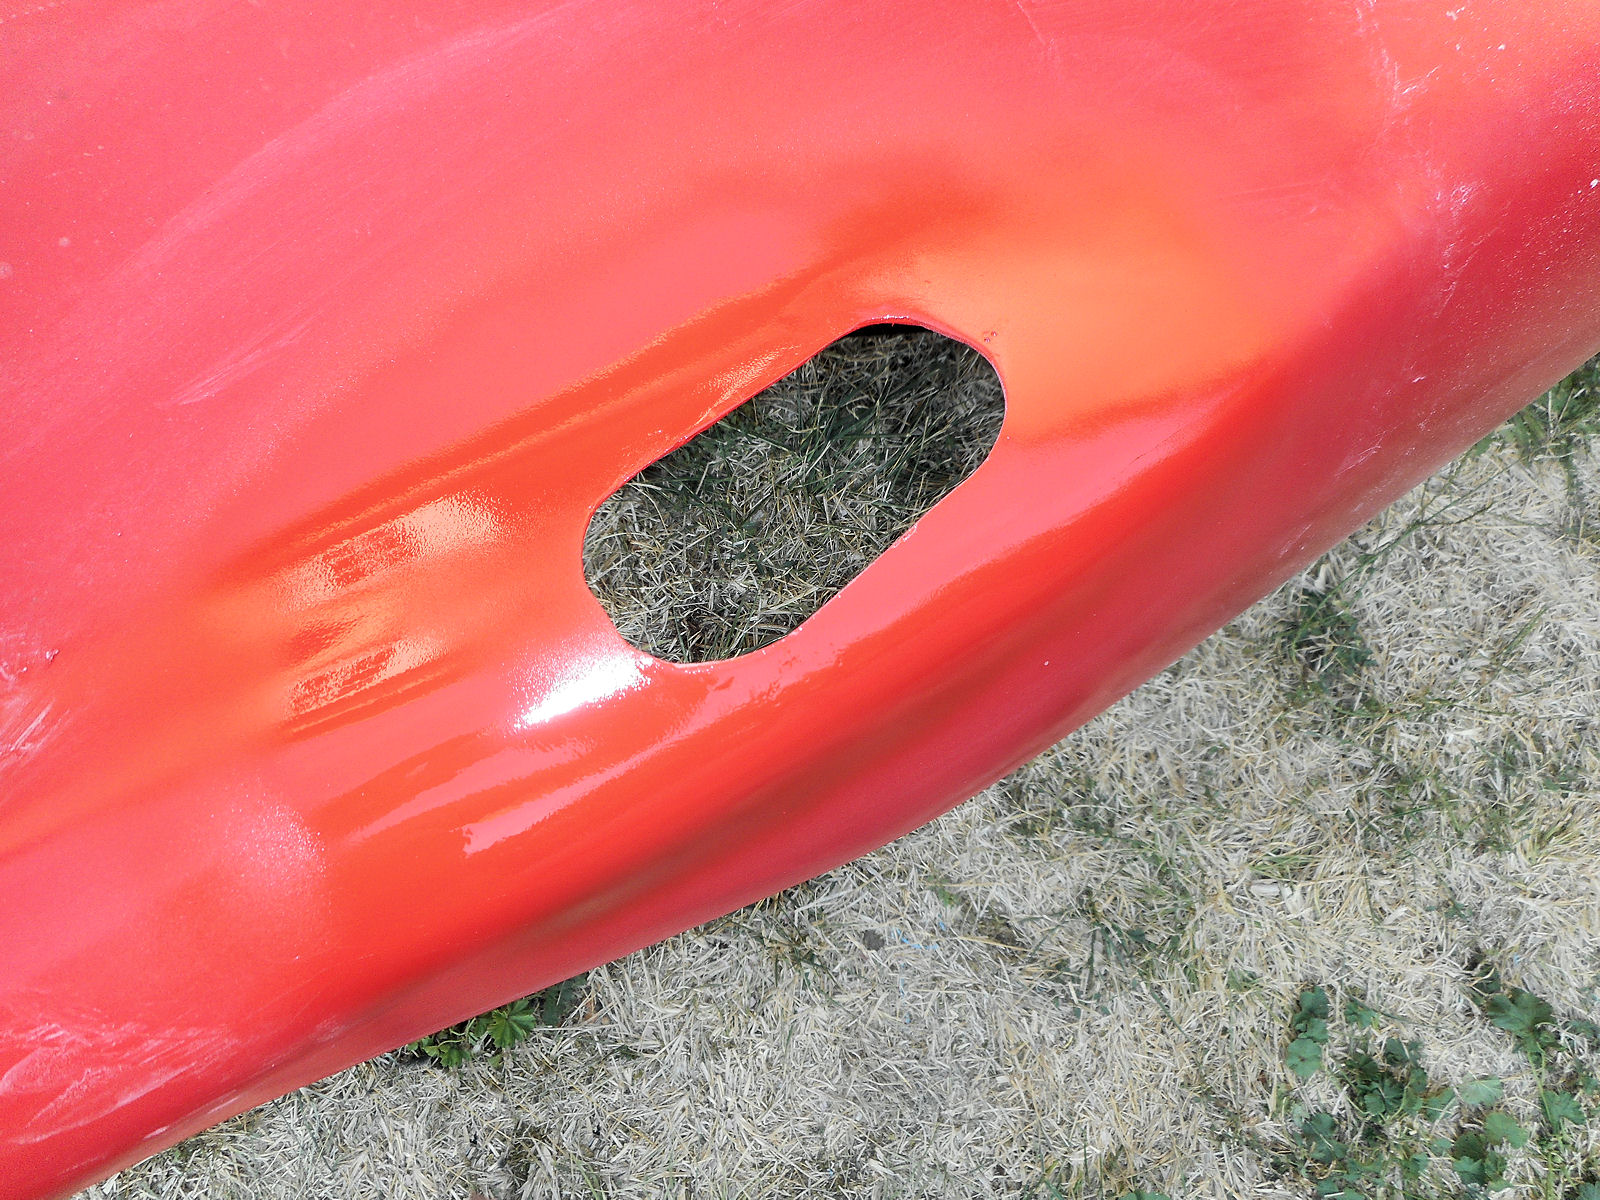
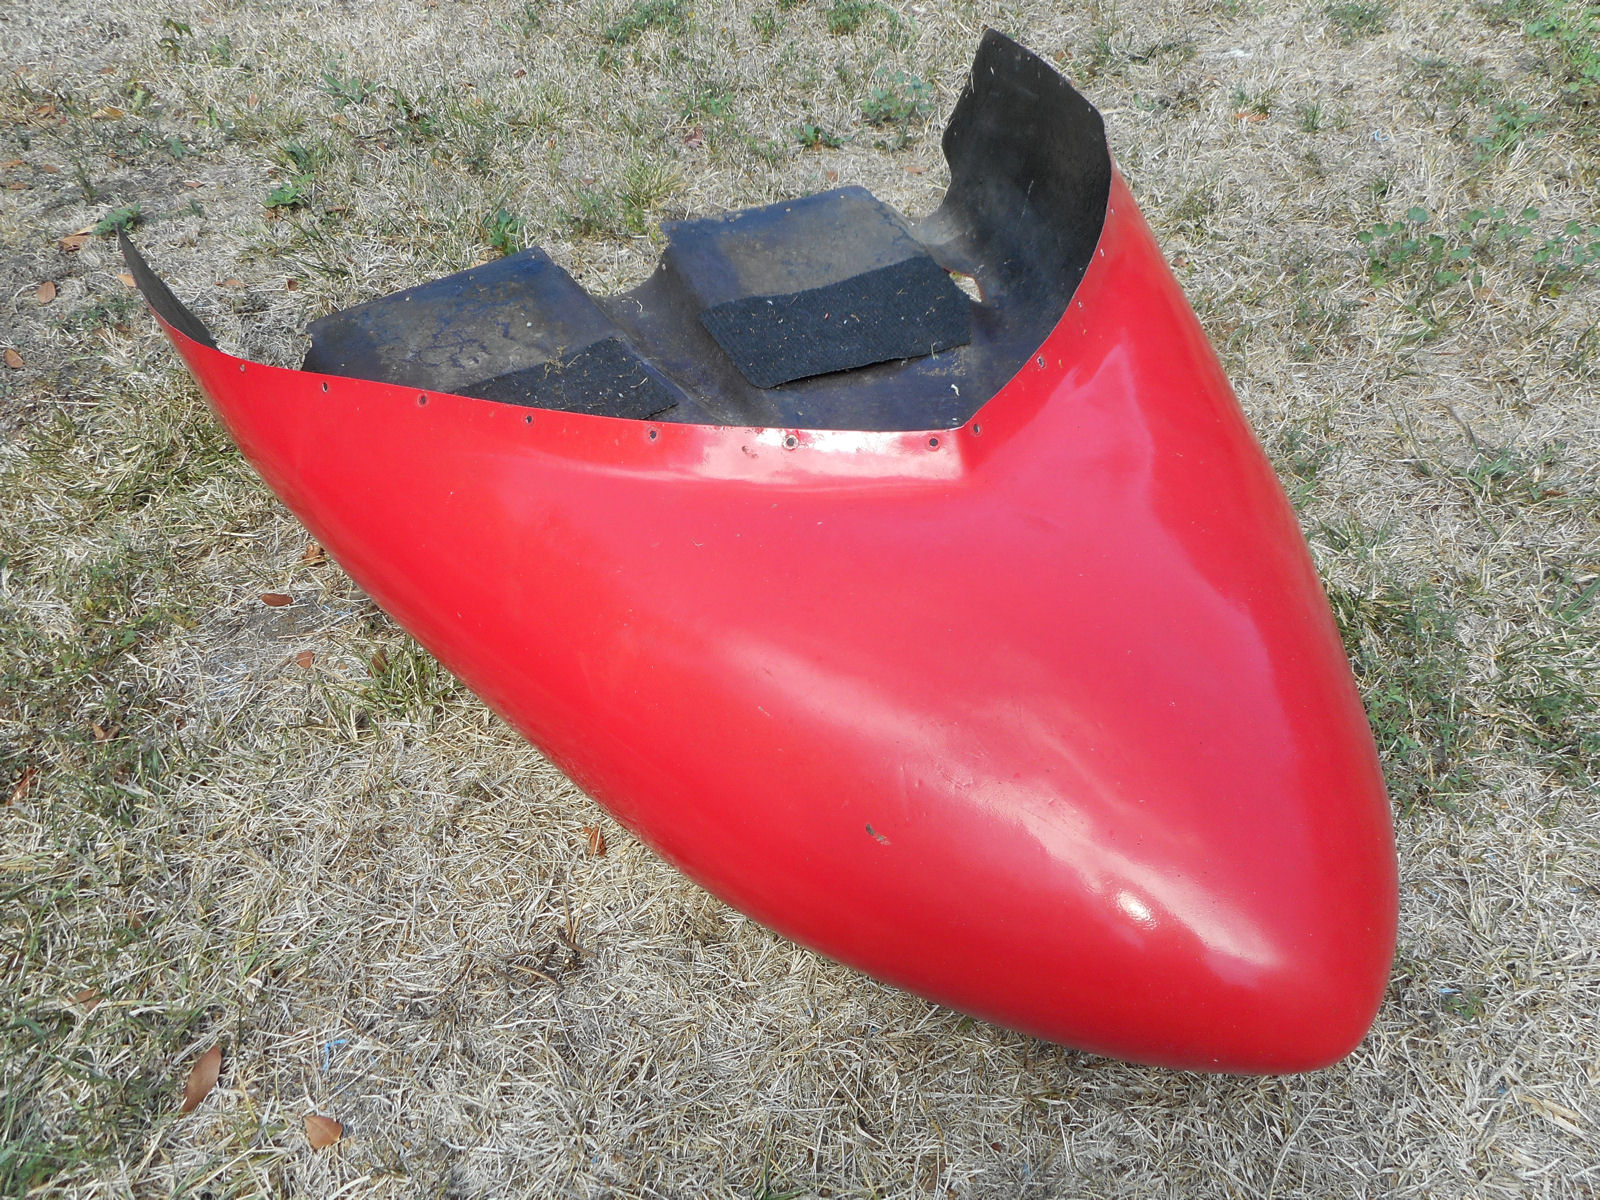
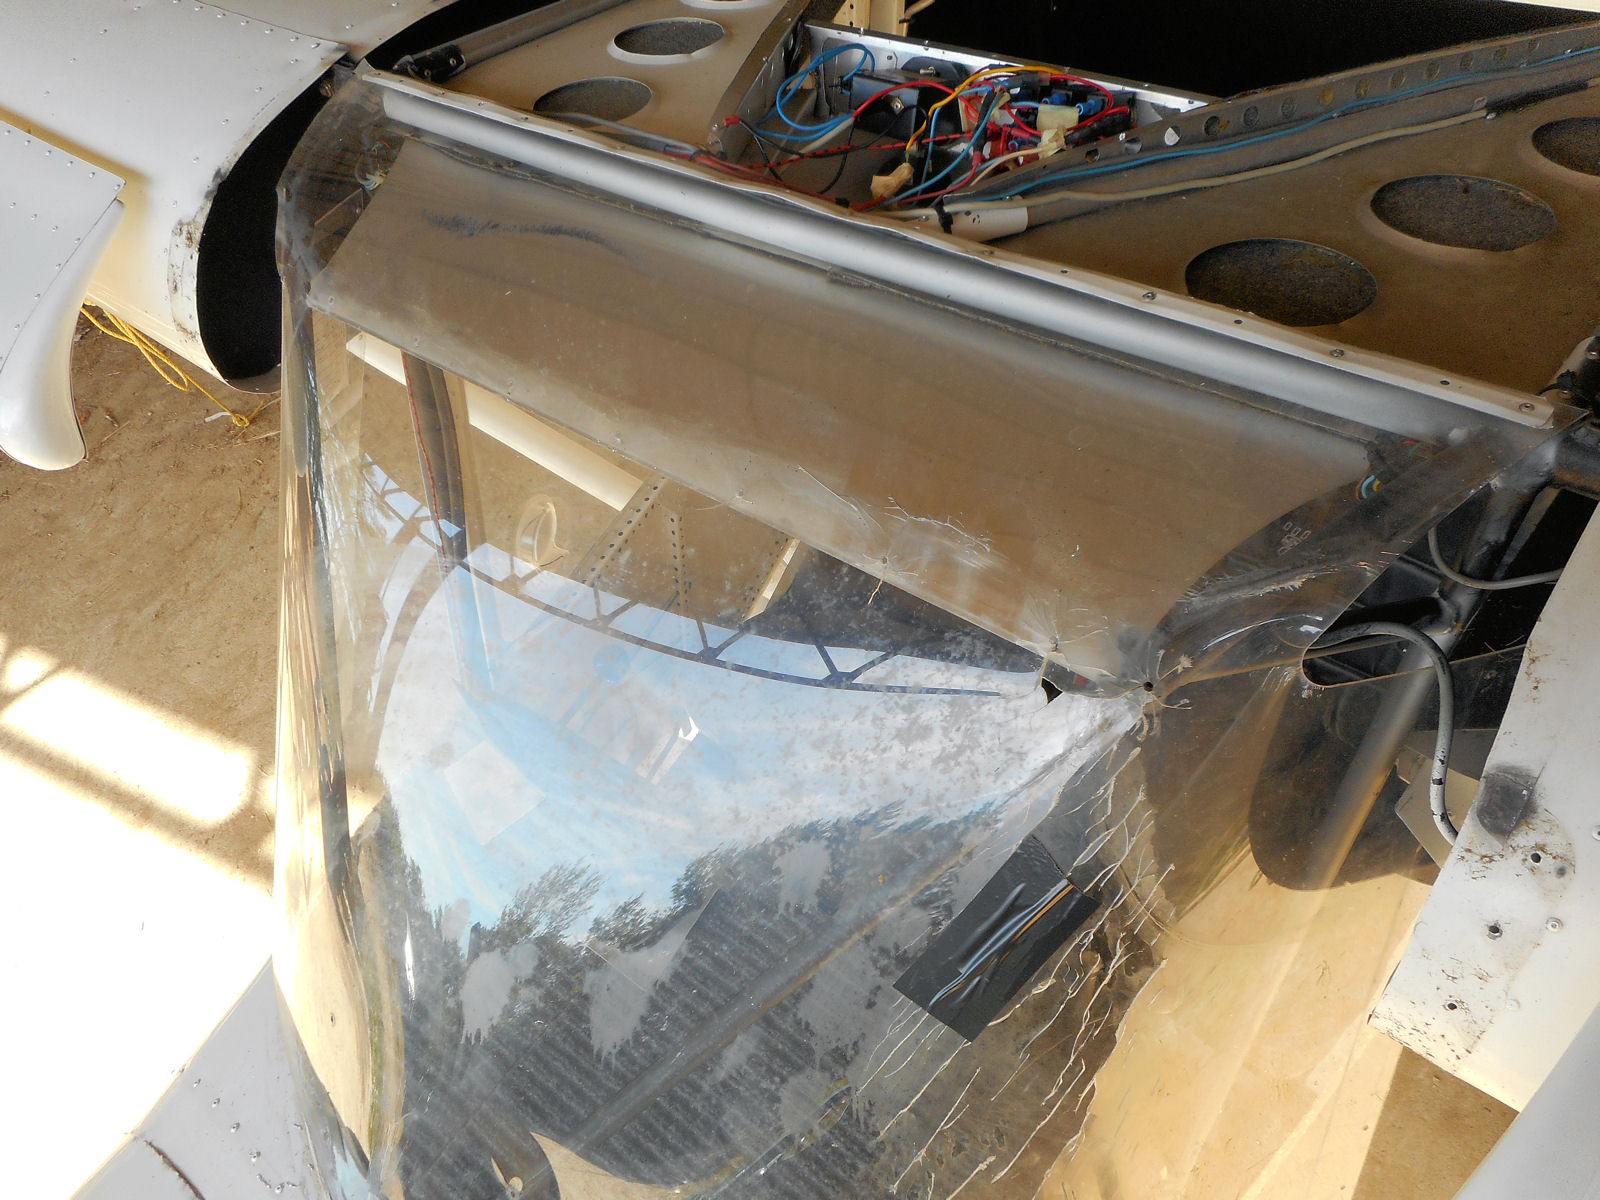
Here’s a shot of what was the worst damaged side of 28AAD’s pod.

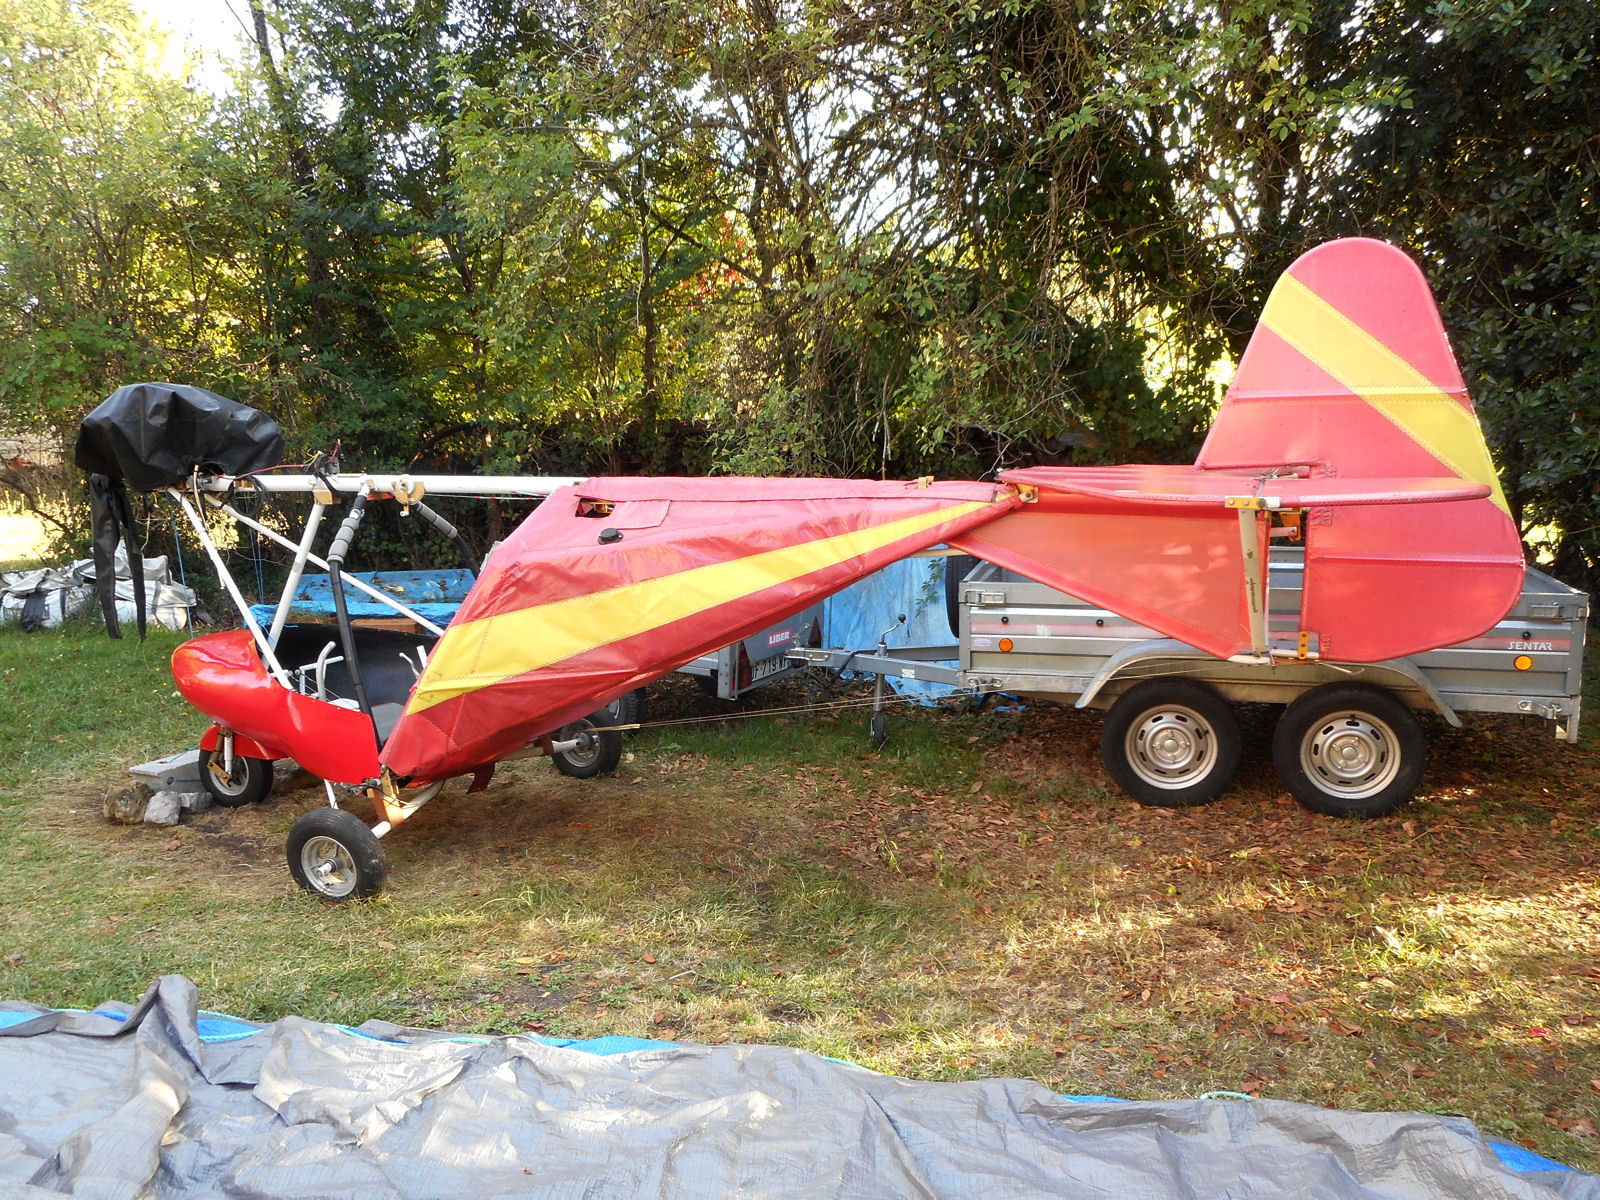
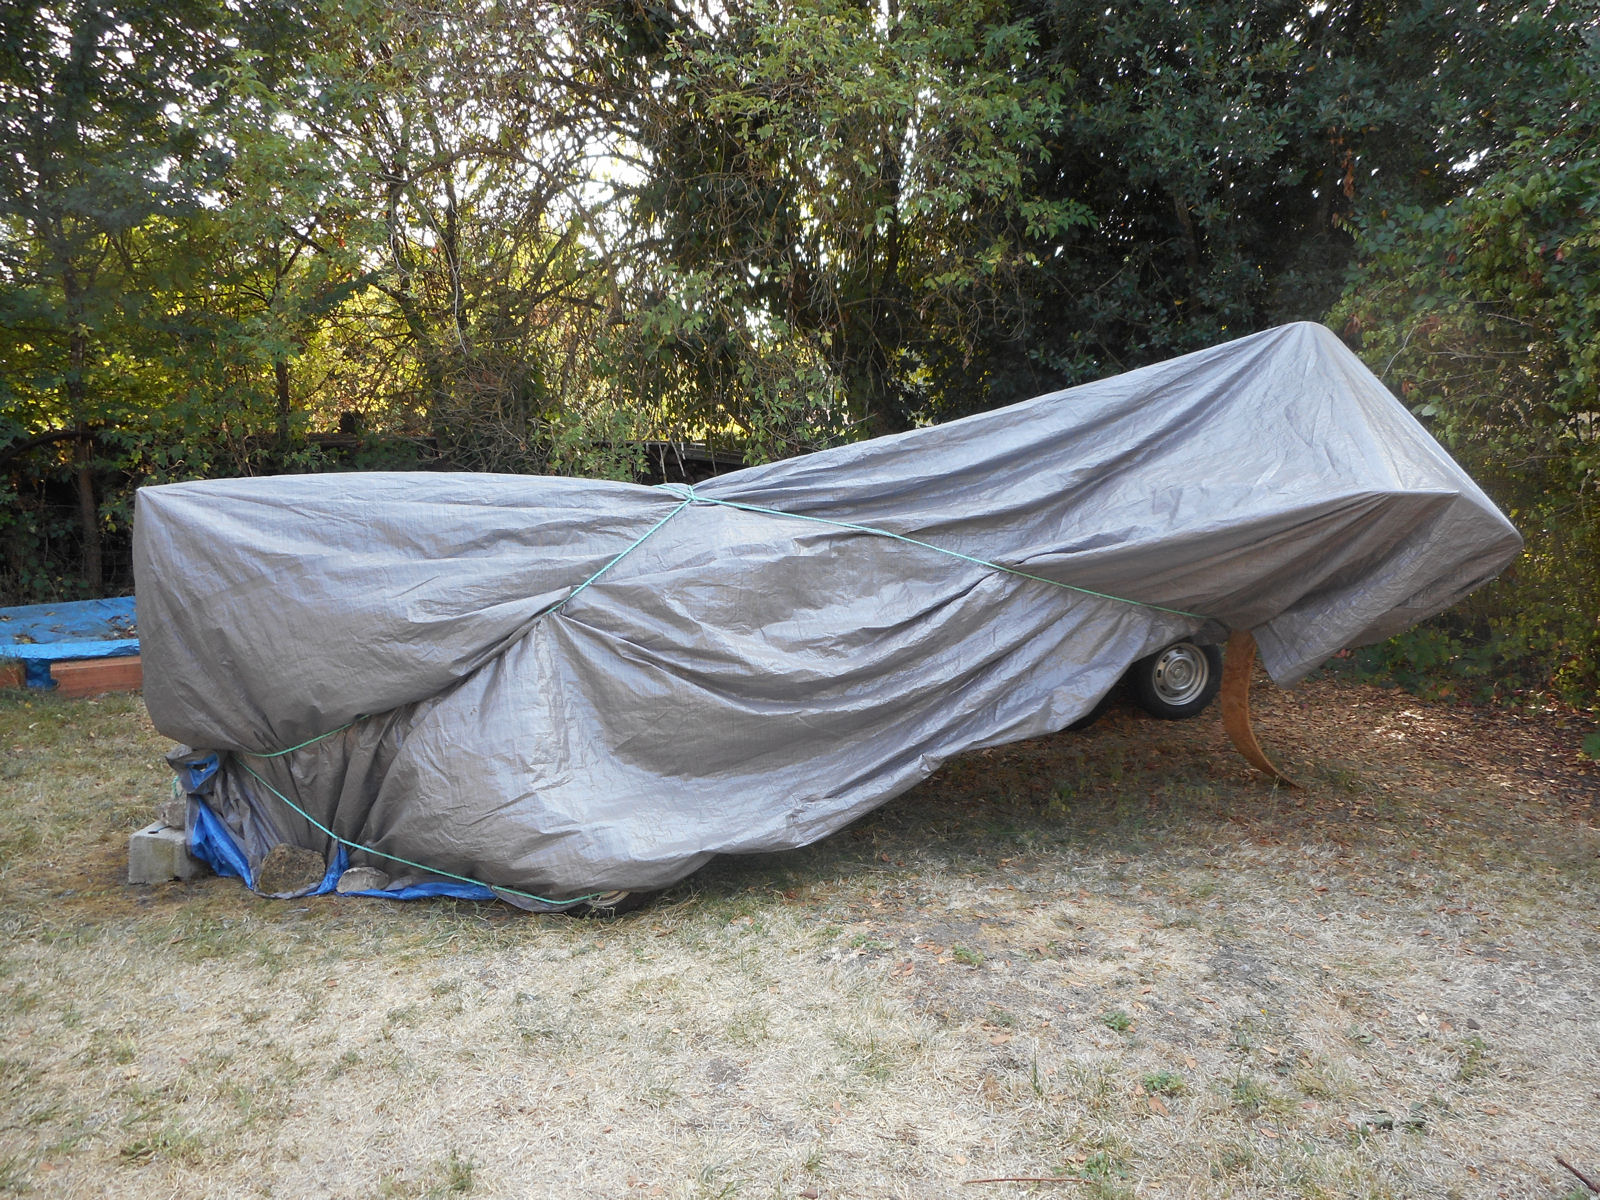
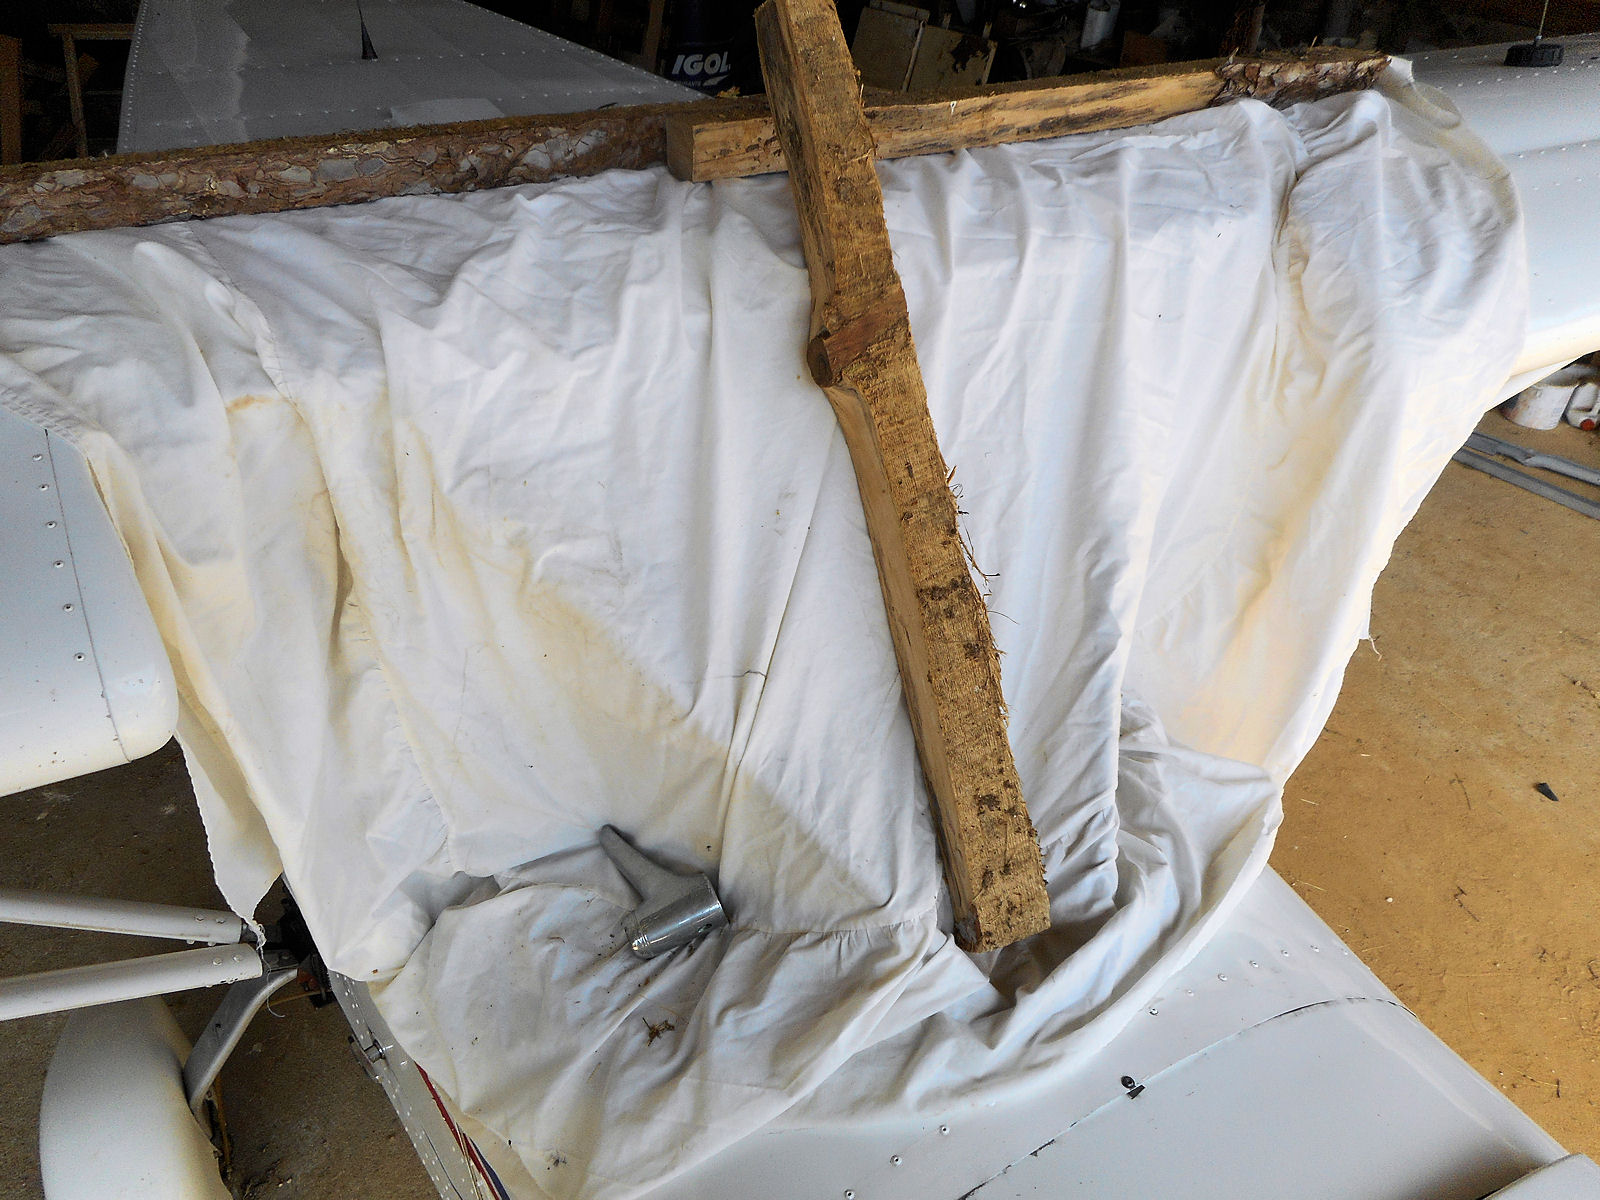
So that was job done for today. Then I had to make sure that everything was securely packed away and covered as we received a violent storm warning today. 28AAD’s old weatherproof cover had been degraded by the weather and UV especially, so I had to ditch it. Fortunately I had another though, which I’d used on 77ASY when it was outside at Galinat, and here’s a final shot showing 28AAD tucked up for the night and for the next few days of rain and bad weather, if the forecast is to be believed.

The sky became full of thick black cloud during the evening and an hour or so ago, it became very violent outside with strong, blustery winds. So I went outside before it became too dark to throw another rope over 28AAD as the cover was billowing quite a lot as the wind got under it. The winds have dropped now and although we had a brief shower, the worst of the rain is forecast for tonight and the early hours. But I think now that it should be OK 😉