… but got lots done. Everything that I wanted to actually. There are no pictures as I forgot to take my camera – there’s so much to remember, working on MYRO at Ken’s instead of in my garage – and it was just as well because most of the time I was rolling around on the ground and my hands were filthy.
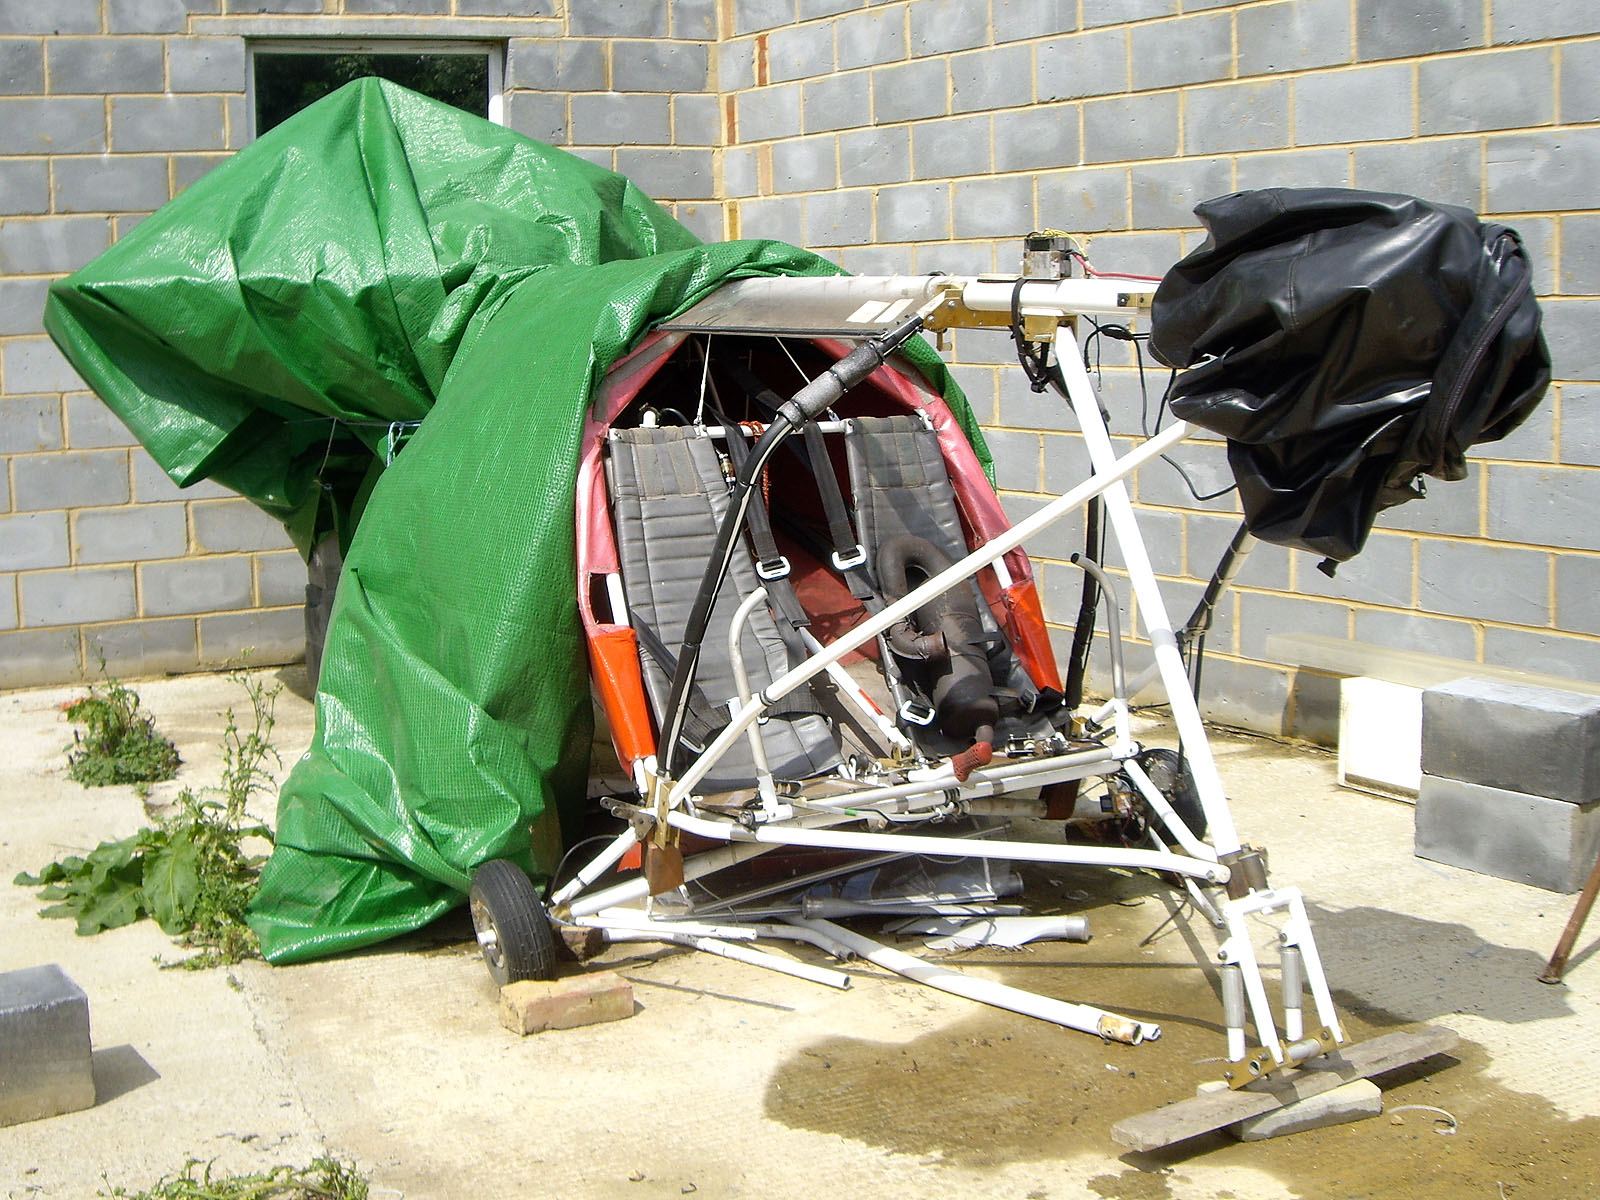
I started by snipping all the cable ties holding the wiring loom going from the main tube into the cabin and disconnecting the wires that I needed to, to get the panel out. I’ve decided that it’s crazy to even imagine that I can repair it properly in the open so I’ve brought it home to do a proper job indoors where it’s clean and warm. As I was doing it, naturally the heavens opened, so I had to hurriedly cover MYRO up again, put all my tools back in my car and wait the shower out. Luckily it only lasted 15 minutes or so and then I was able to get on with stripping the damaged parts. I started with the doors because I needed to remove the screen today now that the panel is out. It was very breezy after the shower had passed through and there were some huge gusts later in the afternoon that could have done some damage, especially to the doors, but luckily I’d put them to one side in a safe place.
Then came the screen and after that I could turn to the structural stuff. After placing a prop under the front of the main tube, I took away the support that I’d placed under what remained of MYRO’s front end. I needed to remove what was left of the cabin floor tubes after I’d cut their front ends away and to do that I had to rip off the rear part of the pod which was still attached, take out the seat bases, remove the trailing link brackets on each side and one other bracket on each side that supports the fronts of the seat bases and holds the throttle bar mountings. It doesn’t sound like much but it was quite a lot of work.
Having done that and removed the ends of the cabin floor tubes I was then able to start fitting the new ones. Just a bolt in the rear of each one and with the nose strut hanging in place, I was then able to attach the fronts also. This meant that the basic cabin structure was back in place. I found two things while I was doing it. The new nose strut has a smaller bolt hole at the top than the old one did so I’ll need to carefully drill it out, and the bolt that P & M had supplied for it was hopelessly wrong anyway – much too long. Incidentally, I also found that the ones they’d supplied that go through the cabin floor tubes and hold the pod up were hopelessly wrong too – much shorter than what I’d asked for, so a rather poor show from P & M on this occasion.
In order to attach the cabin floor tubes to the bottom of the nose strut, I also had to fit the bracket that takes the spindle for the forks and nose wheel assembly. With this on, I was then also able to temporarily fit the forks – but not the front wheel too, unfortunately, as this was another thing I’d forgotten. So things were beginning to look good. All I then had to do was refit the throttle tube mounting brackets, the throttle tube itself and the two seat bases, leaving the trailing links detached as these have to be removed anyway to fit the pod. But that’s when it all began to go pear shaped.
I remembered the problems I’d had refitting the seat bases the last time and although one side went back on easily enough, I just couldn’t get the holes to all line up in one of the brackets on the other side so the bolt would go right through. It was highly frustrating as it became the longest single job I did today, and it wasn’t even part of the repair work proper either. In the end it took me I would estimate at least two hours to do it, and along the way I ended up having to completely detach the bottoms of both seat back frames and loosen the throttle bar mounting bracket on that side. What was really annoying was that visually all the holes appeared to be in line but with metal-to-metal, you only need things to be a fraction of a millimetre out for the bolt to stick and not emerge.
However, I succeeded in the end so when I’d finished, MYRO’s front end was more or less back in place. In fact it’s at the same point I was at the last time, when I had the pod removed, so I’m now in known territory. I did have a small cause for concern along the way. I dropped my rudder pedal assembly into place in the hope that I’d be able to leave it on, but I found that the holes in my base pad, that I recently repaired, didn’t line up with the holes in the cabin floor tubes. I would have thought that the floor tubes would have been jig-drilled so the holes are always in the same position so maybe the rudder assembly was drilled ‘by eye’ when the AX3’s were originally assembled and each one is therefore slightly different. I can easily fill my one’s holes and re-drill them but I only hope that the pod holes will line up properly. I think maybe I ought to take the pod down and try it before I do the respraying as I’d hate to find that the holes don’t match and I have to drill new ones in the freshly painted pod!
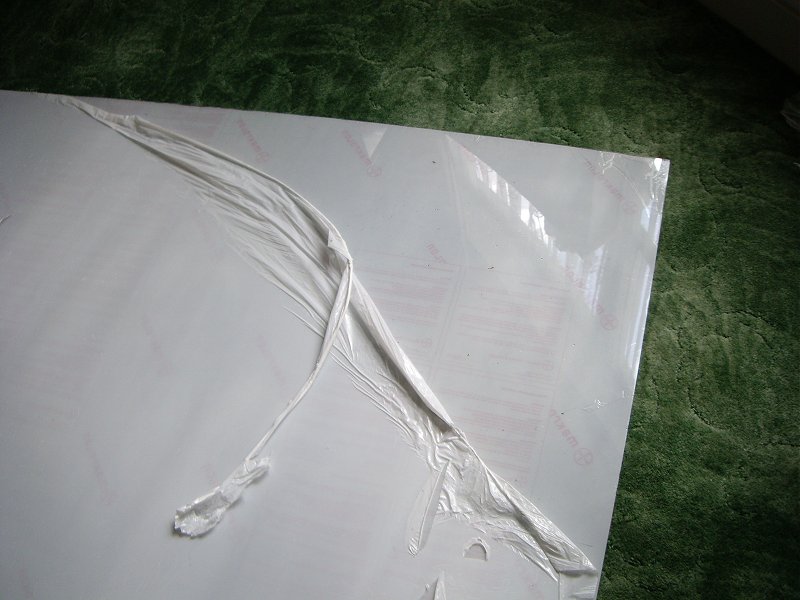
So although I didn’t enjoy today at all, really, I managed to get a good bit done. I also rolled the screen up and bunged it in the back of my car so I’ll have that ready to use as a pattern for a new replacement when the time comes. So lots of progress and I am very pleased about that, at least, even if I had to go down a rather long and painful road to get there. But get there in the end I surely did 😉