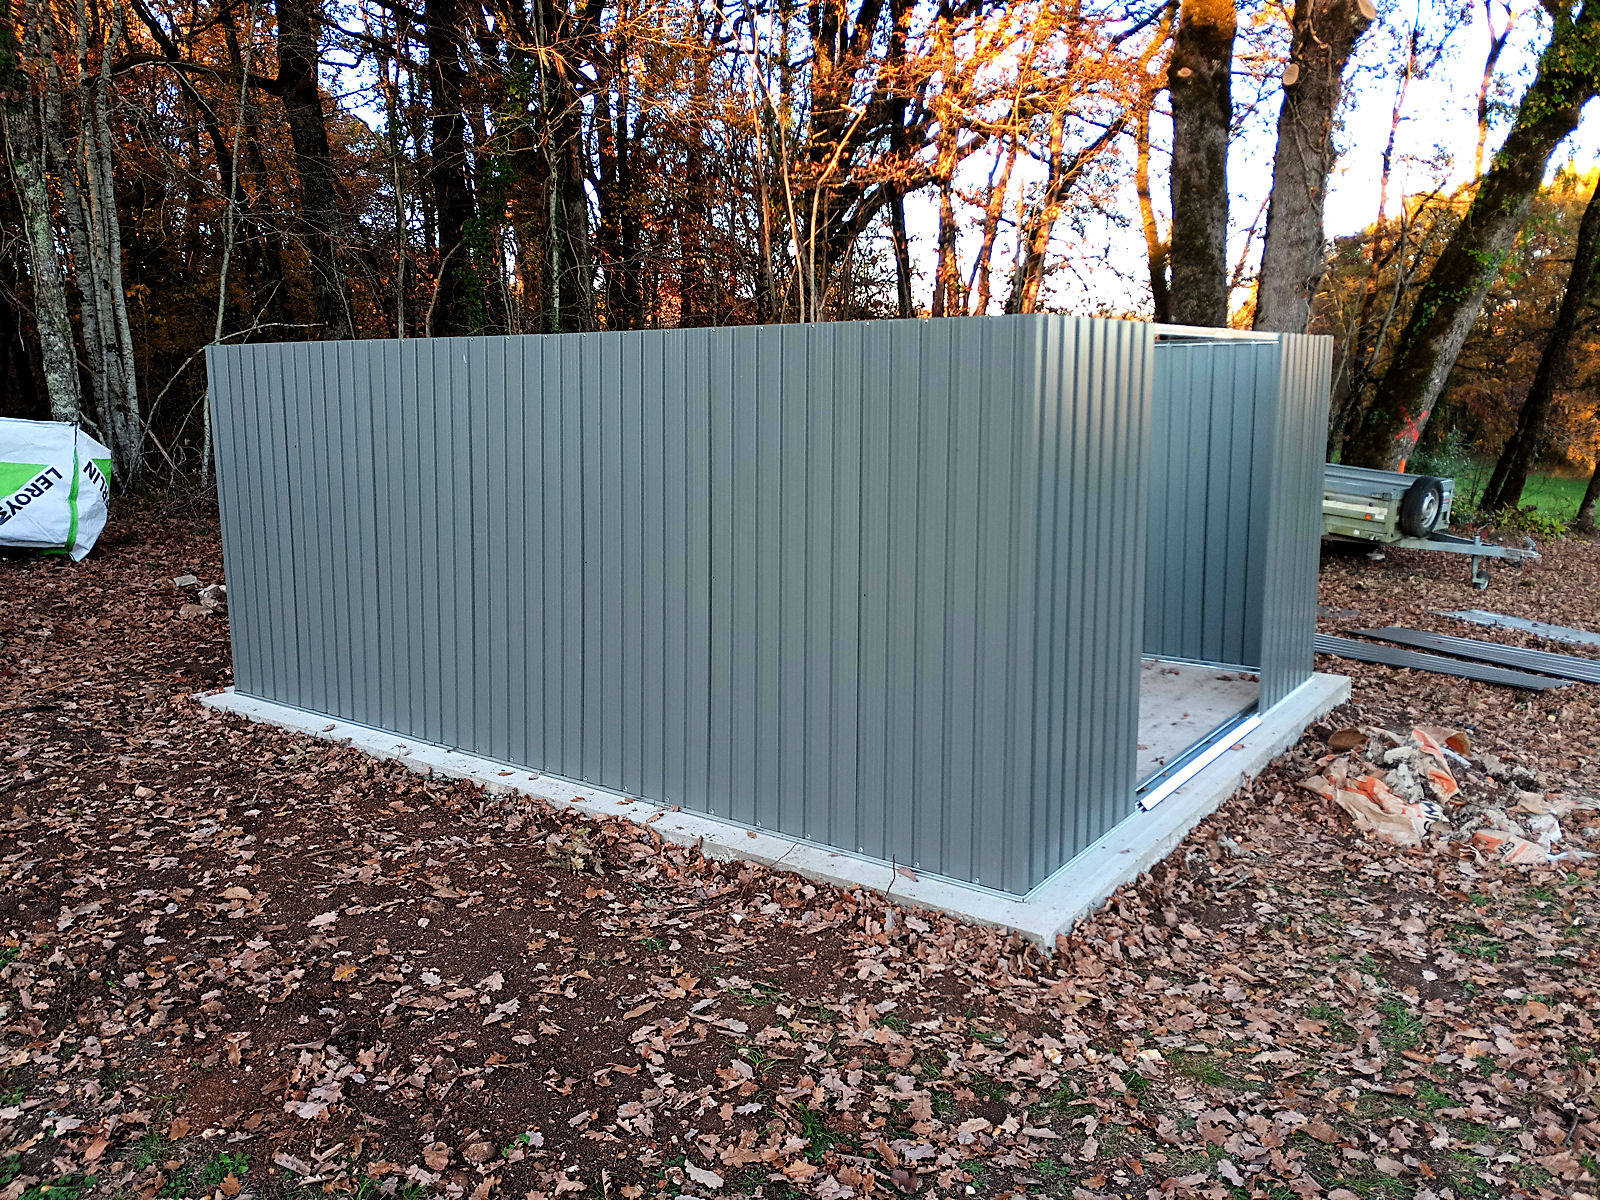
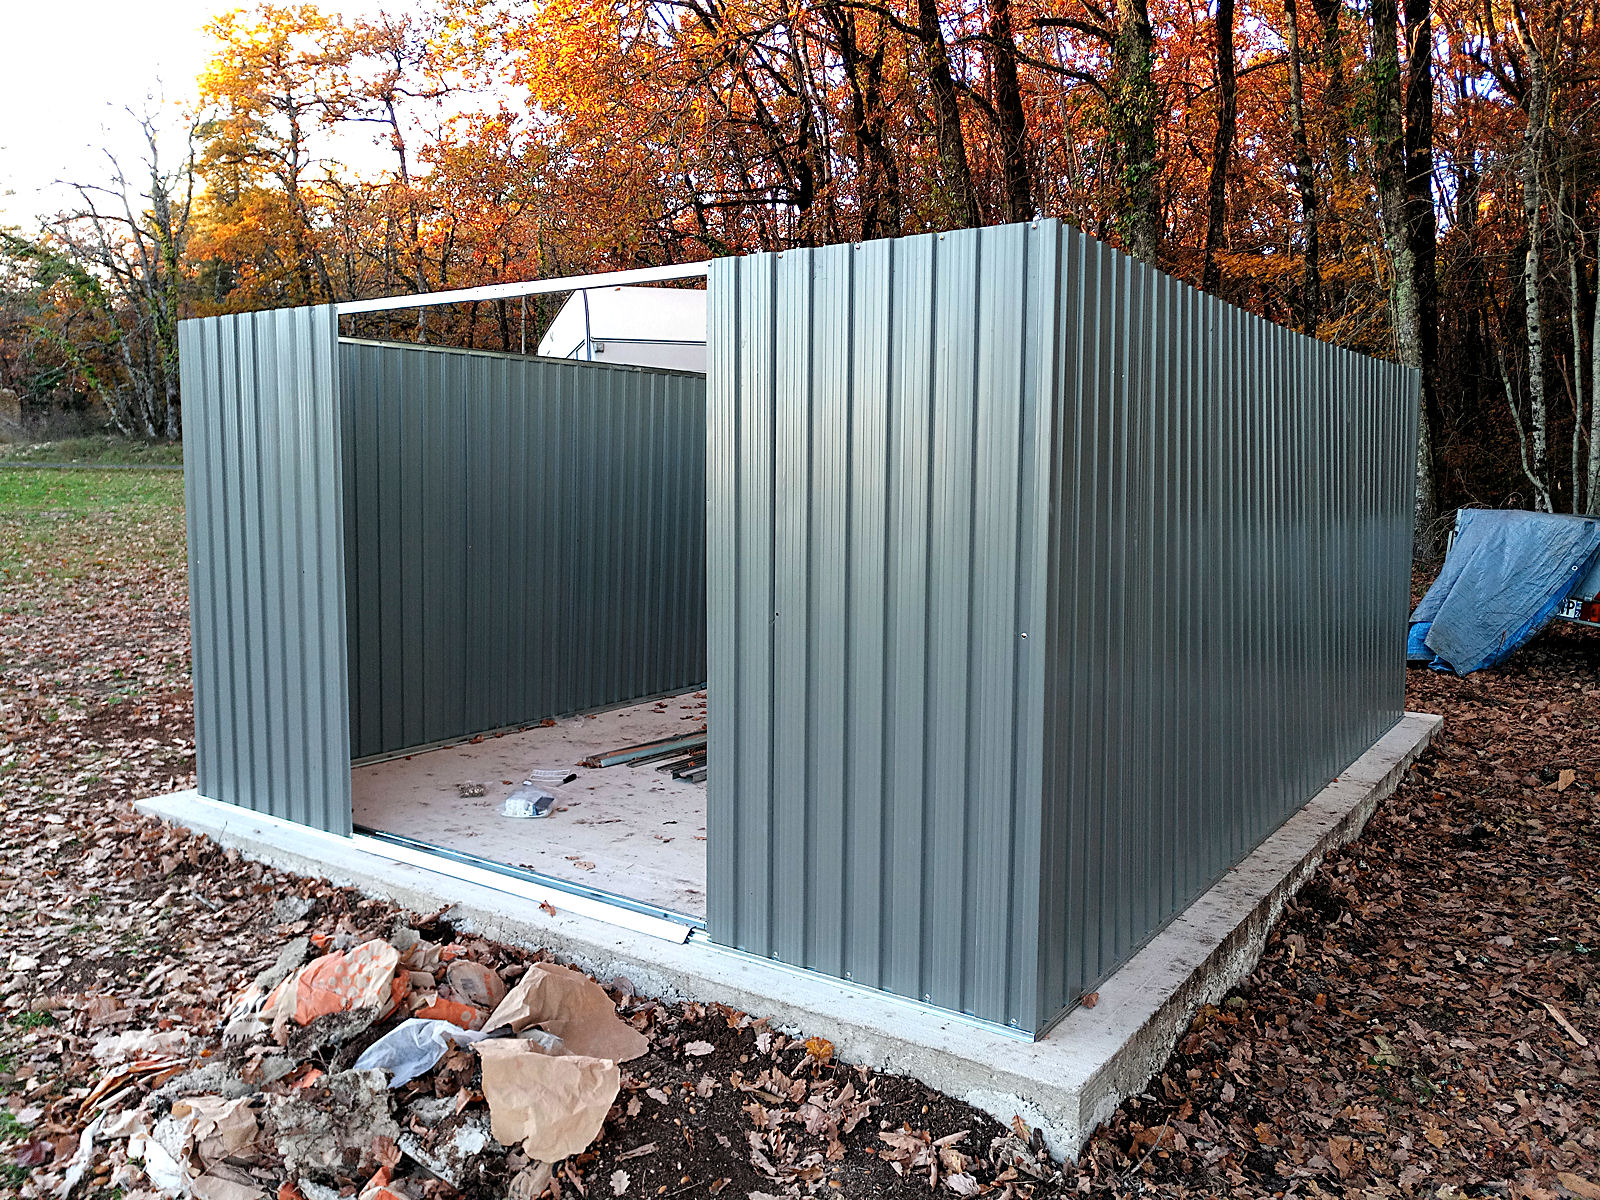
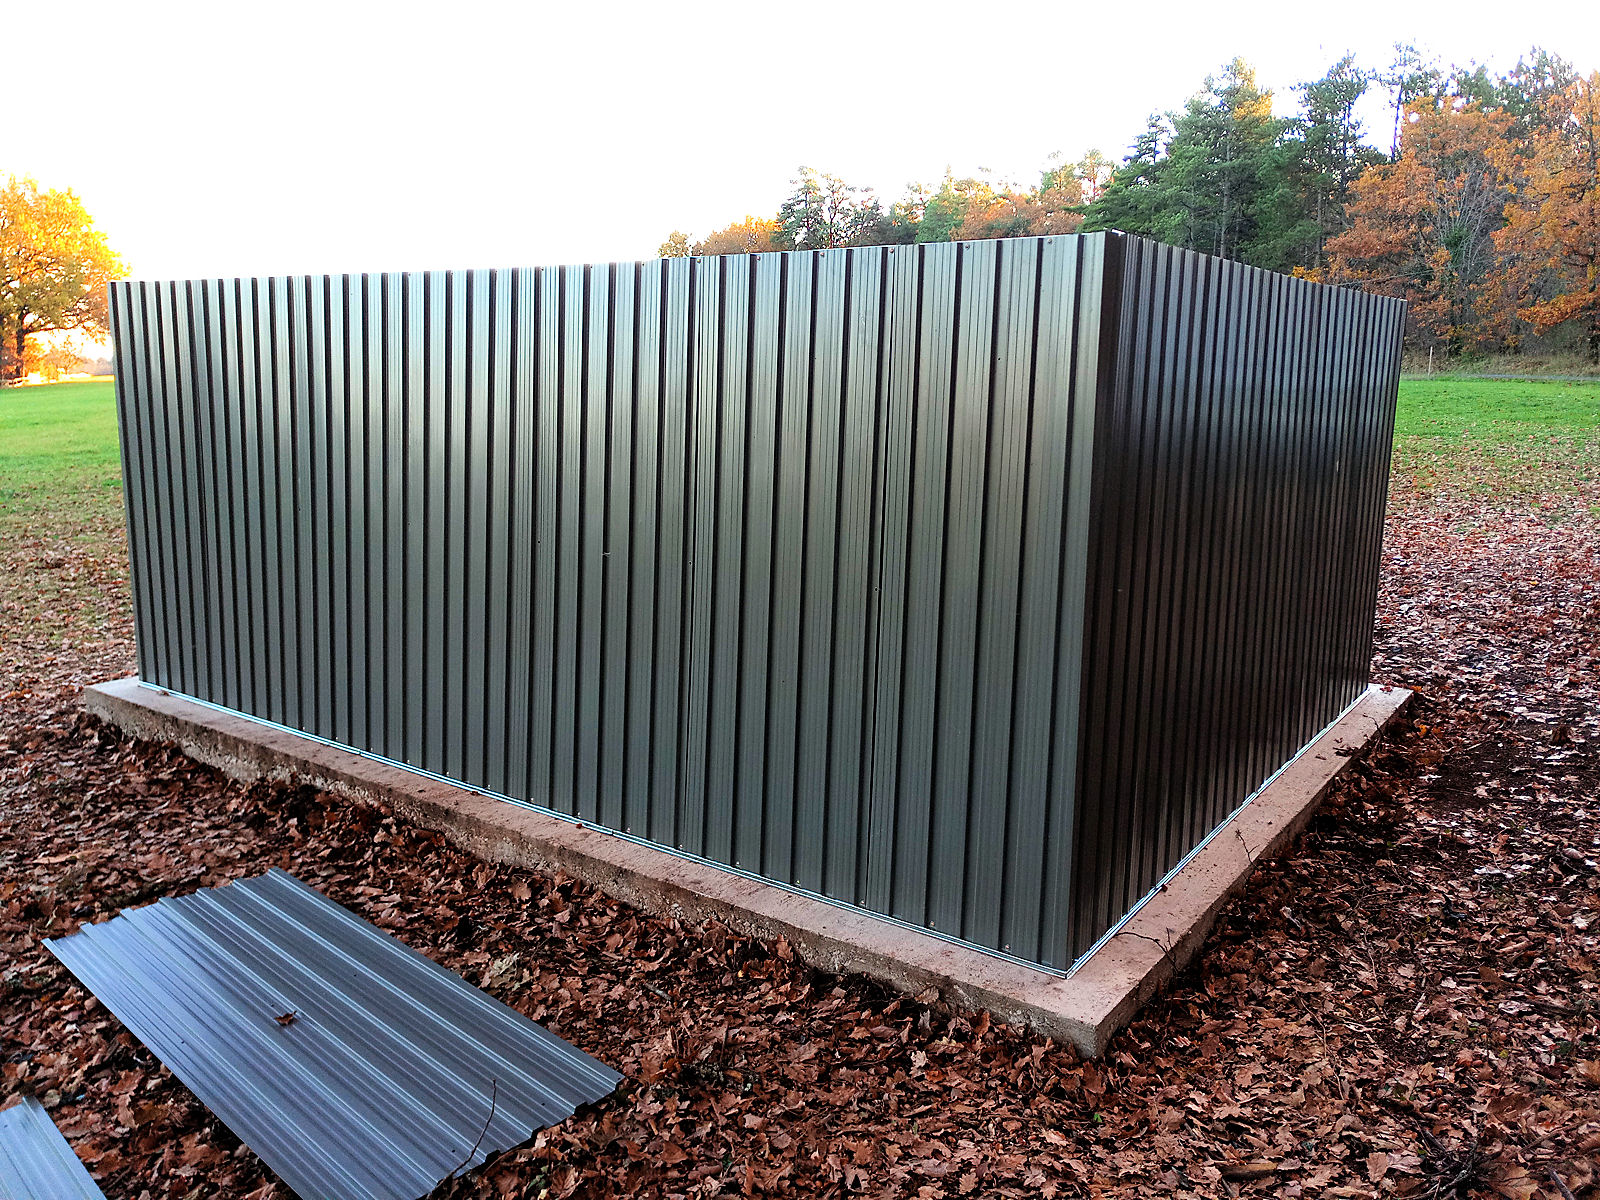
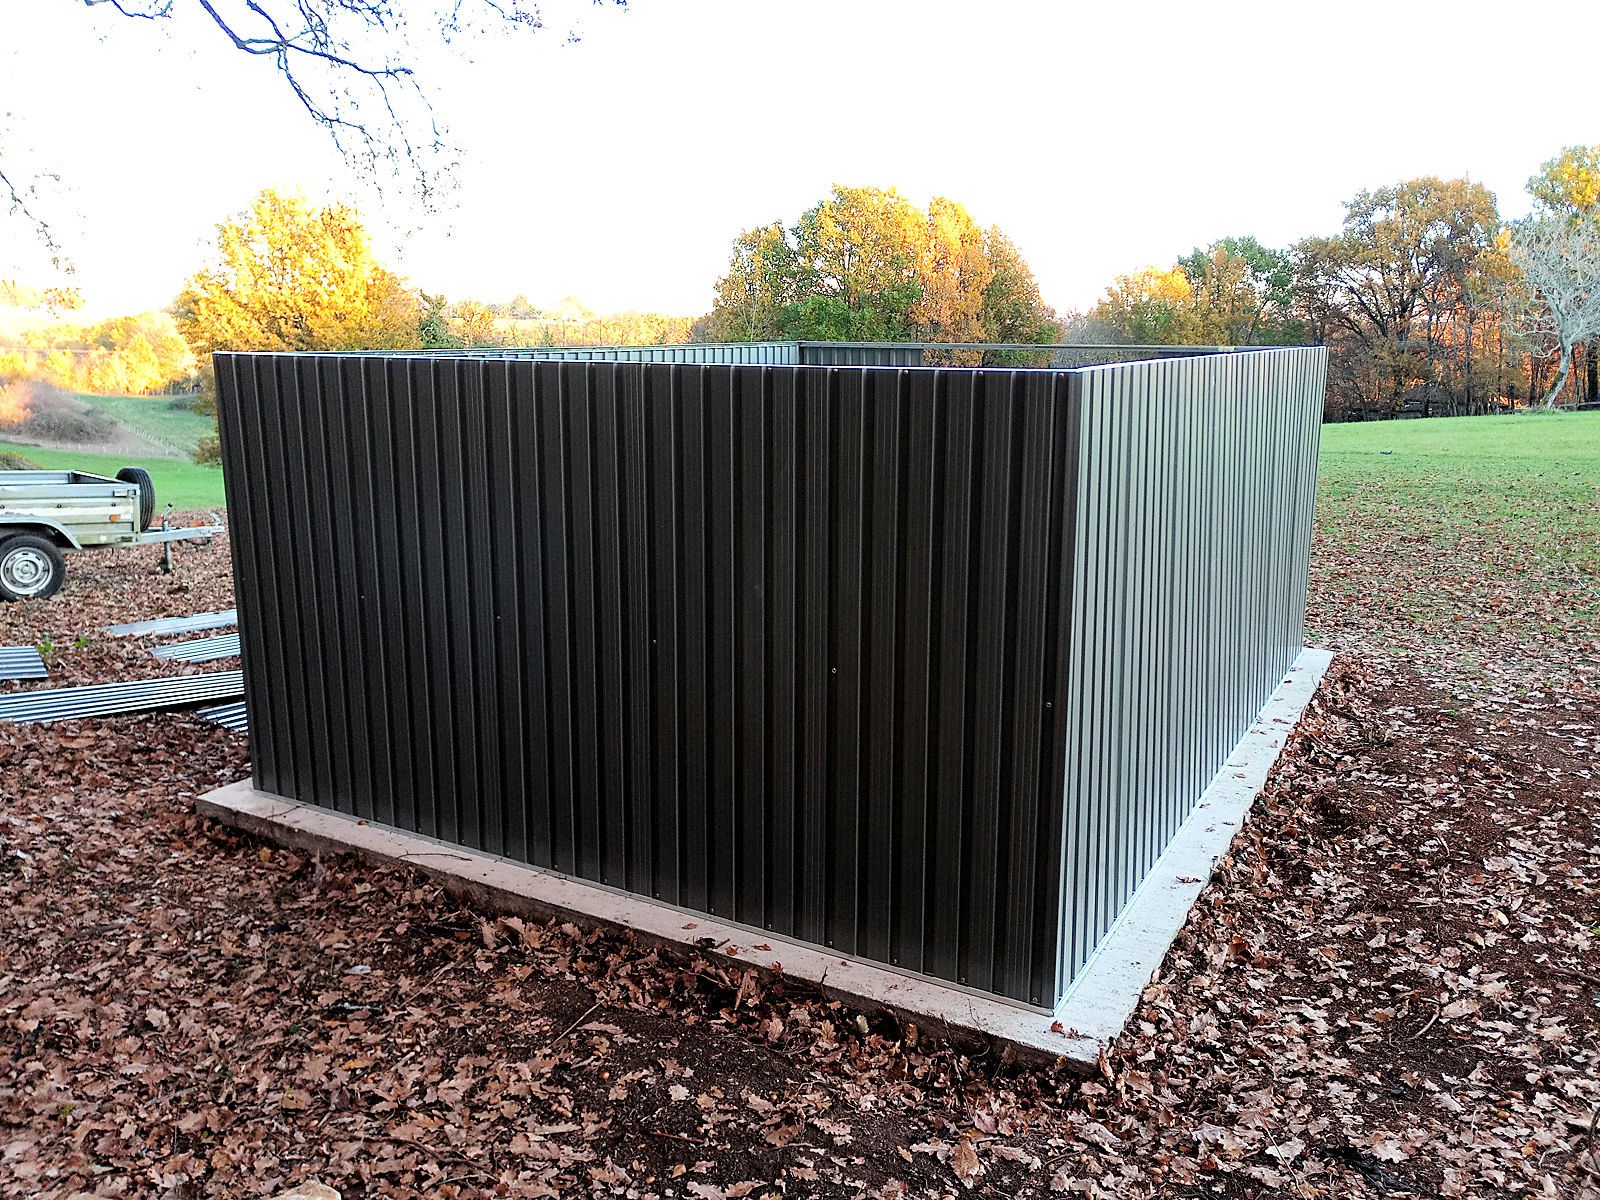
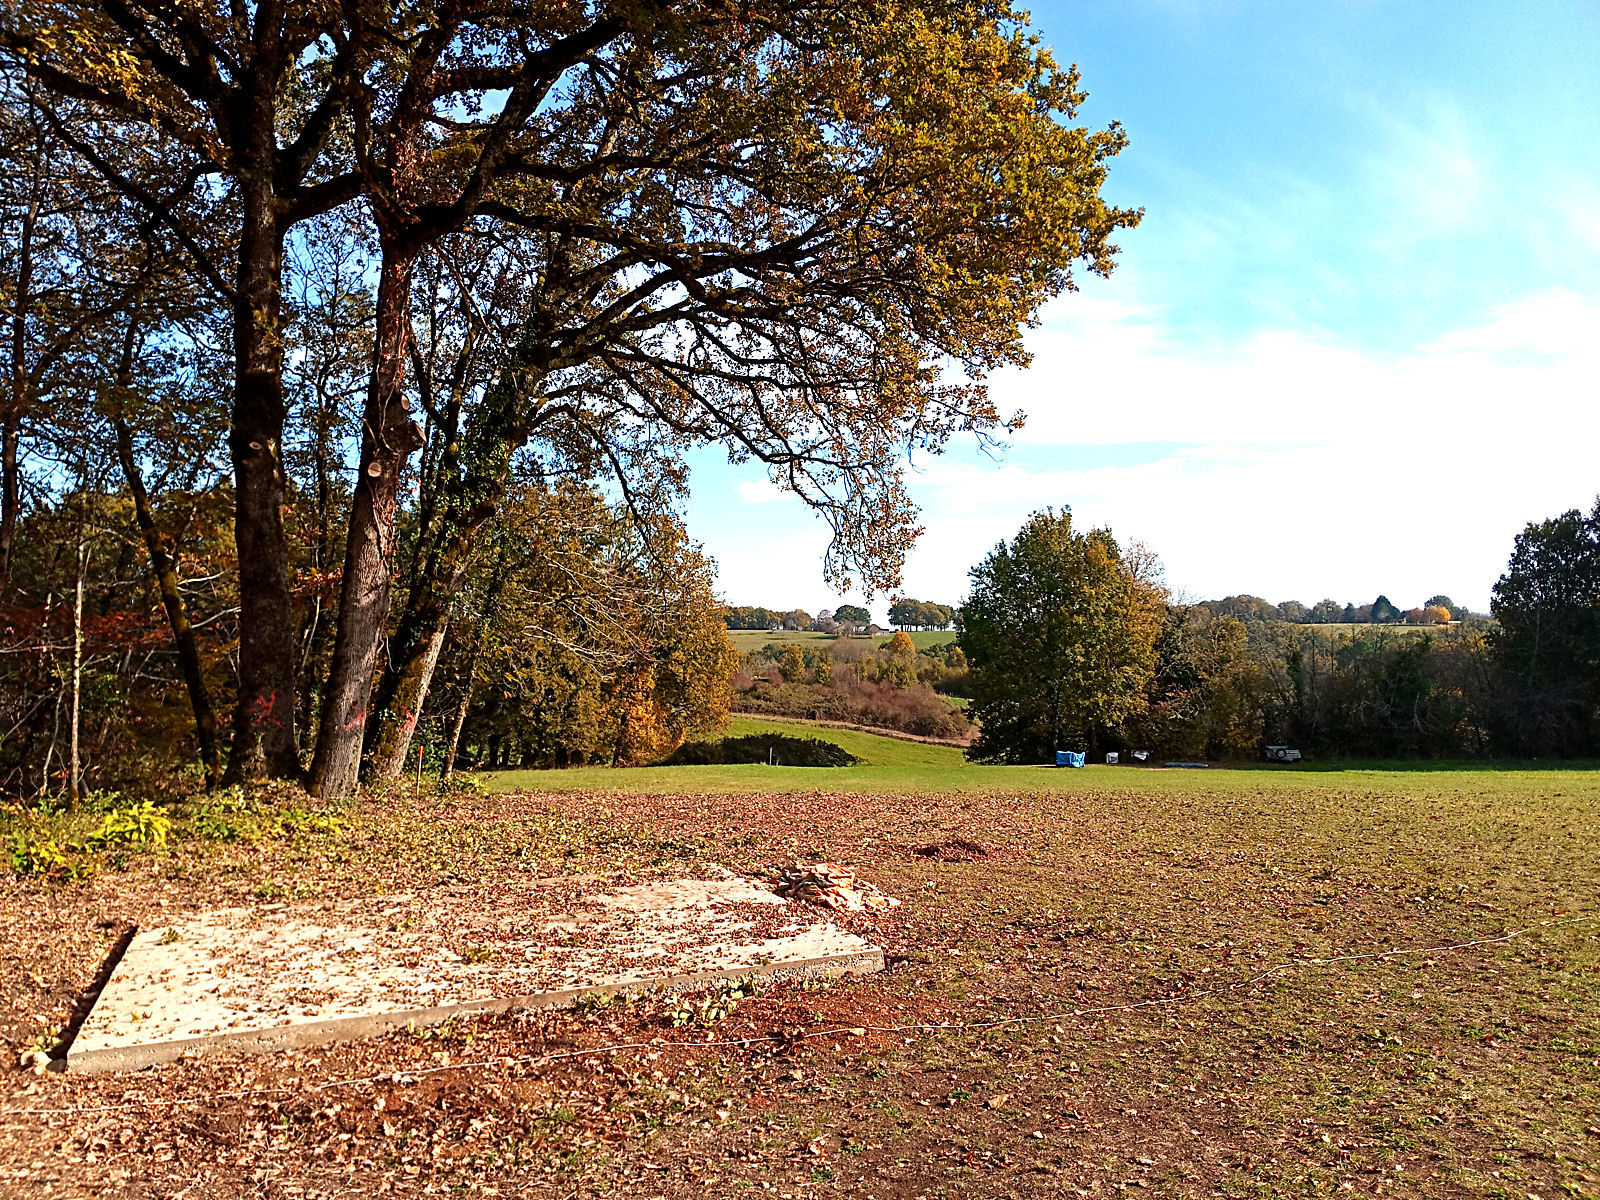
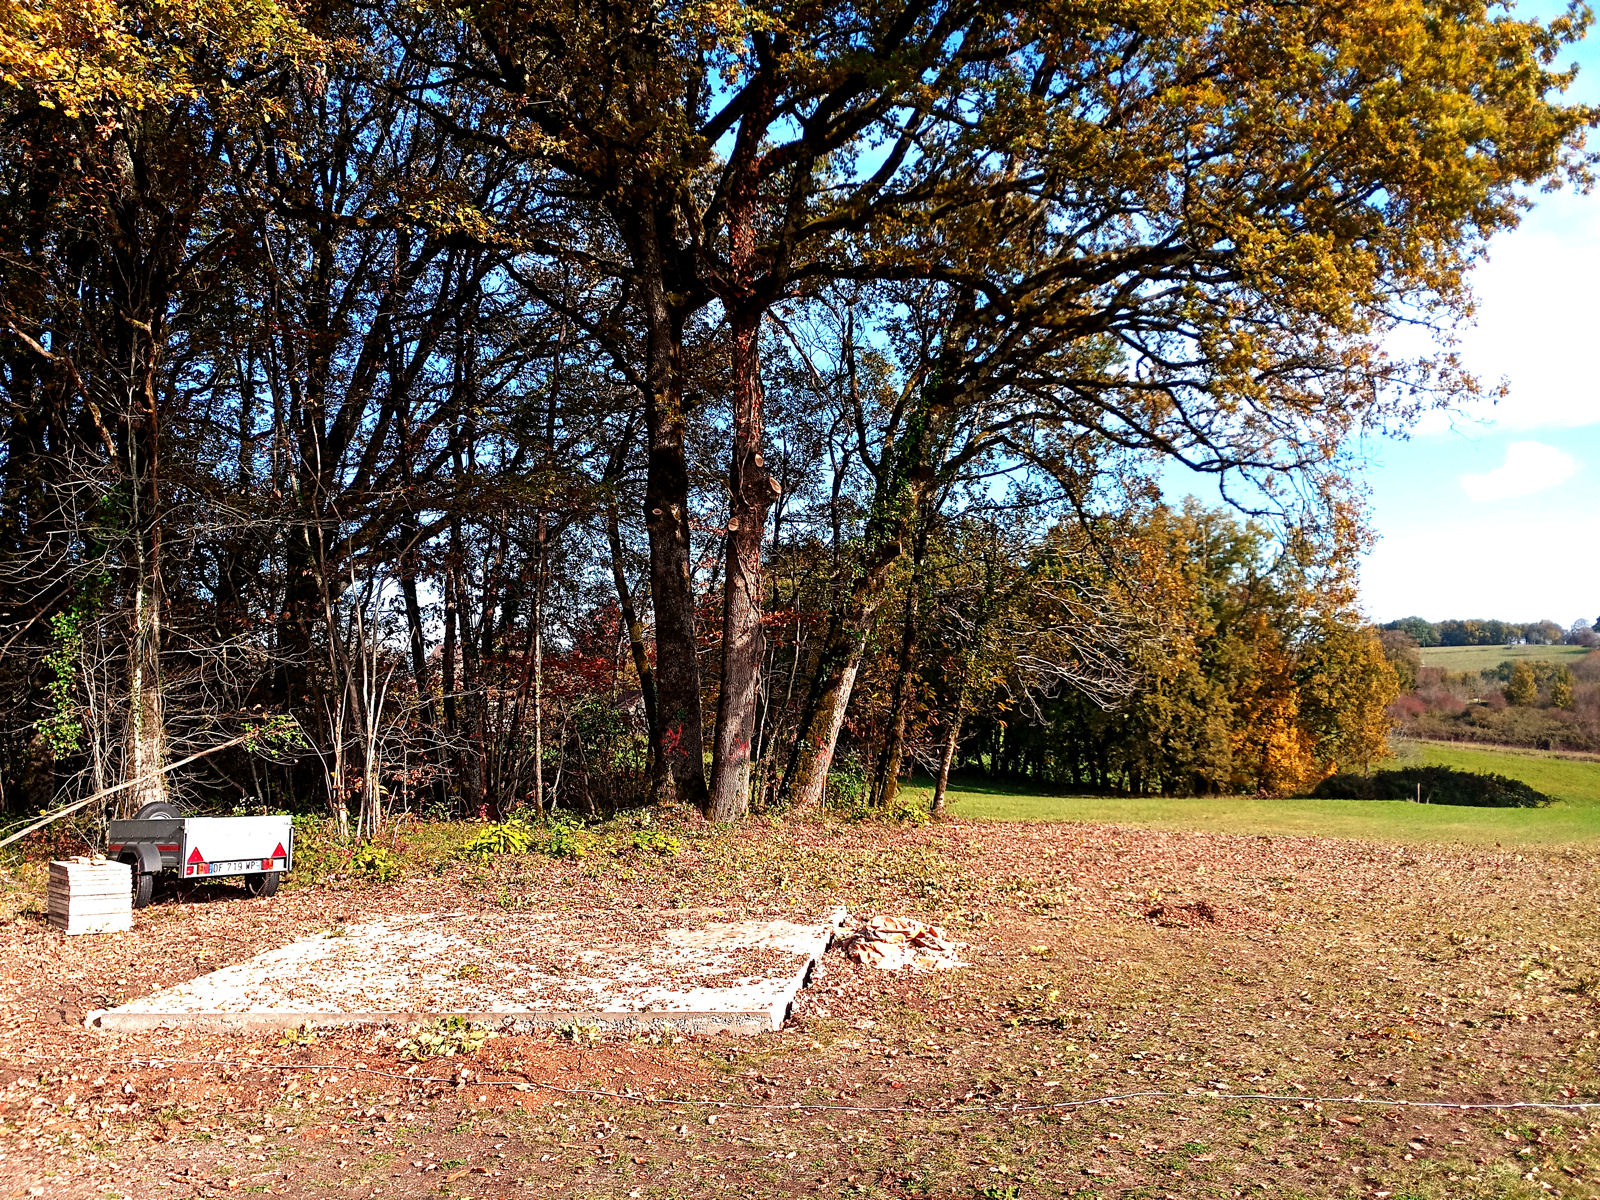
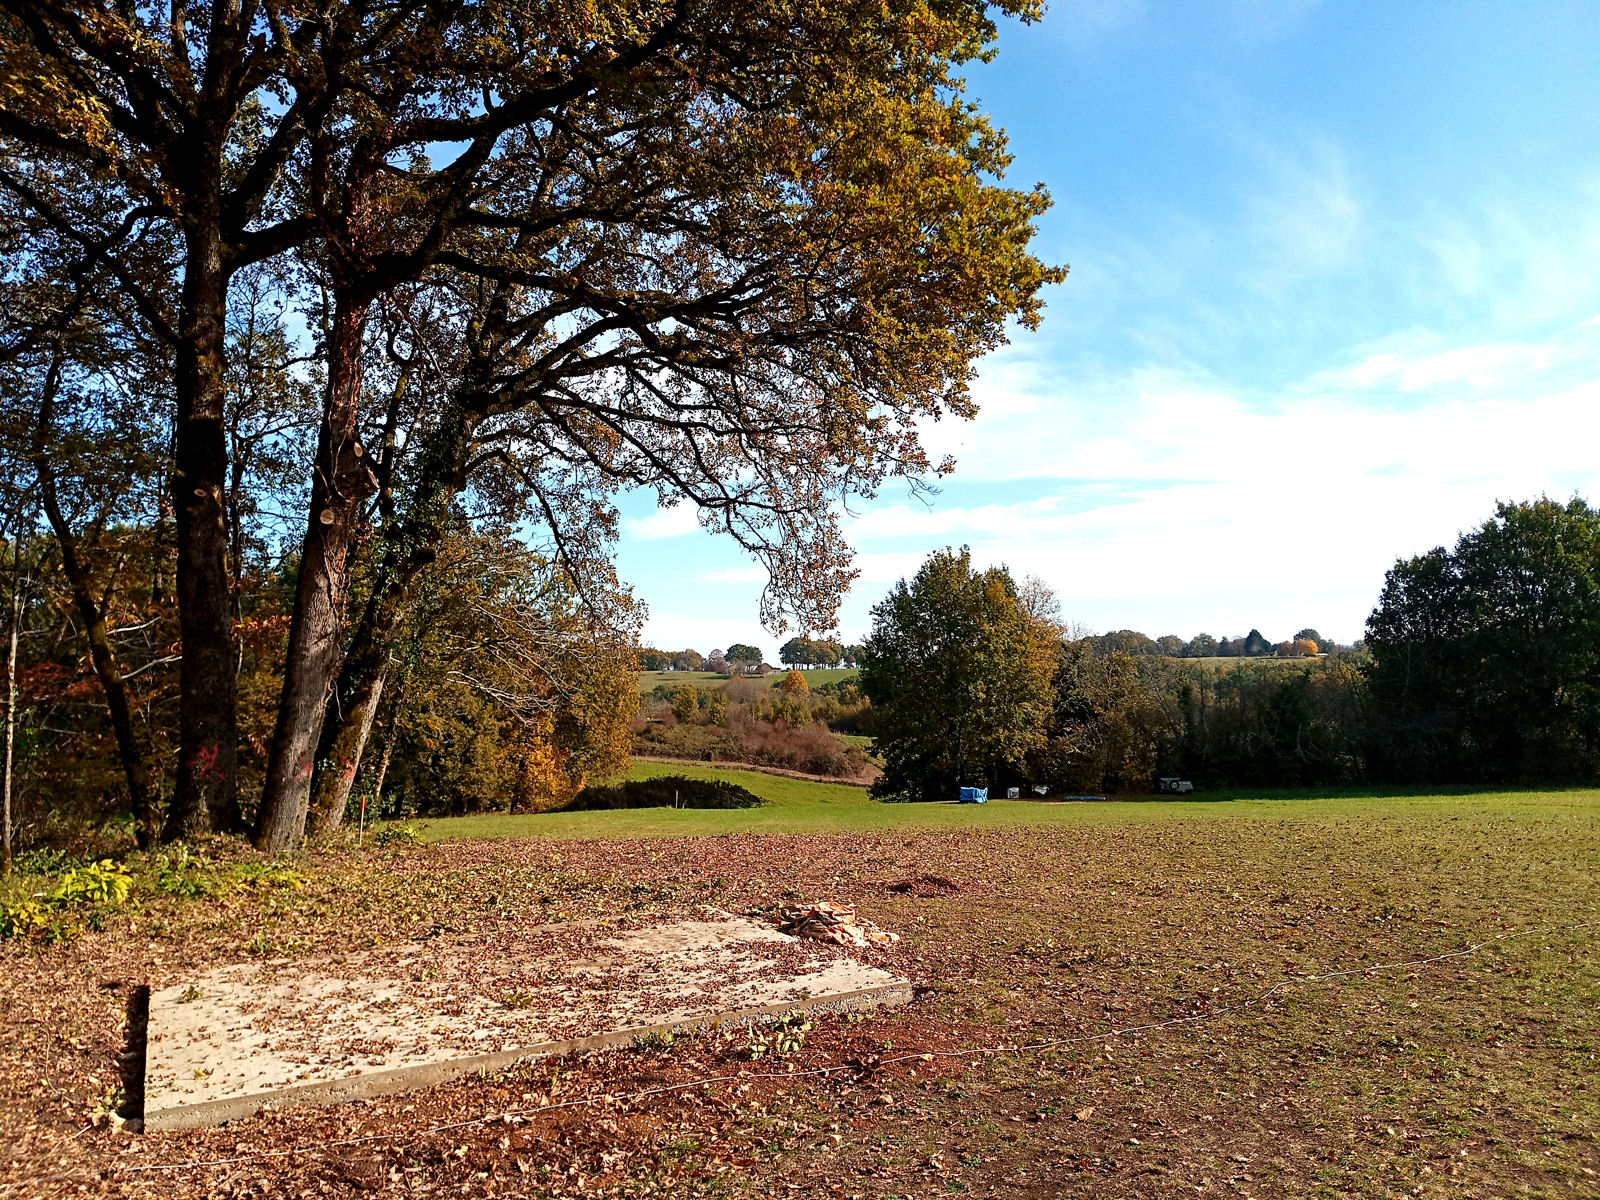
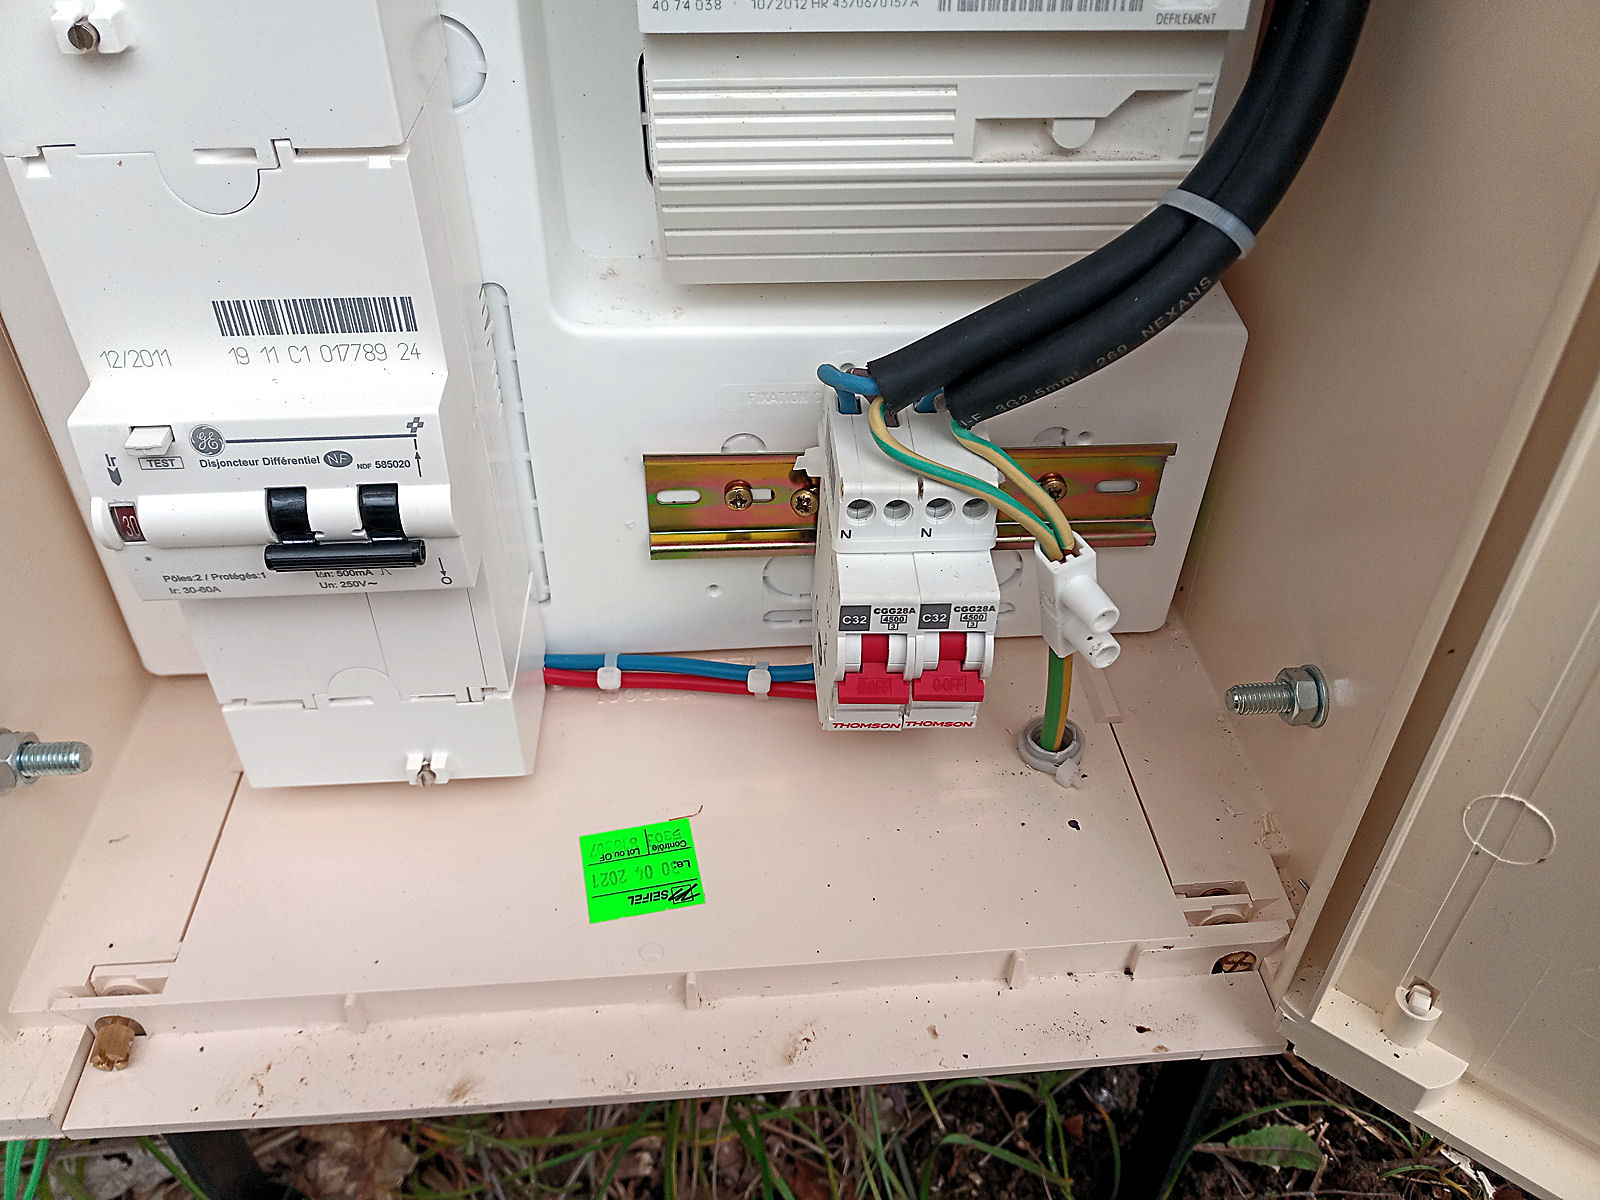
Caravan life

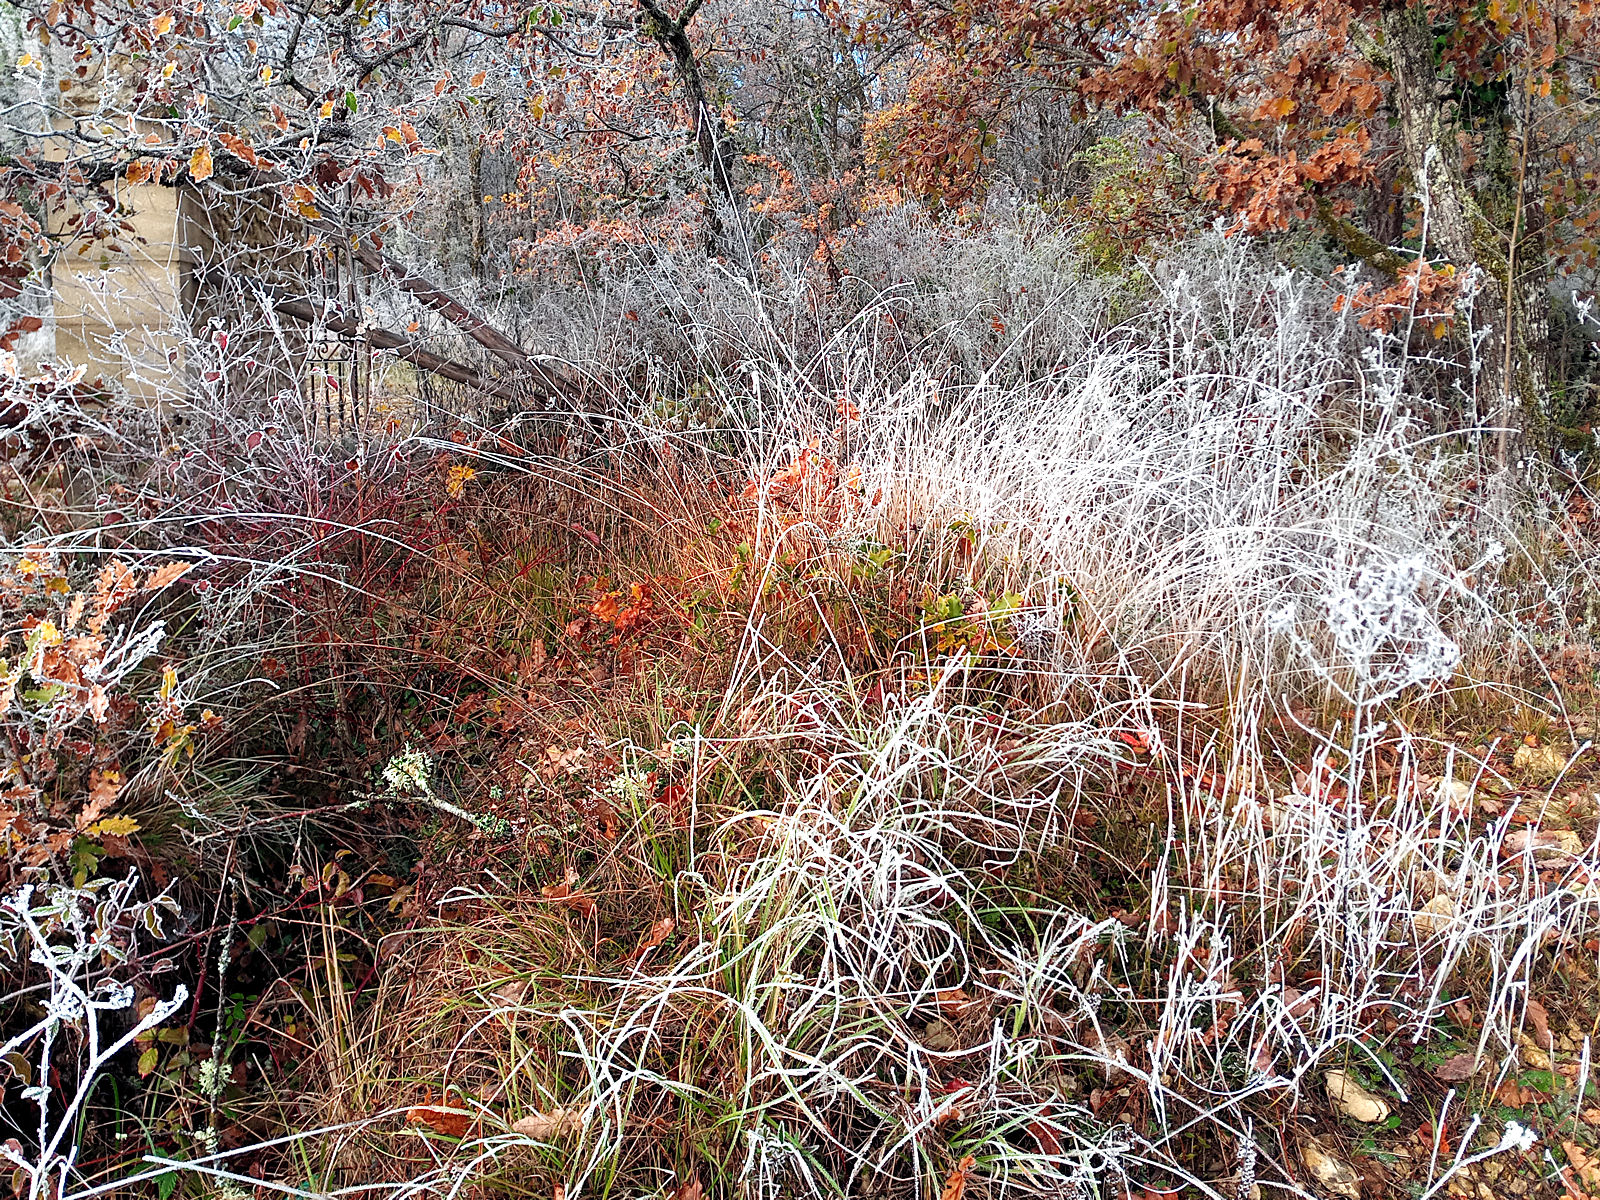
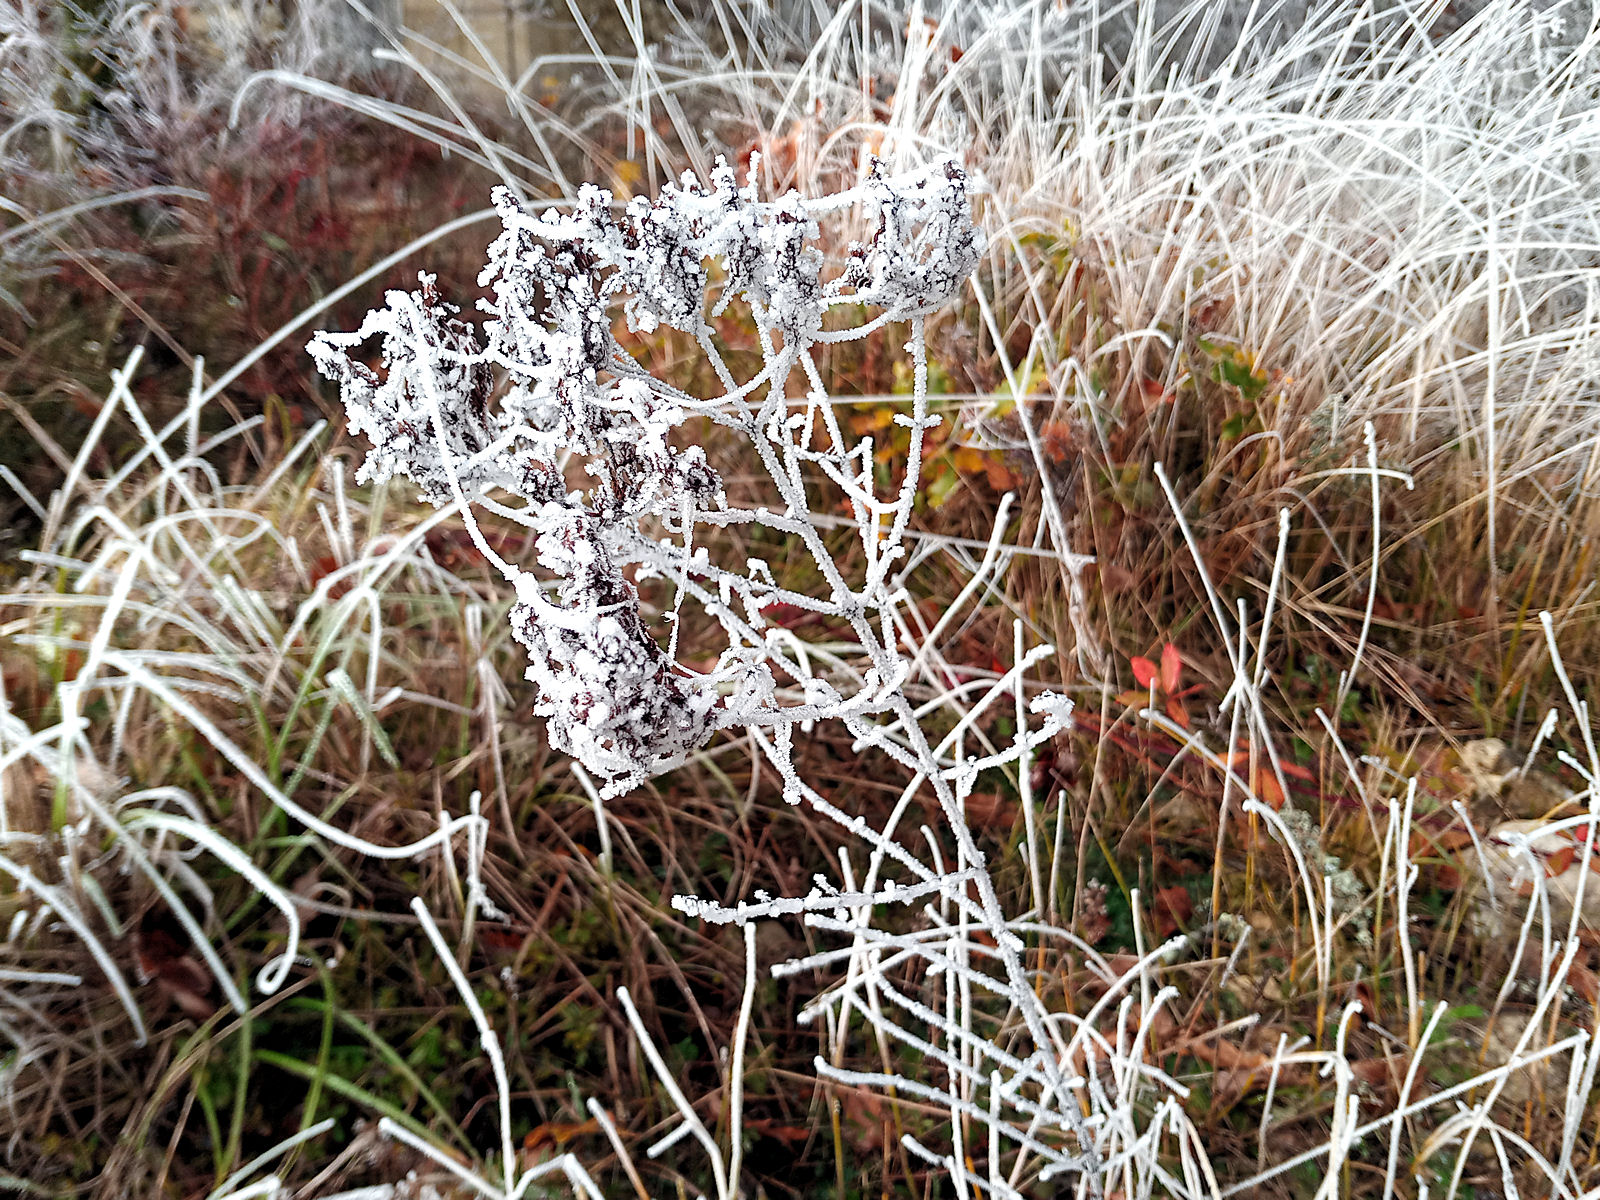
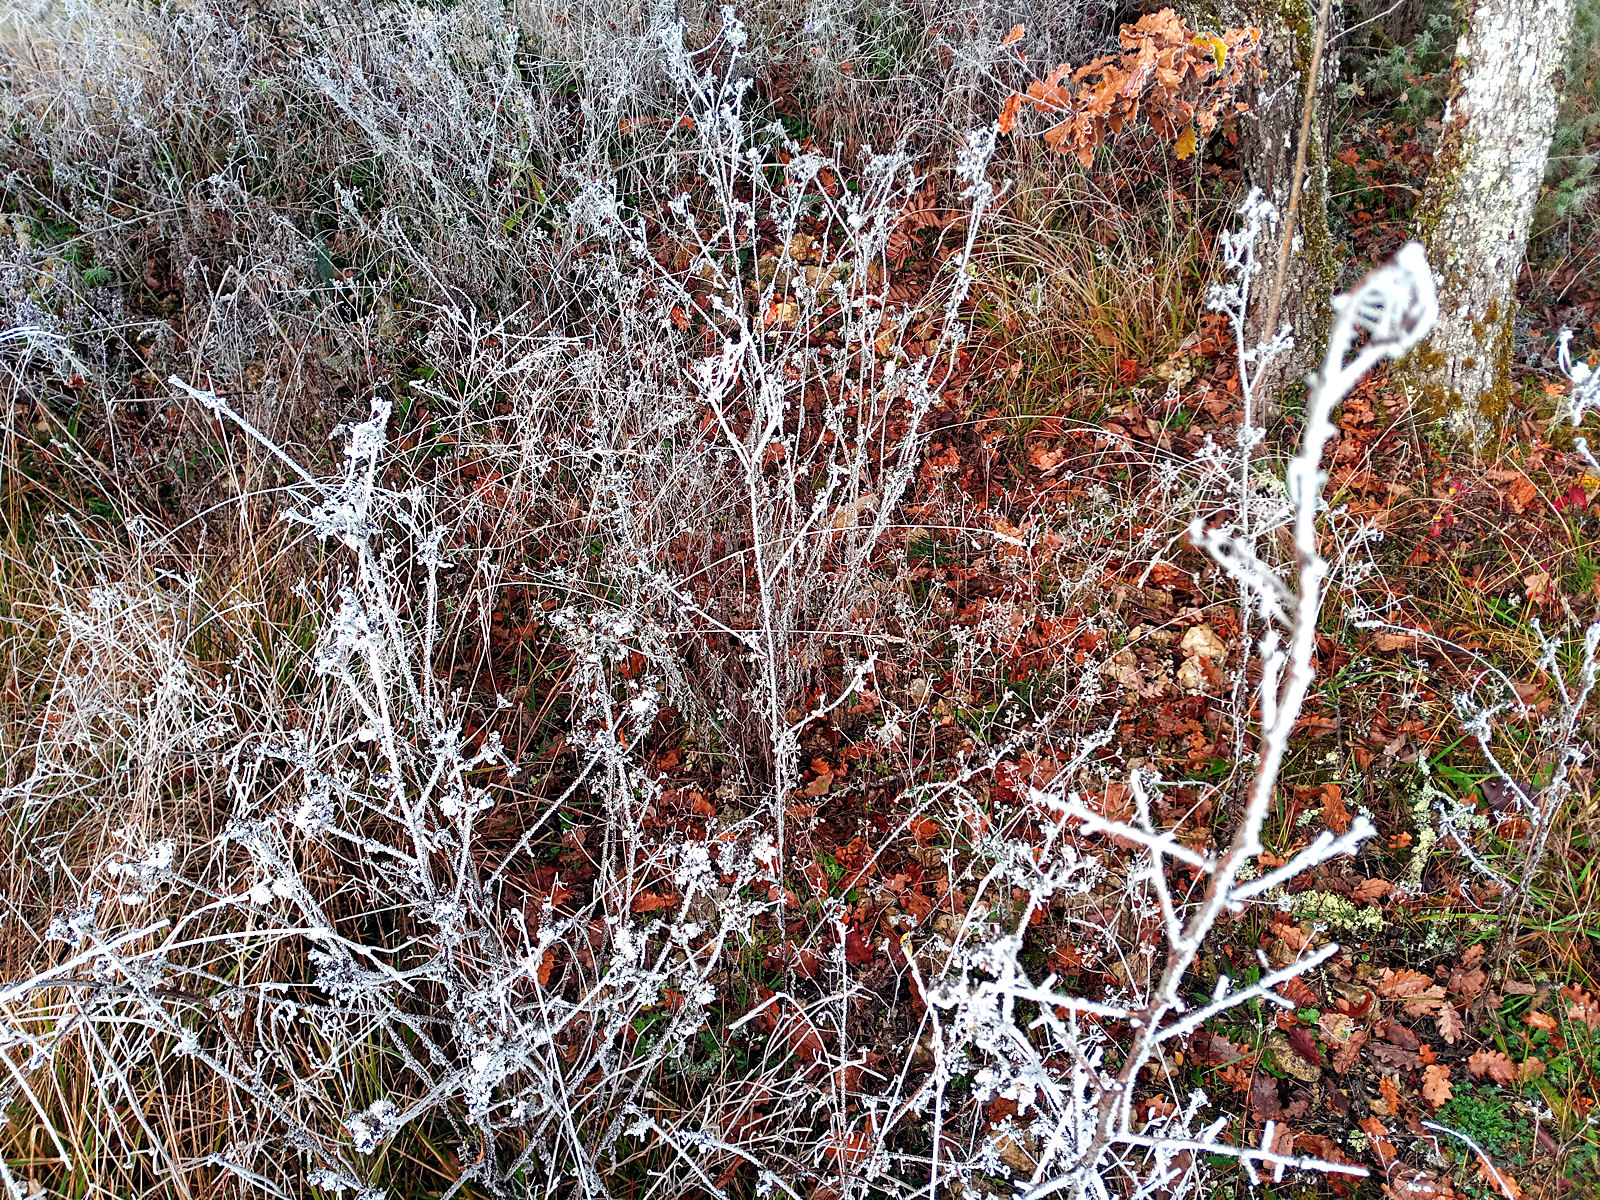
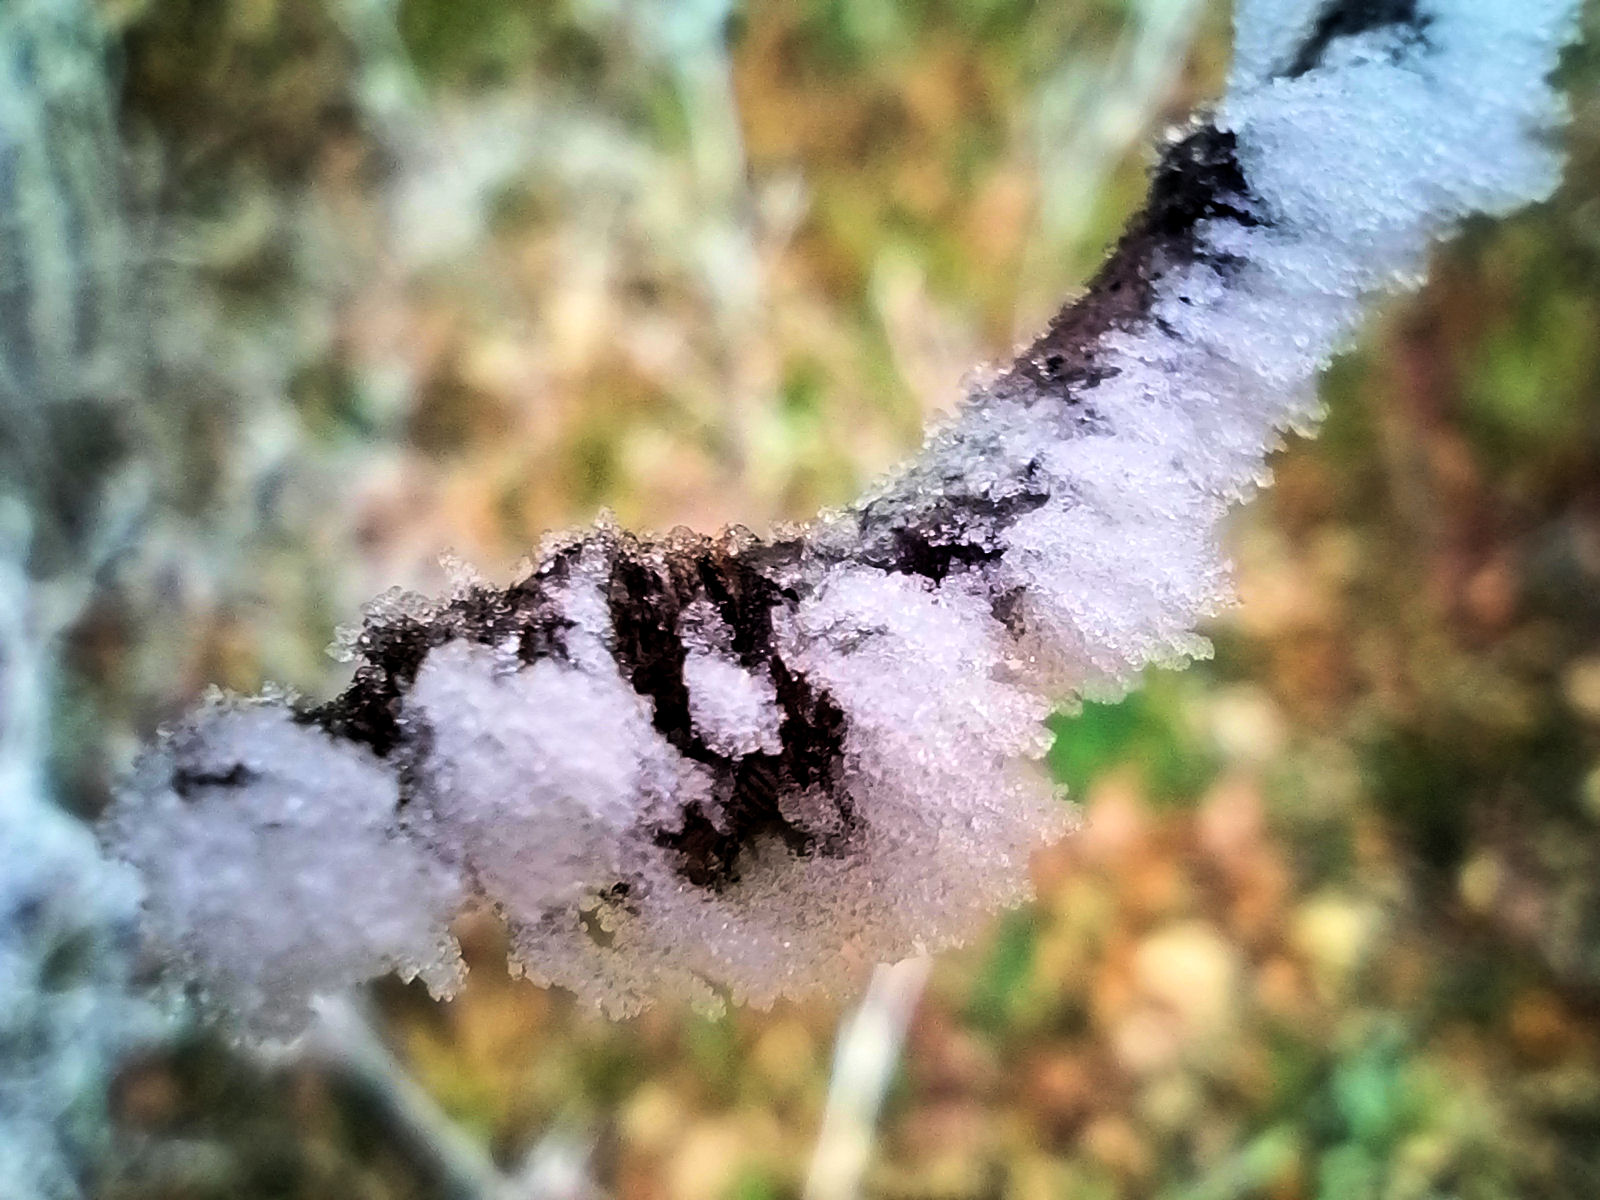
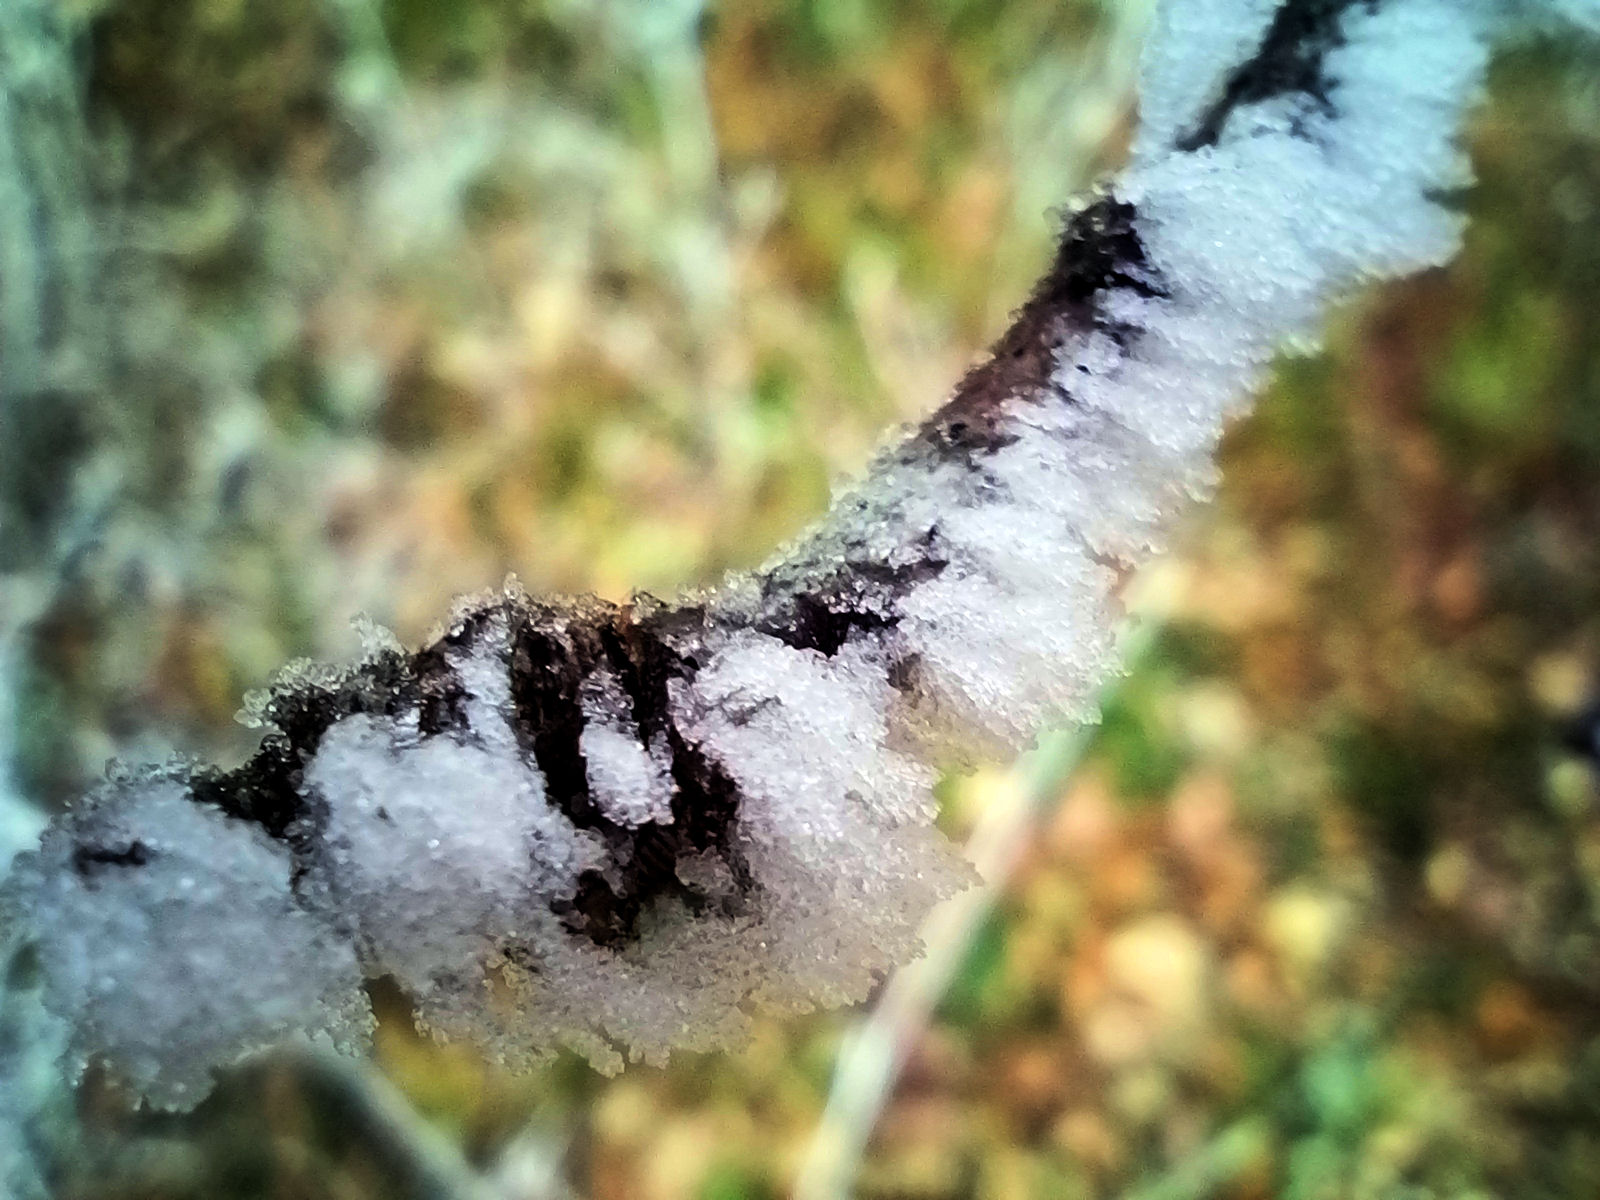
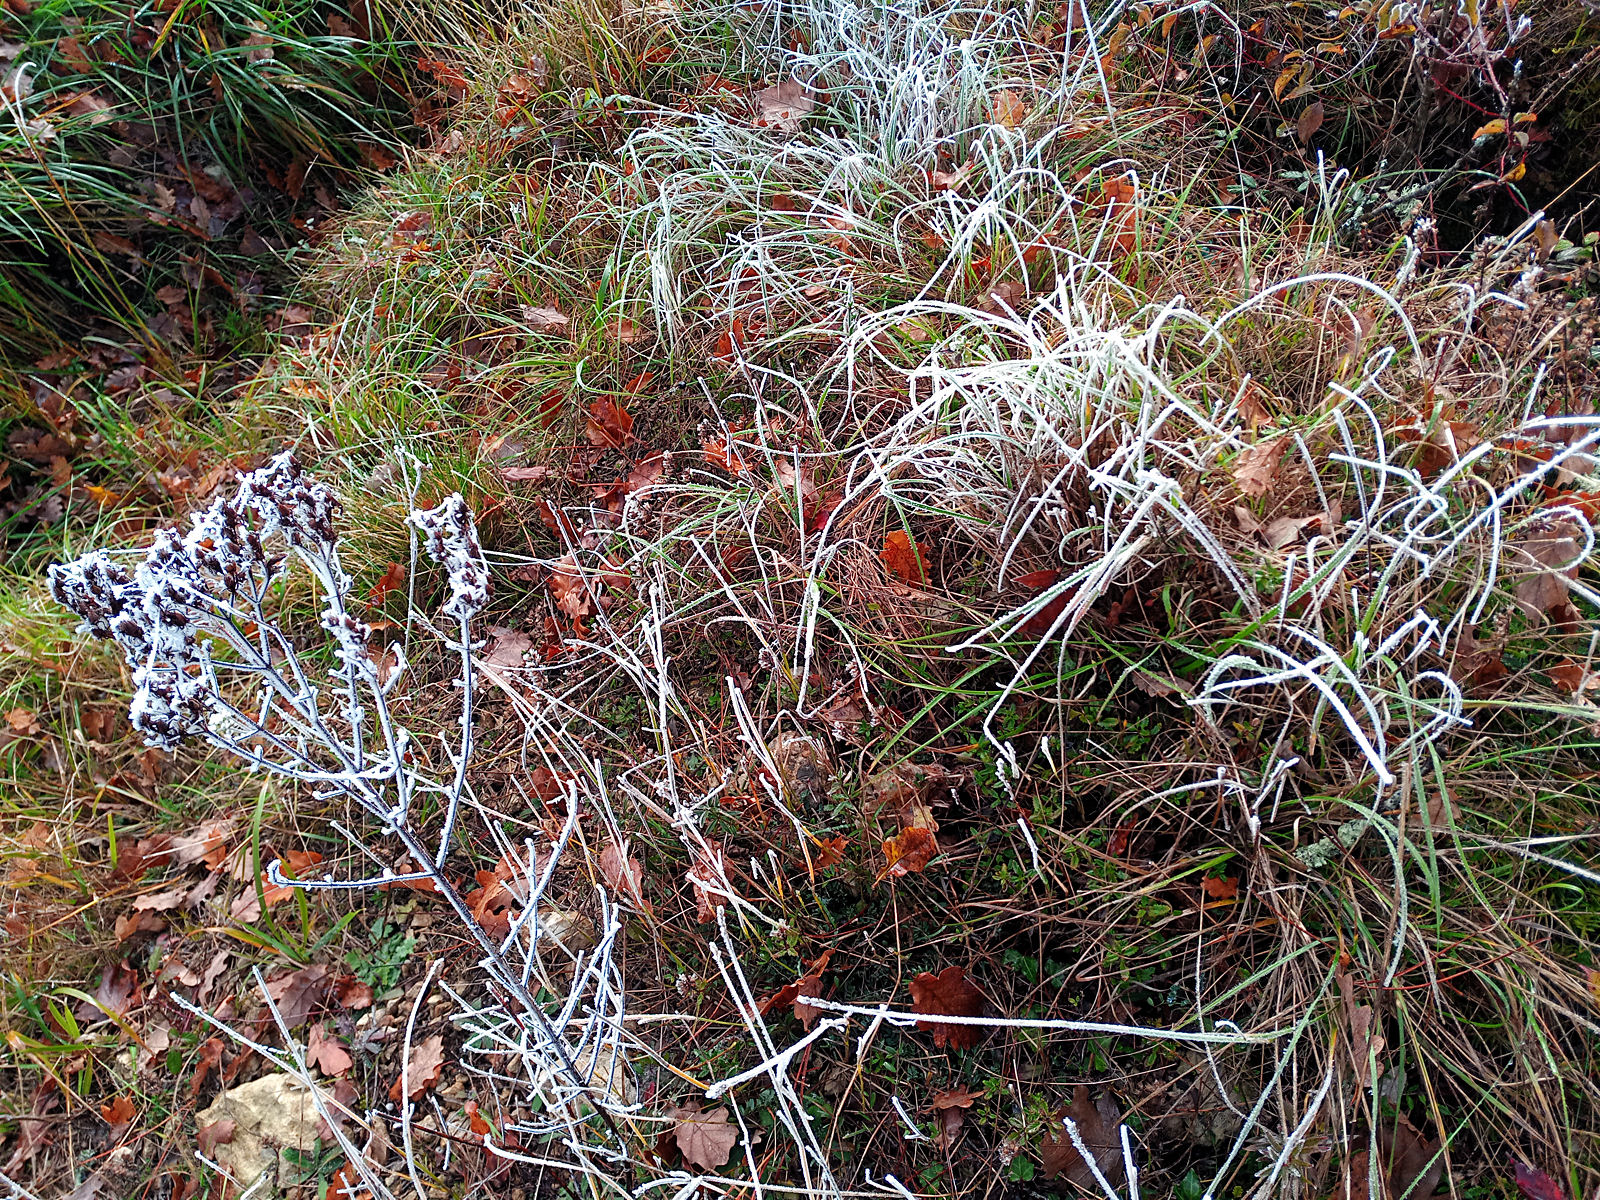
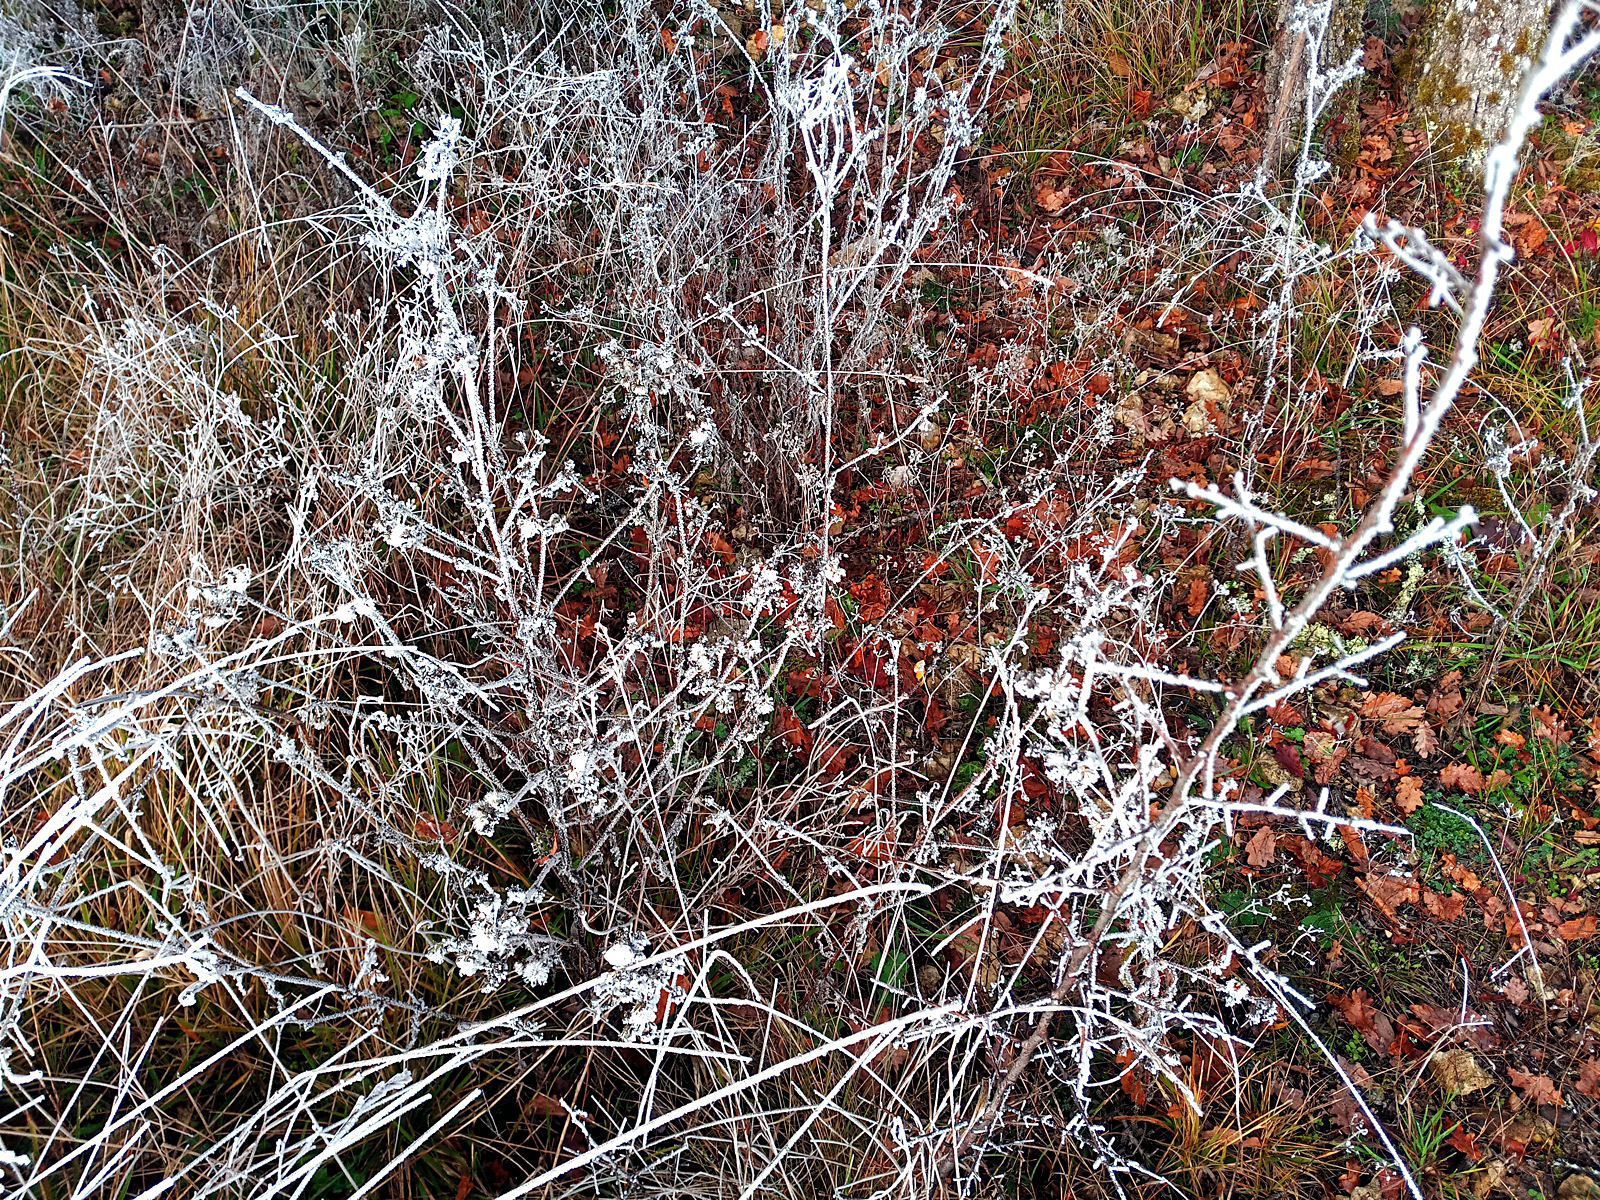
The reality. We’re into a cold snap that will last for a few days with overnight temperatures forecast to fall below freezing. This is colder than usual for this time of year but at least (for the moment anyway) we’re spared a cruel wind to go with it, unlike, so my family tell me, as in the UK. But the reality is that my caravan water system froze last night.

I checked in the early hours and it was still flowing, with some hesitation, but I turned it off outside just in case any ice that formed burst the hosepipe and water began leaking out. This morning when I went to turn the tap on my standpipe back on again it was frozen and when I thawed it by pouring hot water over it there was still nothing coming out of the taps inside the caravan. That means that the hosepipe that connects the caravan is plugged with ice.

I can still get water in a container from my outside tap which itself isn’t frozen up, so it’s like being back where I was originally. But I’ll have to think about this. The temperature is rising as I type this and I therefore expect water to start flowing again some time soon. However, I can’t take the risk that the system might freeze again and burst some time in the future, so maybe I’ll buy some lengths of pipe insulation and attach some around the standpipe from where it emerges from the ground and some more of a smaller diameter around the hosepipe itself that connects to the caravan. I think it’ll be worth trying, anyway.

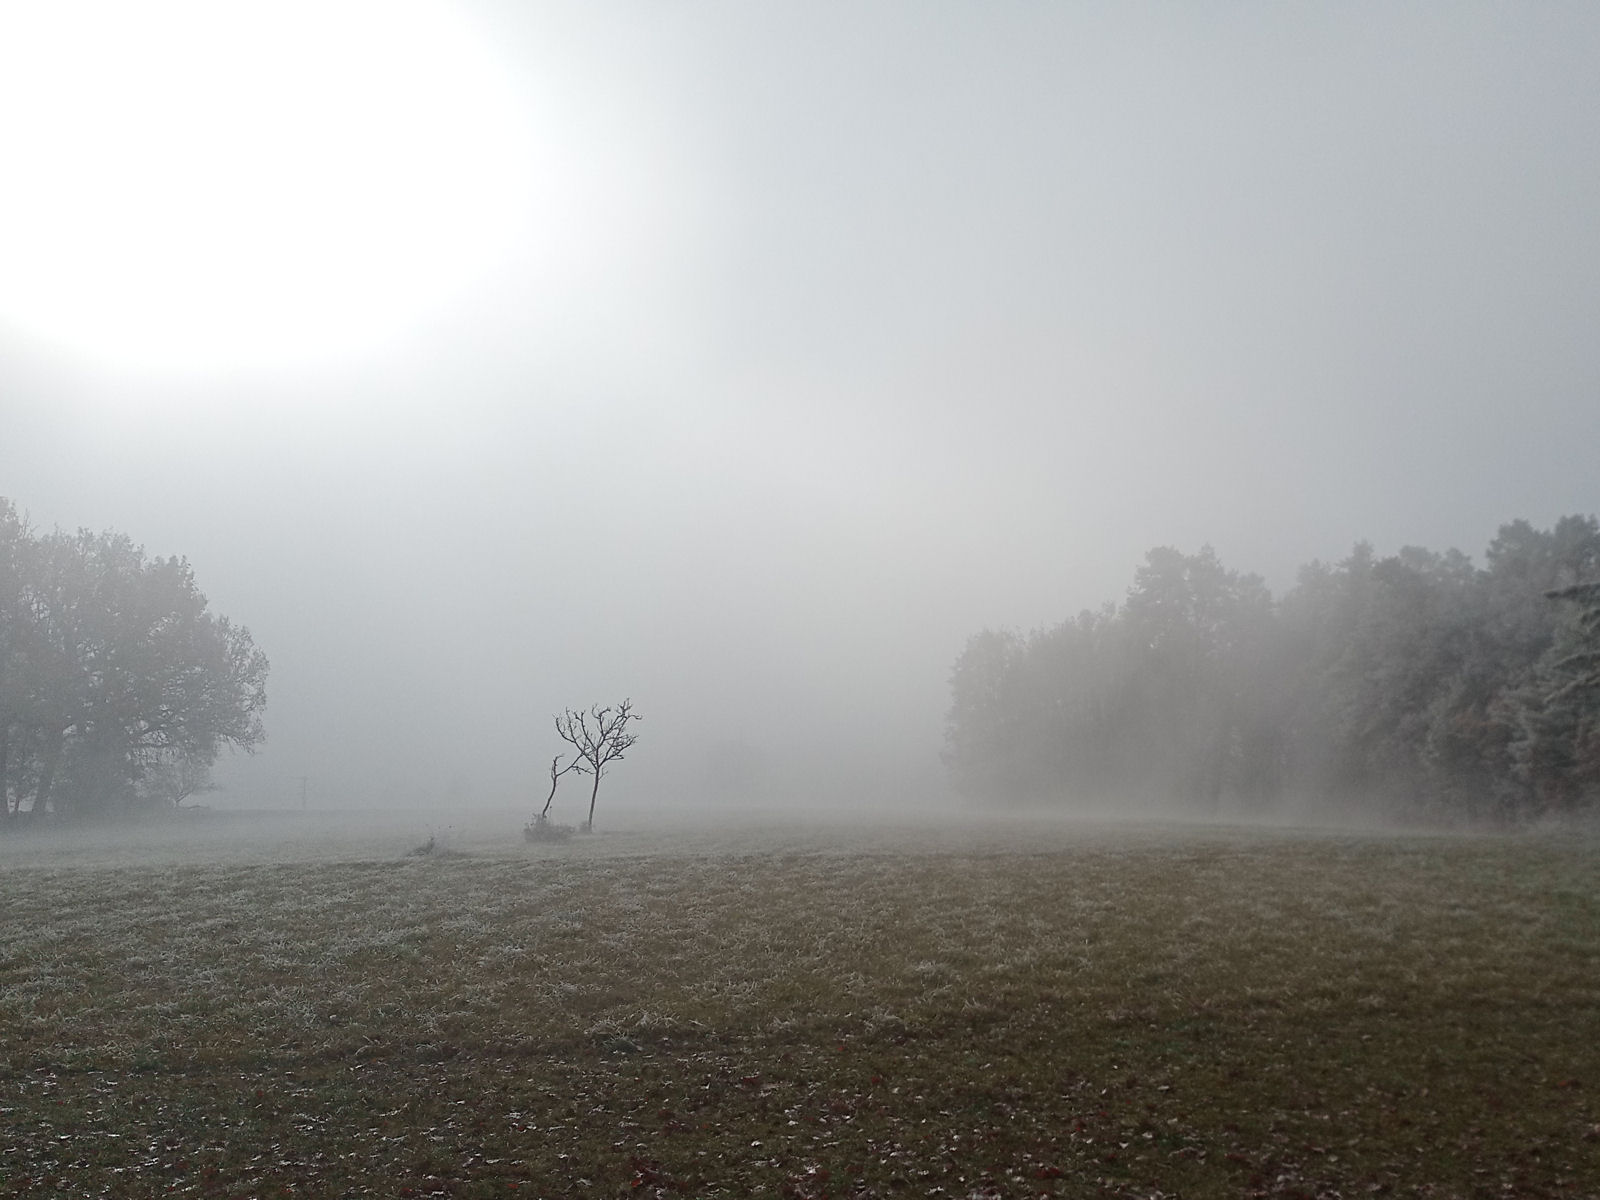
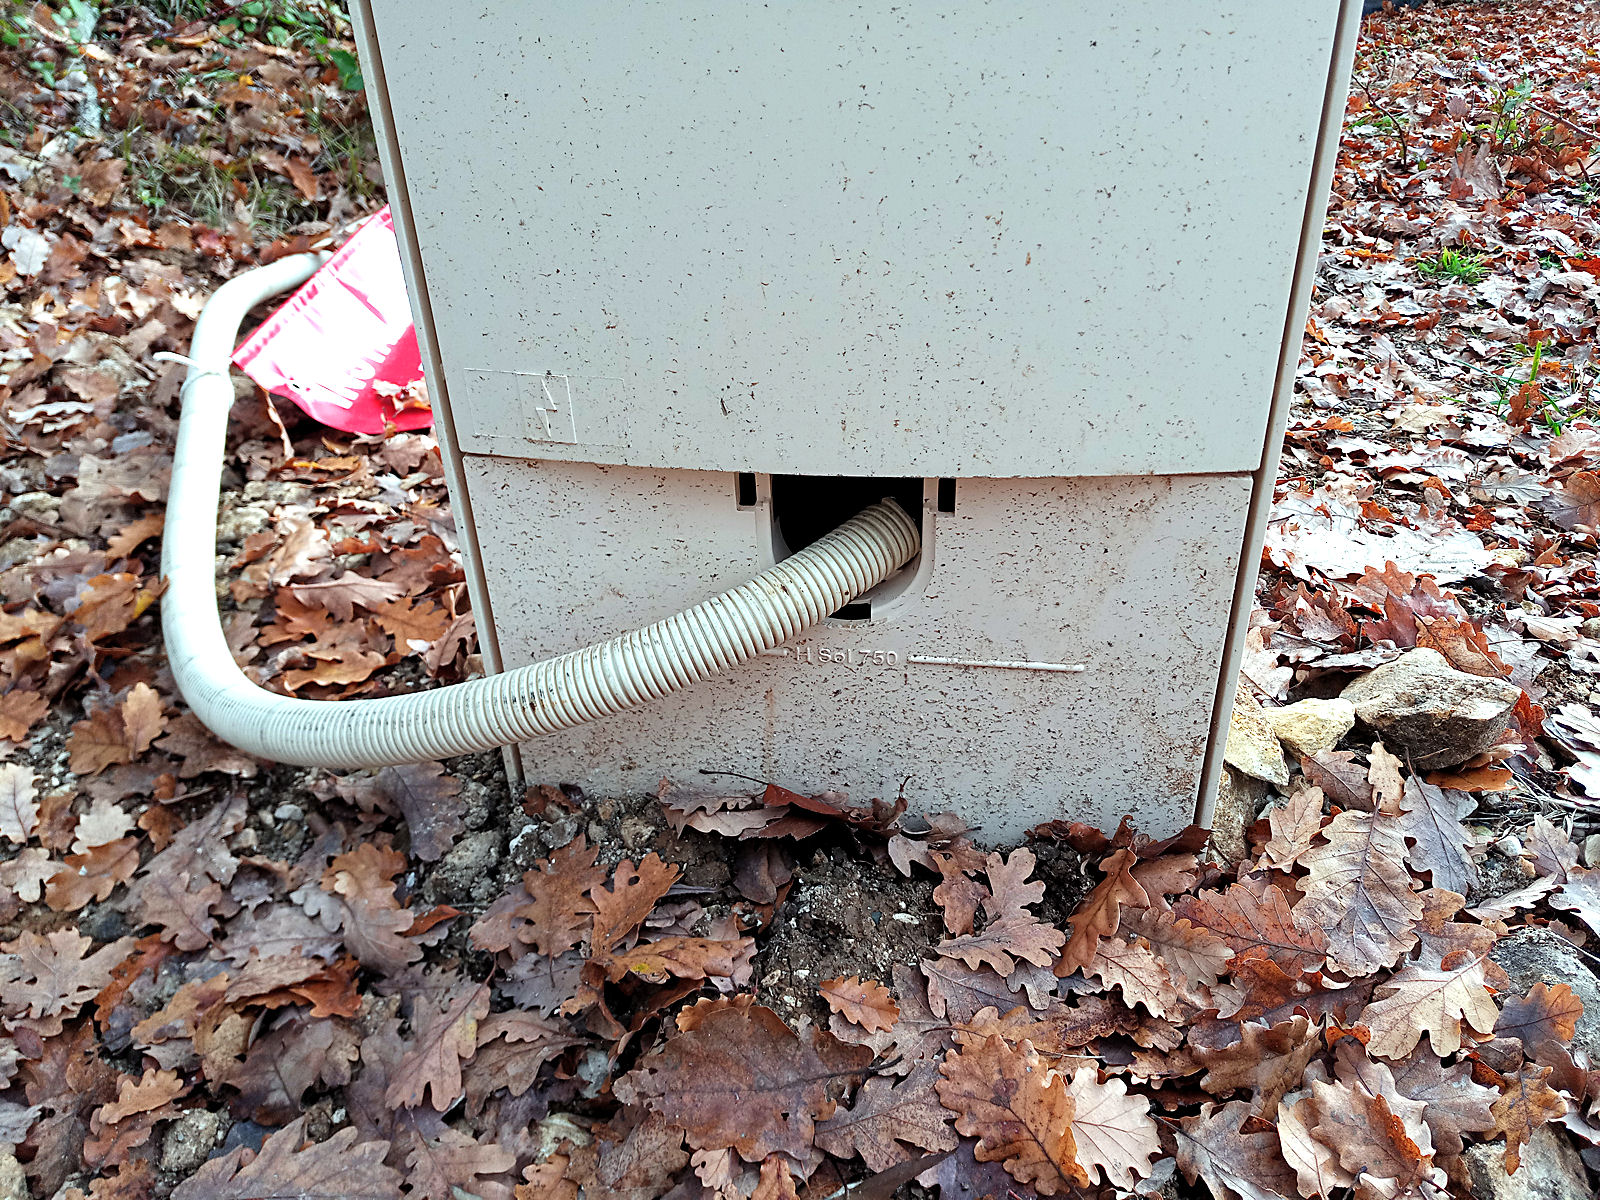
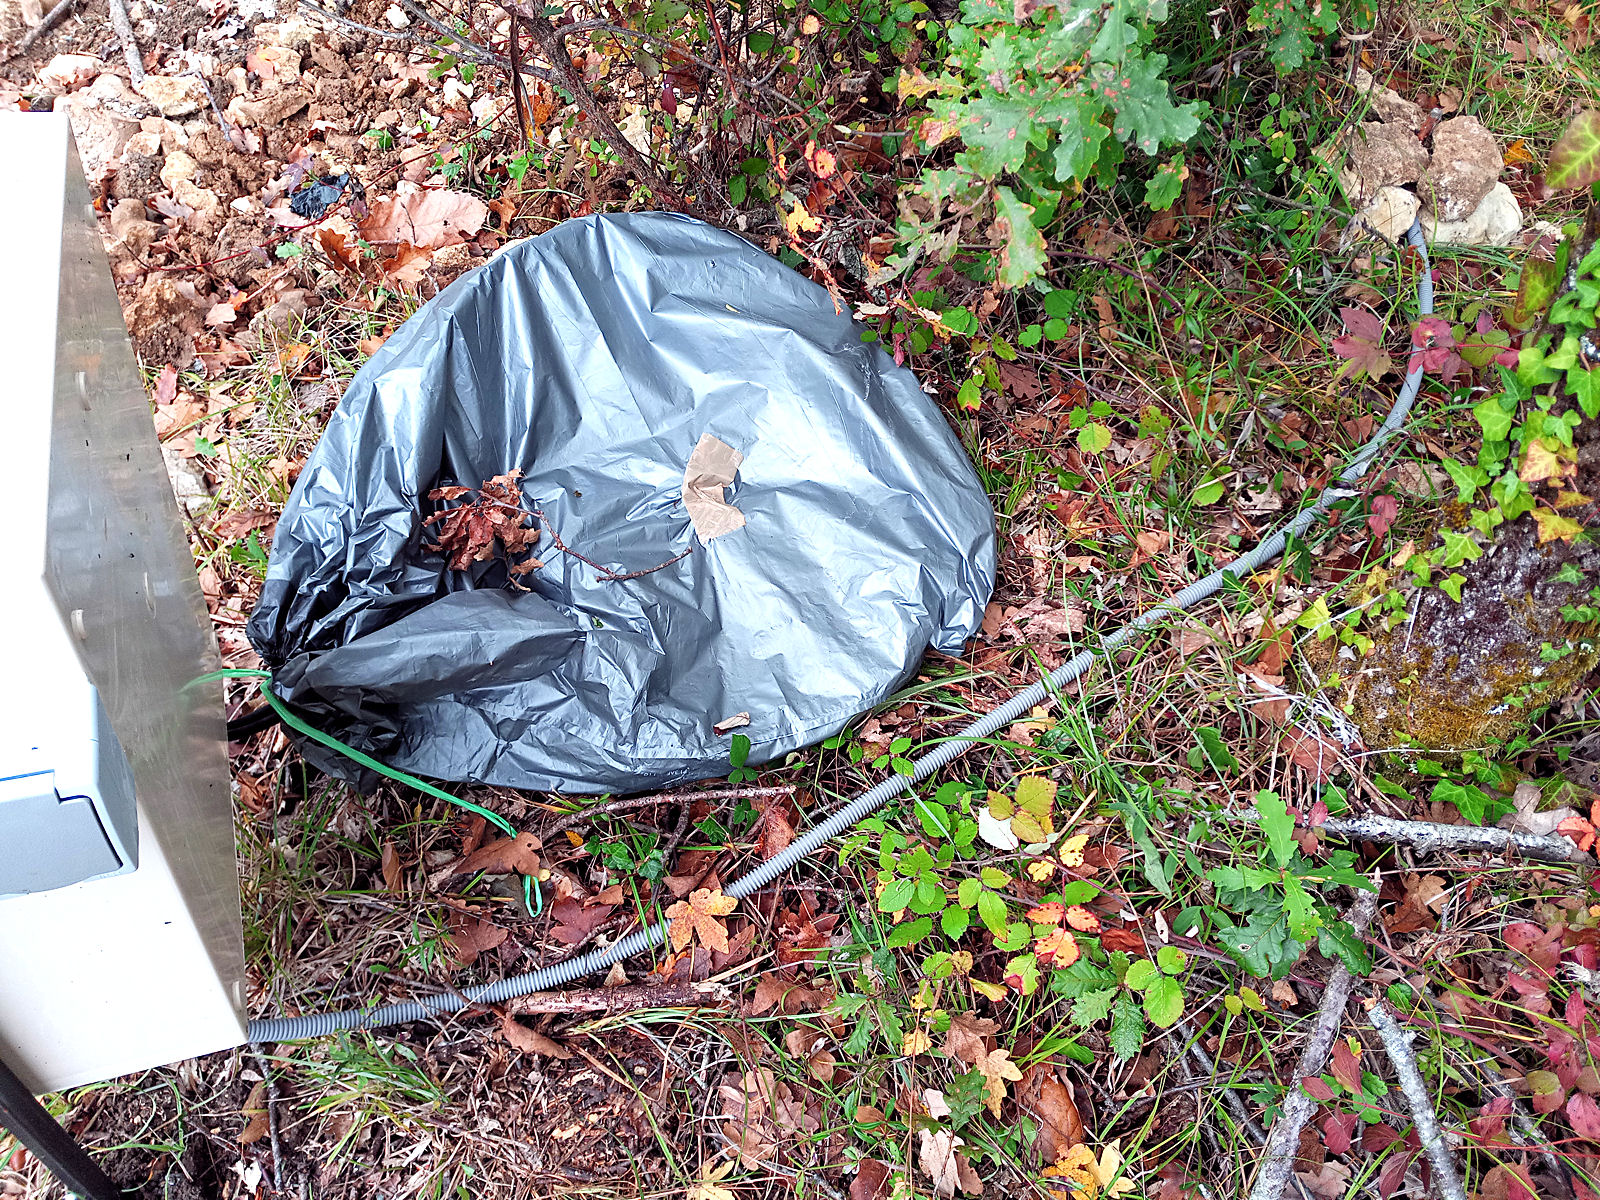
Images of the morning.

null

null

null

null

null

null

null

null

null

null

null

Proper job

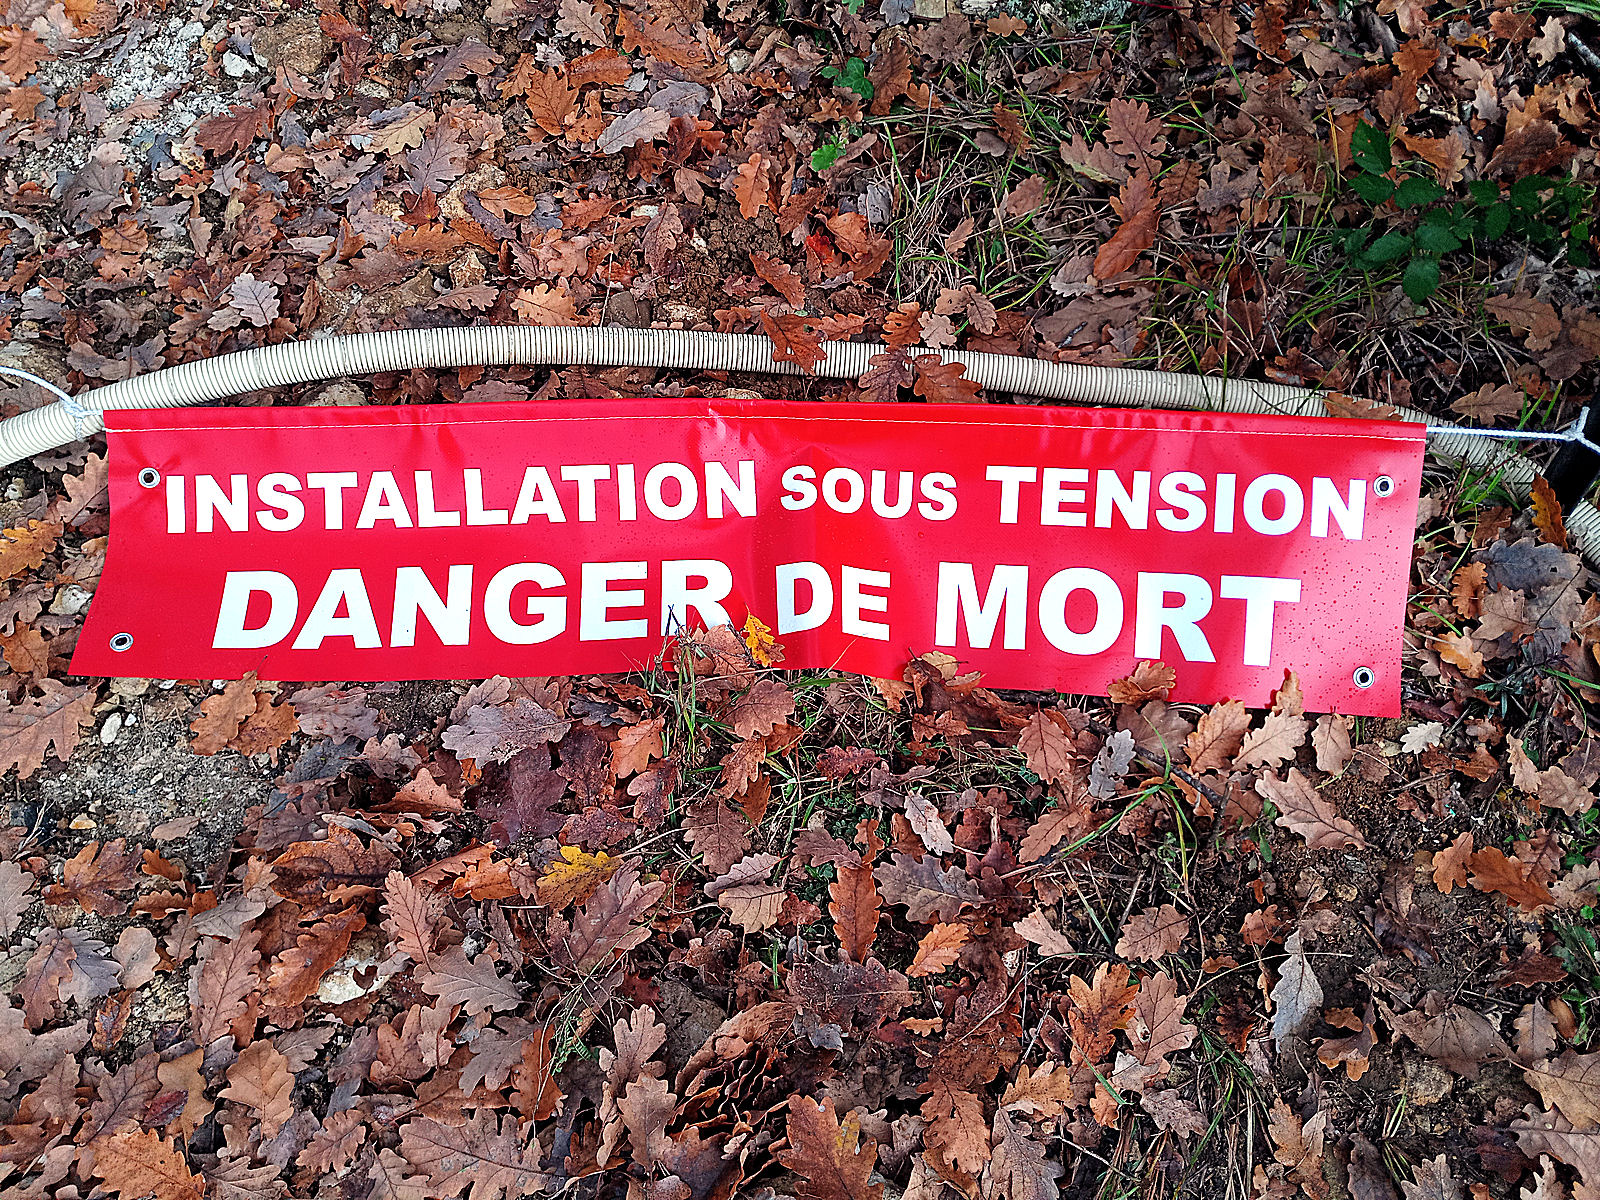
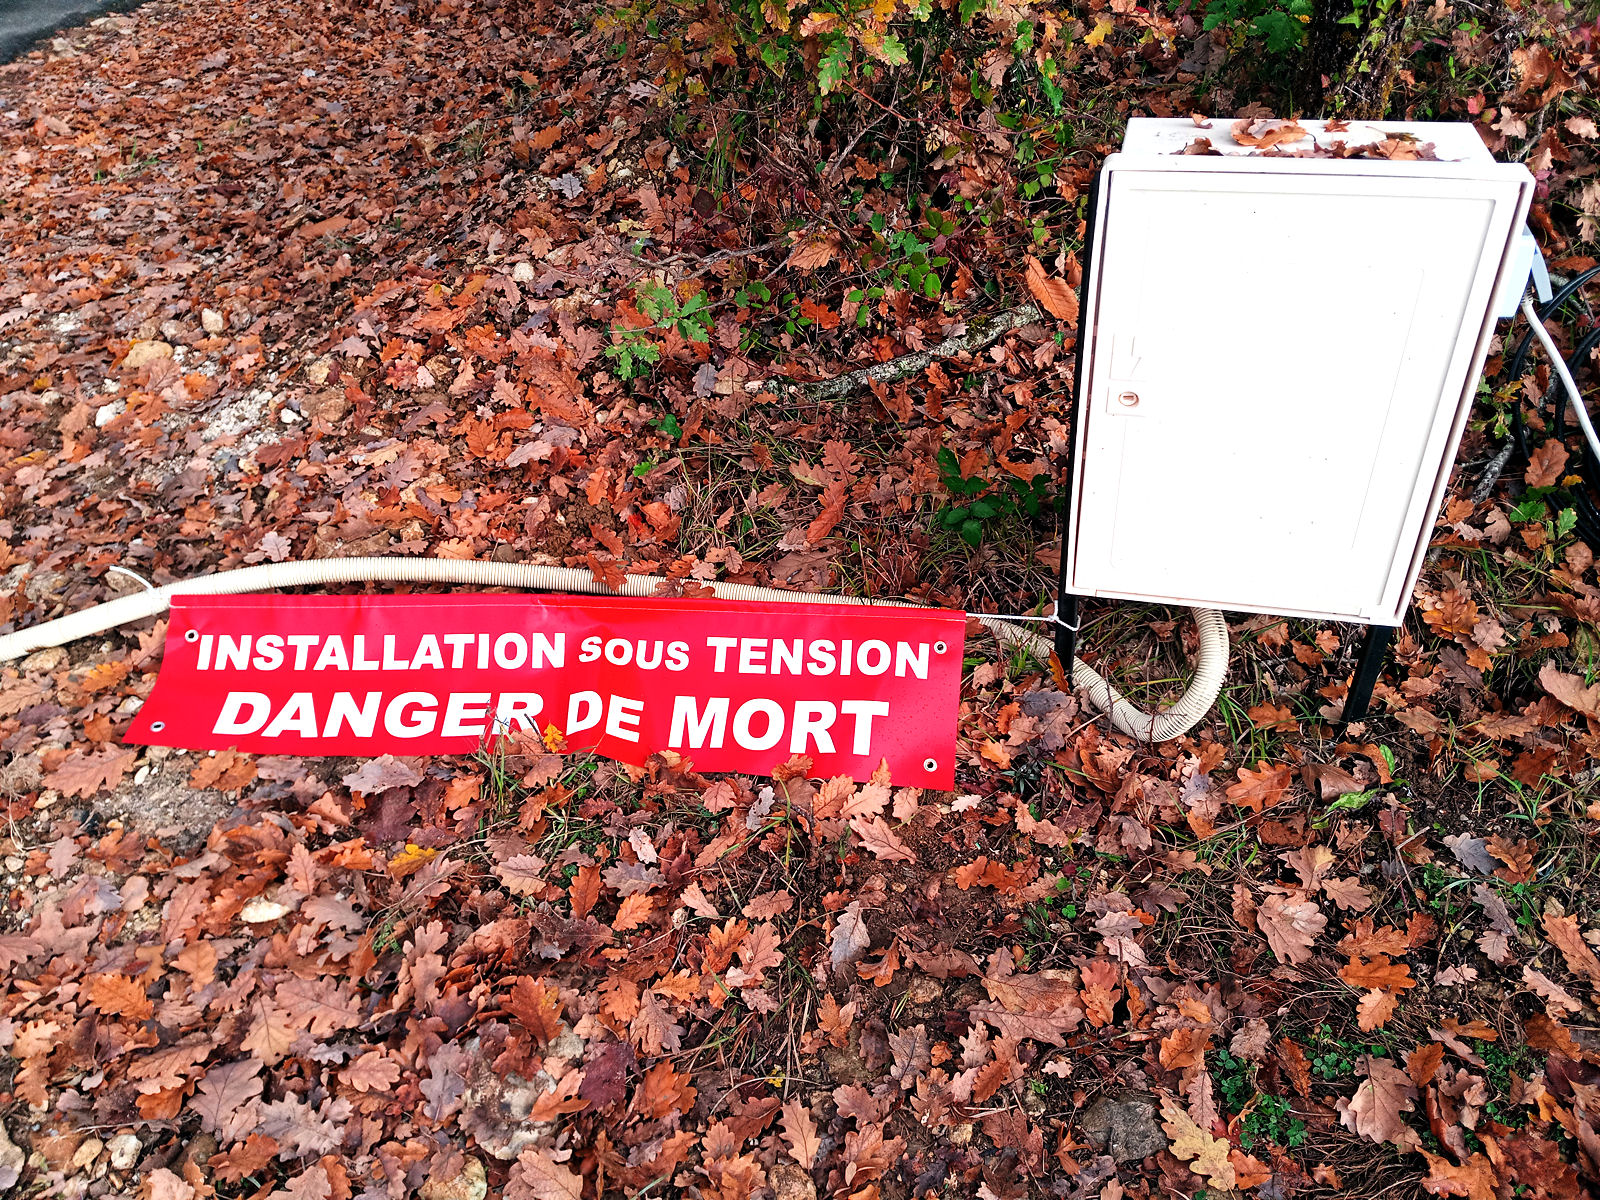
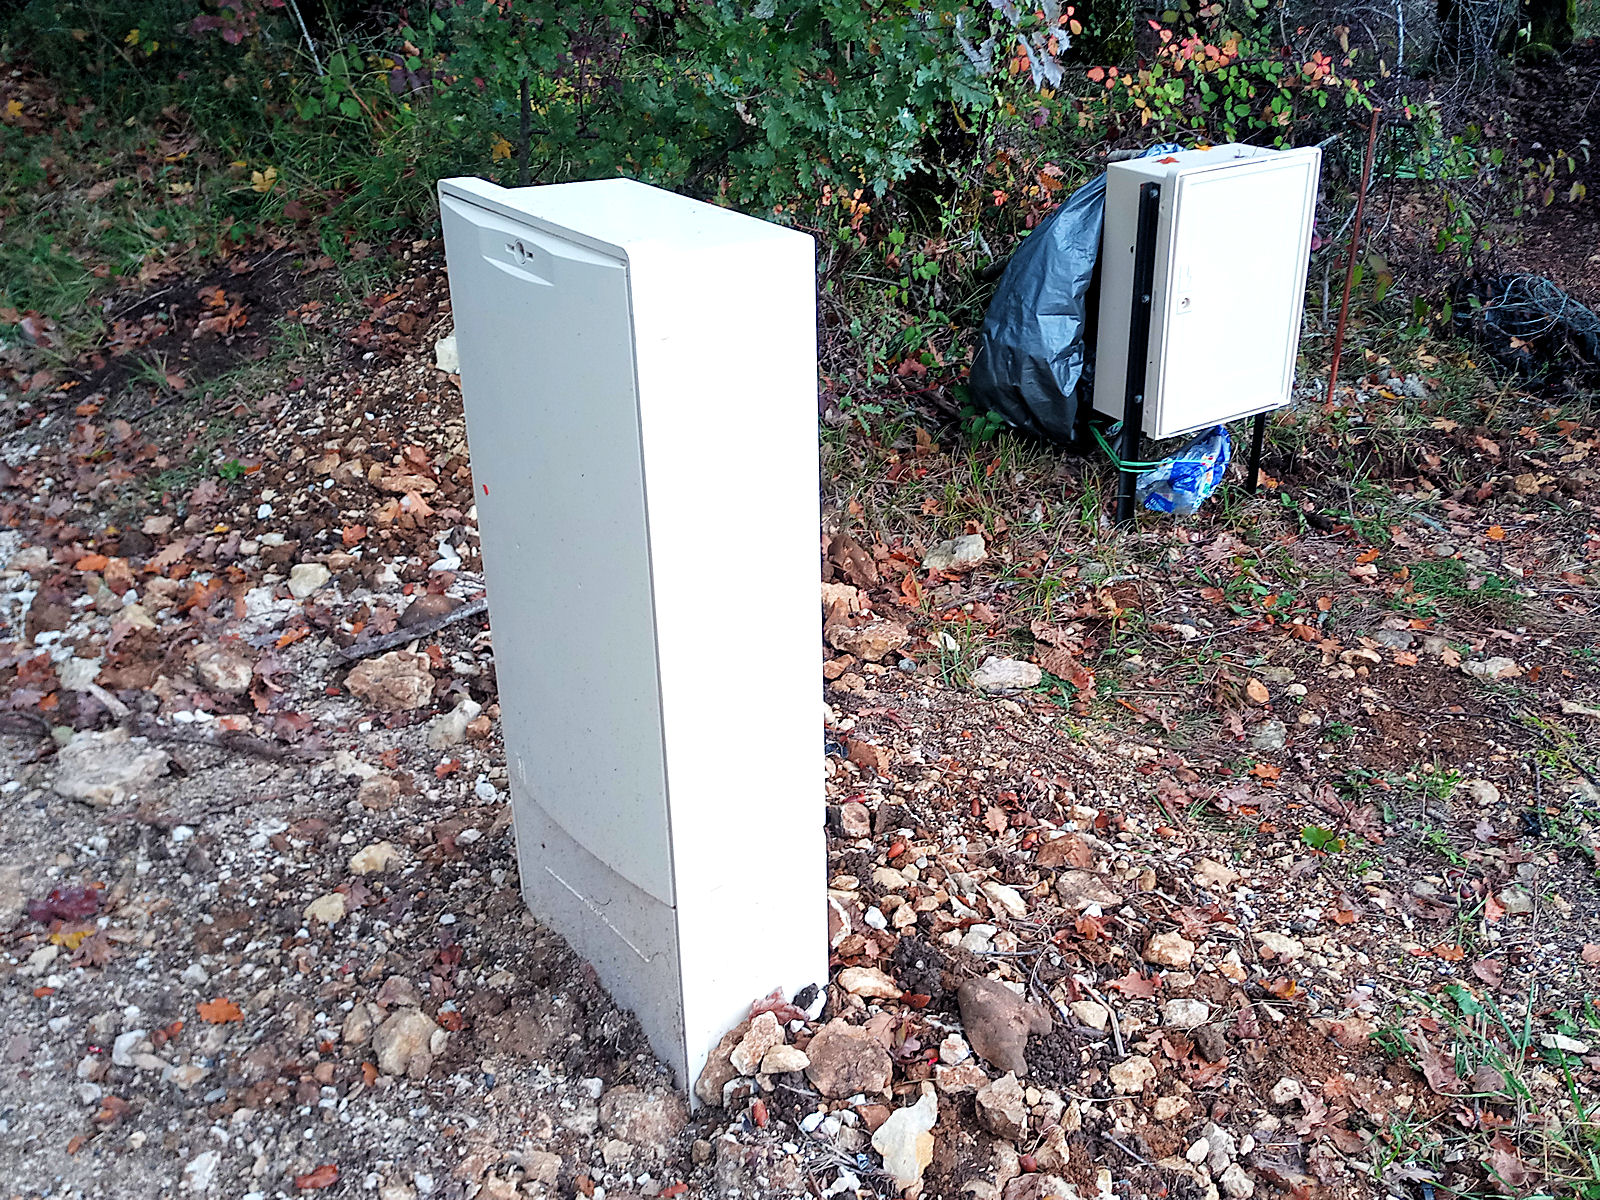
Tell you what, these Enedis guys are serious when they eventually get around to doing the job. Take a look at the next picture.

null

And yup, when the young engineer was making the connections he was wearing a safety helmet at all times. Yes, seriously. I was looking over his shoulder, though, and I wasn’t. Here’s the cable from my ‘coffret de chantier’ going into the new Enedis ‘coffre’ that was installed at the roadside on the edge of my land a couple of weeks or so ago.

null

And here’s it going into my ‘coffret de chantier’.

null

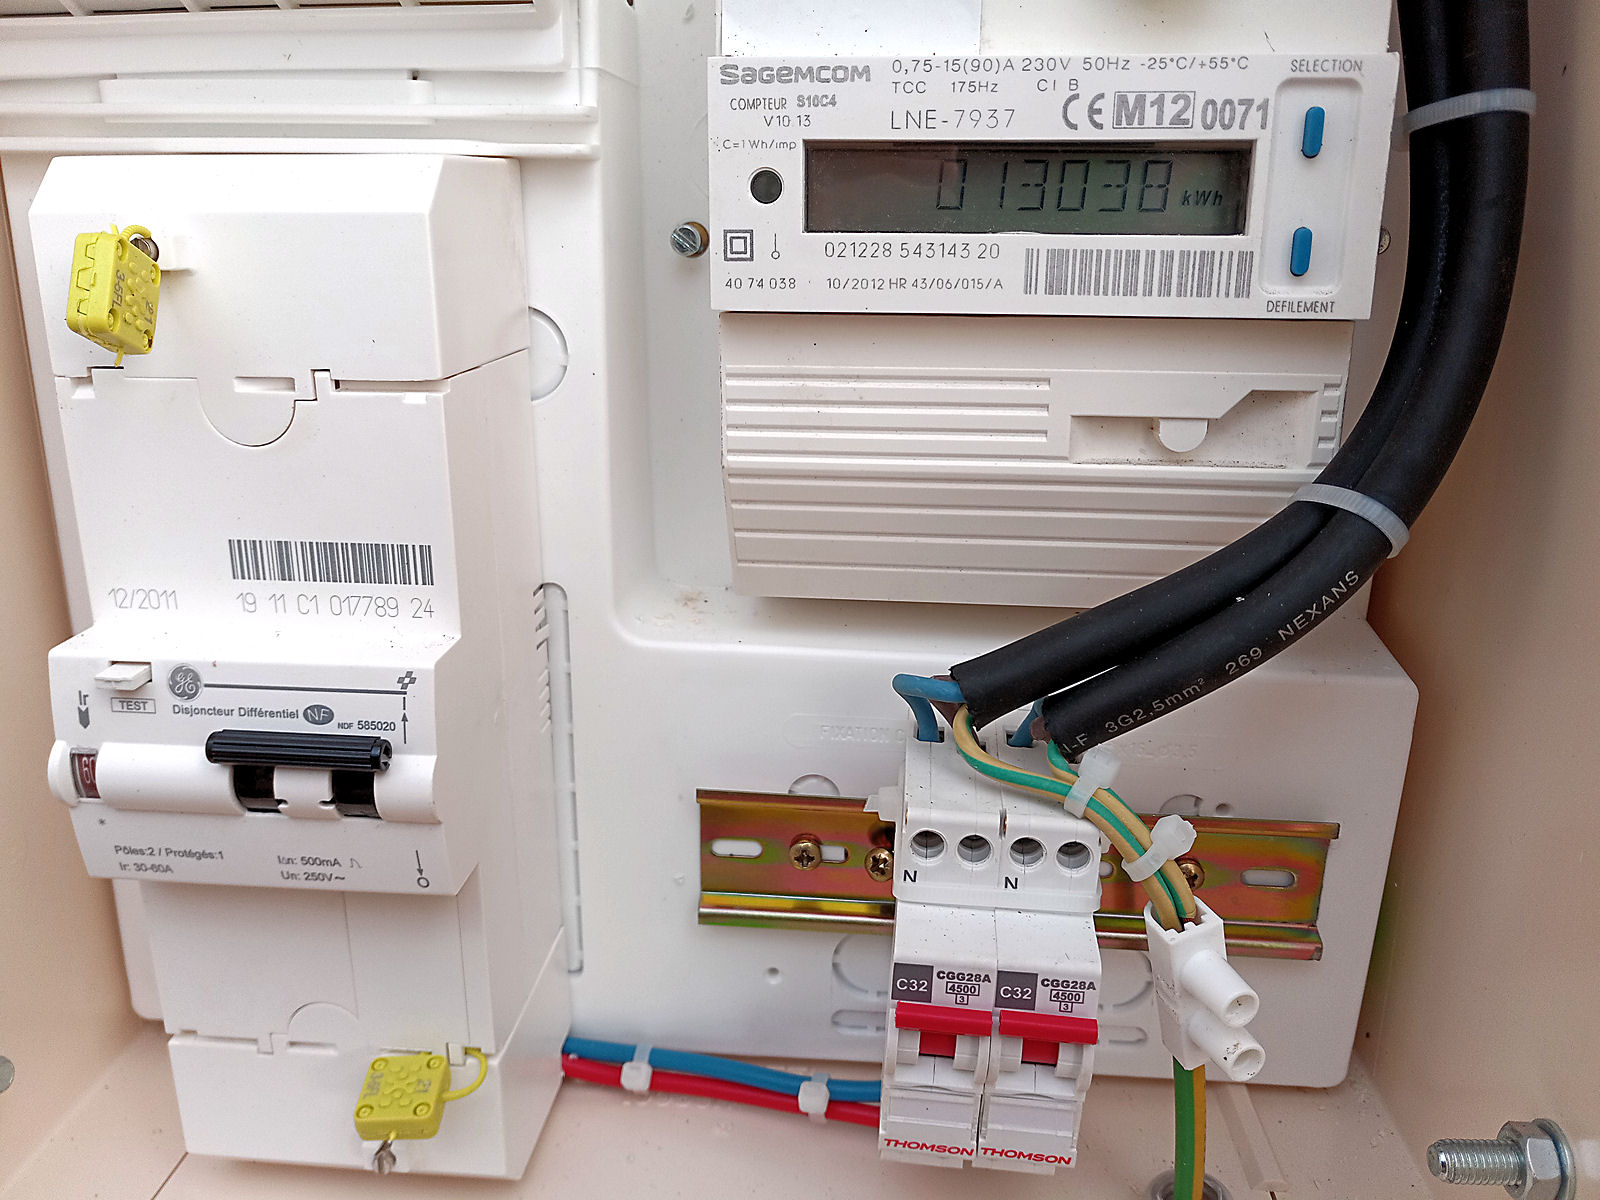
And finally, just to prove that it’s all live…

null

The meter has a reading of over 13000 units on it and the engineer took a shot of it on his tablet to pass on to EDF for when they start billing. I notice that he also changed over the main ‘disjoncteur’ in my box upping it from 30A to 60A. He said that he might but I had to leave for an appointment yesterday after he’d connected me up, so he must have done it after I’d gone.

And know what? It was marvellous waking up to a warm caravan this morning after I’d left the electric heater on low all night. See, it’s the little things in life… 😉

‘E’ day

Yes folks, a young engineer did actually turn up from Enedis today and connect me (well, my ‘coffre de chantier’ actually) to the electrical grid. So tonight as I type this the lights in my caravan are burning brightly, my kettle is taking half the time that it was to boil and my microwave is back to working at full power, all because there’s only a 10 metre cable between my caravan and the supply instead of one 150 metres in length.

But best of all given the time of year, the electric convector heater that I fitted in the caravan way back when I acquired it last summer is chucking out heat at the same setting at which it was previously just giving out a tiddly bit of warmth plus I’ll be able to leave it on all night, 24 hours a day if I want, without bothering that it might keep tripping my kind neighbour’s ‘disjoncteur’ because the total current drain in her house is too high.

So taken all round, relative bliss. And to celebrate, I’ve just ordered an electric air fryer. I can’t wait to get to use it even if there is a danger of piling on the weight if I’m not careful during the long, cold winter months. I’ll worry about that later, when I’ve had the chance to make a few chips (frites to my European friends and neighbours) and try a few recipes out 😉

Just as the rain began to pitty-patter

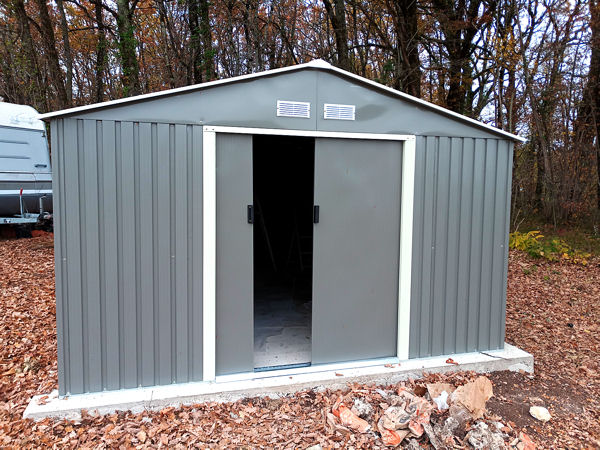
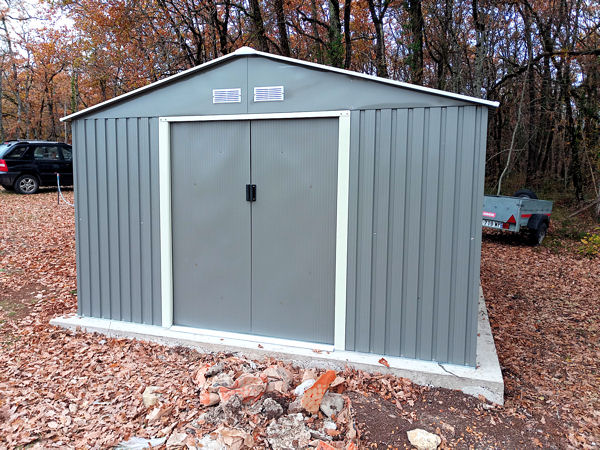
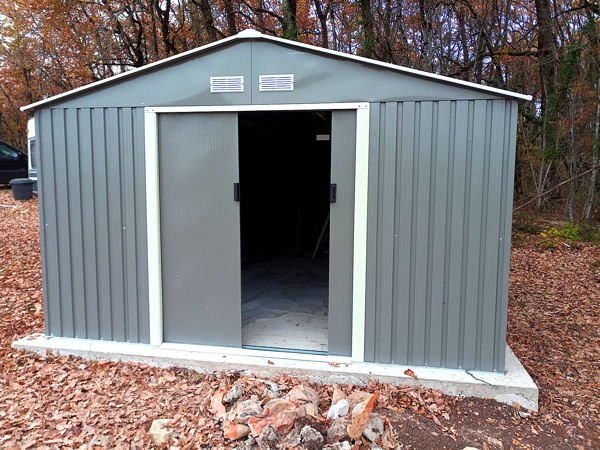
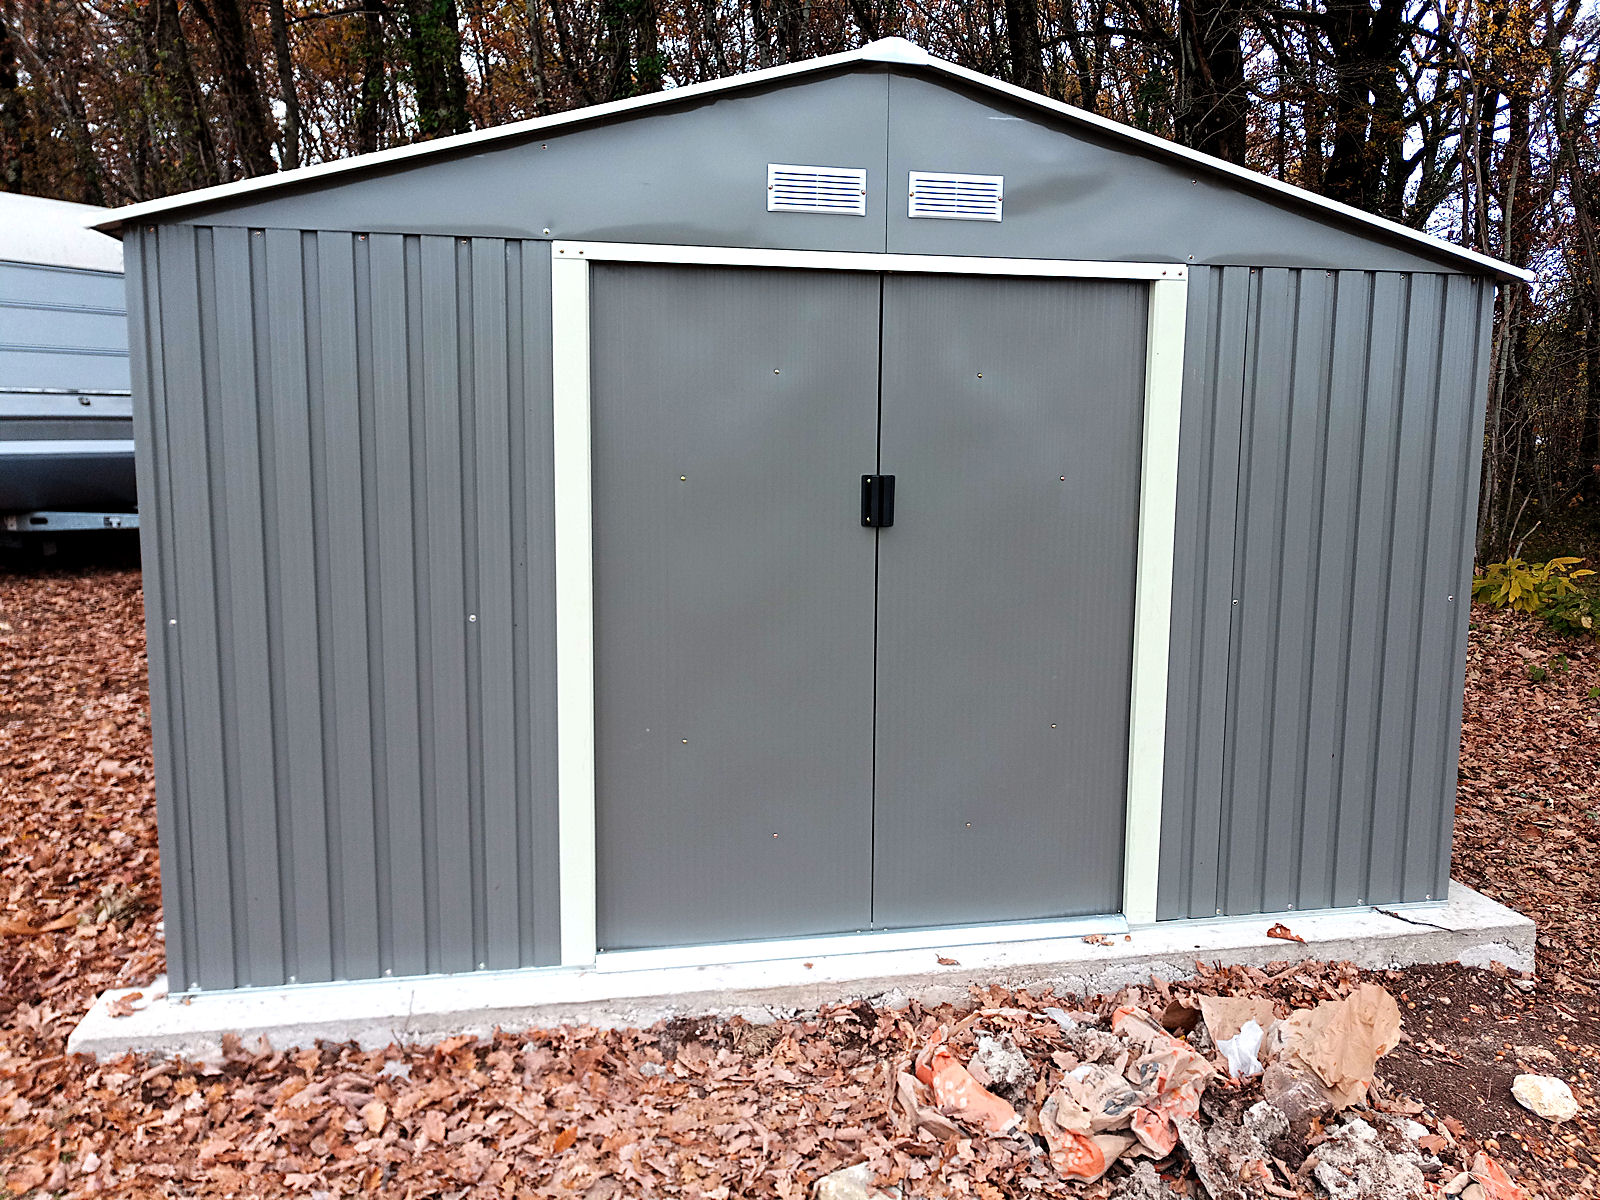
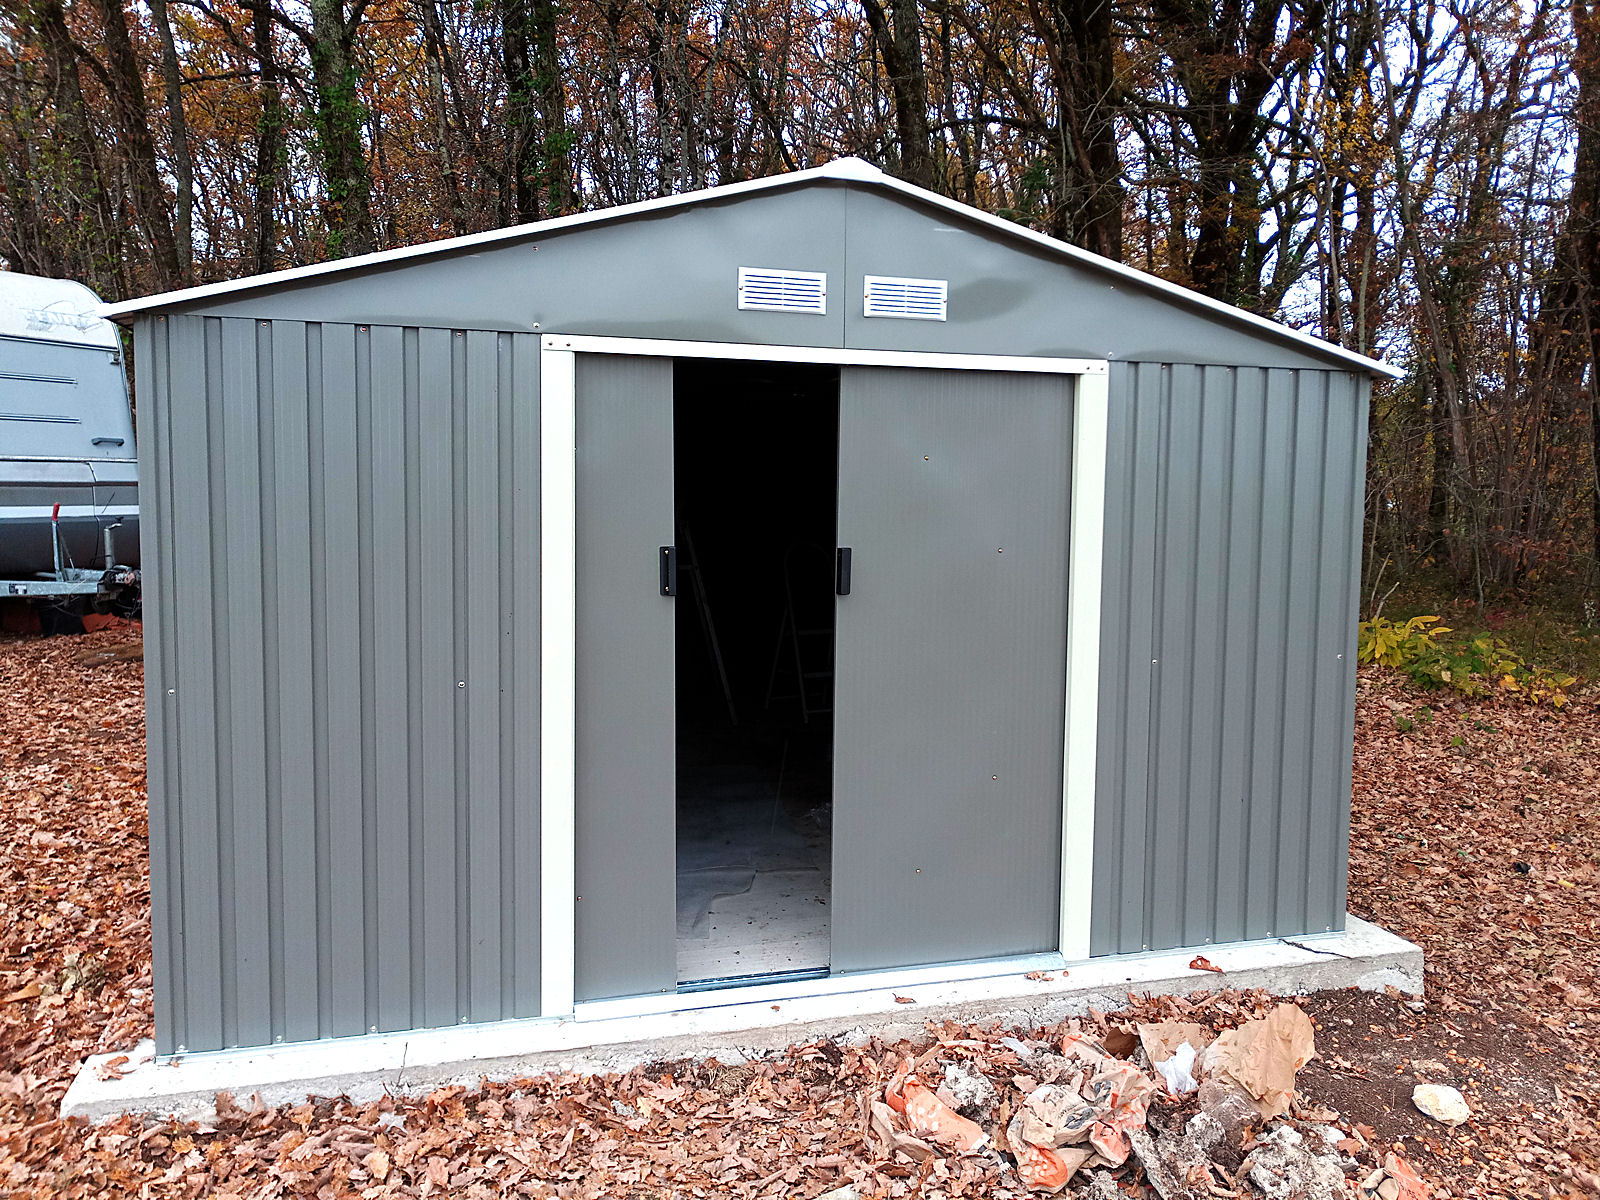
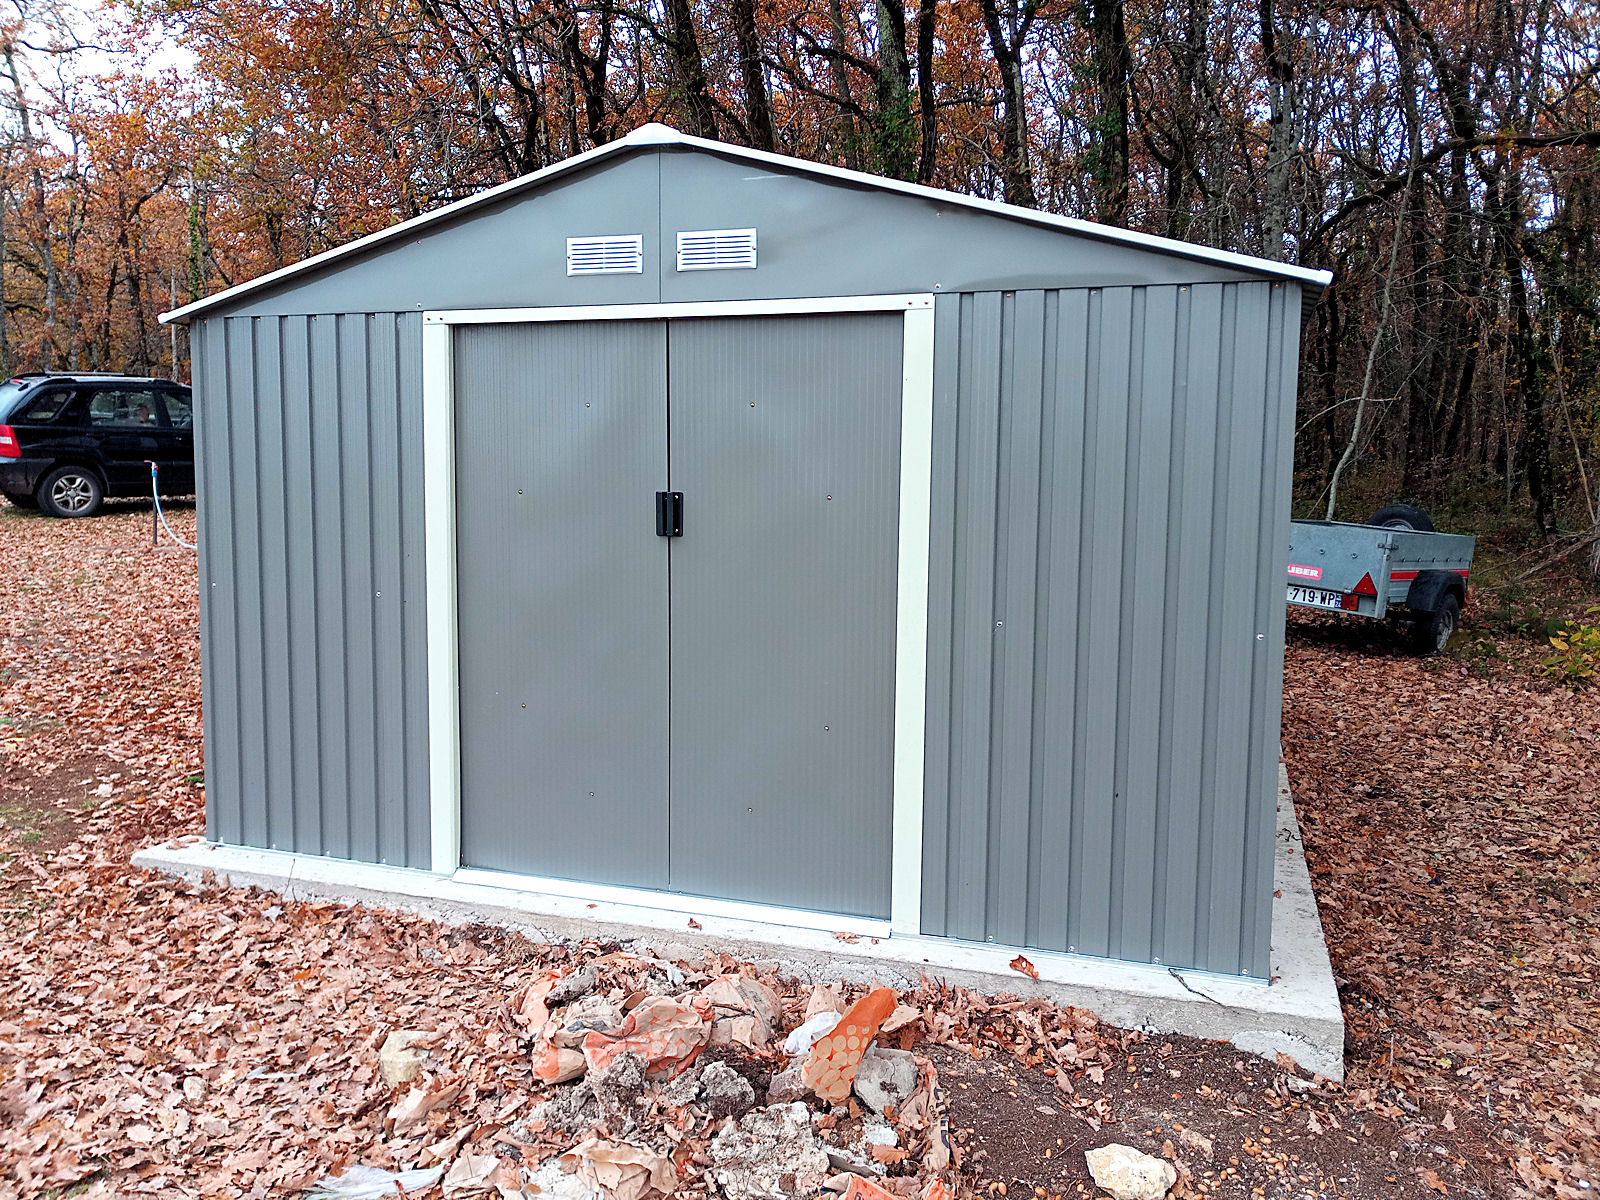
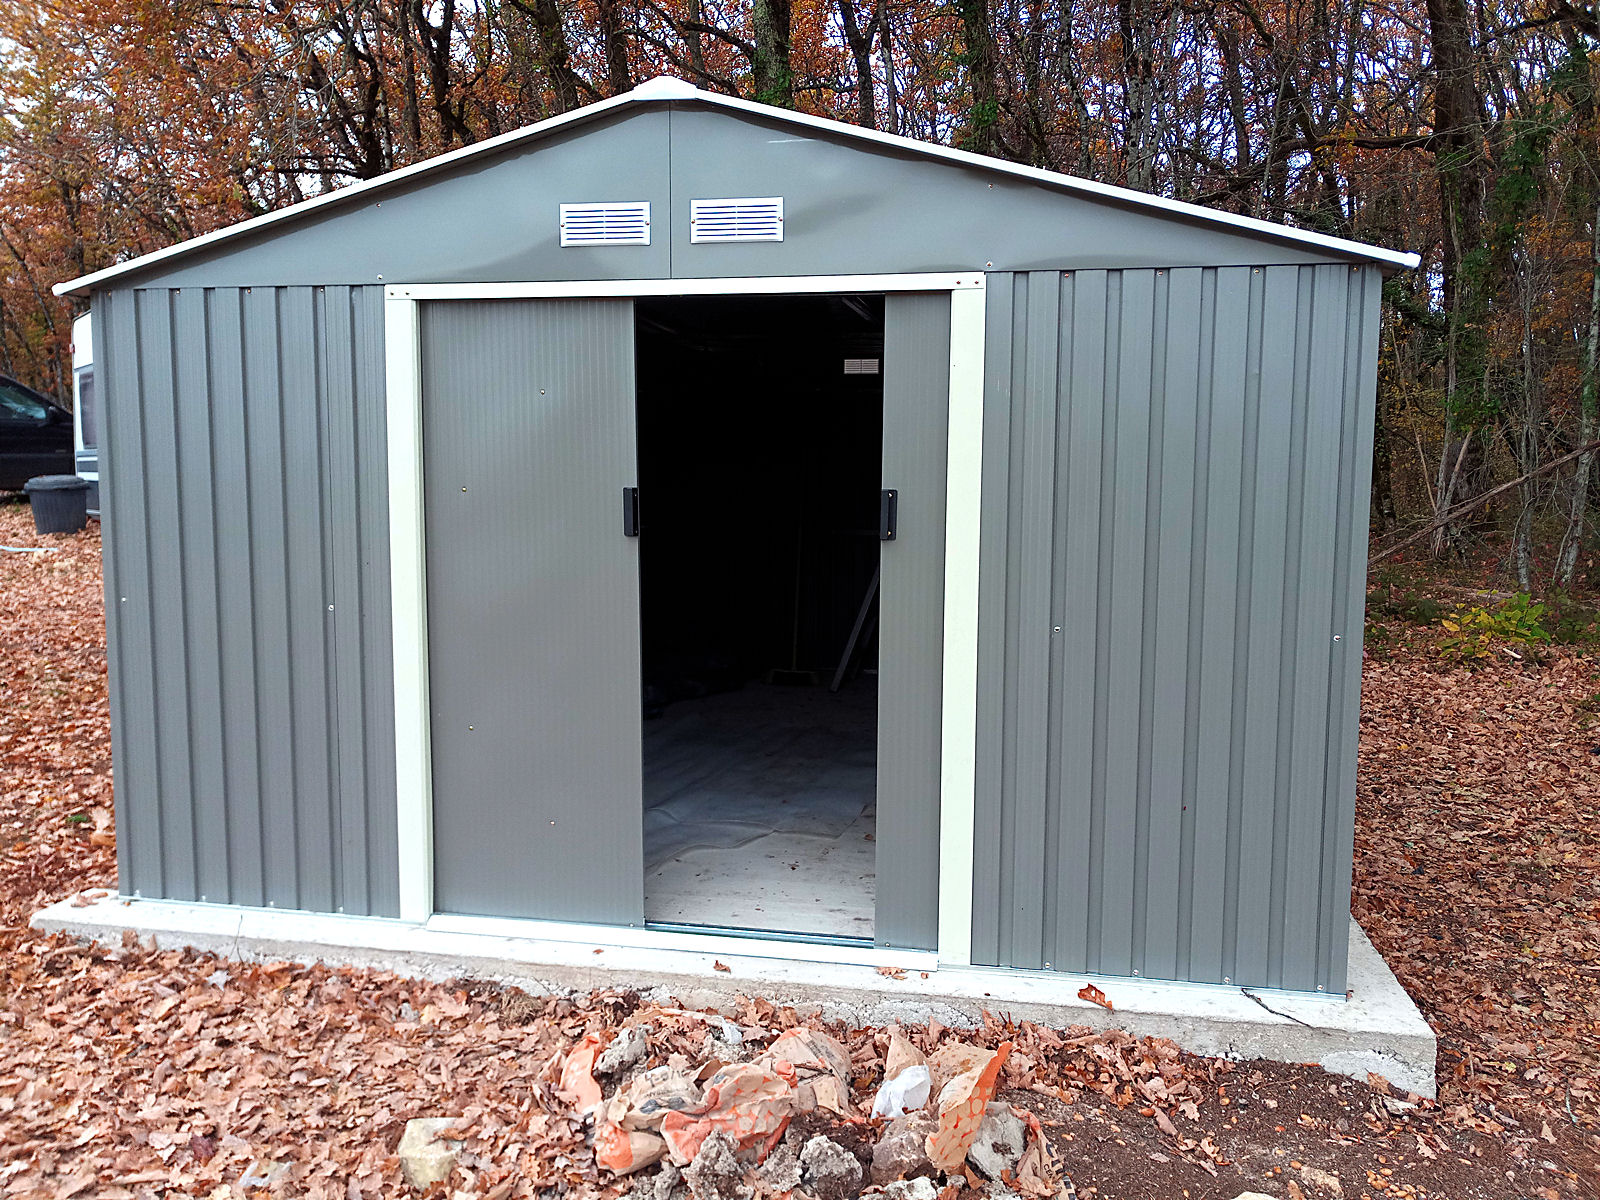
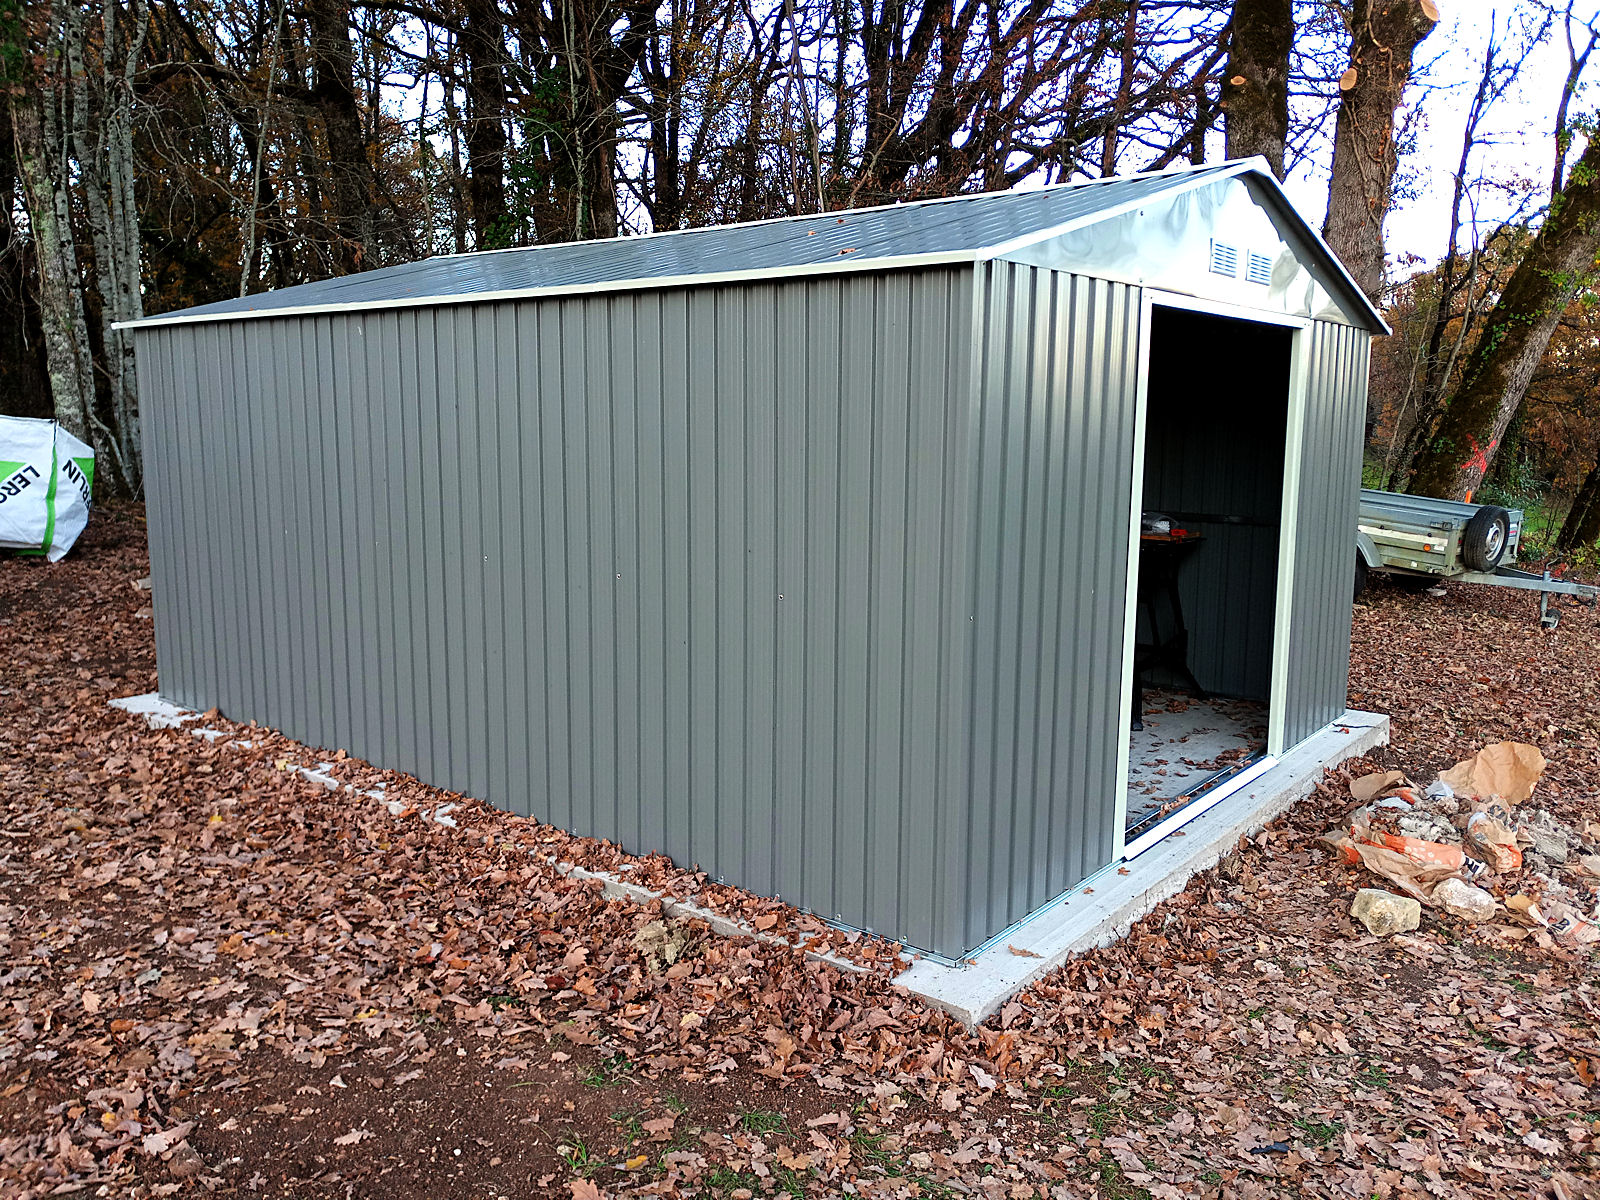
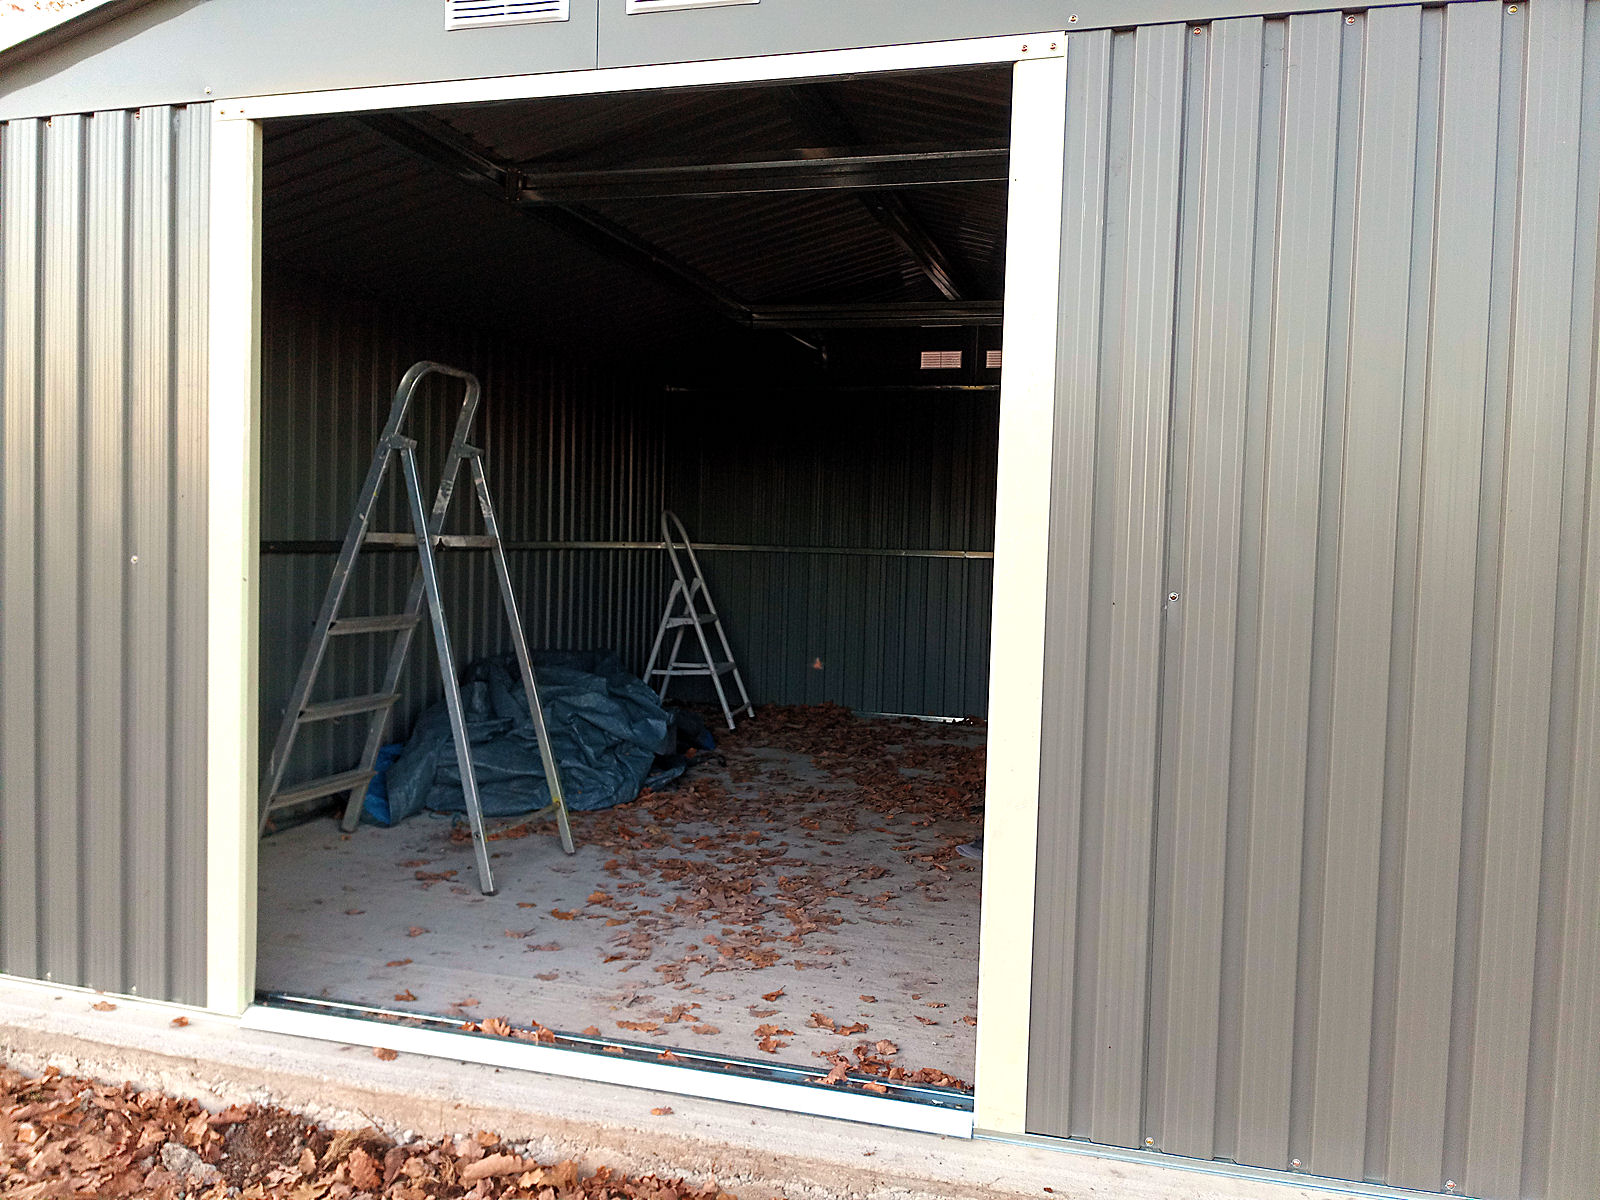
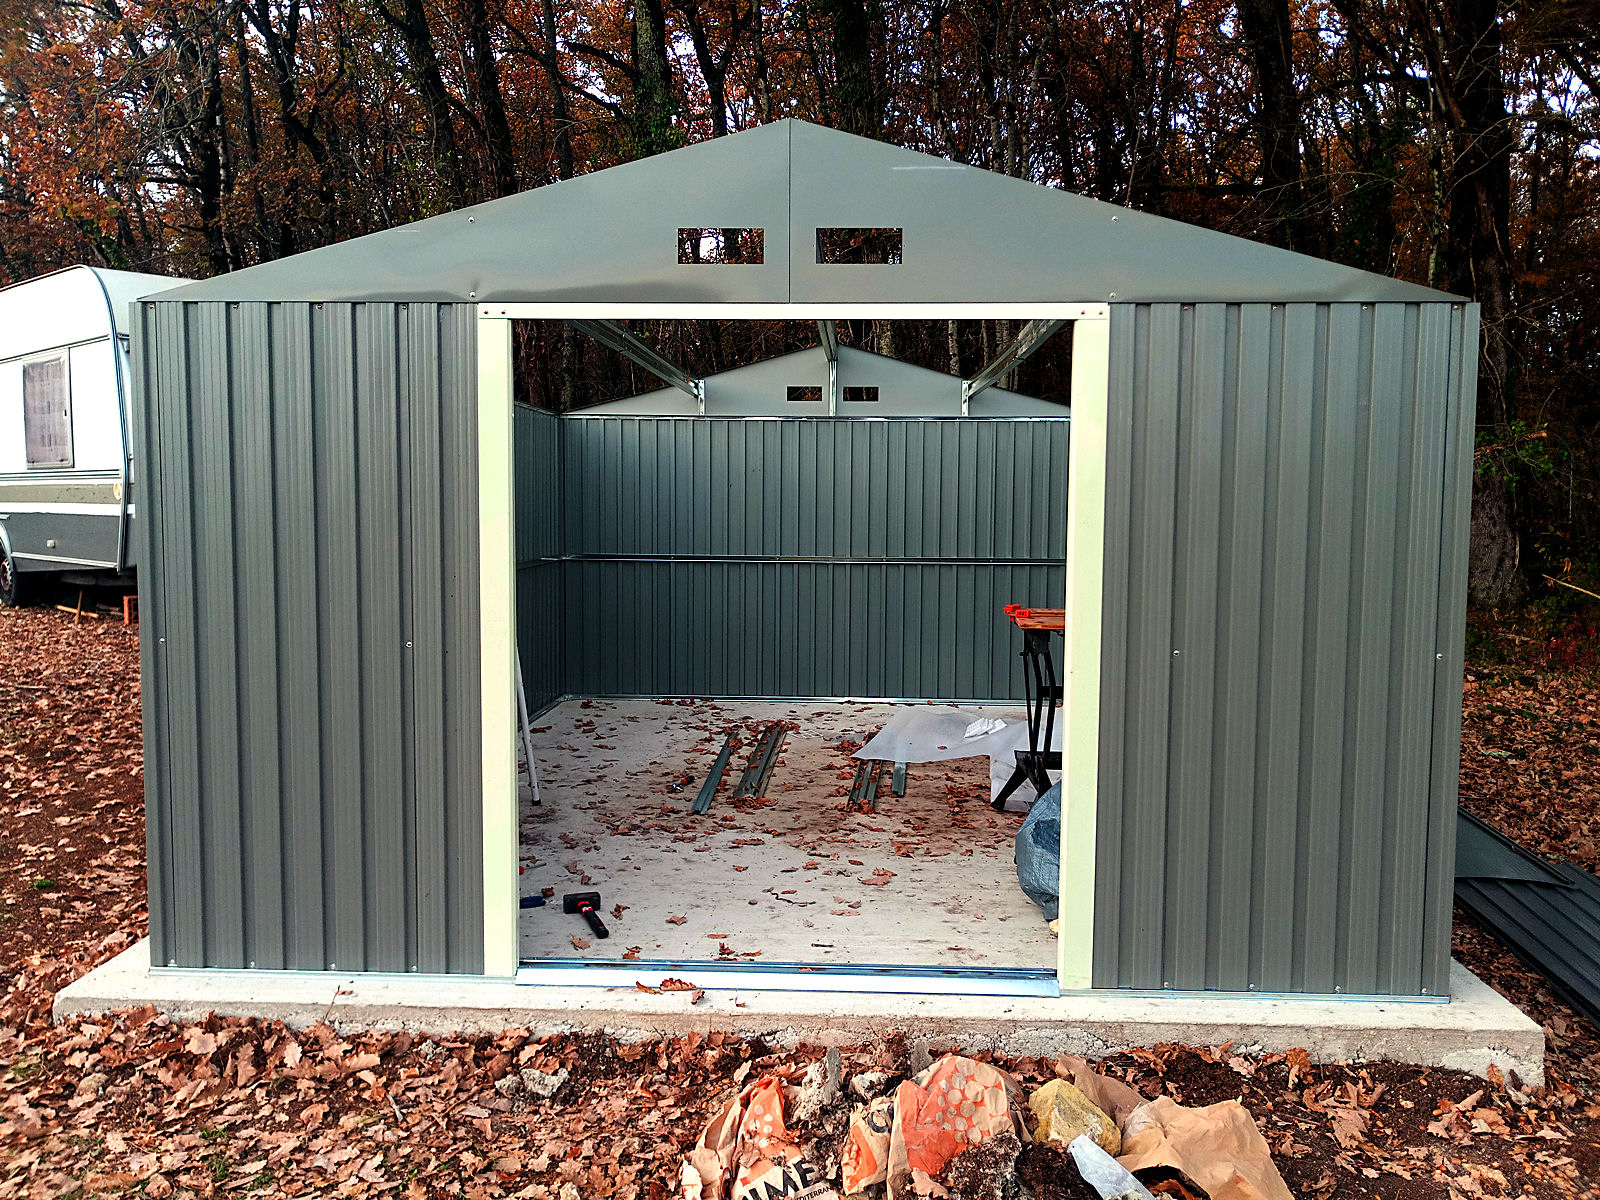
Yes, that unmistakable sound of raindrops on a metal roof. But just as it started I finished hanging the doors on my new tool store, meaning that the structure was finally complete and I was therefore ready for it. Well, not totally, because I’ve still got to move all of the stuff that I need to into out of the weather and only then will I be able to rest. And rest is what I need after all the work I’ve done. I’ve now got an aching back and if I have to fit one more fiddly little nut onto another fiddly little bolt with my sore and aching fingers in the next few months I’ll blow a gasket.

But the job’s done, and it’s a good ‘un as we say in the UK. Not that hanging the doors was totally trouble-free… far from it. In fact I think that the doors have been the most disappointing part of the whole job. One of the reasons was that very early on you have to place the door hangers in the sliders and what they don’t tell you is that they are ‘handed’. I thought about this at the time but they didn’t show a picture, which would have been easy enough. At that time the door parts are bundled together (taped up) with other metal parts and as I wanted to get on with the job, it was too much trouble at the time to locate them and check.

The result was that one hanger on each door was the wrong way round. Luckily I’m an enterprising sort of person and resolved the issue by cutting a small locating lug off each one. That left the problem of levelling the doors because at the correct height, each of the hangers in question then protruded beyond the edge of each door so the doors could not completely close. I resolved that one by moving the hangers in and drilling new holes in the hanging strips on the top of each door.

But even then, although the doors were hanging vertically, they still wouldn’t completely close. The reason for that was that although the externally mounted door handles were fitted correctly, they each extend just beyond the edge of the doors ie they are too wide. I’ll have to come back to that later and either file a bit off each handle or remove them and elongate their mounting holes so they don’t extend beyond the edges of the doors allowing the latter to come into contact with each other and fully close. Or I could attach some kind of strip to the edge of each door to take up the gap, I don’t know for now.

The other criticism that I have is that there is no kind of central stop and individually, each door can be pulled past the centre point of the door opening. If that happens, their rear edges can move past the ends of the horizontal rails on each of the front side panels preventing them from re-opening without a lot of fiddling. I’ll need to work out a way of avoiding that.

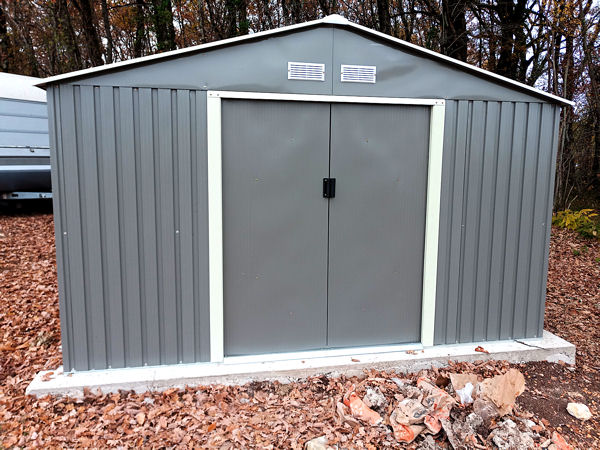
But anyway, here are today’s shots.
null

null

null

null

So at the end of the job, what are my conclusions? OK, there have been one or two problems along the way but you have to expect that kind of thing with this kind of job. Nobody is perfect and it’s not surprising that given the amount of engineering design that’s gone into the structure there are a few missing or mis-placed screw holes. Am I happy with the final result? Yes, definitely, even given the problems that I encountered and the criticisms that I’ve made above, it fully meets, or even exceeds, my expectations. There are no visible faults of any kind to detract from what I think is a pretty good-looking utility building.

I’m also very happy that I was able to complete it single-handedly. Wim very kindly offered to help me out but I wanted to try and do it by myself and am very pleased that it was both possible and I succeeded in doing so, even though it took a bit of working out from time to time. The manual says that two people can put together a structure like mine in a day. I doubt that, unless they already have experience of putting one together previously. I have taken the equivalent of six half days, shortish ones at that given the time of year, so say 3 working days. I’m very happy with that and I doubt I could realistically have done it in less.

And finally, what about the cost? Let’s say it cost 400€ plus the materials (sand, gravel and cement) – I’ve lost the numbers now but just under another 200€ as I recall, so call it 600€ for the concrete base. The structure itself cost just over 600€ (619€ actually) so the complete job came out at 1200€. How does that compare to other alternatives? Realistically the only other alternative is wood. When I built my wooden garden store in Plazac, it only measured something like 3 x 3.5 metres or maybe slightly more. However, that cost something like 1100-1200€ in total and took a lot of work measuring, cutting and fixing all of the components that were needed to construct it. That was in October 2015 and wood prices have gone up a bit since then also. So given that the capacity of my new tool store is greater and that it only took me three days to build it, I’m very pleased with how it’s turned out.

Now all I’ve got to do is start moving stuff into it, and you know what always happens then. You find you have more stuff than there’s space for… 🙁

FOOTNOTE

Just back to say that I’ve already discovered what I always suspected would be the biggest downside of a structure like this. Carrying in the second of the two heavy ‘tounelles’ that I bought last summer I smacked the edge of one of the front doors and put an unsightly dent in it. That will always be a problem. Wood would have just shrugged it off.

New tool store – day 6

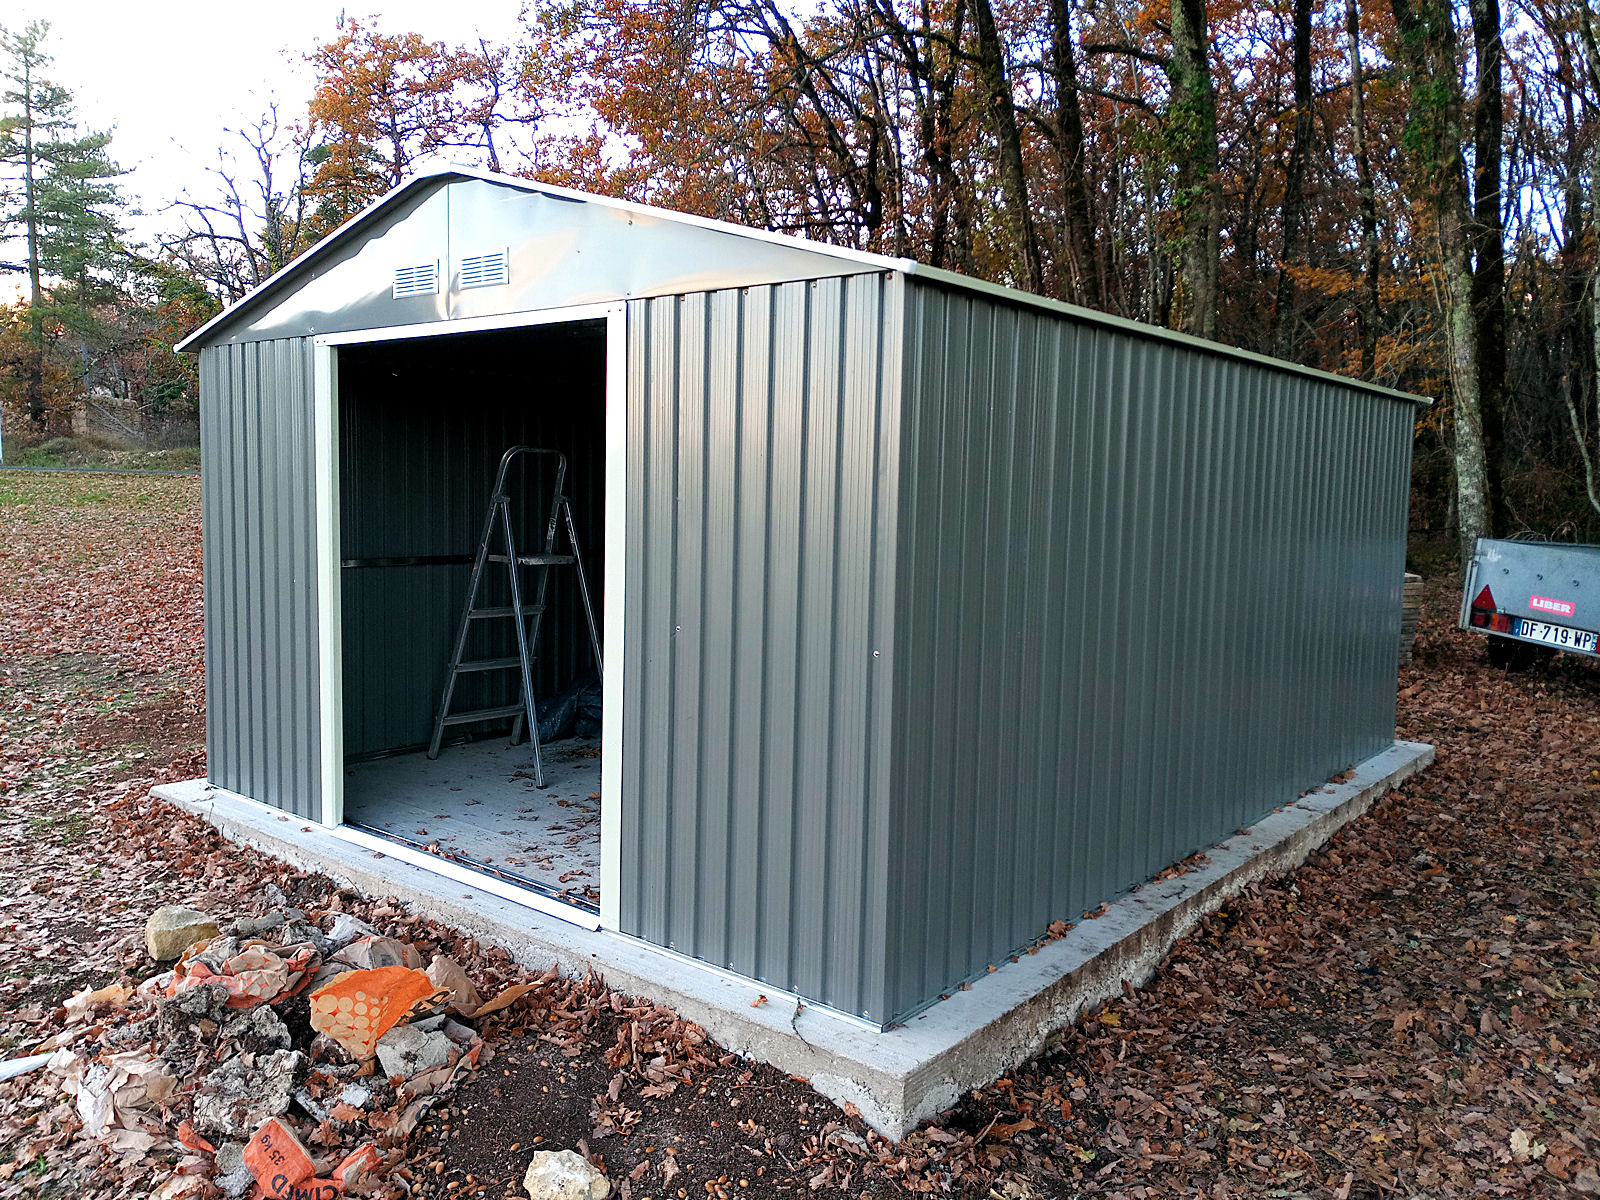
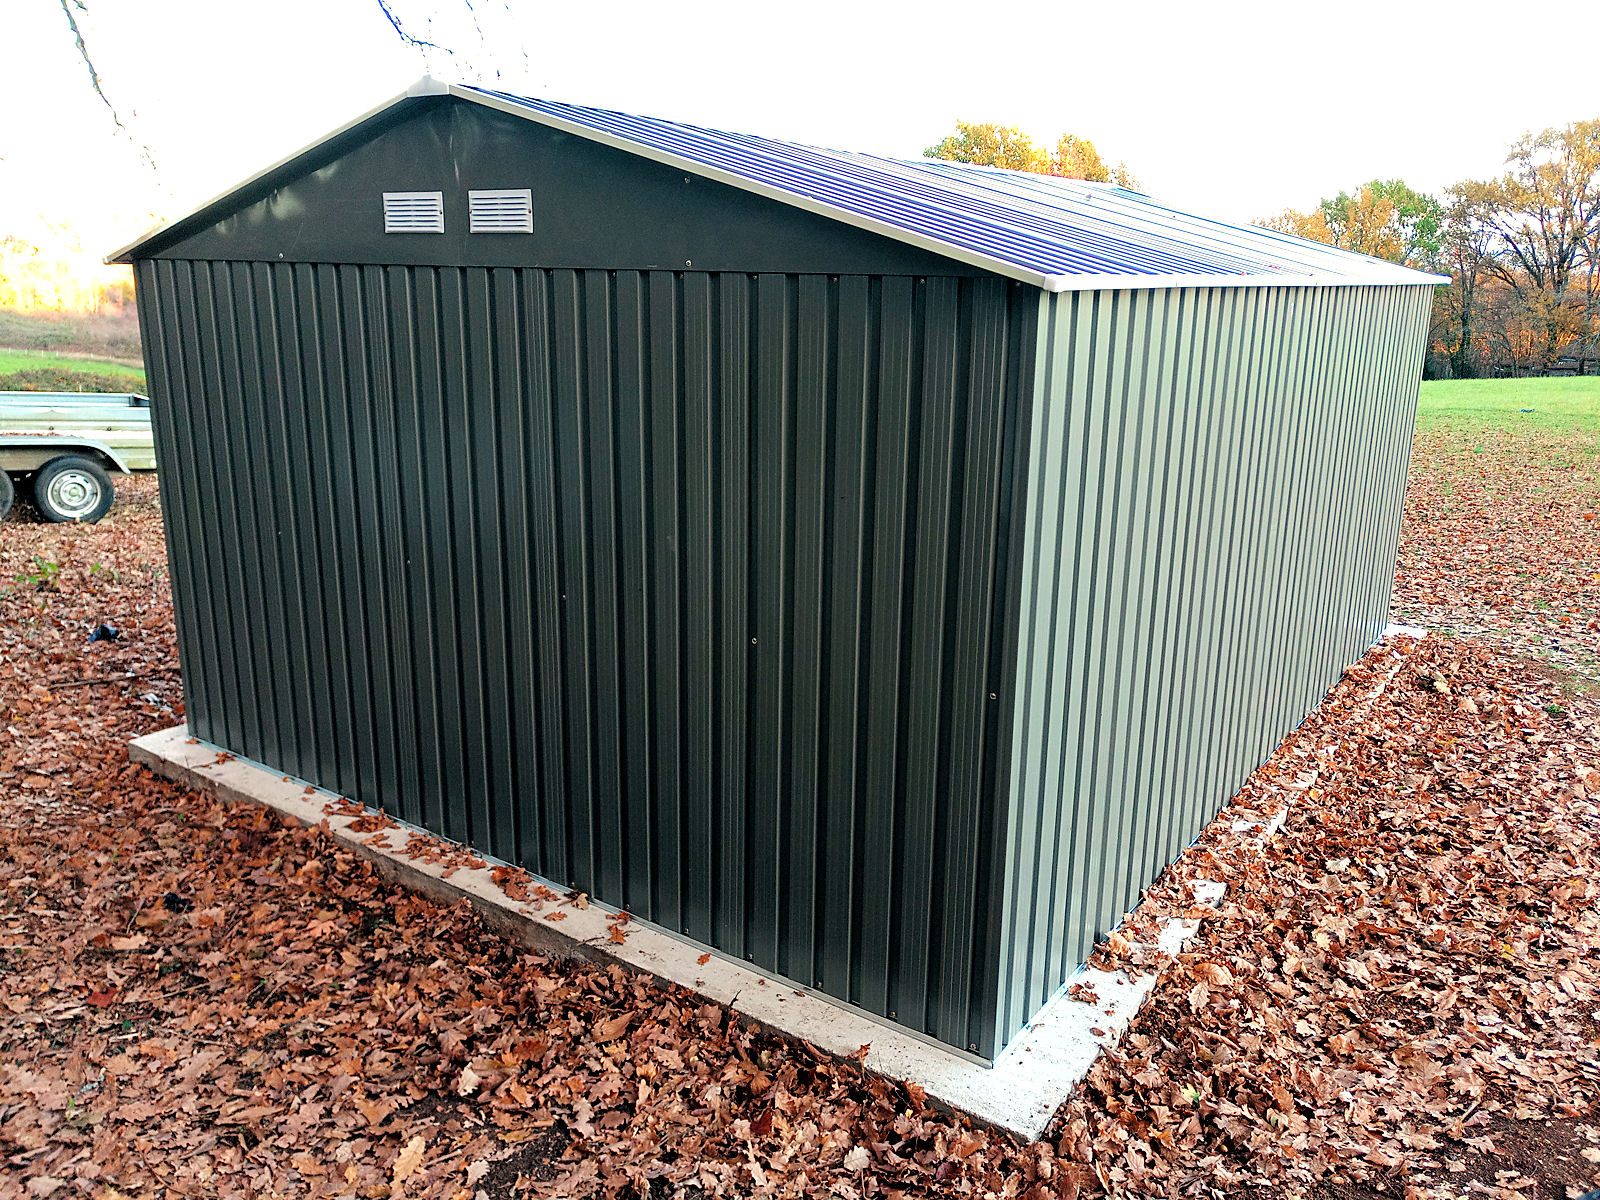
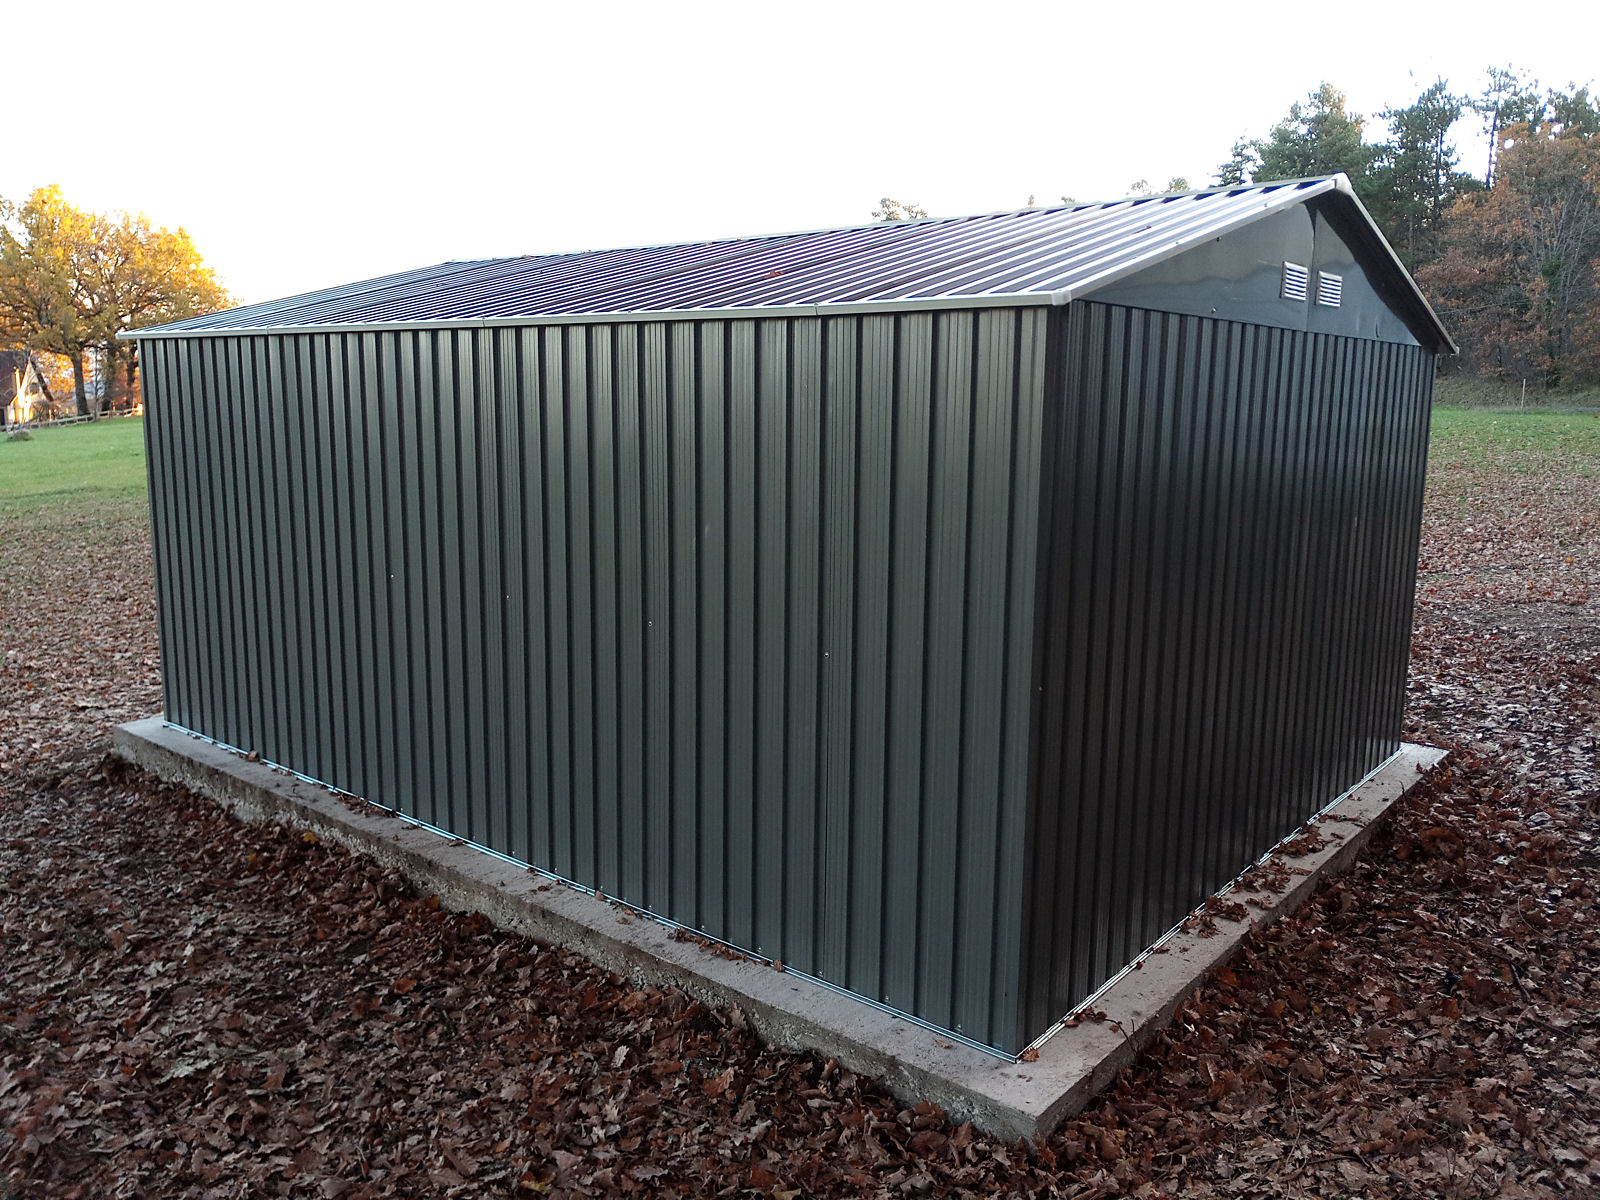
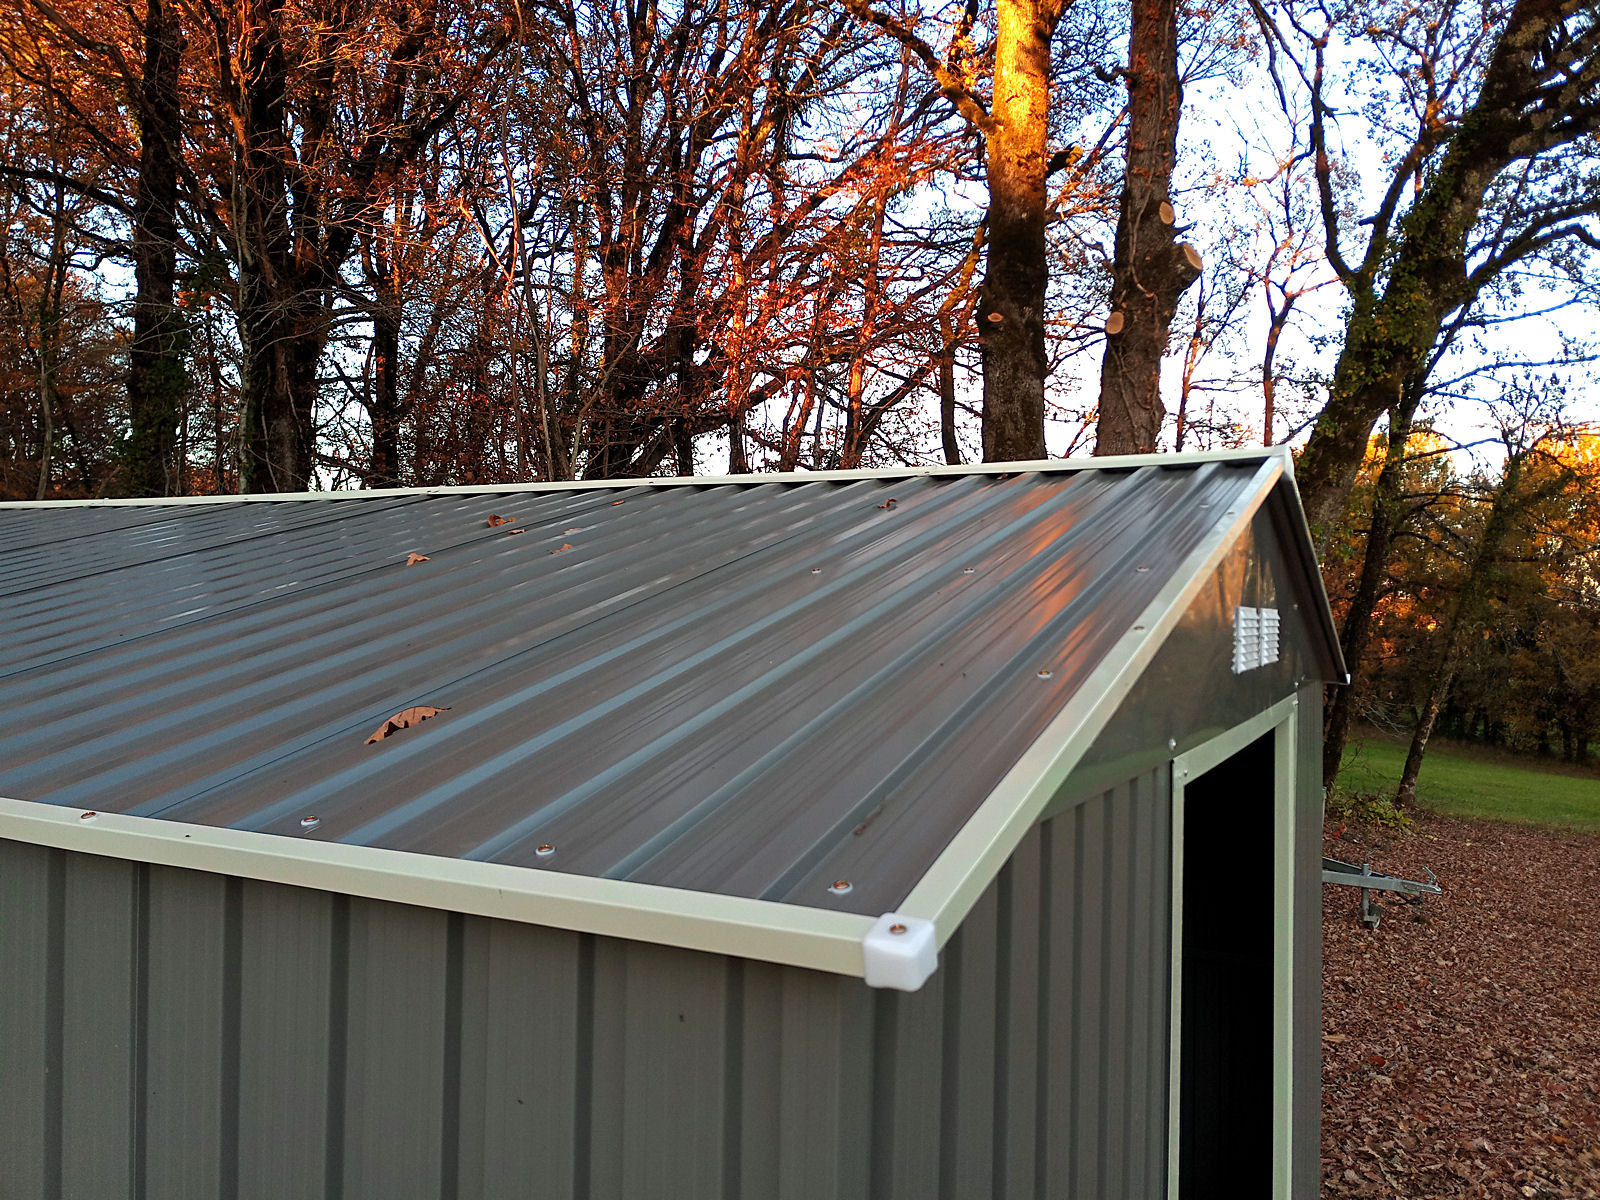
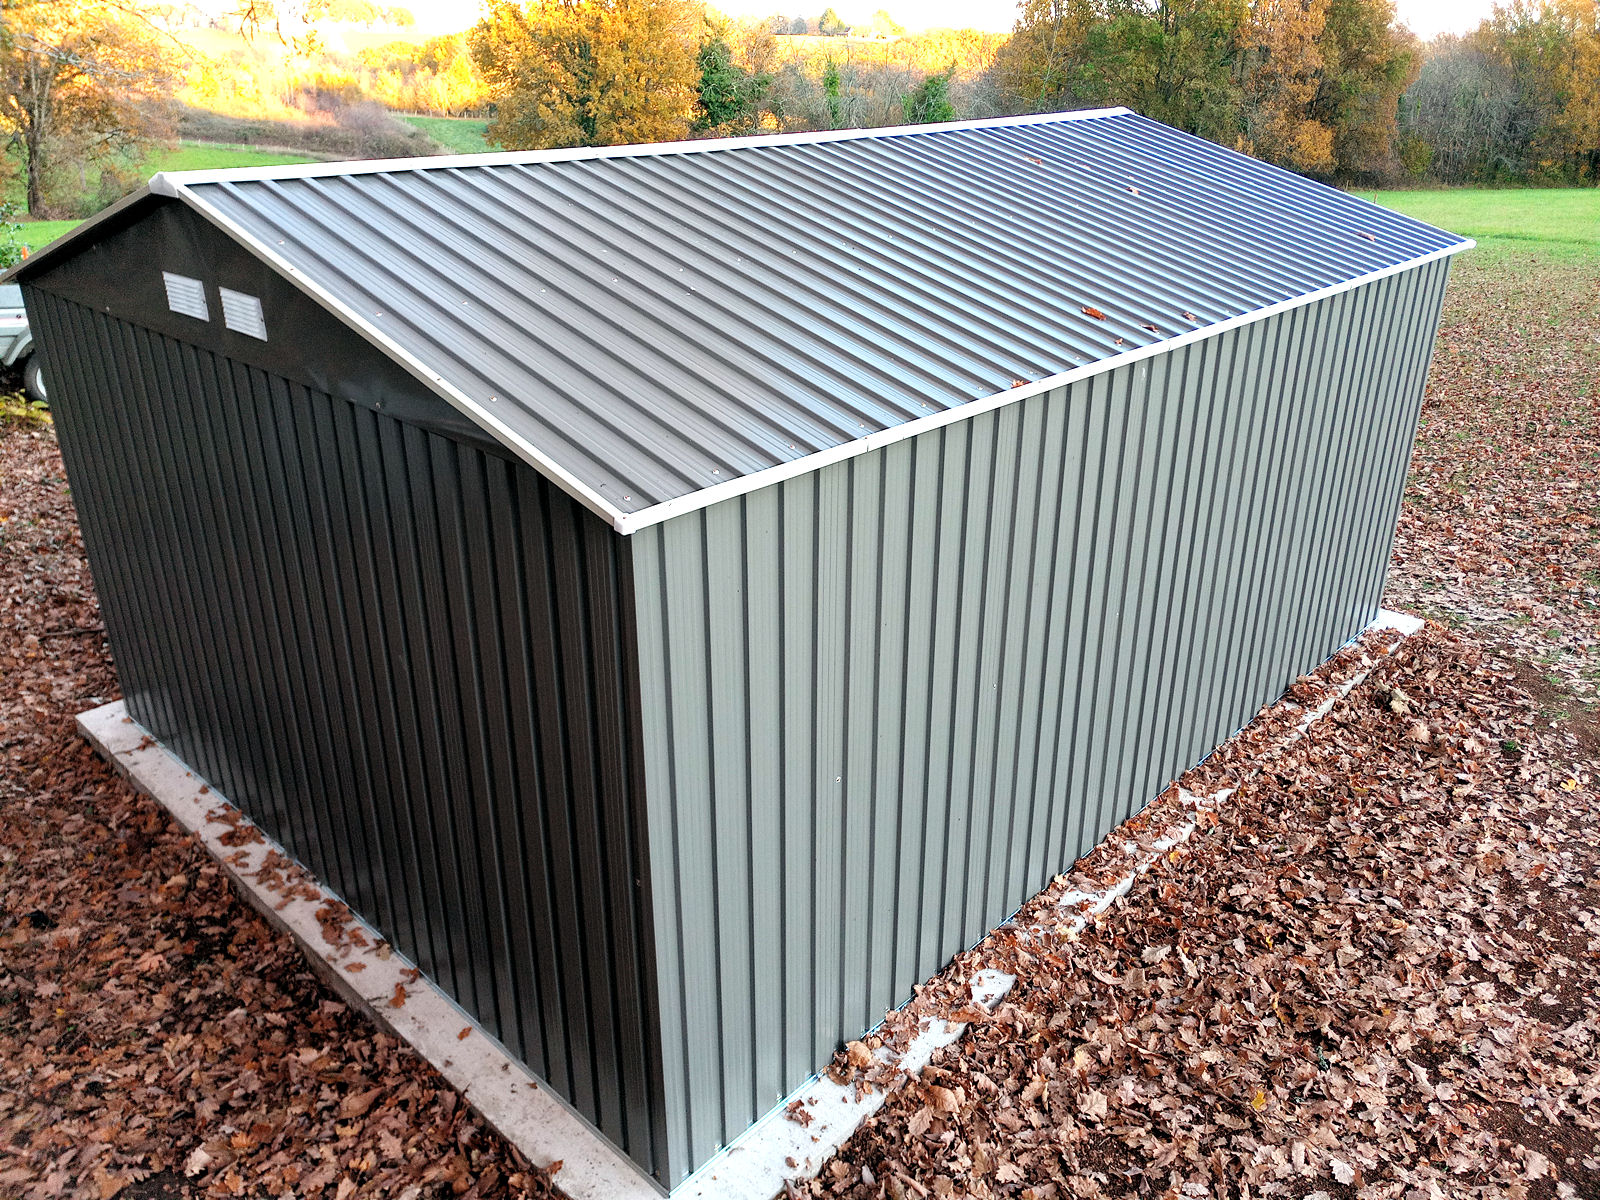
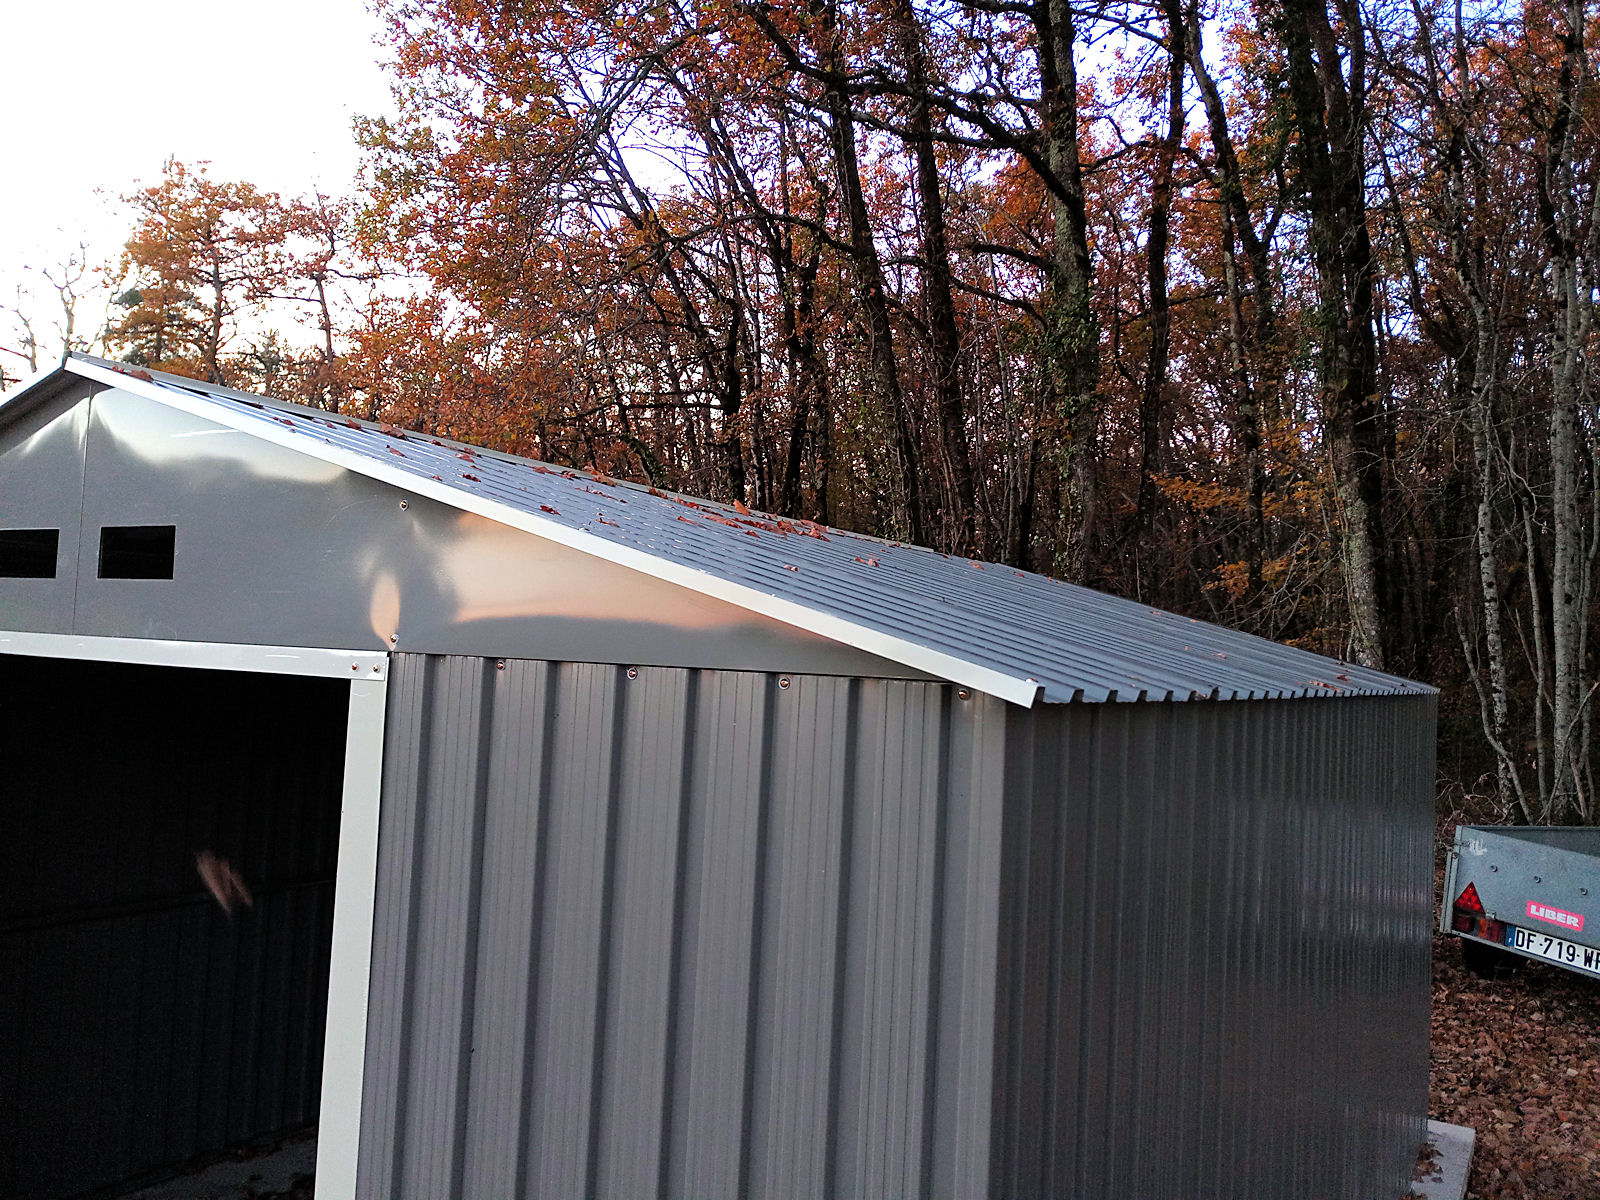
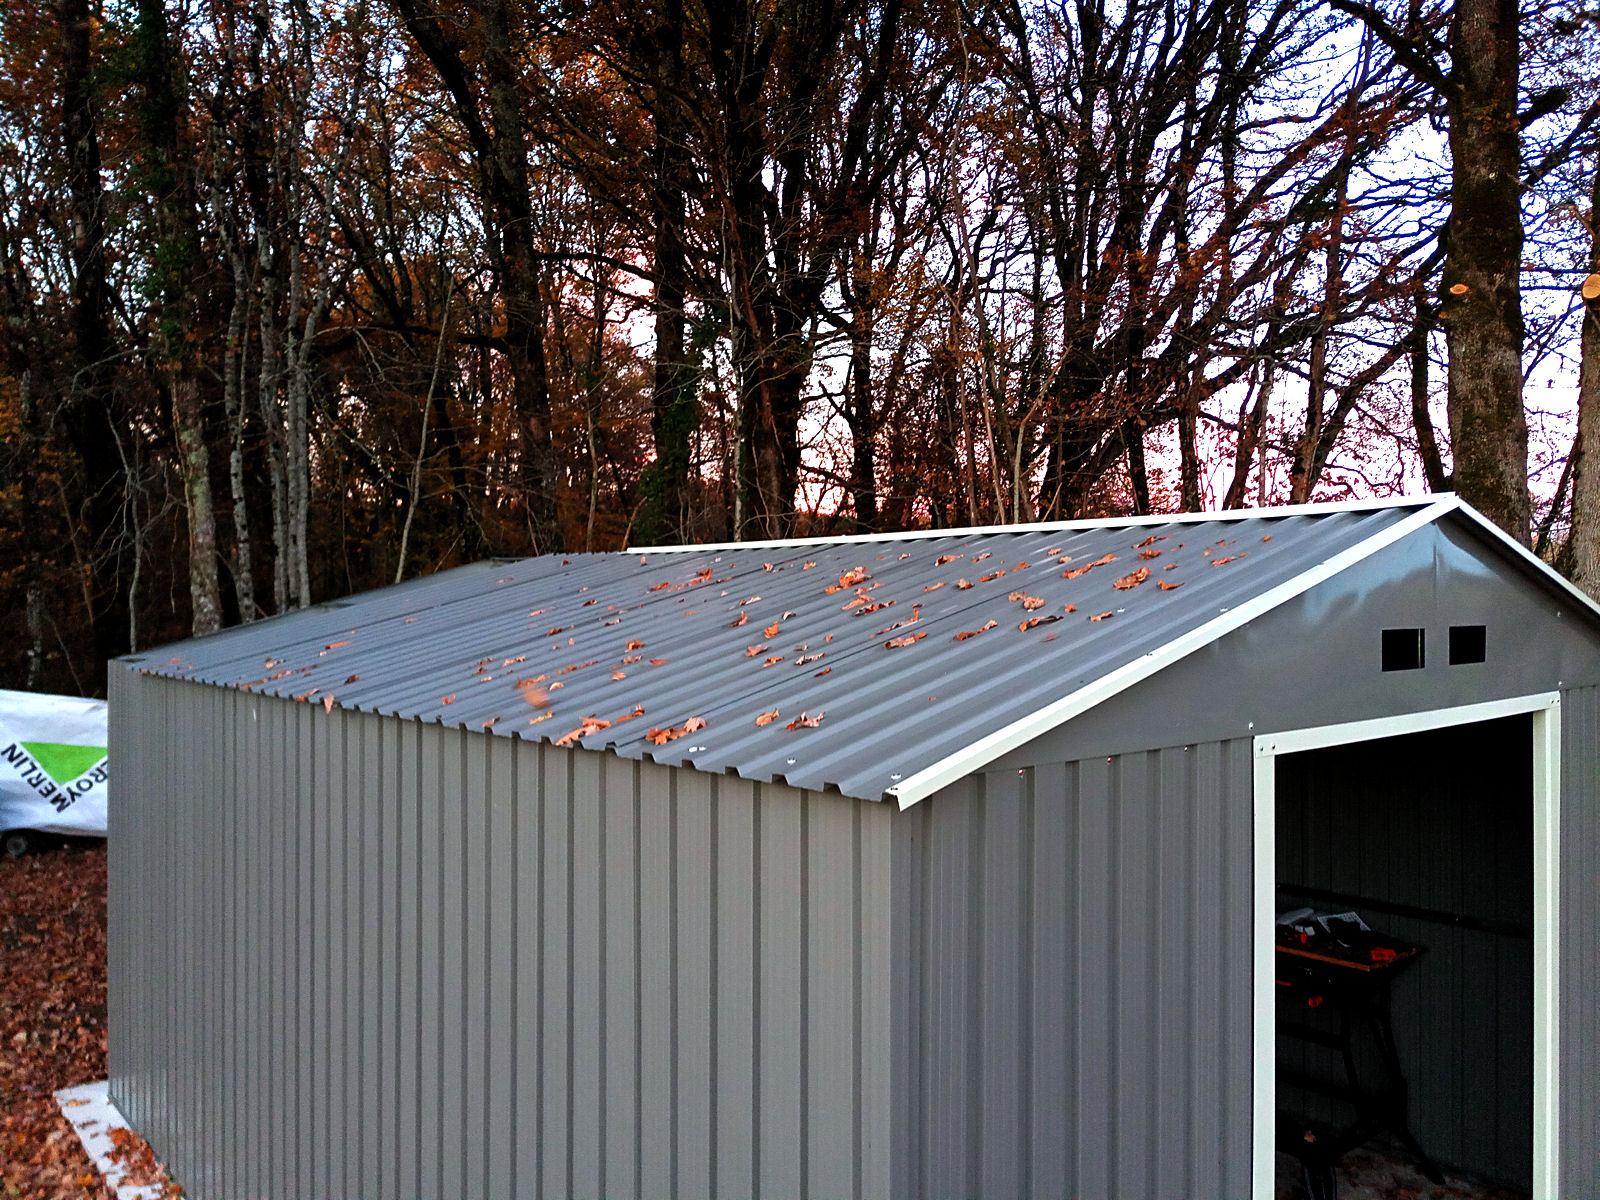
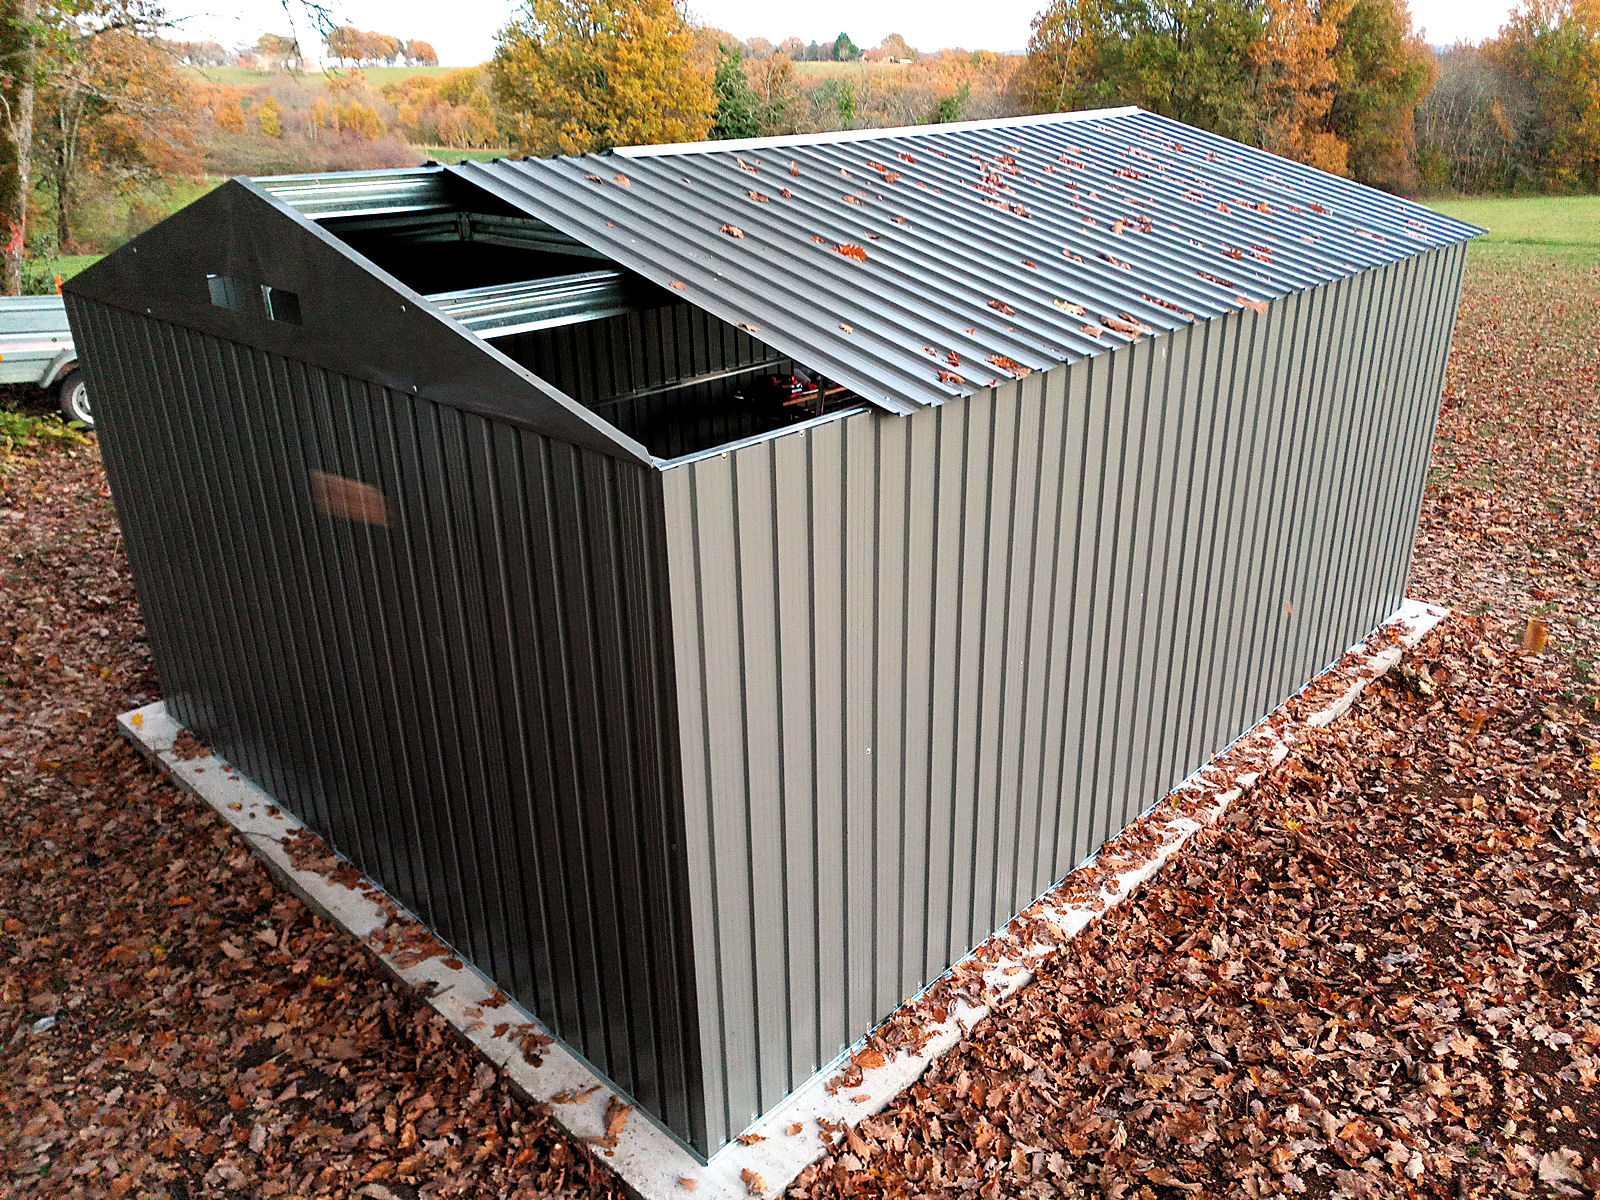
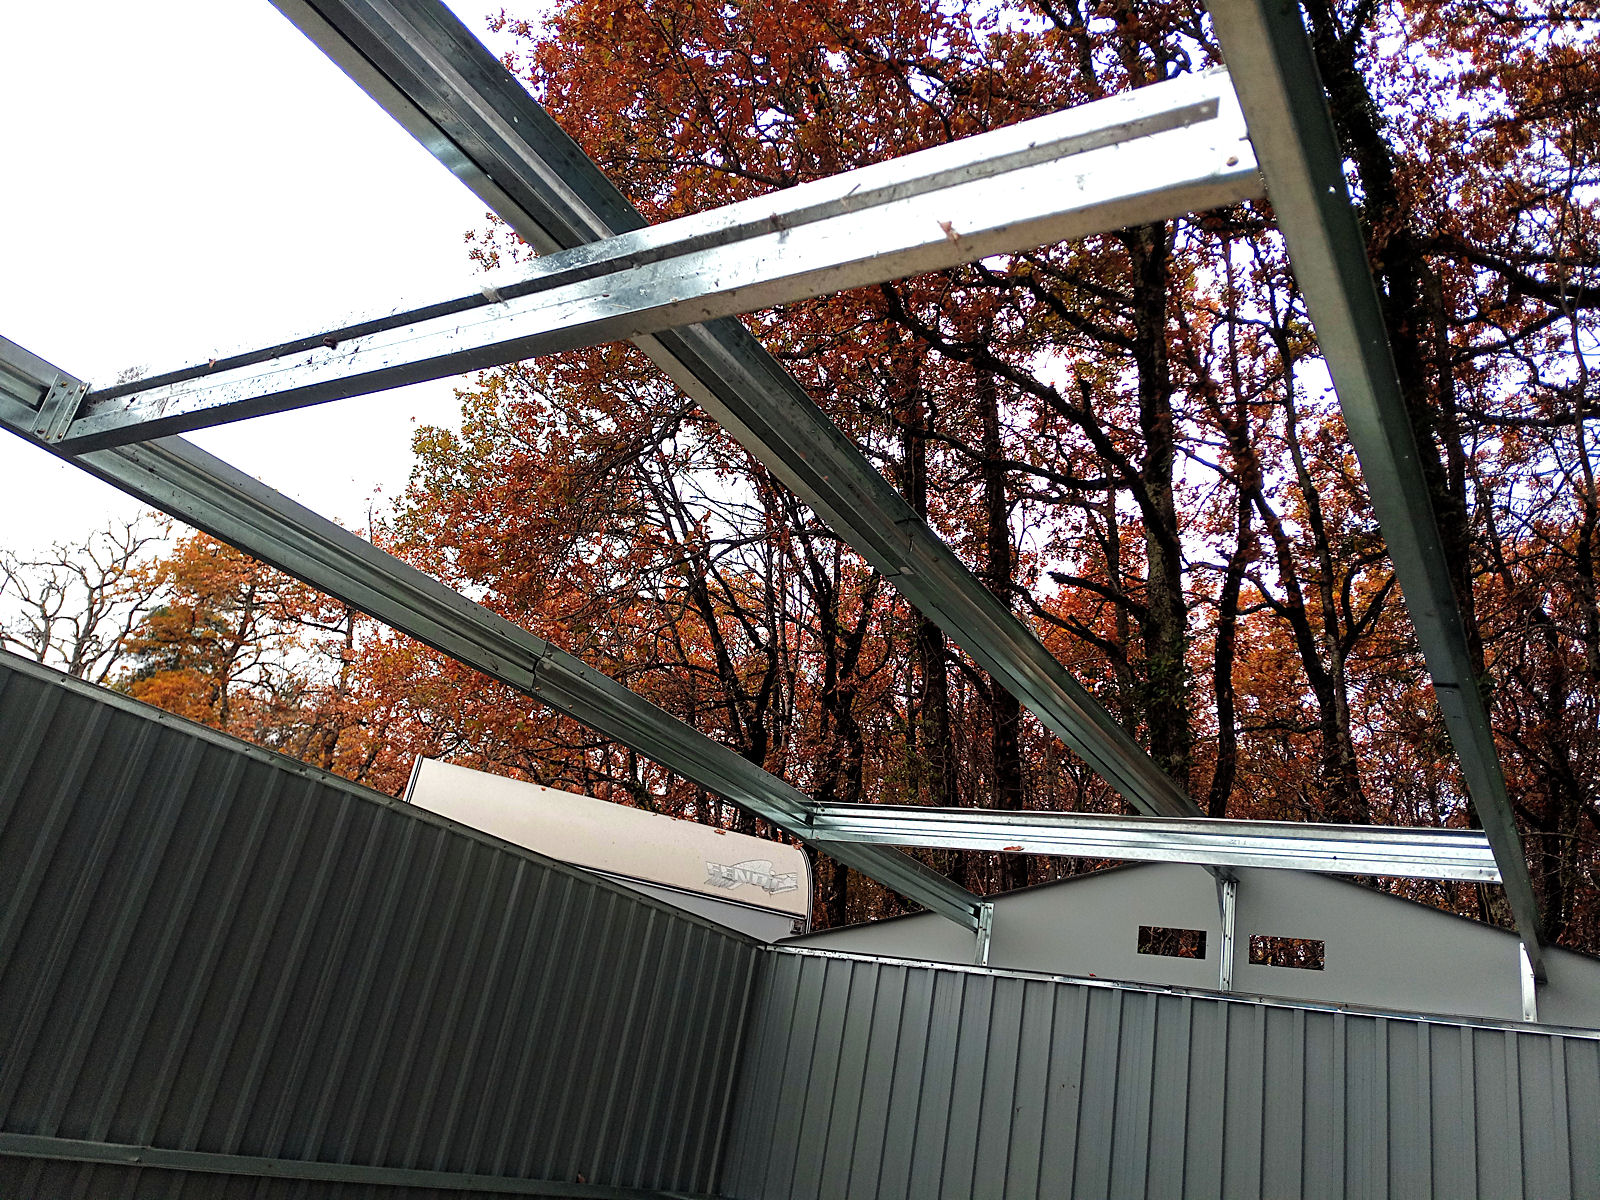
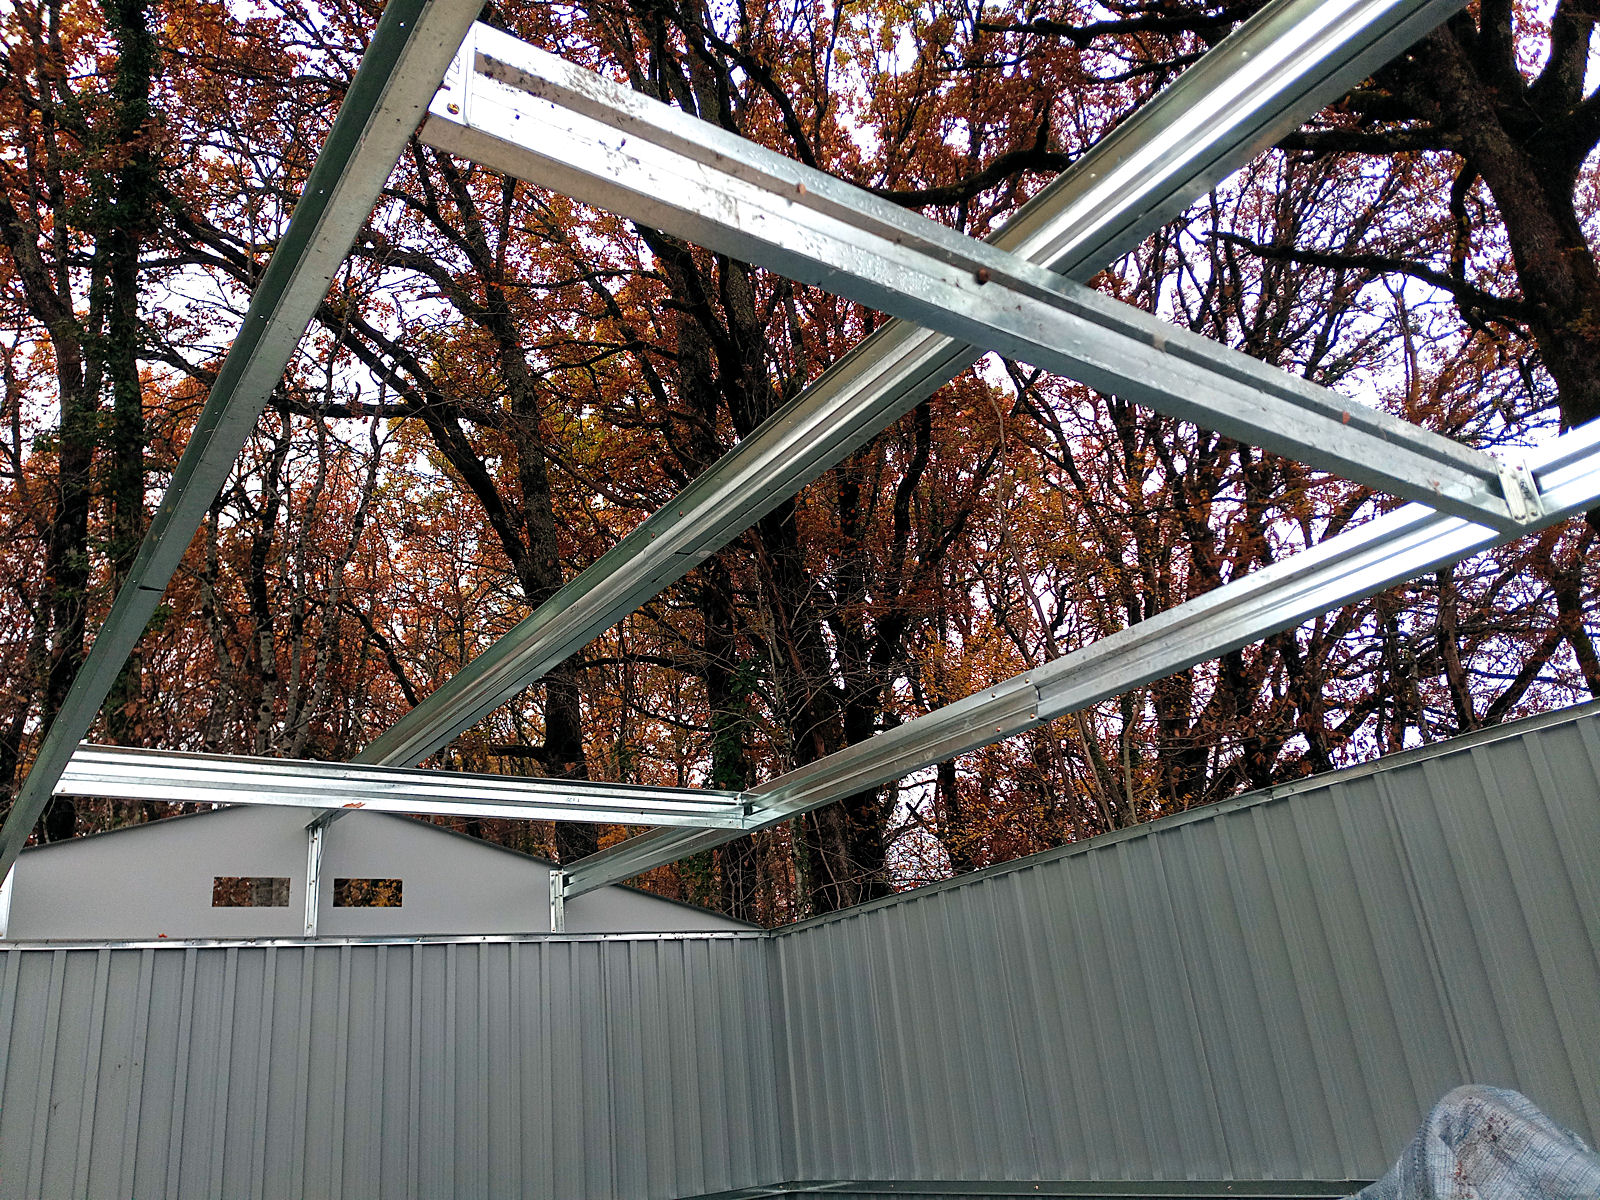
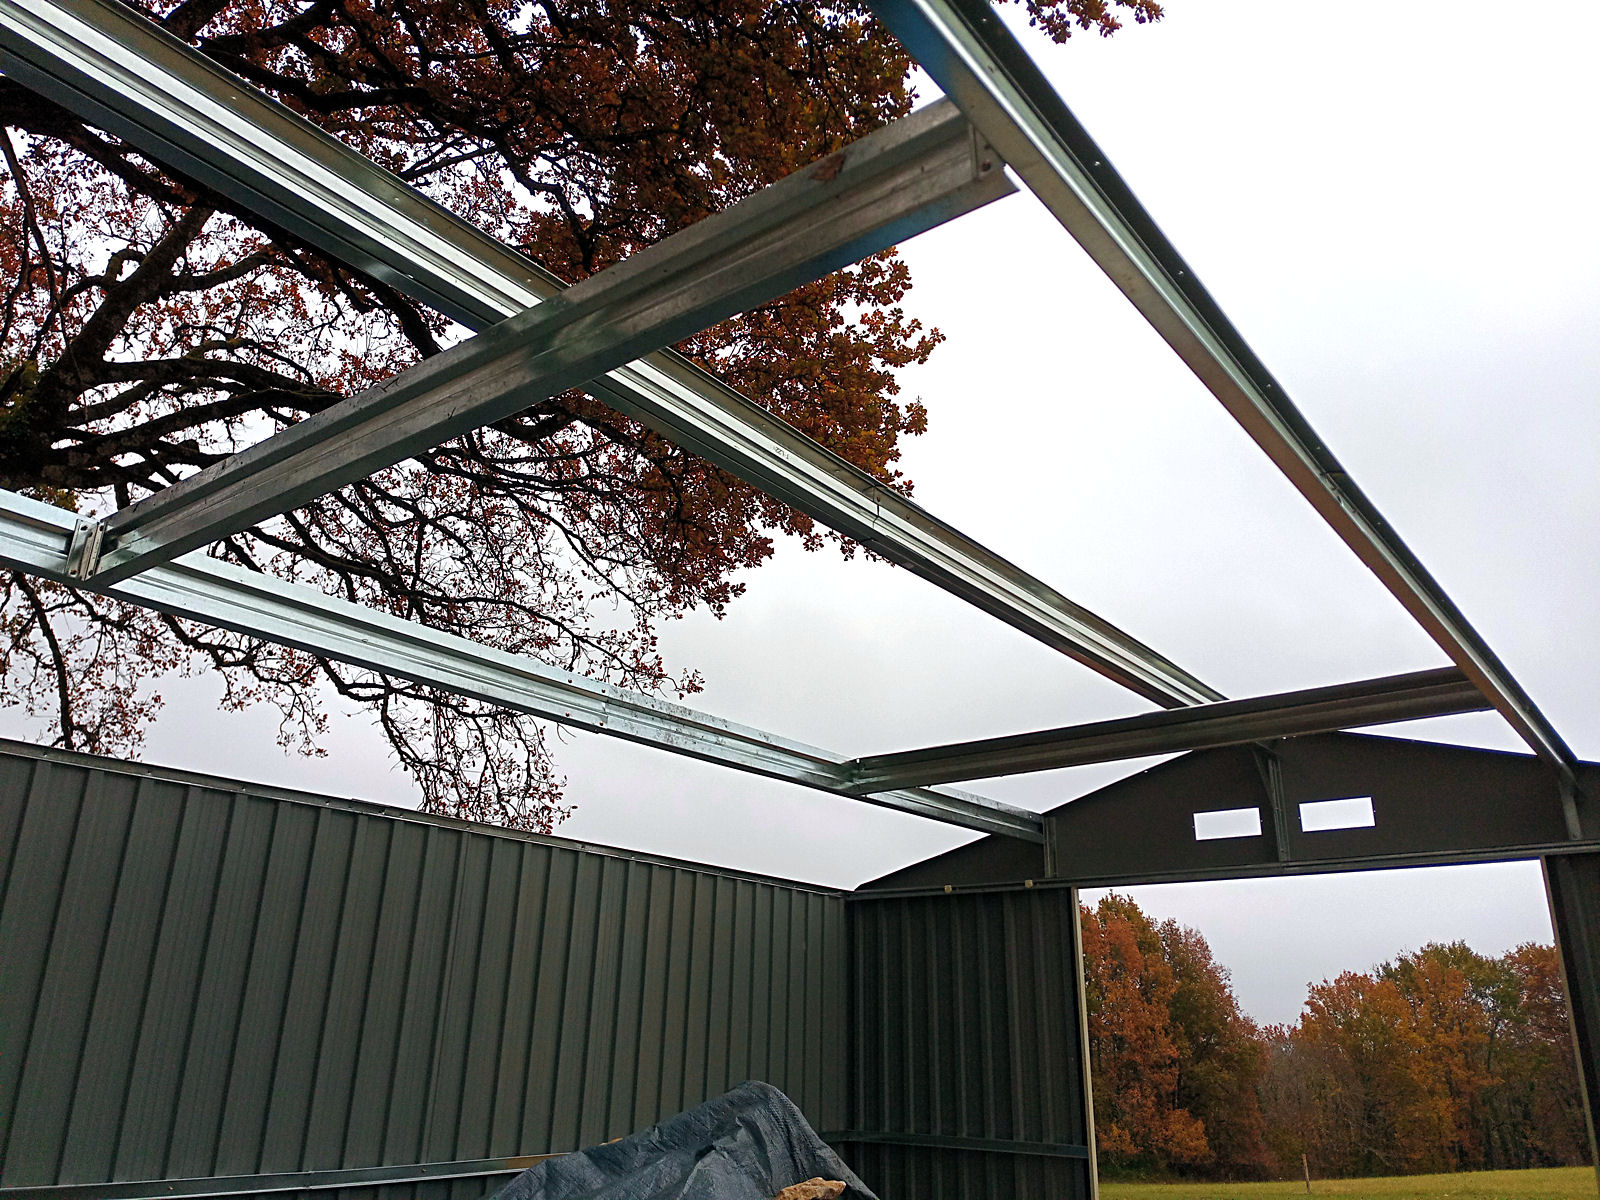
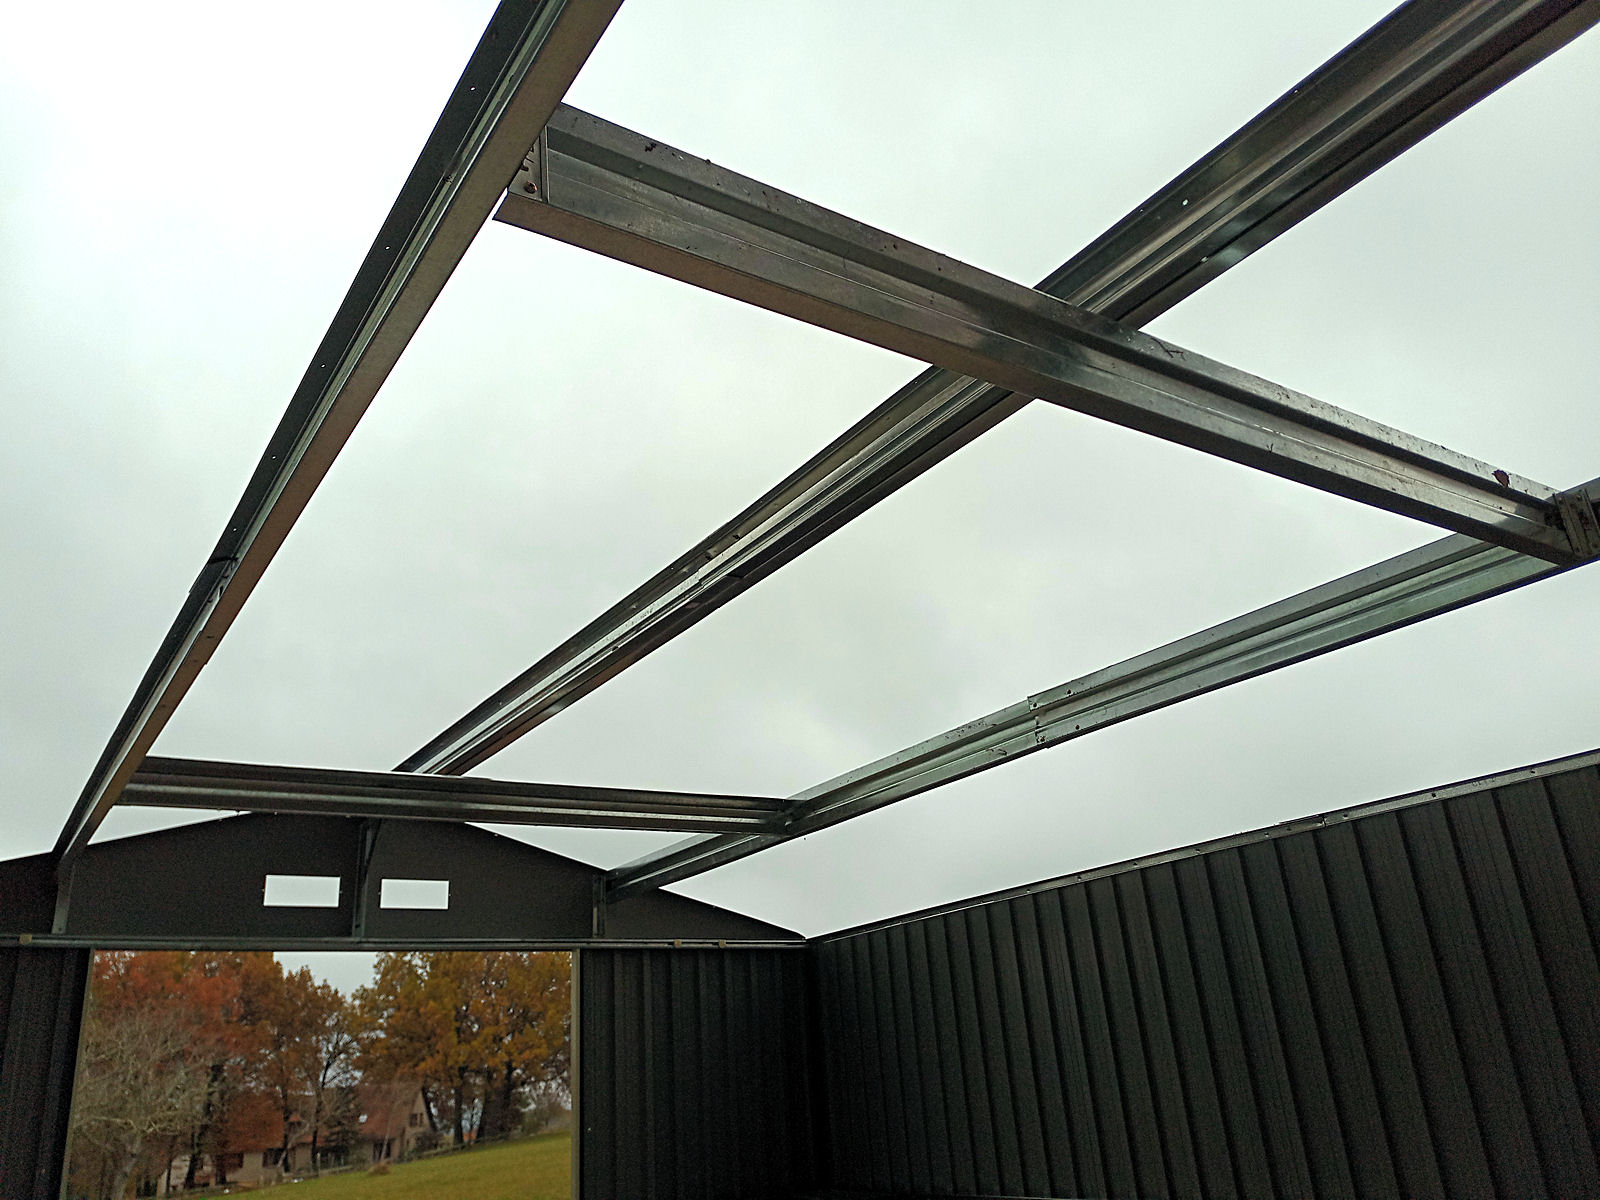
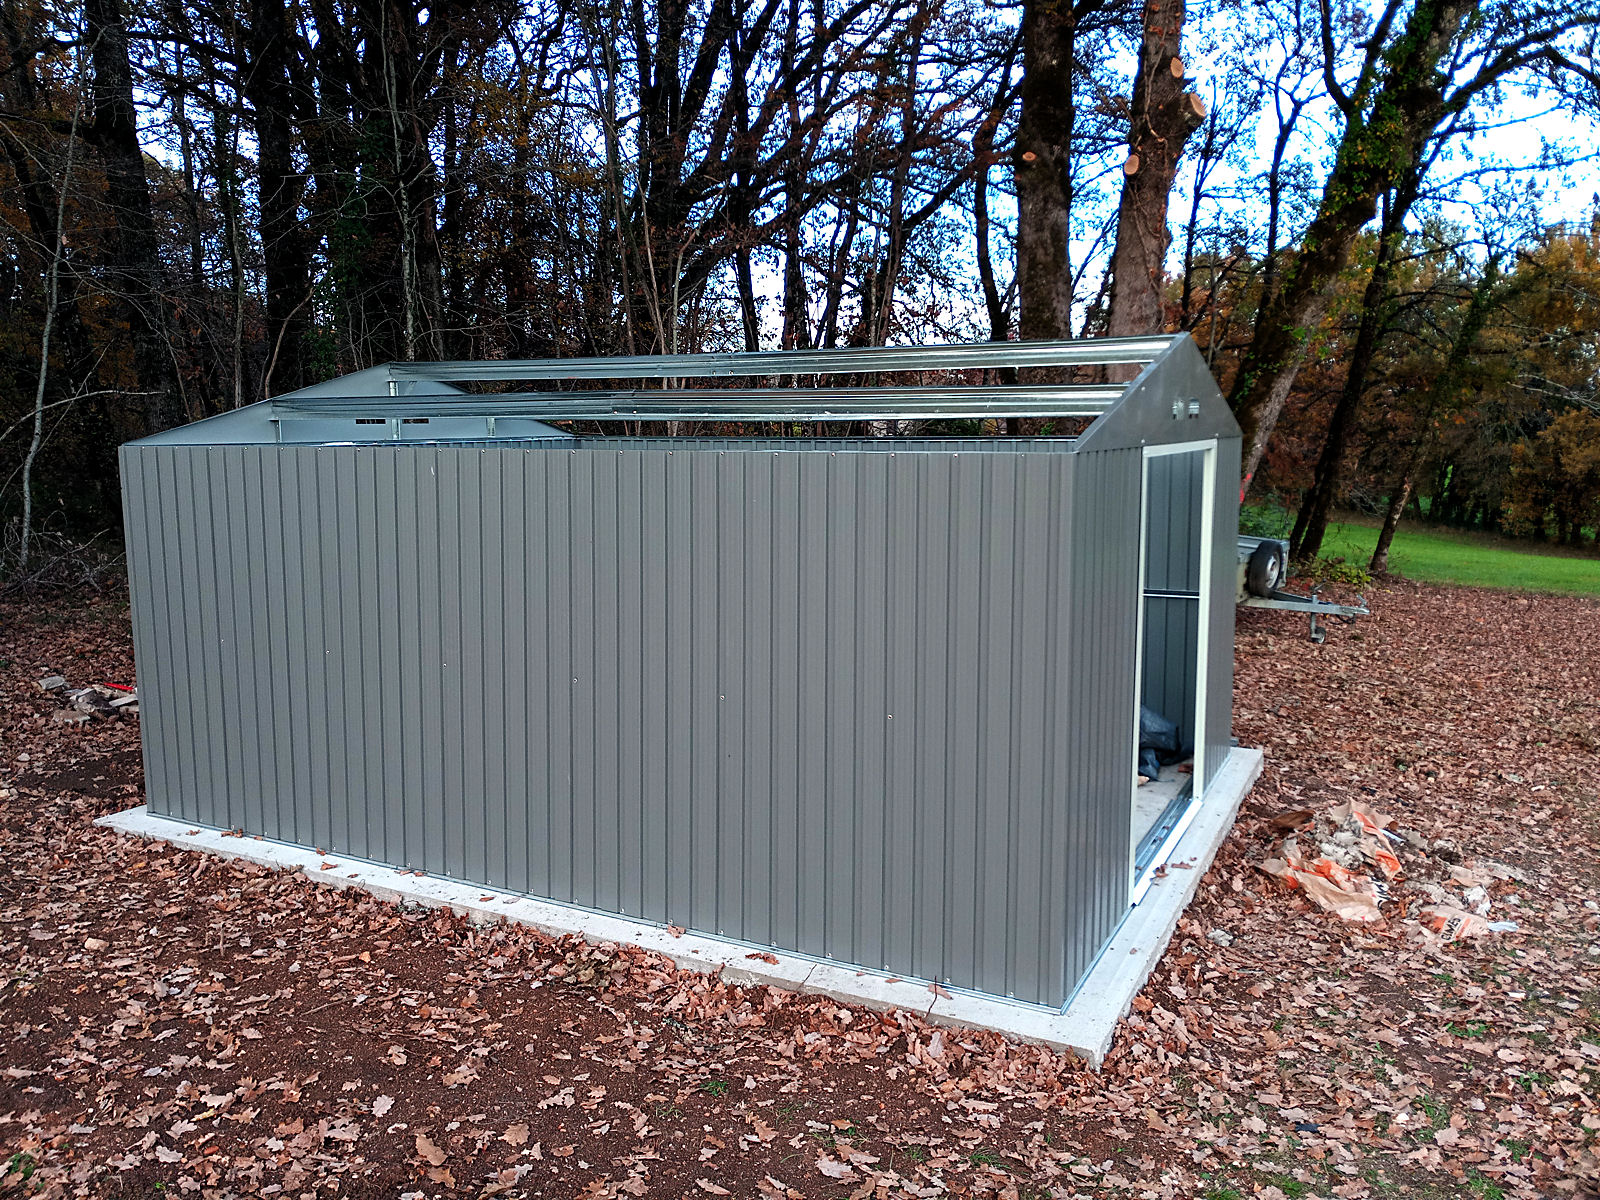
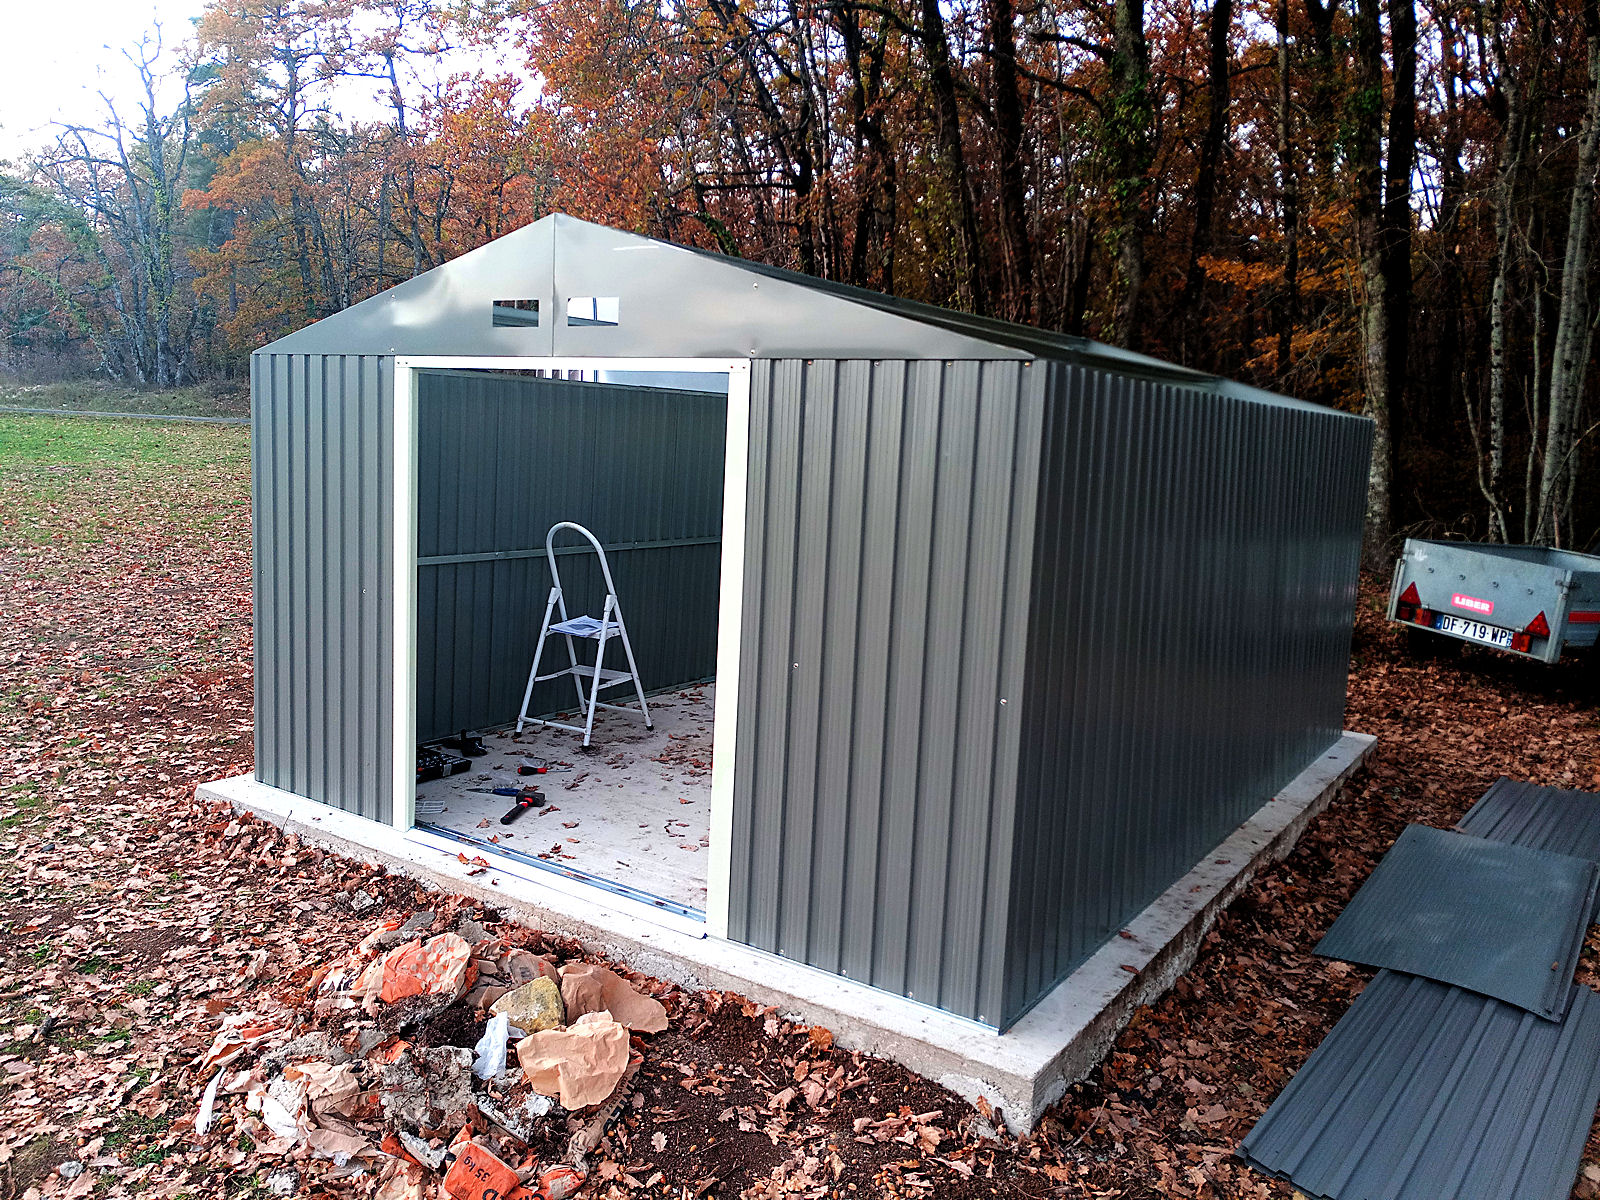
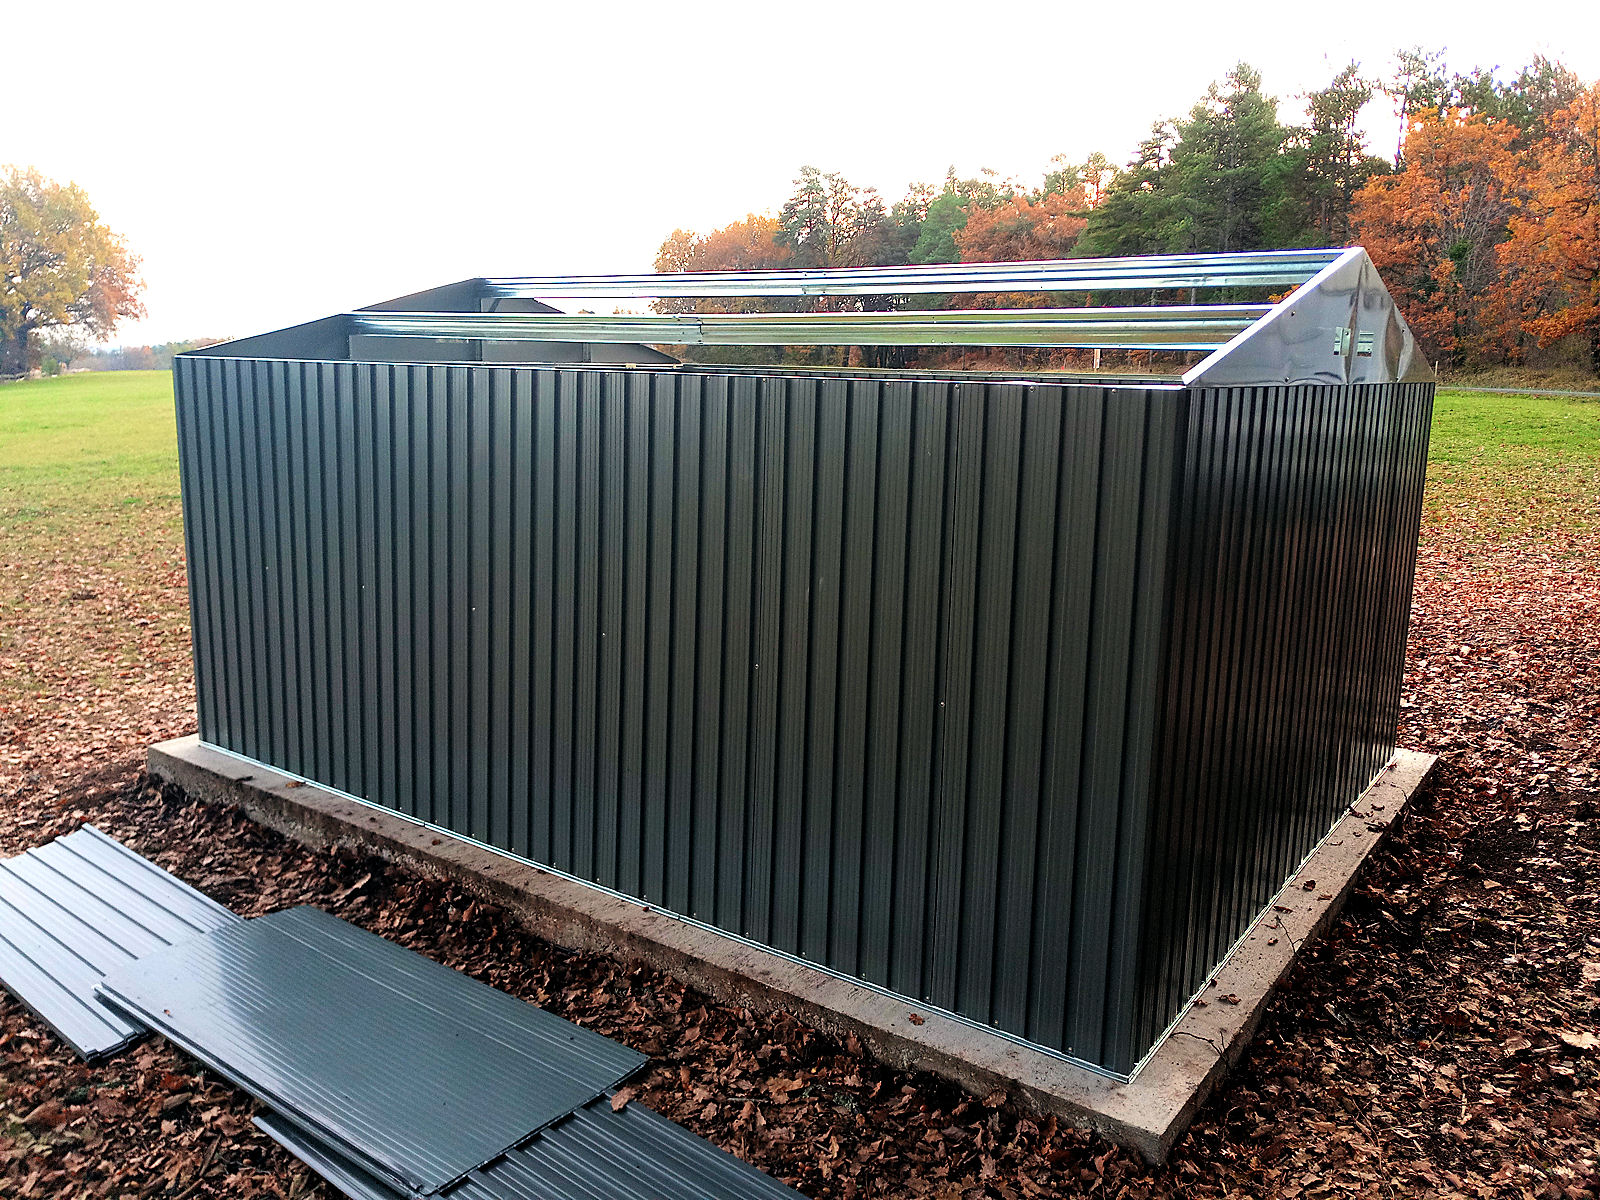
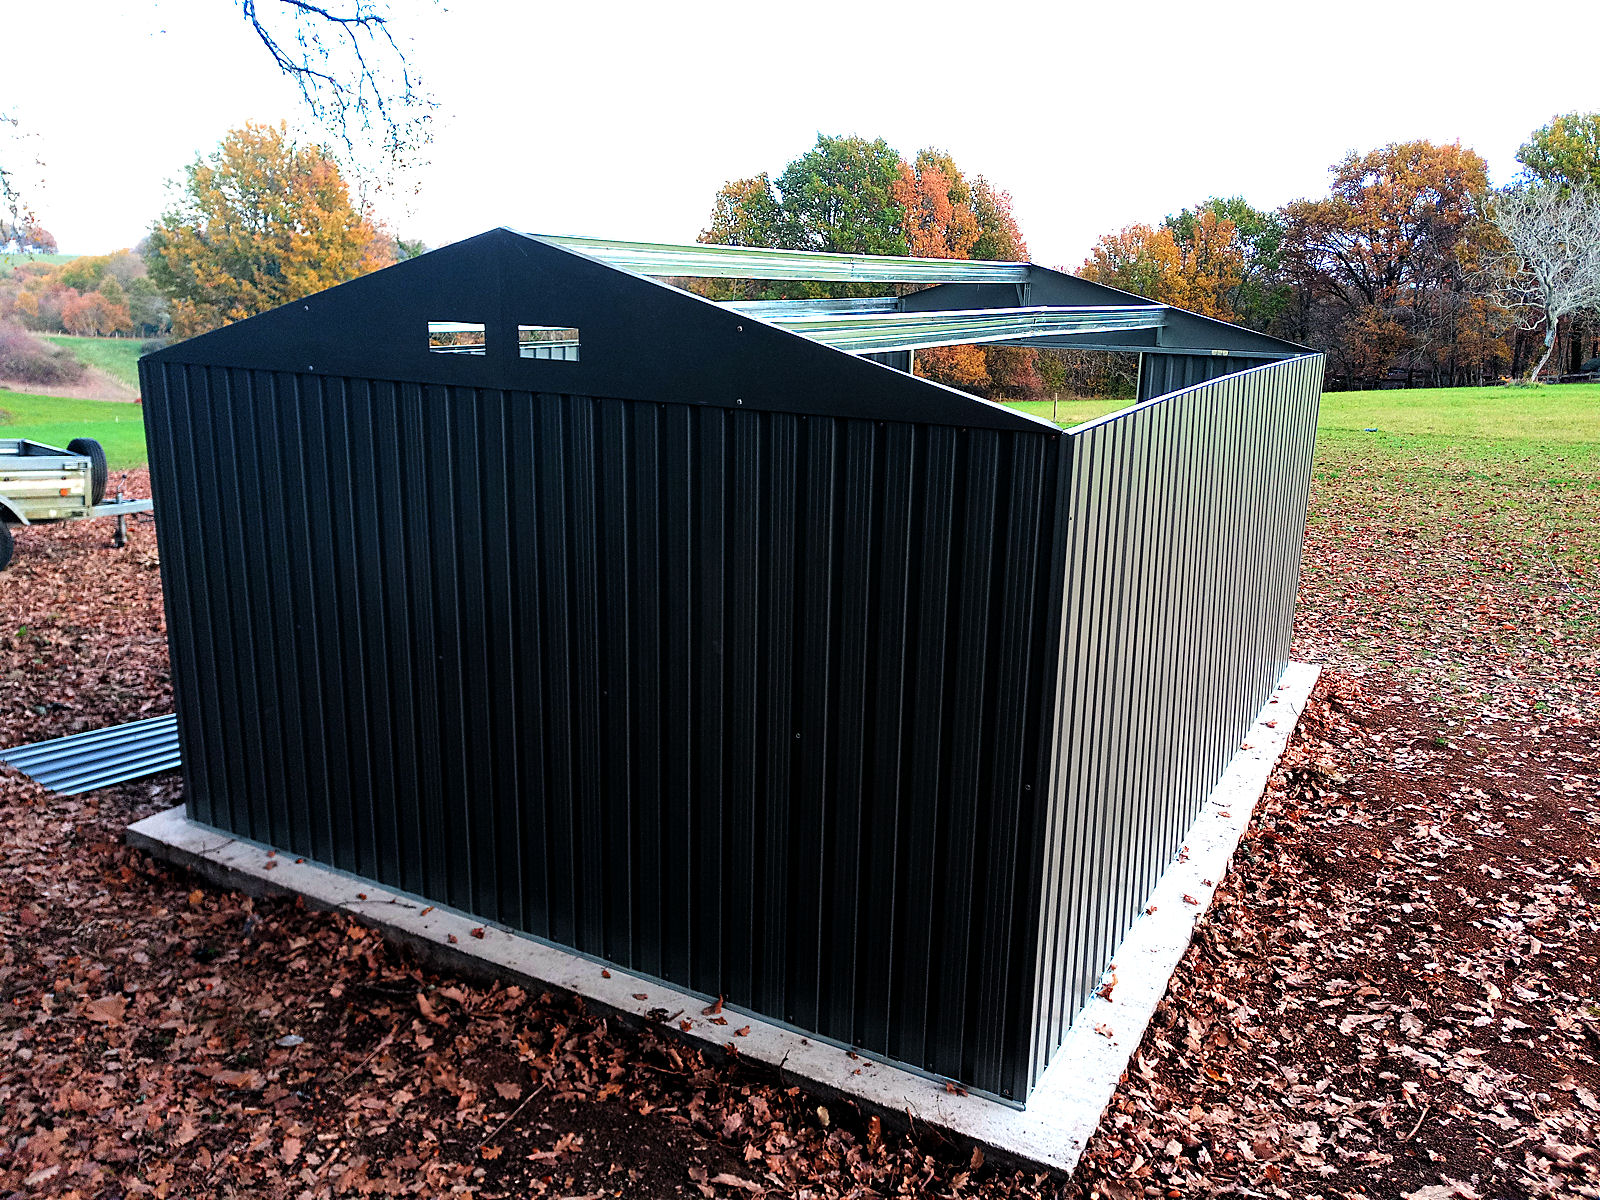
I knew that it was going to take some time and a bit of tweaking to get the roof finished, I guess due to the building not being exactly aligned, so I just retained my composure and worked through the problems. These mainly were aligning screws with holes (especially when they were passing through three sheets of flimsy metal) and drilling holes where they were needed and there weren’t any, but eventually I got there after several hours of work and then it was just a matter of fitting trim pieces and the like to finish the main structure.

Here are the usual end-of-day shots taken first off from the four corners.

null

null

null

null

I think that the trim pieces that are applied to the edges, corners and the ends of the ridge strip add a nice touch to it and all-in-all I think that the building has a good ‘feel’ about it.

null

null

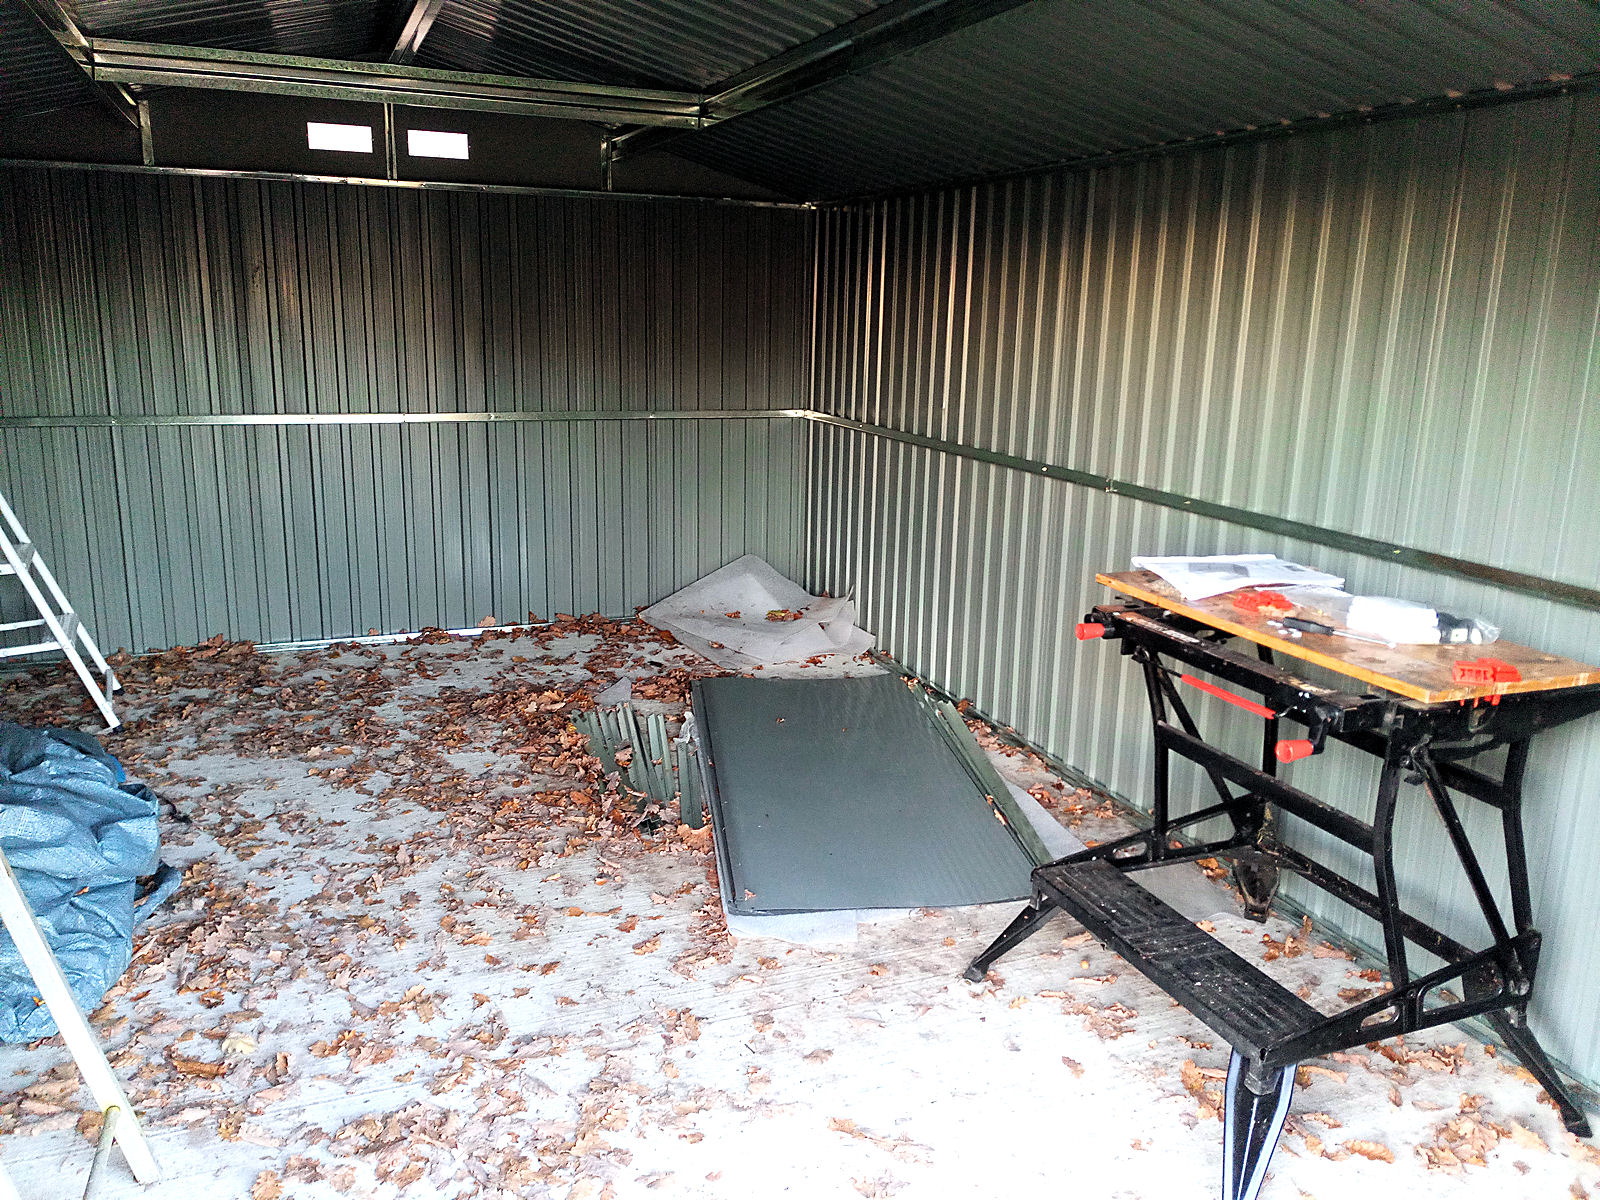
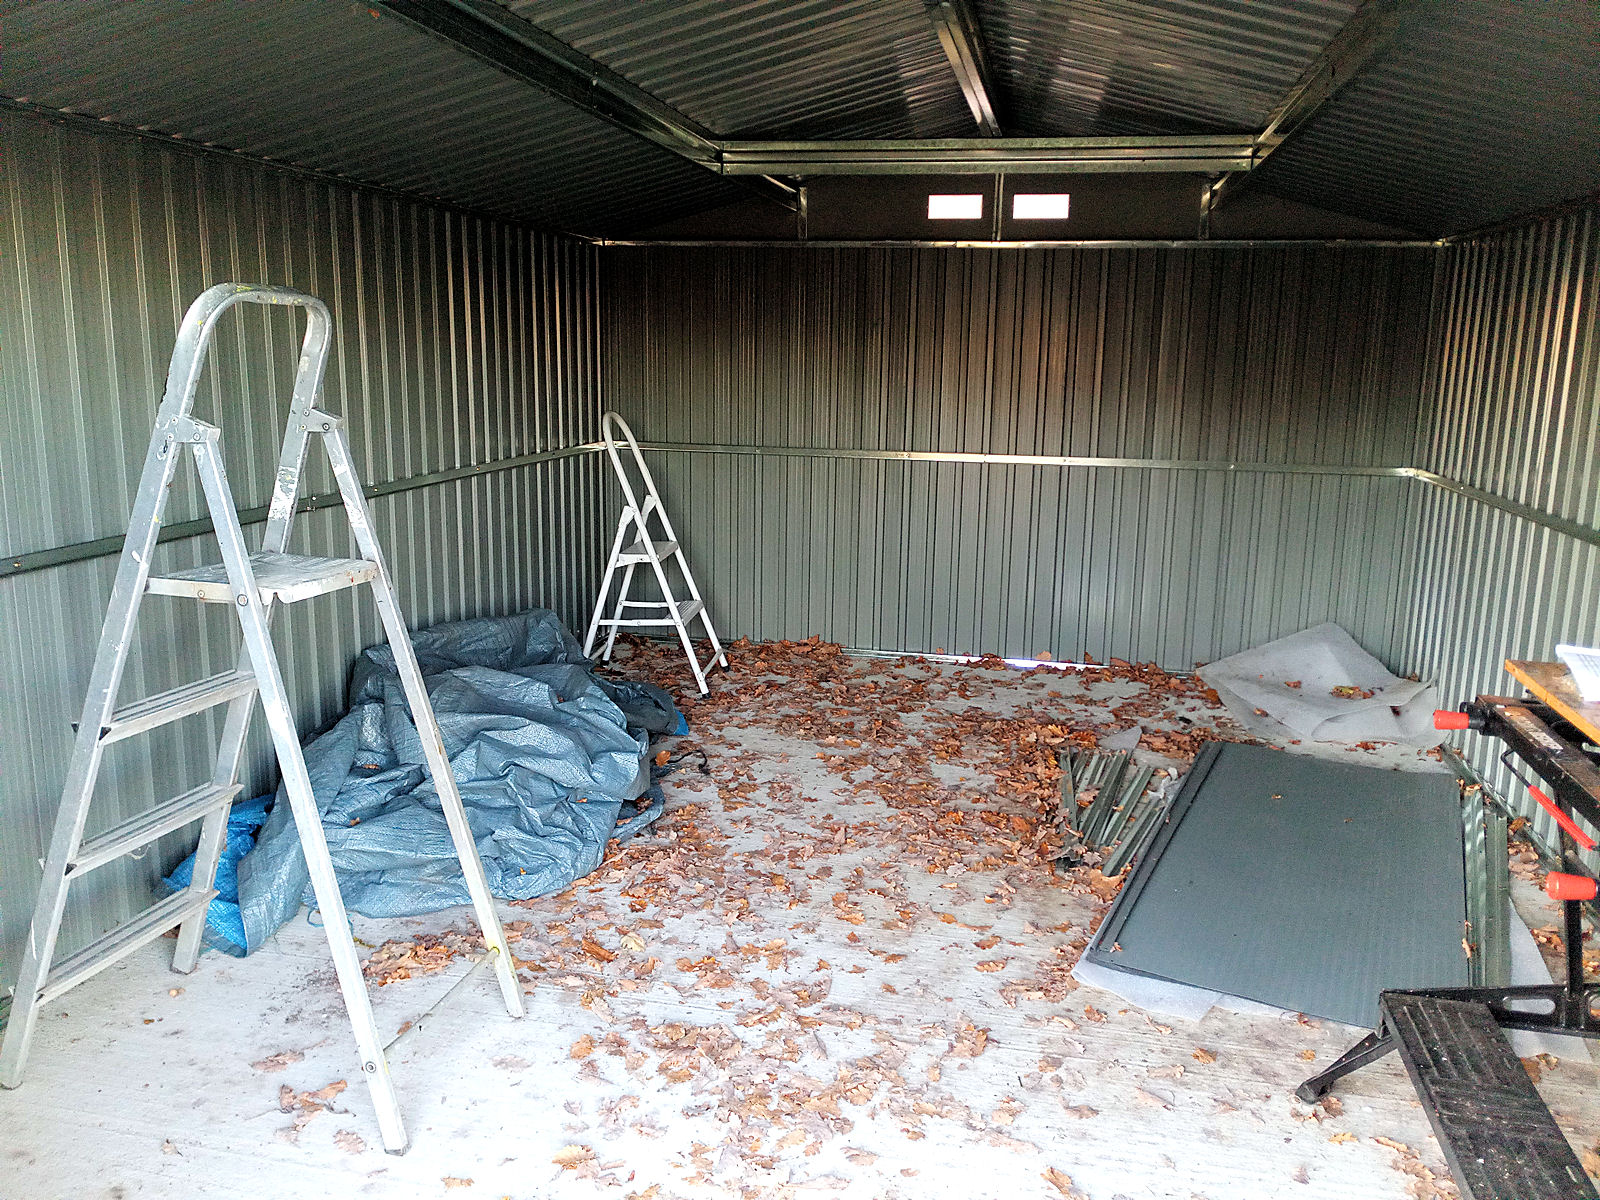
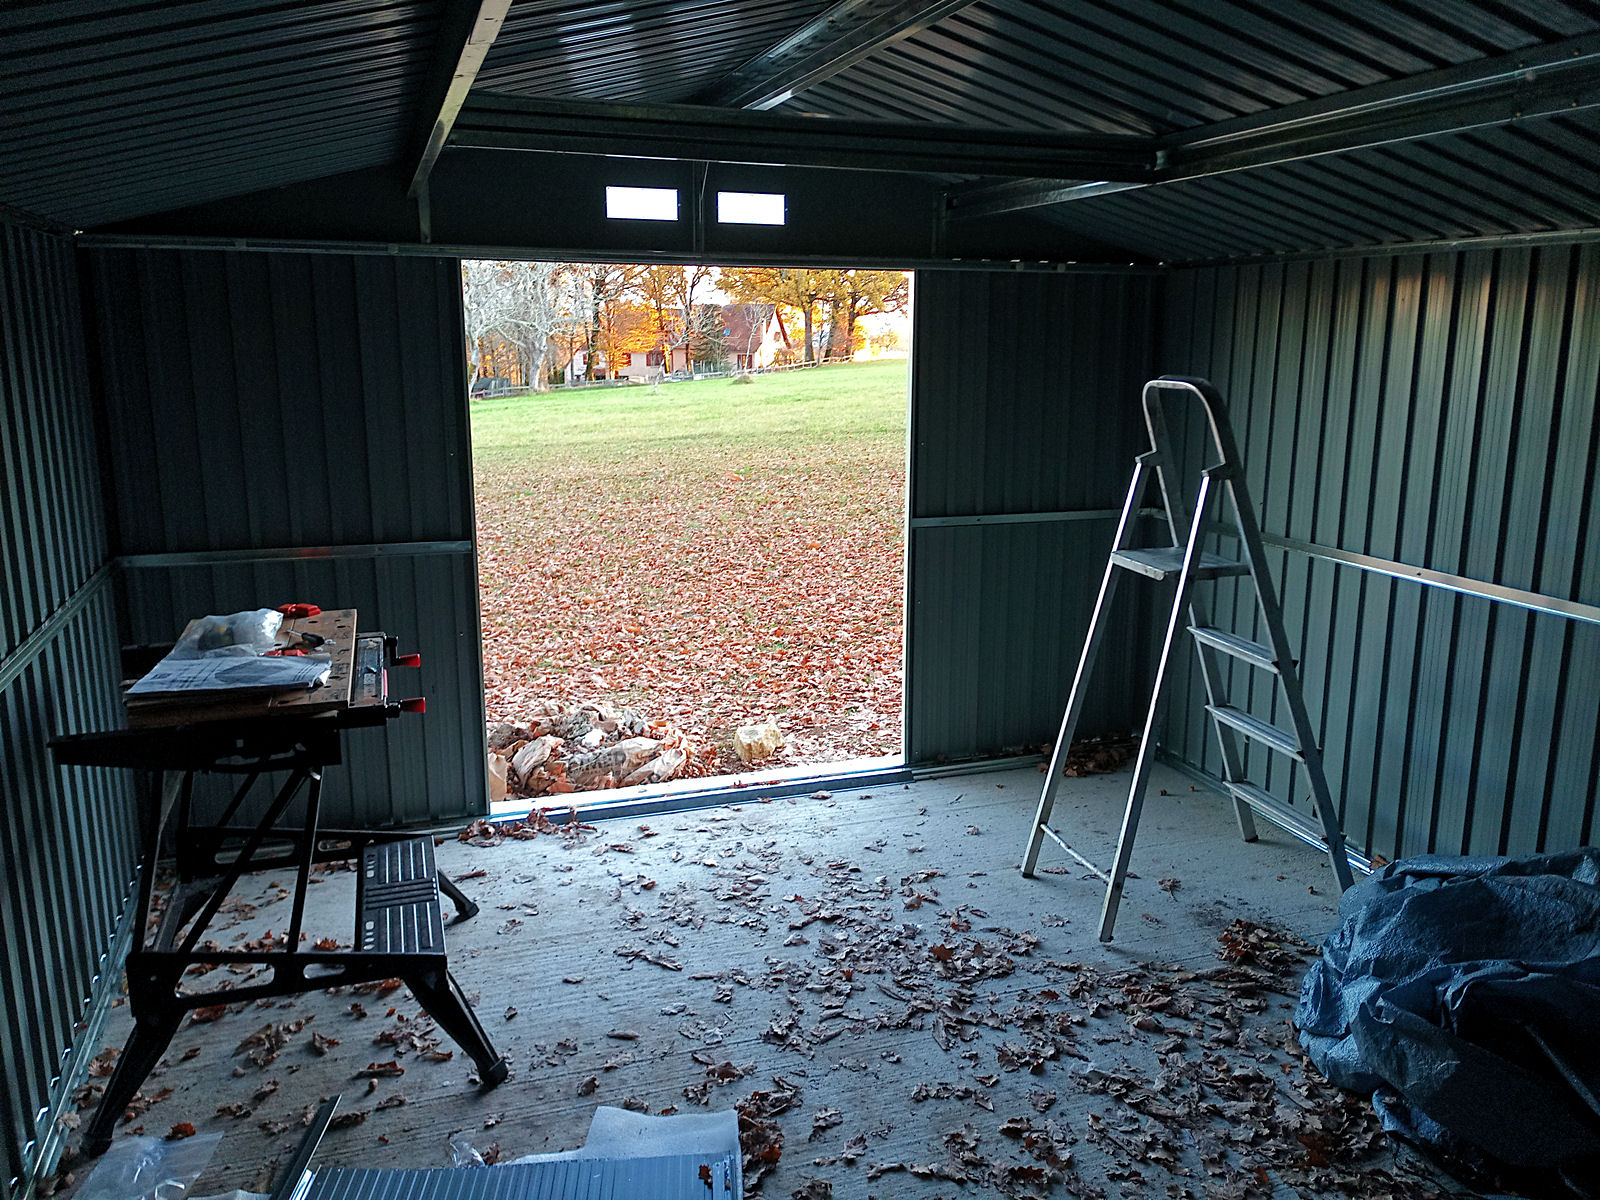
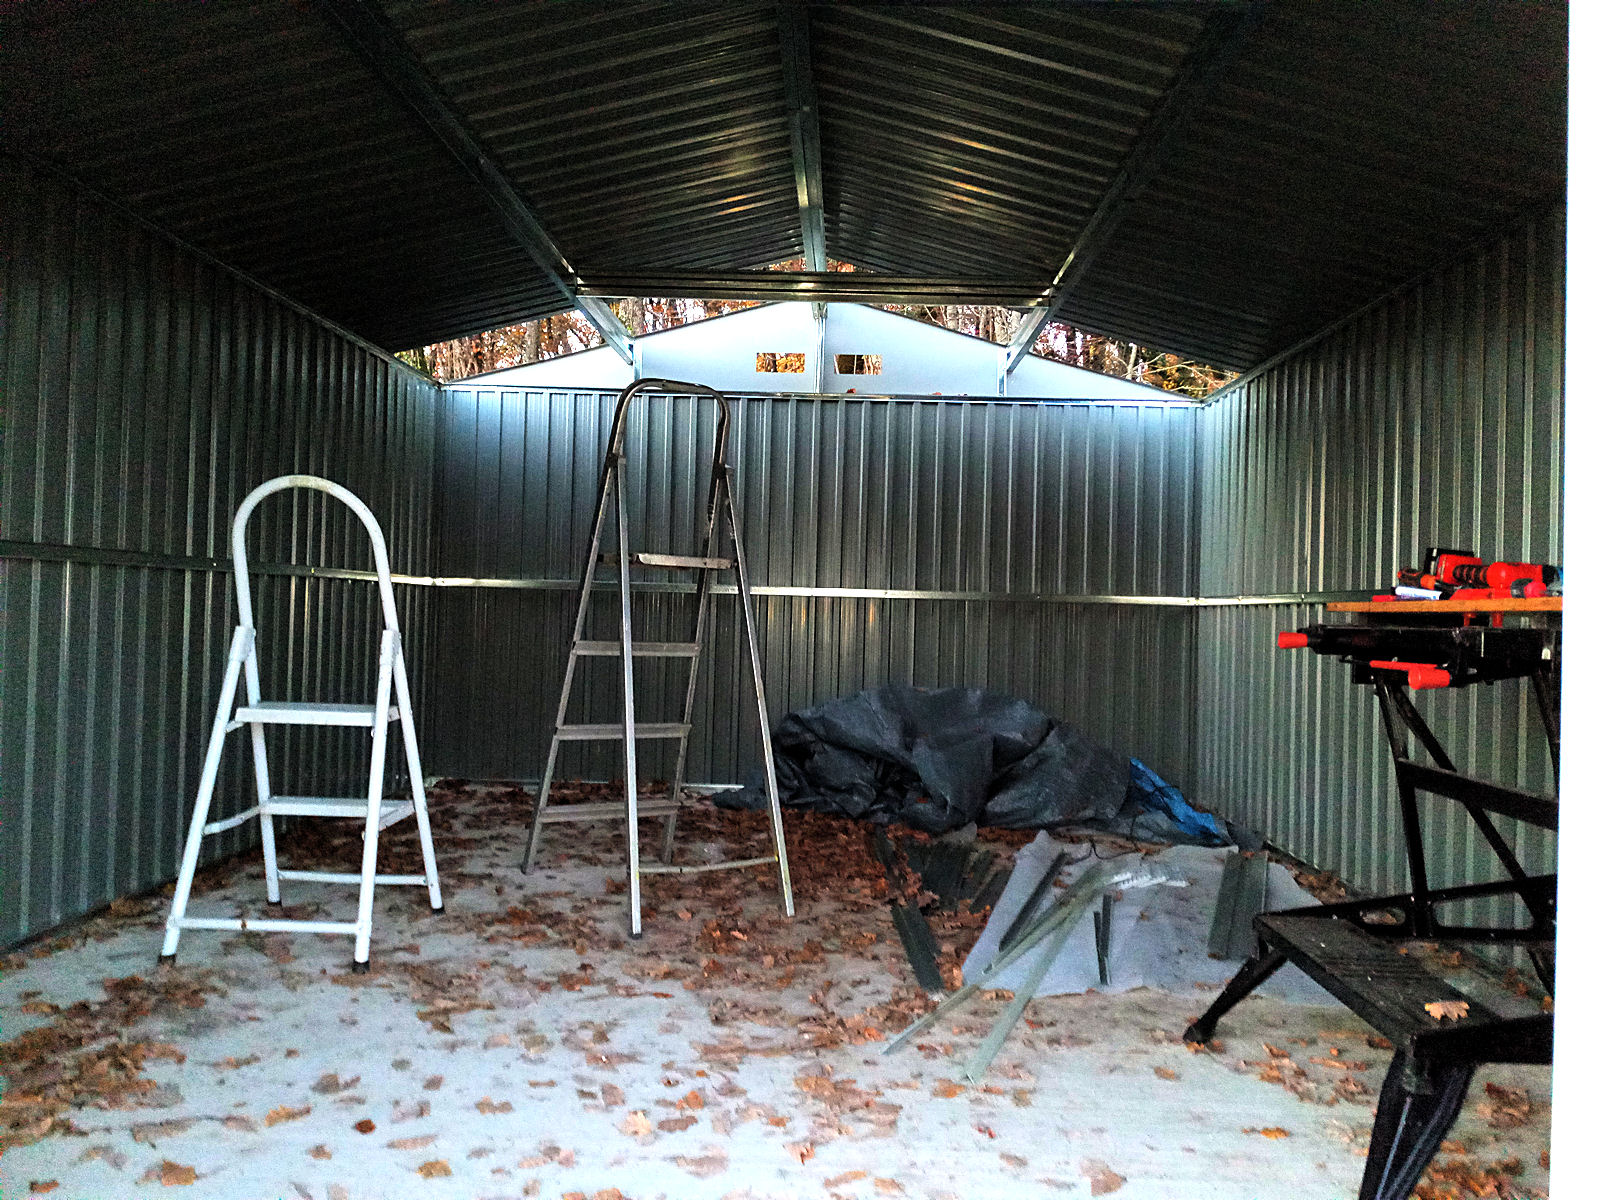
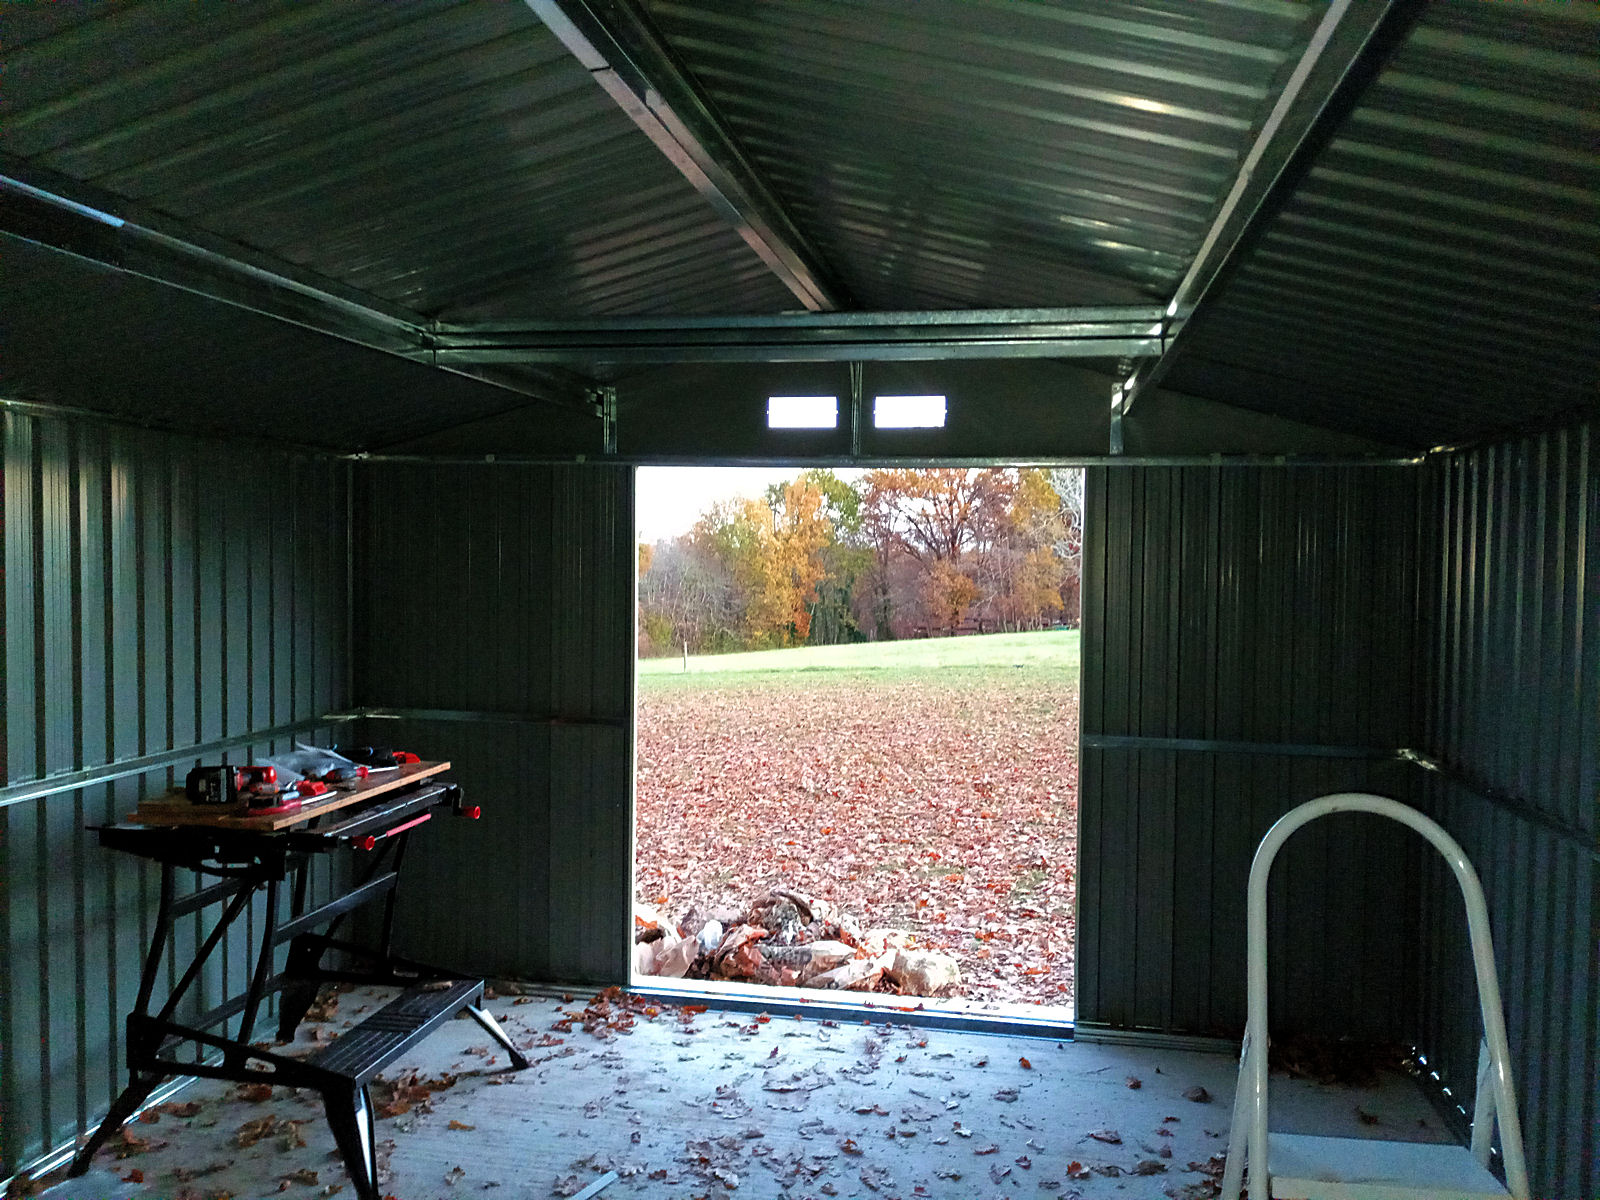
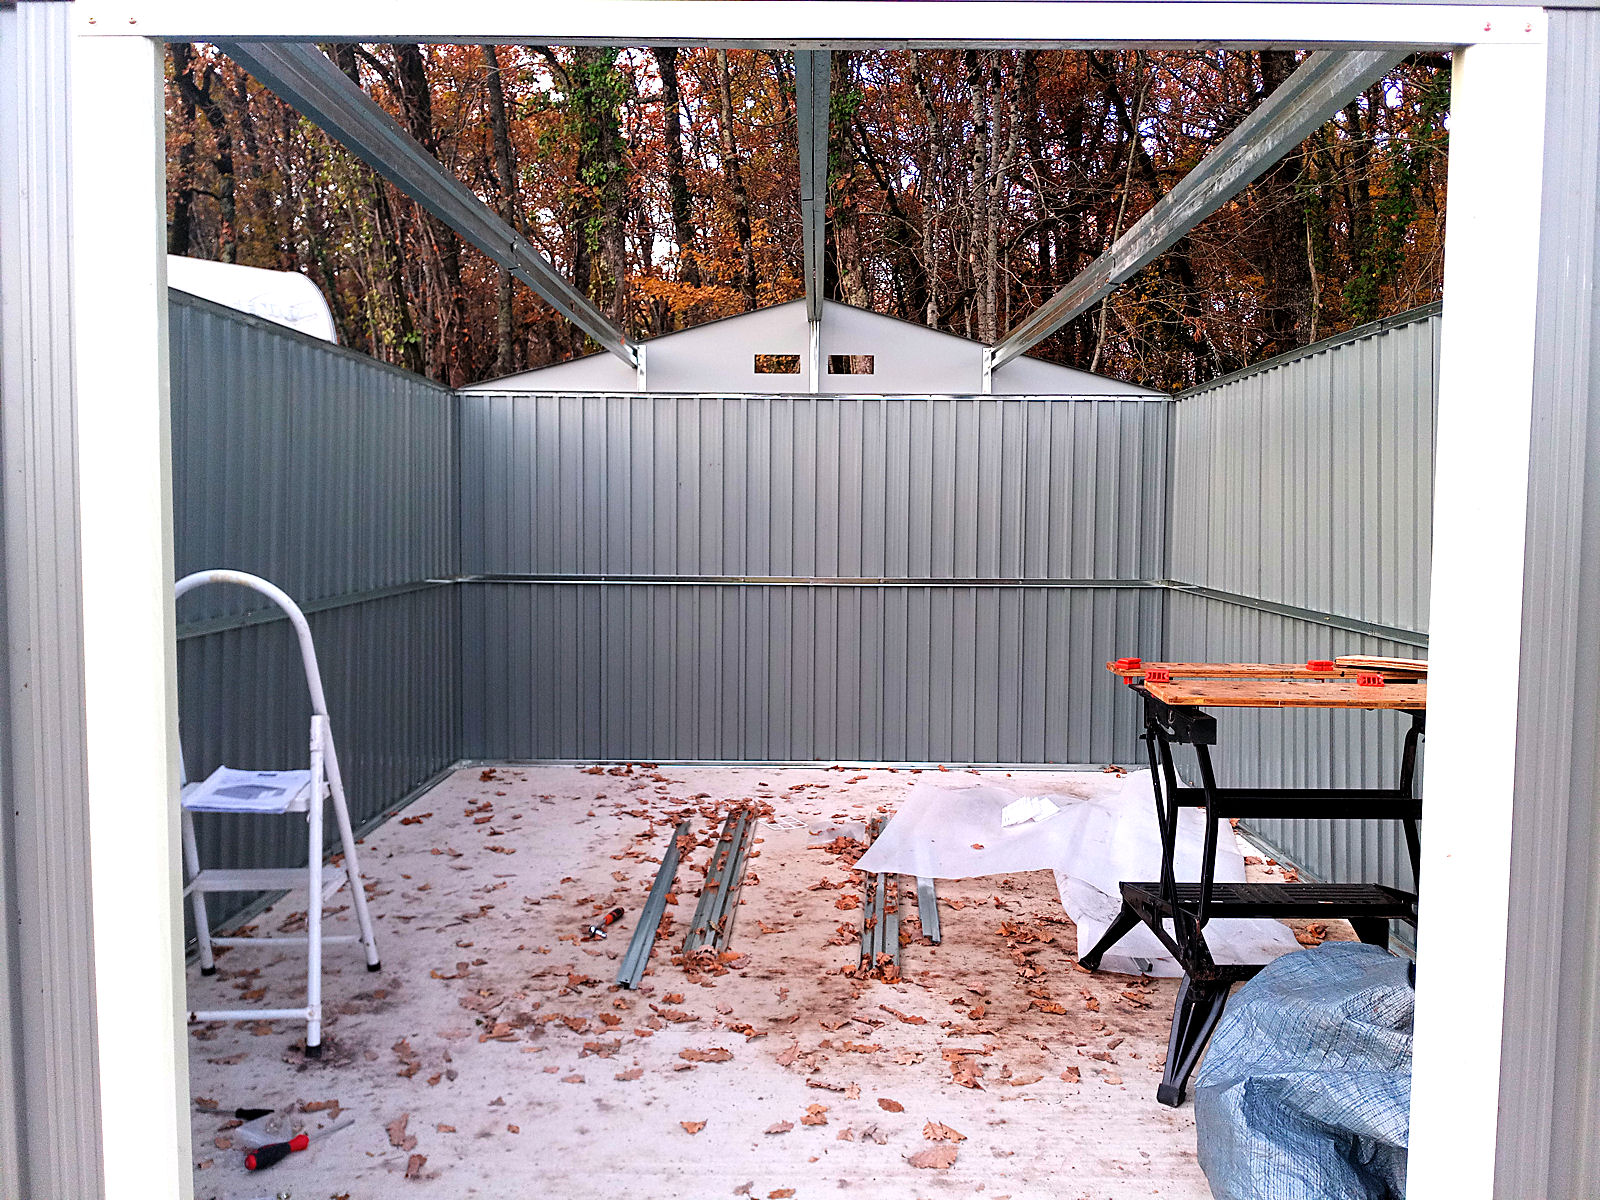
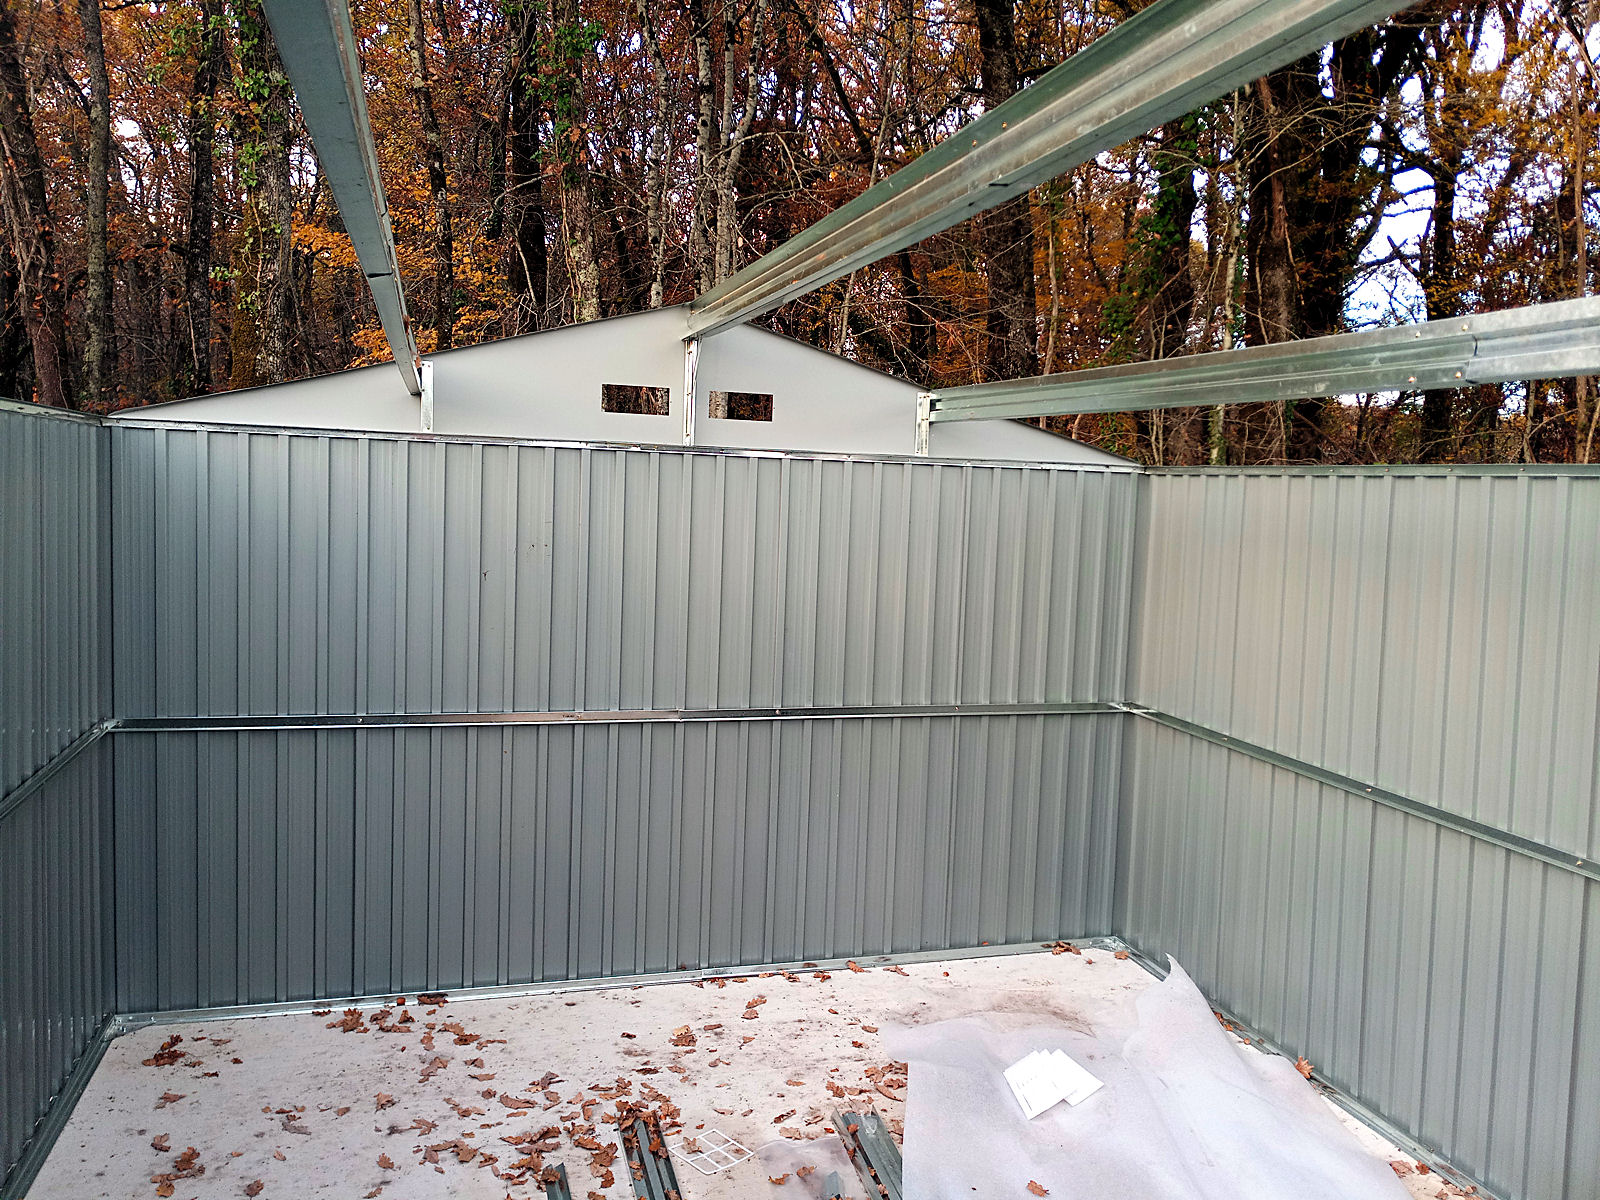
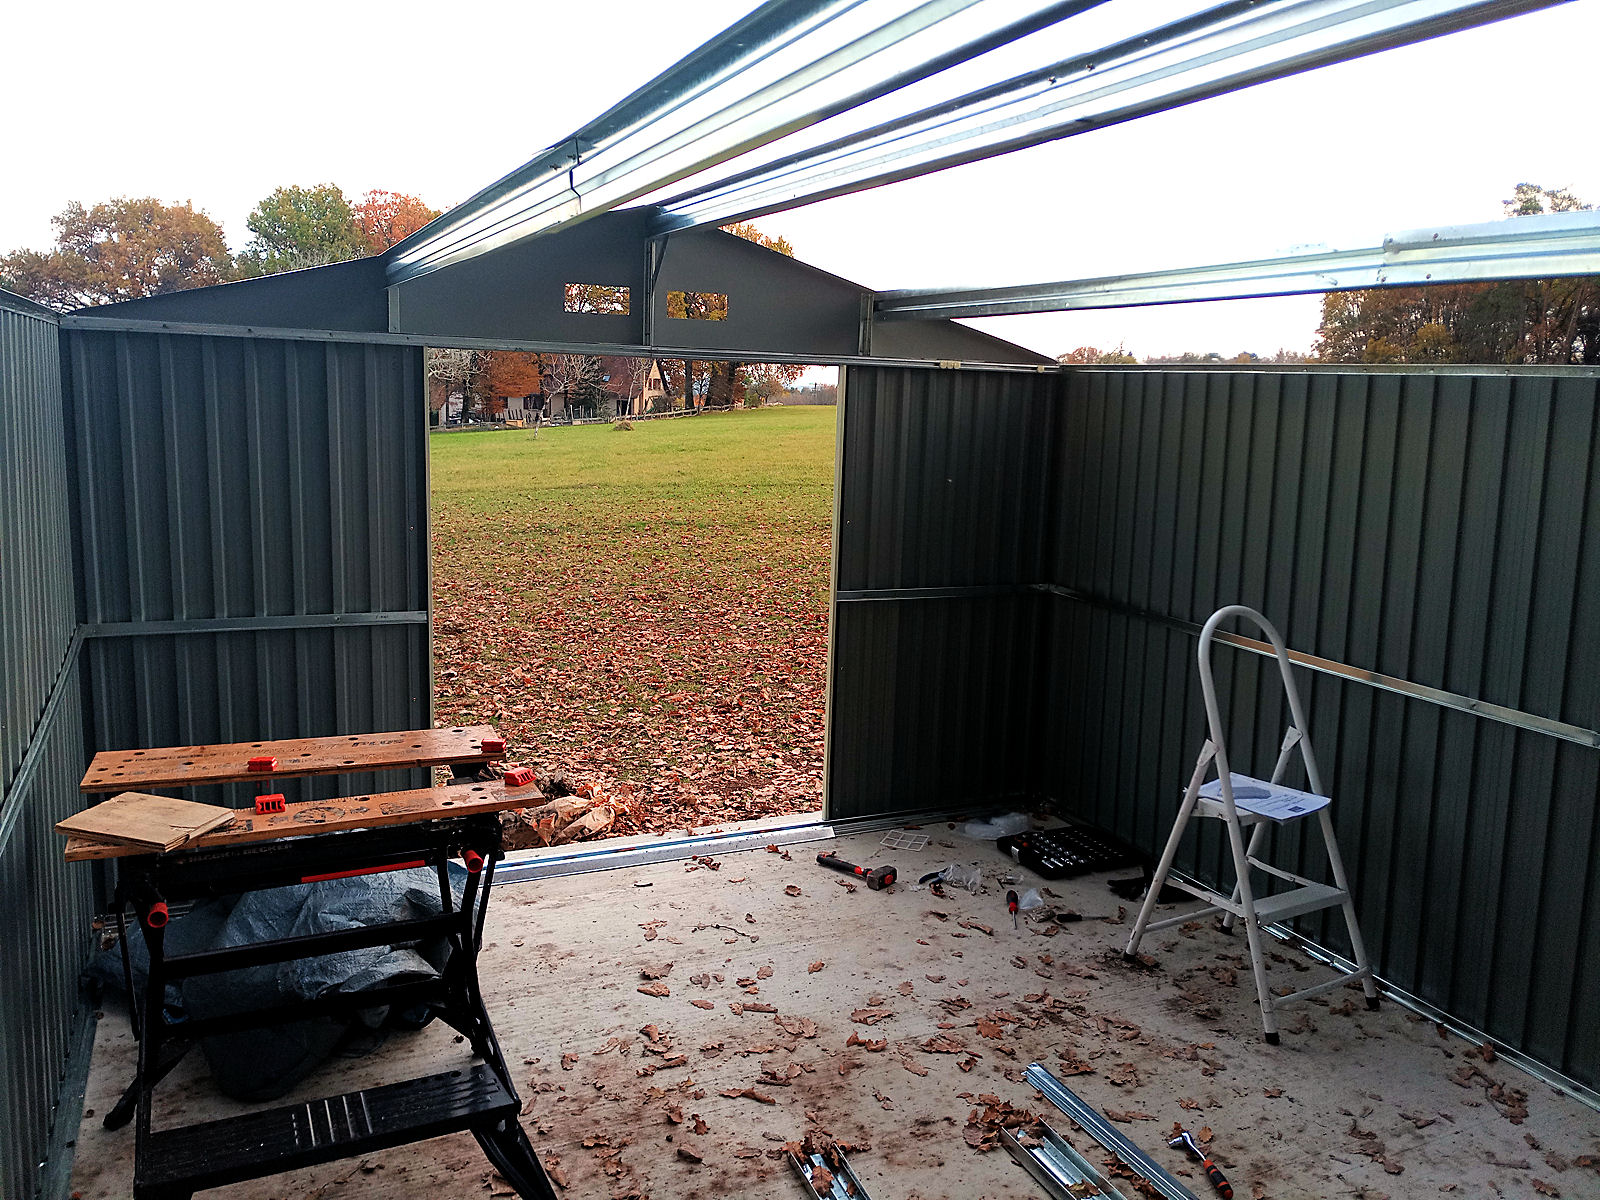
I’m very pleased with the building’s size. In France you can only add an ‘annexe’ of area less than 20 square metres without applying for permission and my new store comes out at around 13 square metres. So it’s well within the limit and large enough for my needs. At least I think so, but I won’t know for sure until I start putting stuff inside it. Here are some shots of the interior now that it’s fully enclosed bar the doors.

null

null

null

null

So I only have the doors left to assemble and mount which I don’t think should take too long. For the first time, the items needed are stored inside, which is a change compared to how things have been up to now and as the weather is forecast to turn colder and wetter over the coming days, I’ll be pleased when I can at last get things like my ride-on mower inside and under cover. Tomorrow, hopefully, will be the day when that happens 🙂

New tool store – day 5

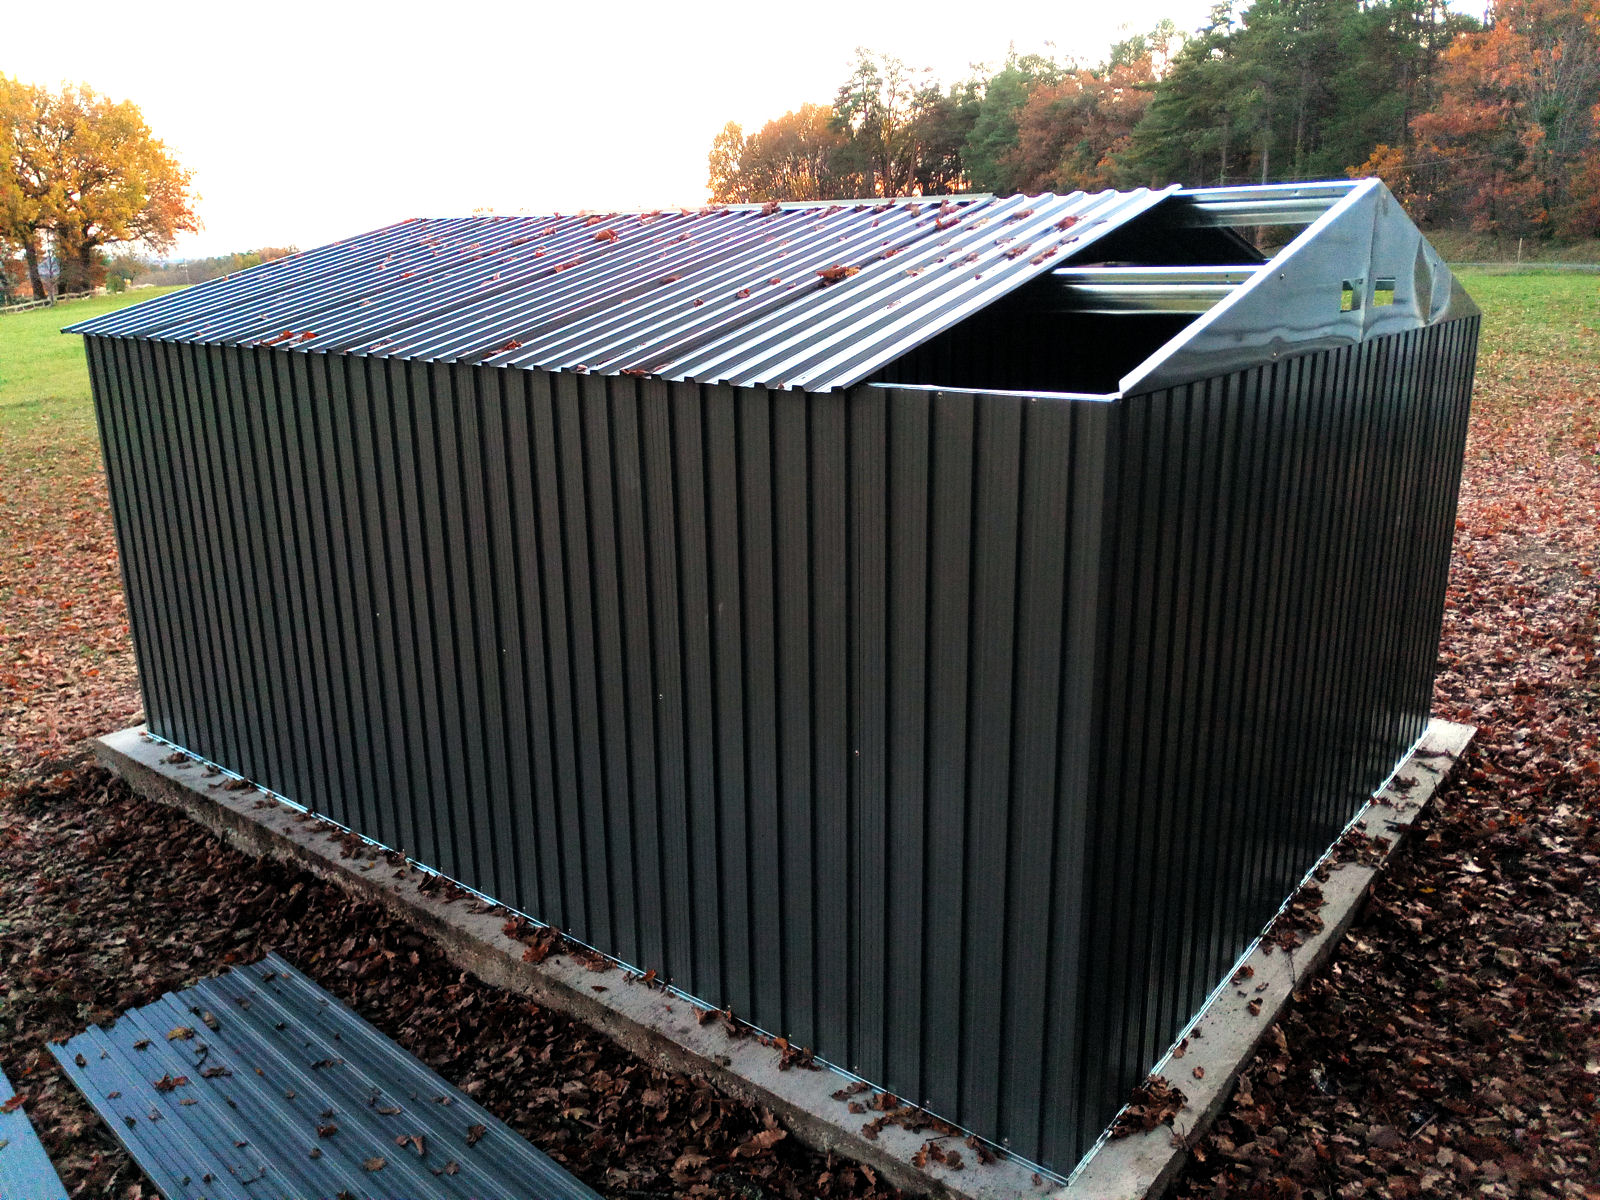
And it was a nightmare. I’d been looking forward to putting the roof onto the new tool store but I didn’t have the slightest idea just how tough it would be. I knew it would be a bit tricky because as the building is too wide for you to reach across from the outside to its centre, you have to fit the ridge capping strip as you go from the inside as each sheet is added.

But I wasn’t expecting screw holes to be either missing completely or drilled in the wrong places which made the job even harder. And the other thing was that a lot of the screws securing the roof have to pass through three thicknesses of metal, none of which were perfectly aligned, making aligning the screws with the screw holes even more difficult than usual.

So progress today was very slow and extremely frustrating to say the least and things weren’t helped by it being very chilly this morning, making lining up screws with cold finger tips annoyingly difficult. I have to say, my language did turn a bit purple from time to time, but I just had to keep slogging on.

I had to work out how the sheets were fixed for the first side that I did and it took me quite a few minutes to work out that they’d got it wrong in the build manual. And later on when I’d started on the other side of the roof, I found that a complete set of holes on one half of it were drilled in the wrong places. But having done so, it didn’t take much to get a 2.5 mm drill bit and drill another set with my cordless drill.

The work also needed to be done out of sequence compared to the build manual eg if I’d fixed all the roofing sheets on as the manual recommended it would have been impossible, as I mentioned earlier to then attach the ridge capping strip because of the impossibility of reaching across the roof without some kind of scaffold to insert, line up and tighten its fixing screws. It had to be done as each sheet was mounted on the second half of the roof.
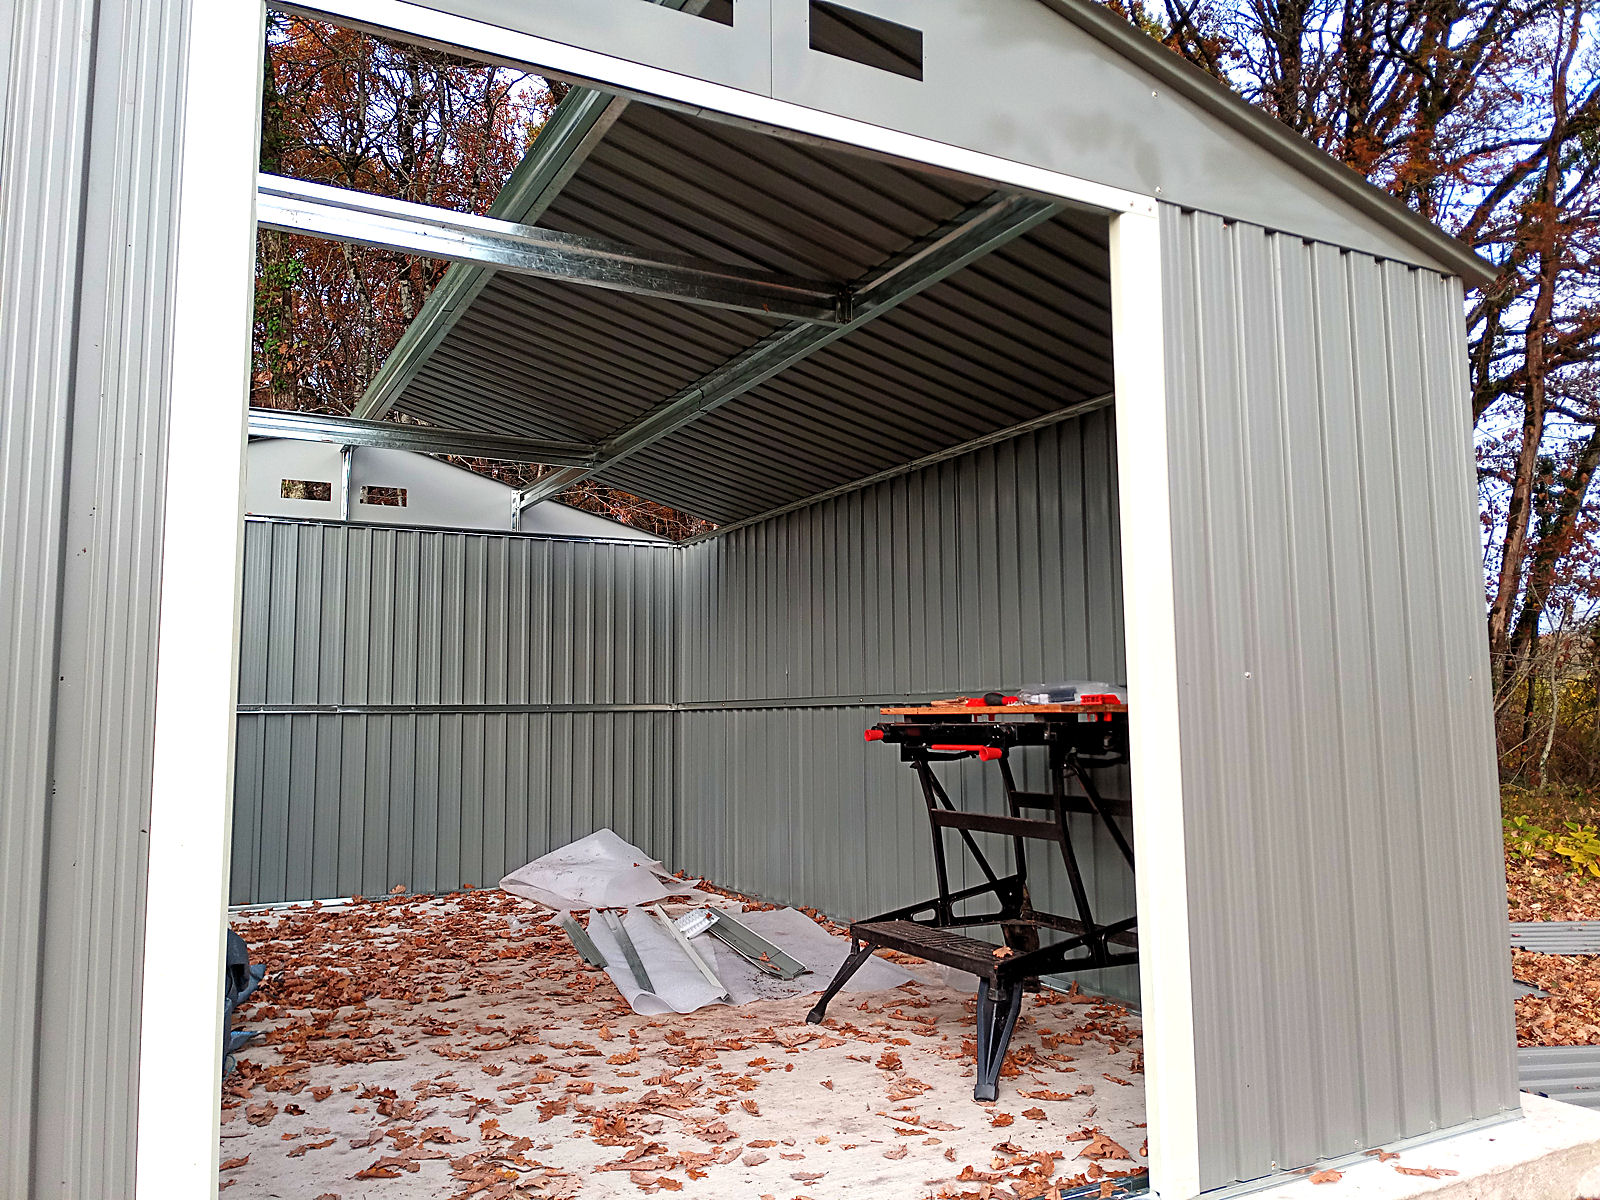
It started off quite cold this morning (cold enough for me to go into the caravan to put plastic washers on lots of screws ready for them to be used) but it had warmed up by about lunch time. Here’s where I’d got to at the beginning of the afternoon with almost half of one side done. I couldn’t fix the last sheet on because I didn’t have a high enough set of steps at that time that would have allowed me to reach the roof from outside..
null

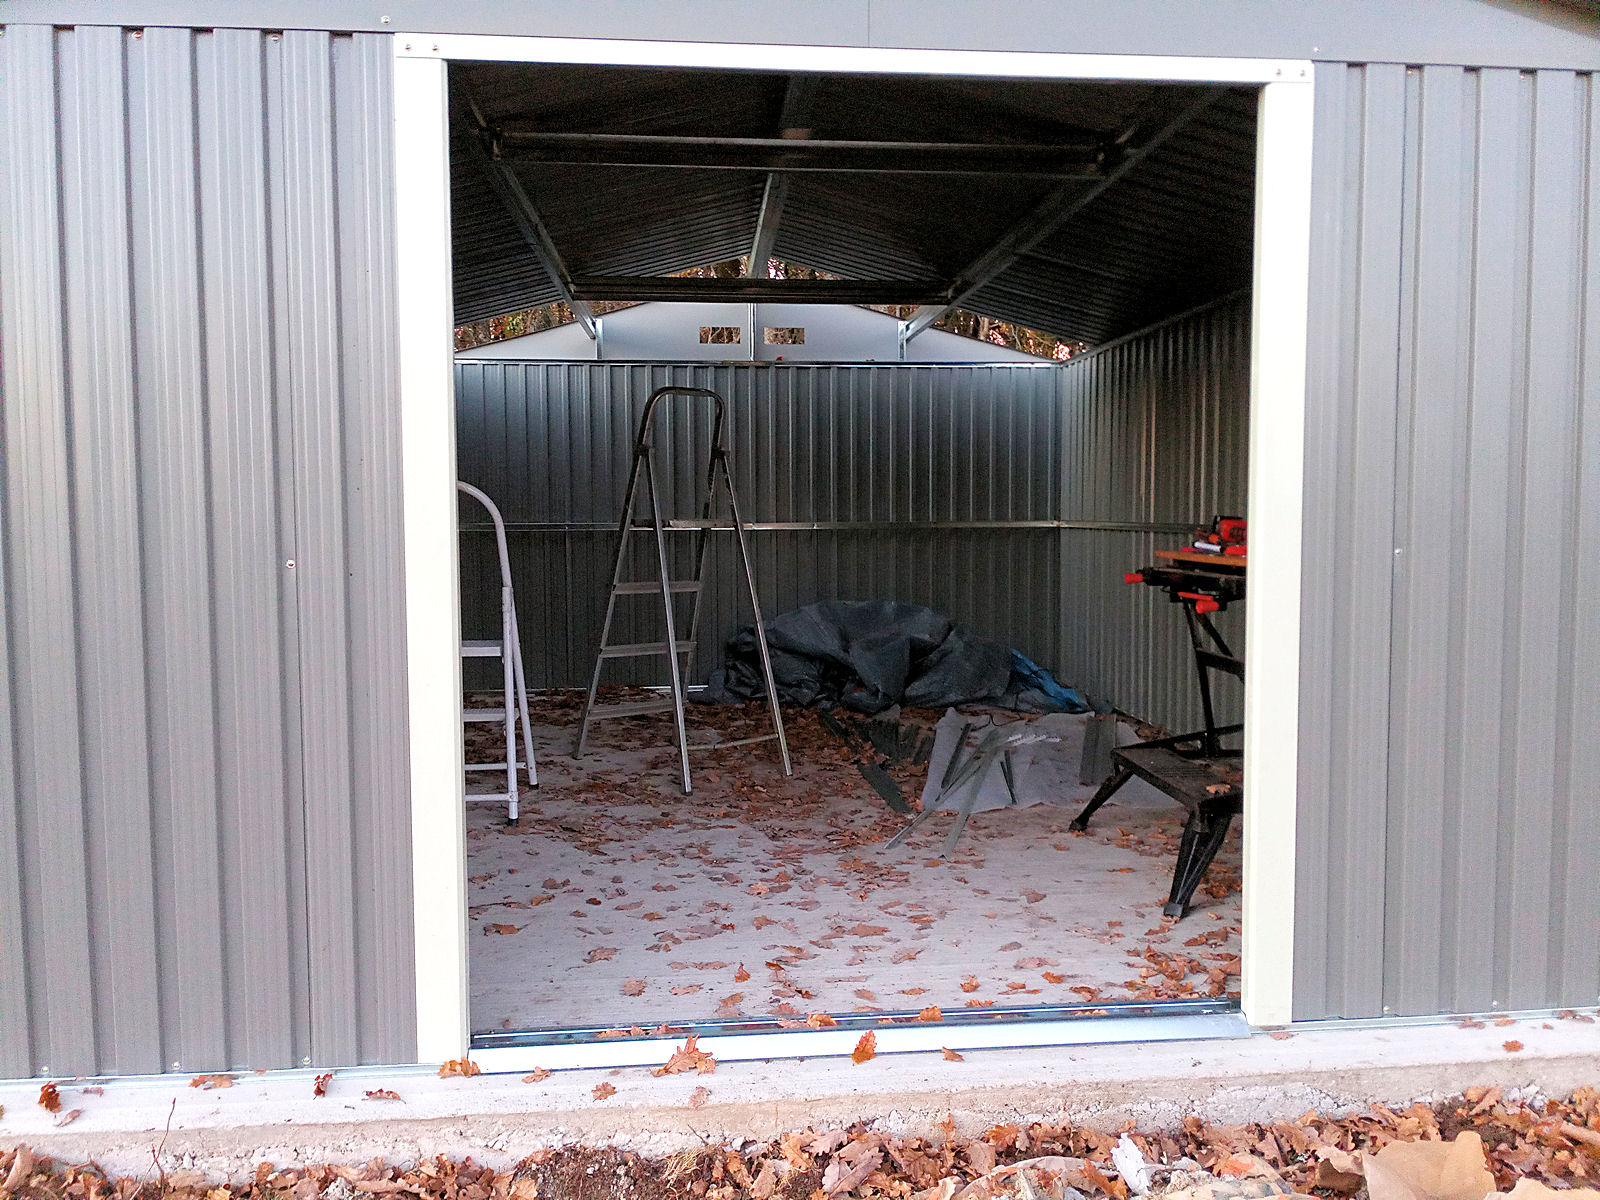
Here’s a shot taken at the end of the day with the second half almost at the same stage. I say ‘almost’ because it was getting quite dark and cold again by that time and although not all of the screws were in place for the final sheet I thought that it was about time to take today’s photographs and call it a day.

null#

Now here are the four external shots taken from each corner.

null

null

It was approaching the next corner below when I was beginning to experience screw hole misalignment problems. Some were due to manufacturing faults where holes had been missed completely or were several centimetres out and in fact these were the easiest to rectify, merely by drilling new ones.

null

The most difficult ones were where the building is slightly distorted or misaligned in some way making the holes a millimetre or less out. These couldn’t be redrilled as then the screws would have stripped on tightening and the only solution was to heave, pull and push the sheets while standing precariously on the top of the steps until enough alignment had been attained to get the screws to enter the holes in question – more difficult and tricky than it sounds.

null

To finish off, a couple of shots of the interior.

null

null

So tomorrow I just have to finish off fixing the roof sheets, fit the trim pieces and ventilator panels and fabricate and fix the sliding doors. Then the new store will be finished. However, based on today’s experiences, I’ll not start blowing any trumpets until that point is reached as doing so beforehand would I’m sure, be bound to encourage yet more unforeseeable problems that will cause even more distress and delays than I experienced today. And it’s going to start off cold again tomorrow – but at least no rain is forecast until Wednesday, so I should be thankful for small mercies, I suppose 😐

Sunday break

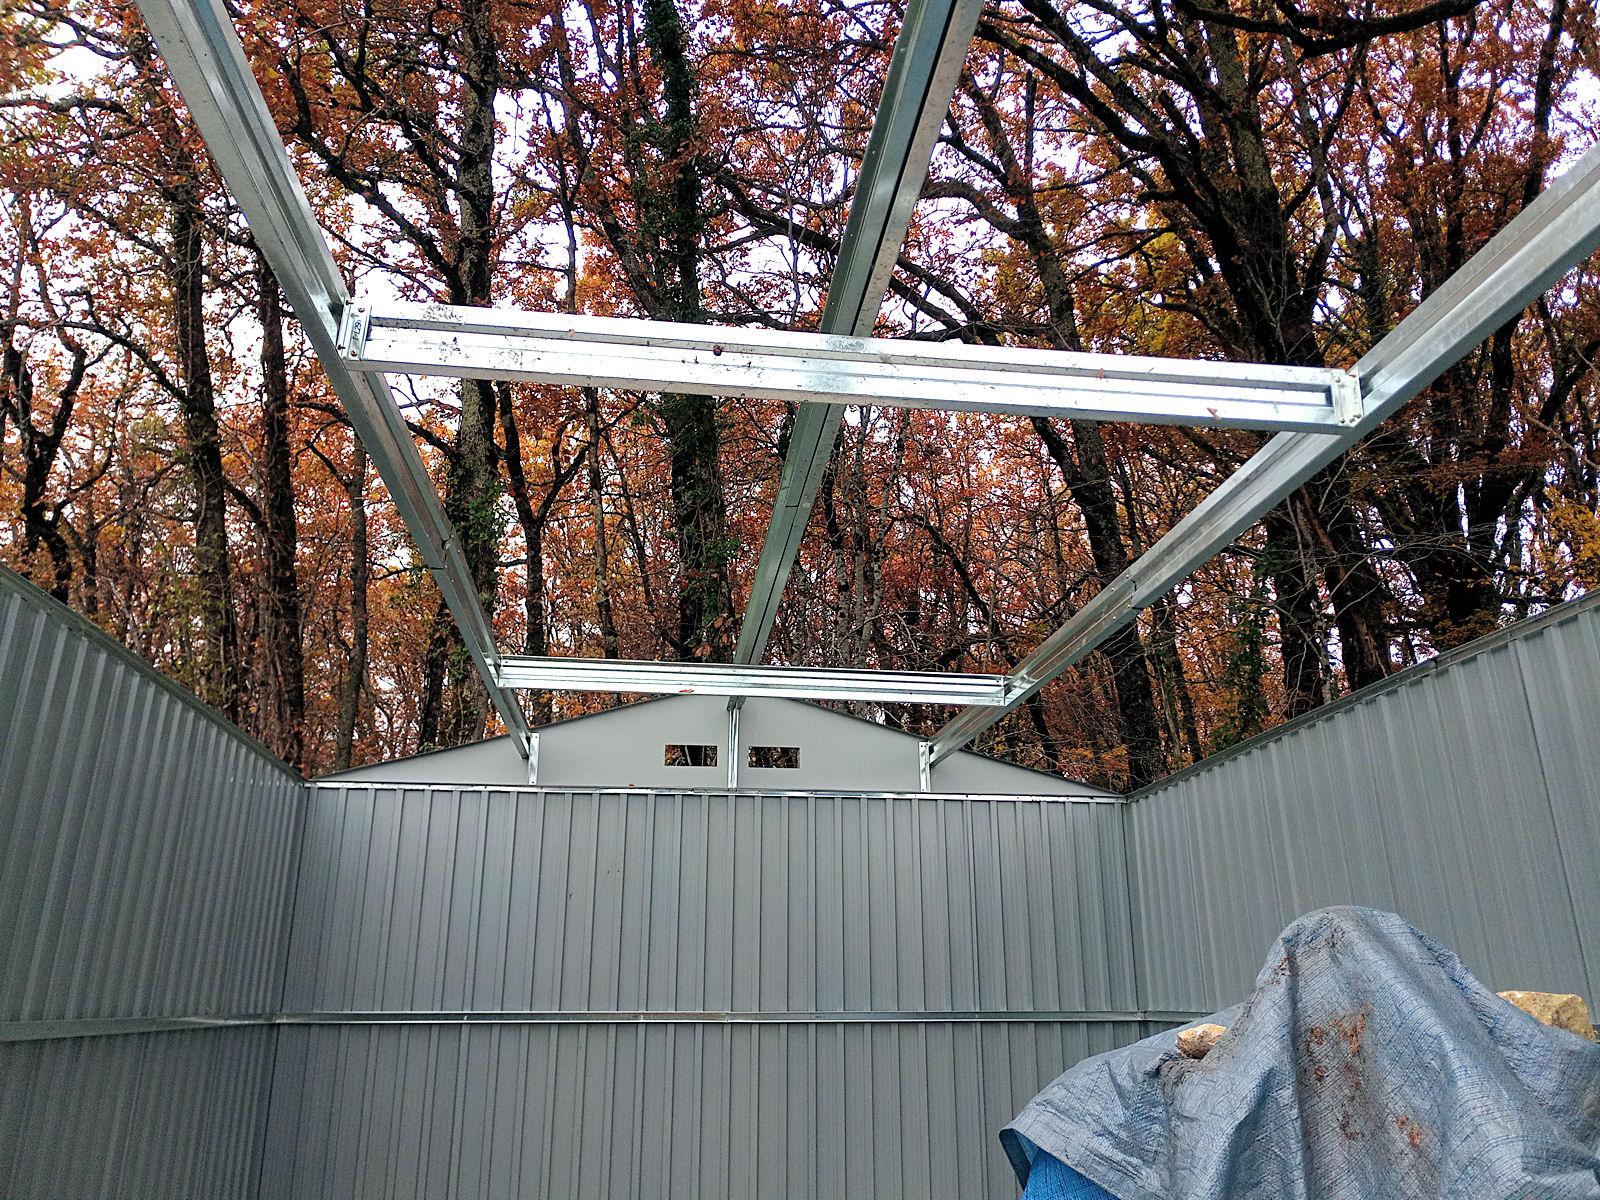
I’m not going to call today a ‘new tool store’ day because as you can see from the photographs, it was dull and miserable and not a nice day to be working outside. There was a mist early on in the morning which seemed to start to lift but it stopped and began to slowly return. So after Wim and I had had our usual morning coffee together, I decided that I would do other things today and all I did on the new tool store was fit the two internal cross beams. Here are the shots that I took afterwards.

null

null

null

null

null

The job only took 20 minutes and I was originally going to do it last thing yesterday but didn’t. The next job is the roof but with the weather being as it was today, it wasn’t worth starting on it because before I do there are a couple of things that I need to attend to that involve drilling holes in places that I won’t be able to get to once the roof is in place. So best to leave them until I can make a fresh start tomorrow and busy myself with other things today. So a welcome break! Time for another cup of tea I think 😉

New tool store – day 4

The first job of the day was to attach the two side rails that are there to stiffen the sides. I knew that this would be time-consuming because once again I had to hold screws on the outside while tightening the nuts on the inside, but having worked out how to do this single handedly I got the job done, albeit taking longer than if I’d had a helper. But I thought that I’d do it by myself because this was the last job that could have done with assistance and from then on it should be plain sailing working single-handedly.

After that it was time to fit the door trim. Unfortunately I found that the door jam on one side was slightly damaged and it was a pity that I didn’t notice this at the time because the manufacturer willingly replaced a couple of damaged items that I did tell them about. However, I straightened it the best that I could and as it’s low down on one side, it won’t be too noticeable. Following that came the end pieces, two at each end, that will give the roof its slope.

The last and biggest job of the day was making up and installing the roof beams. Each consists of two halves that had to be bolted together and the central, main roof beam consists of two roof beams joined together, which was a bit tricky as it meant that four pieces of bendy metal had to be held together and secured by four small bolts. But I got it done and then each beam had to go up and be securely fixed in turn, starting with the two smaller beams and finishing with the main one.

At this point I was all ready to fit a couple of end straps before calling it a day when I came across what is the first design error that I’ve encountered. The two straps on the ends of the main beam just could not be fitted as shown in the build manual. It’s no big deal though as all I’ll have to do is drill a couple of new holes in the main beam, one for each strap and then secure them with nuts and bolts as in the manual, but in slightly different positions. But that will be for tomorrow.

Here are the usual end-of-day shots, starting with the front corners.

null

null

And now the rear corners.

null

null

Here are two shots looking into the building through the front doorway.

null

null

And finally a couple of shots taken in the interior.

null

null

It’s now looking much more like a proper building and tomorrow should see me raising the roof, a job that I’ve been looking forward to since the beginning. I hope that I manage to get that done even if I don’t get the doors on, because there is a possibility that we will have some light rain in the early part of next week and it’ll be nice if I at last have somewhere dry where I can begin to store things.

I’ve still got the two ‘tounelles’ (small marquee-type tents) that I bought in the early part of the summer under the caravan and when I moved up from the bottom of my land I found that the carton of one of them had been damaged by damp. It didn’t look as though the ‘tounelle’ itself had been damaged, though, but even so I will be much happier when both of them, plus some other items, are in somewhere that has a roof on 🙂

New tool store – day 3

So here we are on day 3 of the build. It’s not really the third day because I’ve really only been working half days for one reason or another. And today was made even worse because I had some business to deal with this morning and when I arrived back at the caravan I noticed that the ‘sanglier’ (wild boar) had paid me another visit during the night. So I had to restore the land yet again as best I could before I could do anything else.

They keep digging up the same piece of ground and it’s now beginning to look a bit rough down there so I think that I’m maybe going to have to look at some way or other of deterring them from coming up from the little valley and onto my land. For a start I’ll have to try putting up some kind of barrier in the gap in the fence where they seem to be getting through but if that doesn’t work, I’ll have to think about some more extreme measures.

Before I could get going today I was paid a visit by two gorgeous English Setters. They are used by the hunters and one had a collar on with a mobile number on it but I don’t think that there were any hunters out today. I assume that they were together, one was mainly white and black and the other was mainly black. They both poked their heads into my caravan wagging their tails like mad and were incredibly friendly. Before I knew it, the white one had jumped inside and onto my bed but both came out when I called them and the black one even sat when I told him to. What a lovely pair of dogs they were. Maybe I’ll go for a Setter when my house is built, or even a couple…

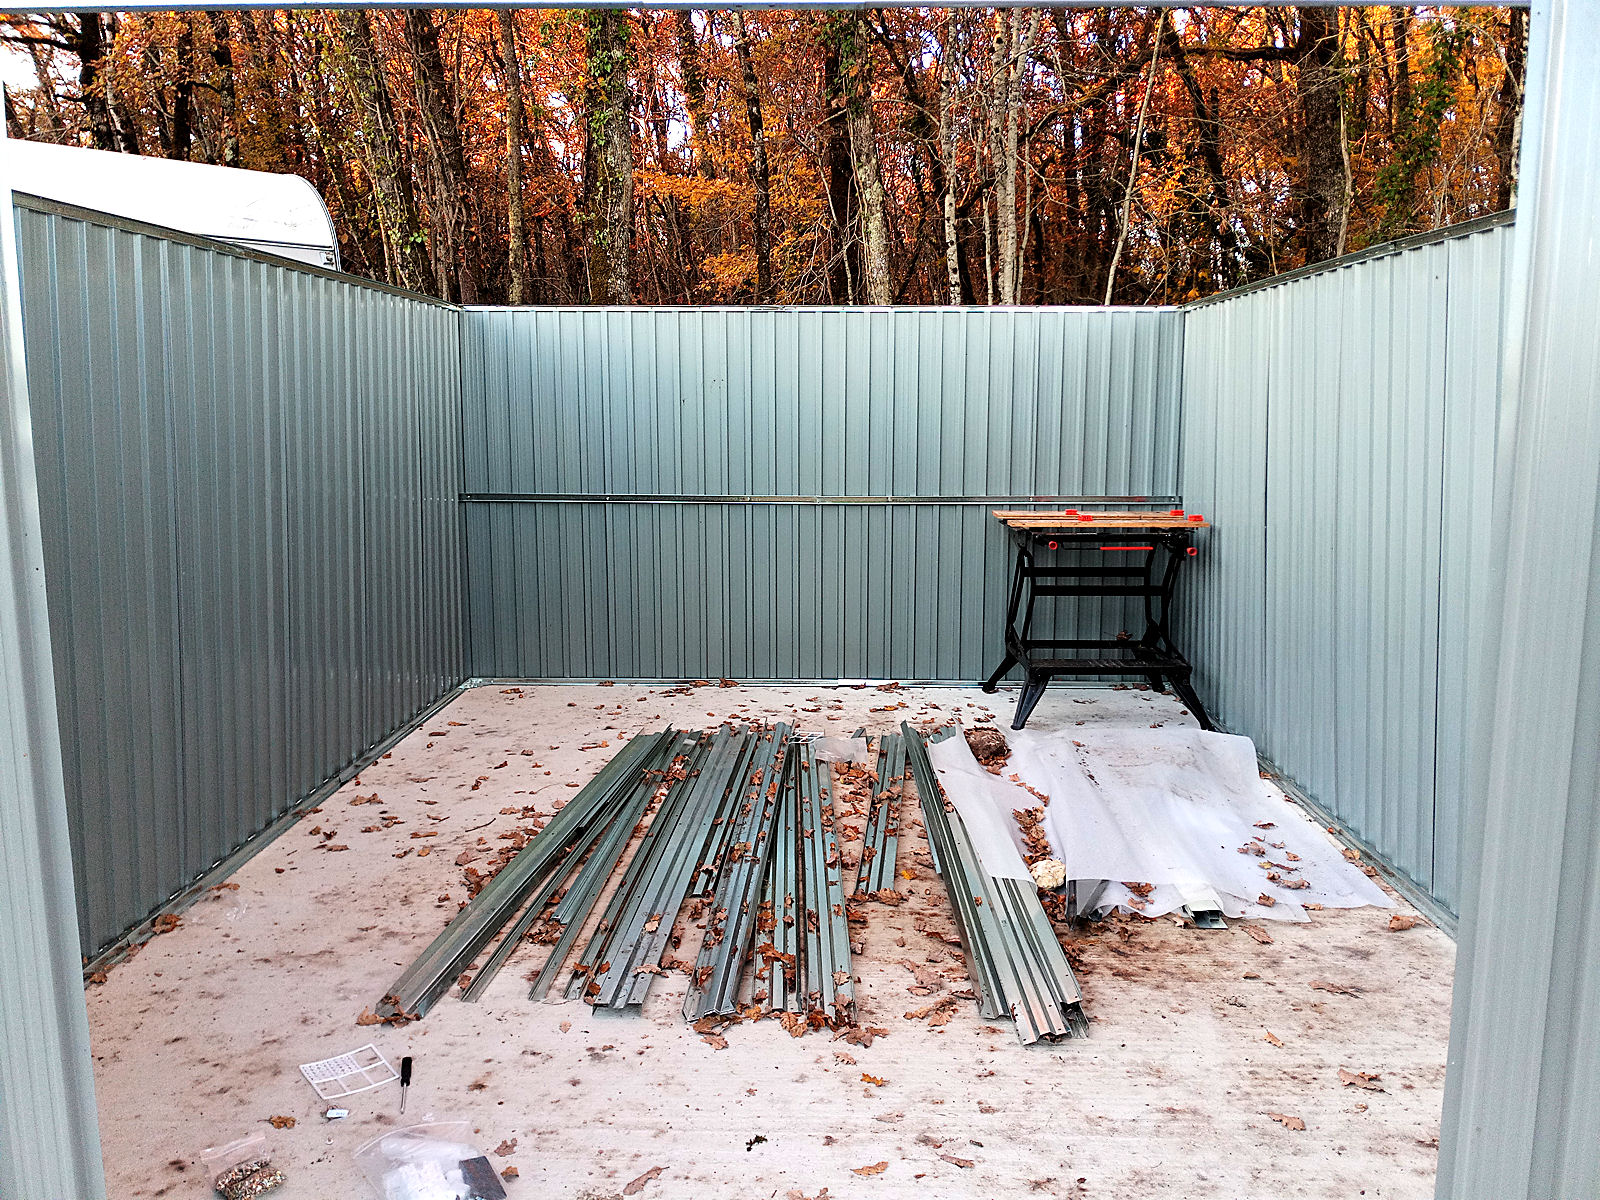
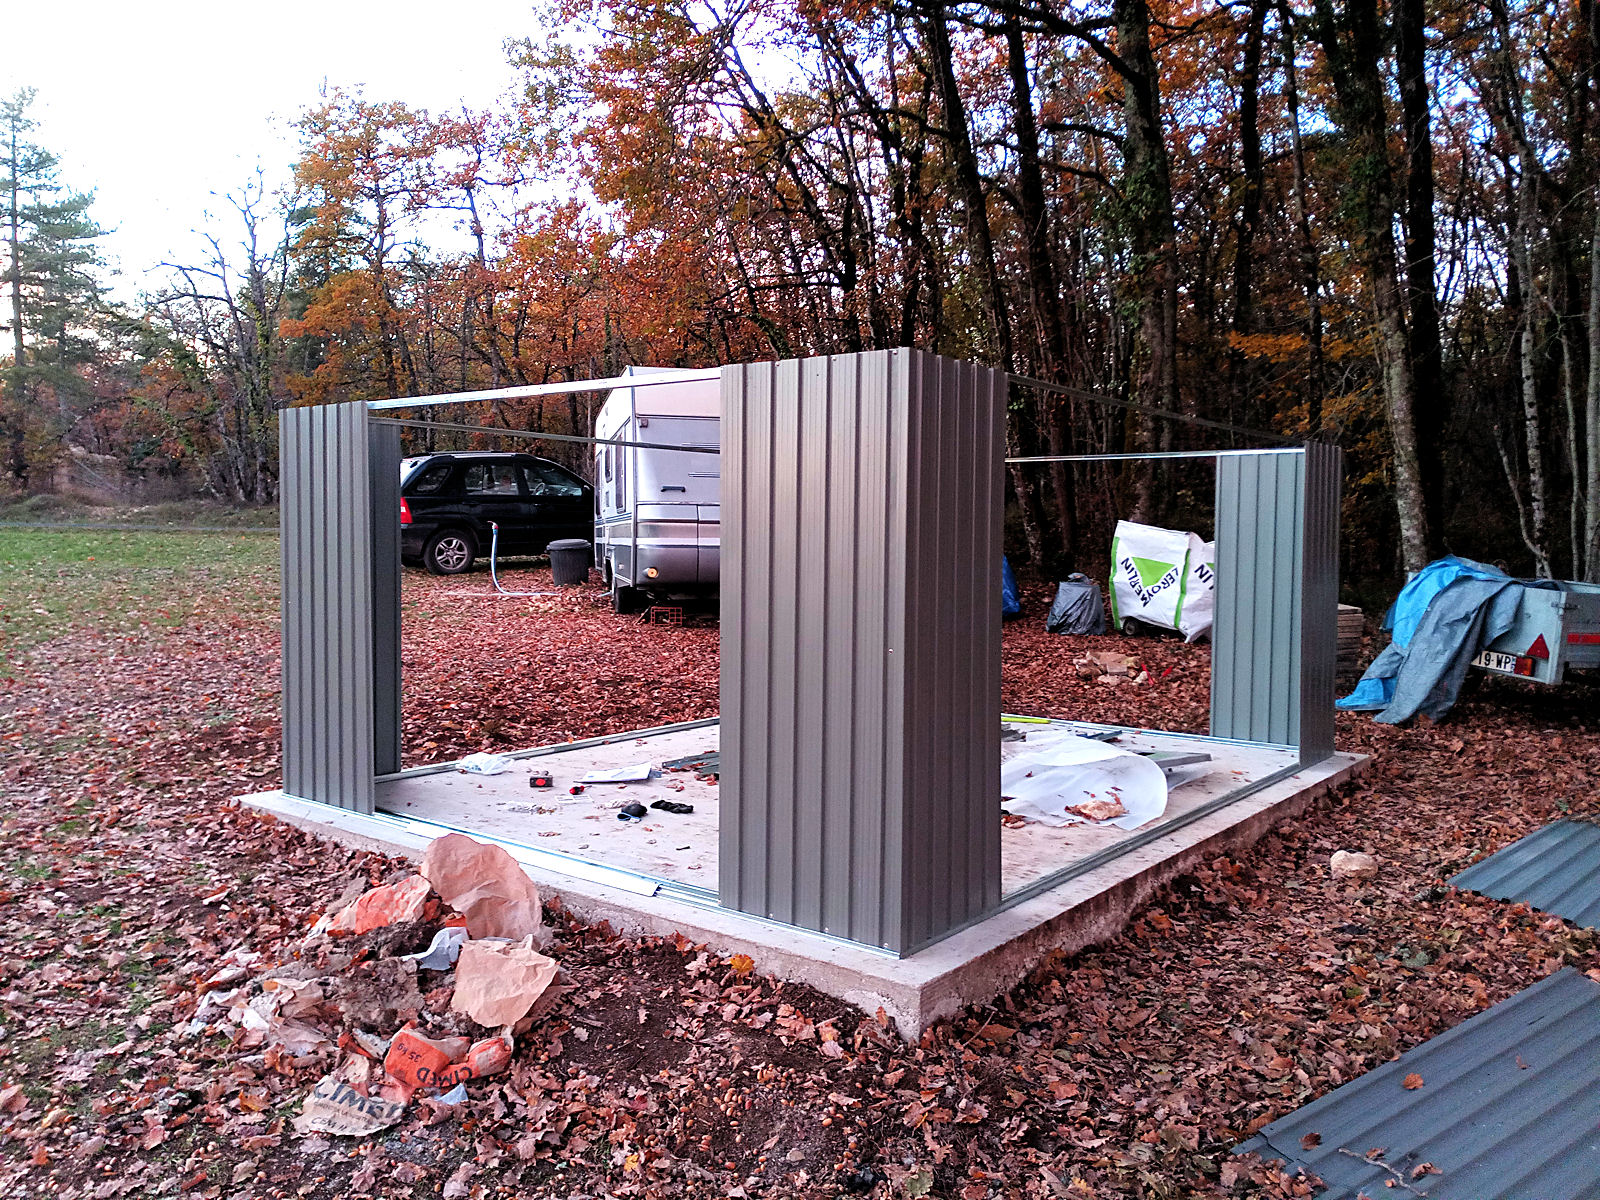
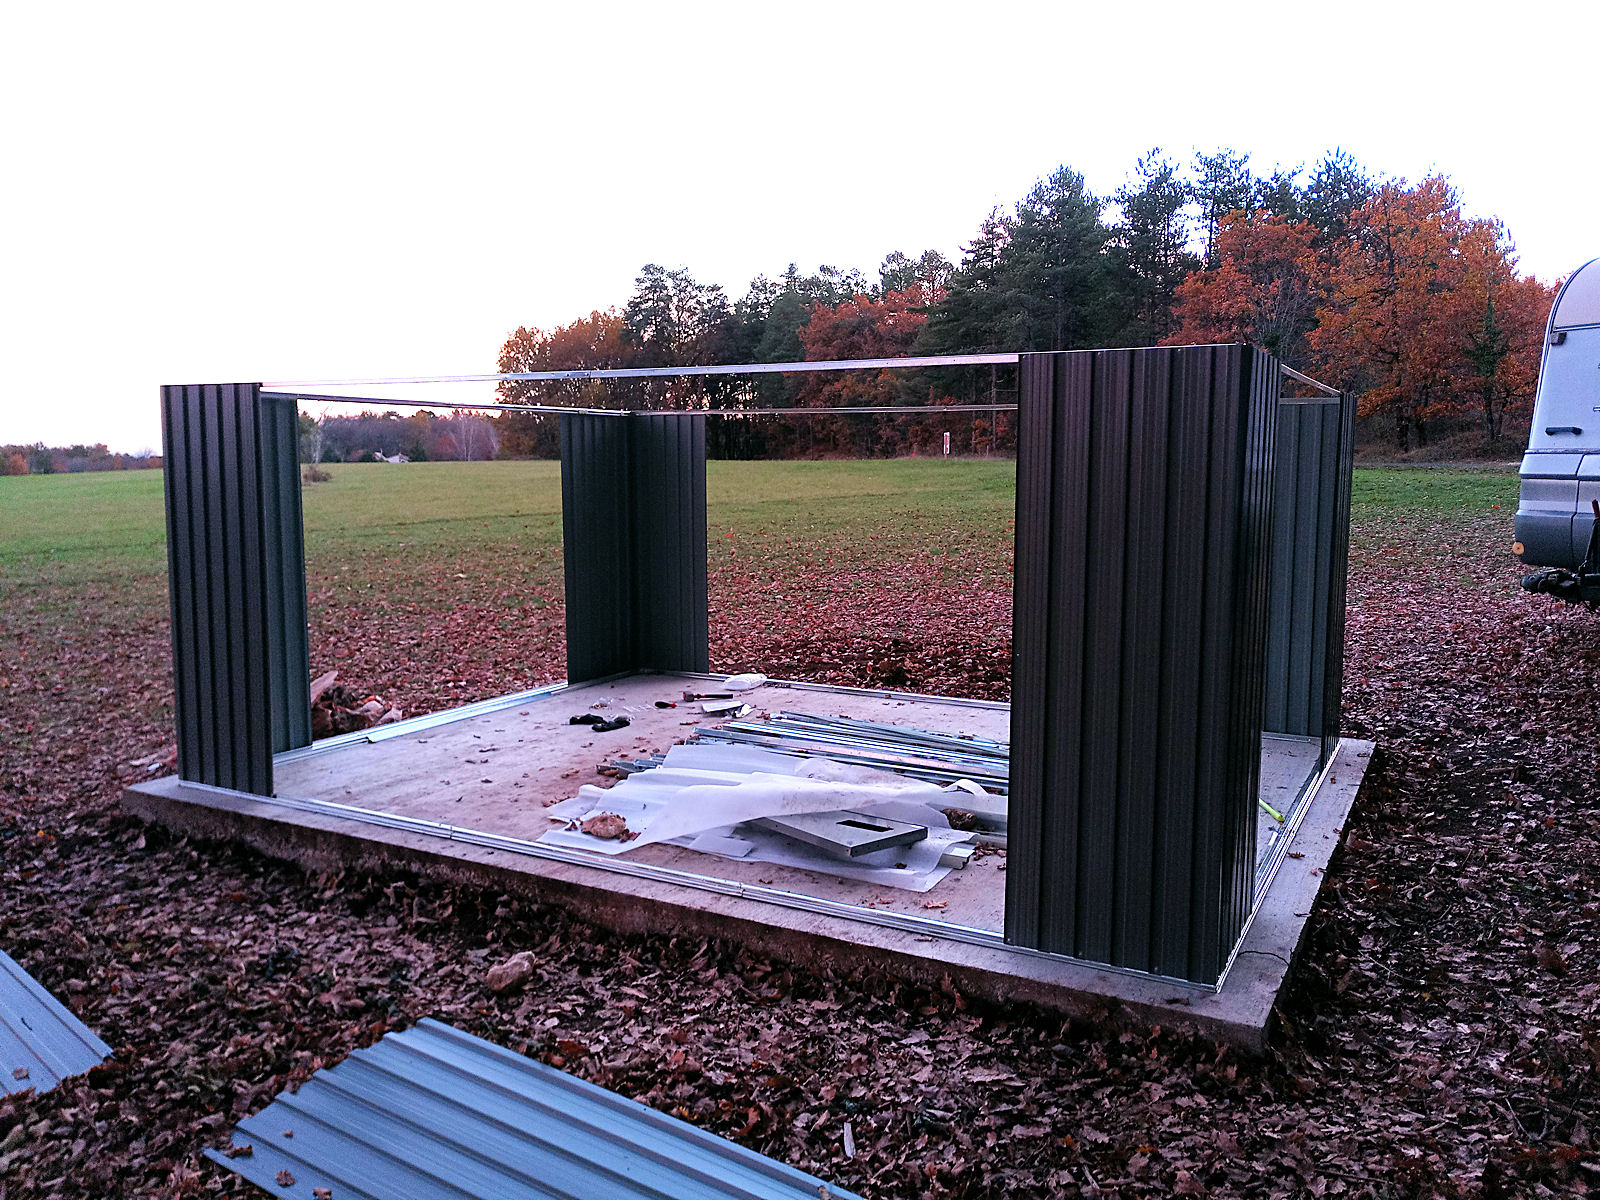
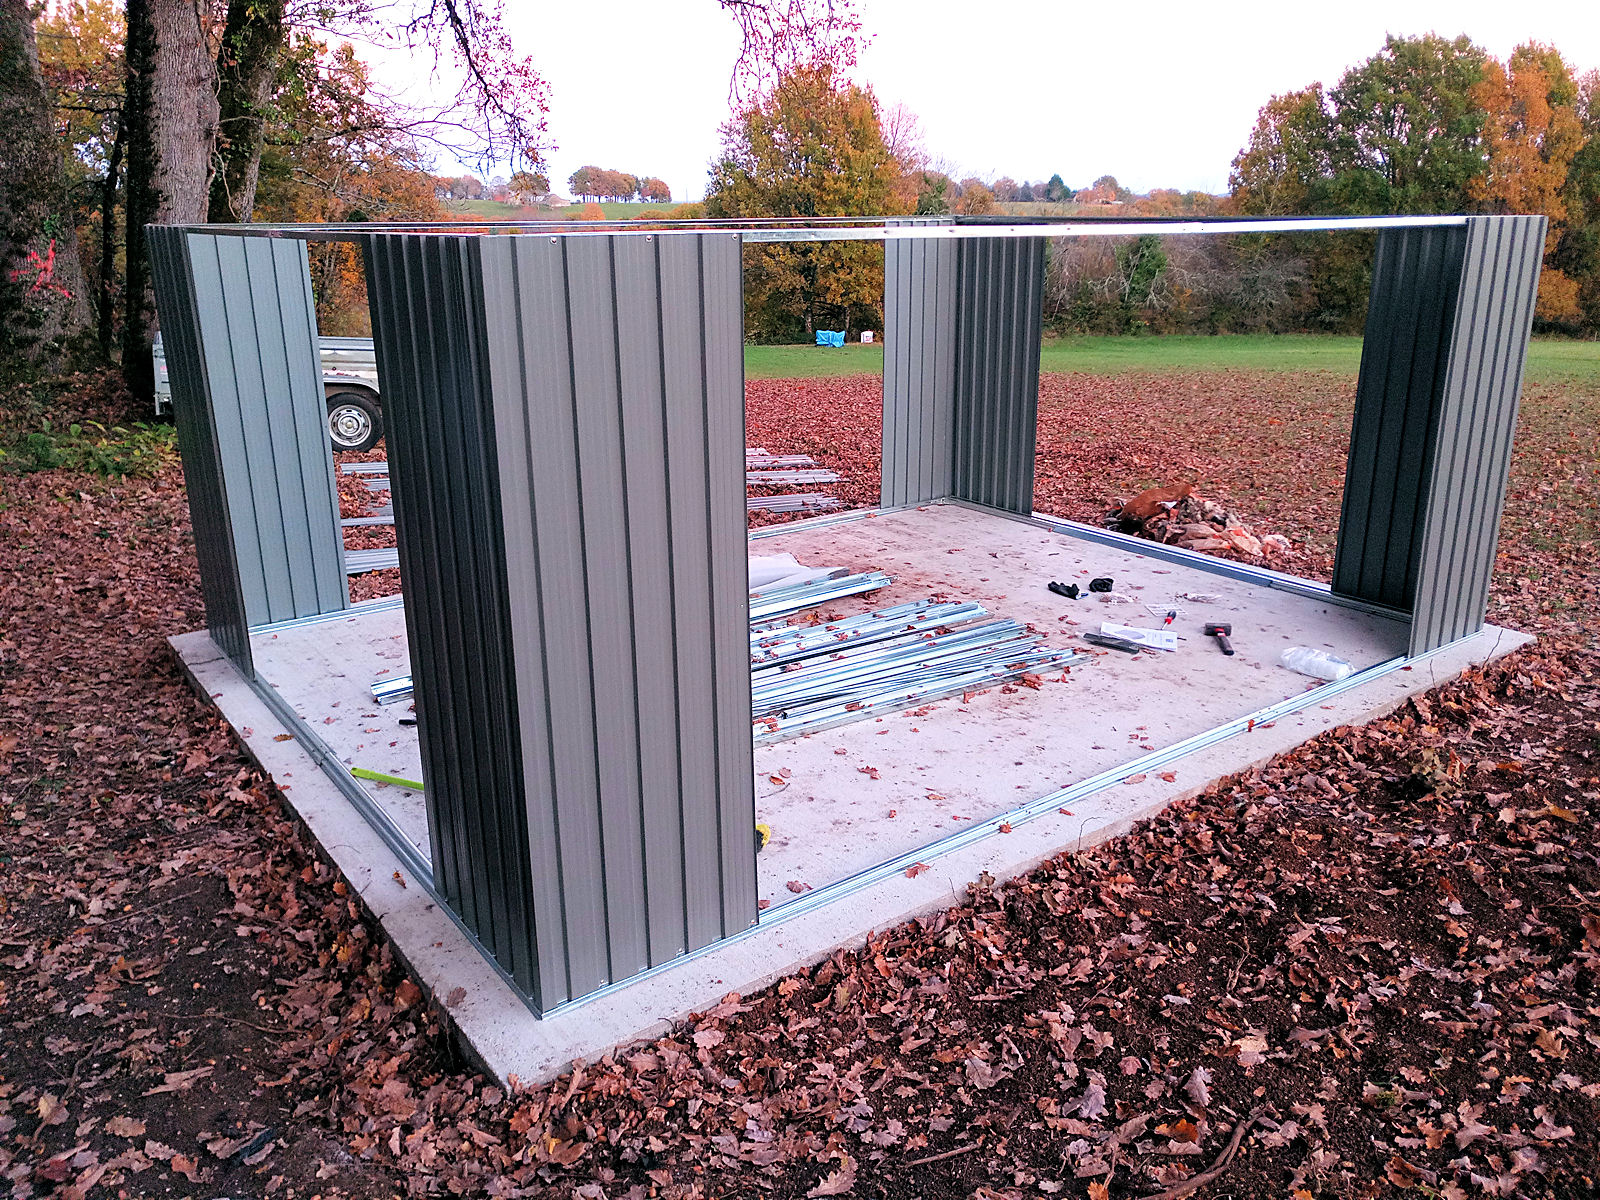
But on to the tool store. Unfortunately I didn’t get as much done as I’d expected to today and I’ll explain why later. However, I did manage to get the basic structure completed and here are some shots that I took at the end of the afternoon, first as usual from the front corners.

null

null

And now from the rear.

null

null

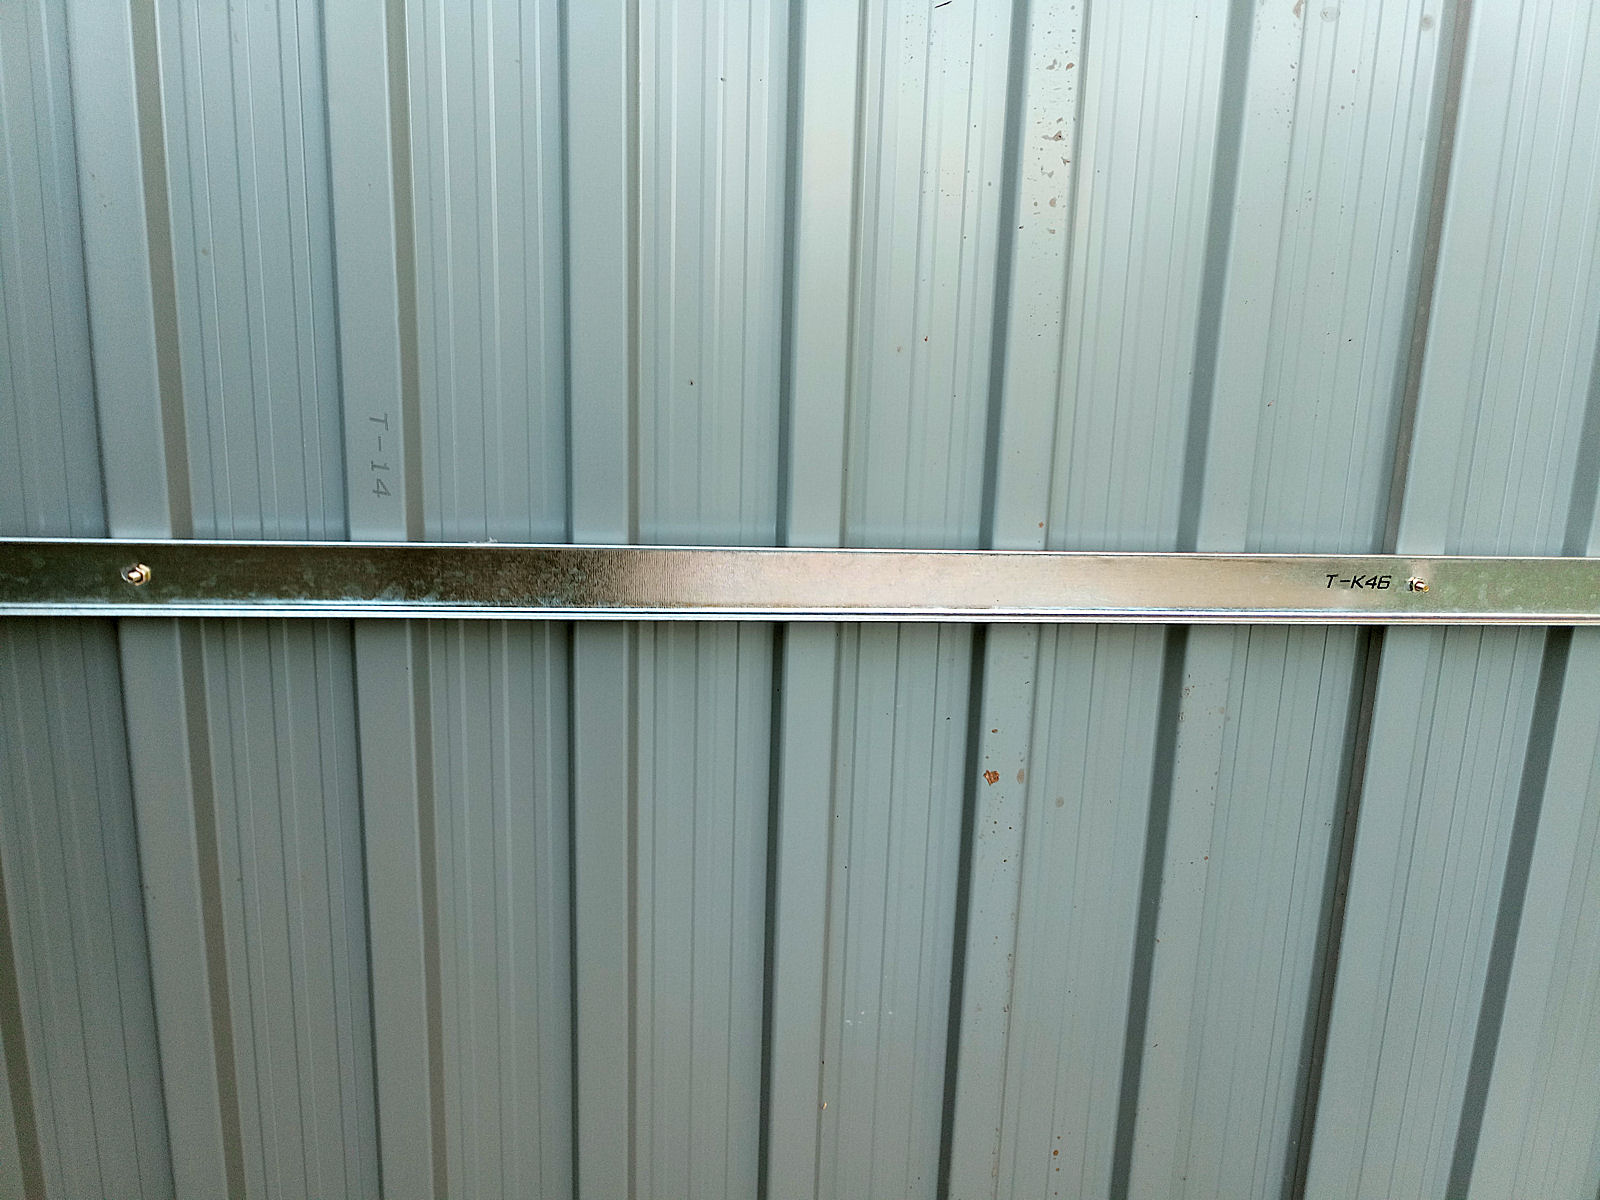
Well what, you might ask, slowed me down today? It was actually just the rail that you can see running across the rear of the structure half way up the wall in the next picture.

null

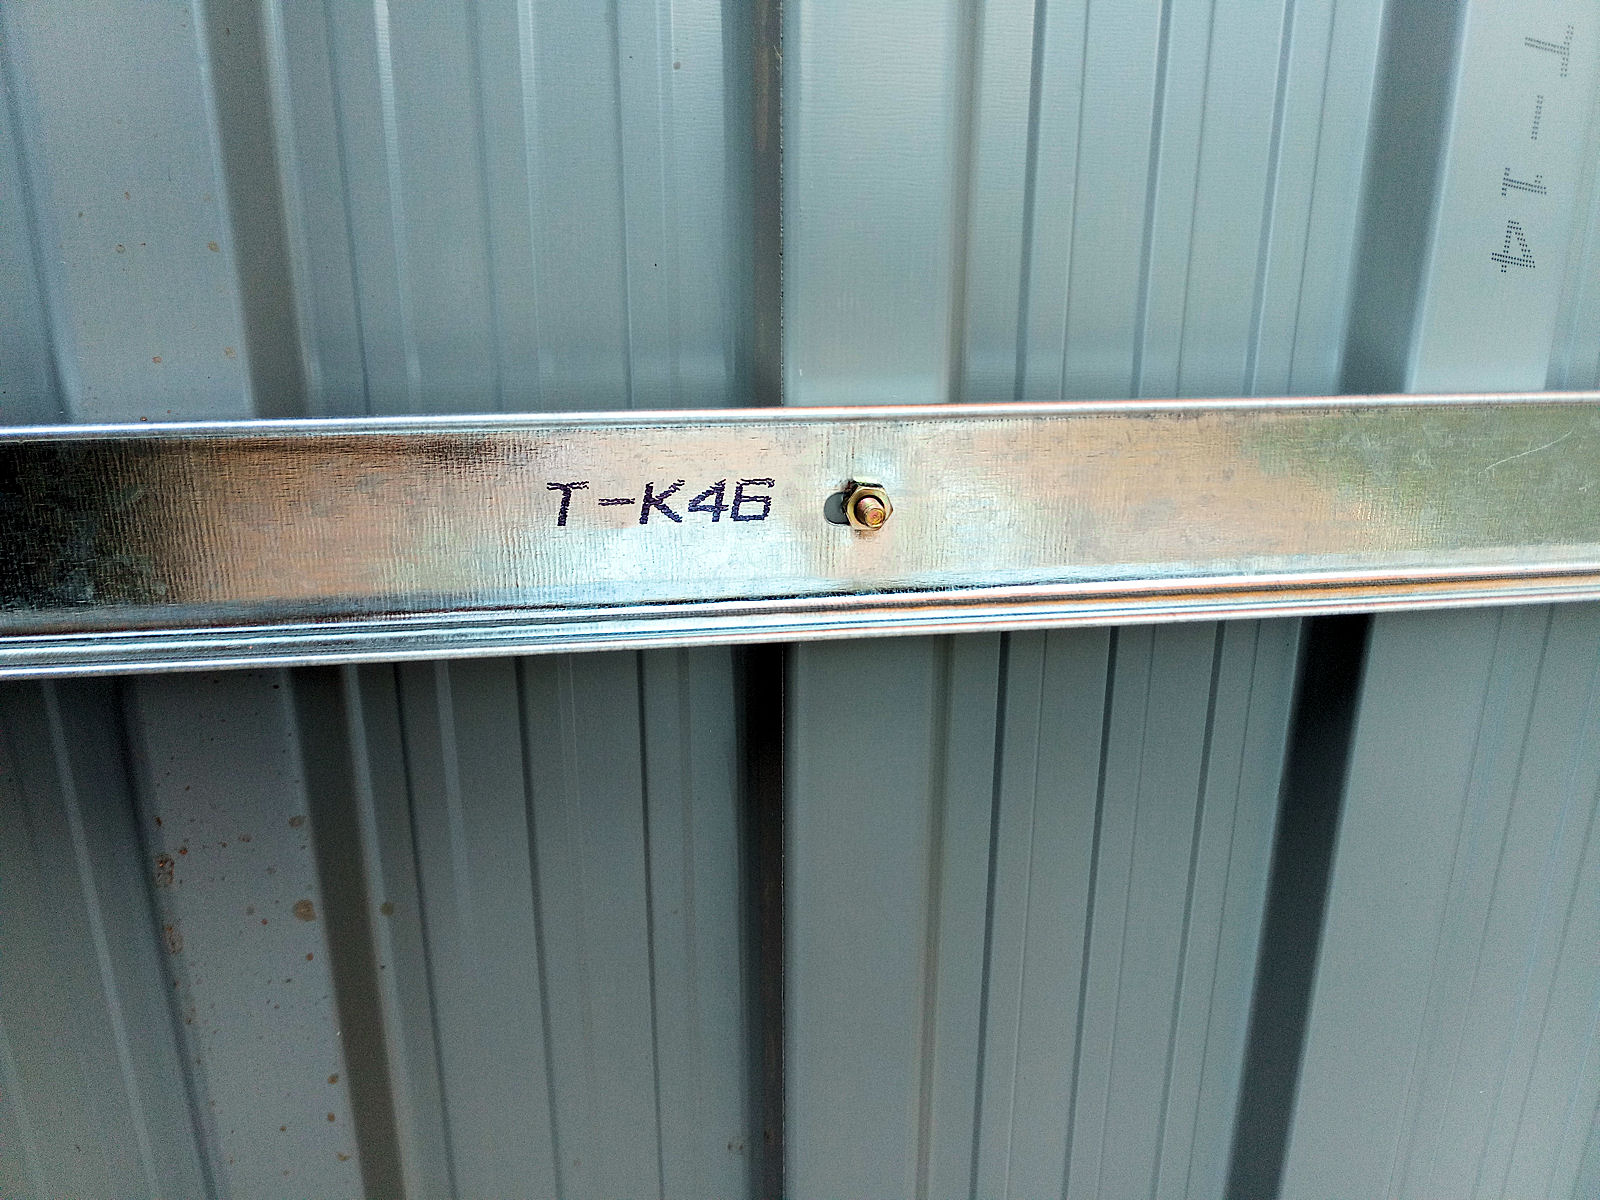
I had to do what is impossible for one person, namely to secure it in place by sticking some tiny bolts through from the outside, attaching a nut on the inside of each and then tightening them up from the outside while holding them on the inside. Here are a couple of shots that show what I’m talking about.

null

null

I did manage to devise a method but it slowed me down quite a bit. And the problem is that I have two more longer bars that go down the sides to do the same with tomorrow. Oh well, not to worry. At least when I’ve got those in place I really should have the finishing line in sight, with a bit of a way to go but with nothing that should be too challenging for me working single-handed.

New tool store – day 2

The first job today was to get the bottom rails secured onto the new concrete base. I thought that I might be able to drill for the fixing plugs using my cordless drill but it was a futile effort. So I had to visit my storage to get my more powerful mains electric drill out, and lucky I did because although I’d drilled the pilot holes with my cordless, my larger drill still had problems drilling the larger holes for the plugs in a couple of places, presumably due to hitting stones within the concrete.

It was tricky actually, even drilling the pilot holes because although I tried to hold the metal rails down with my shoe while I drilled through the holes that were predrilled in the rails into the concrete below, the metal of the rails is so flimsy that it still kept moving. However, I was delighted when, after making one or two minor adjustments, the rails were fixed so tightly to the concrete base that it’ll take a minor earthquake to shift them.

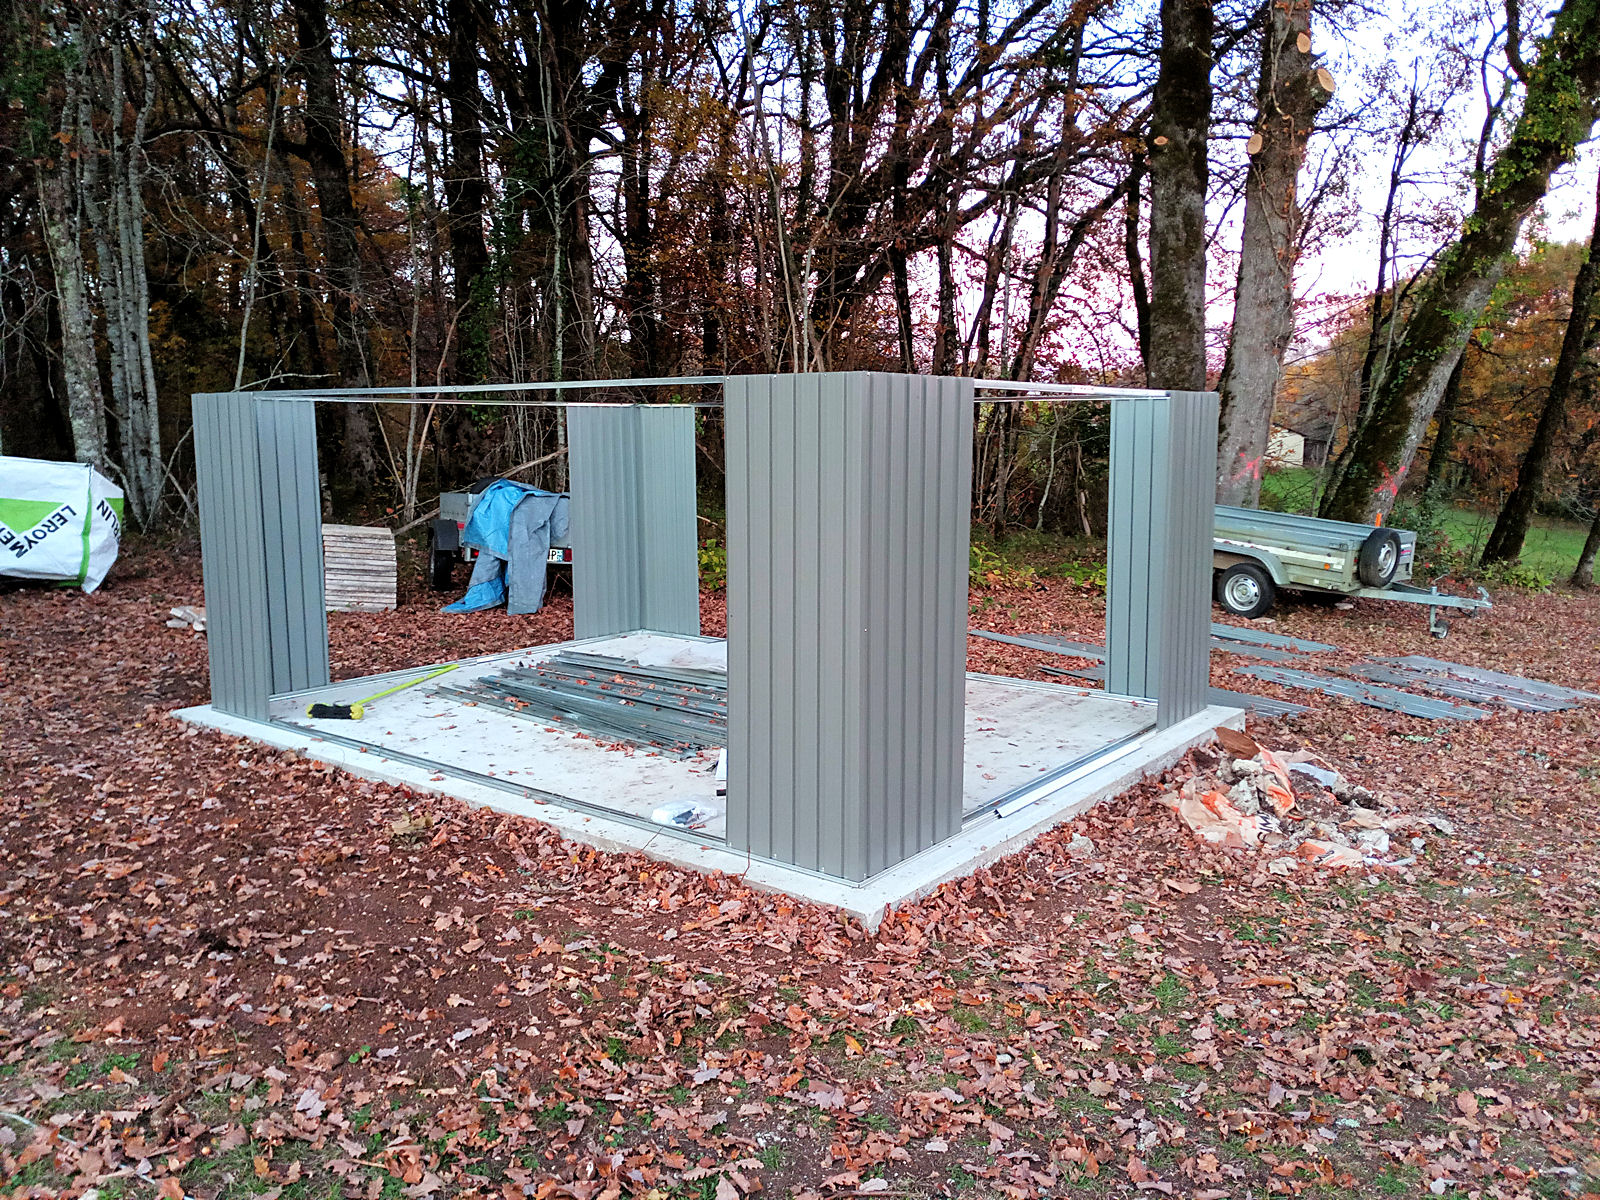
I was then able to press on following the procedure set out in the construction manual. The first job after securing the rails was to erect the corners, one sheet on each side. Really two people are needed for this because the challenge was to support the first sheet that was fixed to the base along its bottom edge and prevent it falling over while doing the same with the second sheet and then attaching them together. Once they were connected they were safe, but it took longer than necessary because of the fiddling around that was needed.

Then I had to fit the front high level rail that also carries the sliding doors (it can go in two ways and the first time I fitted it the wrong way, of course), then the two side rails, to which I did the same to the first one as it wasn’t clear in the instructions how they should go so the screw holes lined up, and then the rail at the back. That was as far as I could go today and I was very pleased to know that at this point the structure would withstand any minor gusts of winds should there be any.

Here are two shots taken at the end of the day from the front corners.

null

null

And finally, two shots from the rear.

null

null

I think that I’ve now broken the back of the job as fitting the side and rear sheets should be a doddle in comparison as each one can be started by hanging it from the top rails. Anyway, that’s for tomorrow. I’m tired now and my hands are aching from screwing in the fiddly little screws they’ve supplied, so it’s now time for some tea and thoughts of getting an early night. I’d like to think that if I can start reasonably early tomorrow I should get the job nearly finished. It will be nice having somewhere with a roof on at last, to put things in. Pity though, that’s it’s taken out some of the view. Mind you, so will the house, and even more so, when that’s built 🙂

New tool store – day 1

Obviously, I’ve had the build manual for the new store ever since the kit was delivered back at the beginning of July but although I’ve scanned through it a few times, I haven’t spent the time that I should have examining it in detail. So before I got cracking on starting to put the kit together, I had to carefully read through the first few pages and take notes on which components I needed to find and lay out ready for assembly.

There are lots of hand-drawn images showing how the various bits go together but after getting the bits in question in front of me and comparing them to the drawings, many of the illustrations seemed to show them coming together incorrectly with one of the parts somehow being rotated through 90°. However, once I realised that and decided that I’d just use my common sense, I got going and work proceeded OK if not very quickly.

I got the base rails assembled and in place before I had to stop. The reason was that the manufacturer of the building assumed that it would be assembled onto a flat wooden floor whereas mine will be attached directly to concrete. To allow for this they have supplied four corner brackets with bolts to screw into plugs in the concrete whereas I want to fix it much more securely using the 5 screw holes per side that the wood screws usually use.

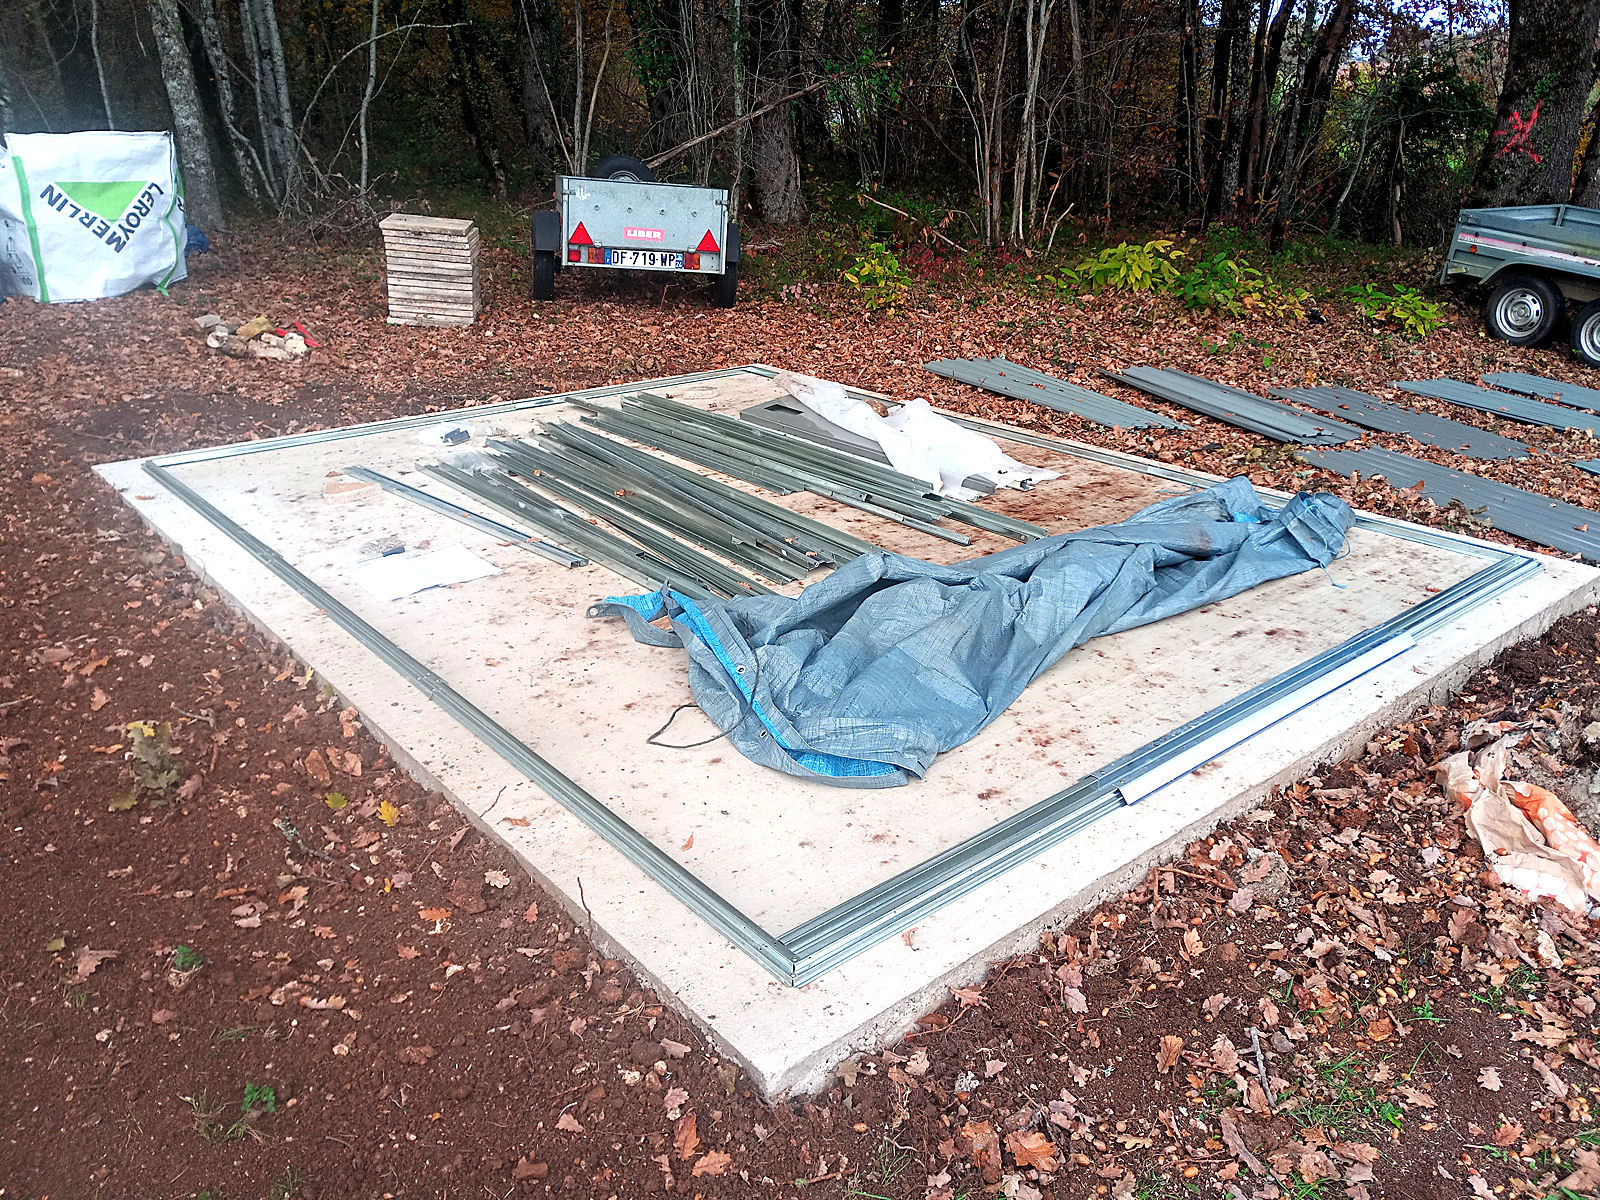
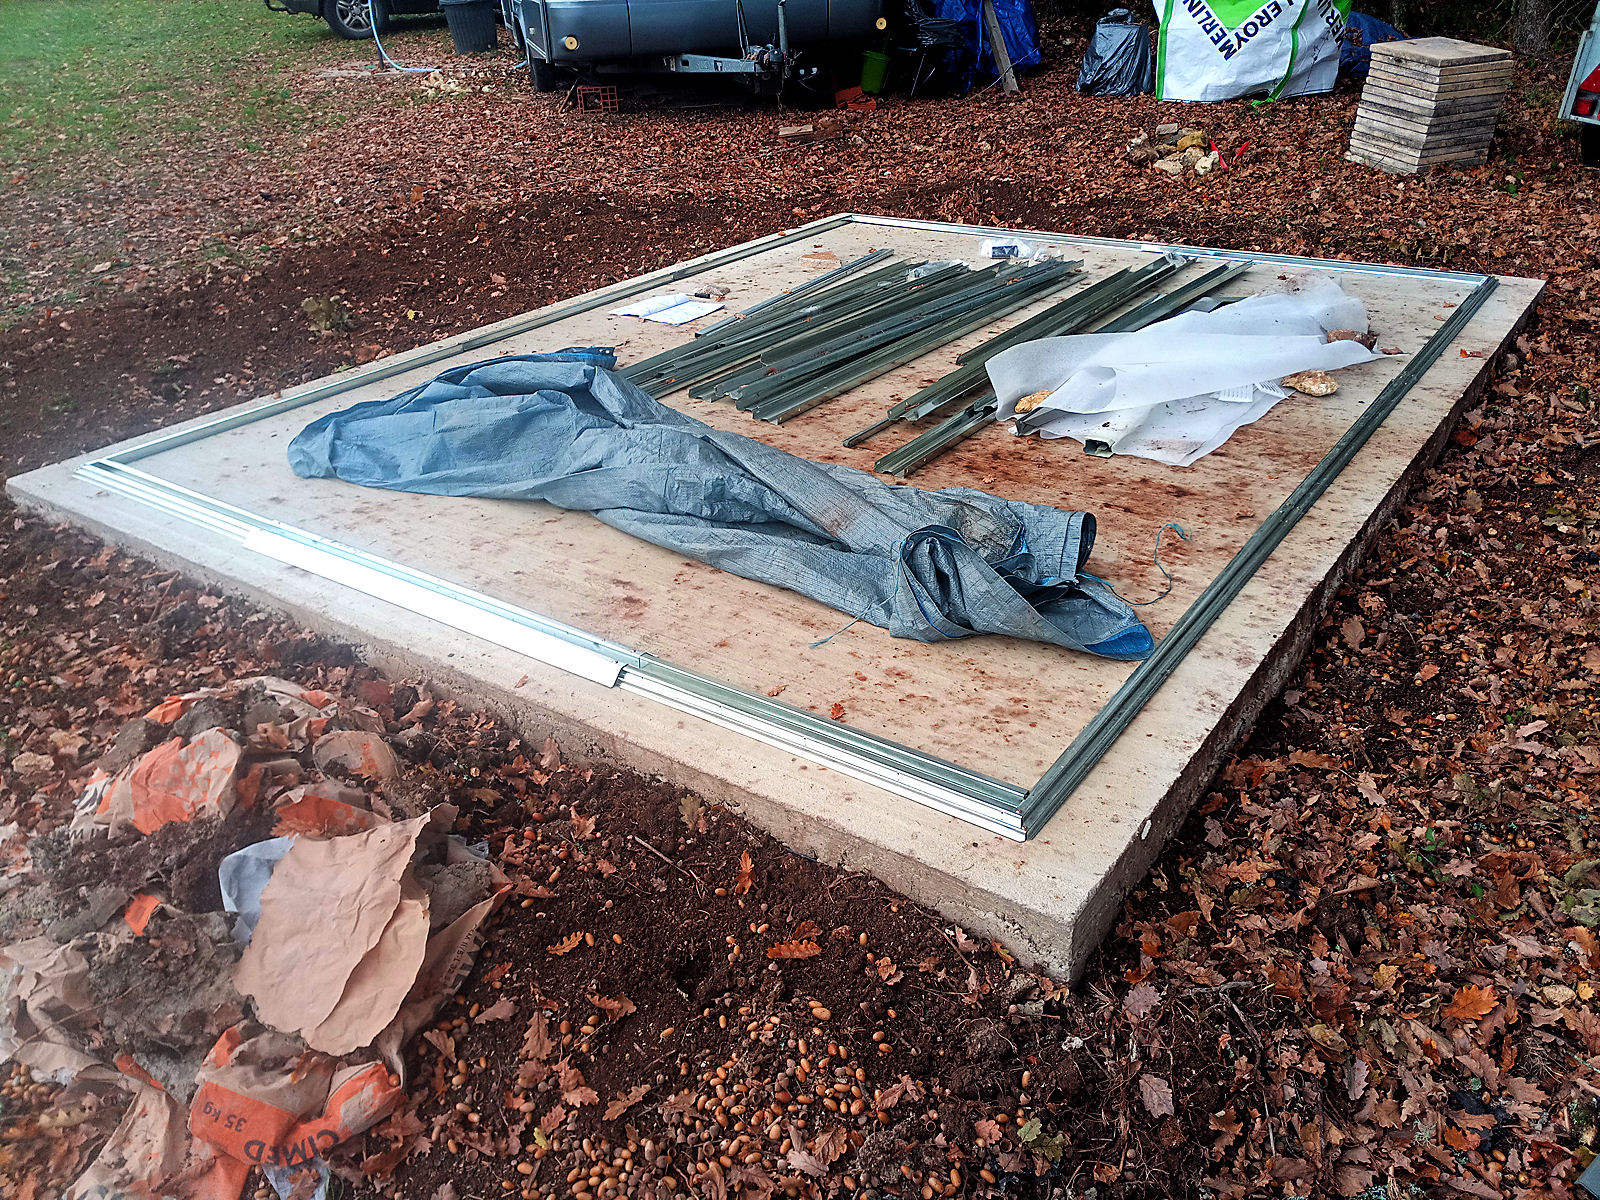
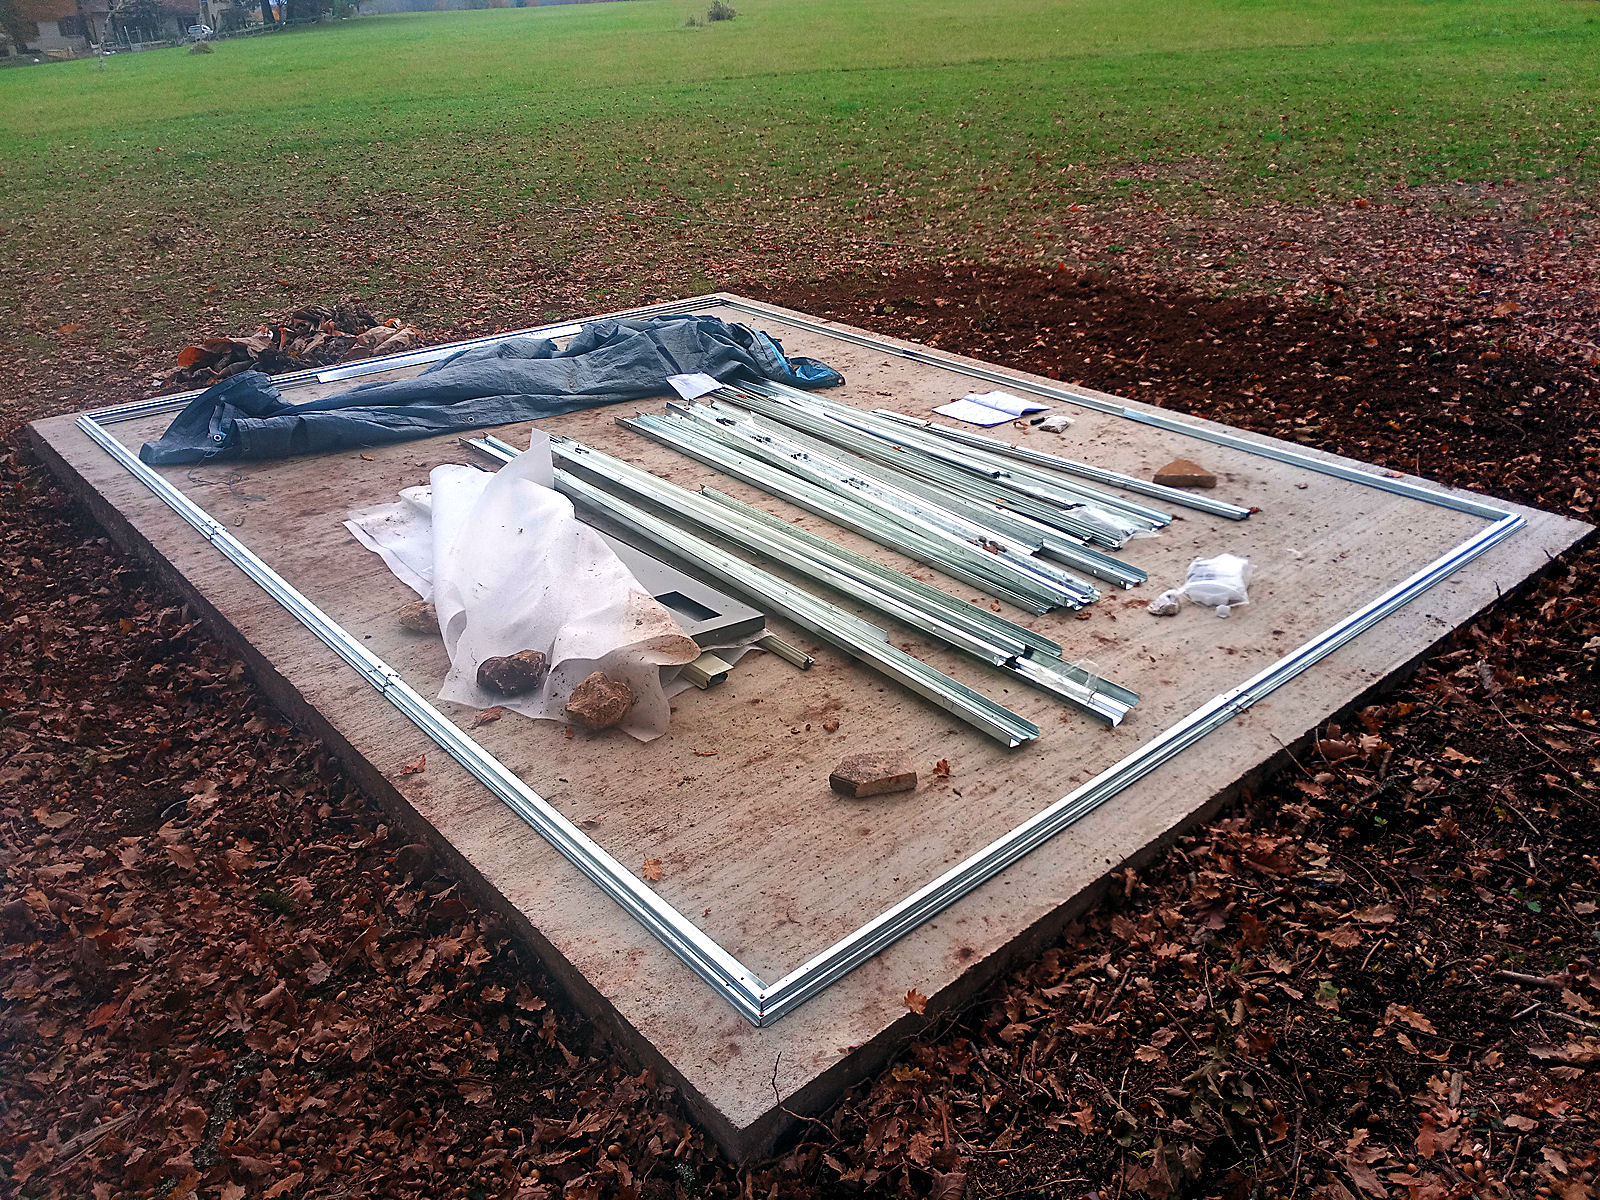
But firstly the wood screws are too tiddly and short and secondly they haven’t supplied any suitable concrete fixing screws or plugs, so I had to down tools as the afternoon drew on to source some myself. Here’s where I’d got to at that time. First two shots taken from the front corners showing the footprint of the building. The section in the middle of the front edge is where the sliding doors will be placed.
null

null

And now two more shots taken from the rear corners.

null

null

I got what I needed at Brico Marché in Le Bugue but it’s a bit annoying because when I do jobs like this, I keep buying more of what I’ve already got in storage but which is now inaccessible. But never mind, I guess that it’ll all be used in the fullness of time when I start doing jobs in the new house and garden.

In conclusion, a follow-up on this morning’s conversation with Enedis. While I was out I missed another call from Enedis and when I called back we were at last talking about reserving a date for the connection. The earliest that they can manage is the afternoon of 25th November and yes, wouldn’t you just know it, that’s the only day and time that I absolutely can’t be around because that’s when my annual check-up at Périgueux hospital is scheduled for.

They asked if I could leave my ‘coffre de chantier’ in a safe place where they could find it to make the connection and I said that that wouldn’t be necessary as it’s been ready, installed mounted on two metal legs and waiting for over two months. Enedis was quite shocked – should I be surprised? Anyway, the connection will go ahead on that day without my being there because what could I do anyway? They’ll do what’s necessary to test the installation afterwards and it’ll be nice to hopefully come home to a working system of my own that I can at last plug into.

But funny, don’t you think, that I was told some time ago (by SDE24 actually) that my connection was scheduled for 2021 Week 47 and by my calculation Thursday 25th November is slap-bang in that week. Coincidence? Hmmmm… what do you think 😐

Enedis again… oh dear

Yesterday I received an email saying that I’d received a message from Enedis and that I needed to log on to their web site to read it. I naturally thought that after all that has occurred over recent months (it’s been more than 6 months since I initiated my demand for an electrical supply) the message would be confirmation of the date when the connection would finally be made.

But no. It actually said that my ‘dossier’ was incomplete and lacked an item – namely a map ‘cadastrale’ taken from the government web site showing the terrain on which the connection is required. I was gobsmacked because when I initiated the demand back in May, I did so on Enedis’s own web site and the first thing that they demand is a map showing where the terrain is situated and its ‘réference cadastrale’. Nevertheless, I thought that there’s no point kicking up a fuss and just reminded them of that and again supplied the necessary information.

Which brings us to this morning. I’ve just received a telephone call from Enedis saying that they are unable to provide me with an electrical supply… because my land is too far from their nearest connection box ie they have reverted back to Day 1 of the whole process when I was told that the box was some way down the road from my property and that the network had to be extended before I could be connected.

I told the caller that this was not so because SDE24 had already carried out a network extension and that there is now an Enedis ‘coffret’ within 2 metres of the box that I installed two months or more ago on my land, to which it needs to be connected. This came as some surprise to the gentleman on the other end of the line who said that he’d pass on the information. In all honesty, I don’t know what’s going on in that organisation 🙁

New tool store

After having had its components languishing on my land since the first week I arrived here, today I at last made a start on getting it assembled. I started late (as usual) and my intention was to move everything up from the bottom of my land, where it’s been since I moved the caravan down there prior to the summer, to the top in my large trailer. But unfortunately the Kia’s battery let me down today and didn’t have enough charge to start its engine.

It’s been threatening to do so for a week or so now, so I think a new battery is in order. I have to be very careful too, because when the time came to replace the Kia’s battery last time, when the battery level fell below a certain point it operated the central locking, locking both the car and my old house keys in the car – after I’d locked the house up. I ended up having to break a window to get back in, so I don’t want something similar to happen with the caravan. Plus, of course, experience tells you that when it inevitably does let you down, you’ll be miles from home with no jump leads.

The battery is on charge as I type this and will remain so overnight, but I think that tomorrow I’ll have to remind myself of its size so I can make a trip, probably back to Carrefour in Sarlat where I bought the last one, as they delivered such excellent service swapping the new one they’d supplied that failed after a few weeks, promptly and without question. Good service should always be rewarded, I think.

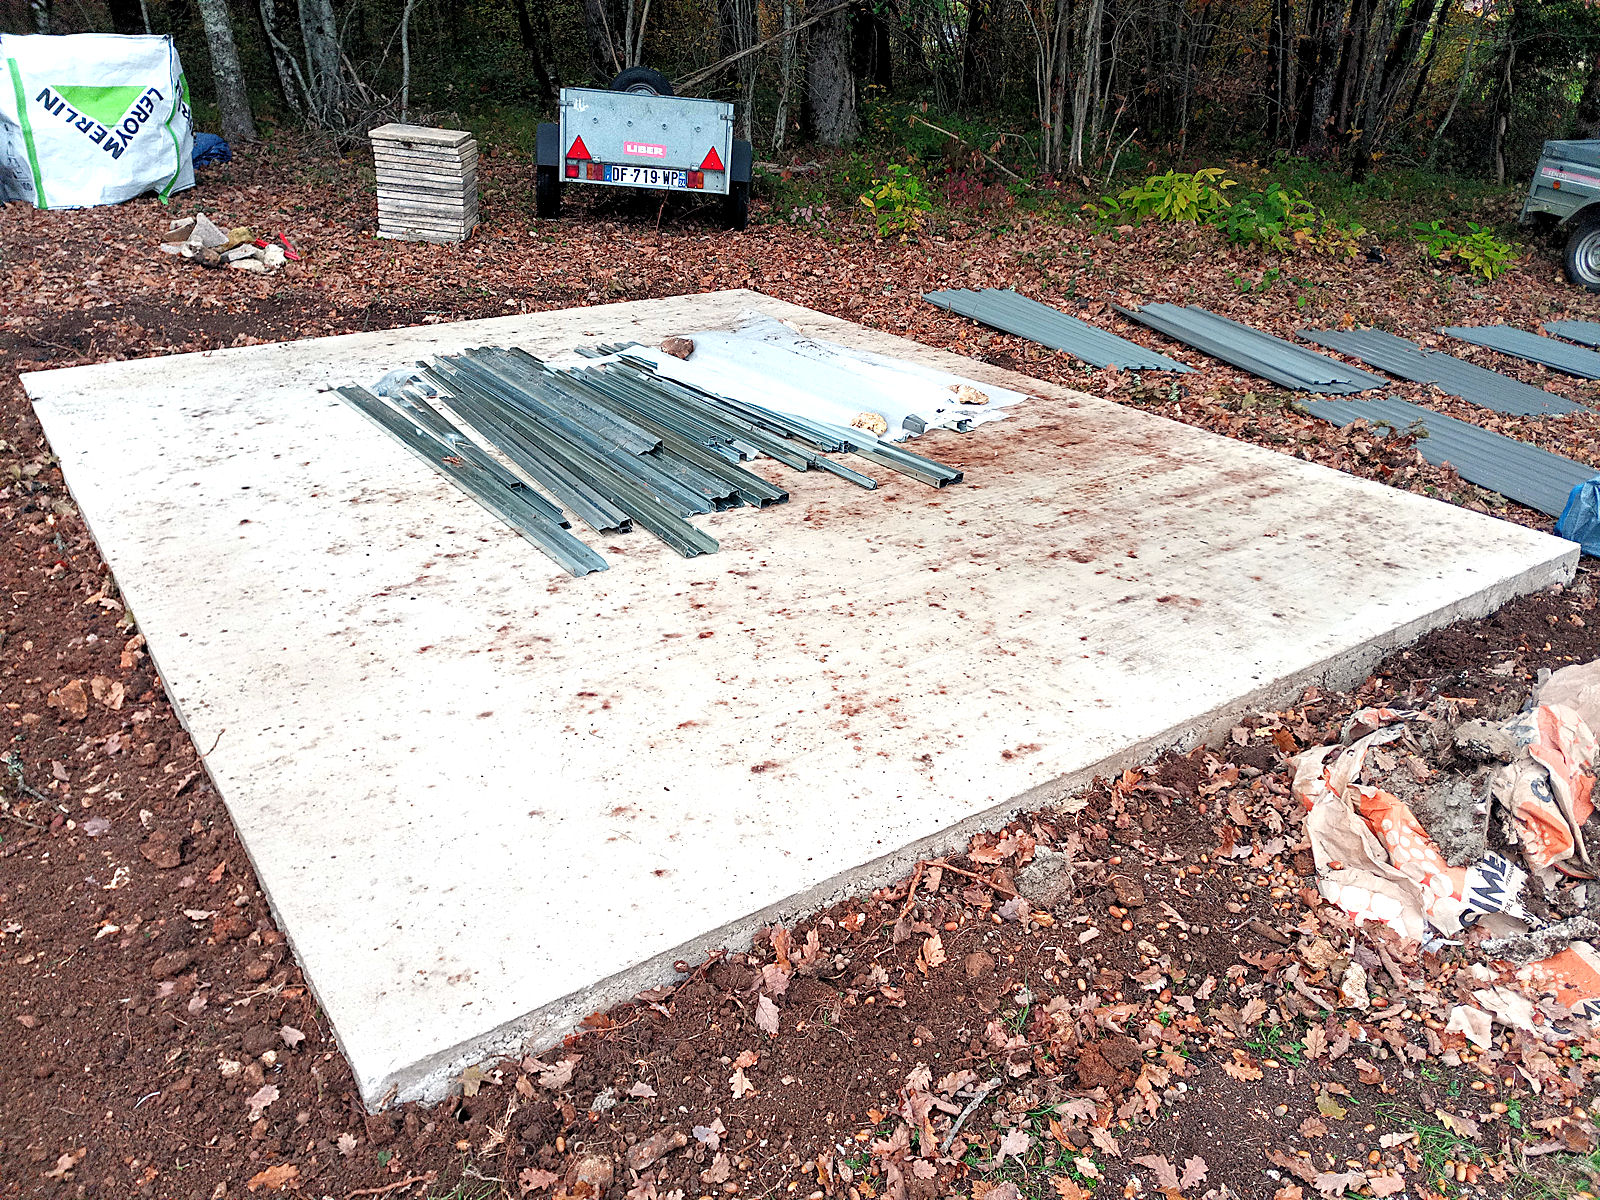
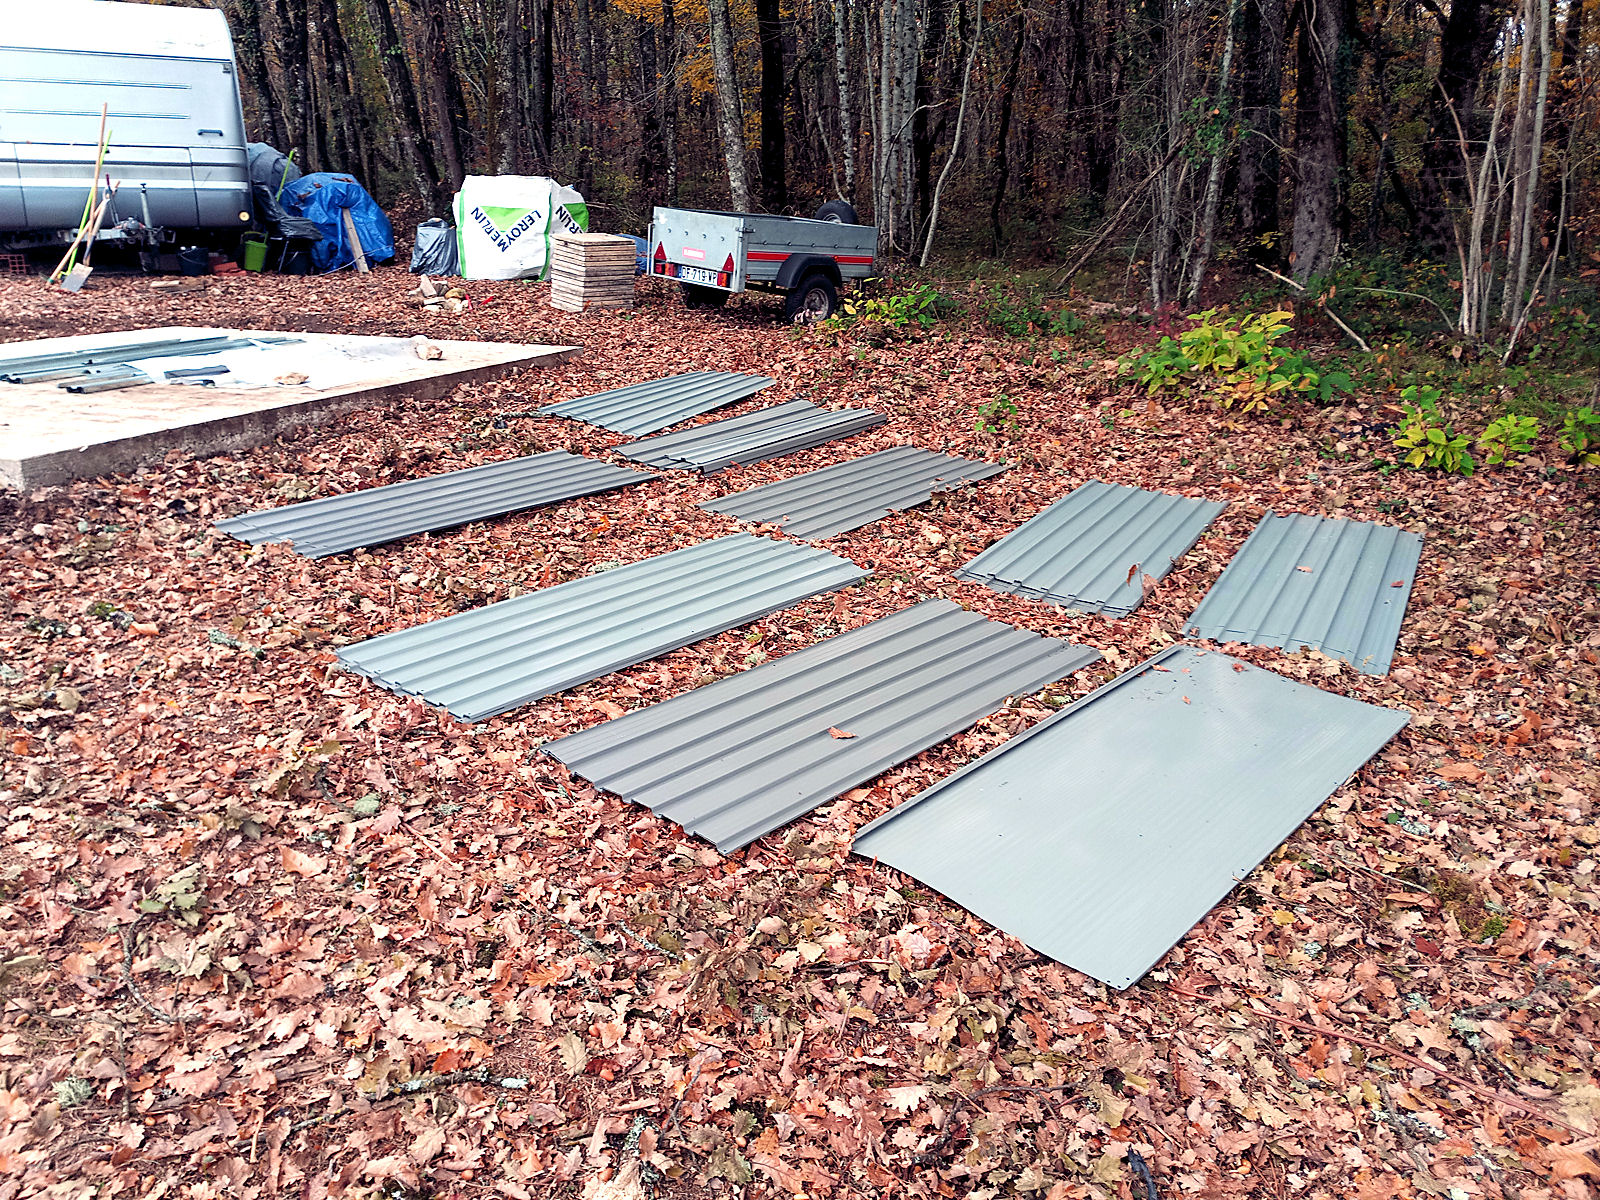
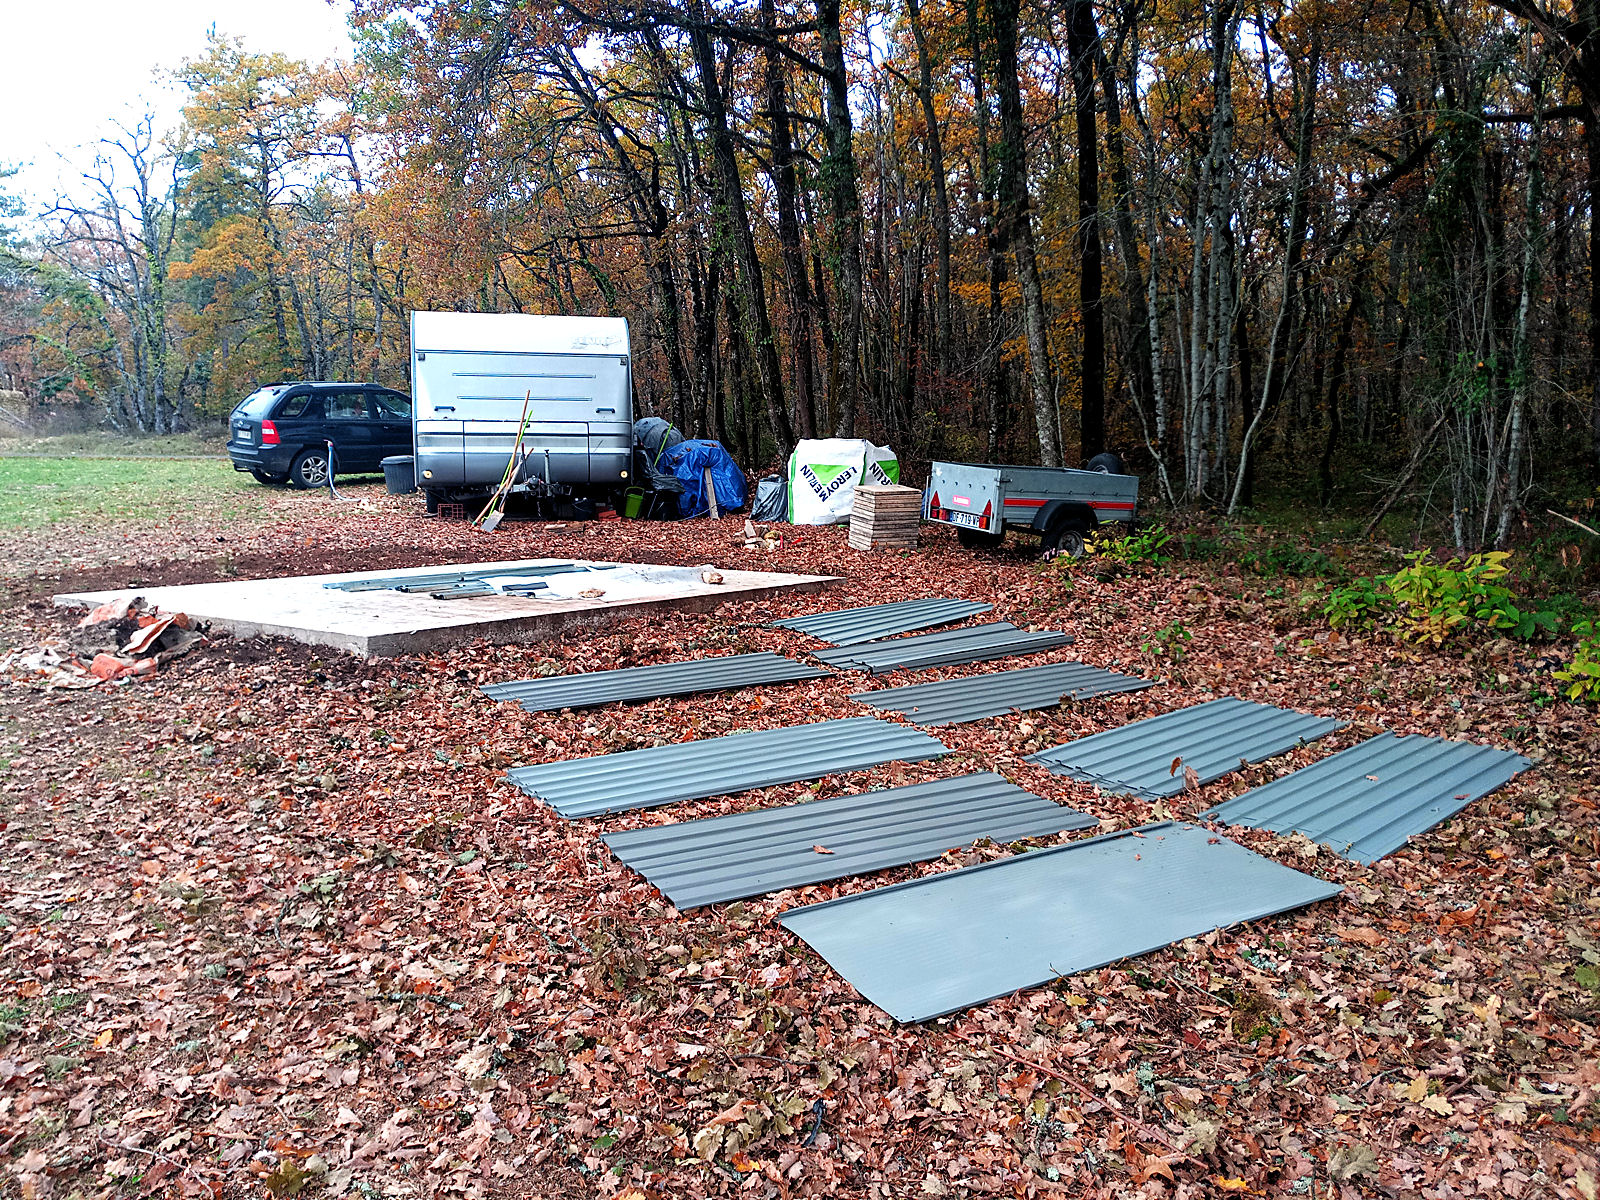
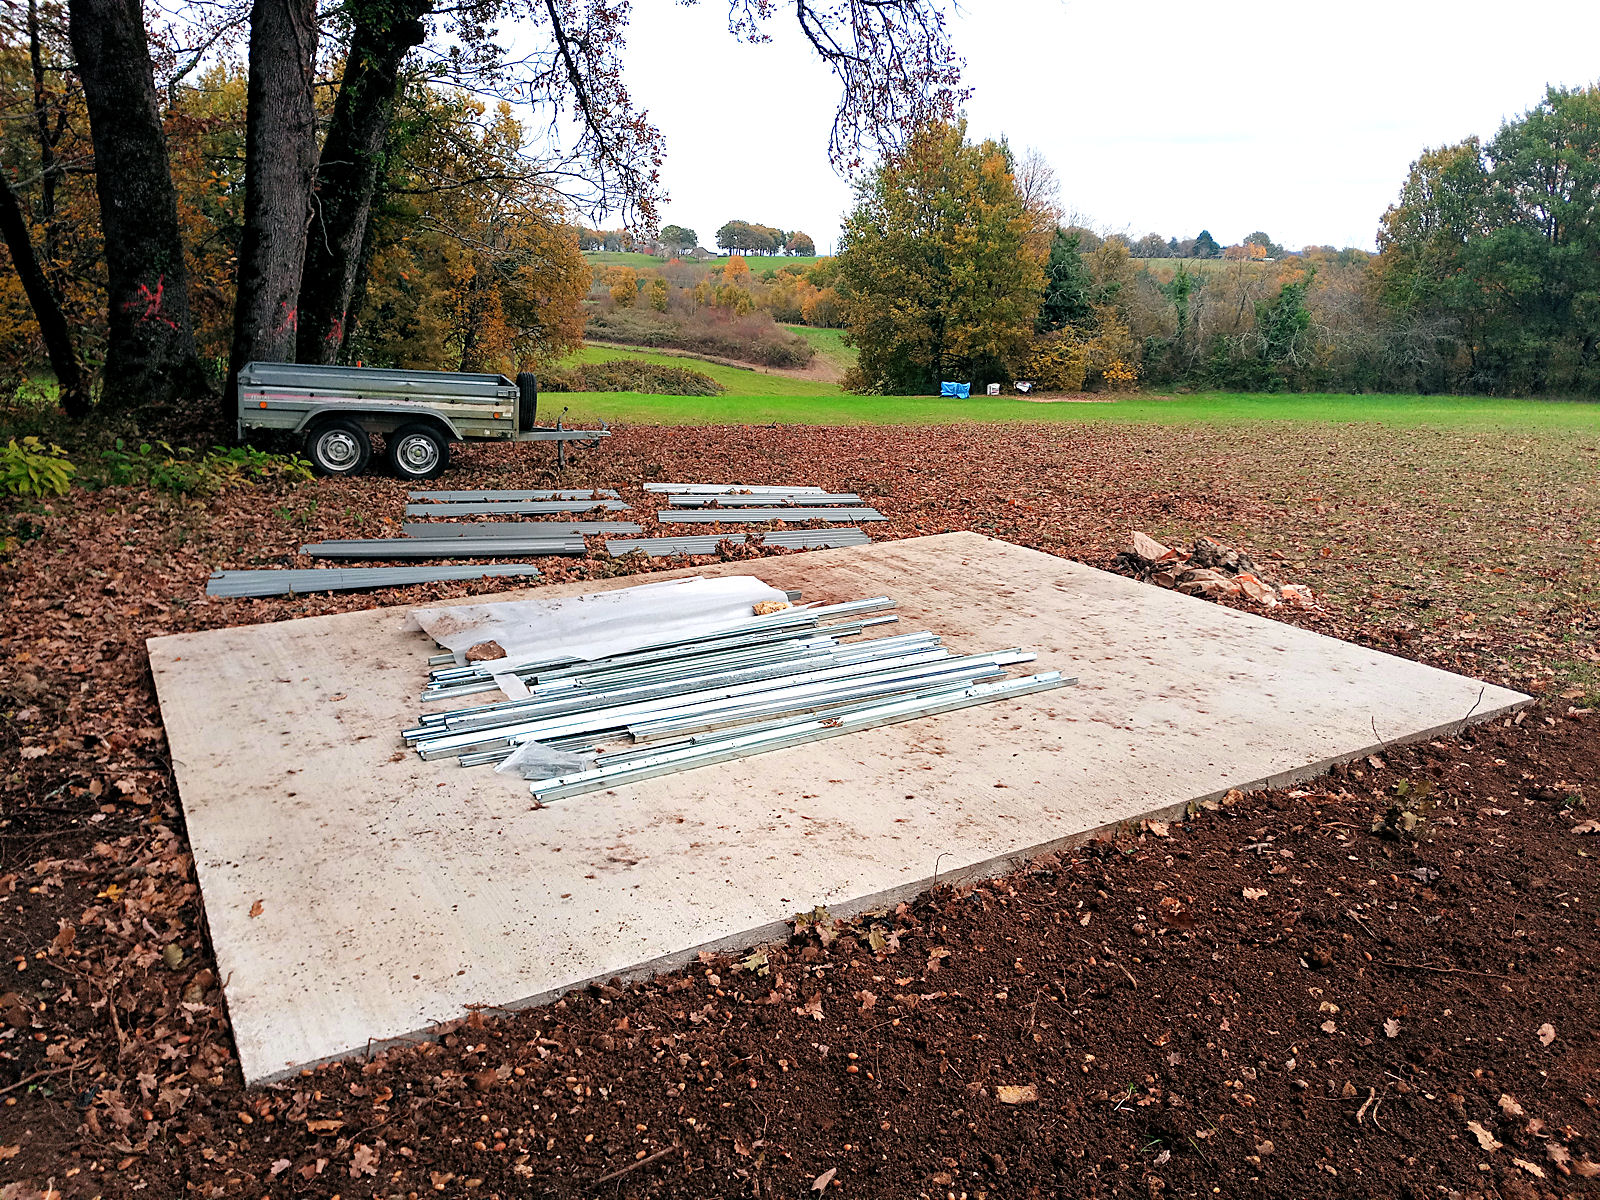
So anyway, while the battery was initially charging, I ended up having to cart a lot of the new store’s components up by hand – unfortunately nearly all of the wall and roof sheets, which are the heaviest. Before I did so I also swept off all of the acorns that had been deposited on the store’s new concrete base, a huge pile actually, hoed the ground around it and levelled the earth a bit pulling as much as I could into the gaps left around the concrete after the shuttering was removed. It’s far from perfect but there’ll be plenty of earth available once they start digging out for the footings and slab for my new house, so final adjustments can be left until later.

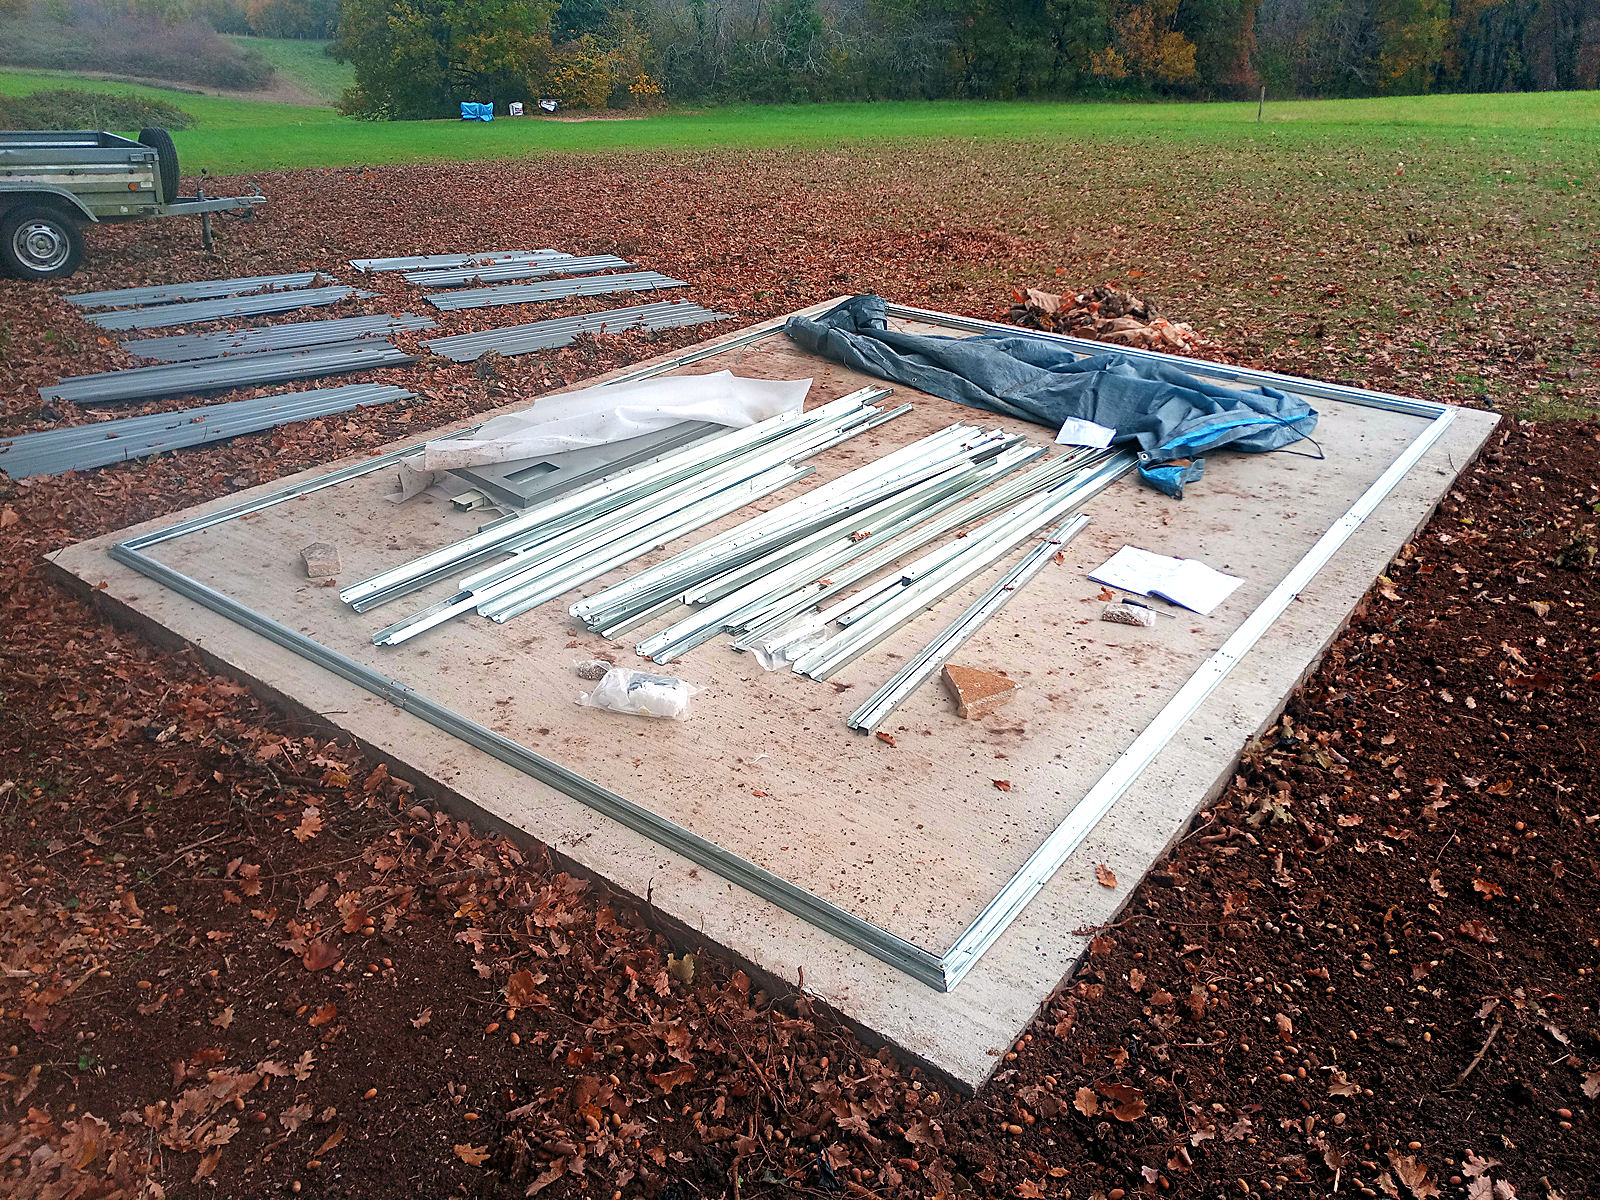
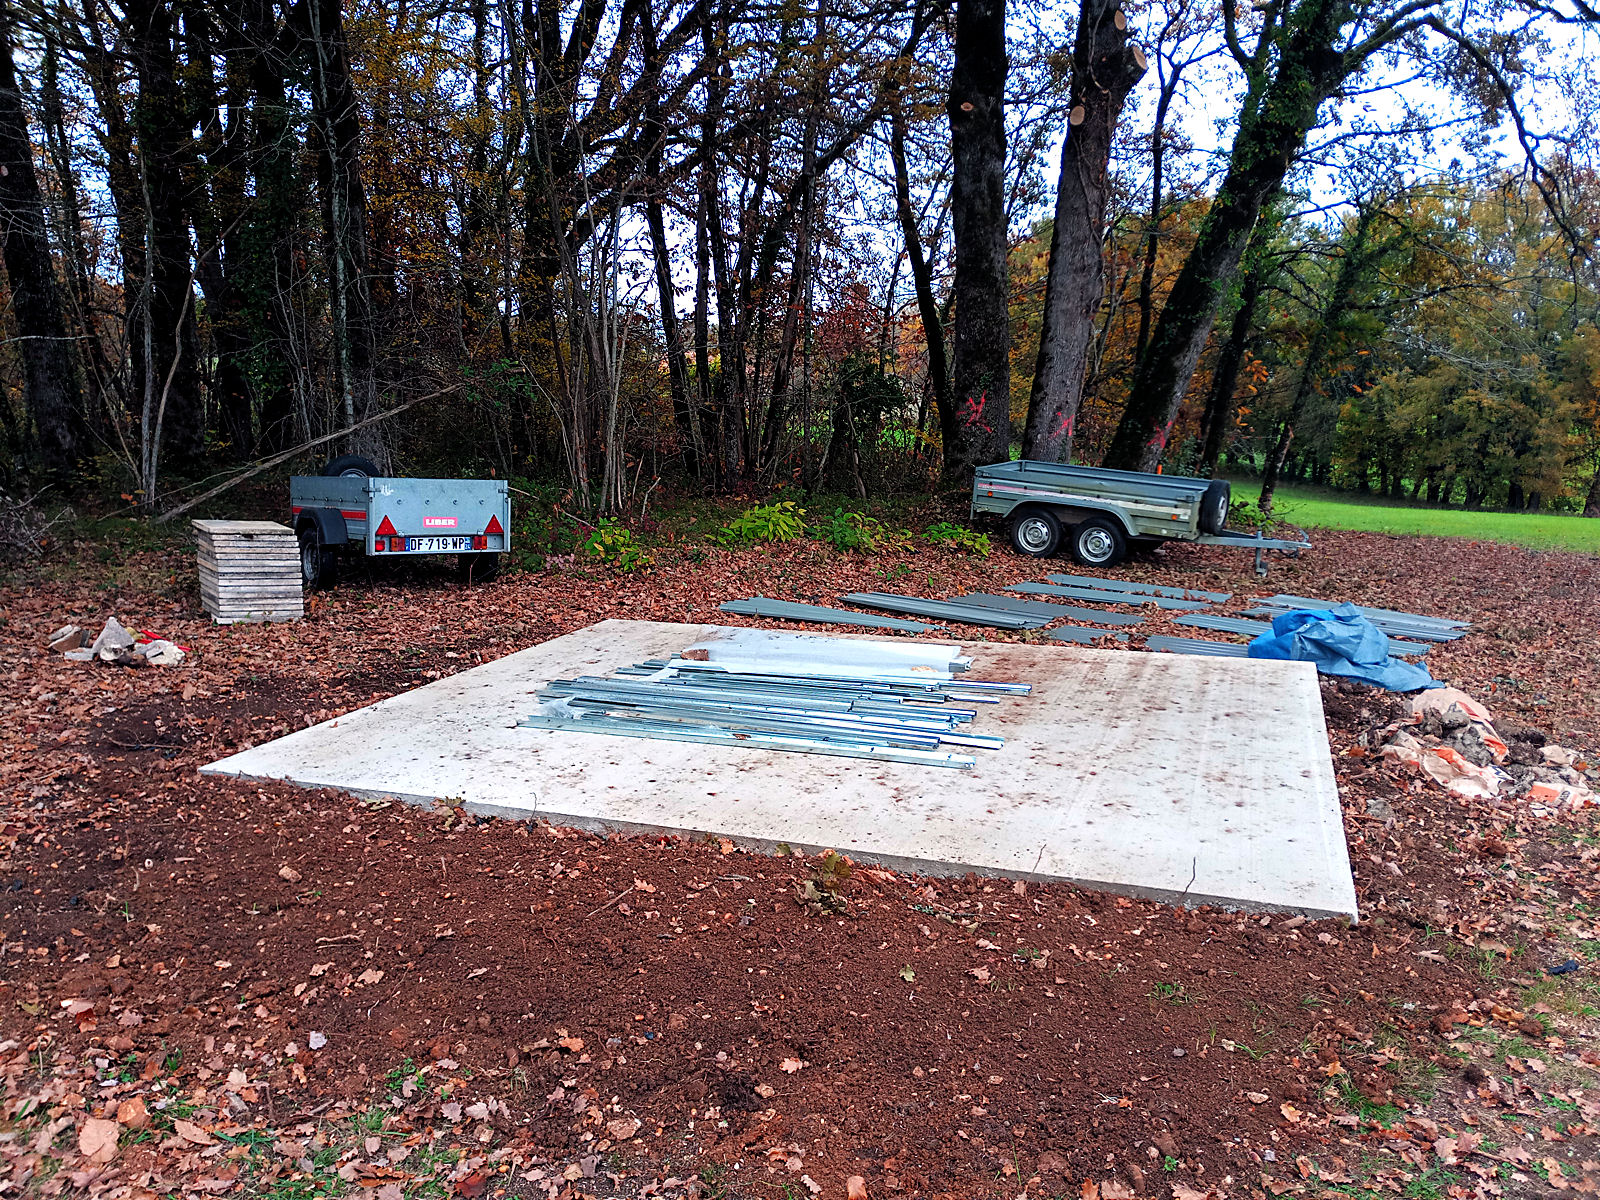
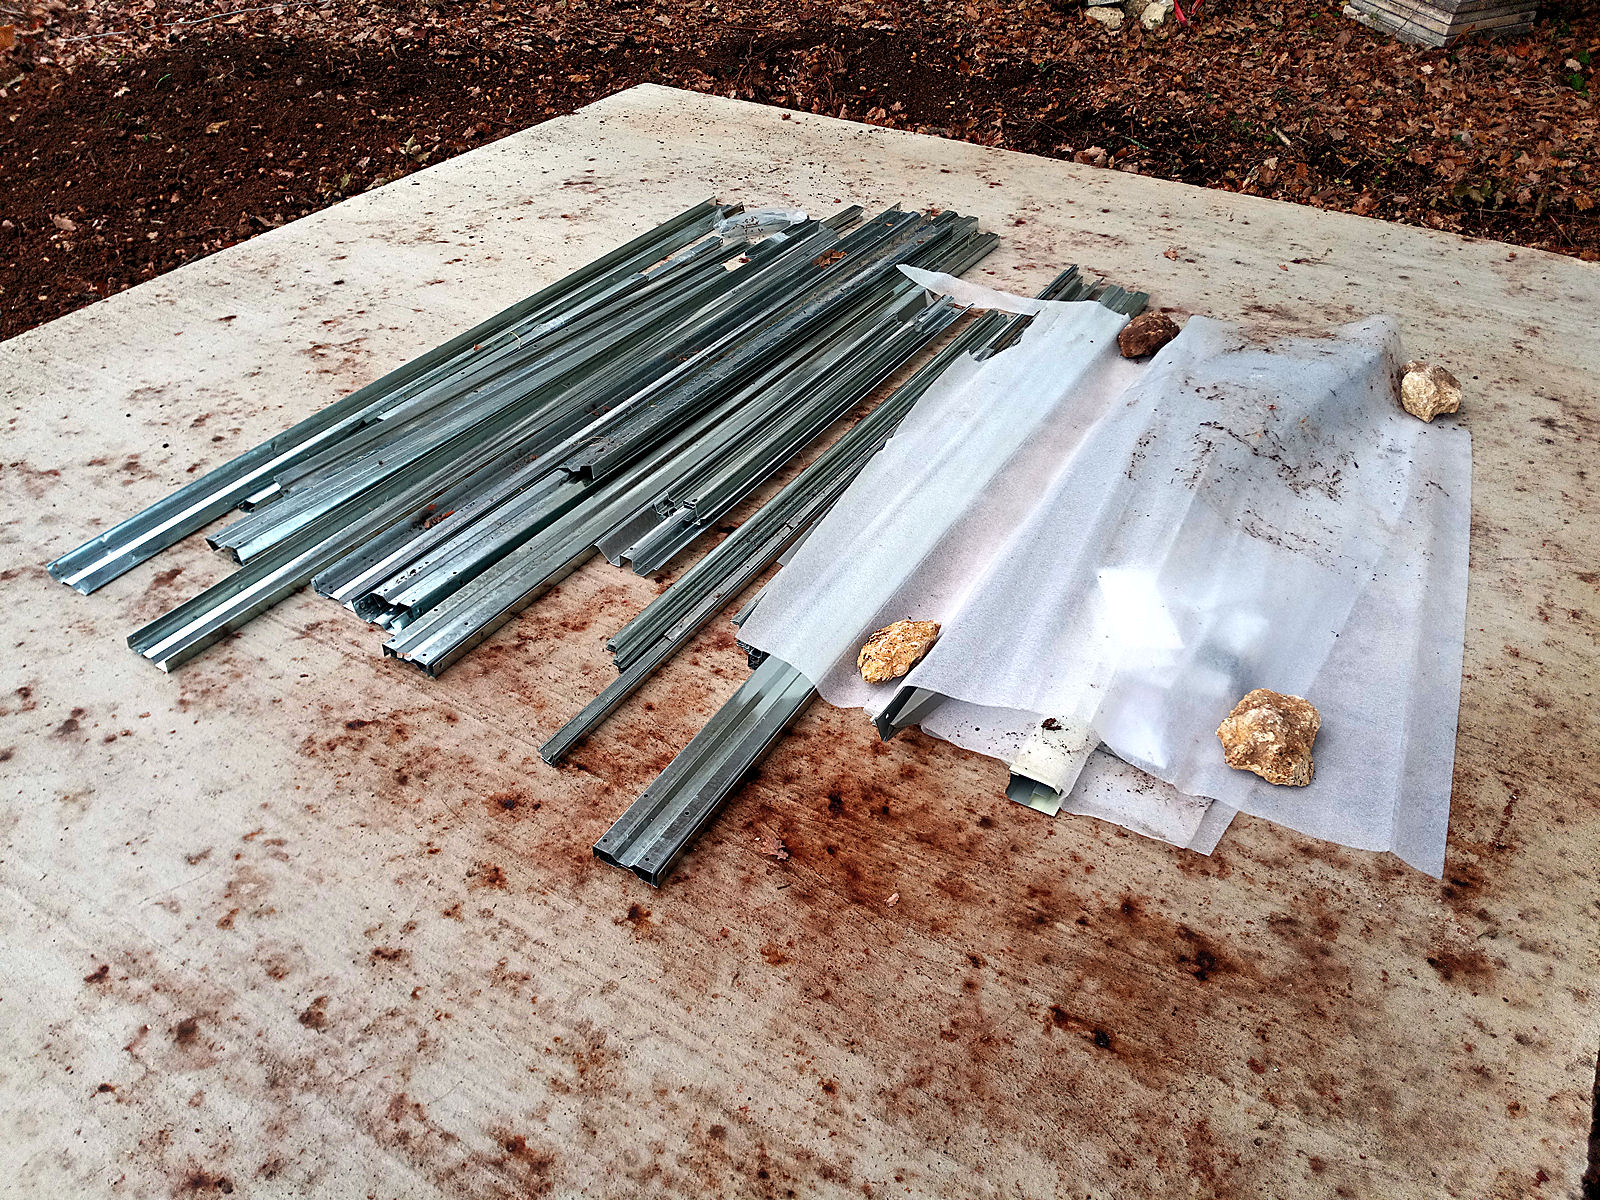
Here are all the components laid out ready for me to start work assembling them, hopefully tomorrow.

null

null

null

null

null

It’s far from ideal, leaving the roof and wall sheets lying uncovered on the ground as they are fabricated from only very lightweight metal sheet that’s very easily damaged by a weight pressing or falling on it. However, they should only be there for a day or so, so hopefully nothing untoward will happen in that time. I’m also pleased, as shown by the final pic below, that I’ve now almost succeeded in clearing the bottom of my land again.

null

There are now only the wooden table and chairs set that I brought with me from Plazac under a tarpaulin and two generators. I’m hanging onto them for now because the smaller one that I brought from the UK that stopped charging when a switch on its panel got damaged and that I was going to throw away, I think might still work if the switch in question and the associated wiring is replaced correctly. I’d like to try anyway.

The larger one was working fine until I went to restart it after not using it for a couple of weeks or so and found that the engine was ‘blocked’ at a certain point in its revolutionary cycle. I think that I’ll not be able to save it if it’s something like a dropped valve or broken piston ring as it’ll be practically impossible to acquire any spares, but it has some handy parts on it, such as French type sockets that I’ll be able to transfer to the other generator if I can get that working. Anyway, I intend to put both of them into the new store when it’s finished – assuming that there will be enough space – until I can get around to them. The large one also has a practically full fuel tank – contents that are not to be sniffed at now that fuel prices are beginning to go through the roof…

Just like the old days

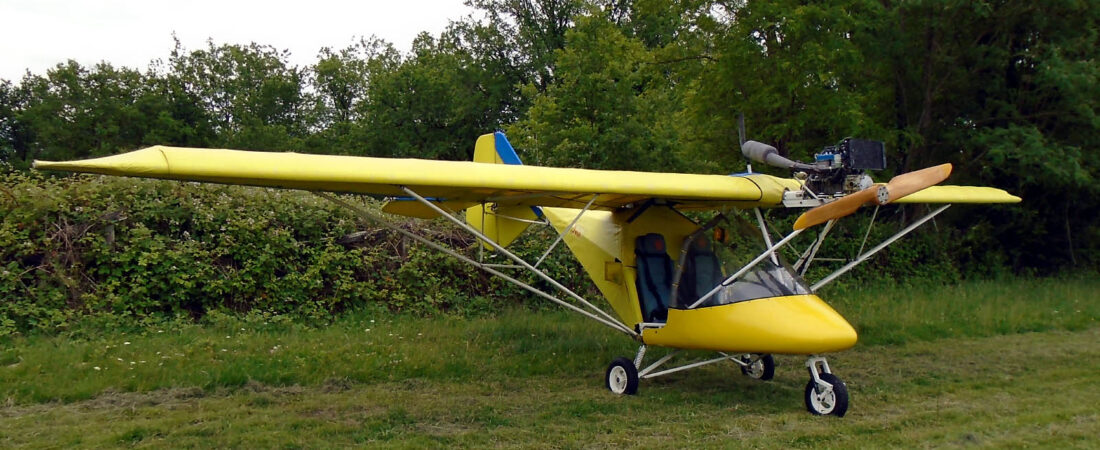
Before I started to become heavily involved in videos, whenever I flew I always took a little still camera with me and snapped away to my hearts content. It was great when I had my French X-Air that had no doors because then the shots were always clear and sharp but that hasn’t applied so much for all my other aircraft that have had plexiglass windscreens and windows that I’ve had to shoot through.

I wanted to take the opportunity to fly in the Savannah today while the weather was so good and I decided that rather than faff around with one or more of my GoPros that are limited by having battery lives of only an hour, I’d dig out one of my still cameras and see how I could do with that. I swapped my little Sony 20 Megapixel camera for a Nikon Coolpix some time ago but some comparative test shots that I did recently seemed to indicate that actually the Sony might still have the edge, so I decided to take that with me on today’s flight.

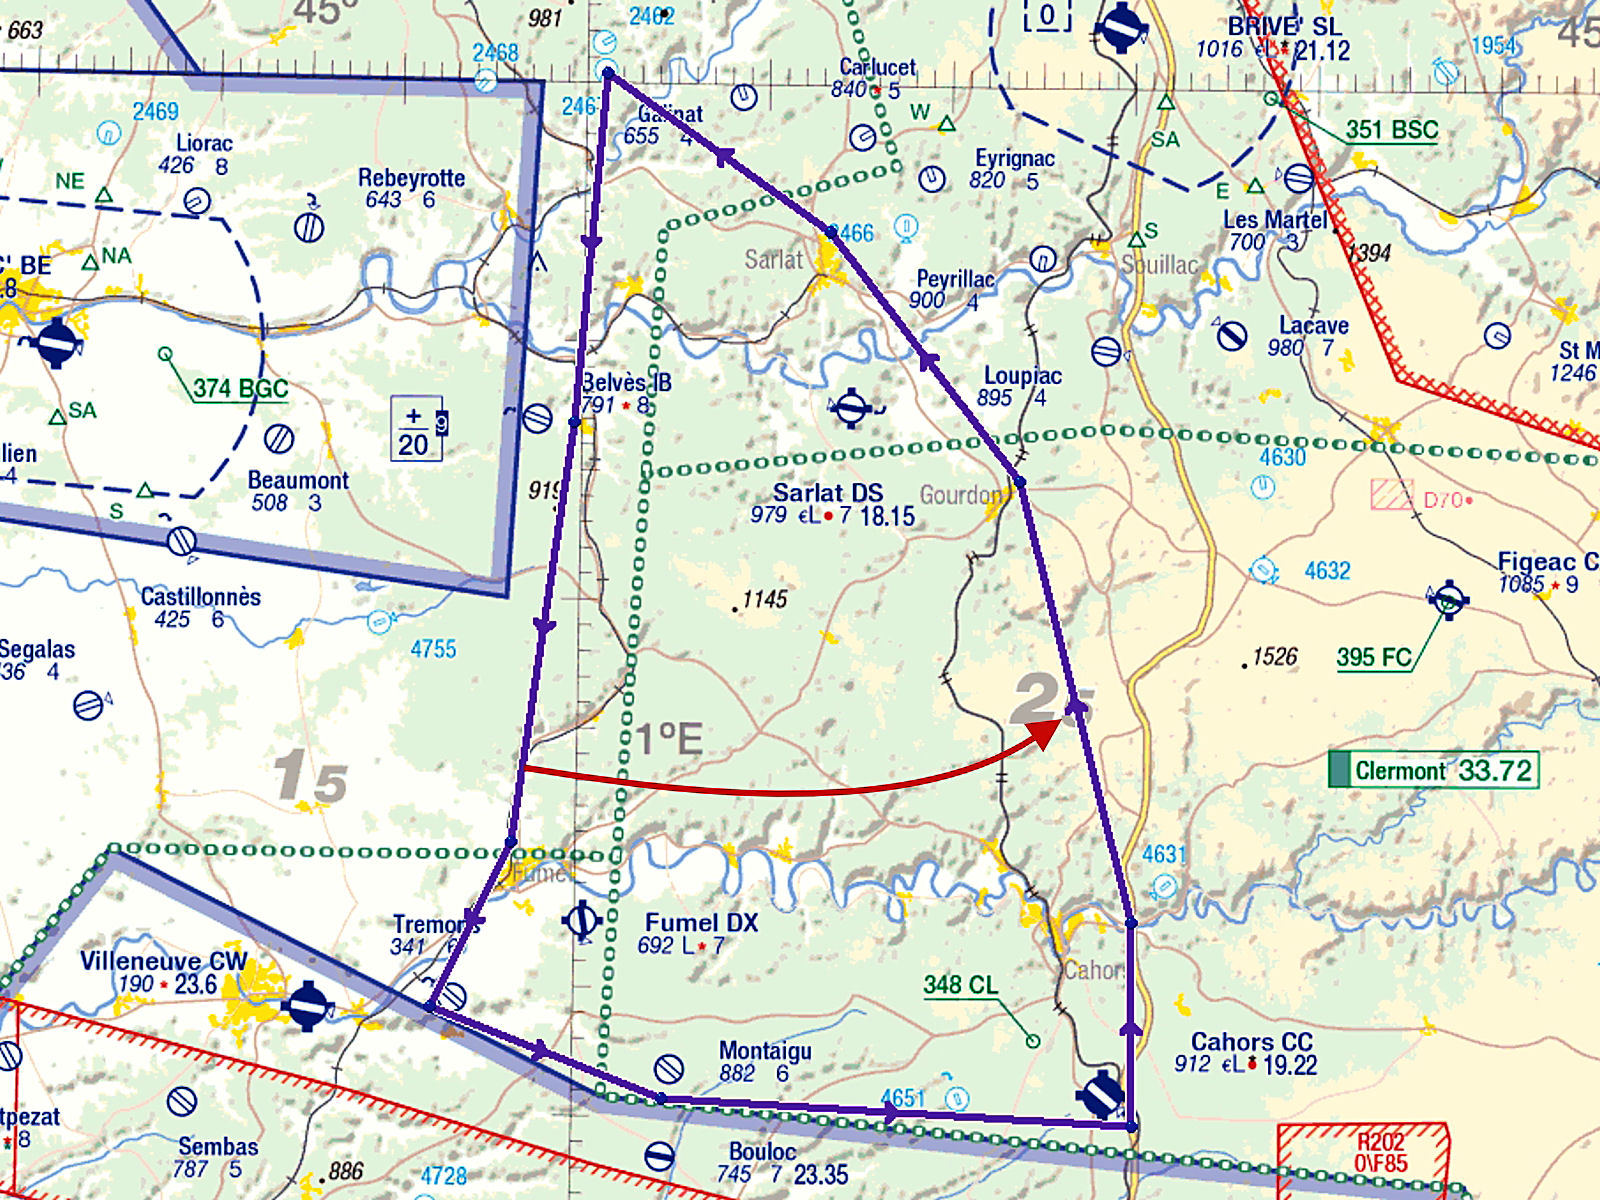
The flight I planned is shown in the pic below.

null

My plan was to head south past Belvès to Fumel and then on to another little airfield in the Lot et Garonne called Tremons that I’ve been wanting to take a look at for some time because we know someone who keeps (or kept, it’s been a long time) a Taylorcraft there. Then I planned to turn eastwards past another couple of airfields until I got to Cahors, where I planned to turn left past the city of the same name before returning to Malbec via the towns of Gourdon and Sarlat.

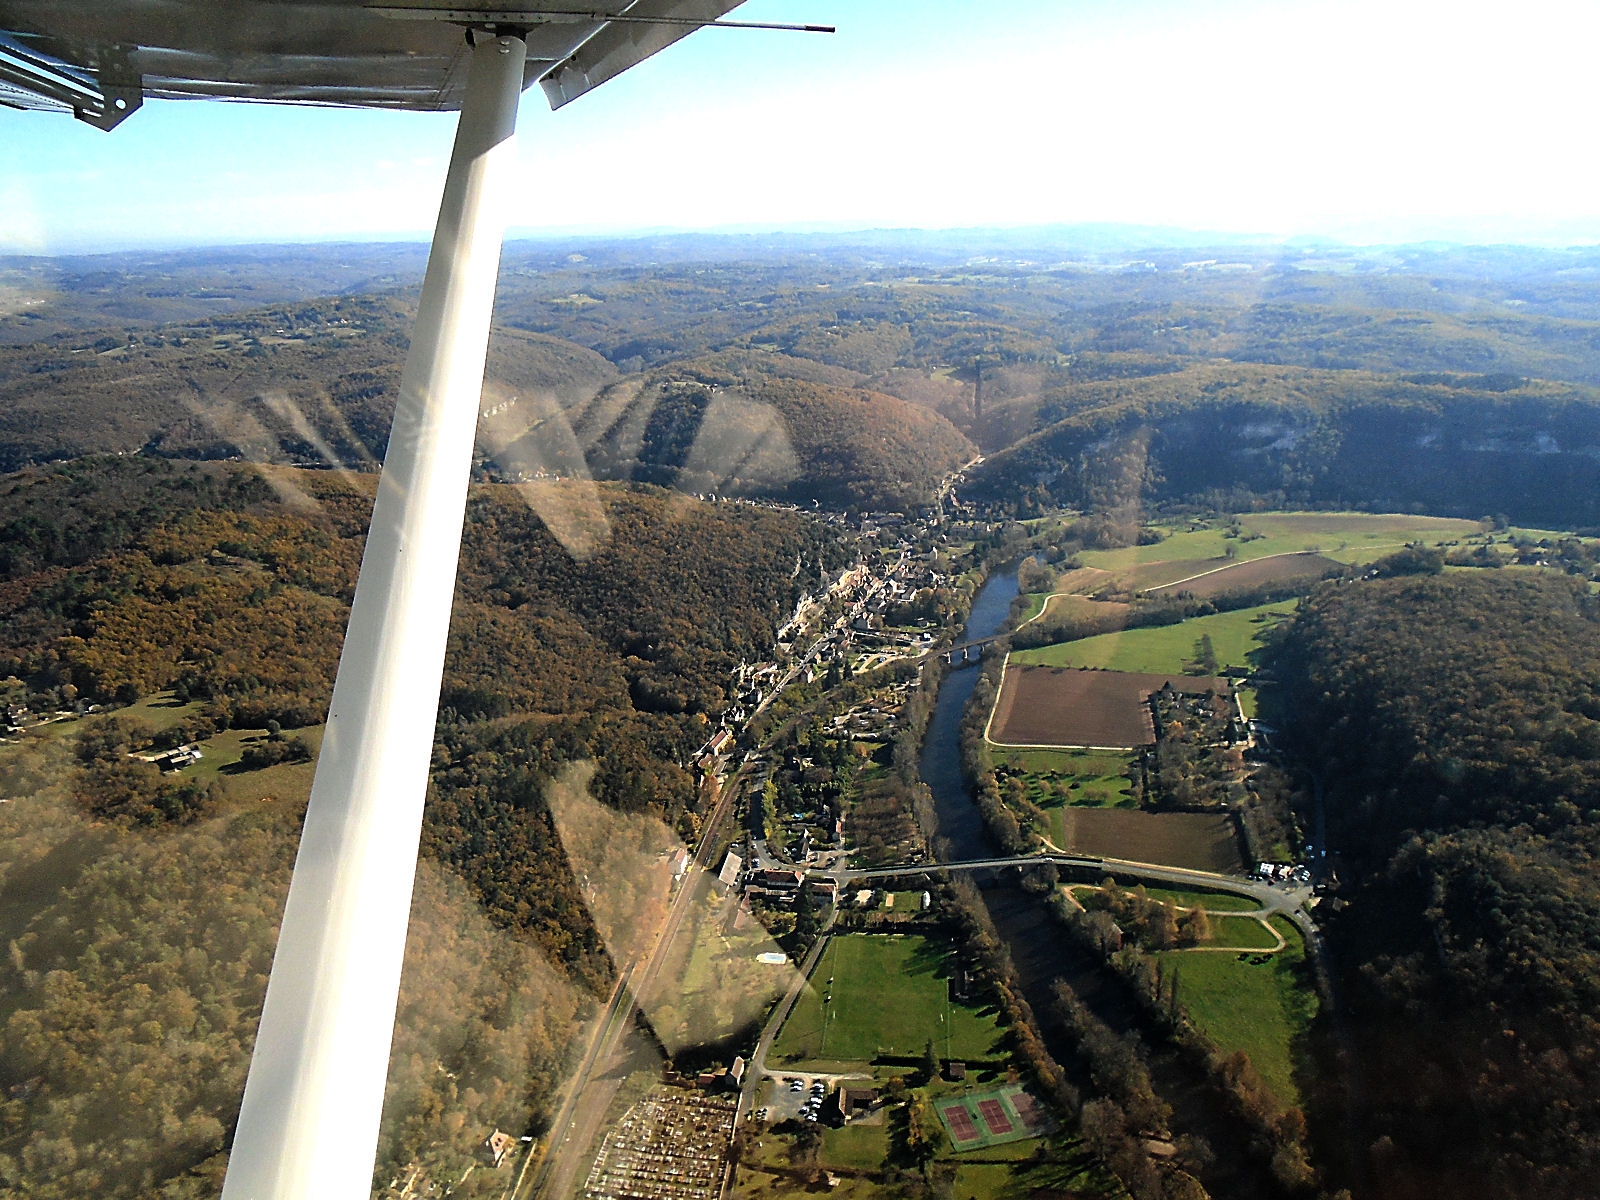
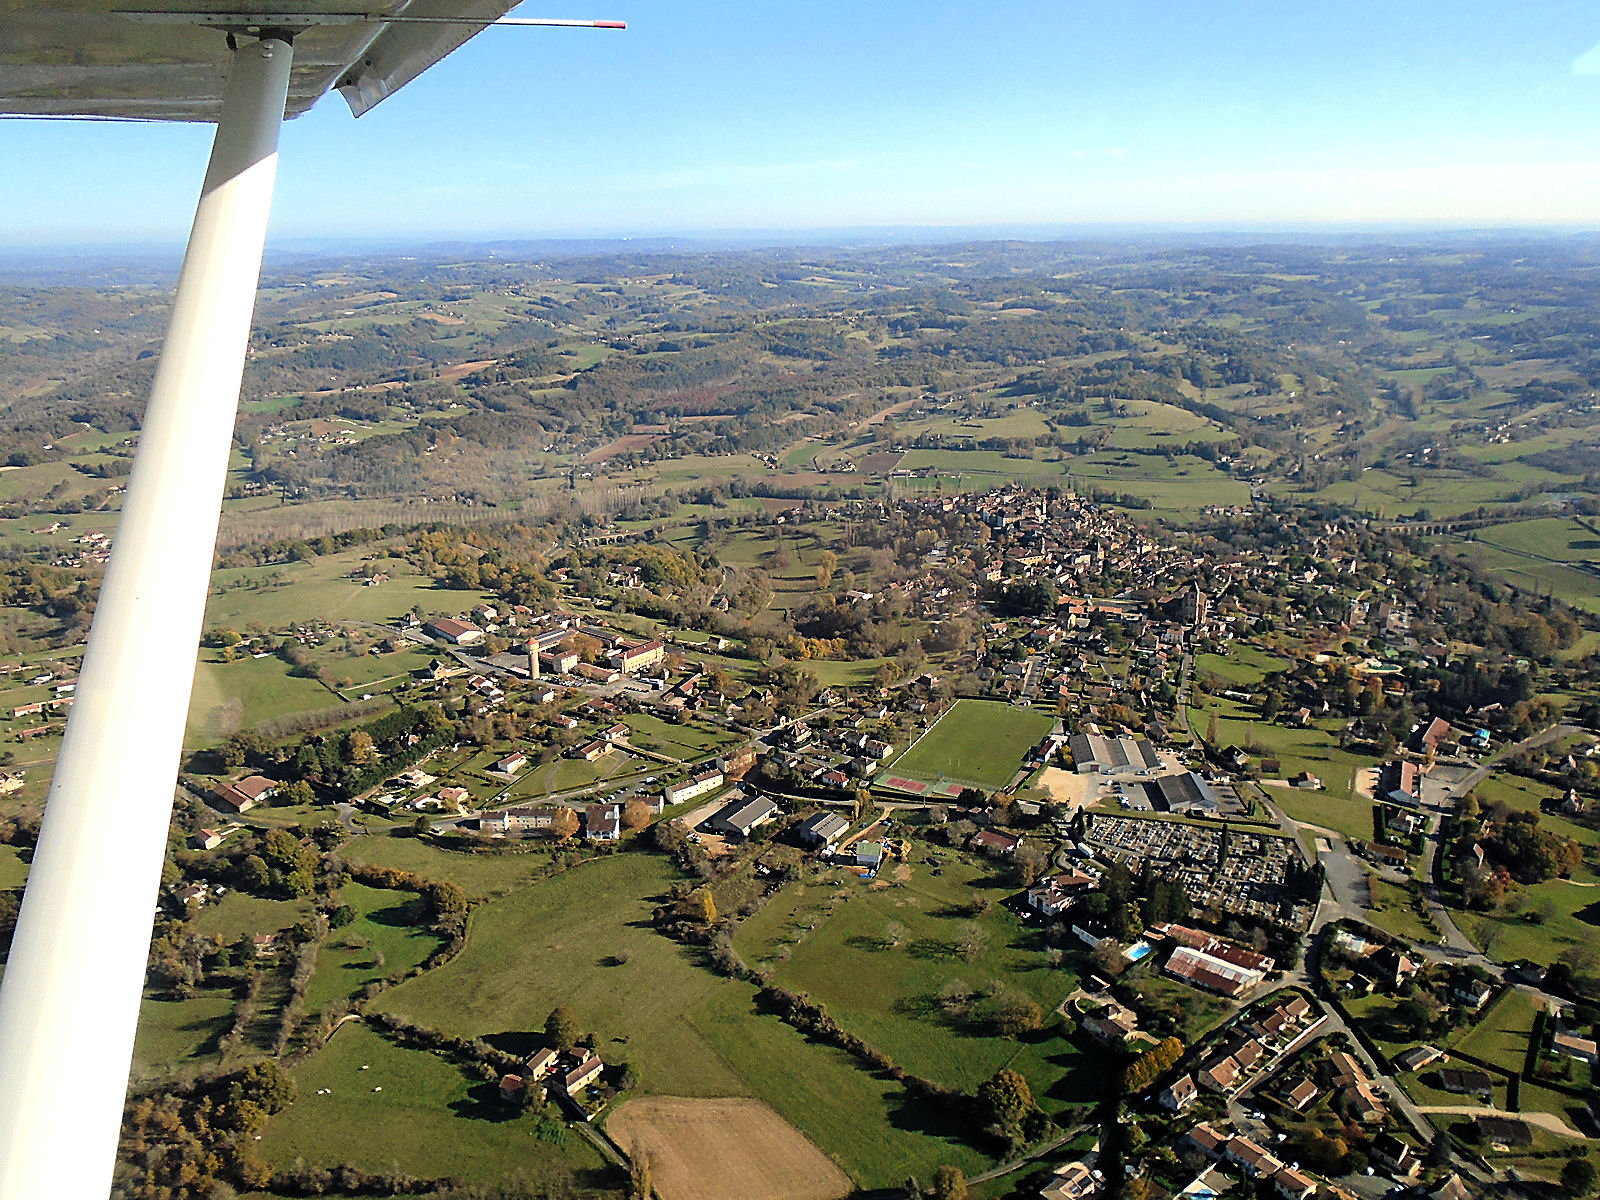
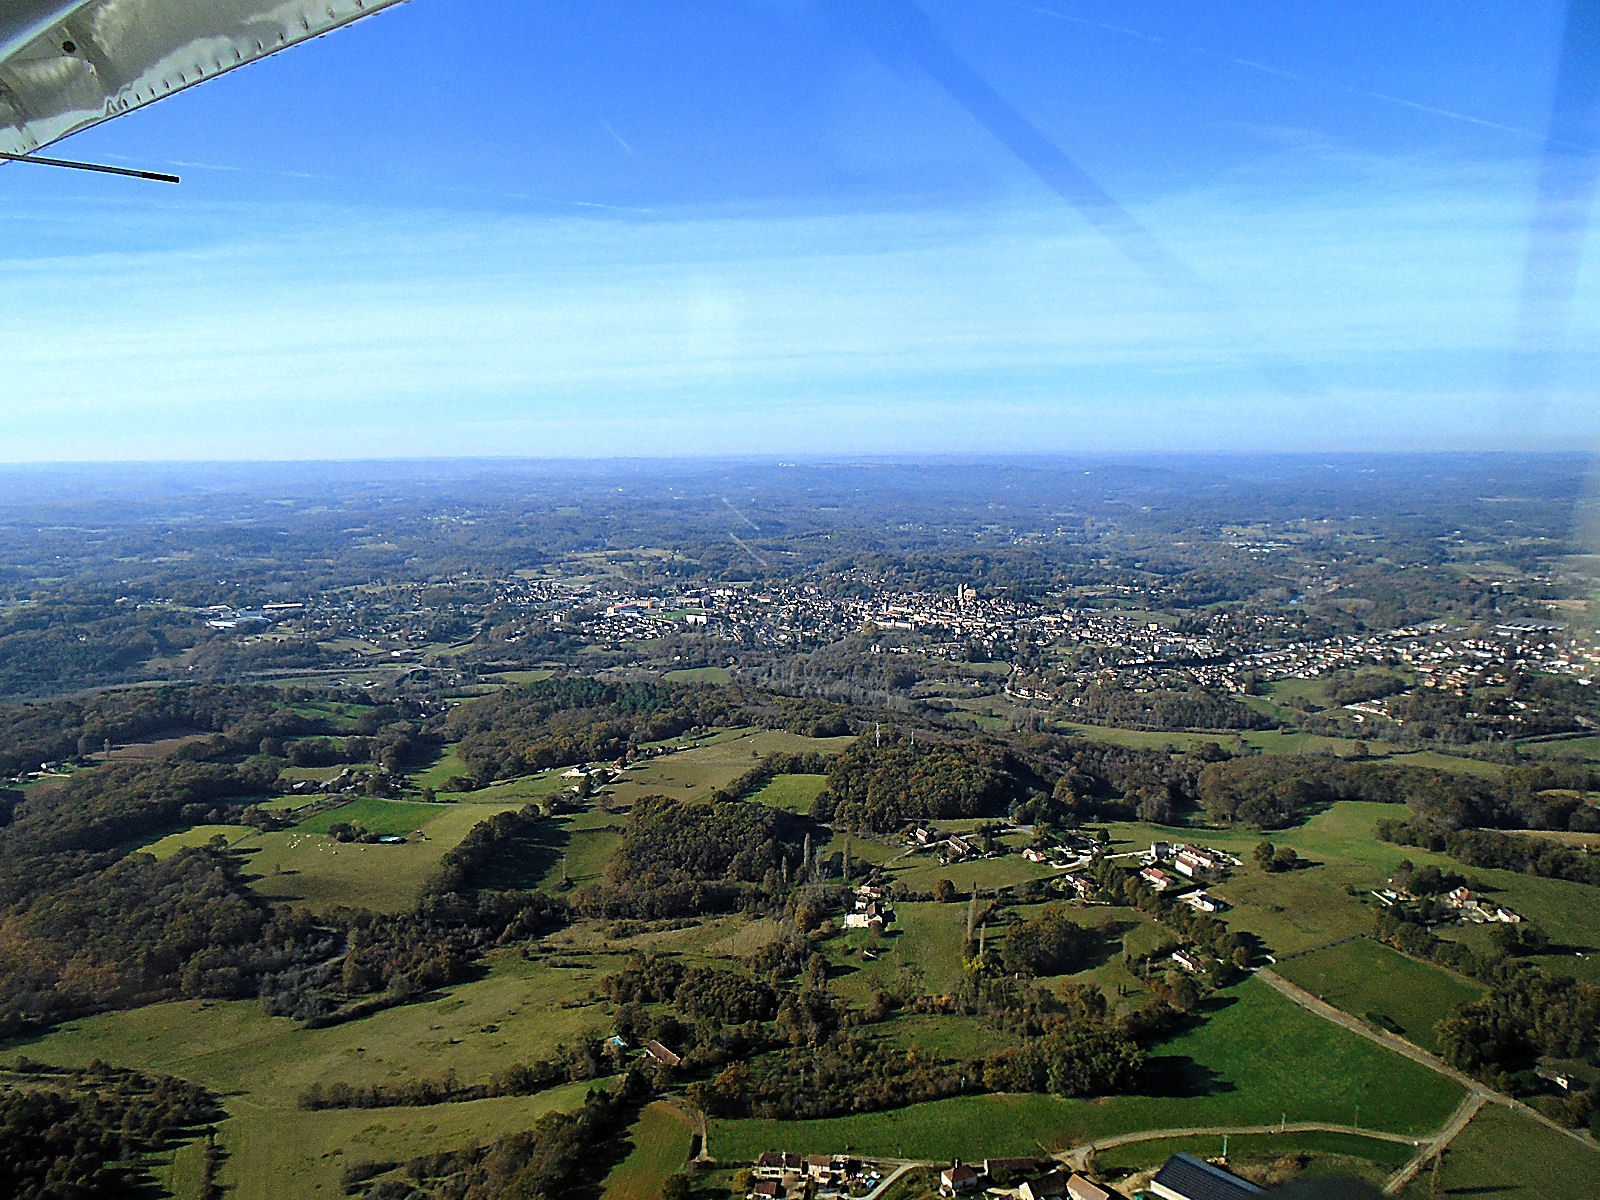
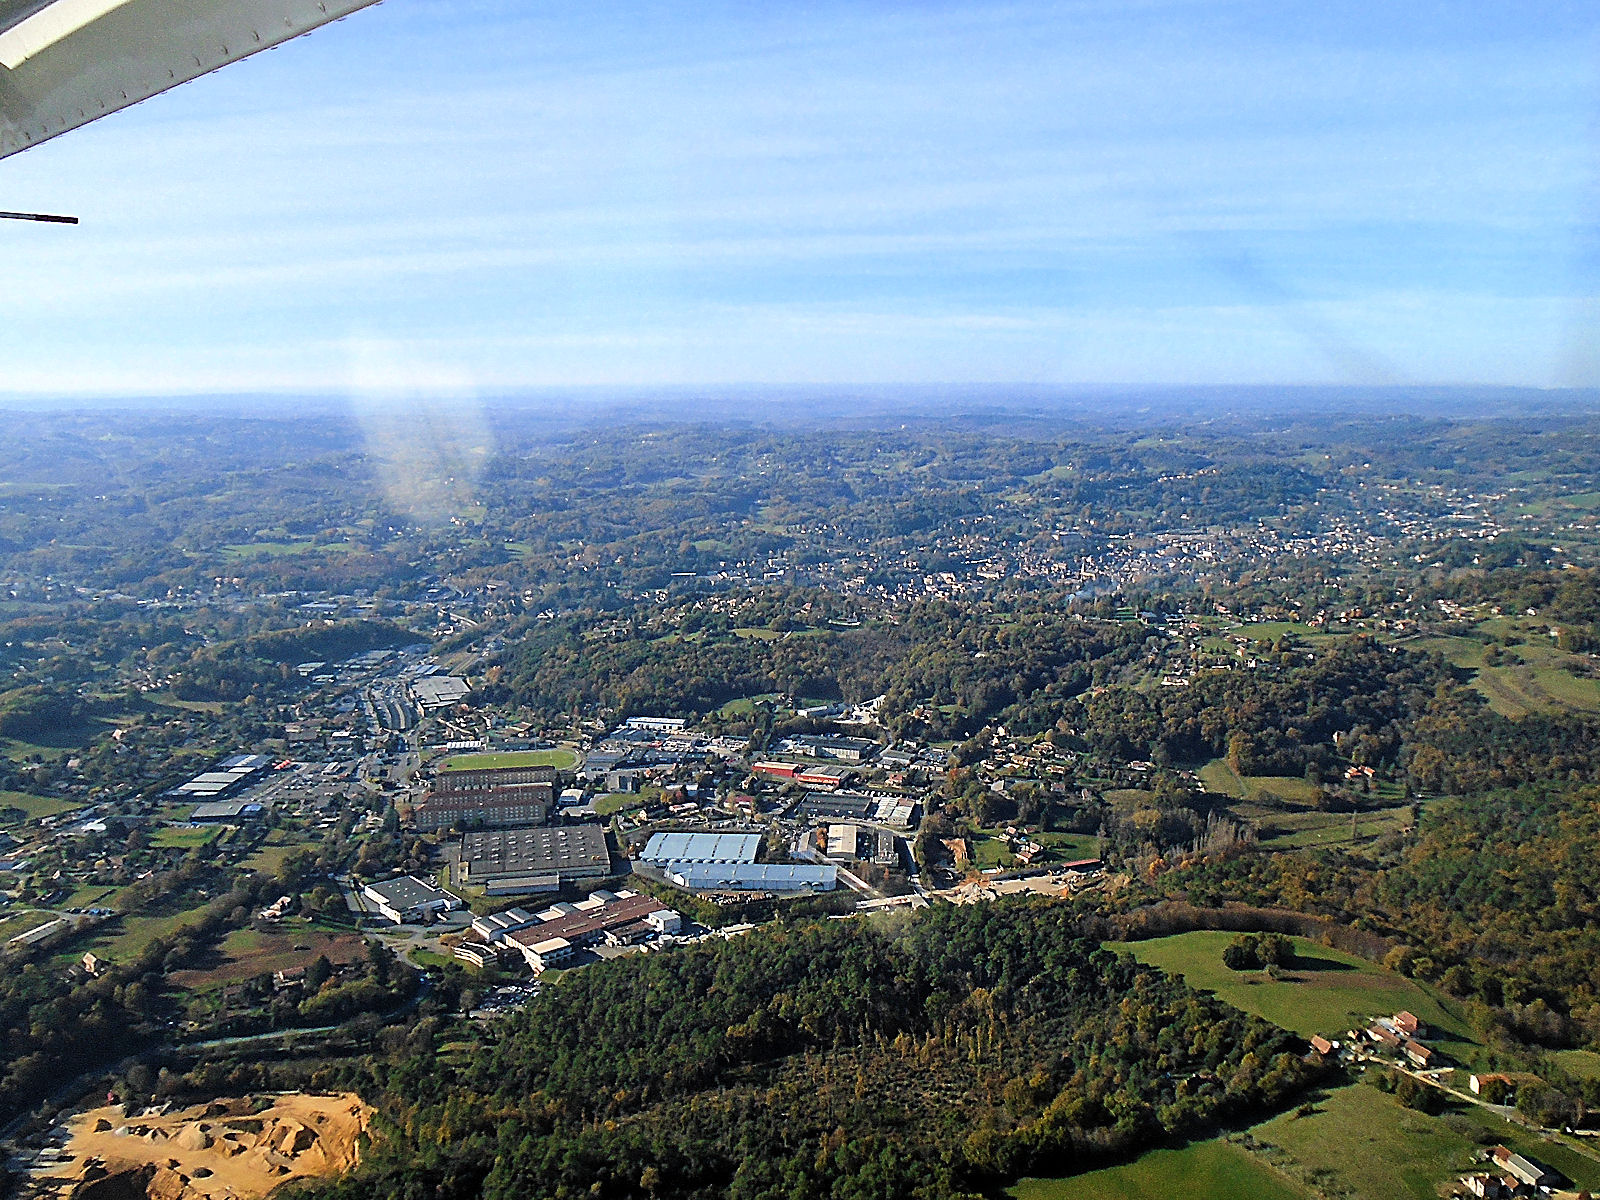
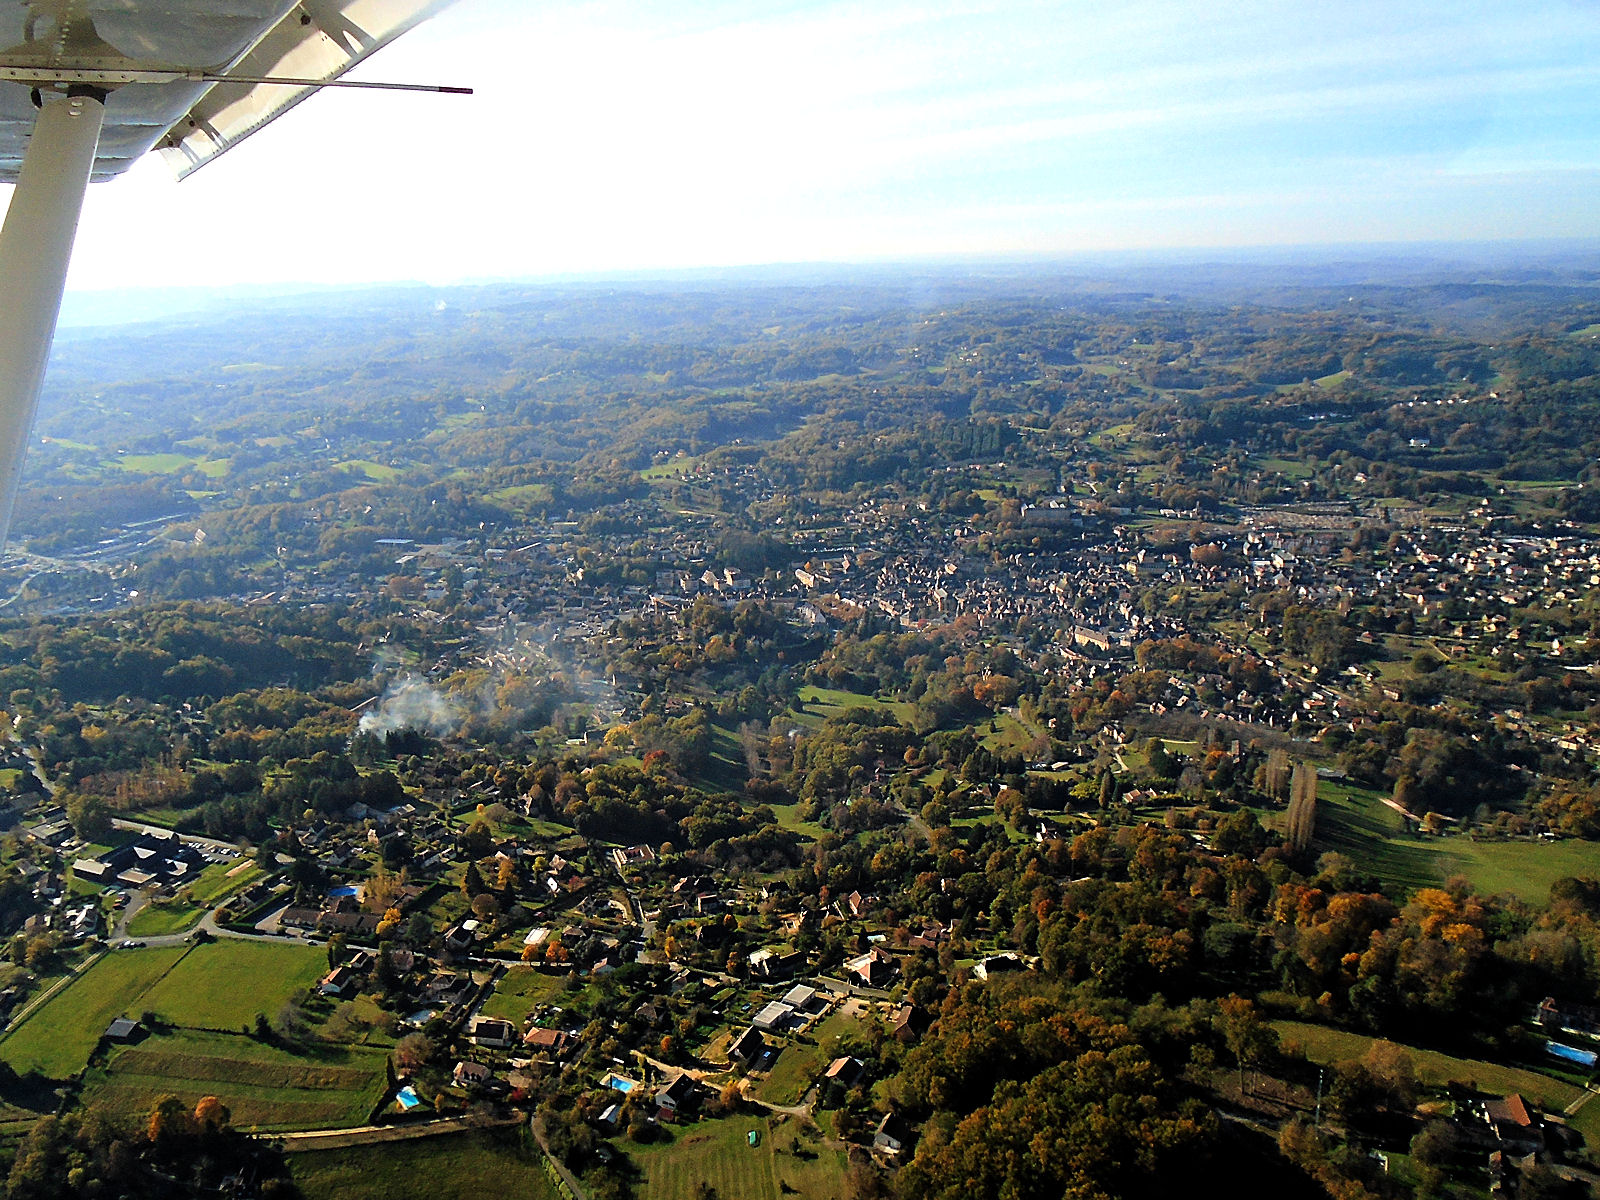
It all started off so well and here’s a shot that I took as I flew out past Les Eyzies.

null

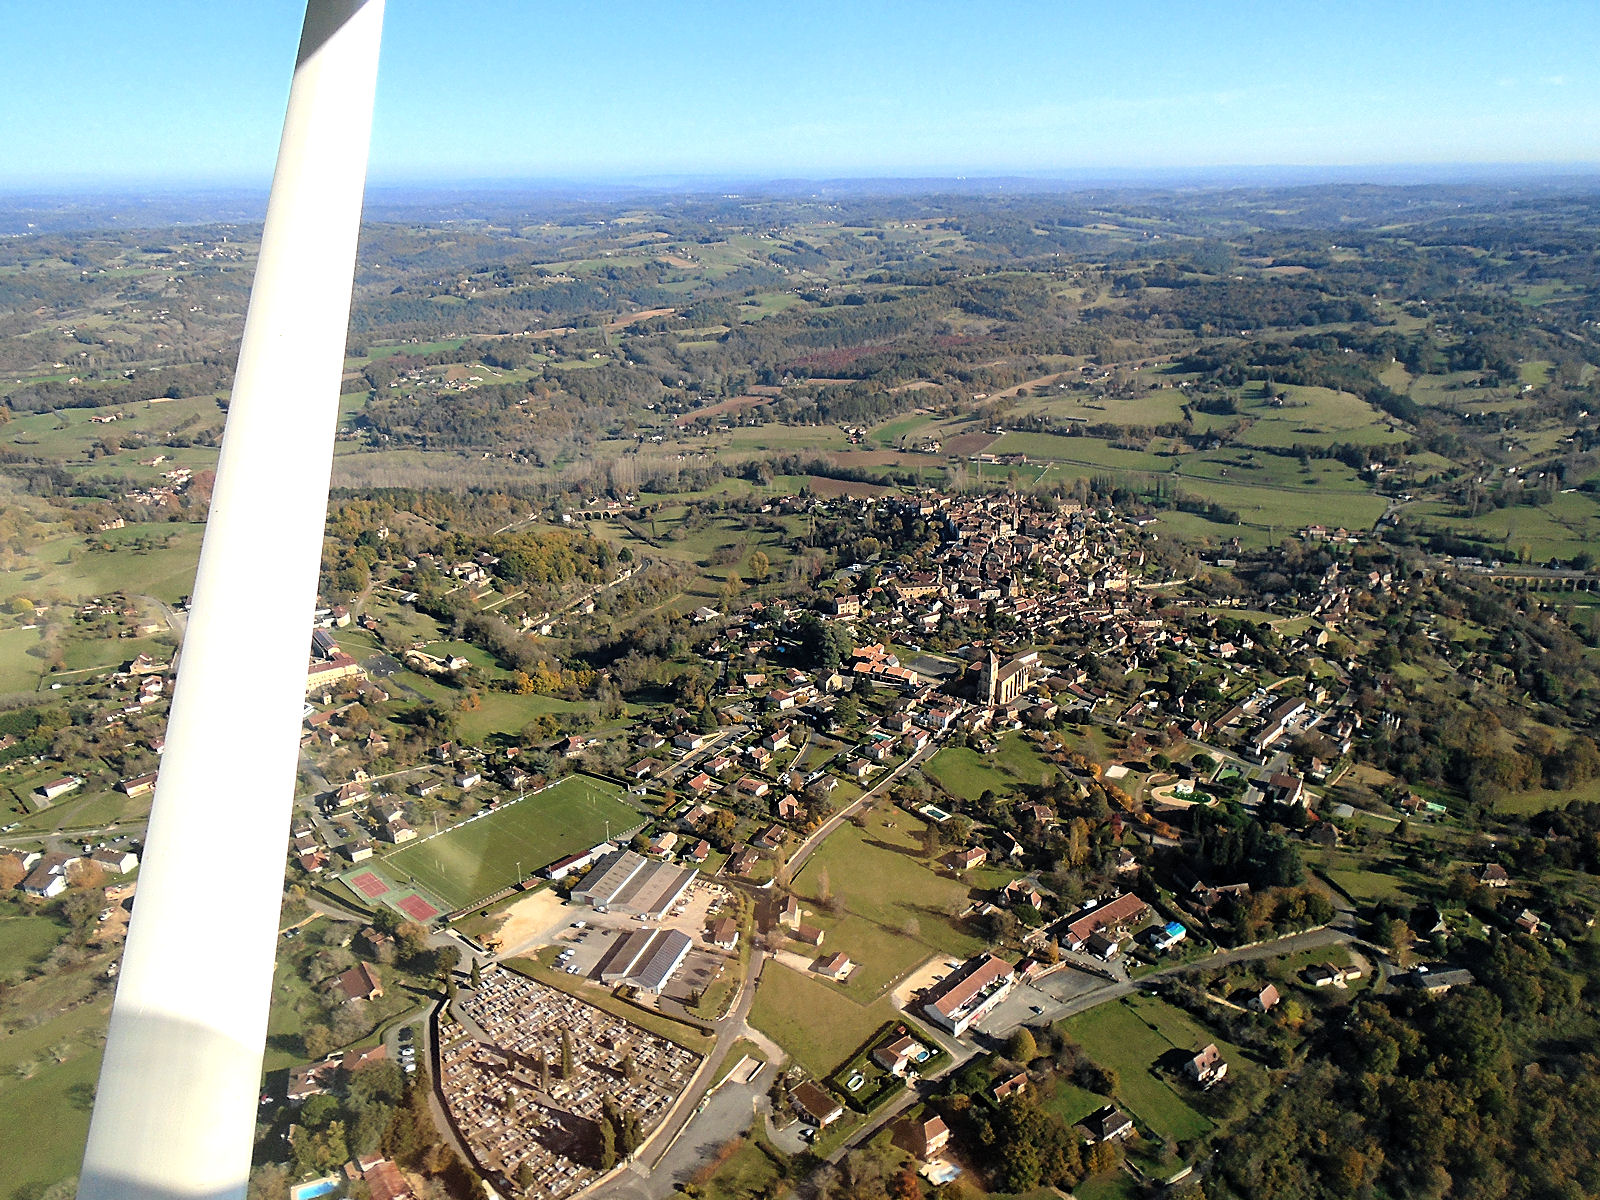
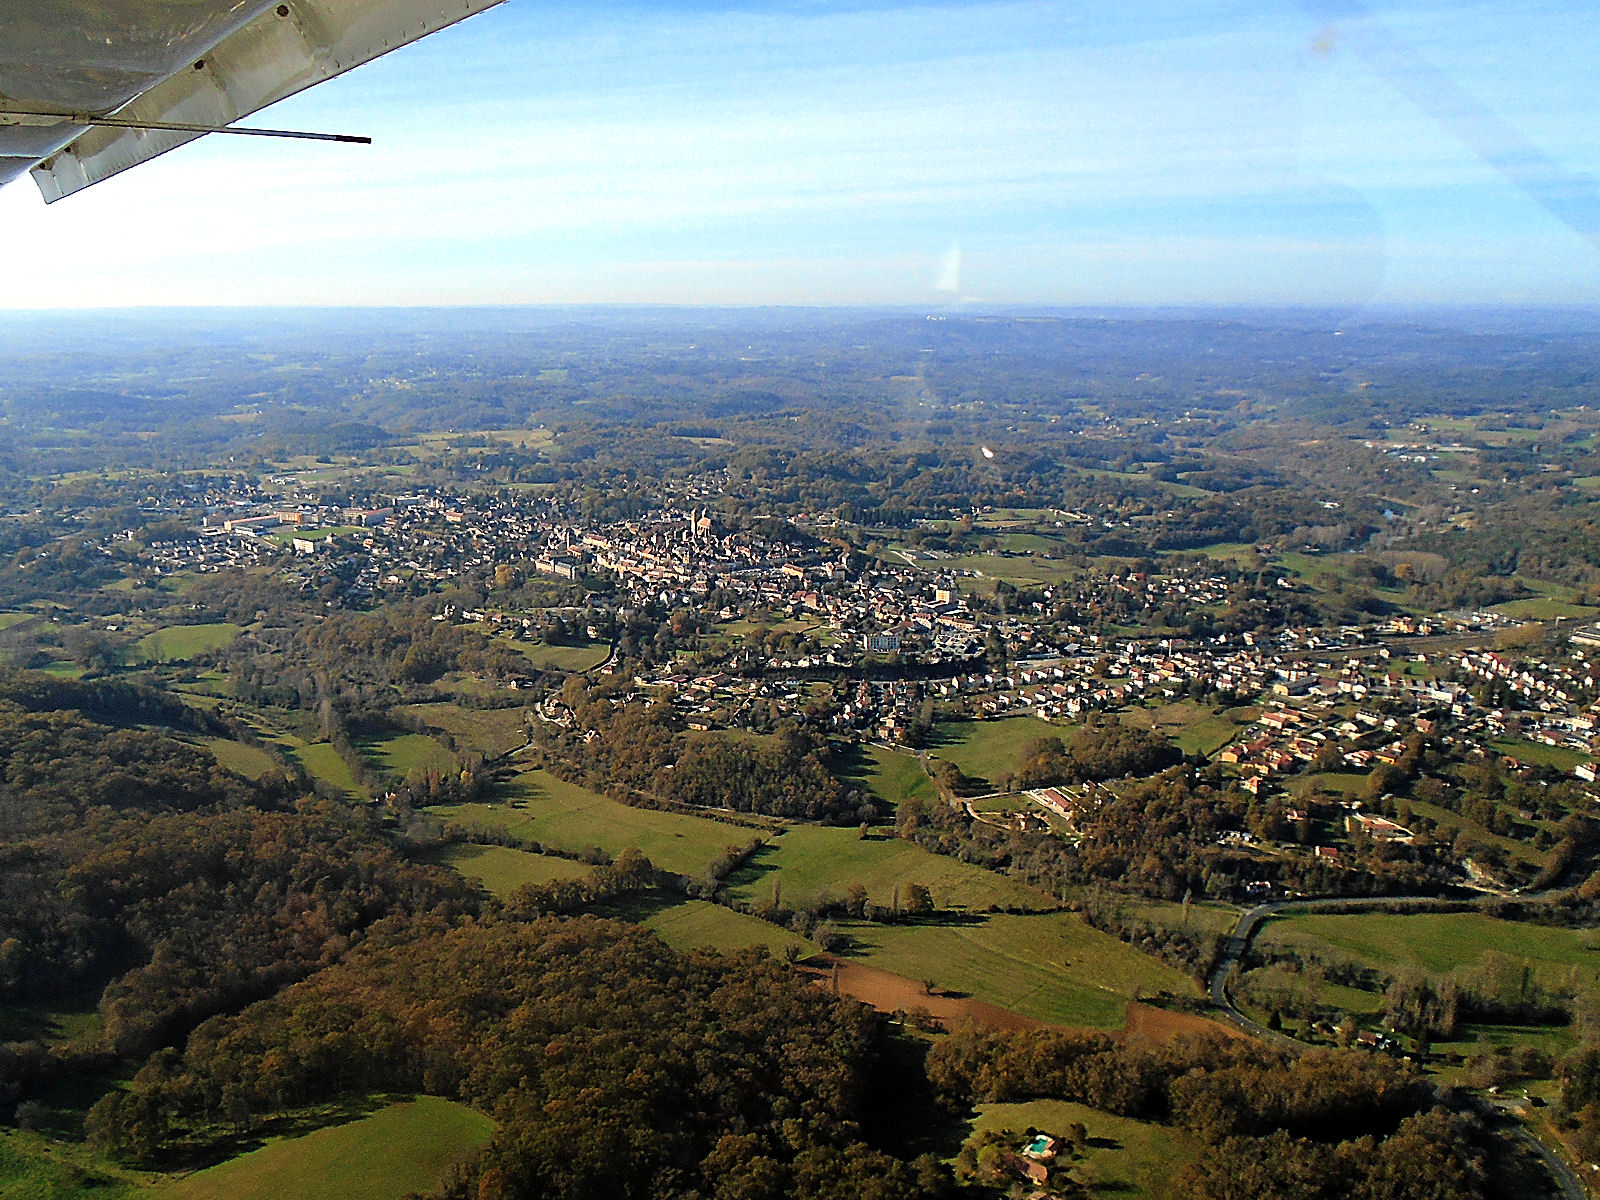
After Les Eyzies came Belvès and here are a series of shots that I took as I approached the town and then flew on by.

null

null

null

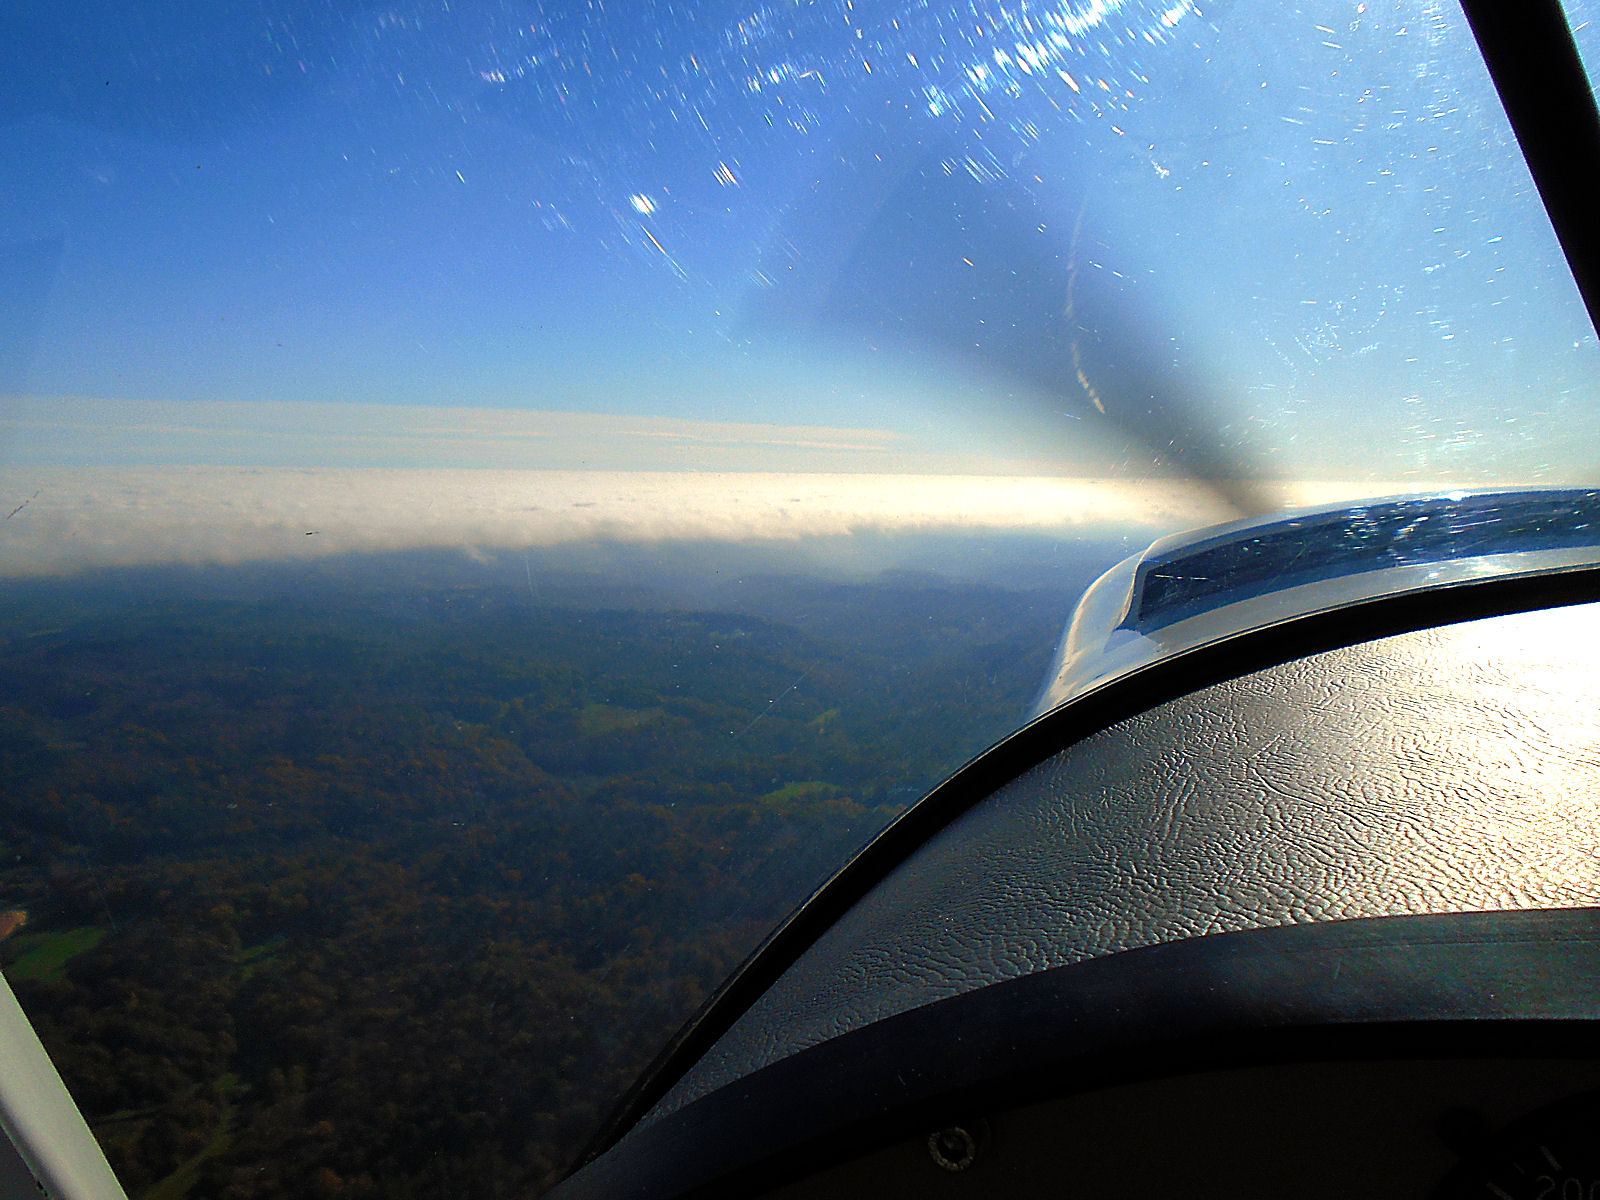
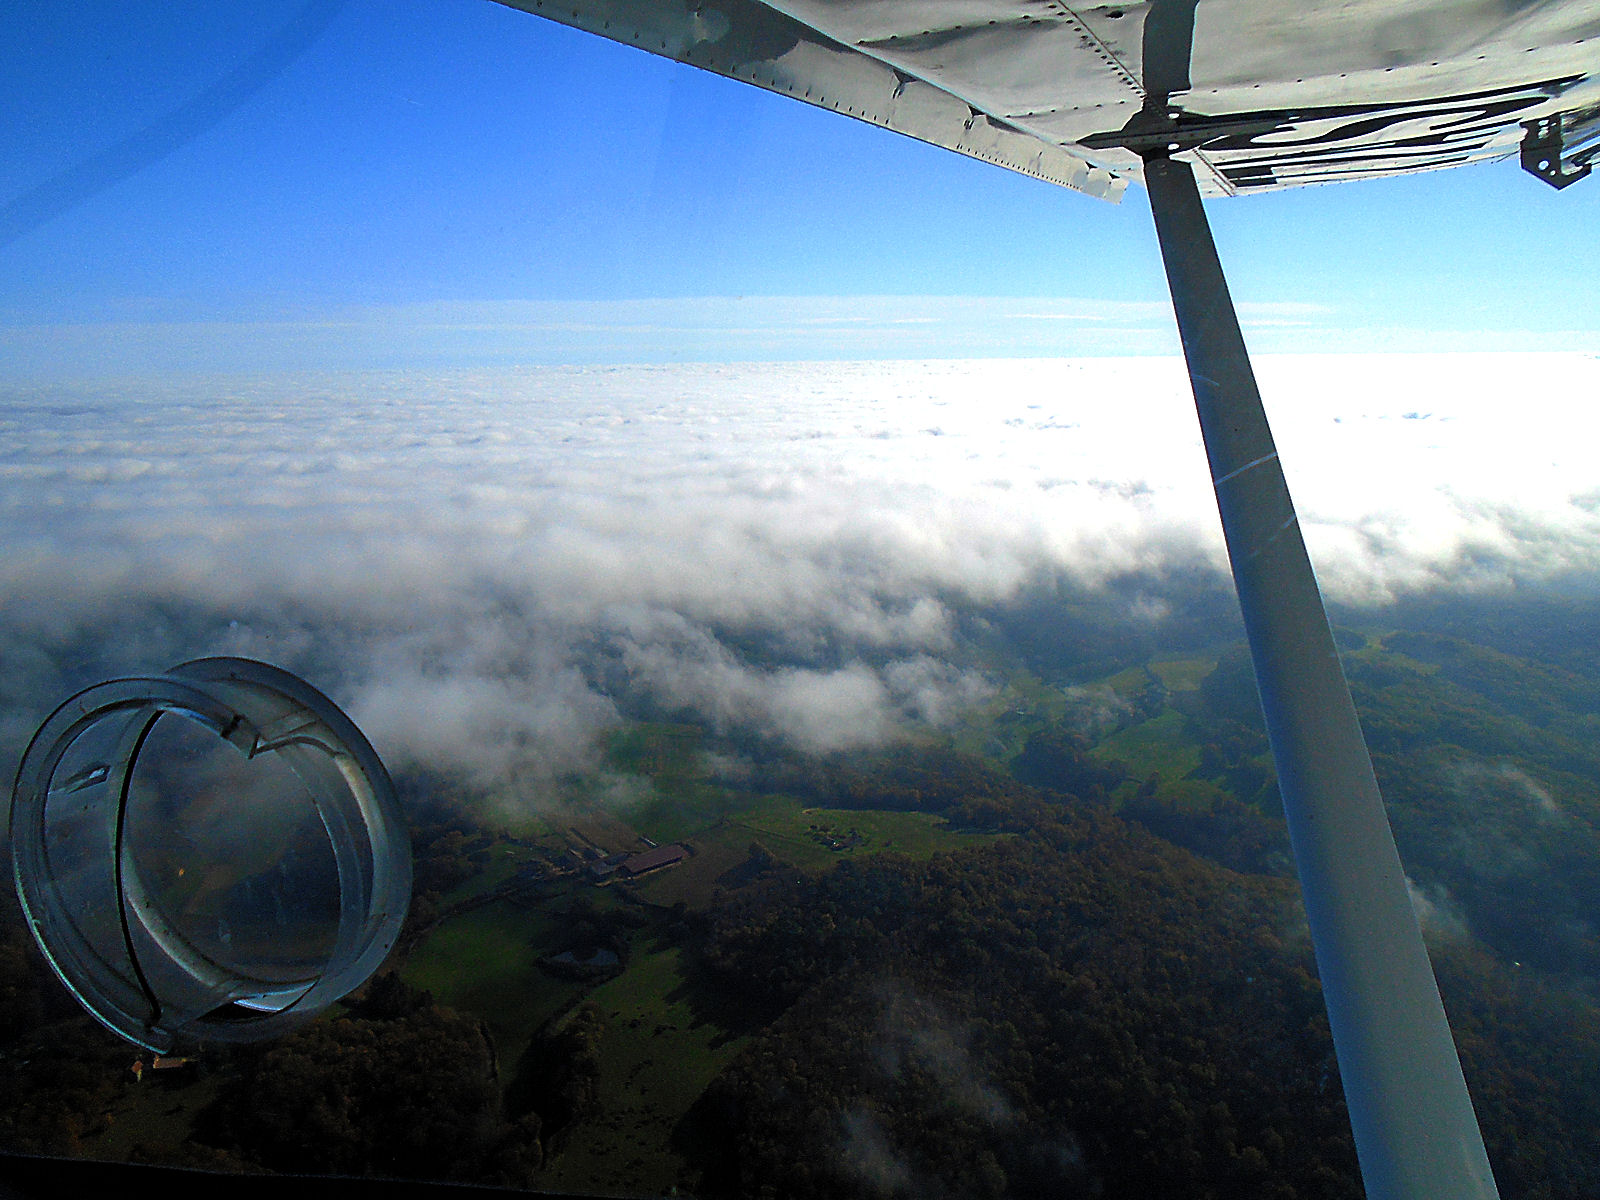
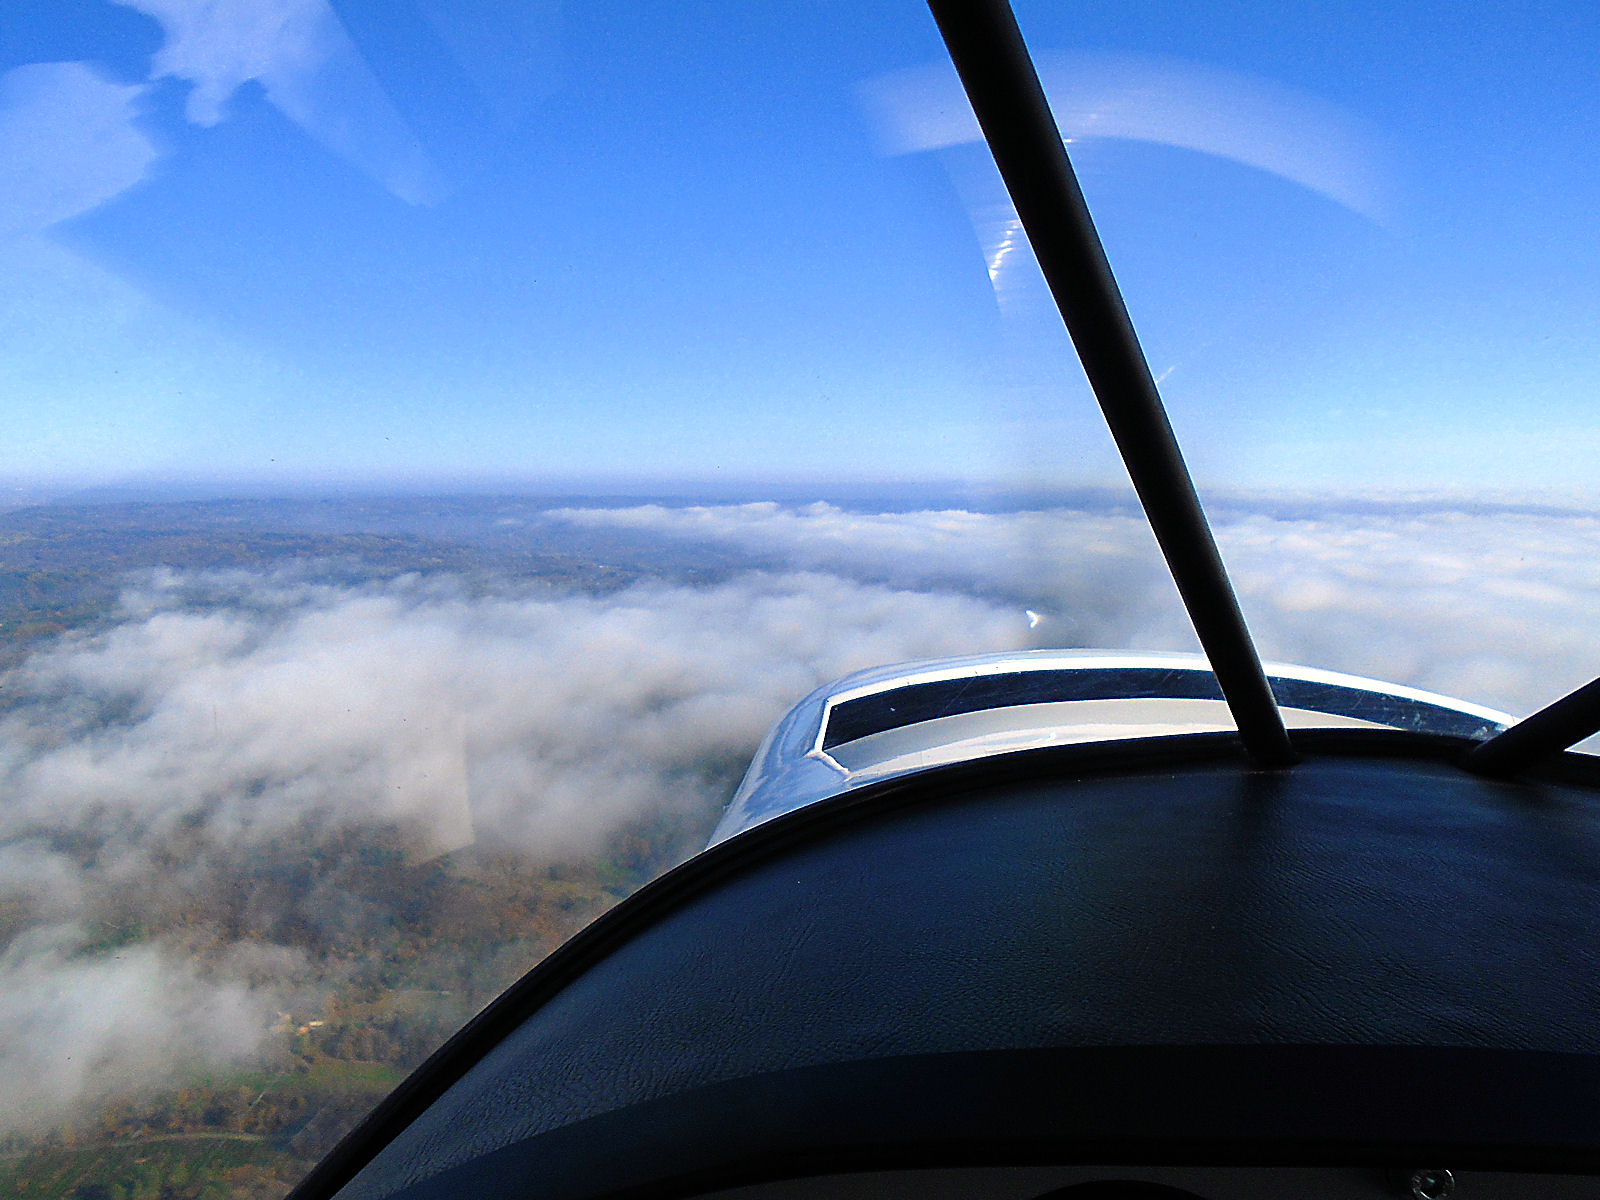
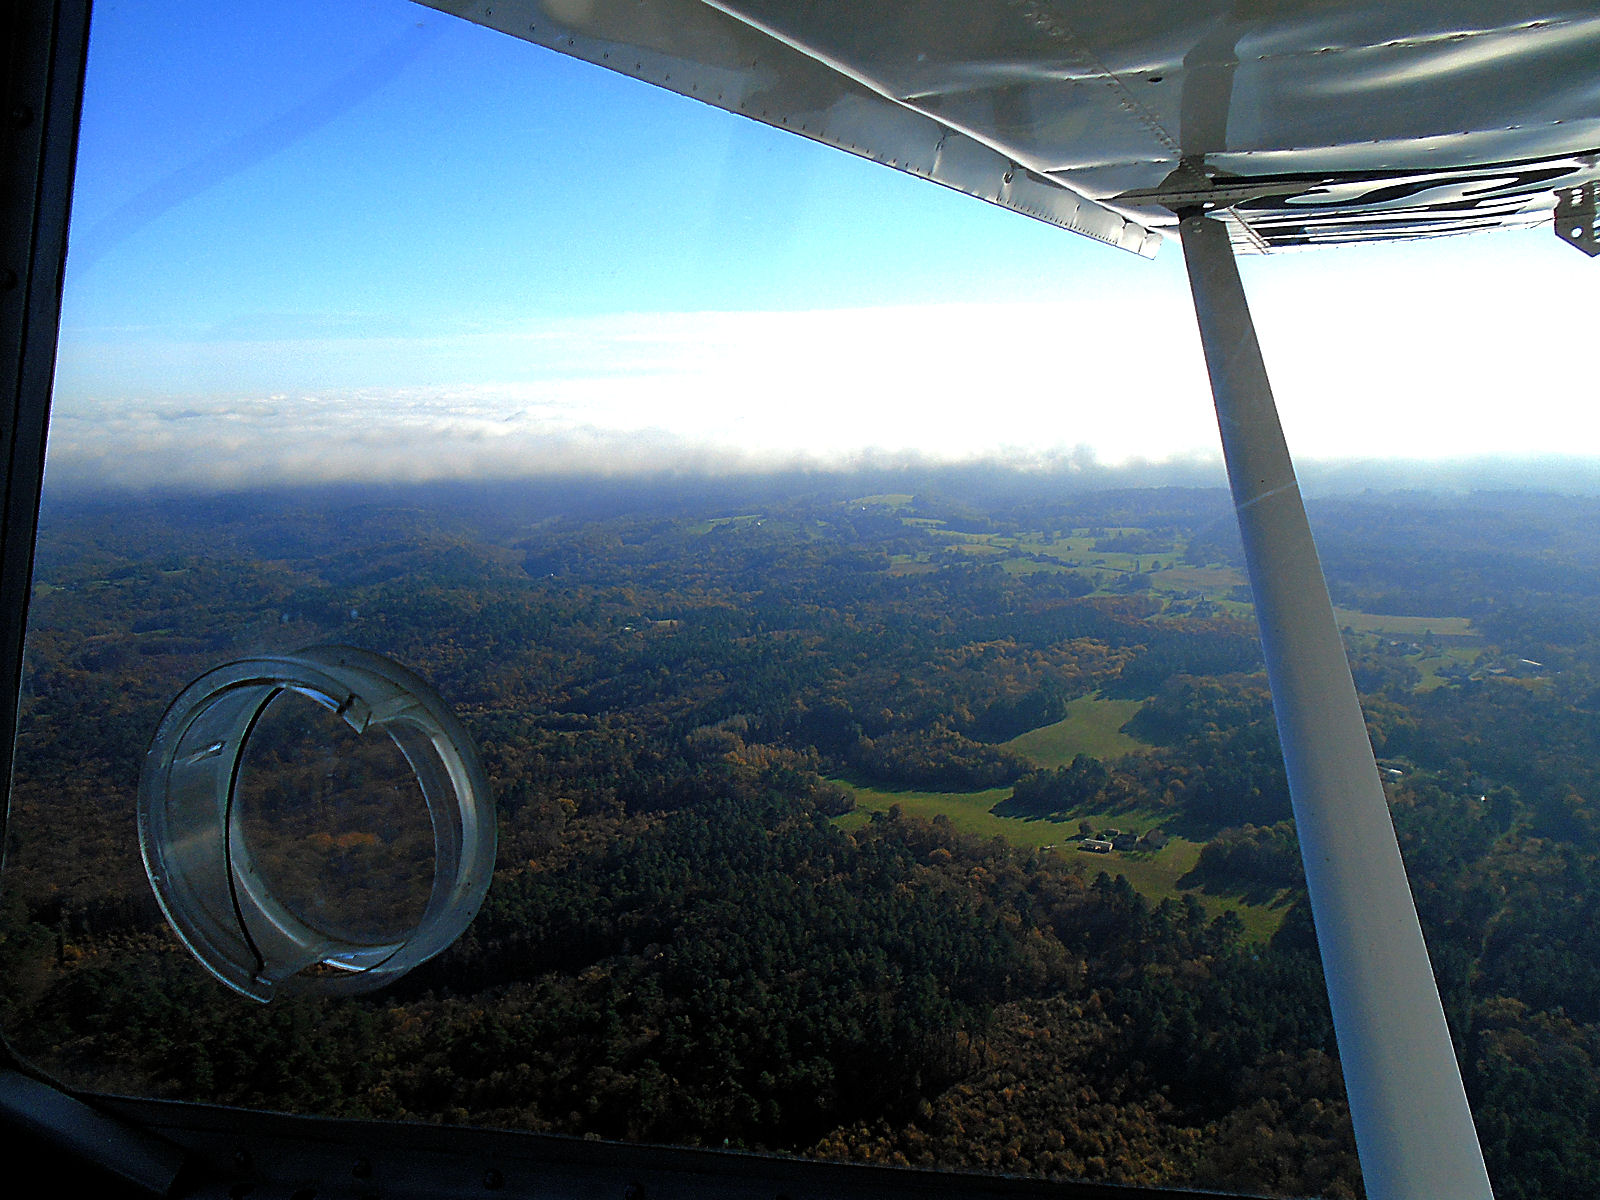
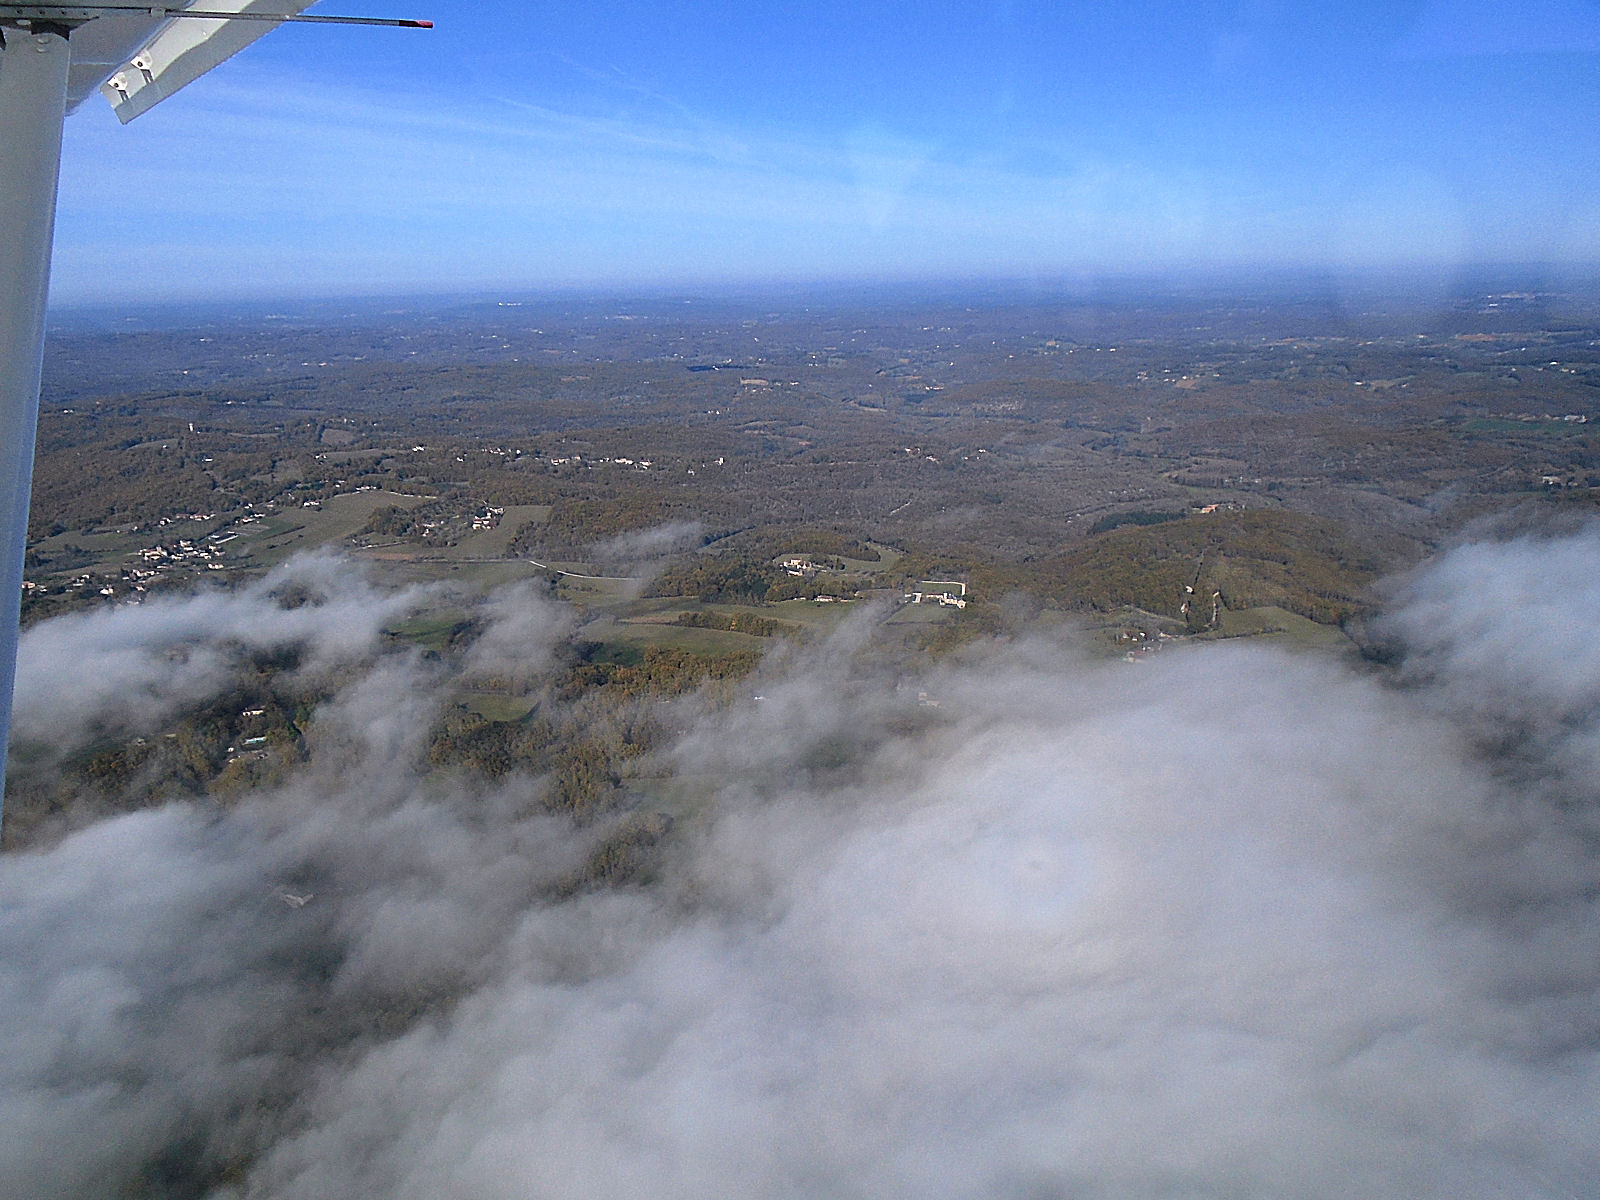
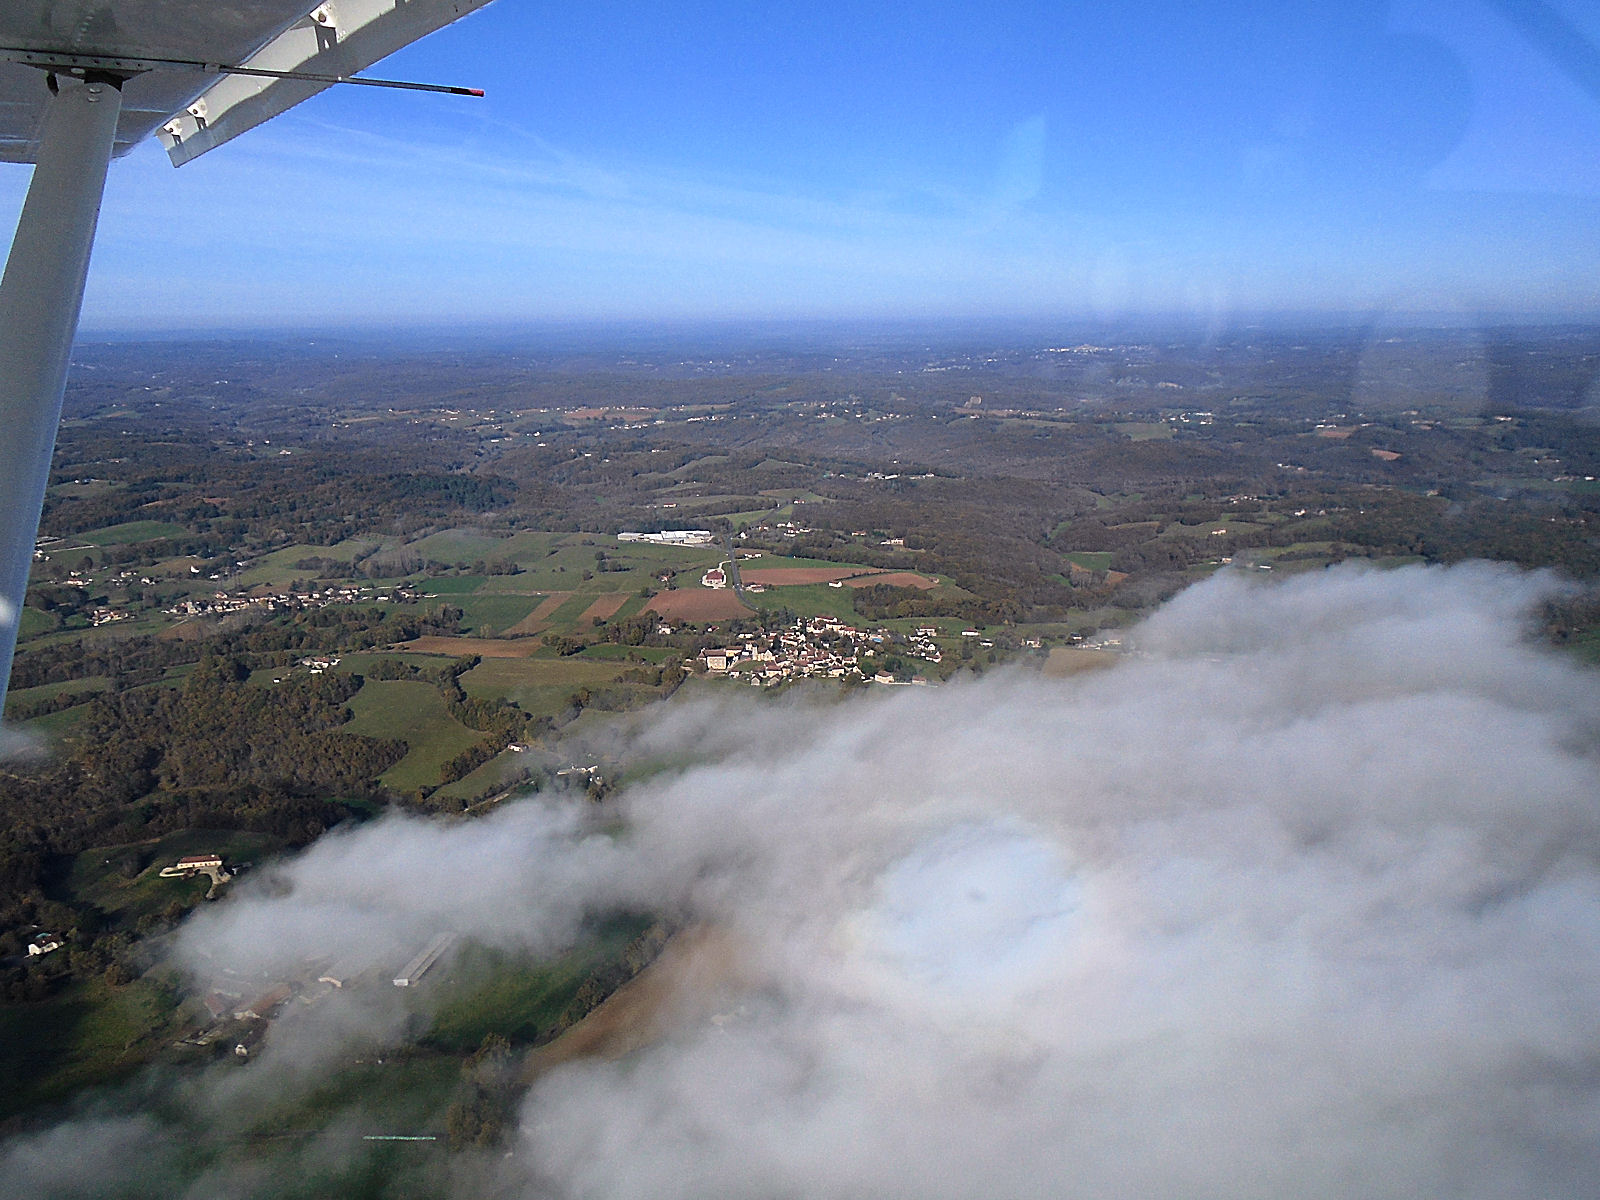
The next waypoint was supposed to be the the town of Fumel but as I continued to fly south I could see that trouble was beginning to brew in the form of a huge low bank of cloud.

null

null

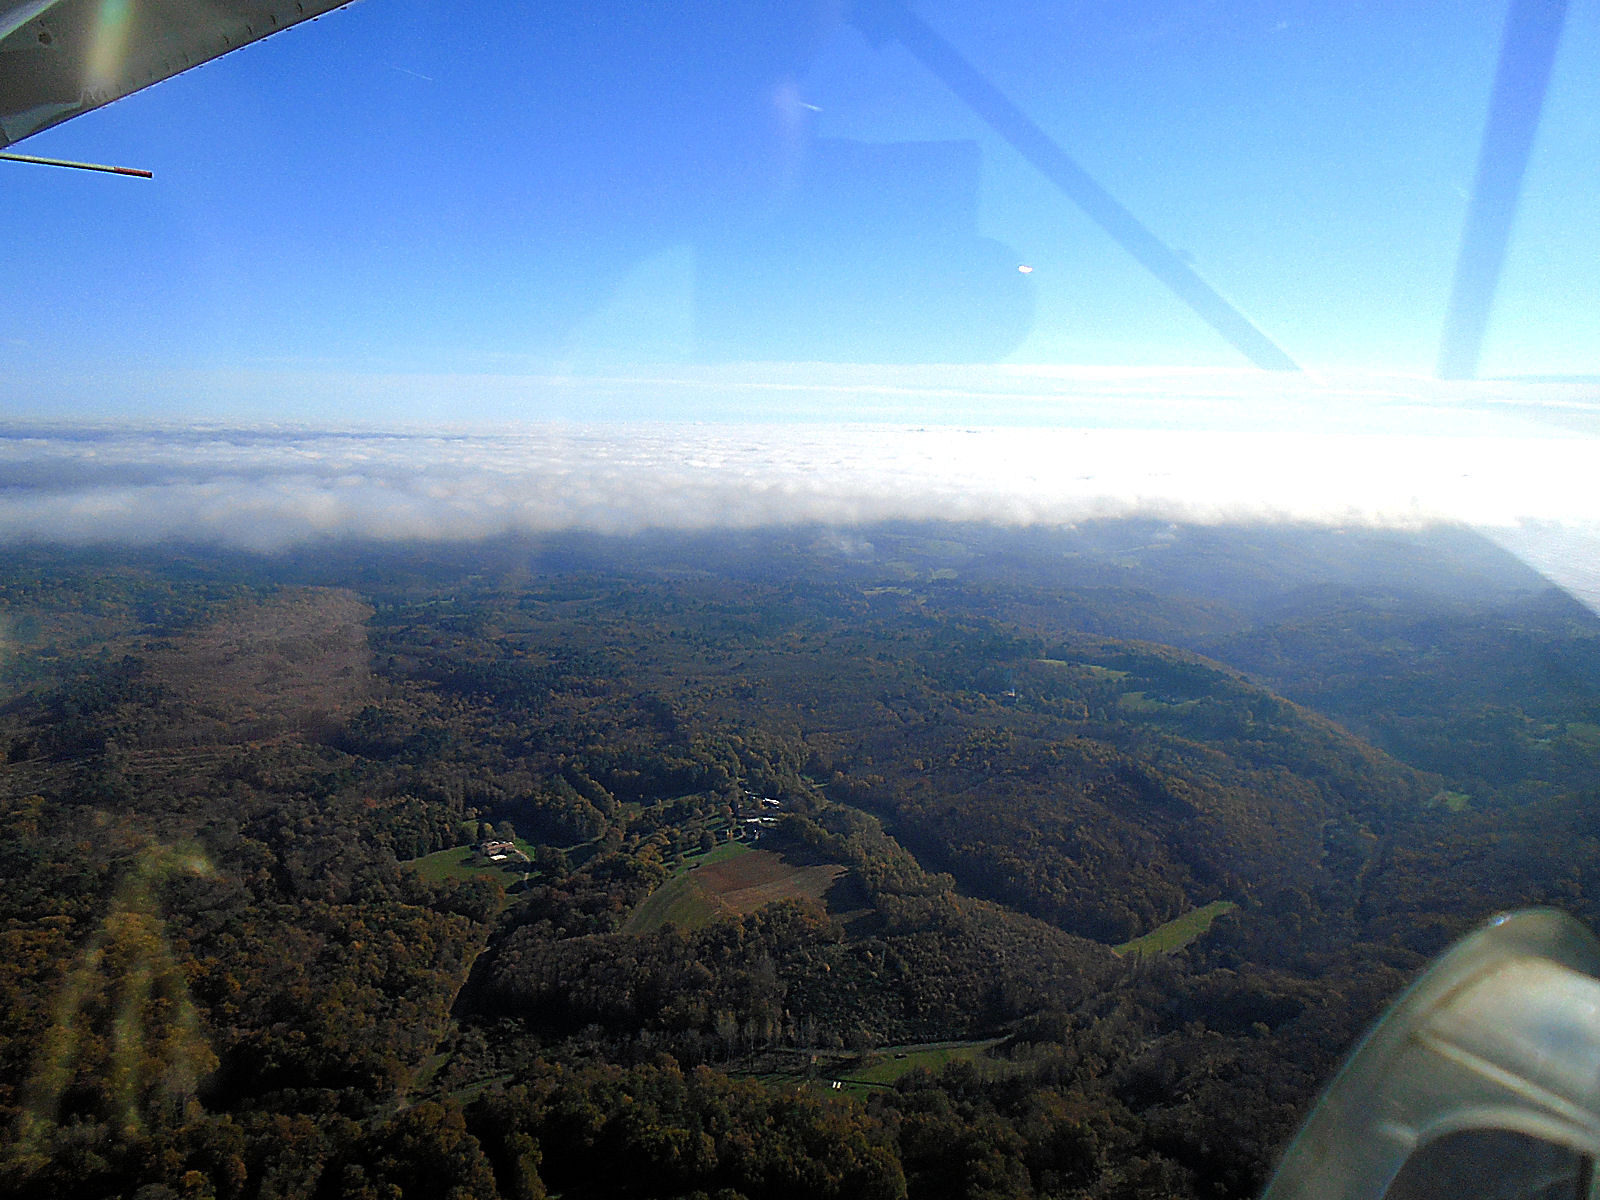
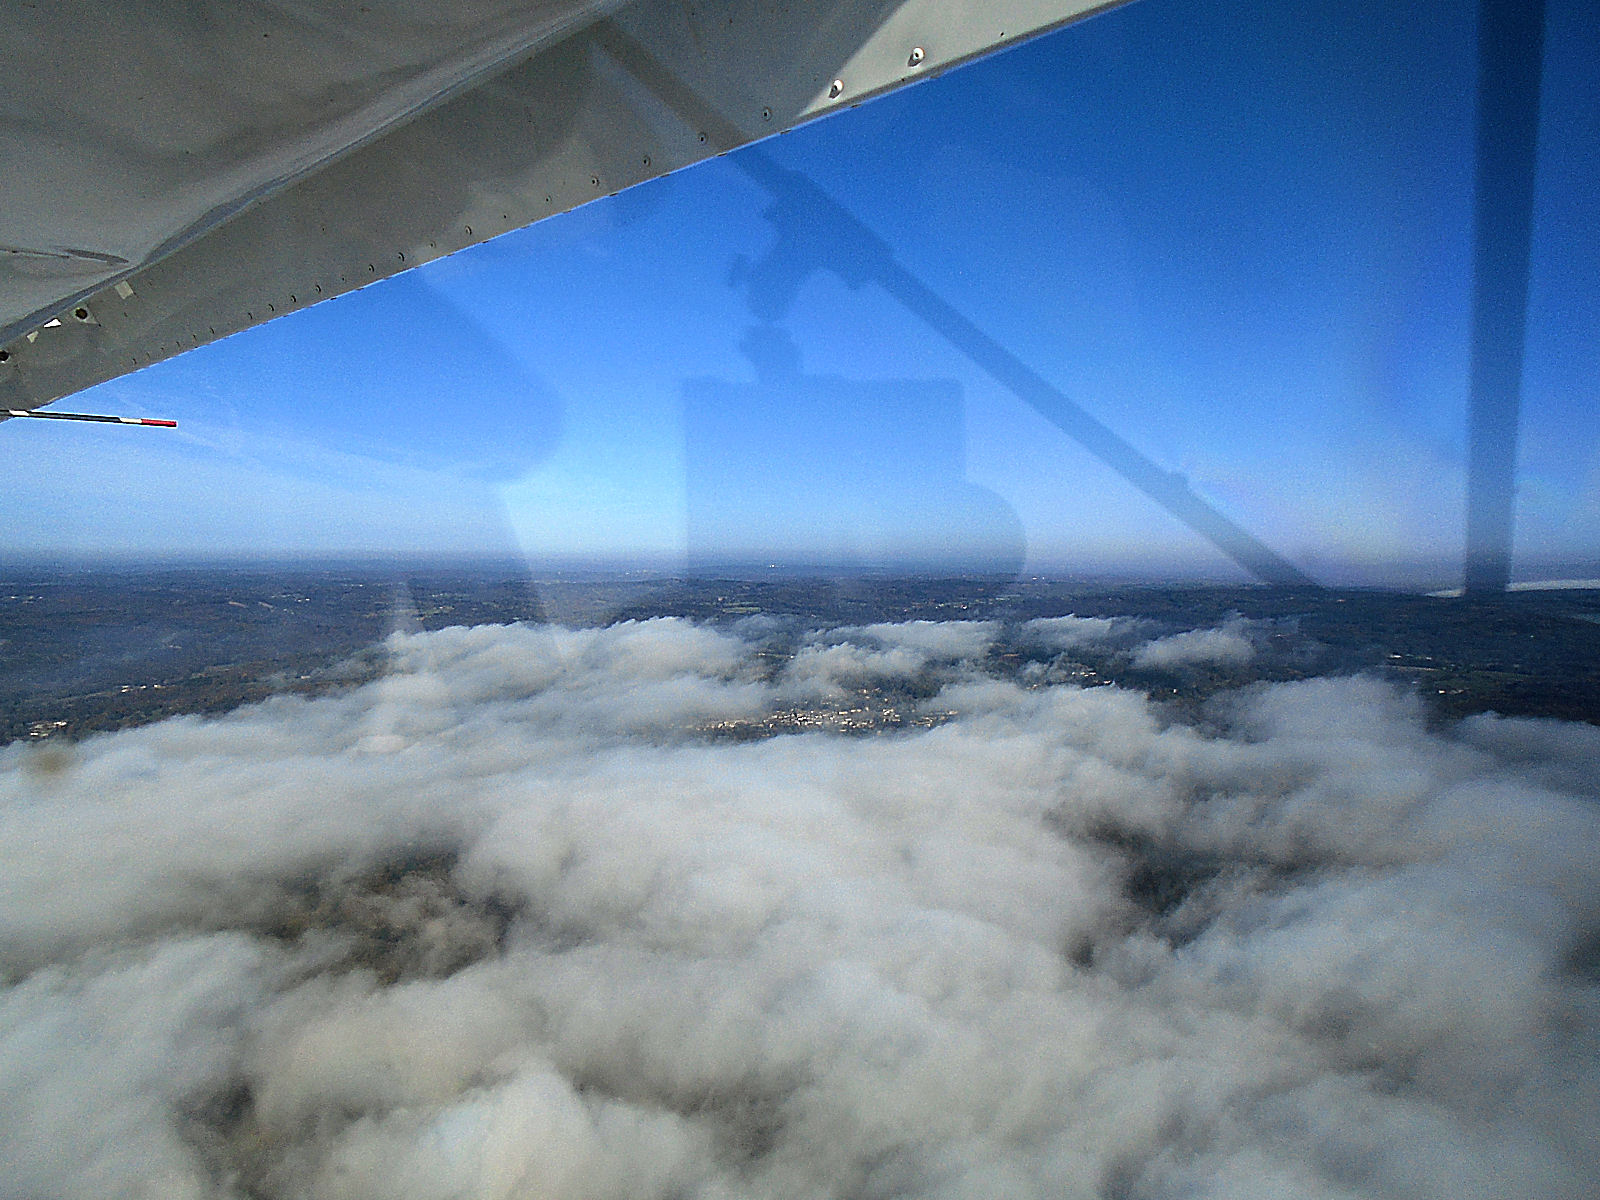
If I had been flying to a specific destination that I knew was going to be clear of cloud when I got there, like when I flew up to La Rochelle to get my radio installation inspected and approved, I would have carried on with my originally planned flight as the cloud was a long way below me (I was at about 2100 feet). But this wasn’t the case and it became more and more evident as time passed that both Fumel and Tremons would be totally obscured by the cloud, making it pointless to continue with this segment of the flight. So I decided to turn left and see if it was possible to cut across the corner to Cahors. Here are some closer shots of the cloudbank on either side of the aircraft.

null

null

null

But as I flew on and could see towards Cahors it became more and more obvious that the airfield and the city would also both be obscured by the cloud cover.

null

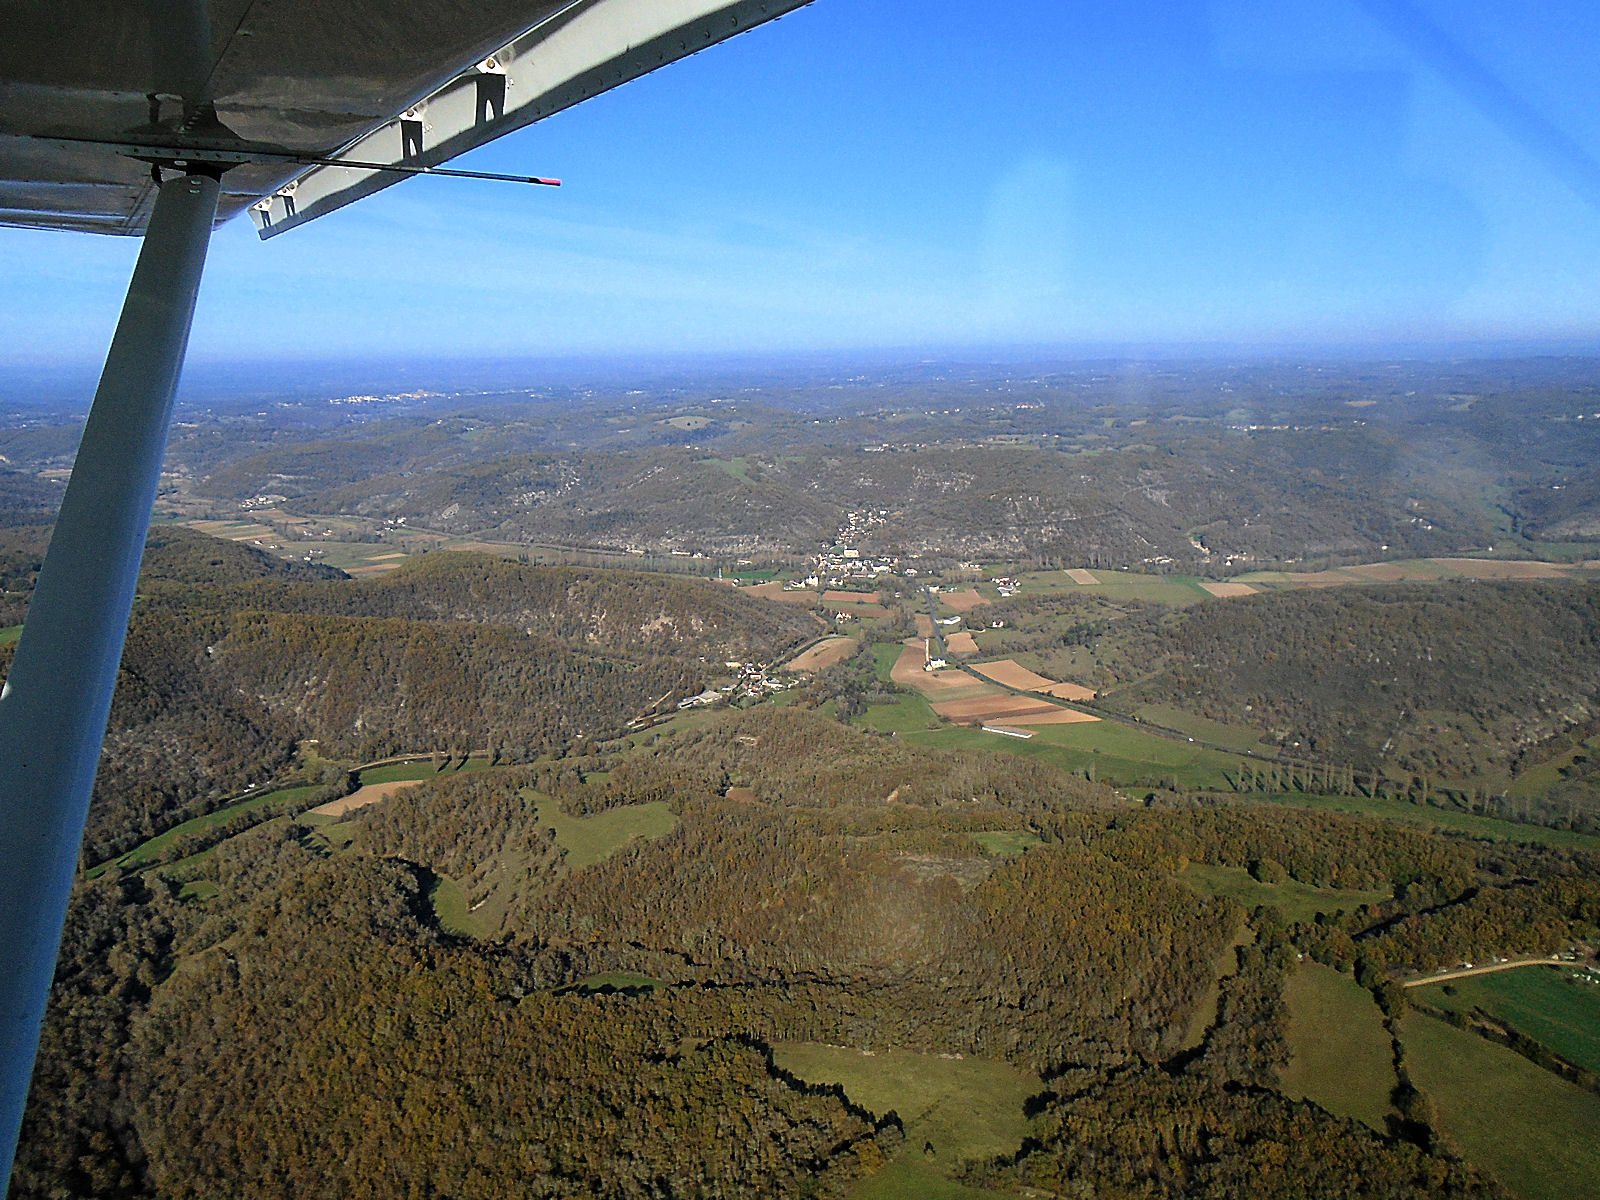
So a change of plan was called for. I decided that I’d continue on an easterly heading (see the red line in the first image of this post) until I intersected the return route to Malbec some way to the north of Cahors, continue with my plan to take some shots of Gourdon and then to head for a touch-and-go at Sarlat, where I originally hadn’t intended to land at all. Here is a series of shots that I took as I flew across country with Gourdon gradually coming into frame in the distance on the right.

null

null

null

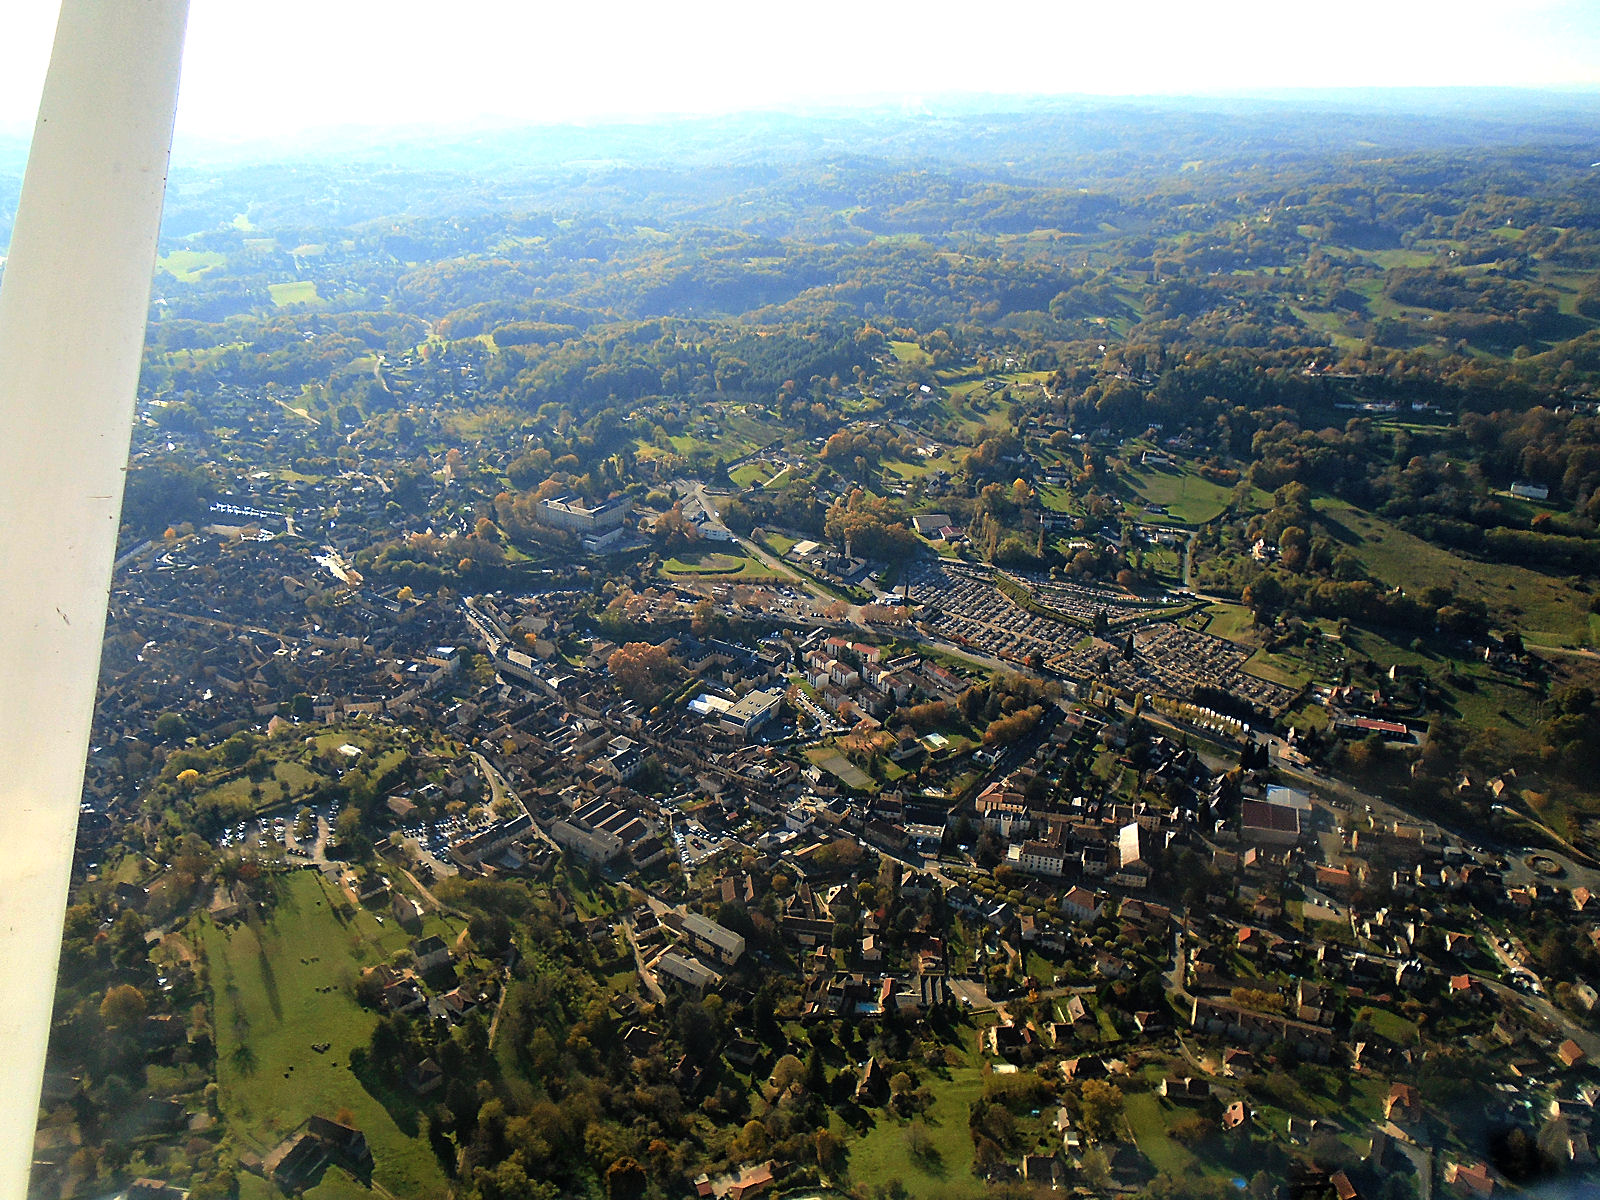
And here are some shots that I took as I flew, now on a northerly heading, towards and past the town of Gourdon with its ancient church perched on its hilltop.

null

null

null

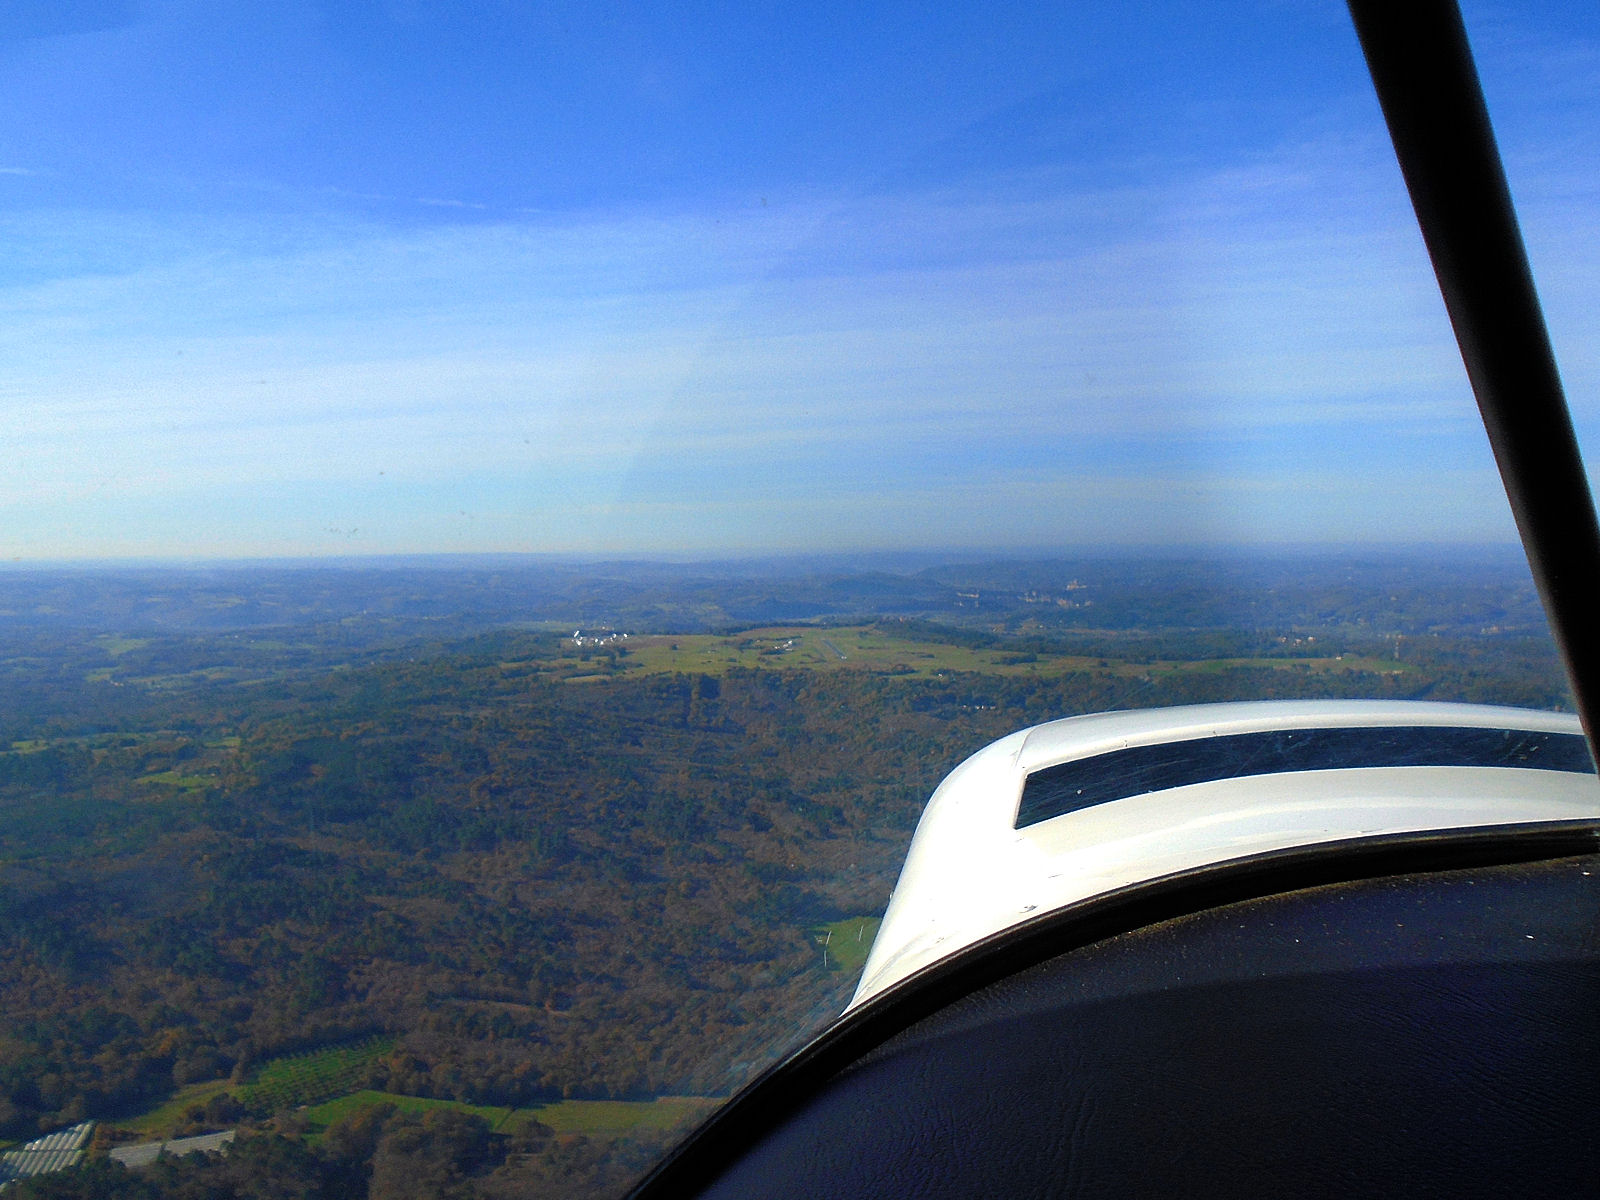
After Gourdon, I turned slightly off my planned track to the left, so I could join overhead Sarlat-Domme. Here’s a shot taken as I approached the airfield at a height of about 2200 feet.

null

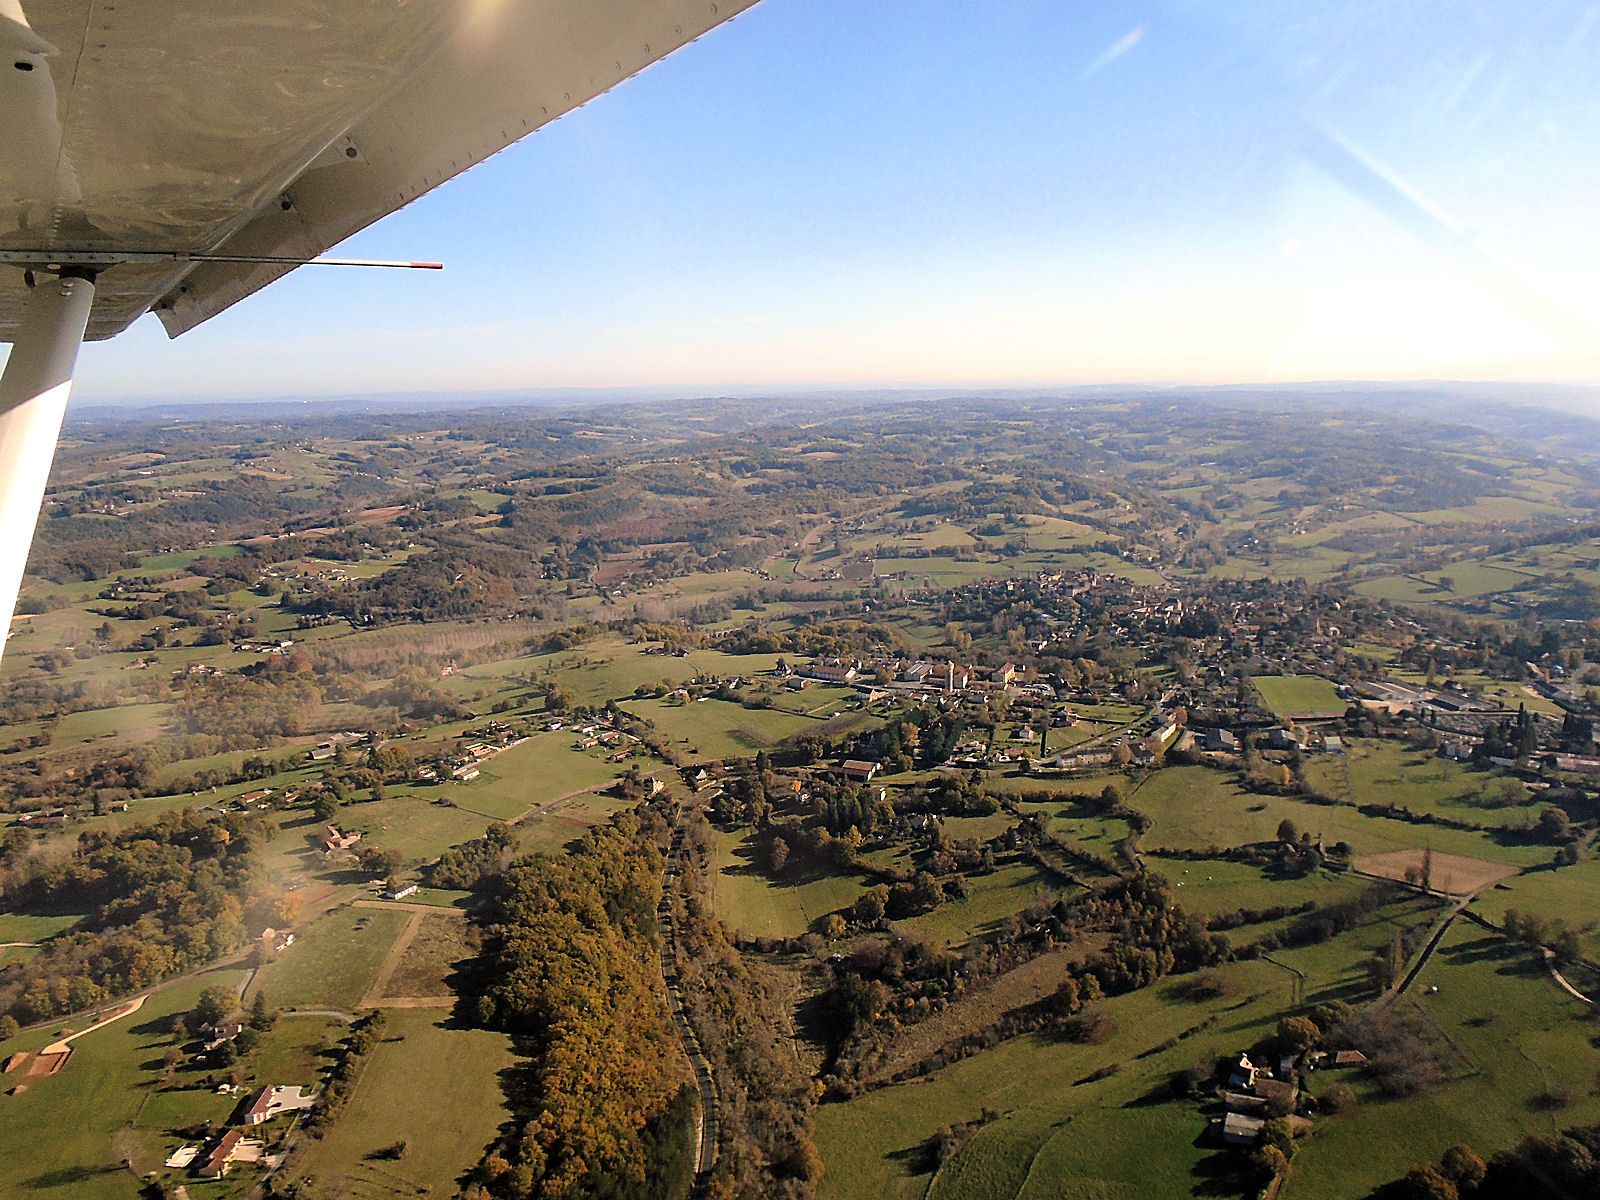
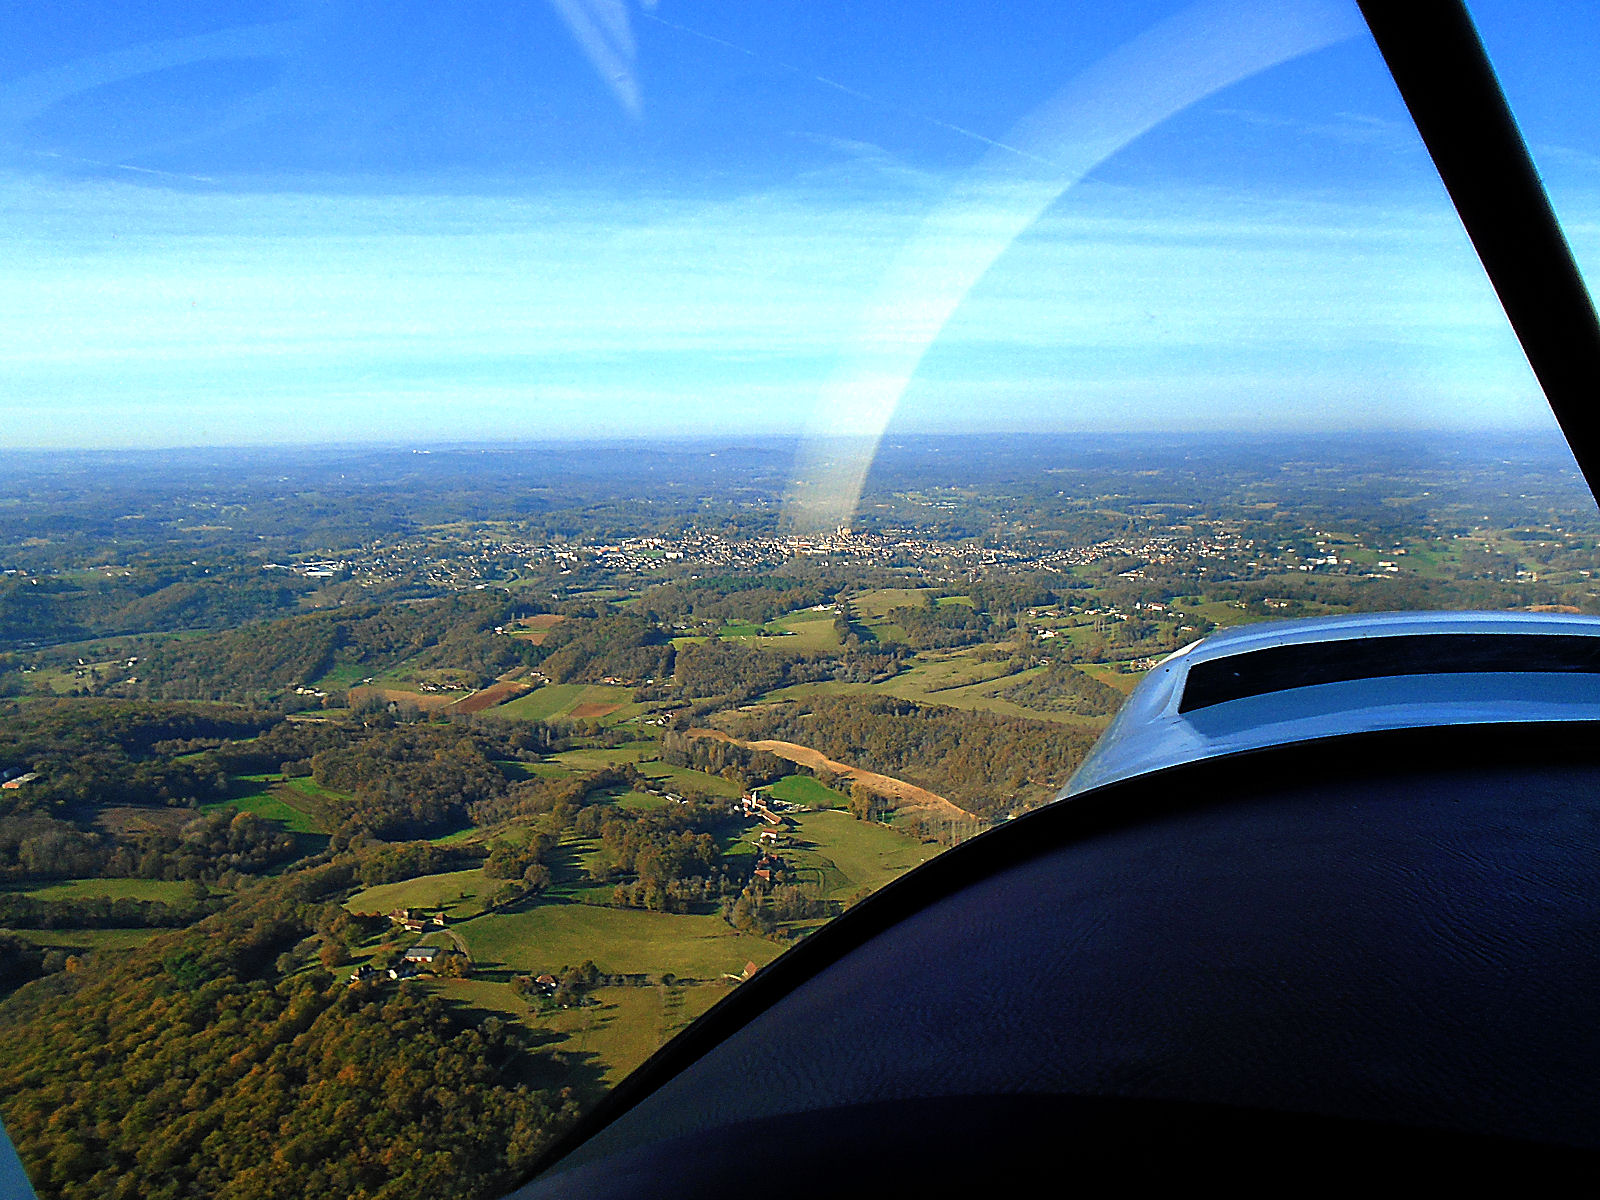
And finally, after doing a touch-and-go at Sarlat, I continued on past the town of Sarlat heading for a landing back at Malbec.

null

null

null

So I was disappointed not to have been able to make it to Fumel and Tremons, but there will be another day for that. Taken overall, the flight itself was a great success as the air was calm and there were only a very few bumpy bits. I was reminded of how great the Savannah is, despite having plexiglass windows, as a photographic platform because of how stable it is, especially on days like today. I certainly won’t be giving up taking my GoPro videos but I’ll have to make sure that I do more shooting of purely still photographs in the future because they are really worth the effort. At least I think so 😉

De-branched

I’m typing this while swelteringly hot and under concerted attack by ladybirds. We’re expecting a high of 16 degrees C today and it’s a lovely day out and already very hot. But I can’t open my caravan door or roof vents because once again there are huge swarms of ladybirds outside all of whom are trying to get into my caravan. As fast as I can catch and throw two out four more come in so I’m having to bite the bullet and keep everything battened down.

On to today’s subject. I’ve been wanting to get cracking building my store-cum-workshop as the base that was laid-down a week or so ago is now amply hard enough to take its fixing screws. I’ve been unable to, however, because there has been a low branch from one of the adjacent oak trees hanging over it which if left would have likely fallen onto the new building if it was cut after it had been built. So I had to arrange for it to be taken down before I started building.

But the branch was one of six that needed lopping from two of the large oaks that overhang my land, several of which were over the area on which one of the corners of my house will be located. So I really needed them all to be taken down at the same time and as the weather is so good, the guys who laid the base came back yesterday to clear away their shuttering and lop the branches, returning again this morning to clear everything away. Here are some shots of the result.

null

null

null

So now not only can I go ahead and start constructing my new little building but everything is also now ready for when the builders start on my new house. And the timing was good because the leaves on the trees were also turning meaning that their sap has now fallen and they should heal nicely from their wounds over the winter. So all in all, a win-win all round.

Because the weather is so good I prepared a 1½ flight in the Savannah for today. However, although I’ve charged my GPS etc ready I still need to get fuel. So I took another look at the weather and it’ll be the same again tomorrow but with a light breeze from the north, which will help landing back at Malbec. I’ve decided, therefore, that I’ll get the Savannah fuelled and prepped today and do the flight tomorrow. It’s been a longish time… yet again 😐

Bit of luck today

I’ve been waiting for the next step to happen in my electricity connection saga – hopefully actually connecting up my supply – but as nothing has occurred since the last two gentlemen from Bouygues Energies came and did whatever it was that they had to do a few days ago, I thought that it would be a good idea to find out what’s now going on. And lucky I did!

I have a contact in Enedis, a lady who was very helpful in resolving the logjam that existed between Enedis and SDE24 and getting things moving again. I thought that I should make contact with her again and did so yesterday by email. She came back today with a very helpful reply that indicated that despite my having made an application for a temporary electrical supply to be used before and during the construction of my new house, Enedis was working on the basis that I needed a permanent supply.

I therefore clarified the point and she came back very promptly with another helpful reply saying that in that case, the approach needed to be somewhat different. First I needed to select an energy supplier (ie EDF or one of several other suppliers none of whom are any cheaper – so much for market competition) and then I needed to contact that supplier and make an application for a ‘Branchement Provisoire’.

Getting this information is like drawing teeth, as my father used to say – slow and very painful. She told me that I had to get a confirmatory reference from my chosen supplier starting ‘A06..’ and once Enedis had received this they could, usually within 48 hours, provide a connection date.

This information was excellent news, but given my experience of the system to date, I gloomily assumed that these additional demands would take days. But not so. I chose EDF as my supplier because (a) they didn’t come out dearer than any of their competitors and (b) they already knew of me as a former client, which I though might be helpful. I then trawled their web site to find out how to make my application for a ‘Branchement Provisoire’ and was dismayed to find that you’re expected to do so by calling a certain customer service number.

I say ‘dismayed’ because usually this means that when you make the call, either (a) you enter into a labyrinth of ‘press 1,2 etc’ choices that are so inpenetrable for a non-French speaker that you eventually end up getting cut off without ever getting through to the department you need to or (b) you end up talking to someone with a strong regional accent who speaks at the speed of a machine gun.

Neither of those things happened today because having got over the first hurdle (the ‘1,2 etc’ choices) I was connected with a charming young lady who not only spoke really clearly but also understood my problem and set about resolving it. In a matter of a few minutes she had enough of my details (name, address, phone number, email address, power requirements) to say that she’d send me a form by post to sign and return and could provide me with the ‘A06..’ reference that I needed.

I then zipped off another email to my Enedis contact with the reference and she replied by return with an email saying, ‘Parfait!’ So that I think is the last step that I need to take in pursuit of my electricity connection. The ball is now back in Enedis’s court and hopefully, as the lady said, I should receive a firm connection date in the next 24-48 hours. In the meantime, all I’ll need to do is sign and return the new EDF contract. I hope that that’s it, anyway…

Another new theme

I decided that I didn’t much like the Writee theme after all. It looked too funereal and formal with its stark black and white appearance. So I looked around for another one and came across the Generate Press theme that I actually downloaded a very long time ago but never installed. I’ve now started using it on My Trike after tweaking it a little bit to get my slider into the heading, which took a little while to work out how to do.

So after not changing the My Trike theme for something like three years, that’s a couple of new ones in two days. That always happens because you can only decide whether you like a theme enough to keep it after seeing it for a while and getting a feel for how comfortable you are with it. So now I’ll see how I go with Generate Press 😉

I’m ready

Two guys from Bouyges Energies showed up first thing this morning. I first spotted them with their small white van doing something at the electrical box down the road into which the new box placed on my land is connected. I don’t know whether they were finishing off the connection that the previous Bouyges team had worked on in the rain a few days ago or possibly just inspecting it, but pretty soon after they’d finished down there, they came up and opened the new box on my land, did what they had to do there as well and left after a few minutes.

So we’re slowly inching forward to finally getting my ‘coffre de chantier’ connected, which will give me my own electrical supply at last. However, although I’ve fitted my box out as I want with two interior circuit breakers and two external sockets, up to now it still wasn’t ready to go because I hadn’t succeeded in installing the necessary earth. The problem was that it employs a metre length of copper rod that has to be banged into the ground and this wasn’t possible because at around a depth of 45 cms it hit a solid rock layer that prevented it from being banged in any further.

Wim kindly loaned me his metal ‘rock basher’ and sledgehammer but this still didn’t work for me – the underlying rock layer is just too hard – but then I had a brainwave. Behind the ‘coffre’ along the side of the road there’s a bank created, I think, years ago when they put the water main through. The bank is around half a metre high and it occurred to me that if I banged my copper rod in on its top, it would have that additional distance to go before hitting the rocky layer.

And so it turned out. I didn’t think of it before because I was trying to position the earth only about a metre from the ‘coffre’, but there was no real reason for that except I had only bought a metre of earth cable. After taking only a few minutes to bang the rod into the ground I bought another 3 metre length yesterday and was able to finish off the connection today.

Here’s the interior of my ‘coffre de chantier’ with the earth cable now connected into the system.

null

This next shot shows the earth cable running out of the bottom of the ‘coffre’ inside the corrugated plastic ‘gaine’ which protects it, up to the earth rod on the top of the bank. The distance is less than 2 metres, so the difference is nothing really.

null

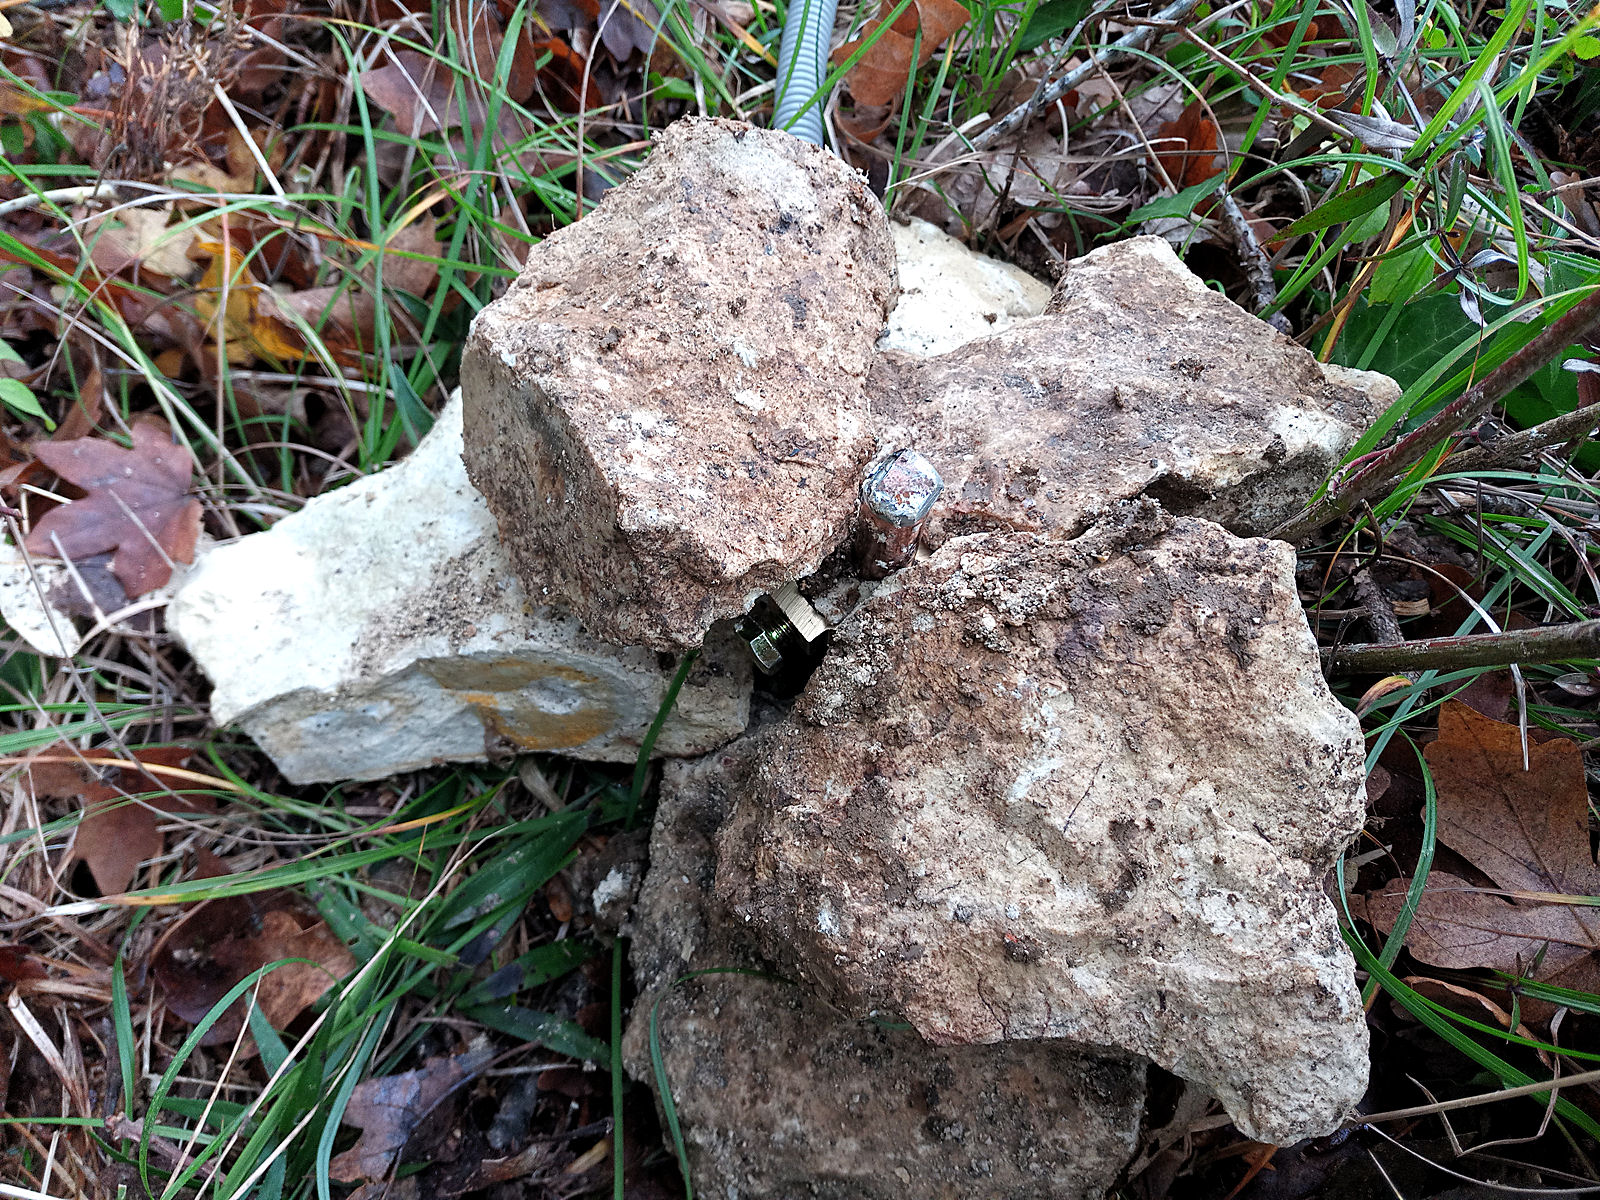
This final shot shows where the earth cable connects to the copper rod. I’ve covered it with rocks to protect it, as had been done at my old house, and also to clearly show where it’s located should the surrounding vegetation become thicker during the period that it’s in use.

null

So I’m now completely ready for my ‘coffre de chantier’ to be connected up to the mains, and I can’t wait. It’s becoming much colder now, especially at night and in the early morning, so I do really need my own electrical supply so I can keep a heater going in the caravan 24/7, as I did in my old house.

And talking about the night and the early morning, I unfortunately got a nasty surpise again this morning. The wild boar came back last night and dug up the same area on the bottom of my land that they dug up previously. Luckily, the affected area was much smaller this time and it took me only a few minutes to level it again, but as it had already been damaged once, it looks much scruffier this time. If this keeps happening I’ll have to decide how I can cope with it. When I’ve managed to establish more of a garden, I won’t be able to face having it constantly coming under attack from the wild boar.

New start, new theme

So having moved My Trike to a new hosting provider, I thought that it was also about time to change the look of the web site as a whole. It’s looked the same for over three years I guess, although I can’t exactly remember the last time I changed its ‘theme’, but I thought that now would be a good time to take a look and see what new themes are now available.

The design I’ve used for the Malbec web site has what’s called a slider in its heading, a very nice page feature that cross-fades a series of images from one to the next, and I thought that I’d like to have a similar one on My Trike. But it’s not that easy because each theme design has its own layout and I wanted to also keep the basic layout that I’ve developed over time for My Trike and several themes with sliders wouldn’t have allowed me to do that.

But I’ve more or less managed to do it with a new theme call Writee. I’ve had to fiddle with it a bit because no matter how I tried, I couldn’t get the slider that’s incorporated in its design to work and I’ve had to use a third-party ‘plug-in’ instead. The result is that the header isn’t quite as the designer intended but I doubt anyone would have known if I hadn’t said anything.

So welcome to Writee. Comments and opinions are always welcome 😉

I’m back!!

The migration has been successful and I’m now back with what I think will be a faster loading web site. There was a bit of a hiccup which led to a downtime of an hour or so but things were resolved and I think that everything’s running smoothly again.

Like I said in my last post, there’s always the potential for things to go wrong but if they do, it will only delay things for a short while and nothing will be lost, so long as you’ve taken proper backups. On this occasion they weren’t needed, I’m glad to say.

That’s enough excitement for today – and I haven’t even had time for lunch yet…

Oh, by the way, while the changeover was happening there was some movement on the electricity front. A team from Bouyges Energies (remember them – one of their engineers turned up months ago and said that before I could be connected up, a cable needed to be put into the ground, a simple job as the ‘gaine’ was already in place…) turned up and in the pouring rain, apparently connected up the cable that had been hanging out of the side of the box that had been installed by the previous team. Are you still with me?

null

So the cable is in and connected, but I’m still not connected up, of course. That will require a visit by a further team – my guess is from Enedis – who will be responsible for making the ultimate connection to the box that I put in place (see above) weeks and weeks ago.

So that will be four teams involved – EDF, Enedis, SDE24 and Bouyges Energies. Is it any wonder that things take so long to get done and cost so much in France?

Ok, here we go… again

Up to just after I came to France, my ‘My Trike’ web site was hosted on a business account with several others that I ran at the time but which have now all been run down since my retirement. ‘My Trike’ is the only one left, but it has remained on the business web hosting account that has been costing me considerably more per month than I really need to be paying. So today I’m going to be doing something about it, by terminating my account with my current (UK based) web host and migrating ‘My Trike’ to a new (US based) one and in the process saving myself a considerable amount of money per year.

Migrating a web site to a new host is not something that you do lightly because there is an element of risk involved. You have to take great care to back everything up properly, both the ‘simple’ web page data and the more complex, such as any, usually, MySQL databases that are used. If you miss anything or foul anything up, especially with the databases, then you can end up at best with lost and irrecoverable data or at worst with a non-functioning web site, possibly as, in my case, after many years compiling it. And you also need to know what you’re doing when it comes to recovering the data you’ve backed up onto the new host’s servers.

But I’ve done it twice before, I think from memory, with ‘My Trike’ so I’m already quite experienced in the process and will be doing it all over again today. This will be my final post on my old hosting company’s server and when I come back it will be with ‘My Trike’ having been migrated over to the new one. So here’s ‘fingers crossed’ and looking foward to seeing you over on the other side. If you get a ‘400 error – page not found’ message when you next try to log on you’ll know that I didn’t make it…