No mercy

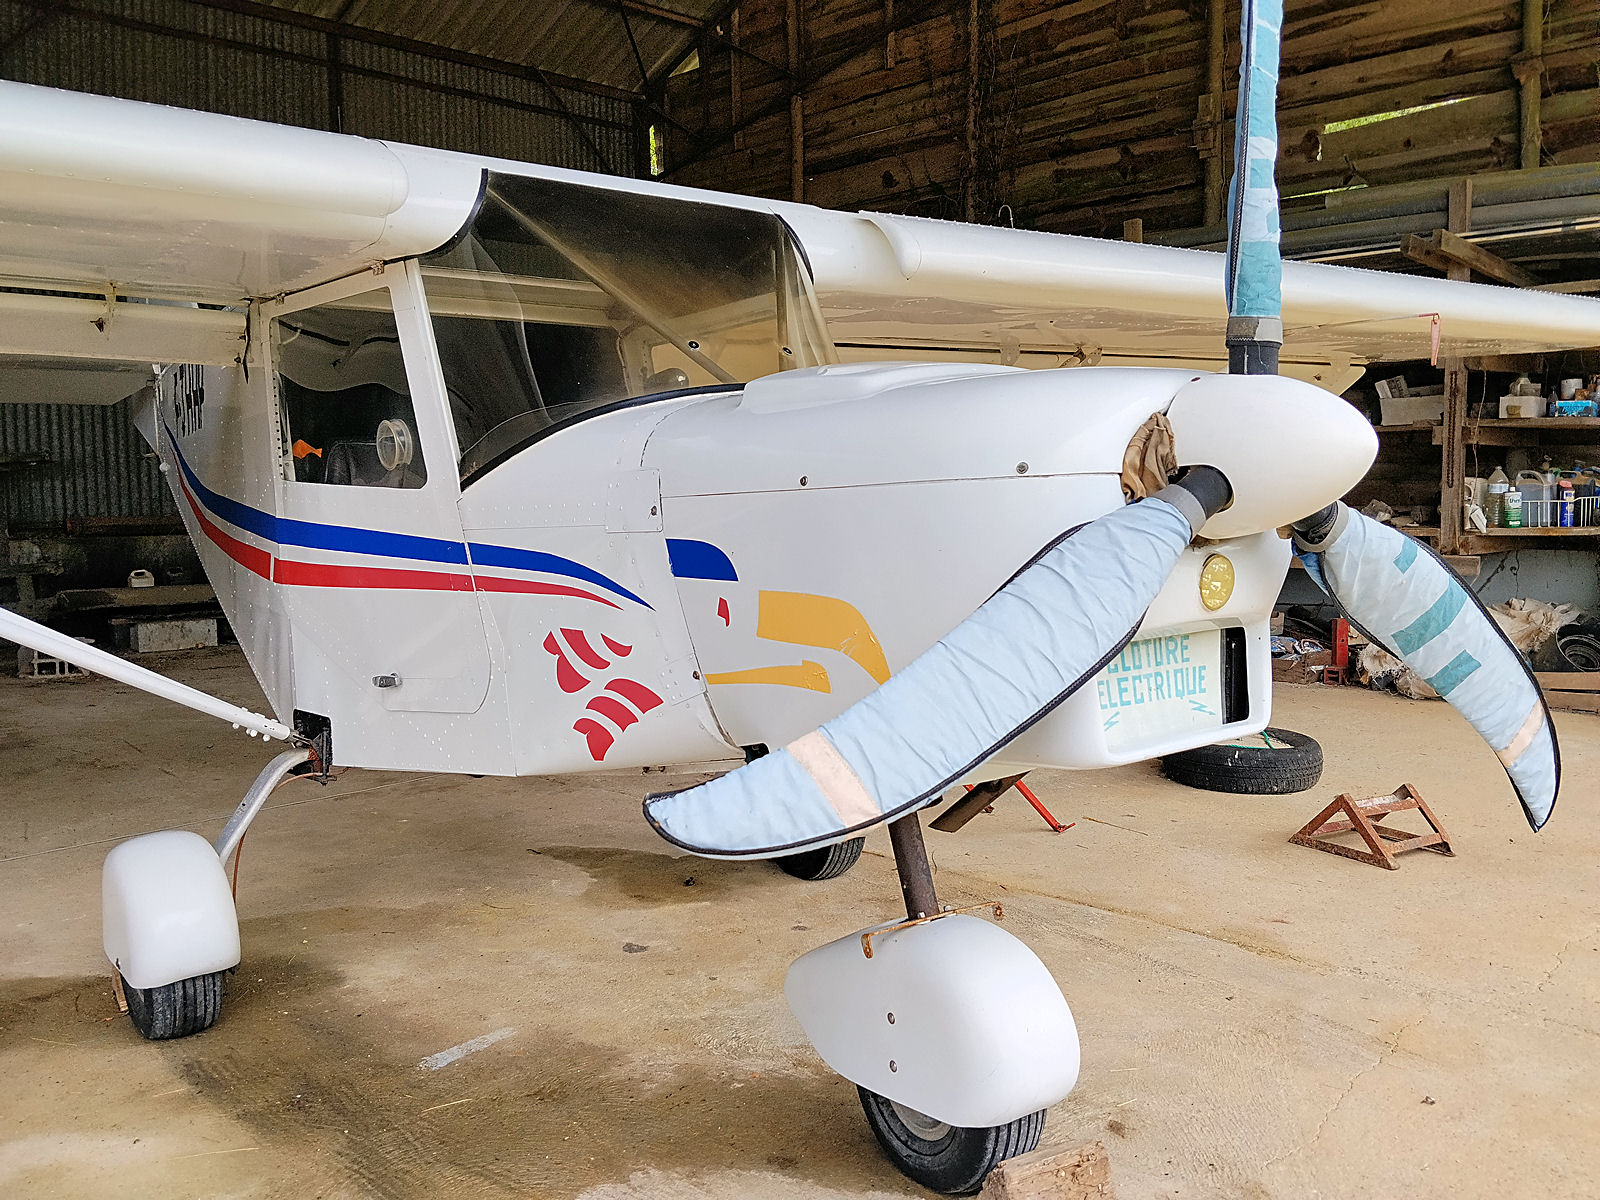
I’ve had an horrendous last couple of weeks. All I’ve wanted to do is let my lawn robot tick over keeping my grass under control while I finished replacing the damaged screen in my Savannah but events have totally prevented me from doing this. Yes, the lawn robot has continued doing its job but problems with my computer(s) have kept me indoors and well away from anything to do with my aircraft.

The computer problems have involved a serious loss of data due to equipment malfunction and specifically the failure of a hard disk drive that contained much valuable data, including the engine hour records for the Savannah. When I acquired the aircraft it didn’t come with engine and airframe log books the way a British registered aircraft would have. Instead I received only partial records in an Excel spreadsheet which I continued to maintain. However, that’s now gone together with all of the photographs from when I first acquired the aircraft that might have helped me to rebuild the record.

This is the second hard disk drive that has let me down since I’ve been in France and on both occasions I’ve lost valuable data as a result. As my computer is so valuable to me because of all the valuable data it still holds, such as photographs and videos, I decided that I needed to avoid it ever being able to happen again by building another machine which will essentially be a mirror of my main machine and holding the same data. However, my every attempt at doing so over the past couple of weeks has been thwarted, mainly because storage drives that I’ve acquired from China, three of them, have all failed while configuring the new machine.

But not only that. In the process it appears that I might have inadvertently wiped another disk drive that contained mainly old data that I rarely had need to consult but which I’d have liked to keep. It may be possible to recover that data using special software but I won’t know for sure until I’ve received yet another storage device that I’ve had to order and have not yet received.

But that’s not the last of my computer woes. I recently upgraded the processor in my main machine and was going to sell its original processor on LeBonCoin because it is still in high demand. However, I now won’t be able to do that as I’ll have to use it in my proposed back-up machine. I therefore thought that I was putting my problems behind me, but it wasn’t to be so. Up to the end of last week the new processor had been working flawlessly but I suddenly noticed that the machine was beginning to run very slowly. When I checked I found that the processor’s temperature was right on its upper limit so had to switch the machine off to avoid potential damage even though the processor, an Intel Core i5-14400f, has built-in overheating protection.

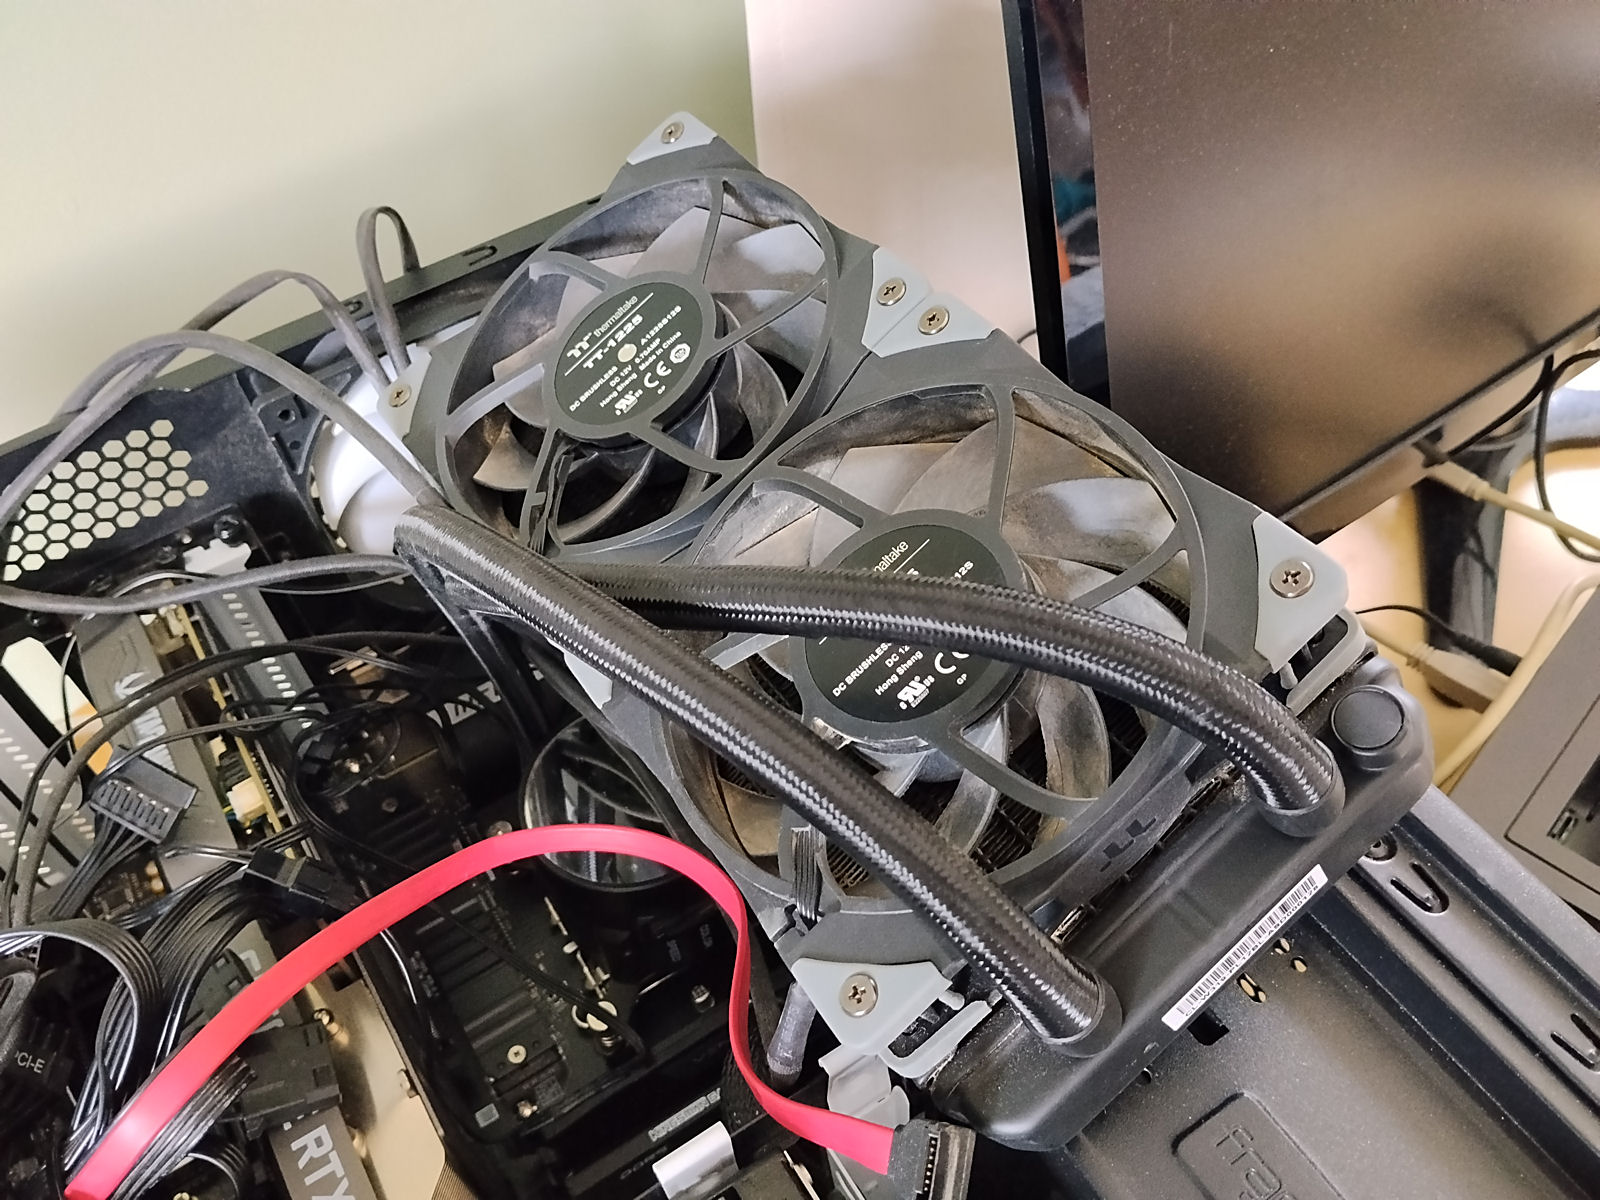
Because both this processor and its predecessor are of quite high power they both need an efficient cooling system. The system I chose when I built my main compute in early 2022 uses water cooling. It works much the same as a car’s radiator using a liquid coolant which is pumped around through small radiators that have air blown through them by electric fans. My immediate suspicion, confirmed by AI analysis, was that the electric pump had failed and this seems to be so as when the computer is running and the processor temperature is building up you can’t feel any hot coolant in the tubes connecting the processor to the radiators. The image below shows what I’m referring to.

So it appears that quite by coincidence I have also lost my main machine together with much of the valuable data on it and have also been prevented for the time being from building a secondary back-up machine. I have a replacement cooling system on order which should be arriving the day after tomorrow but in the meantime I dare not use my main machine for fear of losing even more data and am typing this on my old faithful machine that my current main machine replaced in 2022. It must by now be pushing 10 years old, runs Windows 10 as distinct from the hot mess that is Windows 11, starts and runs quickly enough for general use (but not for data intensive applications like video production), is reliable and never lets me down.

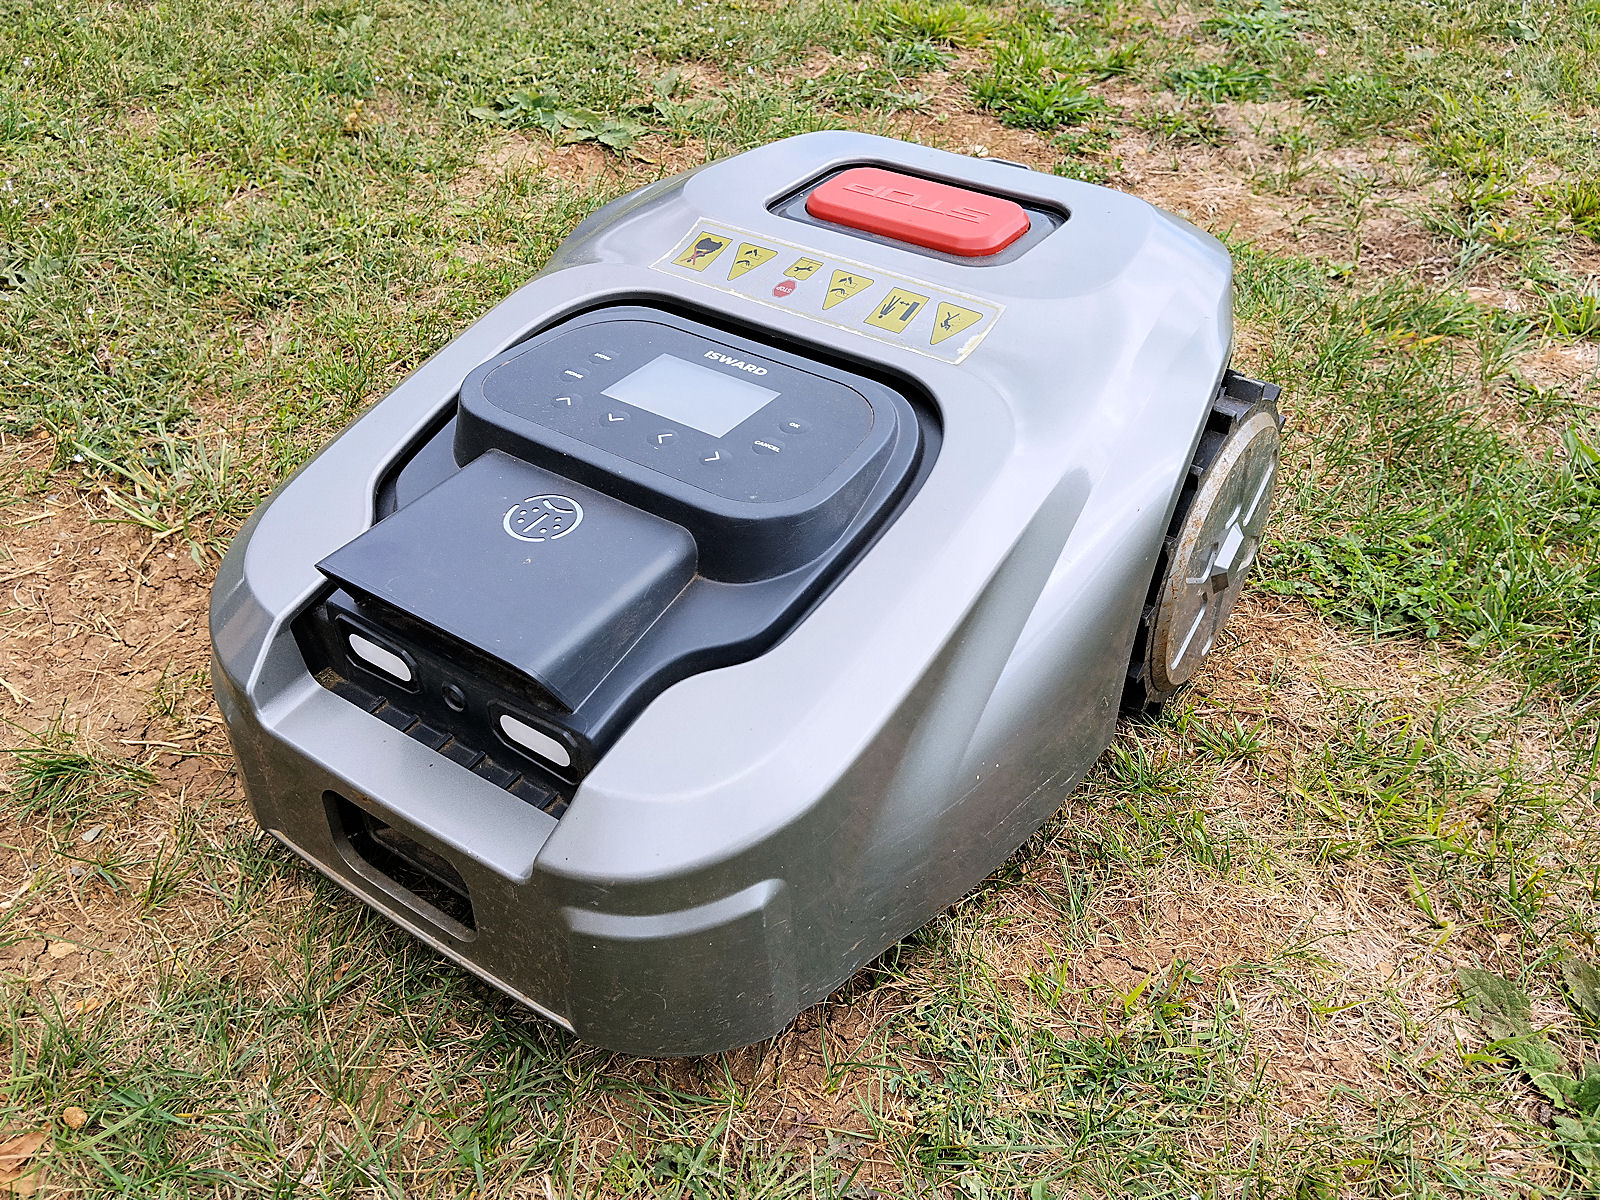
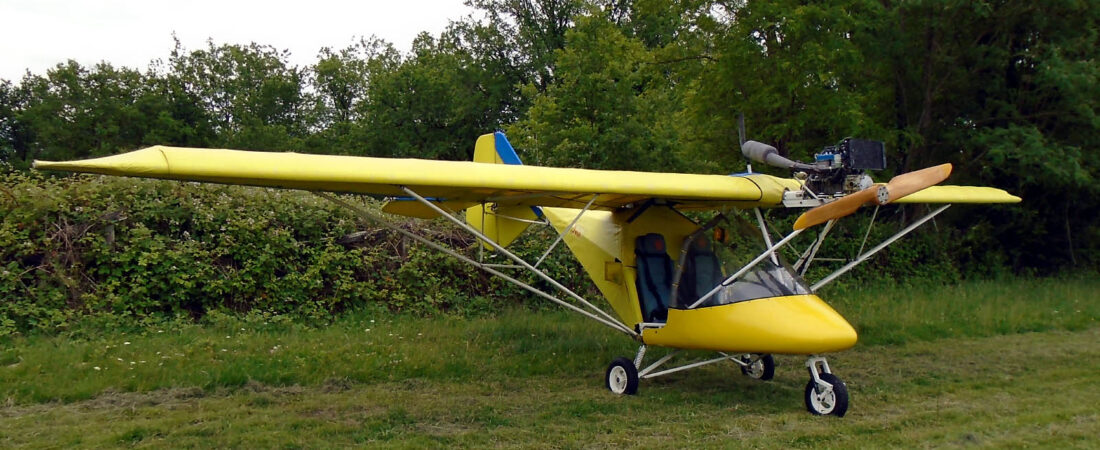
But guess what. My problems have since taken another turn. I love my lawn robot, see the image below, and it saves me an enormous amount of time by keeping my grass in trim while I do other things. In fact it does a much better job than I do with my ride-on lawn mower. However, it seems to be a bit like a Range Rover – great while it is working but leaving something to be desired in the reliability stakes. Early yesterday evening while it was tackling the last 25% of the grass at the back of my house it ground to a halt. It reported that its wheels were spinning, which they weren’t, and when I ordered it to return to its charging station it wouldn’t budge. Then when I’d returned it there manually it reported that it couldn’t exit again despite the battery showing 100% charge.

The Chinese supplier who has always provided superlative customer support can diagnose the machine over the internet and has reported that there has been a failure of the drive motor control board. They have kindly offered to send me yet another brand new machine, my third, and have told me that I can hang on to my current machine and not return it, which I think is absolutely unbeatable. Nevertheless, it’s still rather concerning that in the short time I’ve been using it, I’ll be on my third machine. I suppose I’ll just have to live with it and see how things go from here.

Problems, problems…
null

null

Cut!

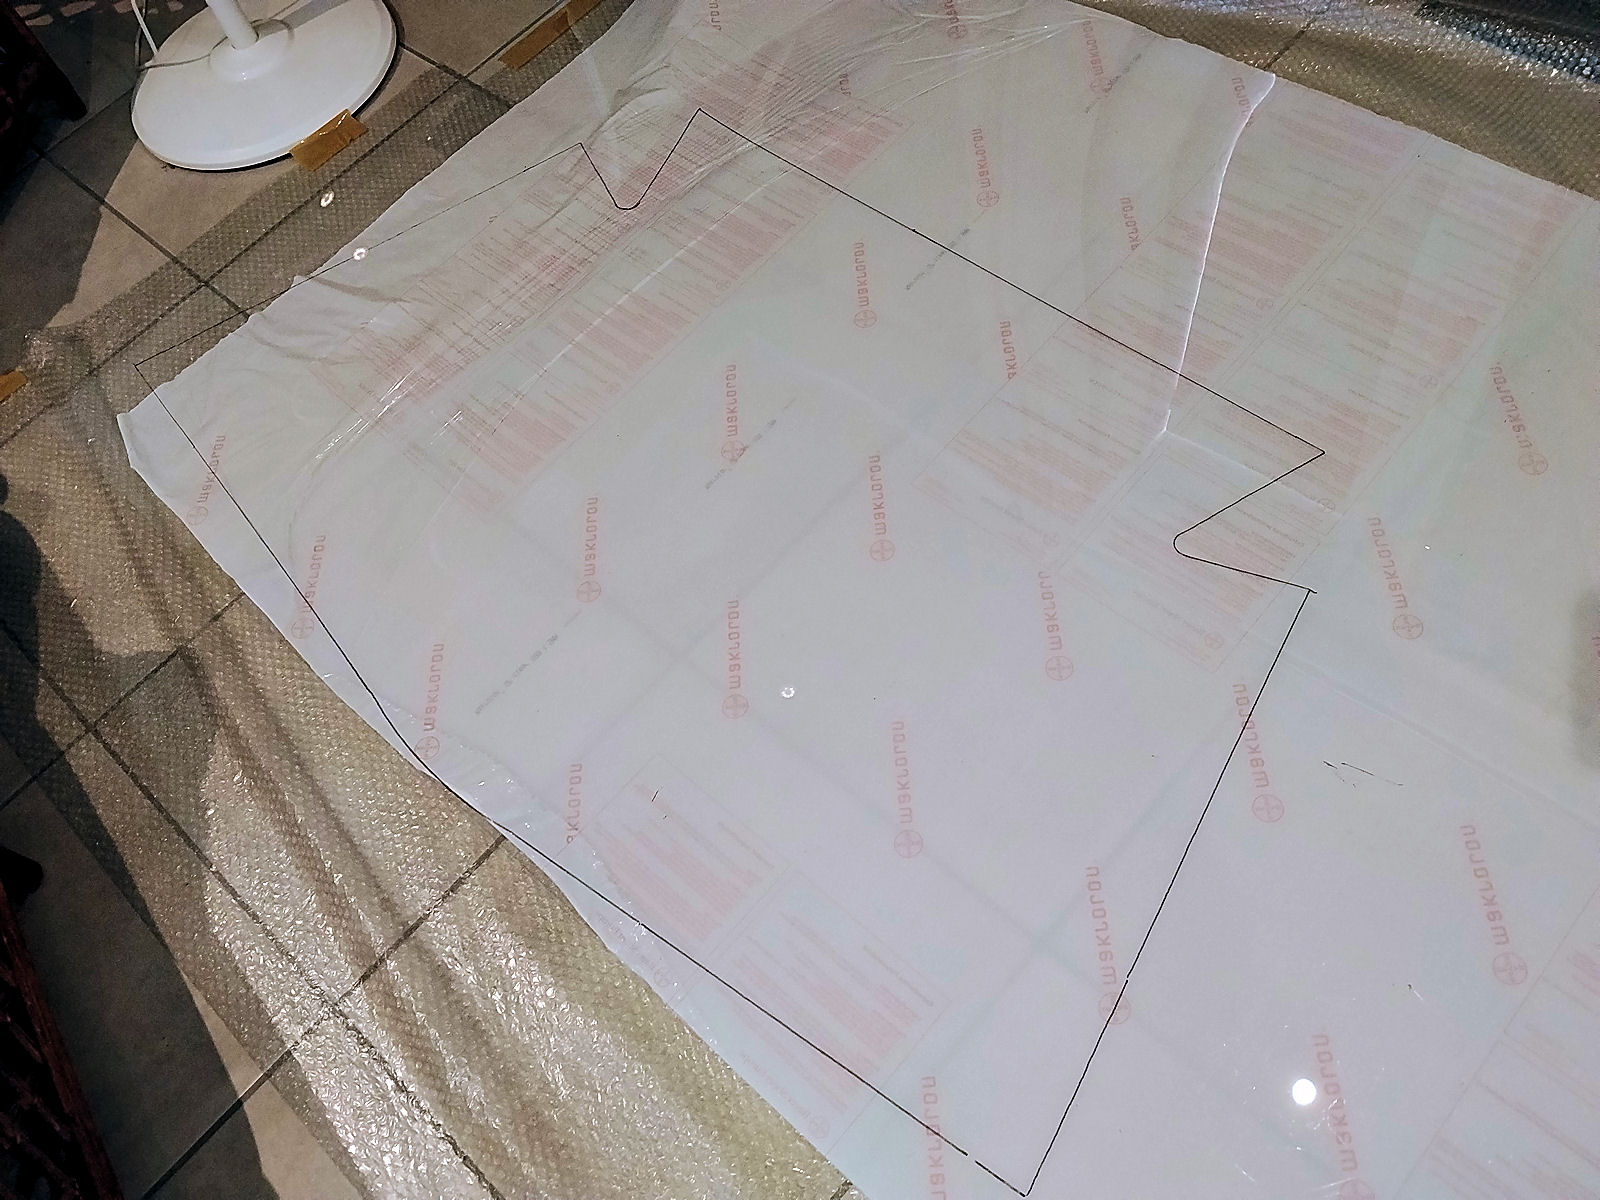
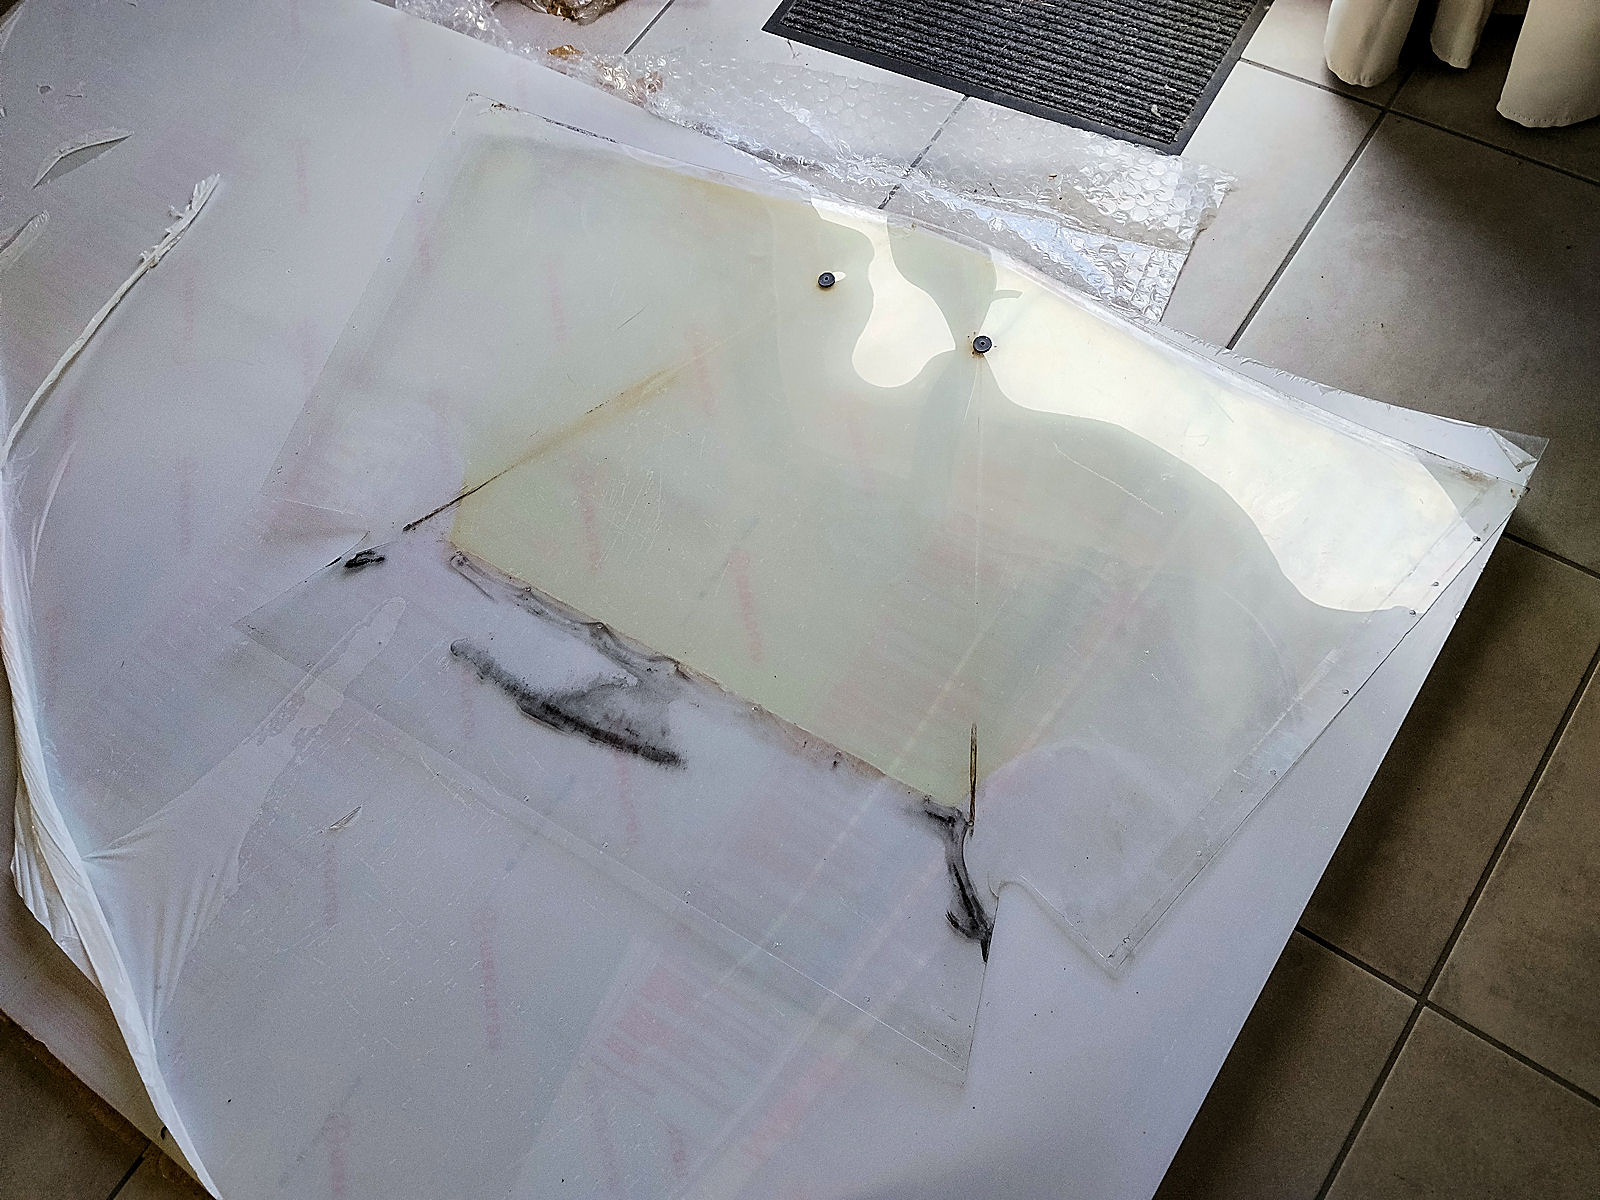
Working indoors today on the floor of my living room in yet another day of heatwave (40 degrees forecast yet again), I cut a new screen for my Savannah from the 15 years old sheet of polycarbonate that I brought with me to France from the UK (delivery date was 22 August 2011). When it was delivered a fairly large area of the protective film on one of its sides had been rubbed off and the surface underneath scuffed and as there was insufficient undamaged area to make a new AX3 screen from the supplier told me to keep it and sent a replacement. And then I forgot that I had it.

Fast forward 15 years and once again I need polycarbonate for a new screen for my Savannah, so I dug this old roll out and found that as far as I could see, there was more than enough undamaged material. However, usually you want to work on fresh material with protective film on both sides but as this sheet is so old much of the film on one side had fallen off. I therefore had remove it all and mark out the screen using a fine black felt tip direct onto the plastic surface.

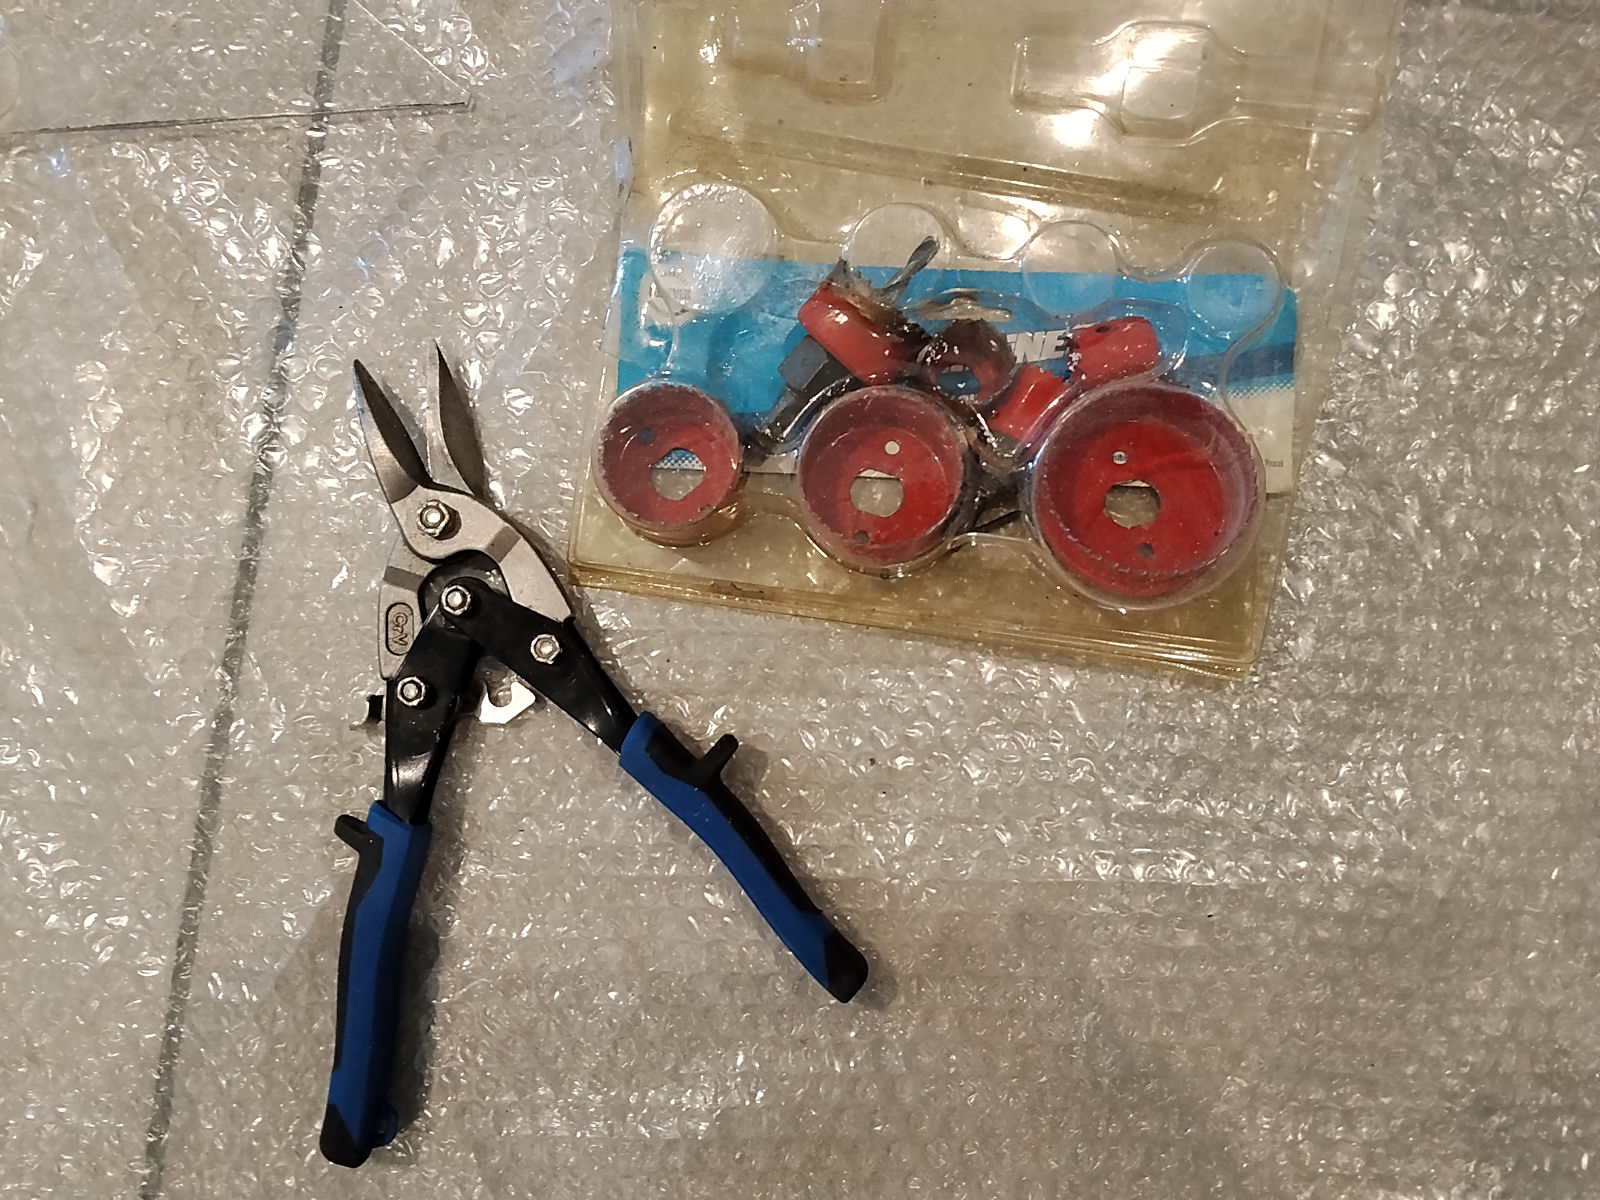
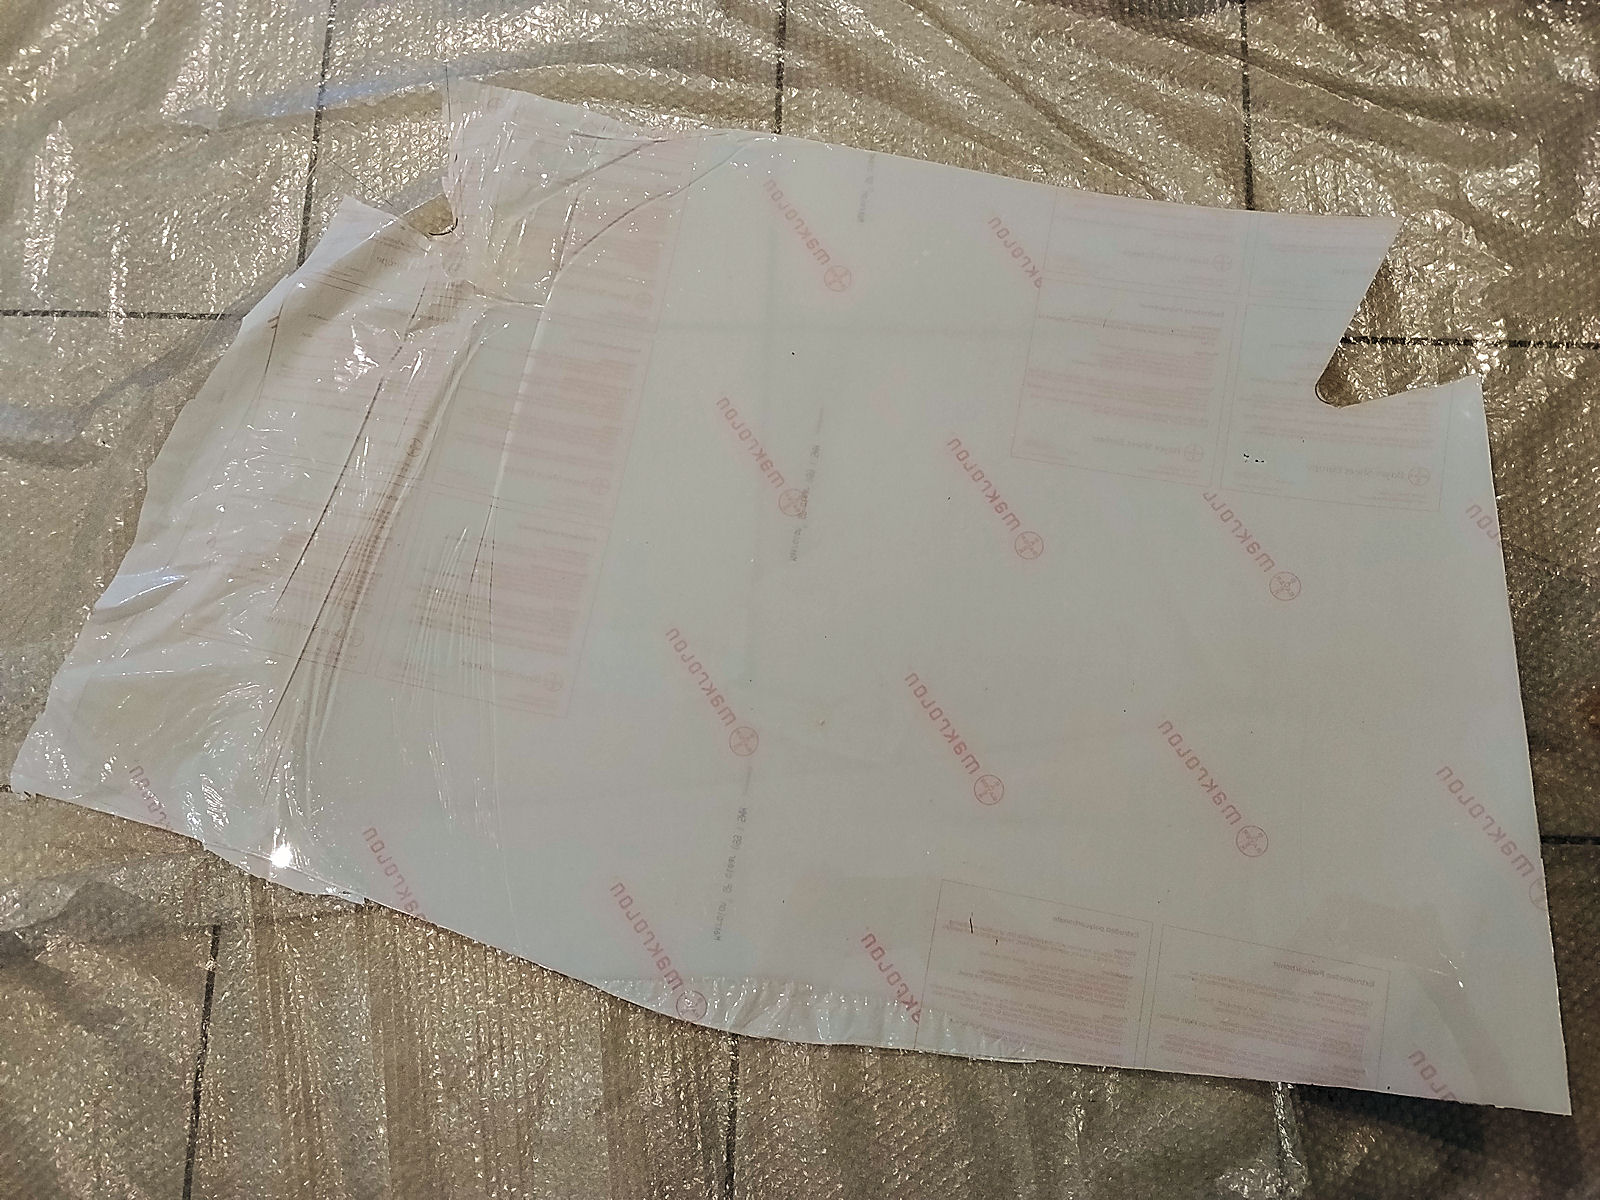
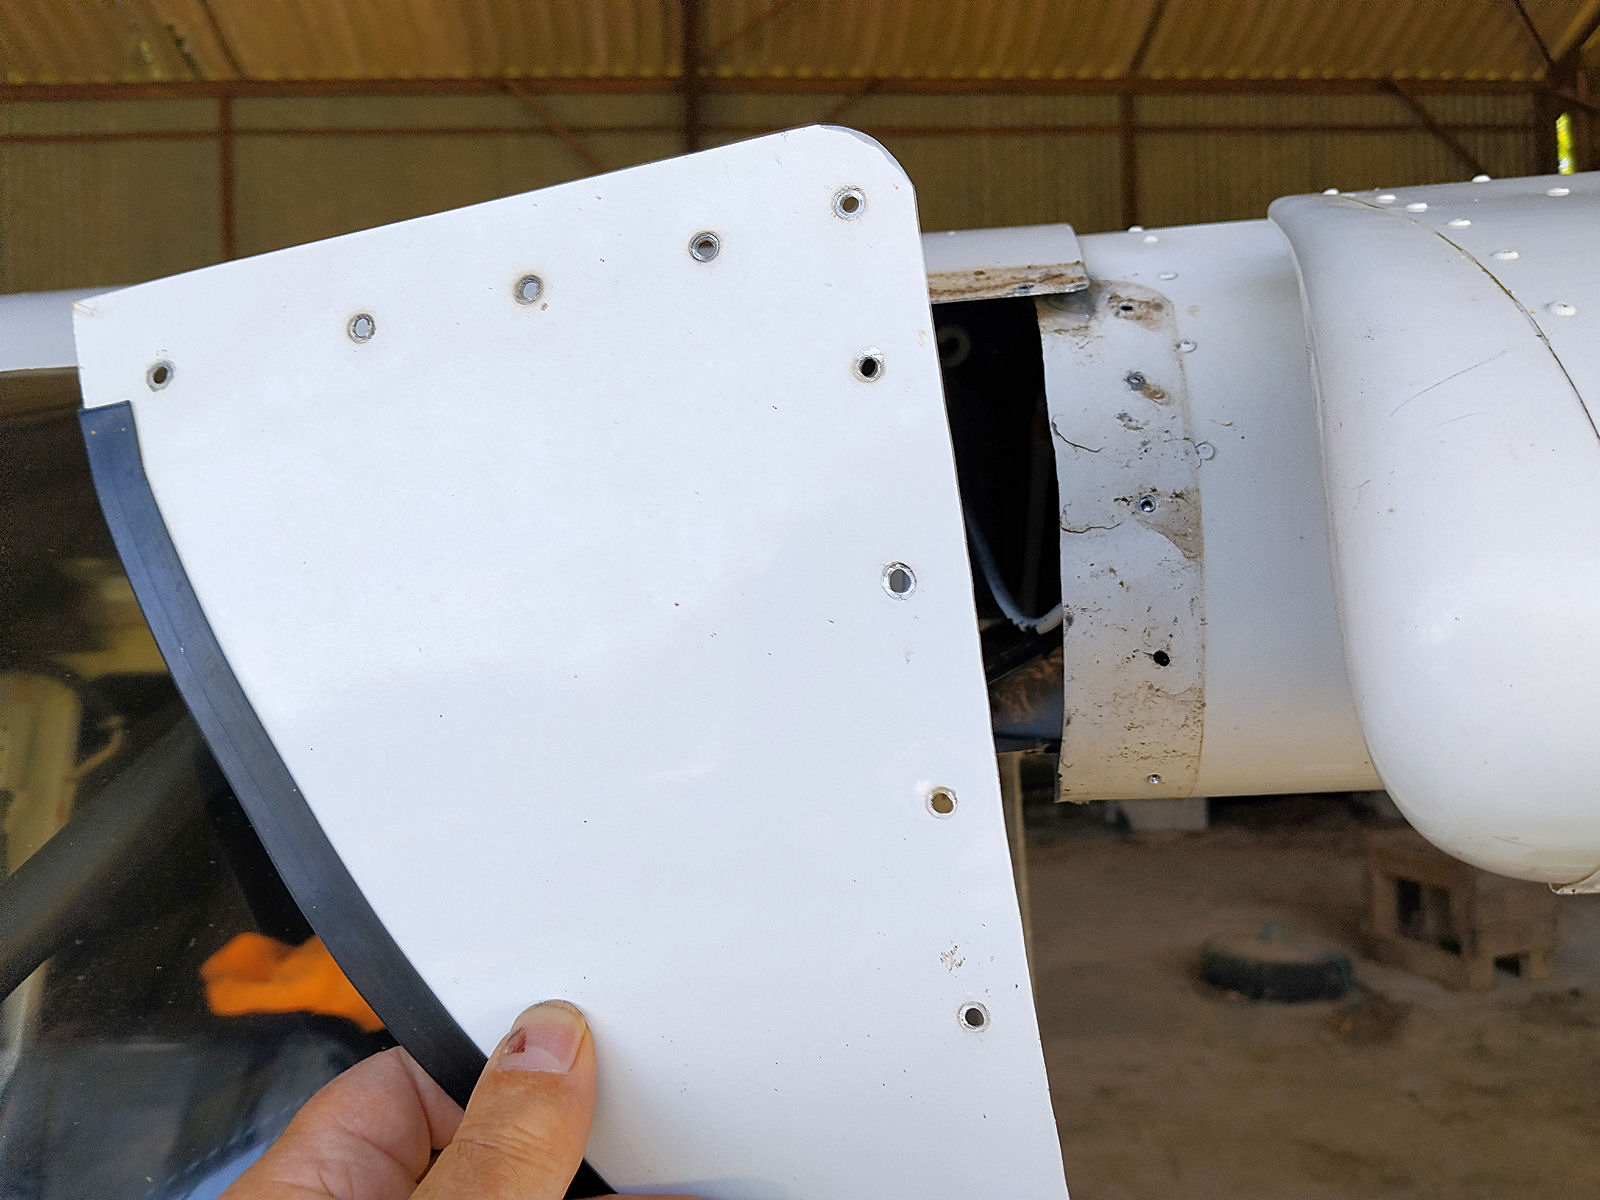
After doing so, I took great care to protect the sheeting as much as I could while cutting and drilling it with simple hand tools as shown and ended up with what looks like a jolly good basic screen. I’m not going to drill its fixing holes this time until I get it positioned on the aircraft as after having done it once I think drilling it in situ will do a better job. There are fixing points to hold the screen in place on each side which will be under the aluminium side strips and I’ve also got two excellent wood clamps that will be perfect for holding it in position.

So the next job will be to clean up the pop rivet holes around the Savannah’s screen and install the fruits of today’s labours. Then I’ll need to move on to the roof panel the polycarbonate in which I also intend to replace.

null

null

null

How to fit new Savannah screen?

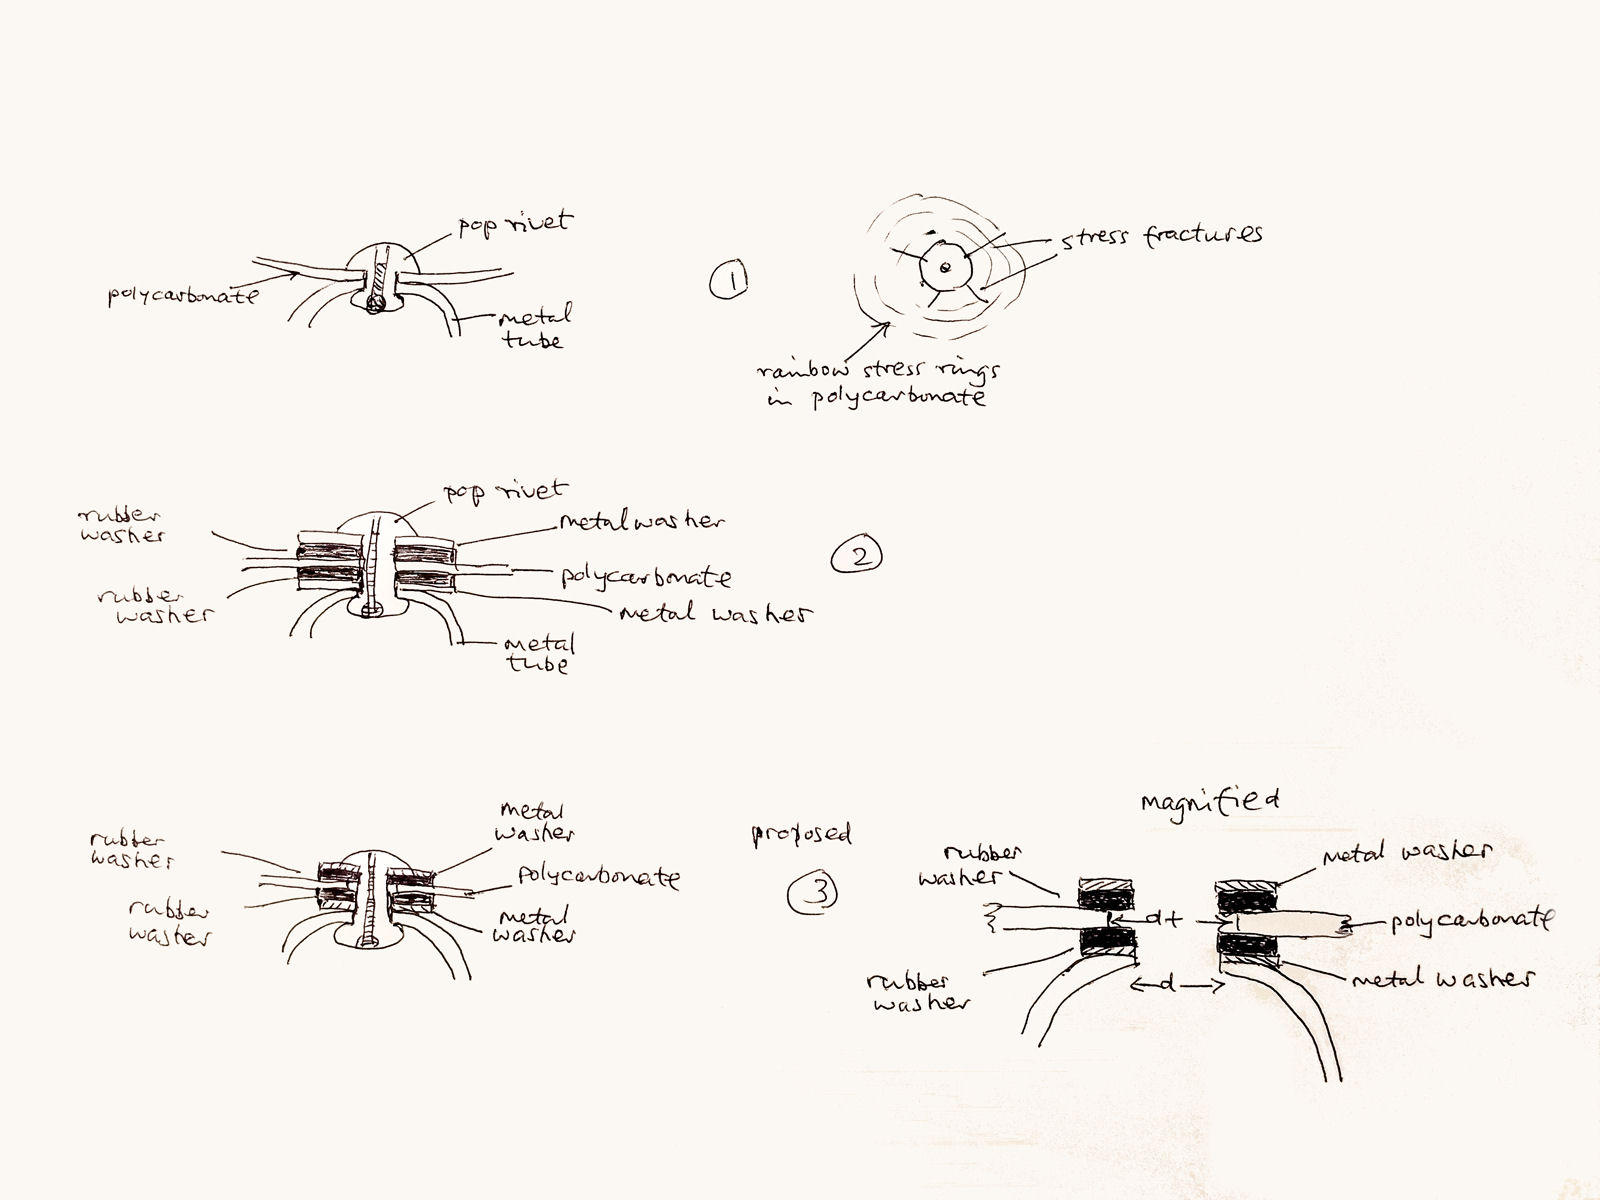
Before just blasting away and cutting the new screen for my Savannah I’ve been thinking about how to fit it in such a way as to avoid the same problems that have affected the present one. I’ll explain what I mean using the image below.

I fitted the present screen in the same way as the damaged one that I removed had been, as shown in (1) in the image, which was by pop-riveting the polycarbonate directly to the two vertical tubes behind it inside the cabin. I could see that after I’d done it there were rainbow stress rings in the polycarbonate around the heads of the pop rivets but thought that these wouldn’t matter. In fact they did and over time stress fractures began spreading out into the polycarbonate from around the rivet heads. I stop-drilled them but this didn’t stop new ones forming and the result also looked very unsightly.

After stop-drilling the stress fractures I also modified the manner of fixing as shown in (2) in the image. This consisted of adding thick(ish) rubber washers either side of the polycarbonate supported by metal washers of the same diameter. However, it was too late and new stress fractures continued to form. I think that a contributory factor was that the holes in the polycarbonate and the washers, both metal and rubber through which the pop rivets passed were of the same diameters as the pop rivets and the holes attaching them in the fuselage tubes which I think meant that although the polycarbonate was cushioned, there was still interference as a result of vibration between the polycarbonate and the sides of the pop rivets.

What I’m therefore thinking of doing is shown in (3) in the image which is to retain the same cushioning principle but drill the holes in the polycarbonate with a greater diameter (what I’ve labelled as d+ in the image) than the holes in the washers and the pop rivets (that I’ve labelled as d). This I think will secure the polycarbonate sufficiently by compressing the rubber washers either side of it but will still allow it to vibrate without impacting with the pop rivets, thus preventing future damage. That’s the principle anyway and I’d be grateful to hear what anyone with any experience of this problem thinks before going ahead. Trouble is though, that this will be very soon.

I might add that if/when the new screen suffers the same fate as the present one, after 10 years or hopefully longer with the revised fixing method, at least it won’t be my problem. 😕

null

Savannah screen replacement

I wasn’t looking forward to it having done the job once before, back in September 2016 when the original screen was destroyed by spilt fuel after a rubber tube popped off a cheap Chinese electric pump that I was using to fill the Savannah’s tanks. My fear was that having drilled out all of the pop rivets holding the screen in once, doing it yet again would result in enlargement of the pop rivet retaining holes or even other kinds of damage and although I wasn’t totally happy with how things worked out, luckily nothing serious happened and any ‘problems’ won’t be visible anyway.

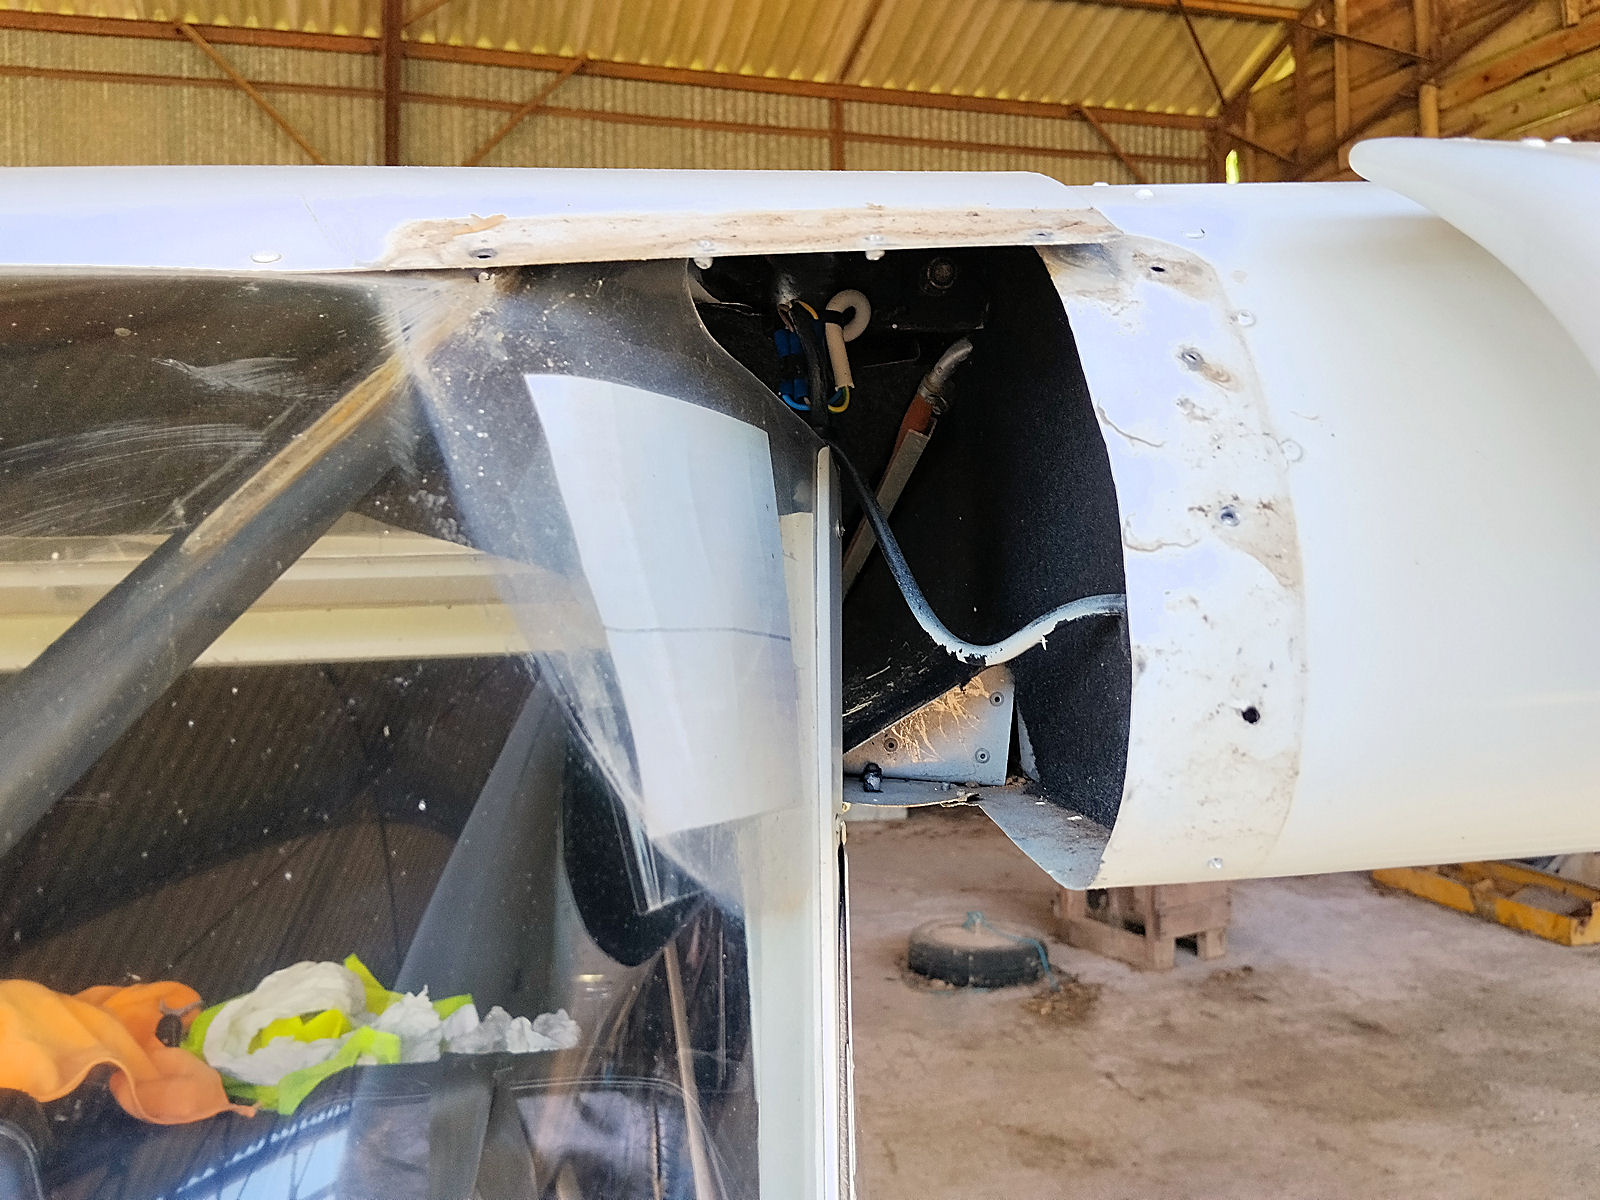
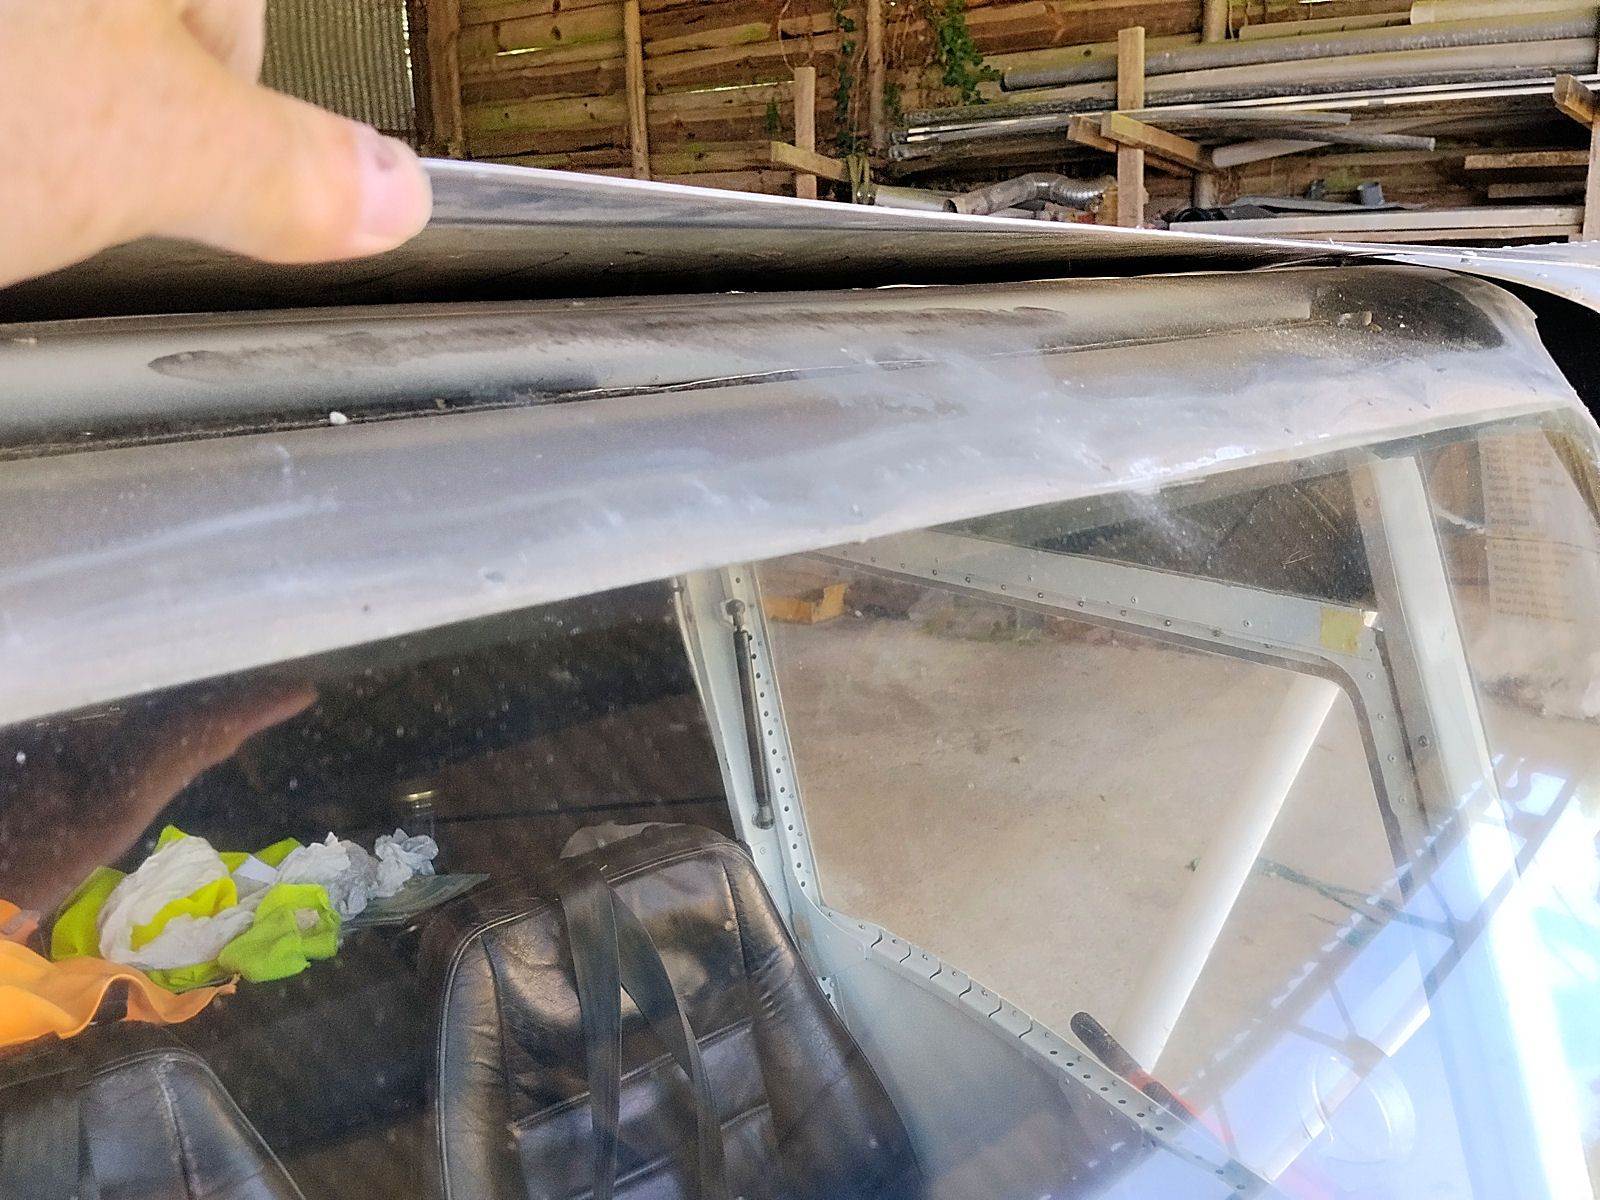
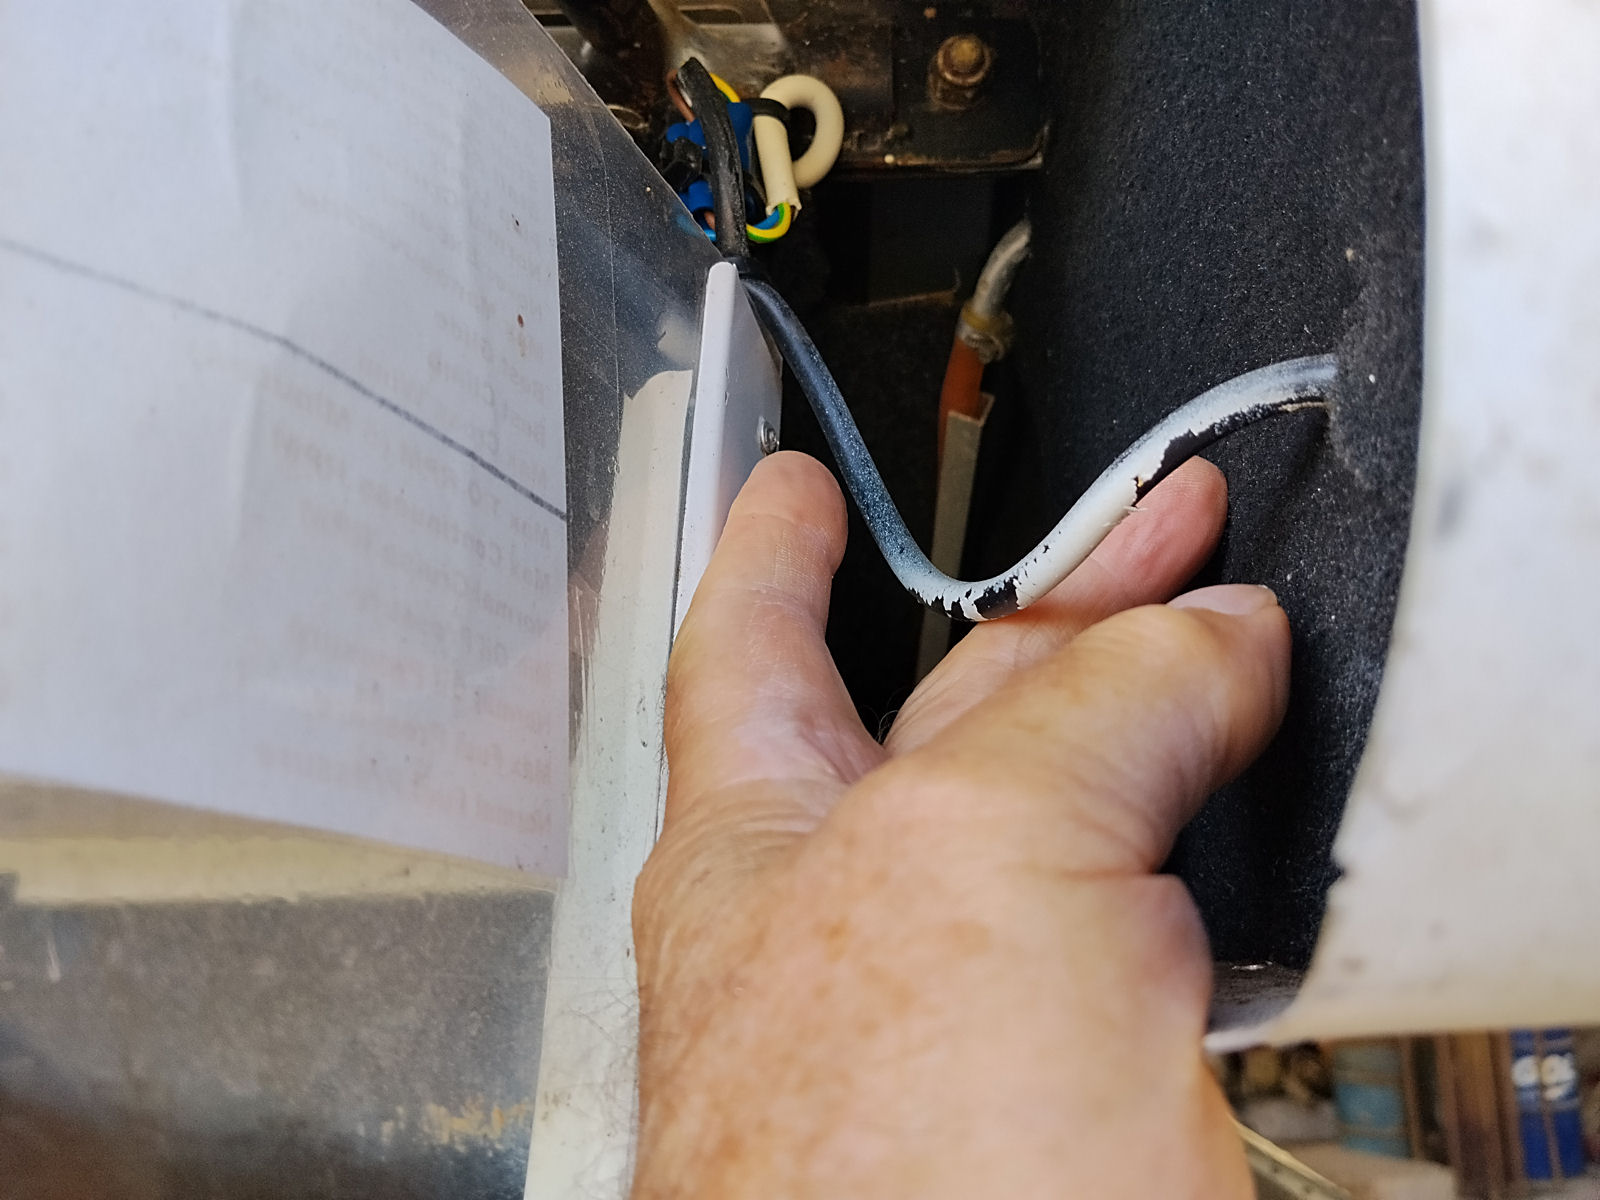
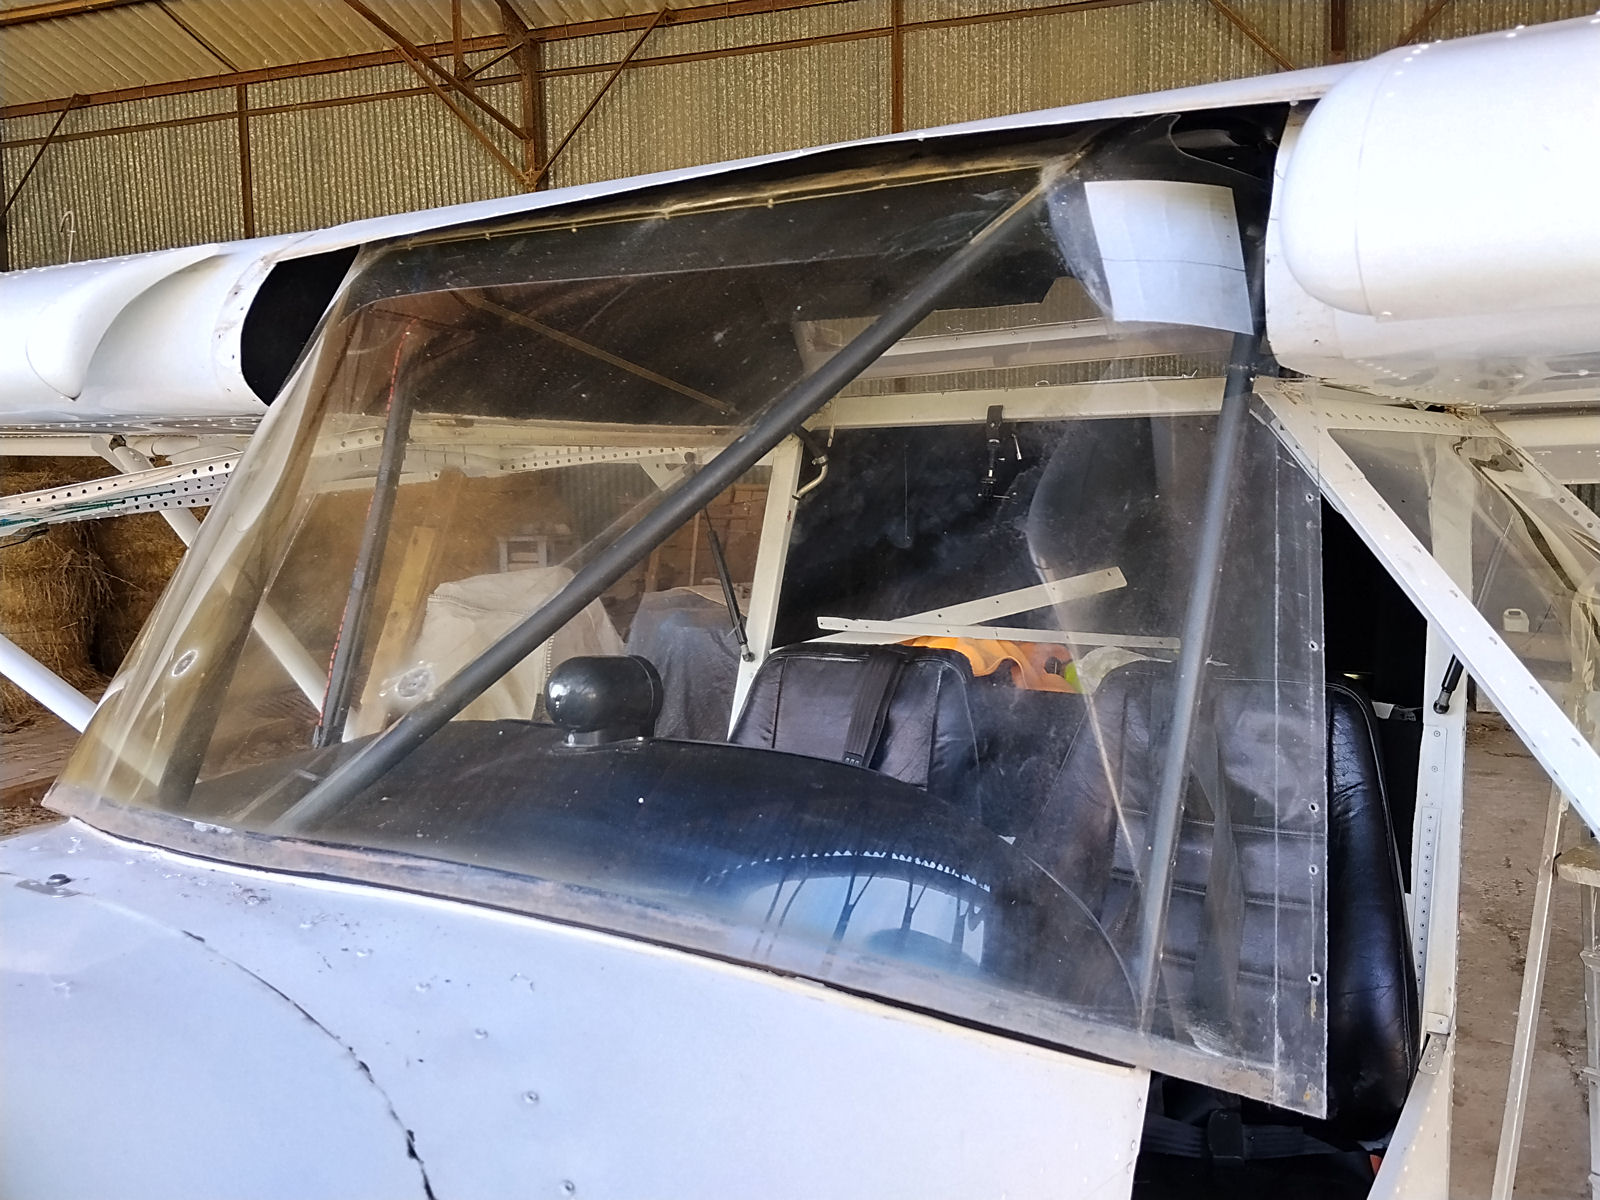
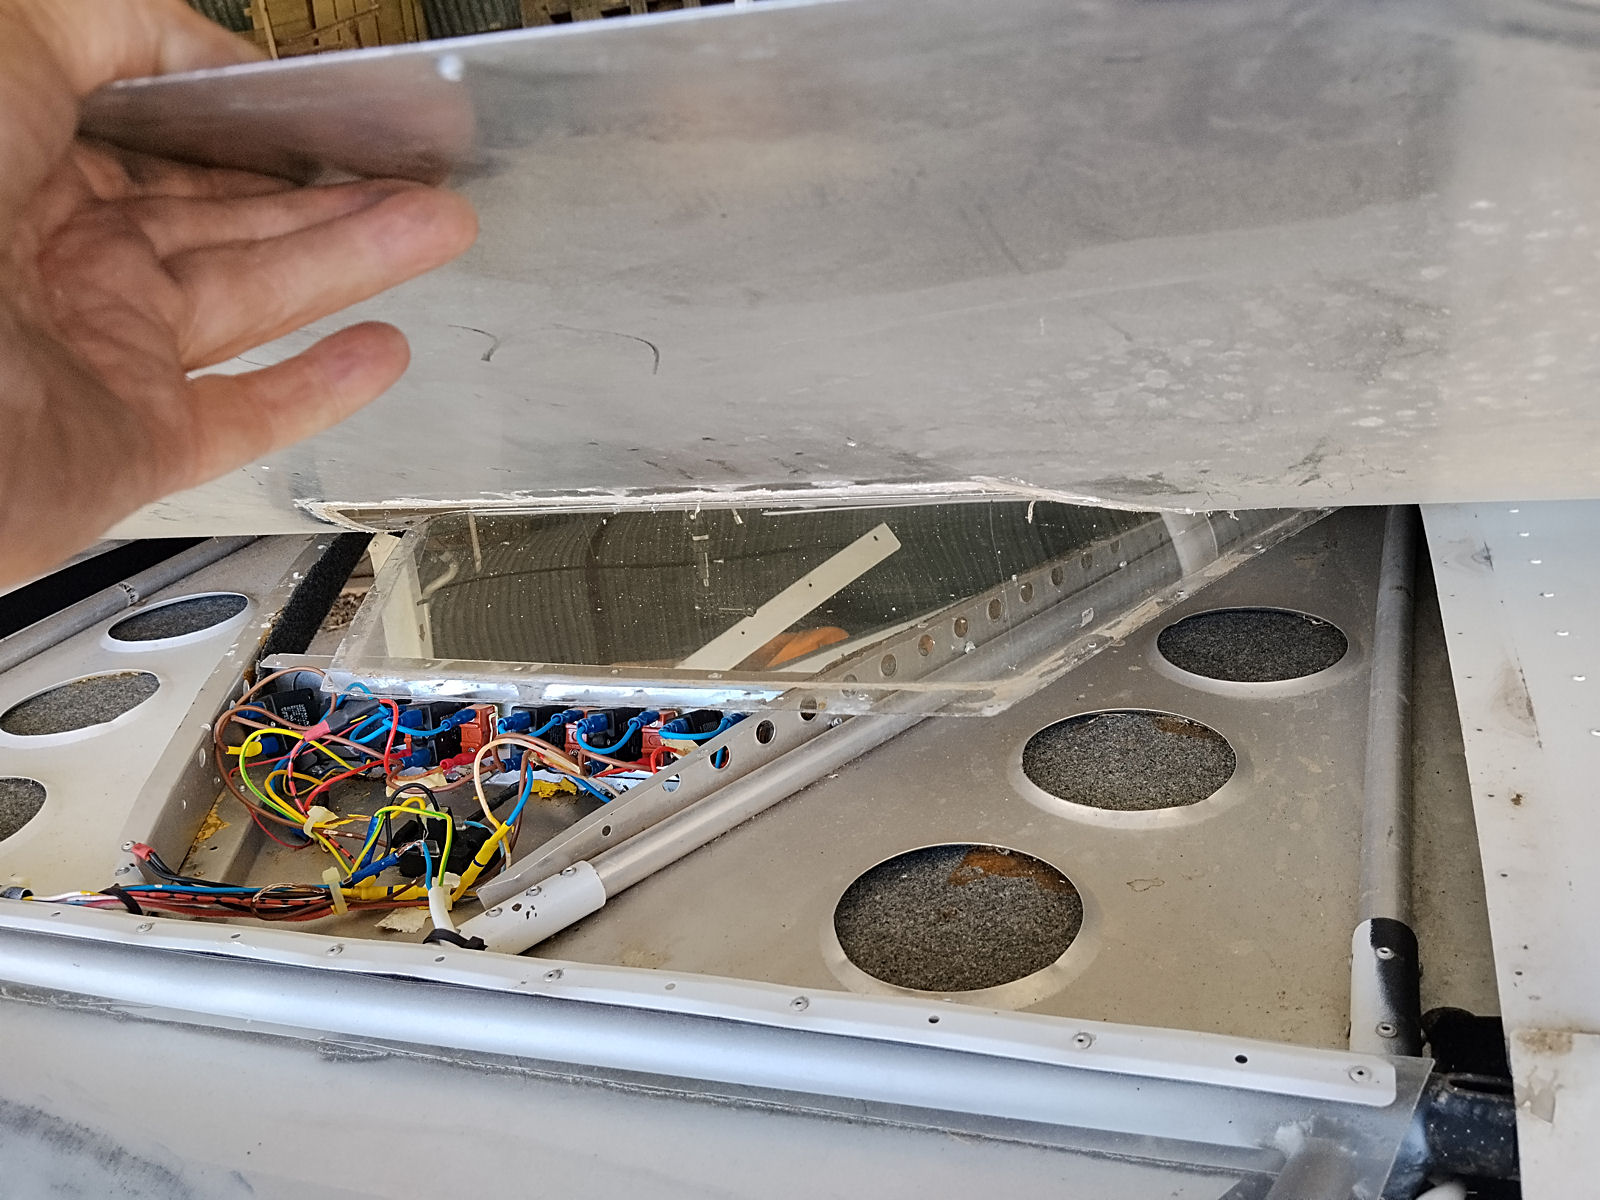
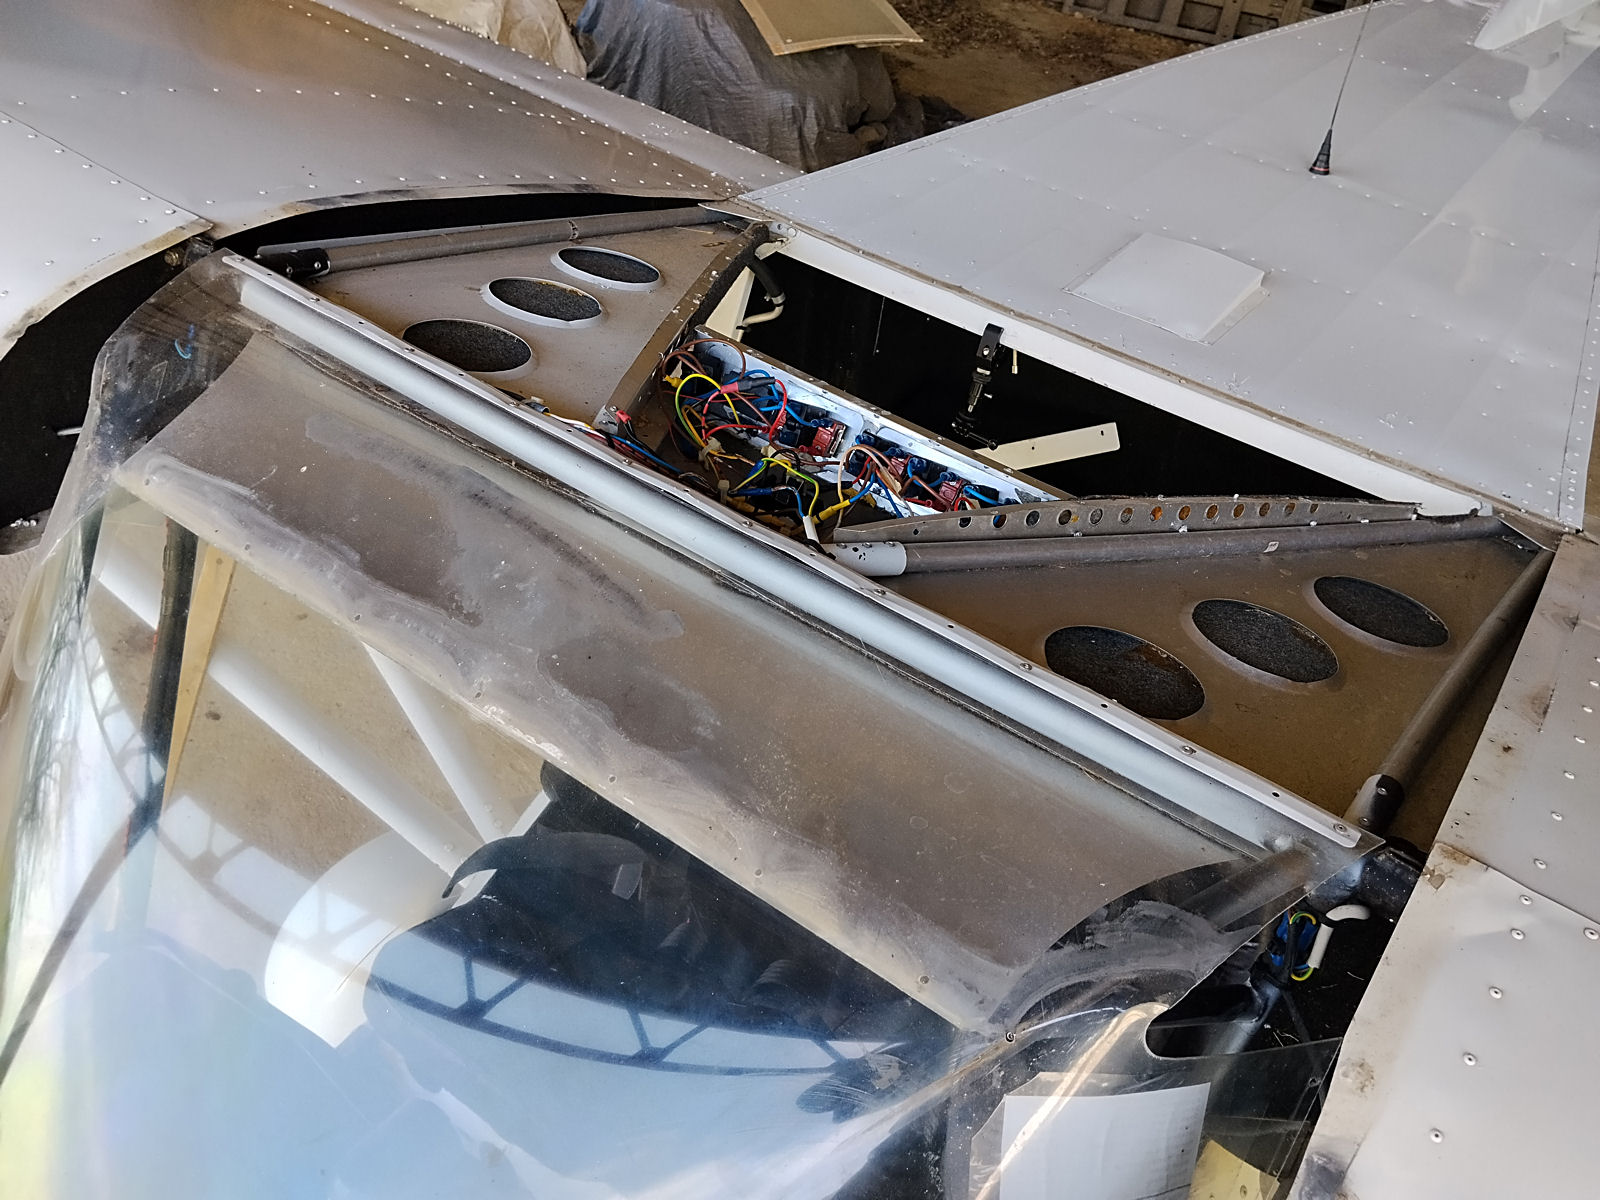
I started off as before by removing the side fairings between the fronts of the wing roots and the fuselage and this then exposed all of the pop rivets securing the screen side strips which are in two parts, outside and inside the cabin doors. I couldn’t remember how I’d done it before and had hoped that when I’d drilled out all of the rivets across the top of the screen I’d get away without having to remove the roof panel. However, looking beneath it it soon became clear that the screen extended some way underneath it and the whole roof panel would have to be removed to get at the rivets further back.

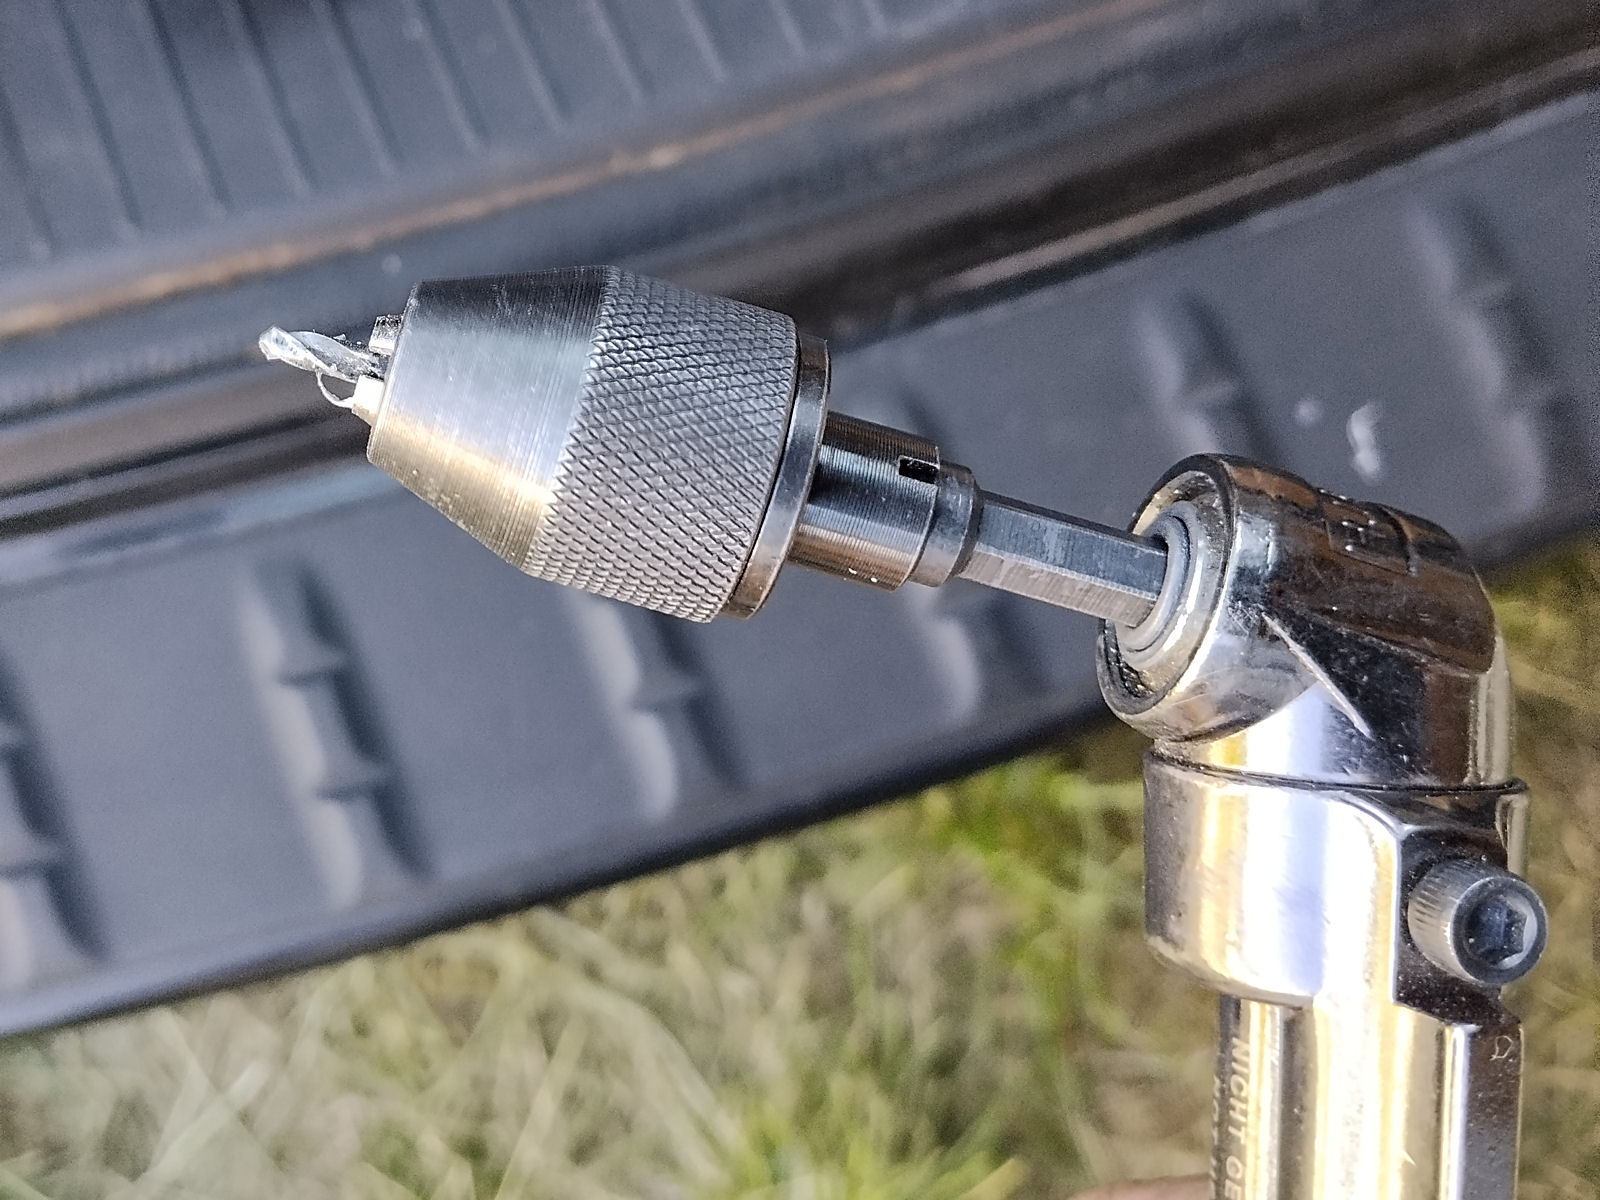
I’d remembered that I’d previously used an angled drill chuck to get at some rivets in the gap between the wing roots and the fuselage and sure enough I had to do so again. I’d bought an angled drill chuck from China for this purpose and searched for the shortest one that I could find. However, the Chinese supplier had totally lied about its dimensions and it was far longer than they’d stated, but luckily my friend Victor got me out of trouble yet again by loaning me what might have been the same tool as previously and cutting down a 3mm drill to the minimum length possible so it would fit into the space.

Eventually I got all of the side pop rivets drilled out but not without drama. The pins of several of them had broken off inside the rivet heads rather than below them which means that you need to take a pointed tool to tap them back before drilling out the rivets. If you don’t the drill runs off as the rivet material is much softer than the pins. Unfortunately one such pin was one of those at the top in the narrow gap. It took a long time to get it out and the rivet hole was enlarged in the process but I think it will work out OK when I come to fit the new screen.

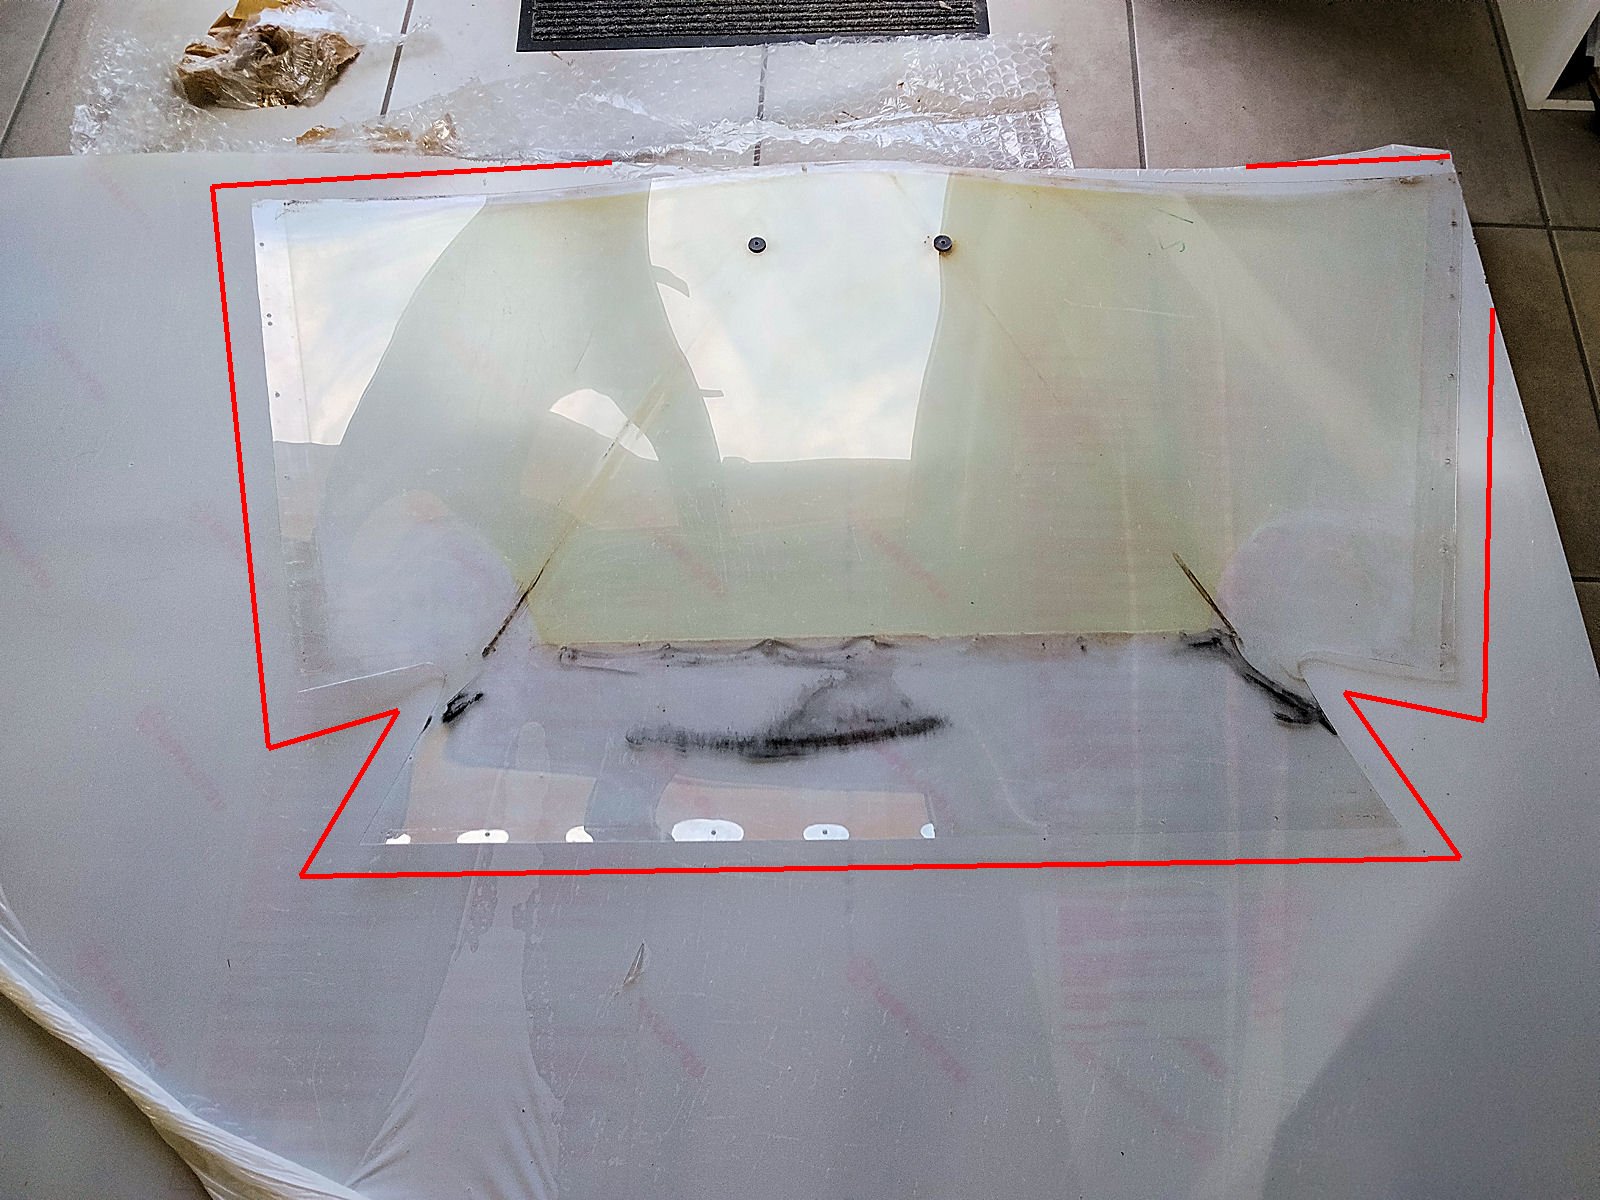
Eventually once I’d drilled out the rivets along the back of the roof panel and the sides of the top window within it I was able to get to all of the rest of the pop rivets holding the screen in place. Before I come to fit the new screen I’ll have to go all around as before and ensure that all of the pop rivet holes that I’ve drilled out are fully open and clear but before that I’ll need to use the old screen as a template as I did previously to cut out a replacement from a sheet of new polycarbonate.

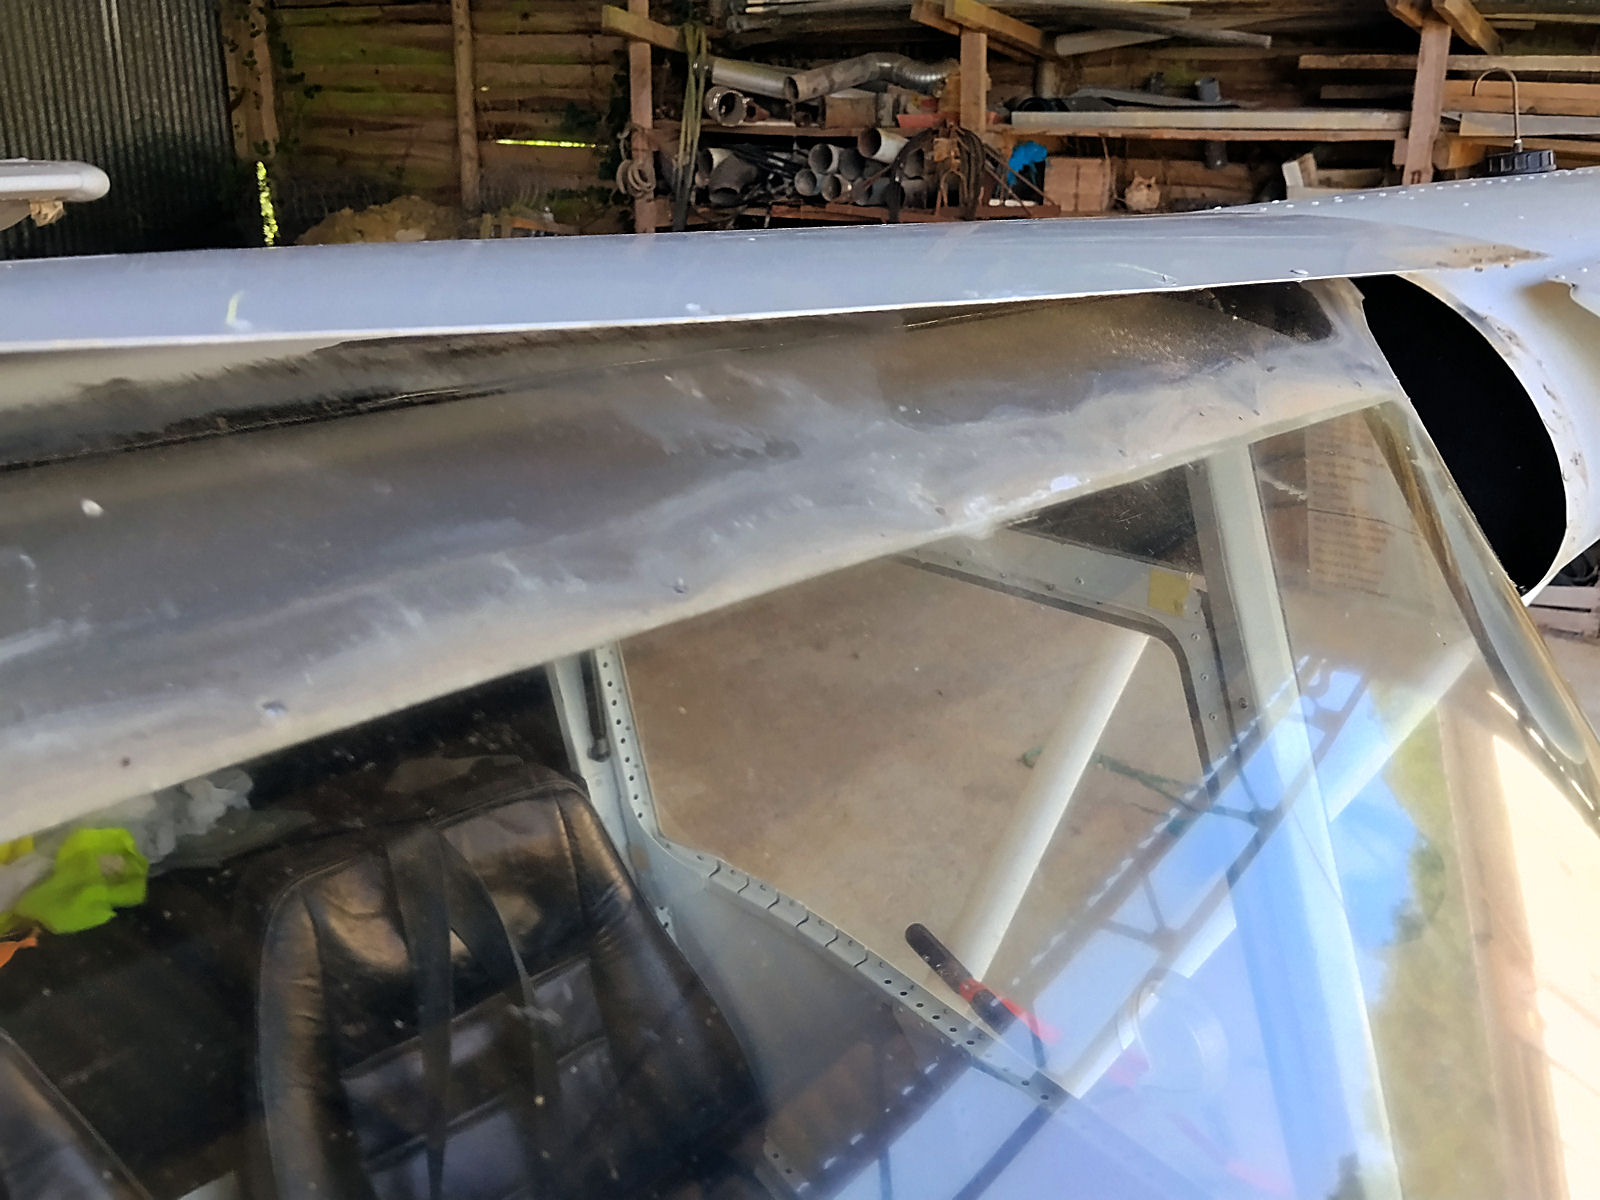
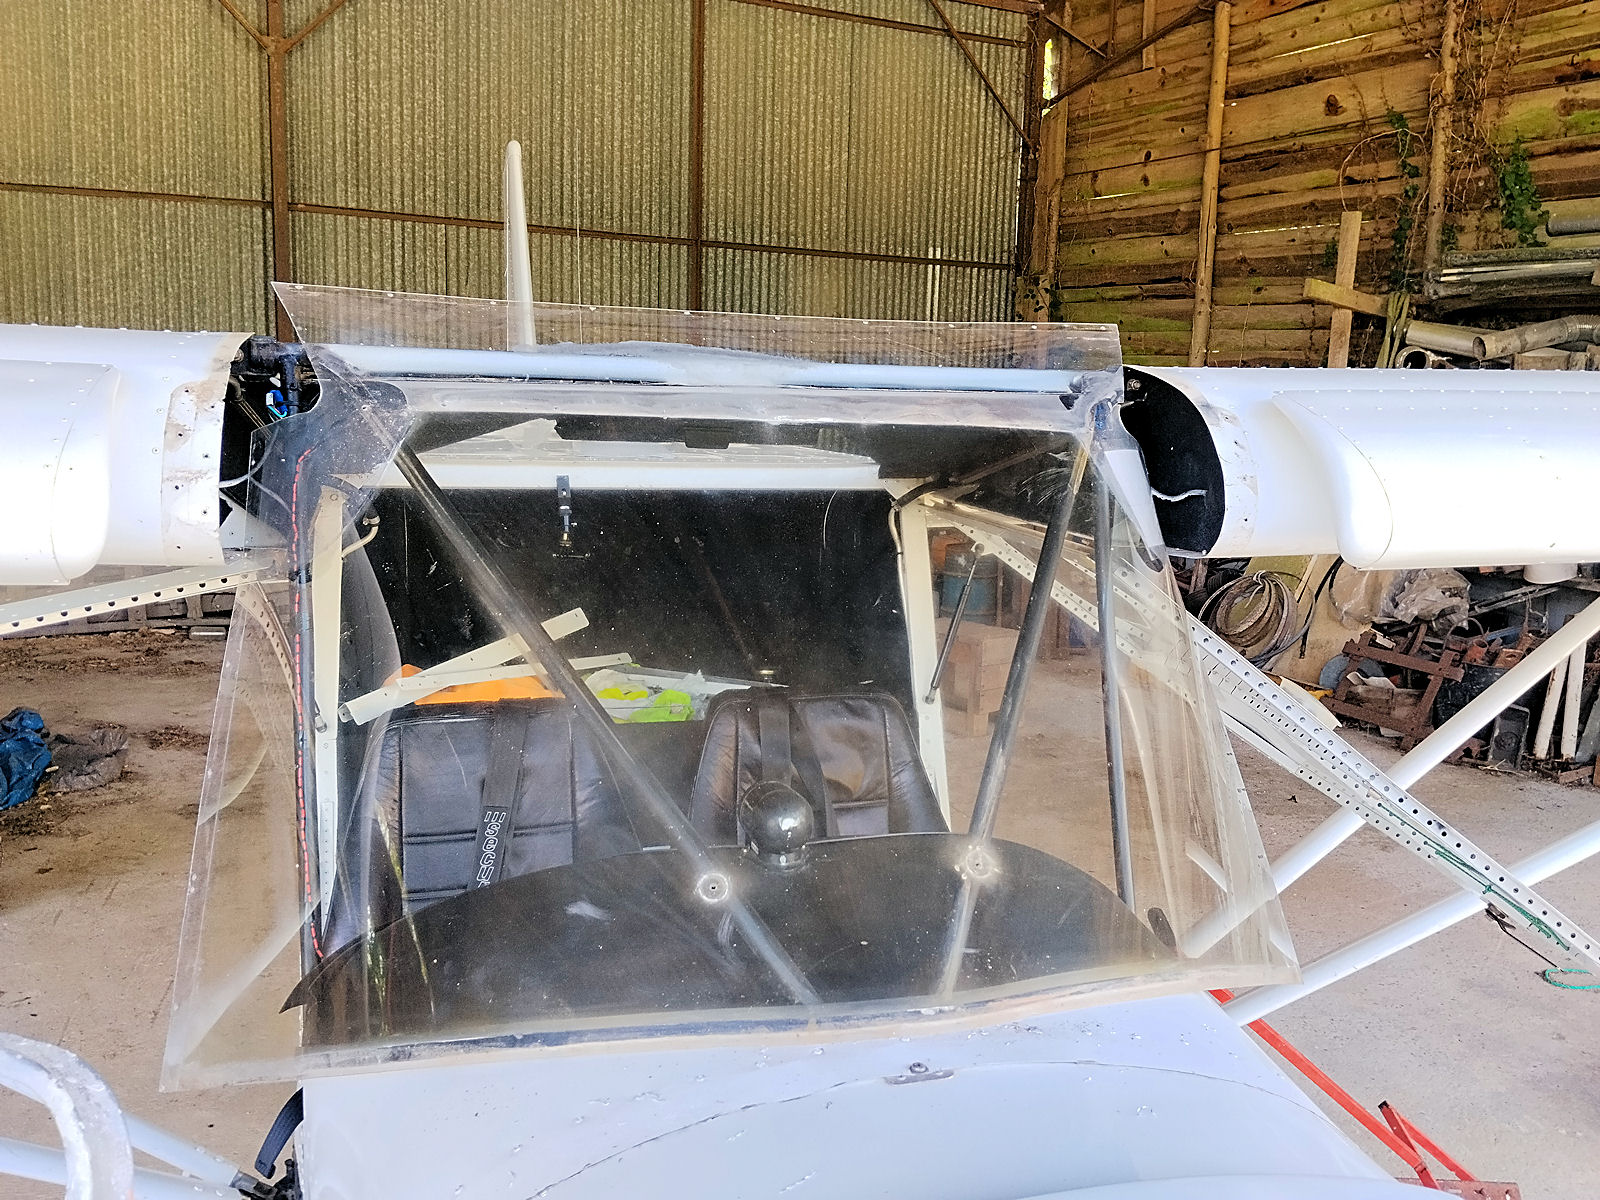
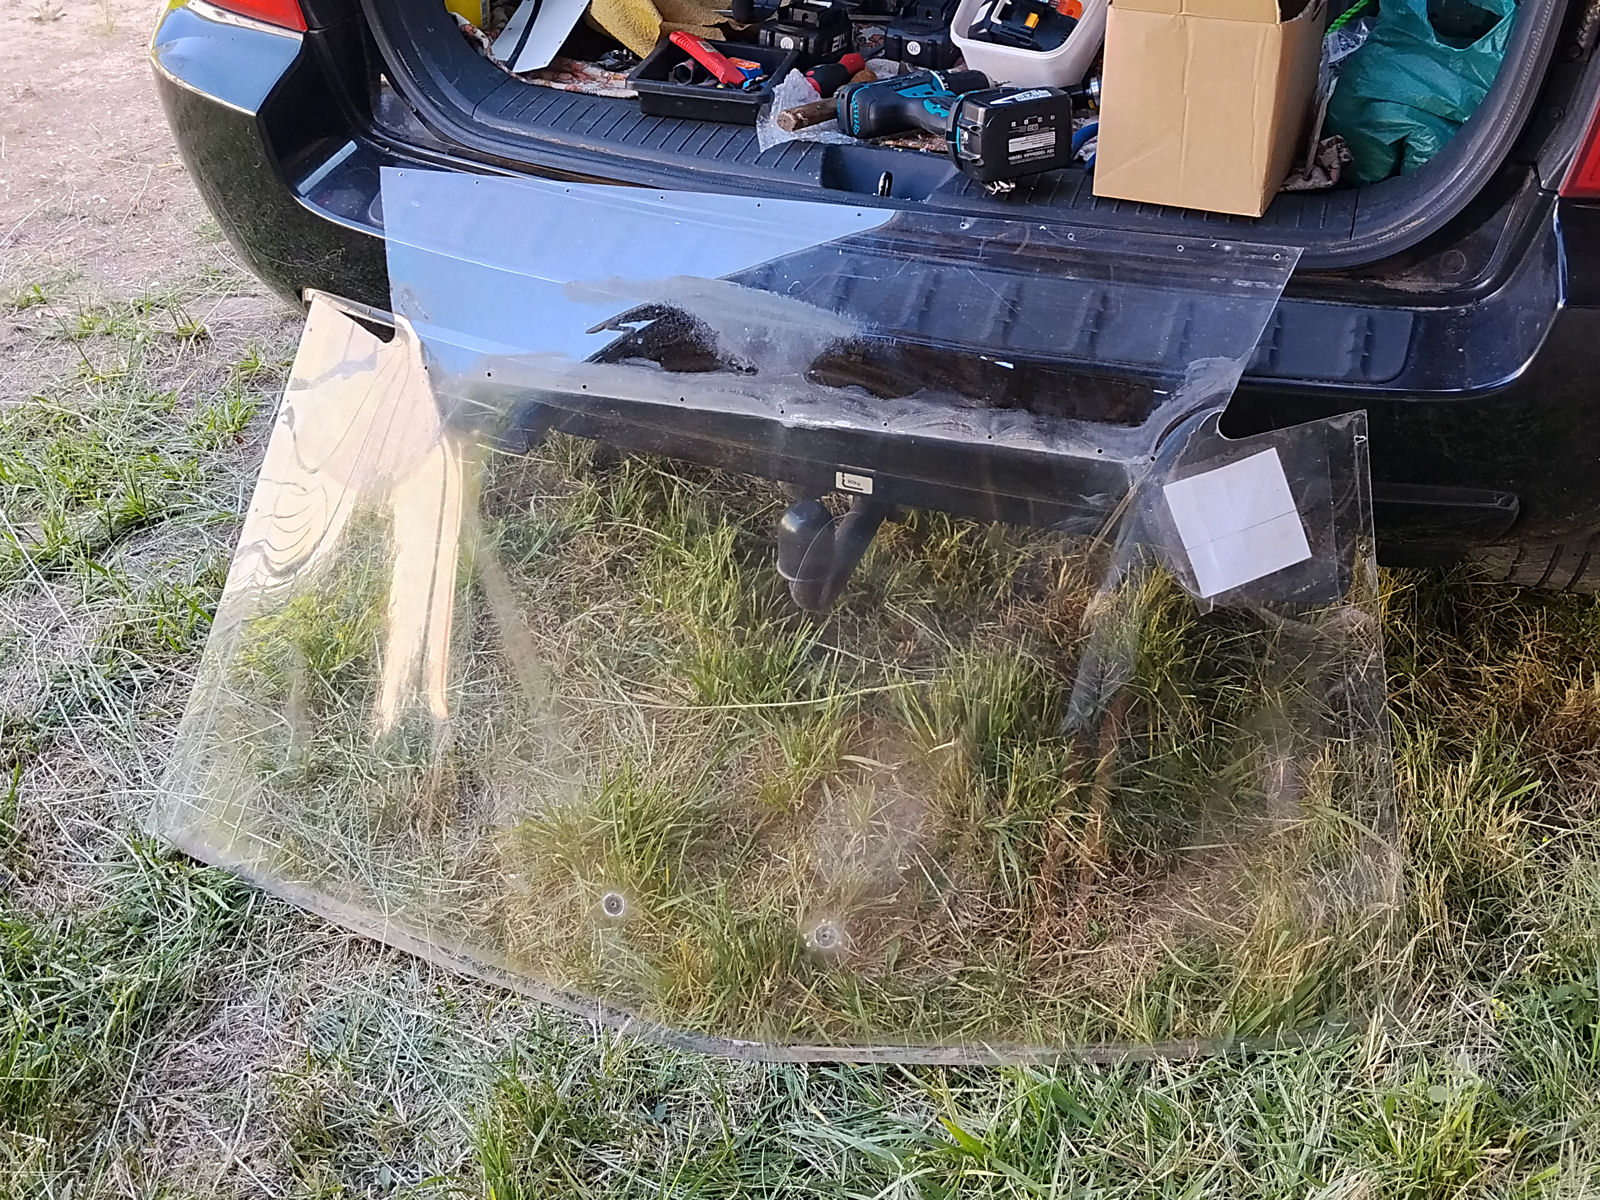
On inspection, the old screen that I made 10 years ago is now in pretty bad shape. It’s discoloured (brown tinge) and as well as having small cracks in its main surfaces on each side, it has bad crazing around the two rivet holes that secured it to the vertical front tubes and several cracks emanating from them. I’ve been thinking what to do about these in the new screen and to be honest, I’m wondering whether the securing rivets are necessary at all, or whether there might be a way to move the screen surface back closer to the tubes to reduce the stress in that area and/or to put rubber padding around the tubes themselves. But that’s for later after I’ve made the new screen. In the meantime I’ve temporarily replaced the roof panel and secured sheeting in the screen area to keep birds, insects and muck out of the cabin, all of which there’s plenty of at the moment.

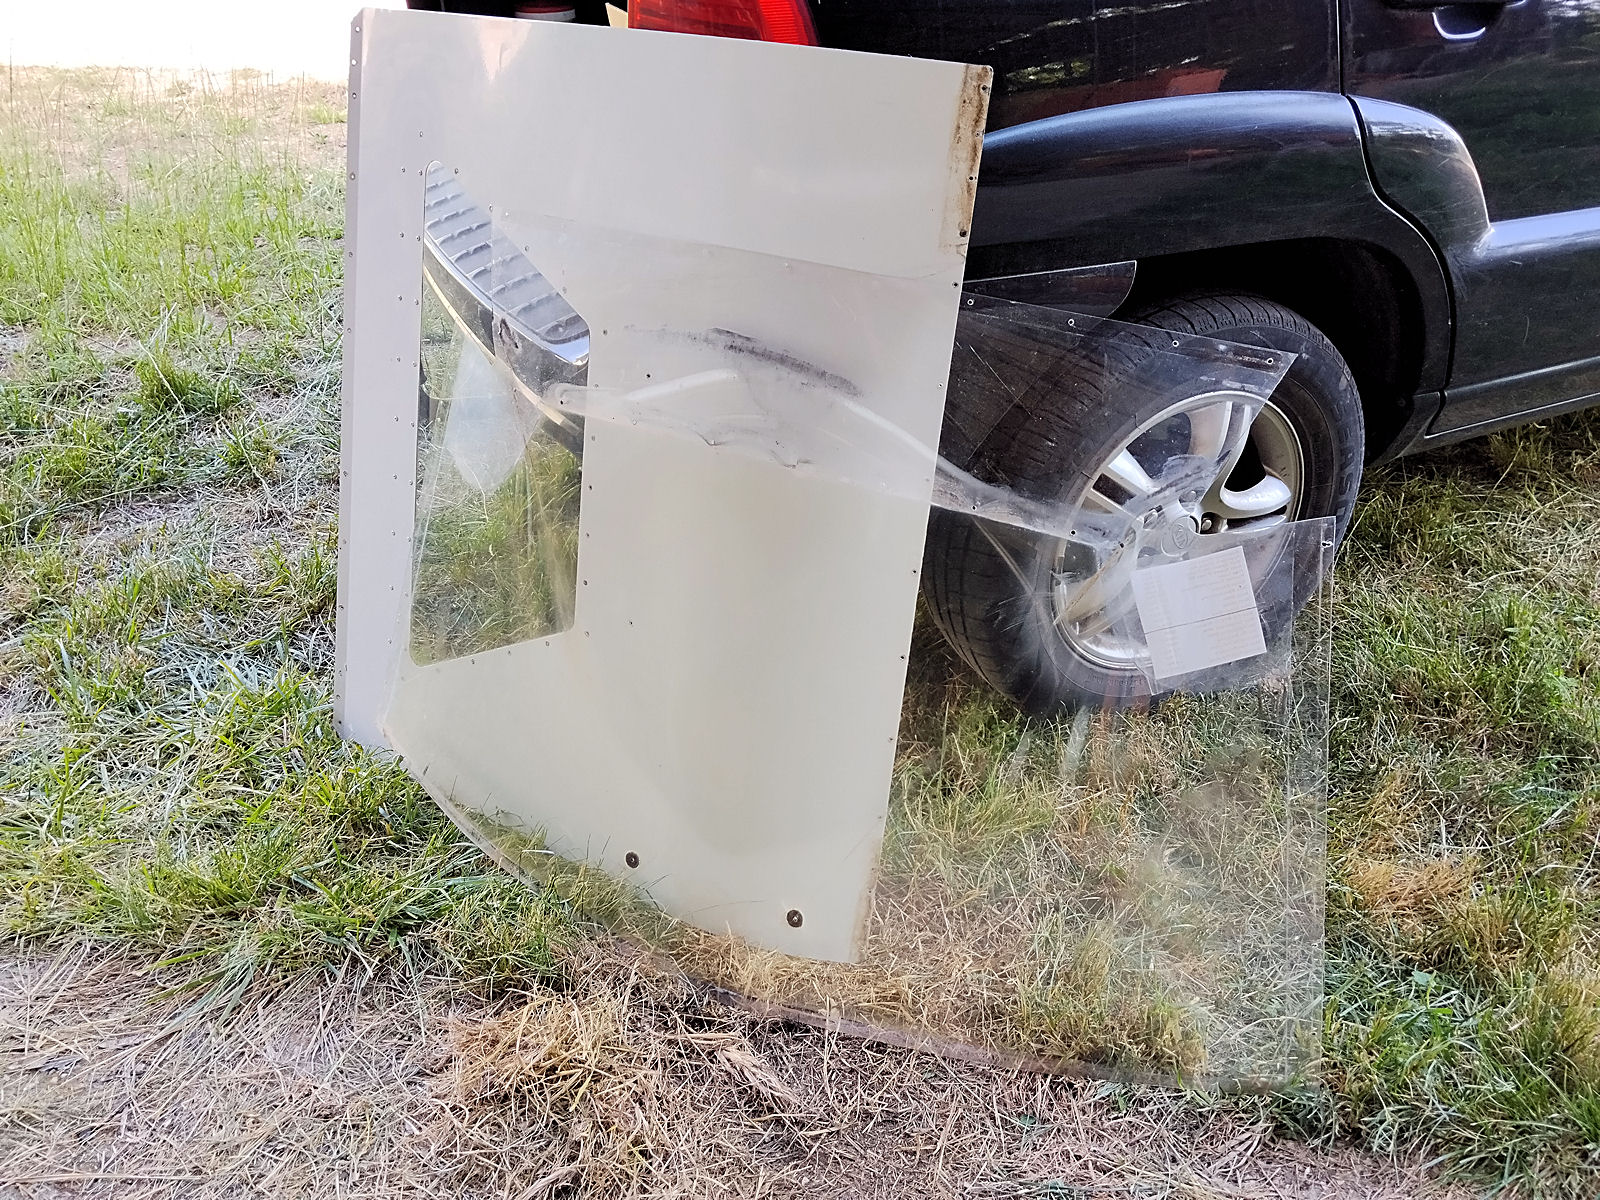
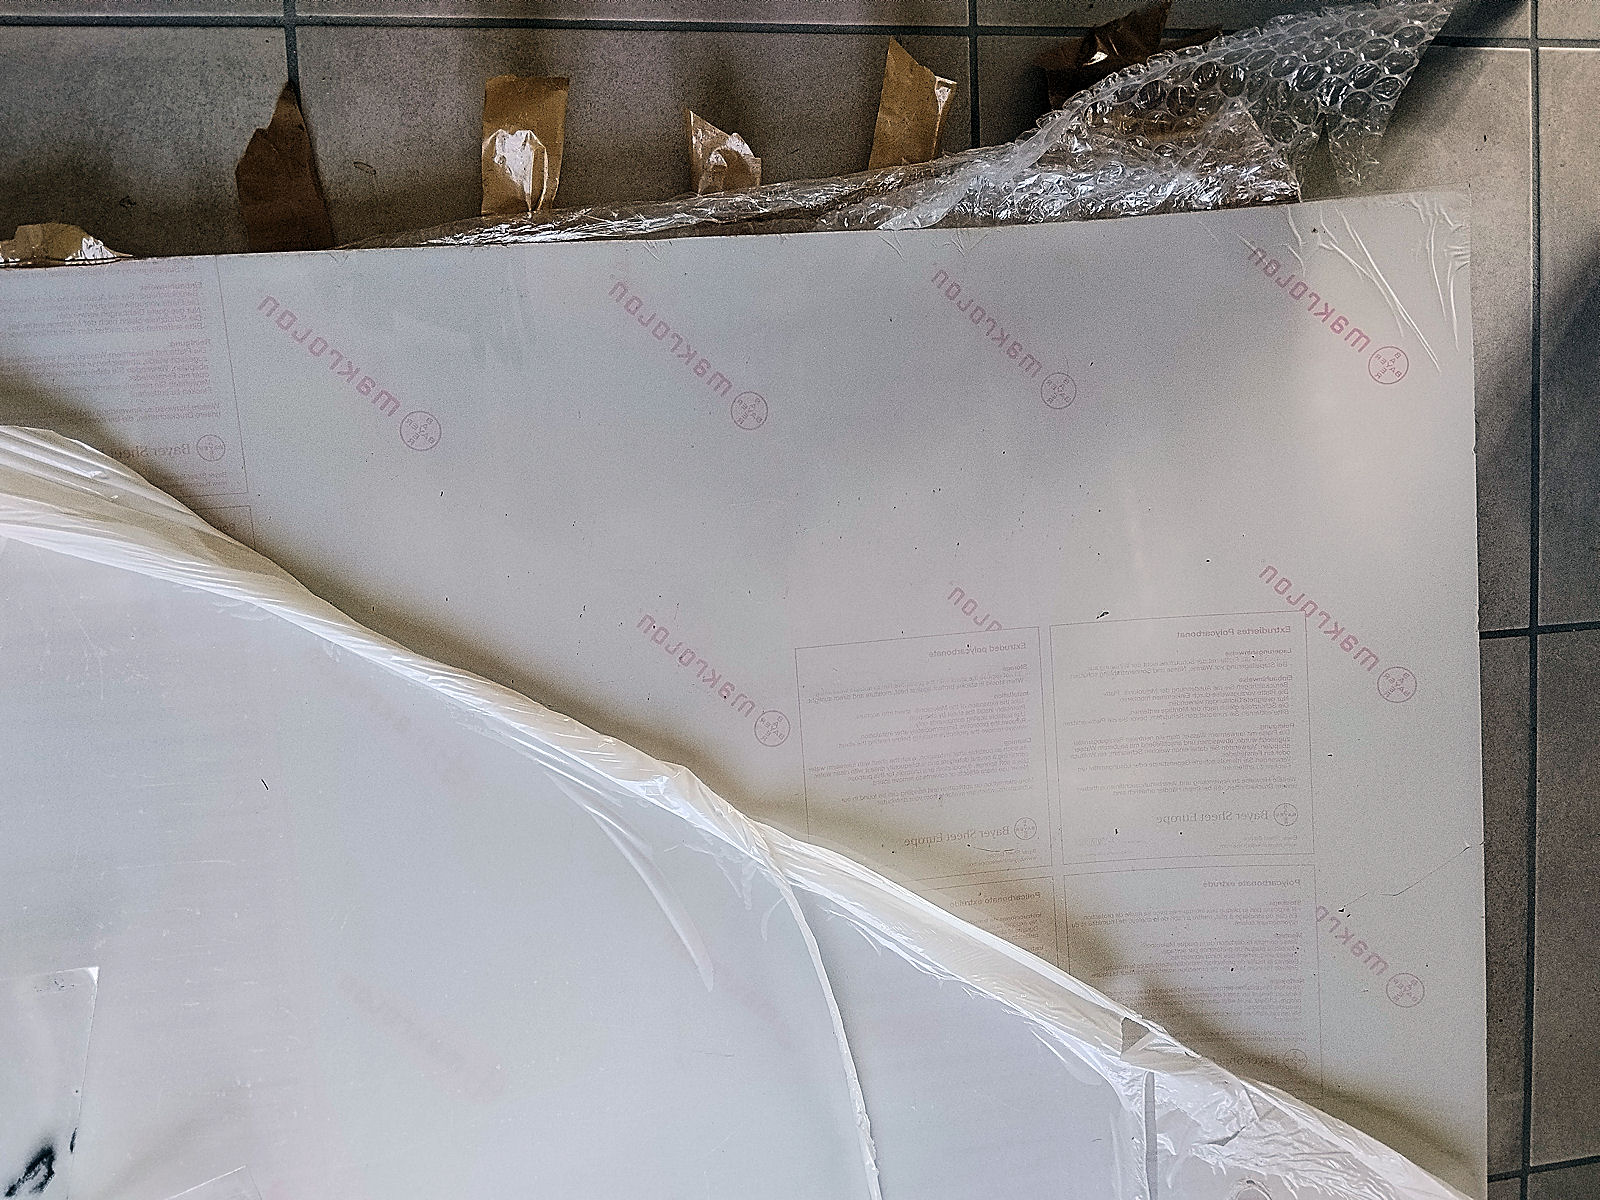
I previously mentioned that I already have a sheet of polycarbonate that I brought with me from the UK when I came to France and had forgotten about. It was supplied in the UK when I repaired MYRO, my old AX3 after its landing accident back in 2011. When the polycarbonate was delivered it had been scratched and the supplier told me to keep it and sent a replacement sheet. The Savannah’s screen is much smaller than the AX3’s and when I laid out the polycarbonate sheet (which had a 2011 delivery date on it) as the final images below show, there’s plenty of undamaged sheet from which to cut a new screen for the Savannah. And even a new top window I think. Now I’ve got to go ahead and cut the new screen.

null

null

null

null

null

null

null

null

null

null

null

null

null

null

null

null

null

null

null

null

At long last

I’m back on my Savannah. Today I gave it a good wash and put its battery on charge as it was down to 60% and turned the engine over but not fast enough to start it. Tomorrow I’ll run the engine for the first time in many weeks and then take its screen out as the small cracks that I found have increased a bit in length, presumably because of the intense heat that we’ve been having and also because it has become a bit more hazy.

I have a roll of polycarbonate that I brought with me from the UK when I moved to France all those (14!!) years ago. I bought it when I replaced my old AX3 MYRO’s screen way back before I left the UK for France. When it was delivered one corner that would have intruded into the finished screen had been scratched and the supplier told me to keep it and sent me a replacement roll.

I’d forgotten about it when I had to make screens for the French AX3, 28AAD, that I rebuilt and also the Savannah whose screen was damaged by spilt fuel 10 years ago but I think it should be OK for a new screen for the Savannah which I think is smaller than the AX3’s. Anyway, that’s the plan and if everything goes smoothly the new screen should be in by the week-end. If not…

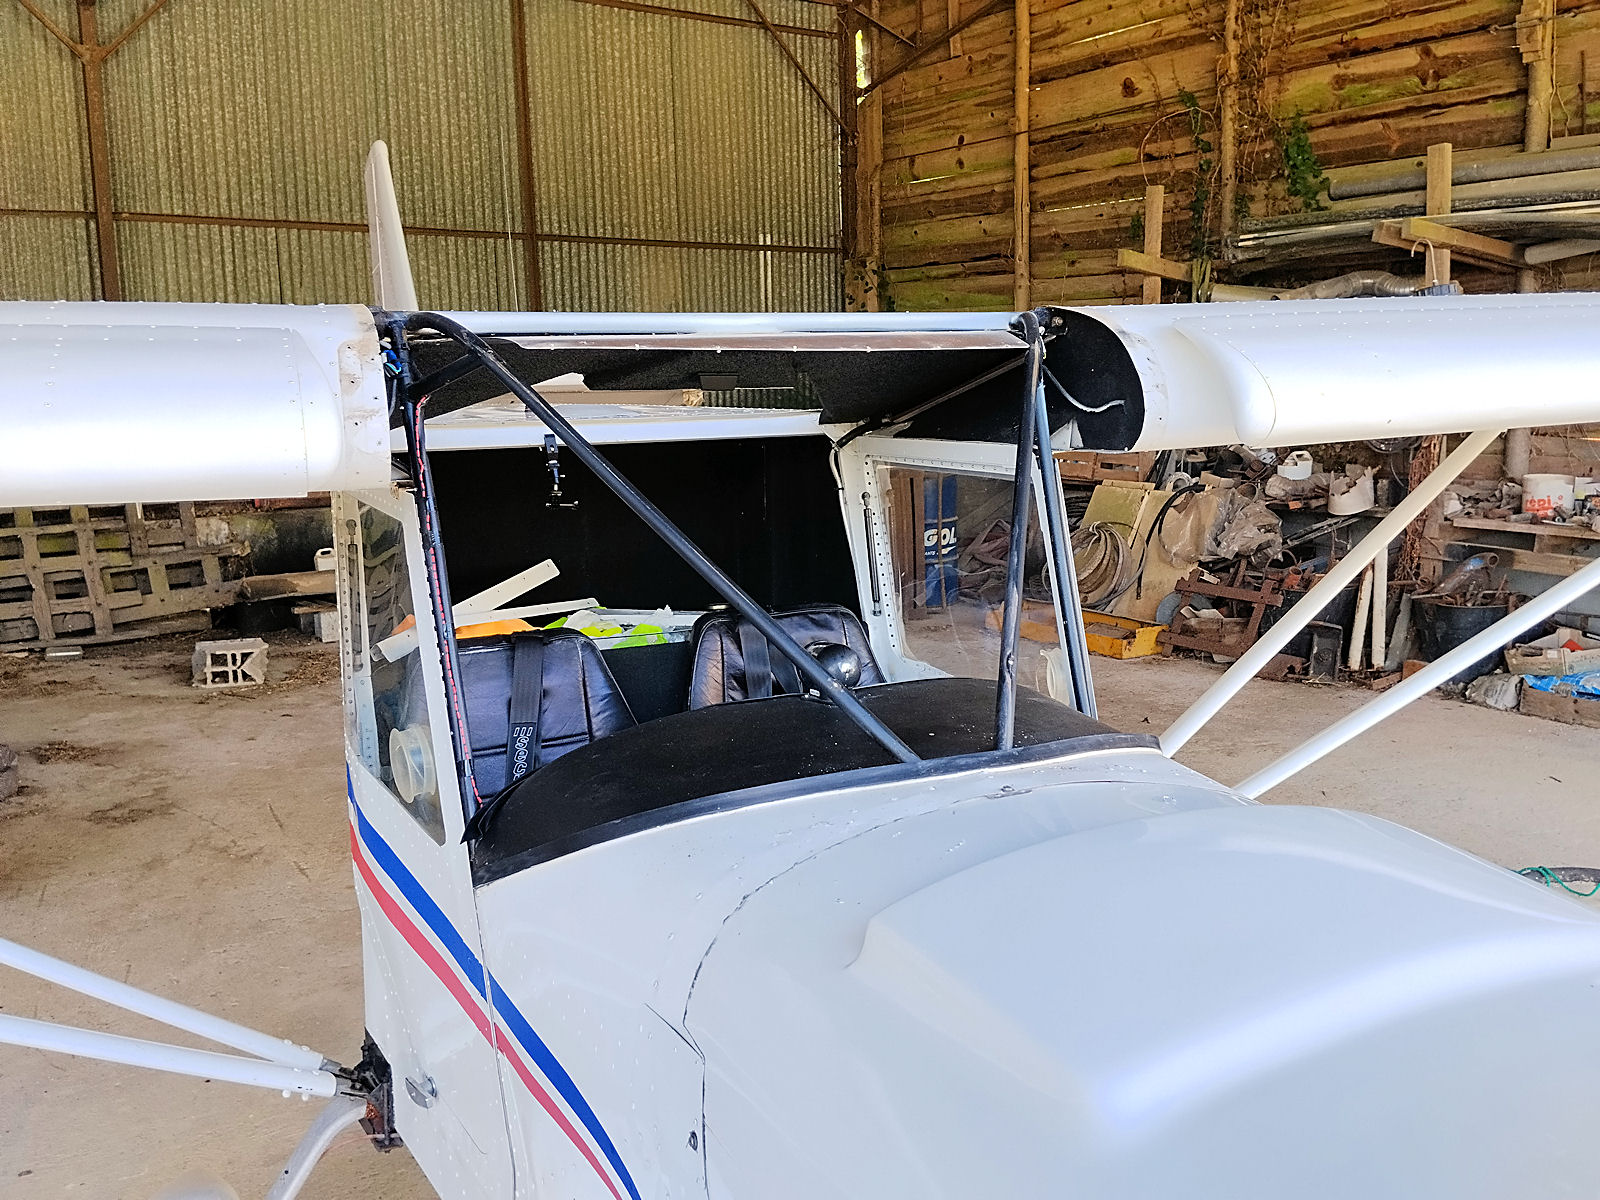
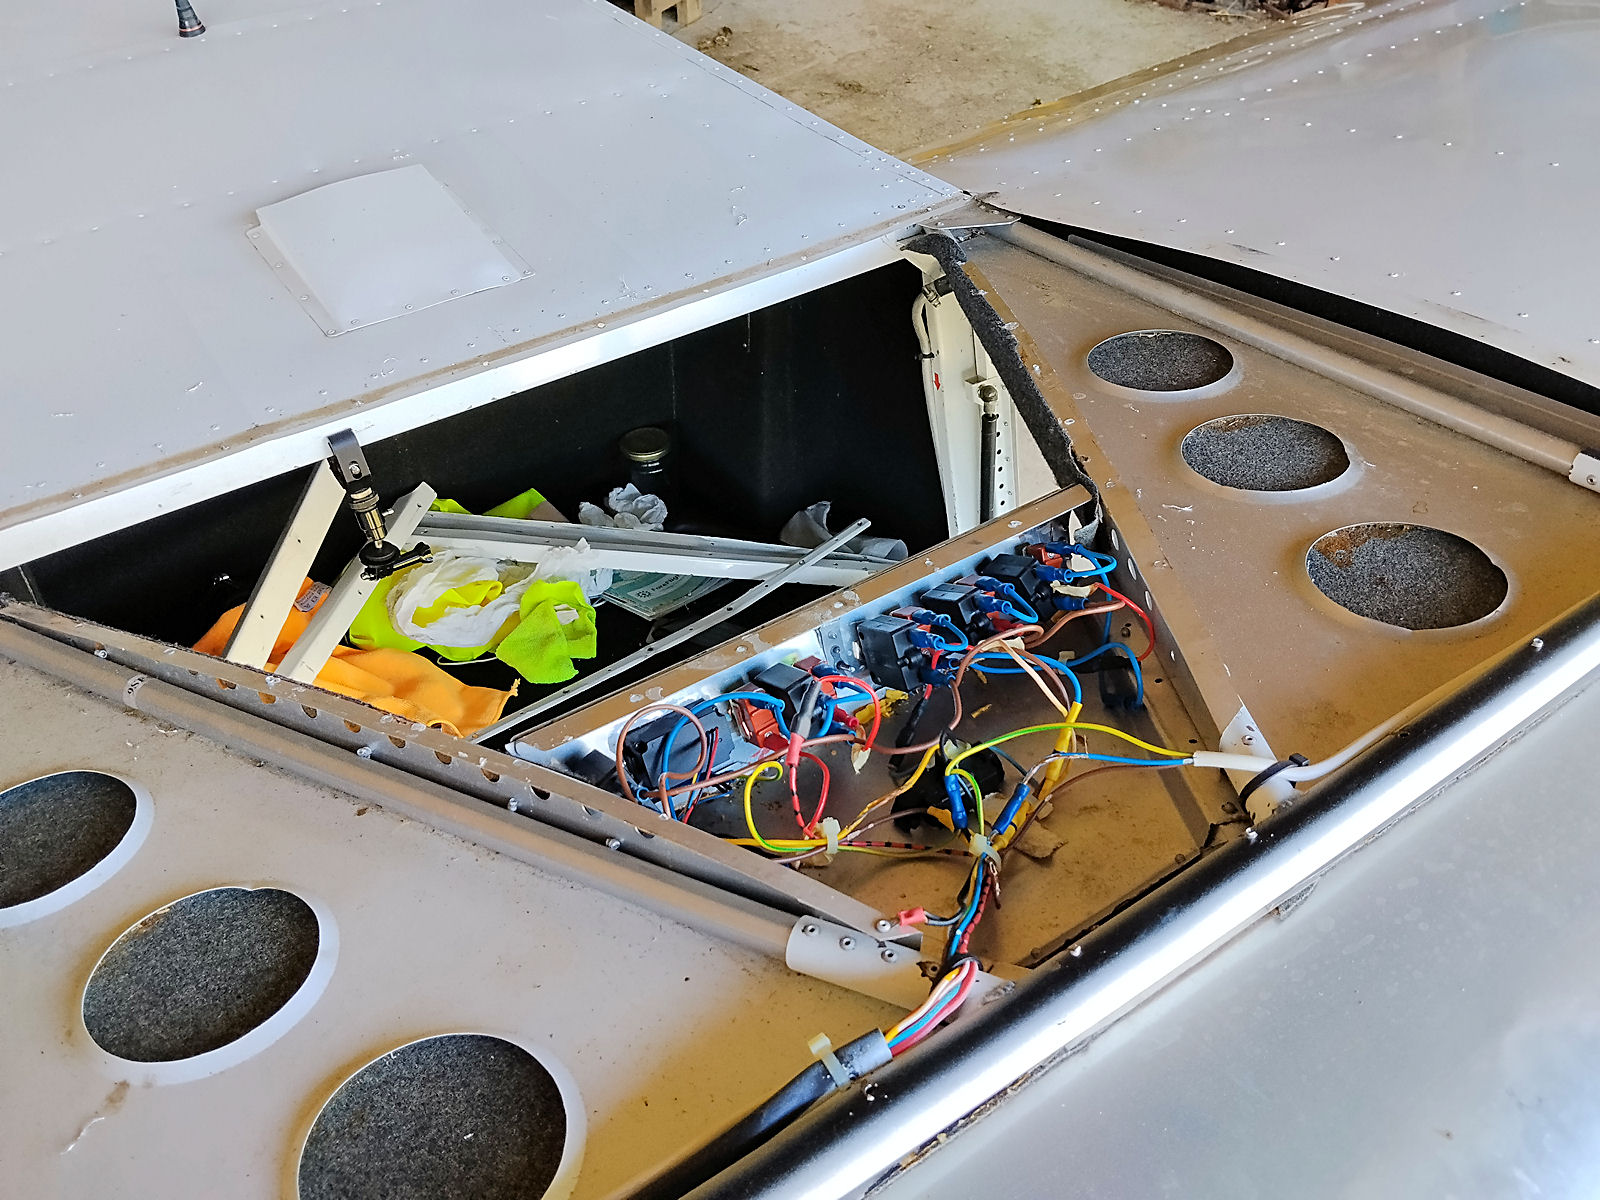
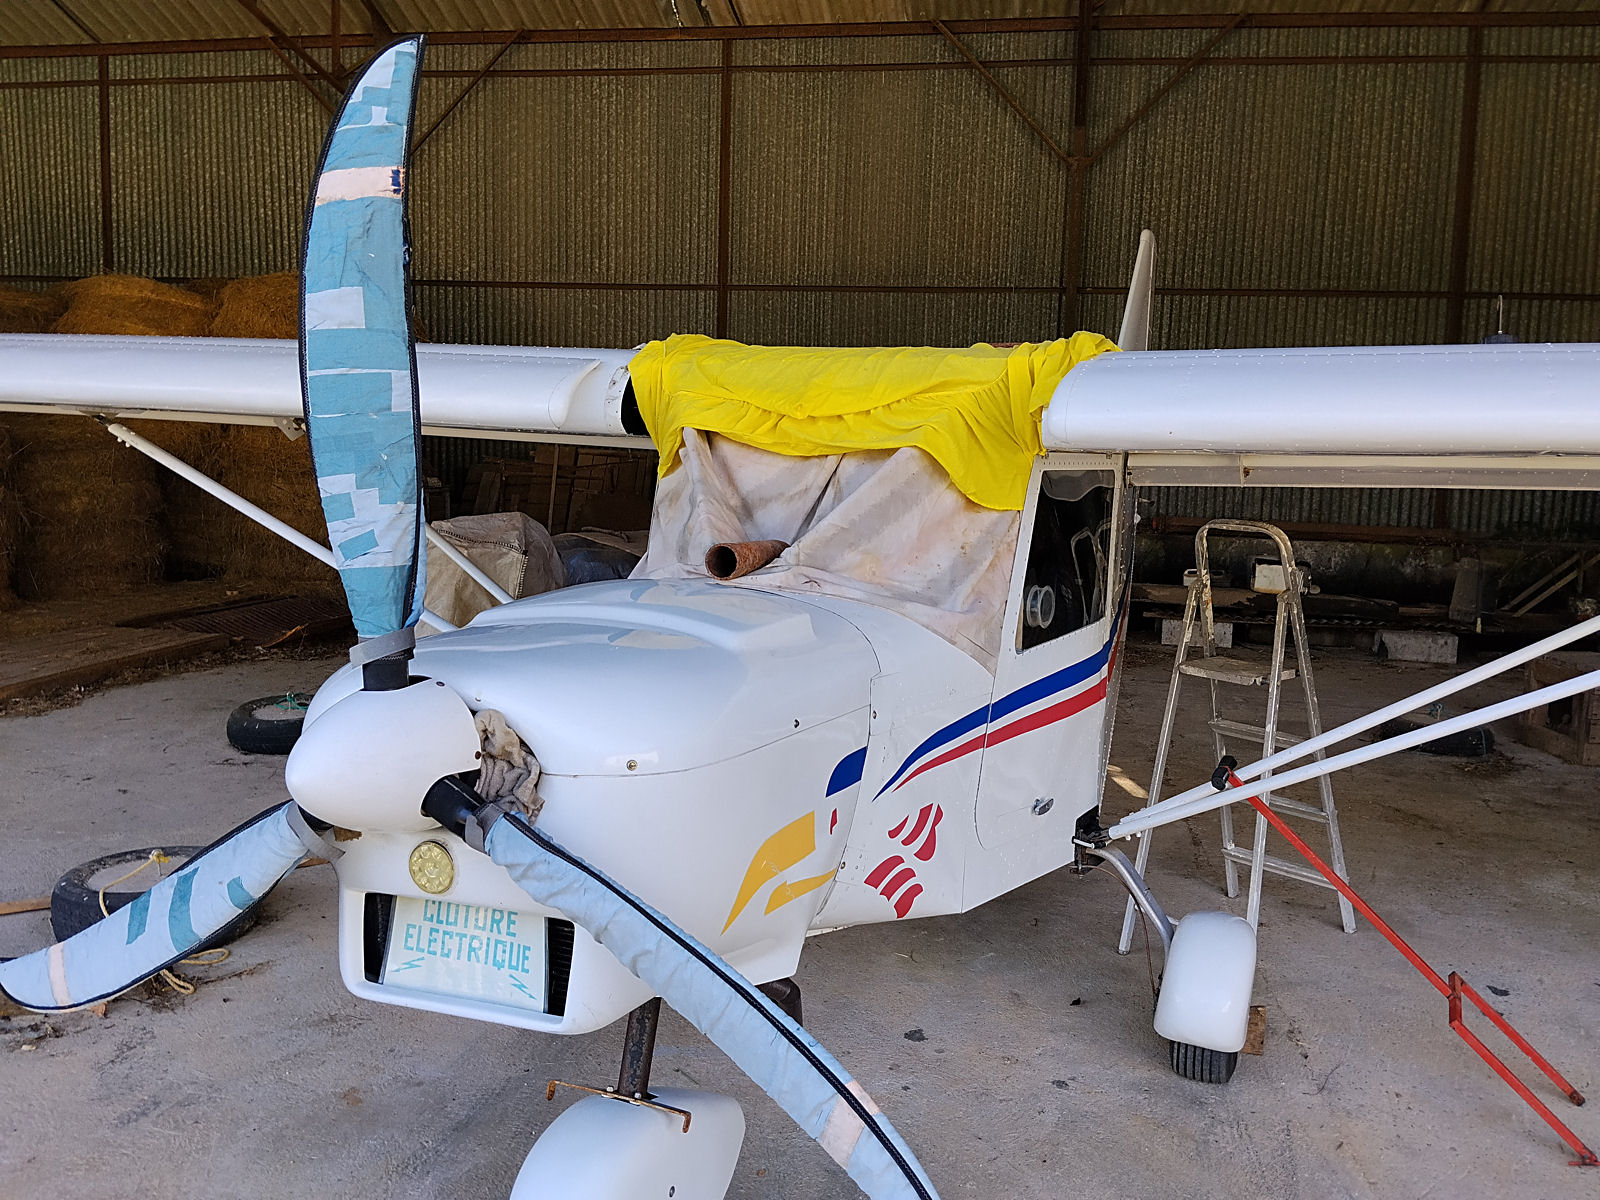
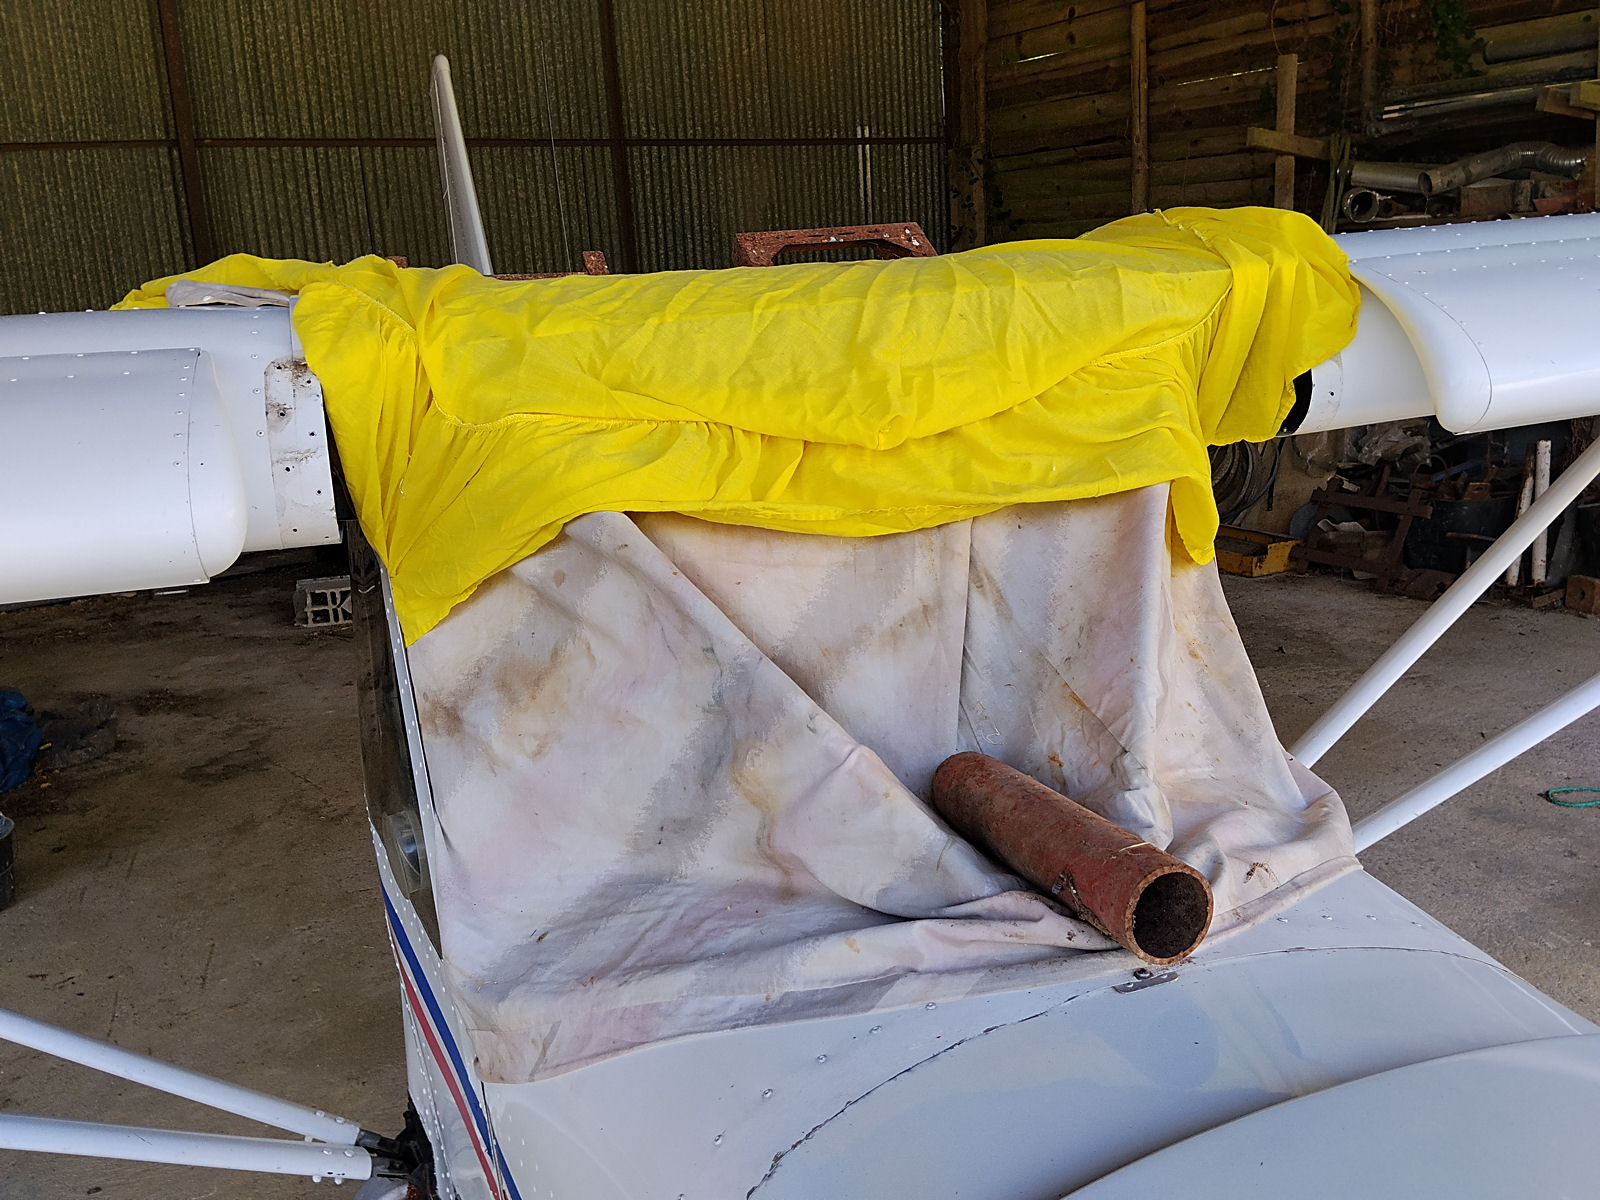
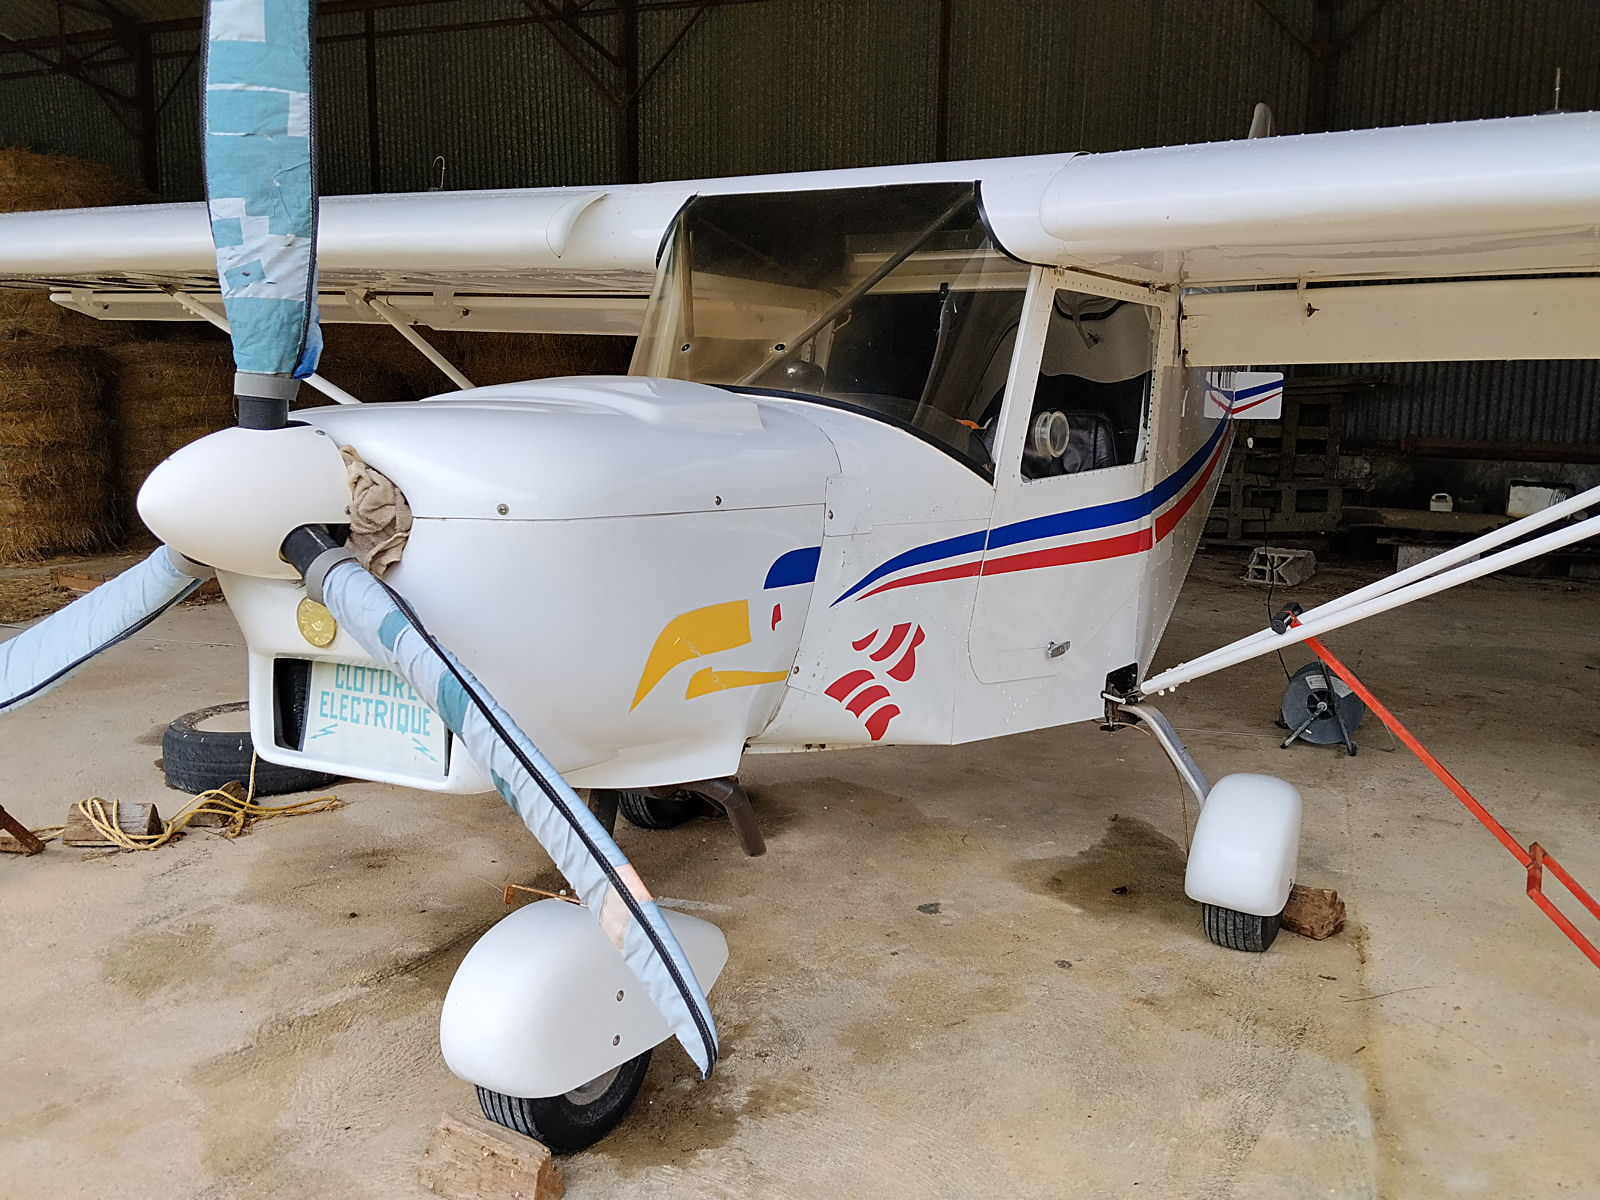
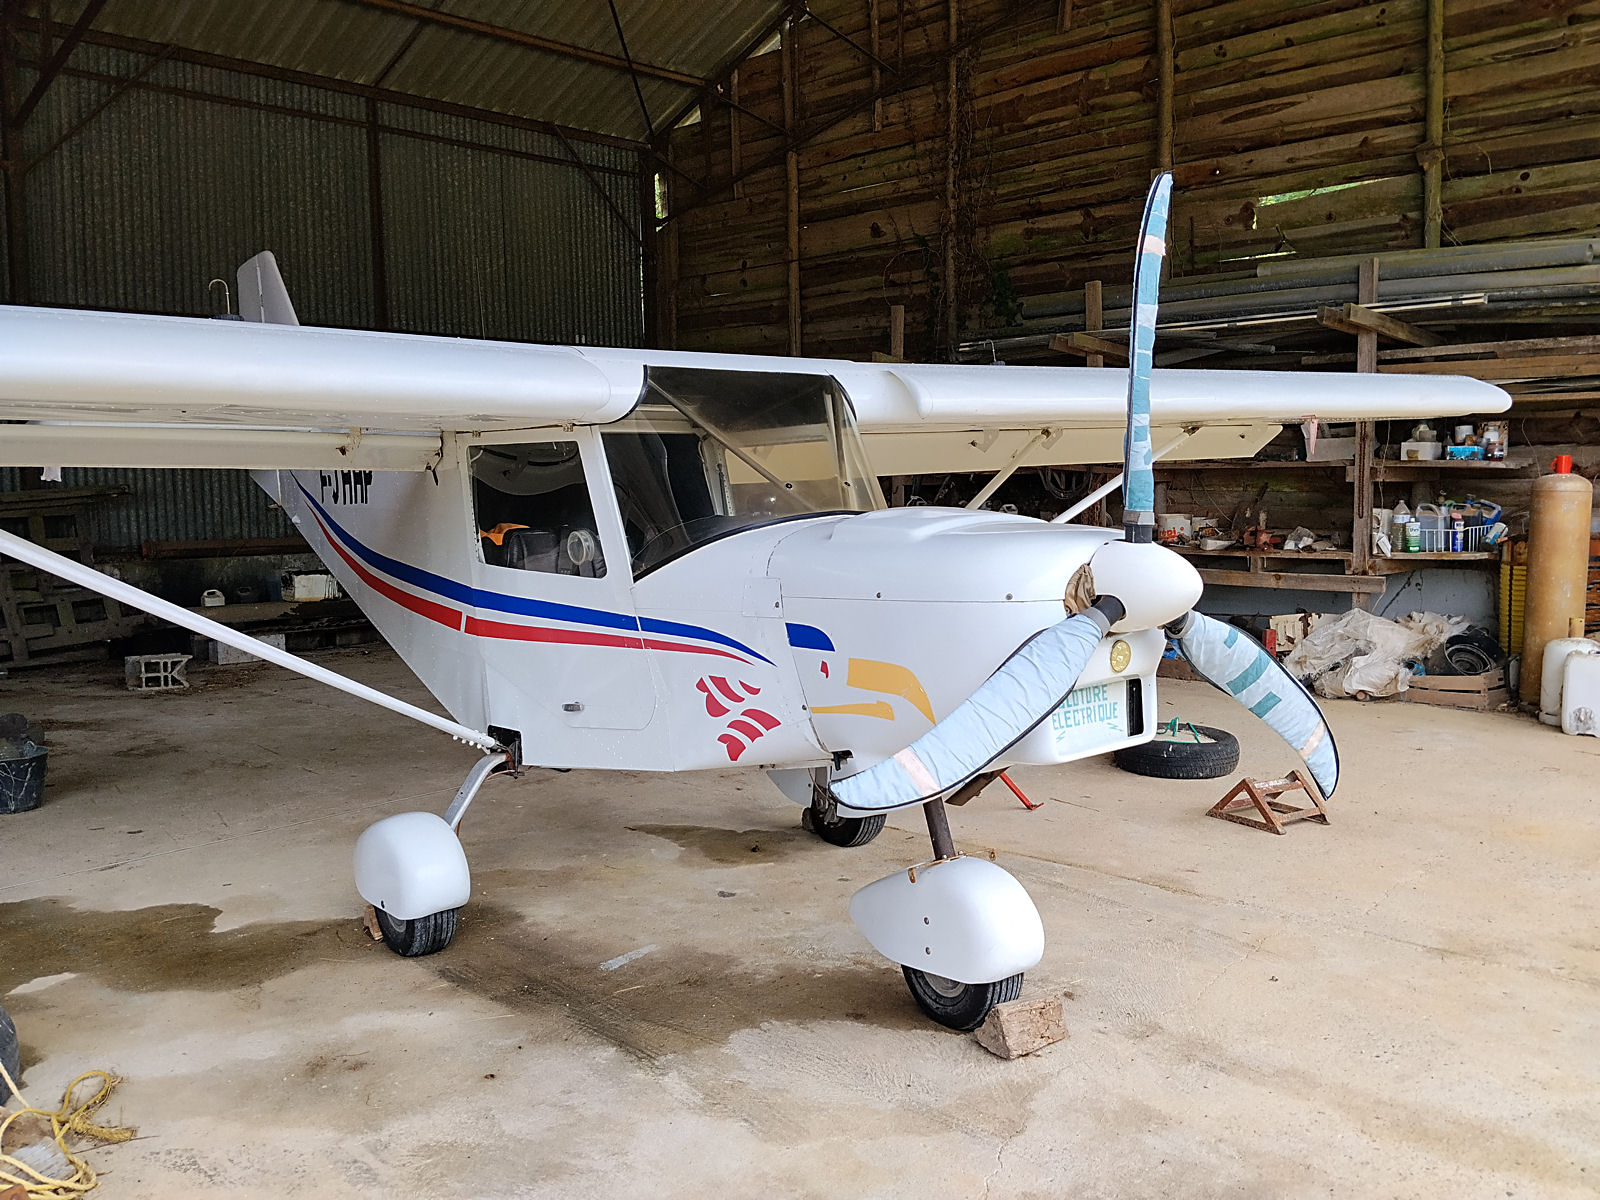
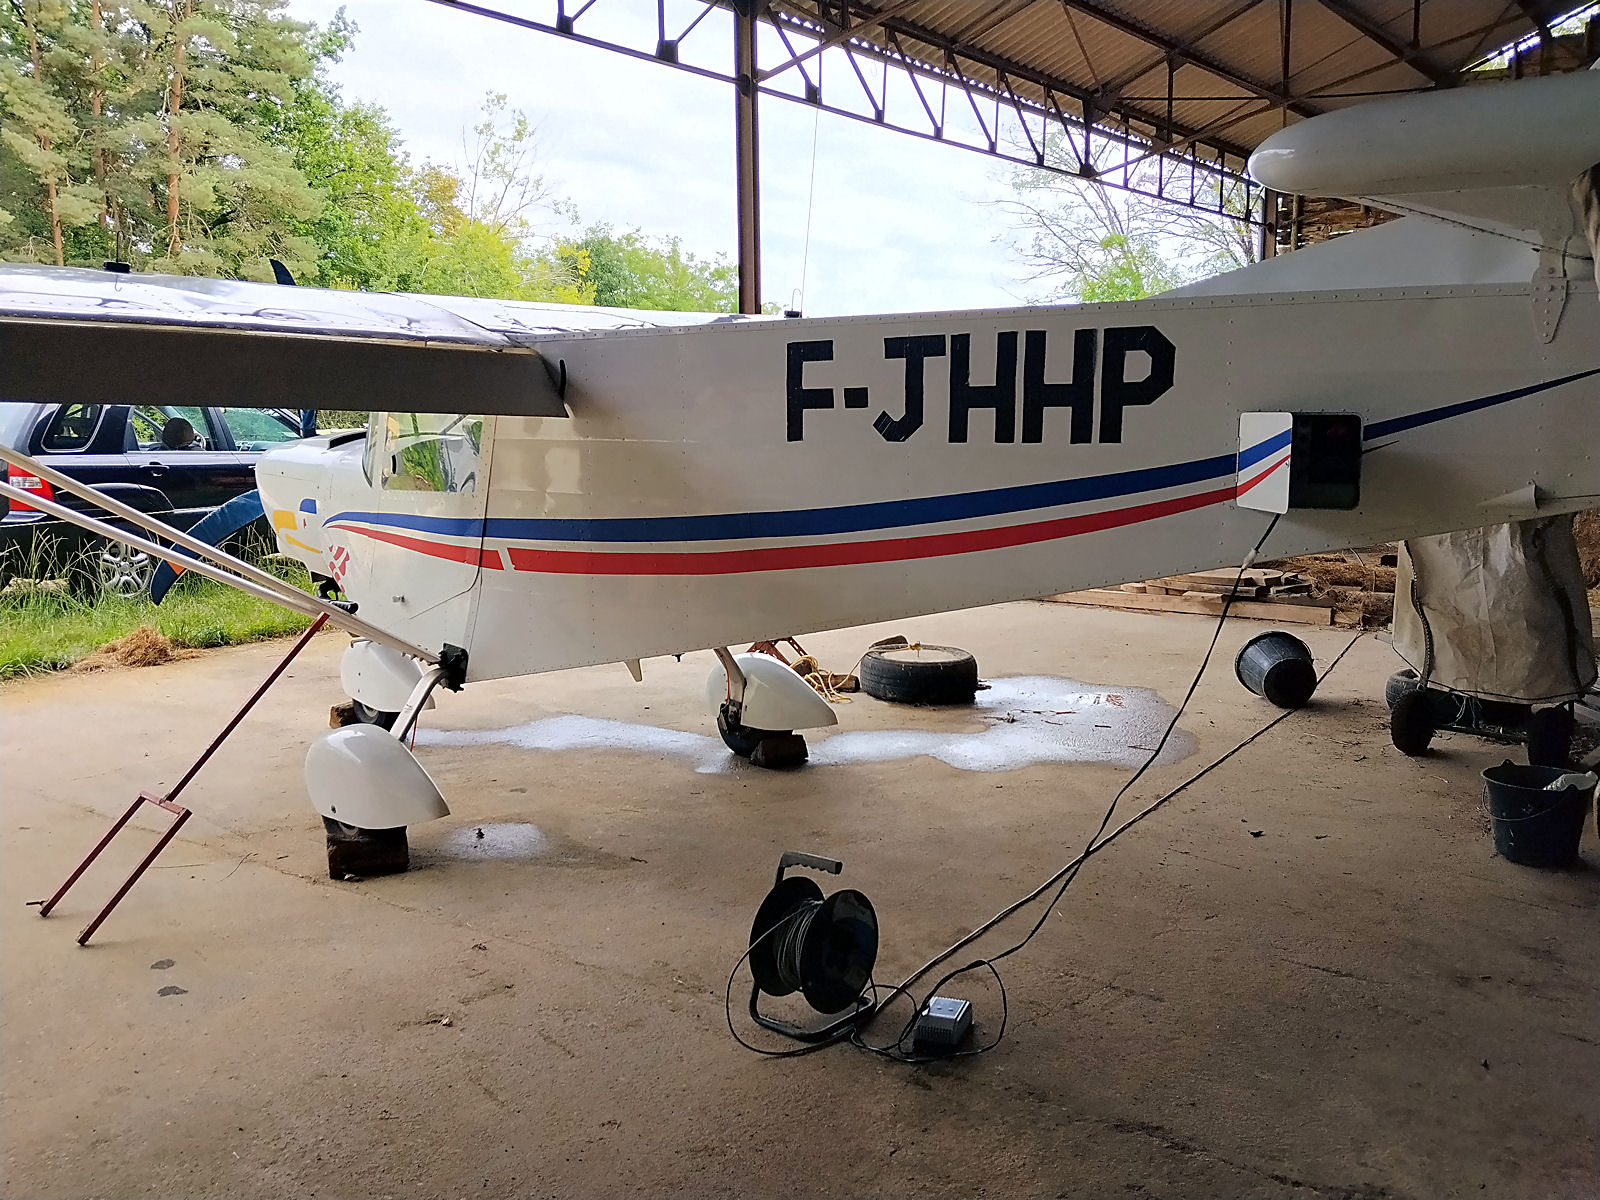
Below are some shots of my Savannah after I’d cleaned it and put its battery on charge. Now I’ve started I’ll finish the job off 😉

null

null

null

null