Another full day

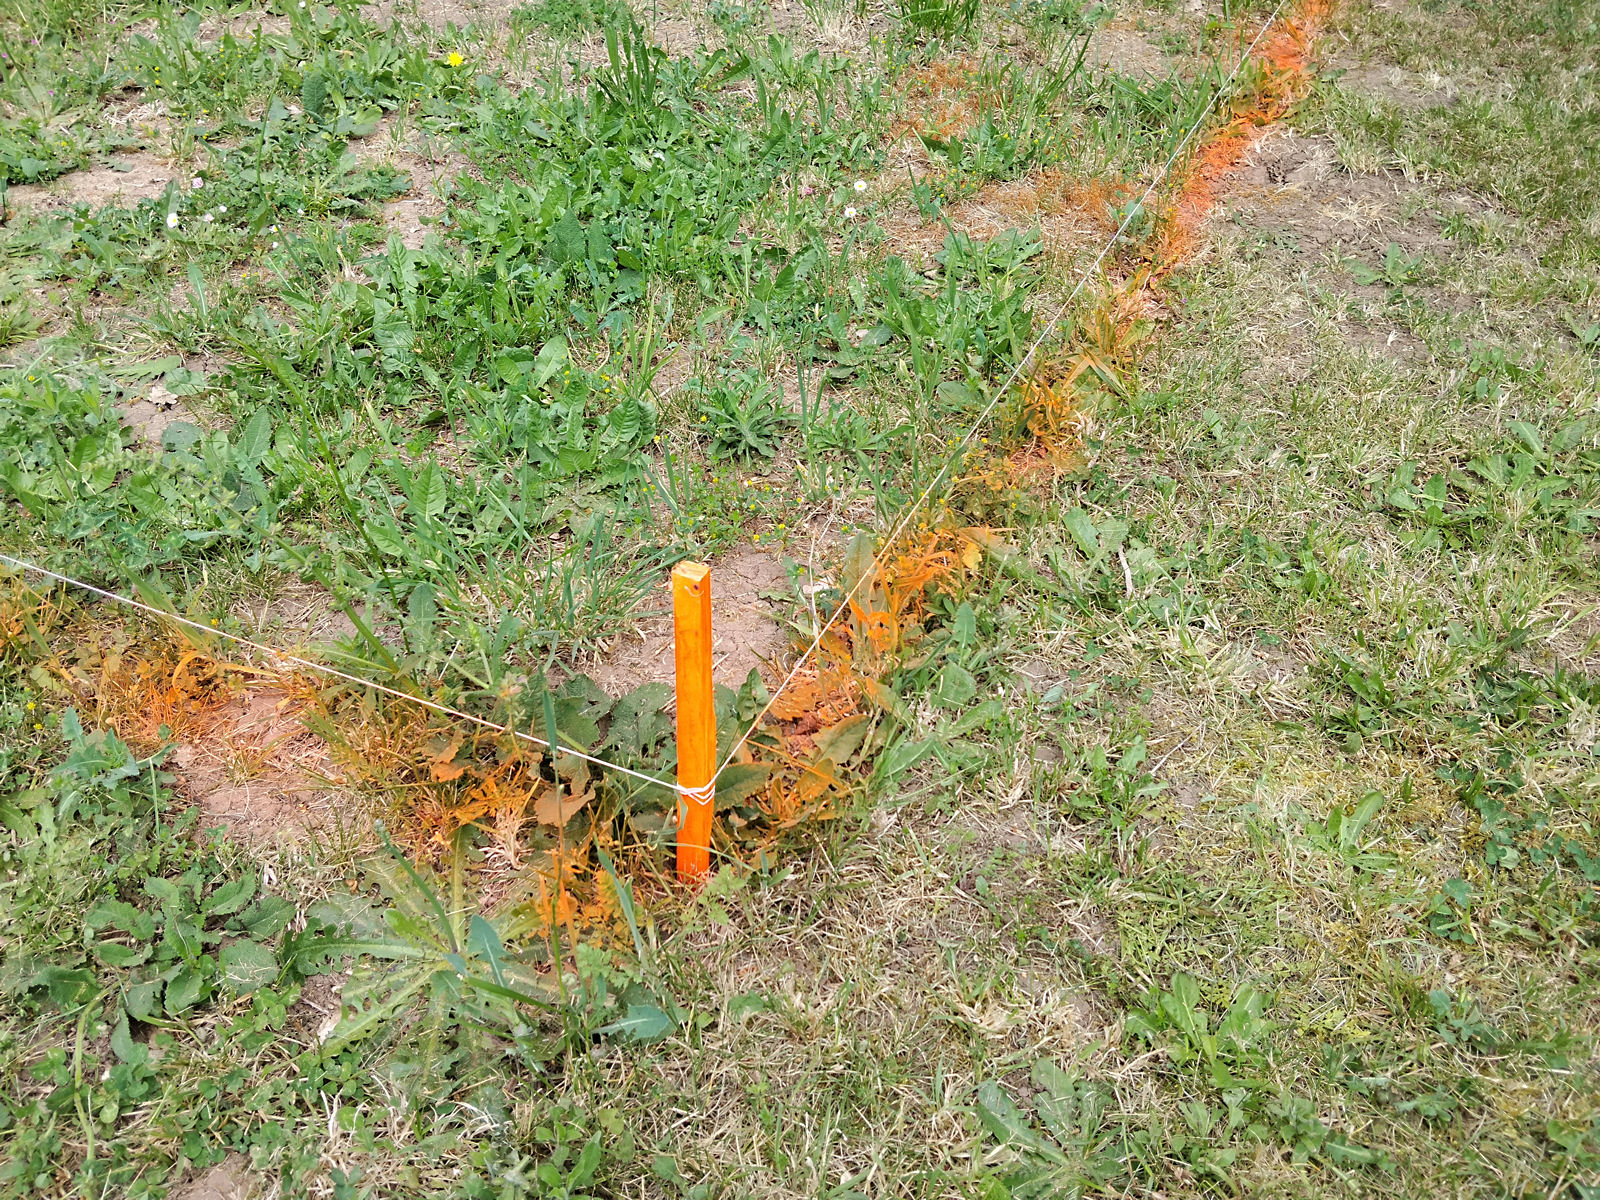
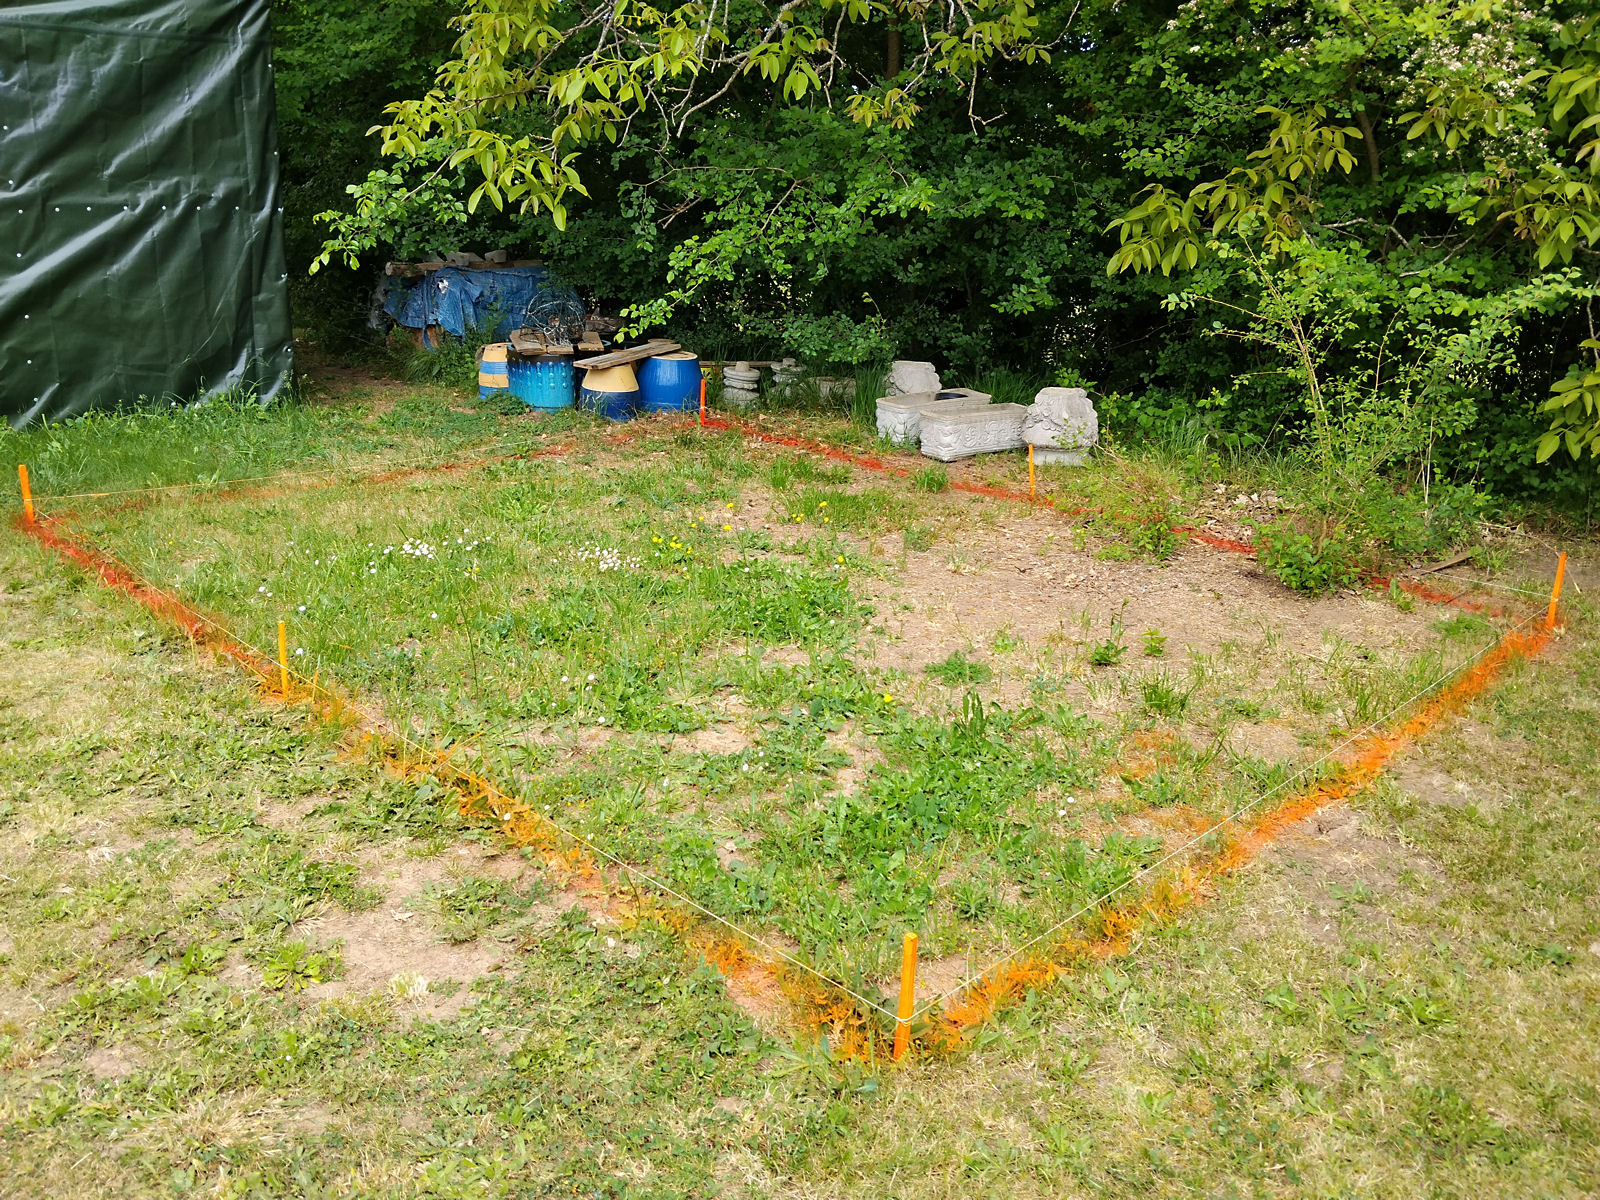
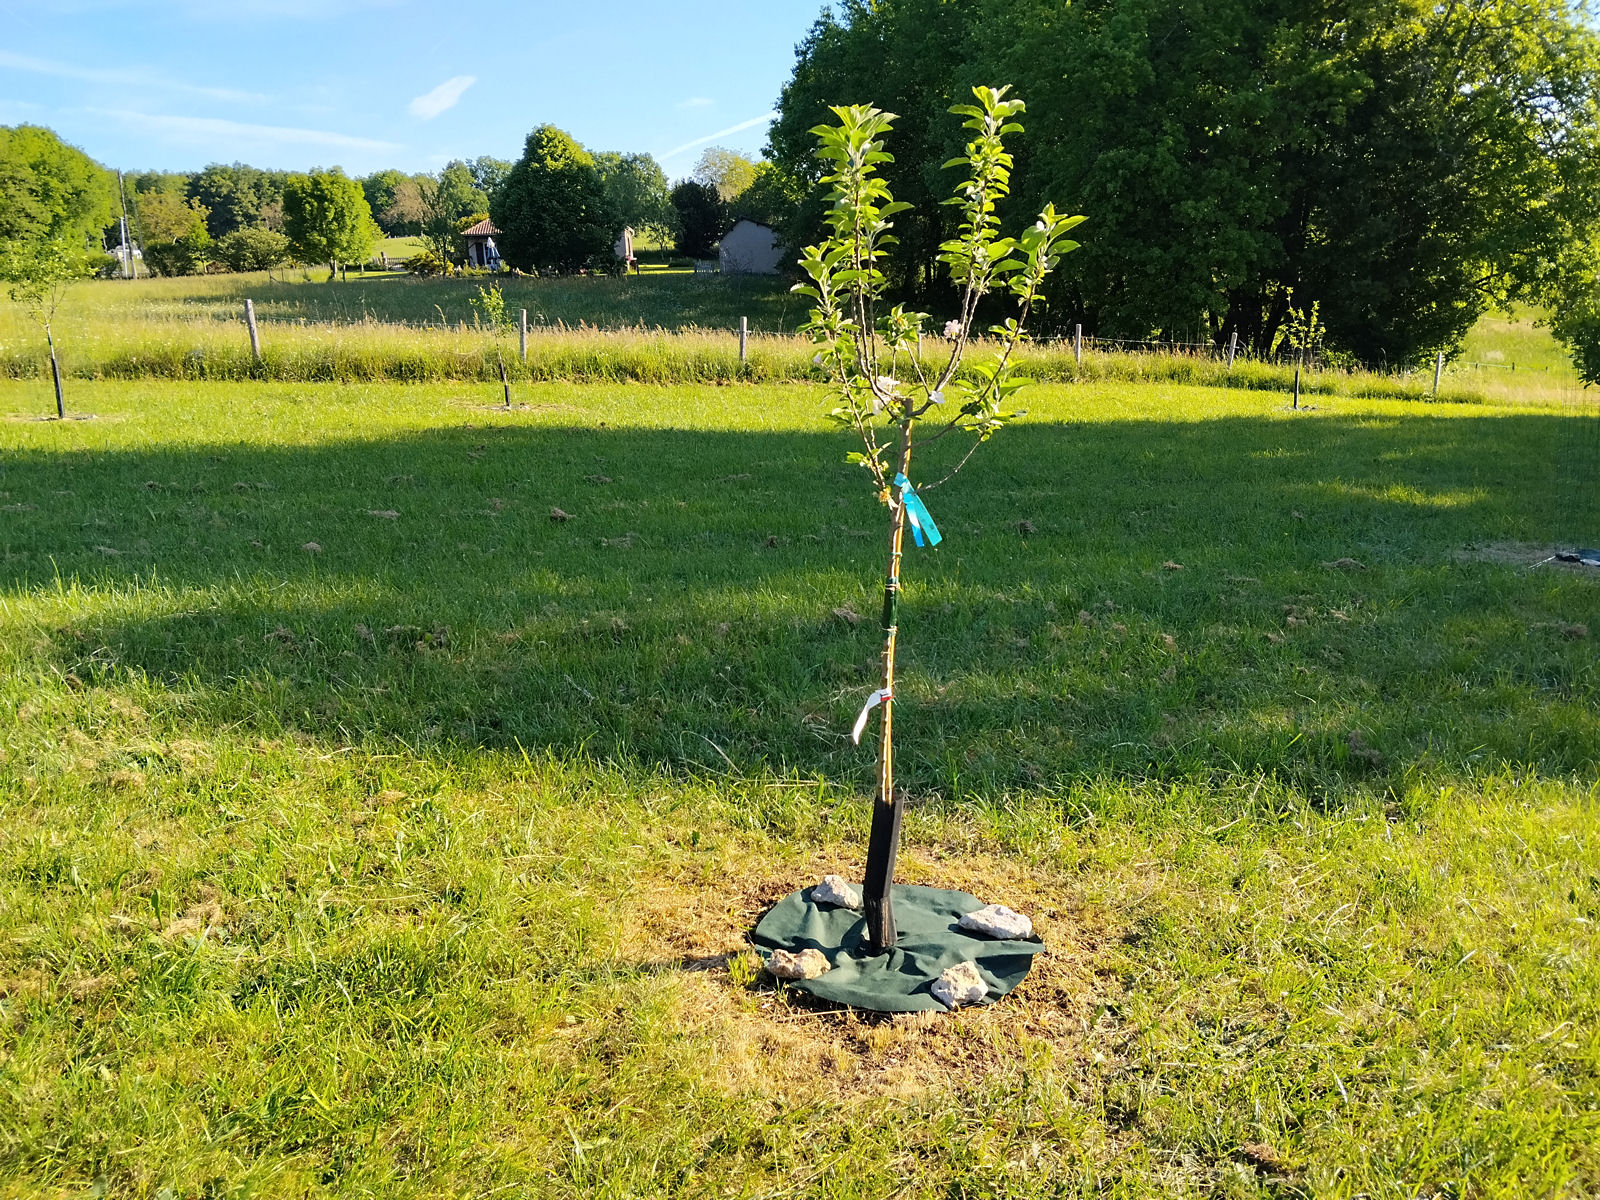
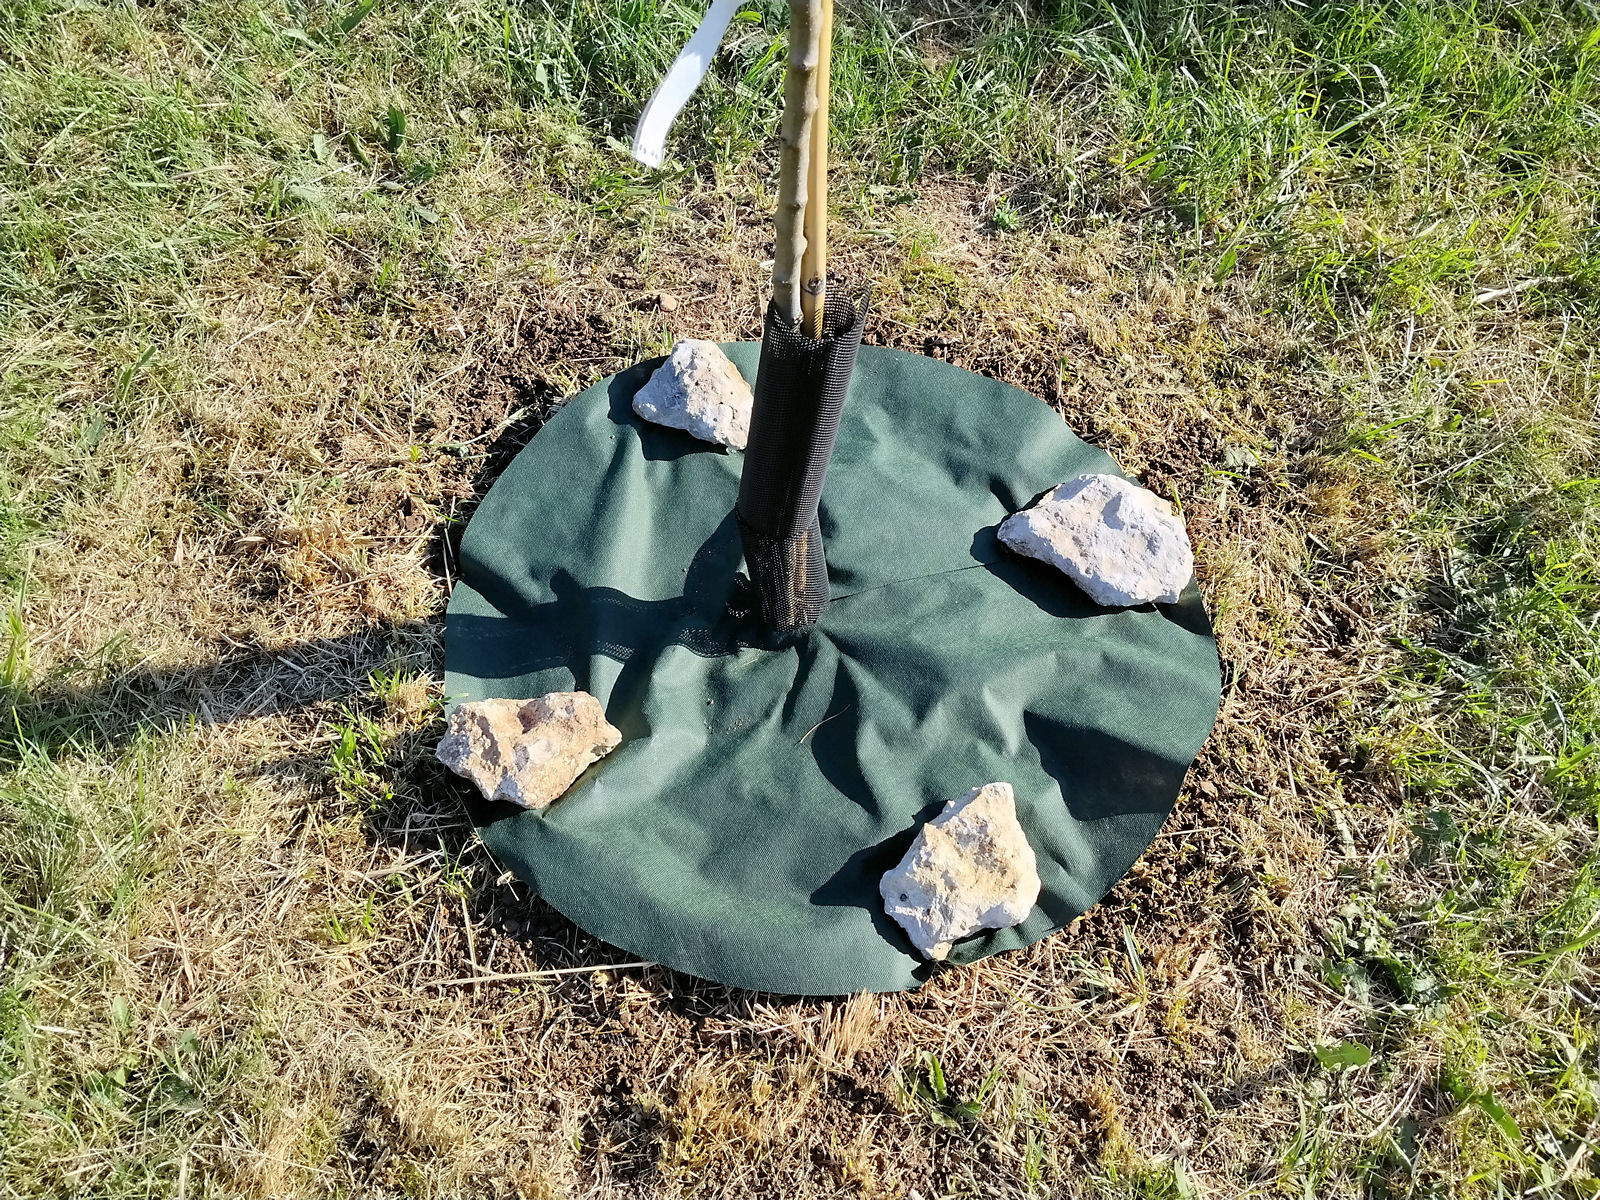
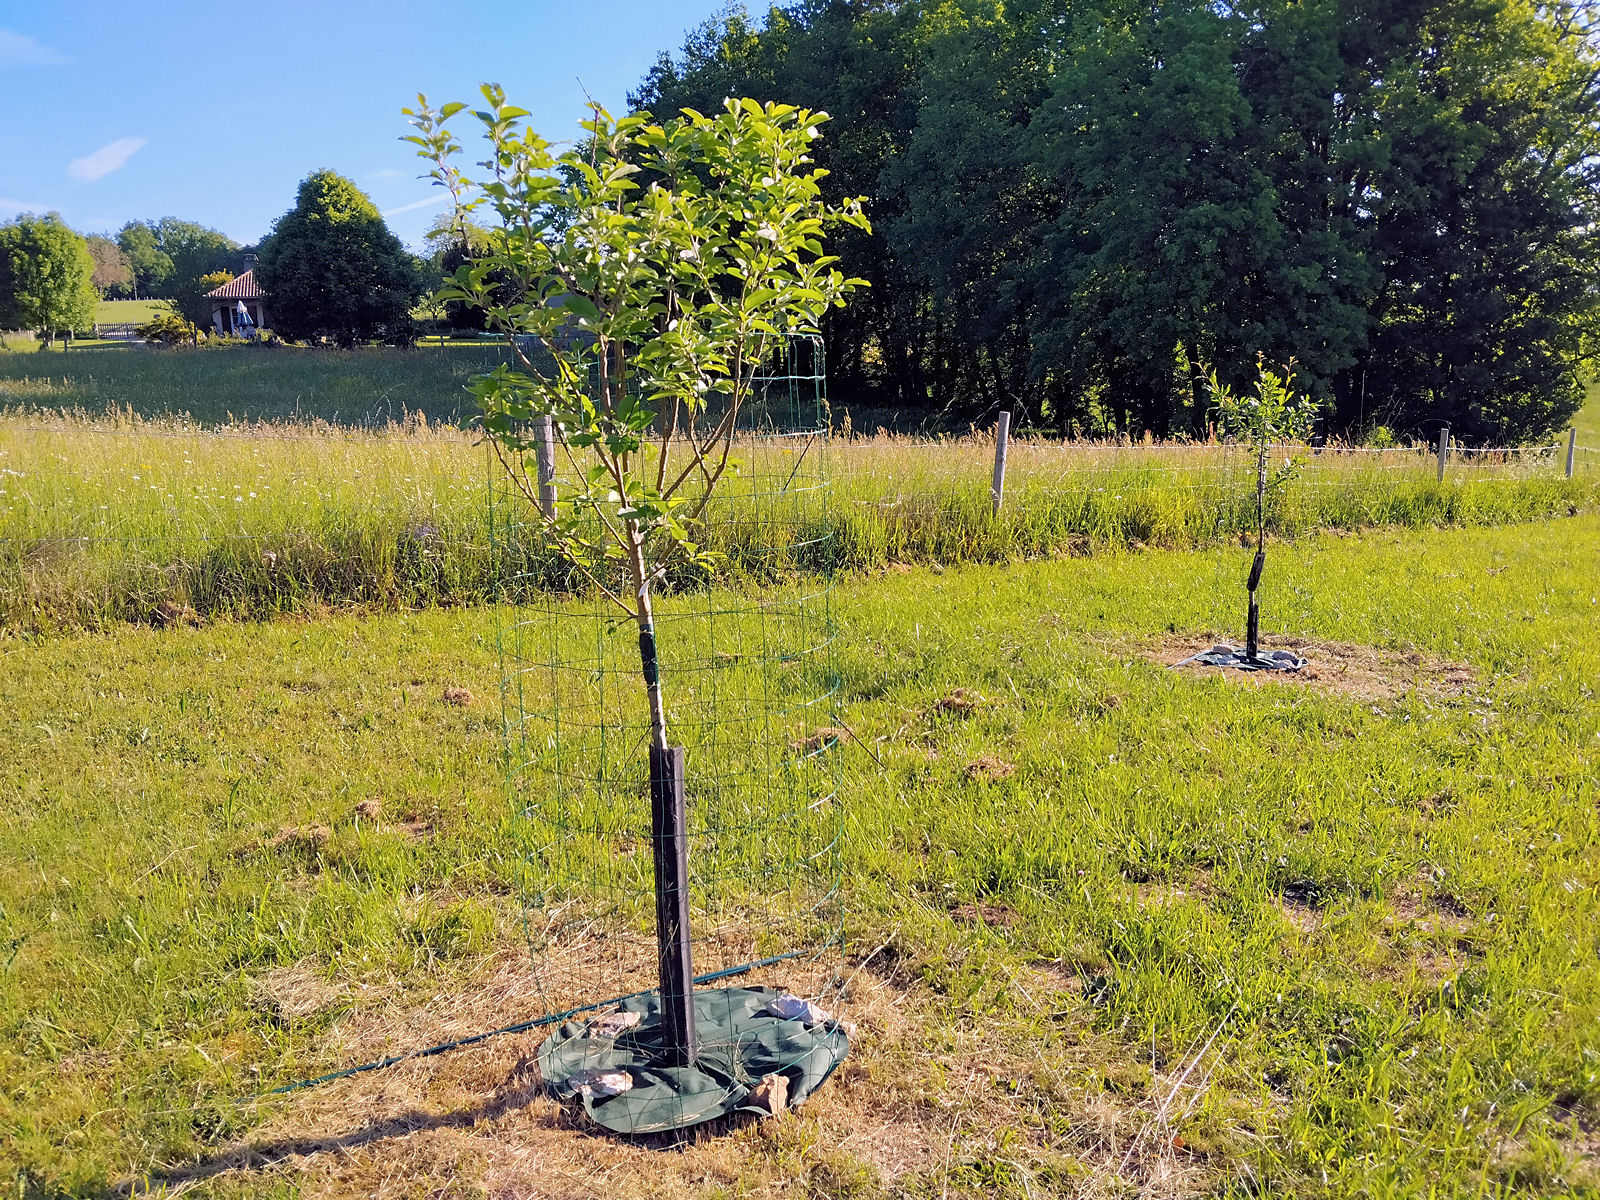
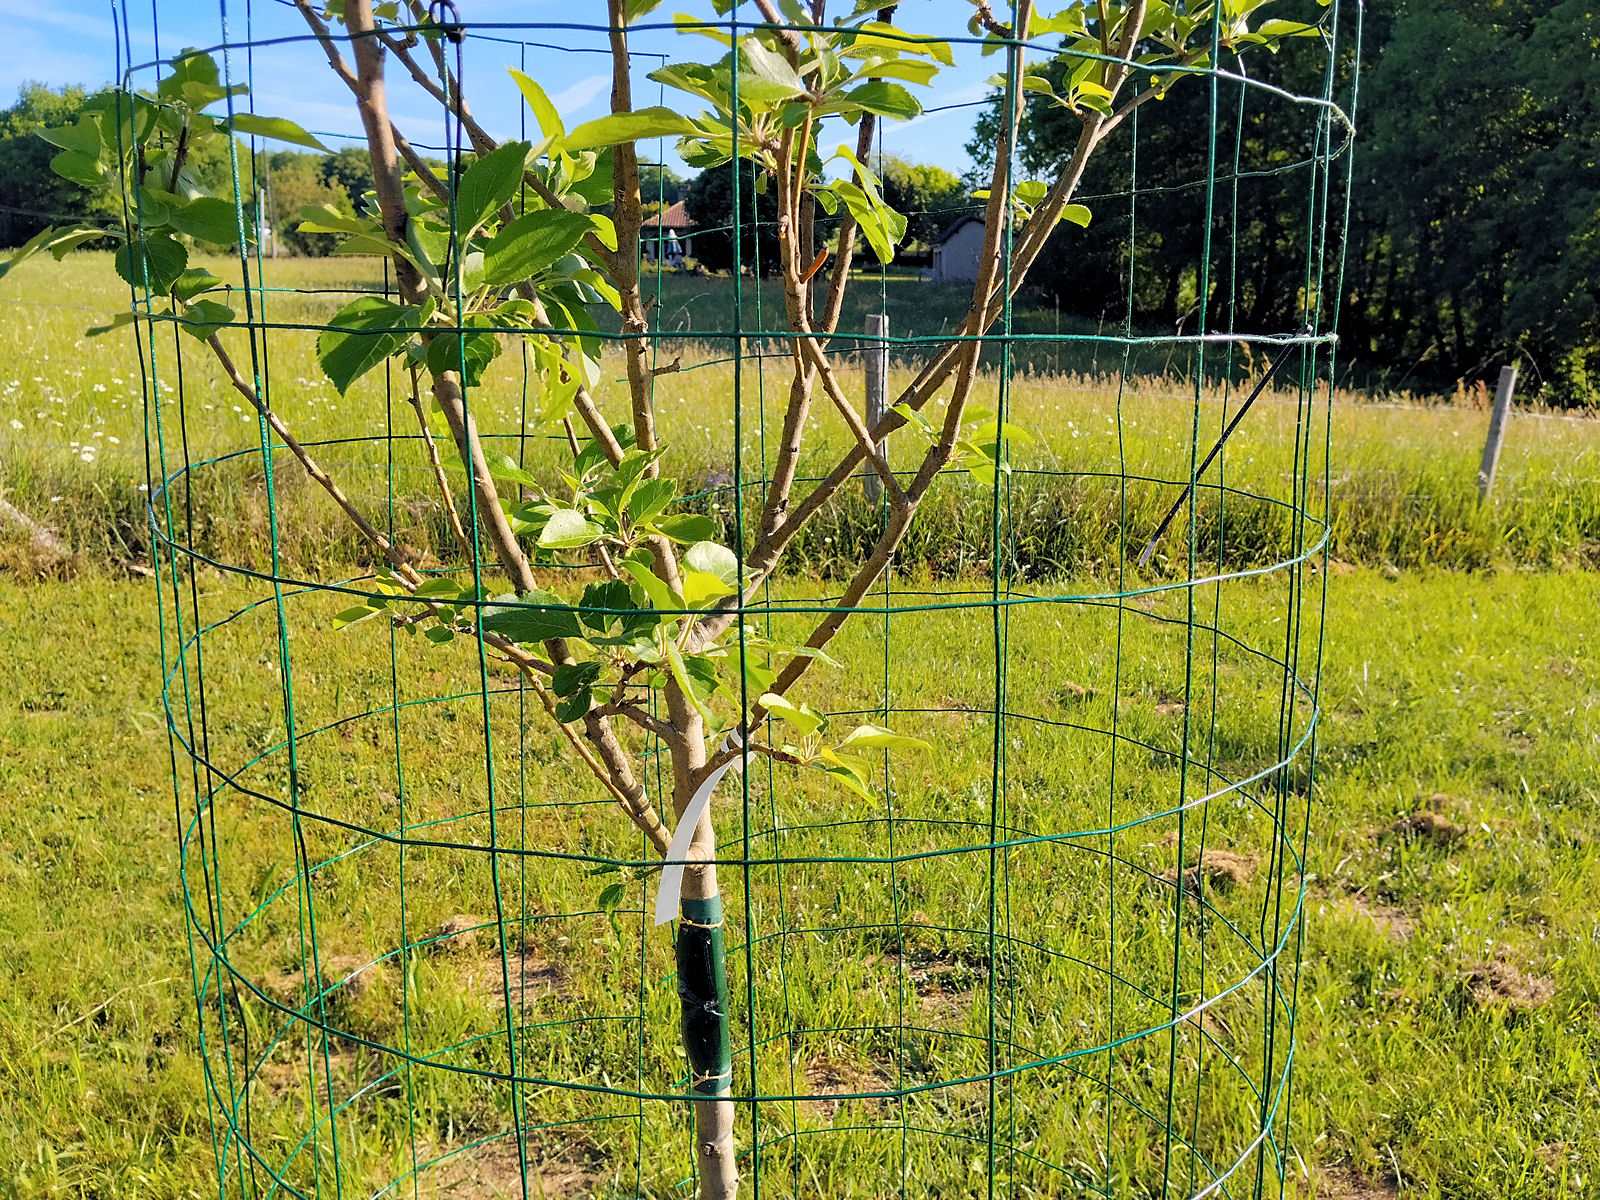
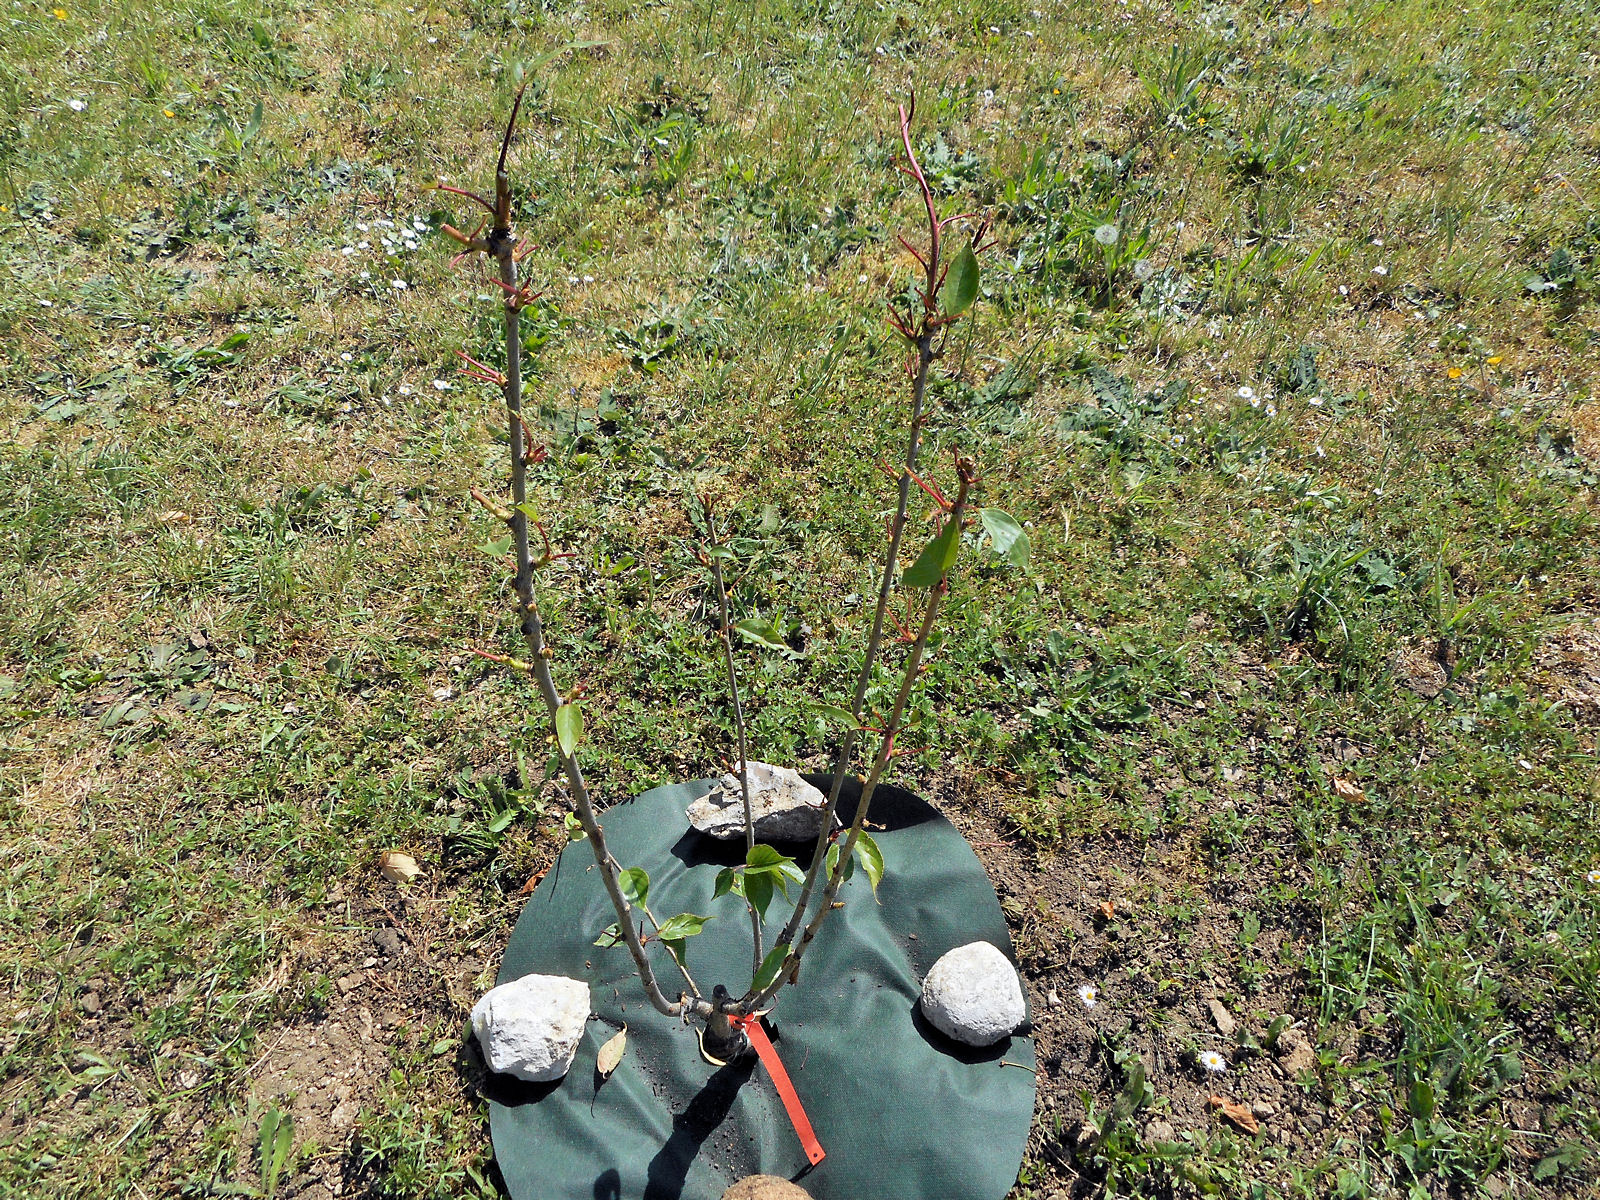
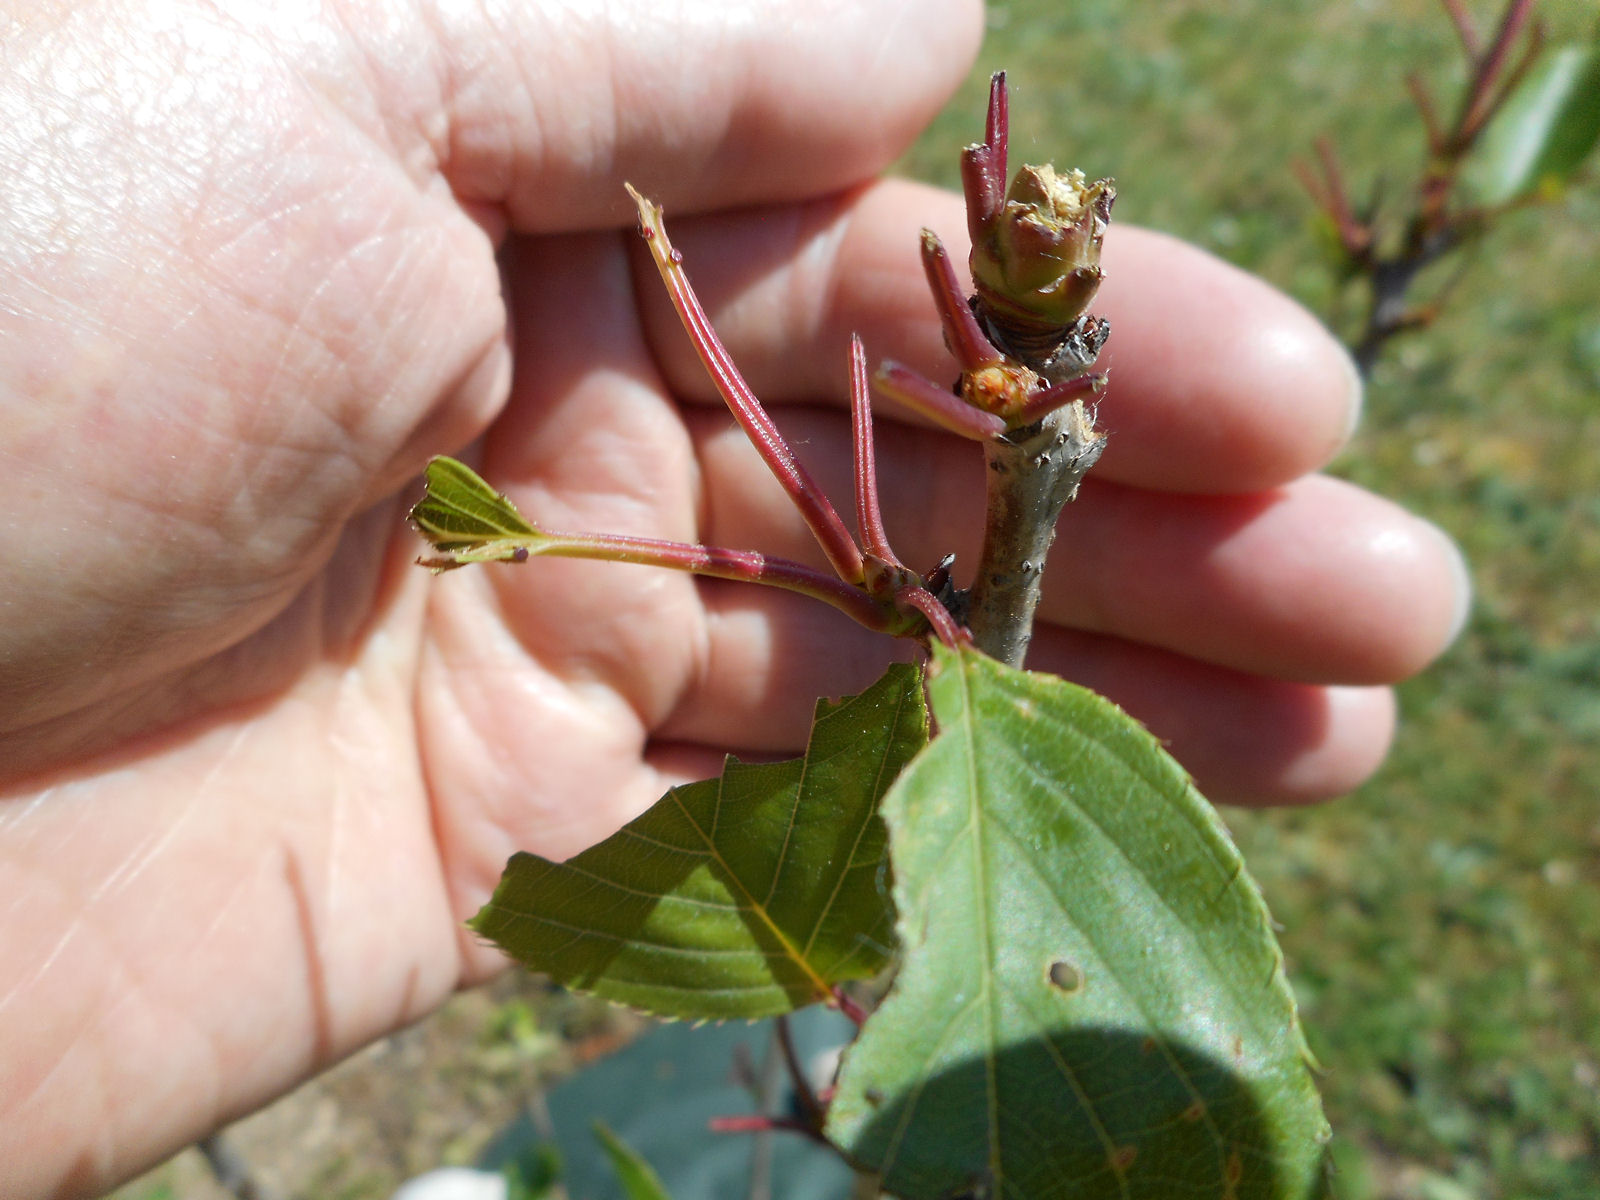
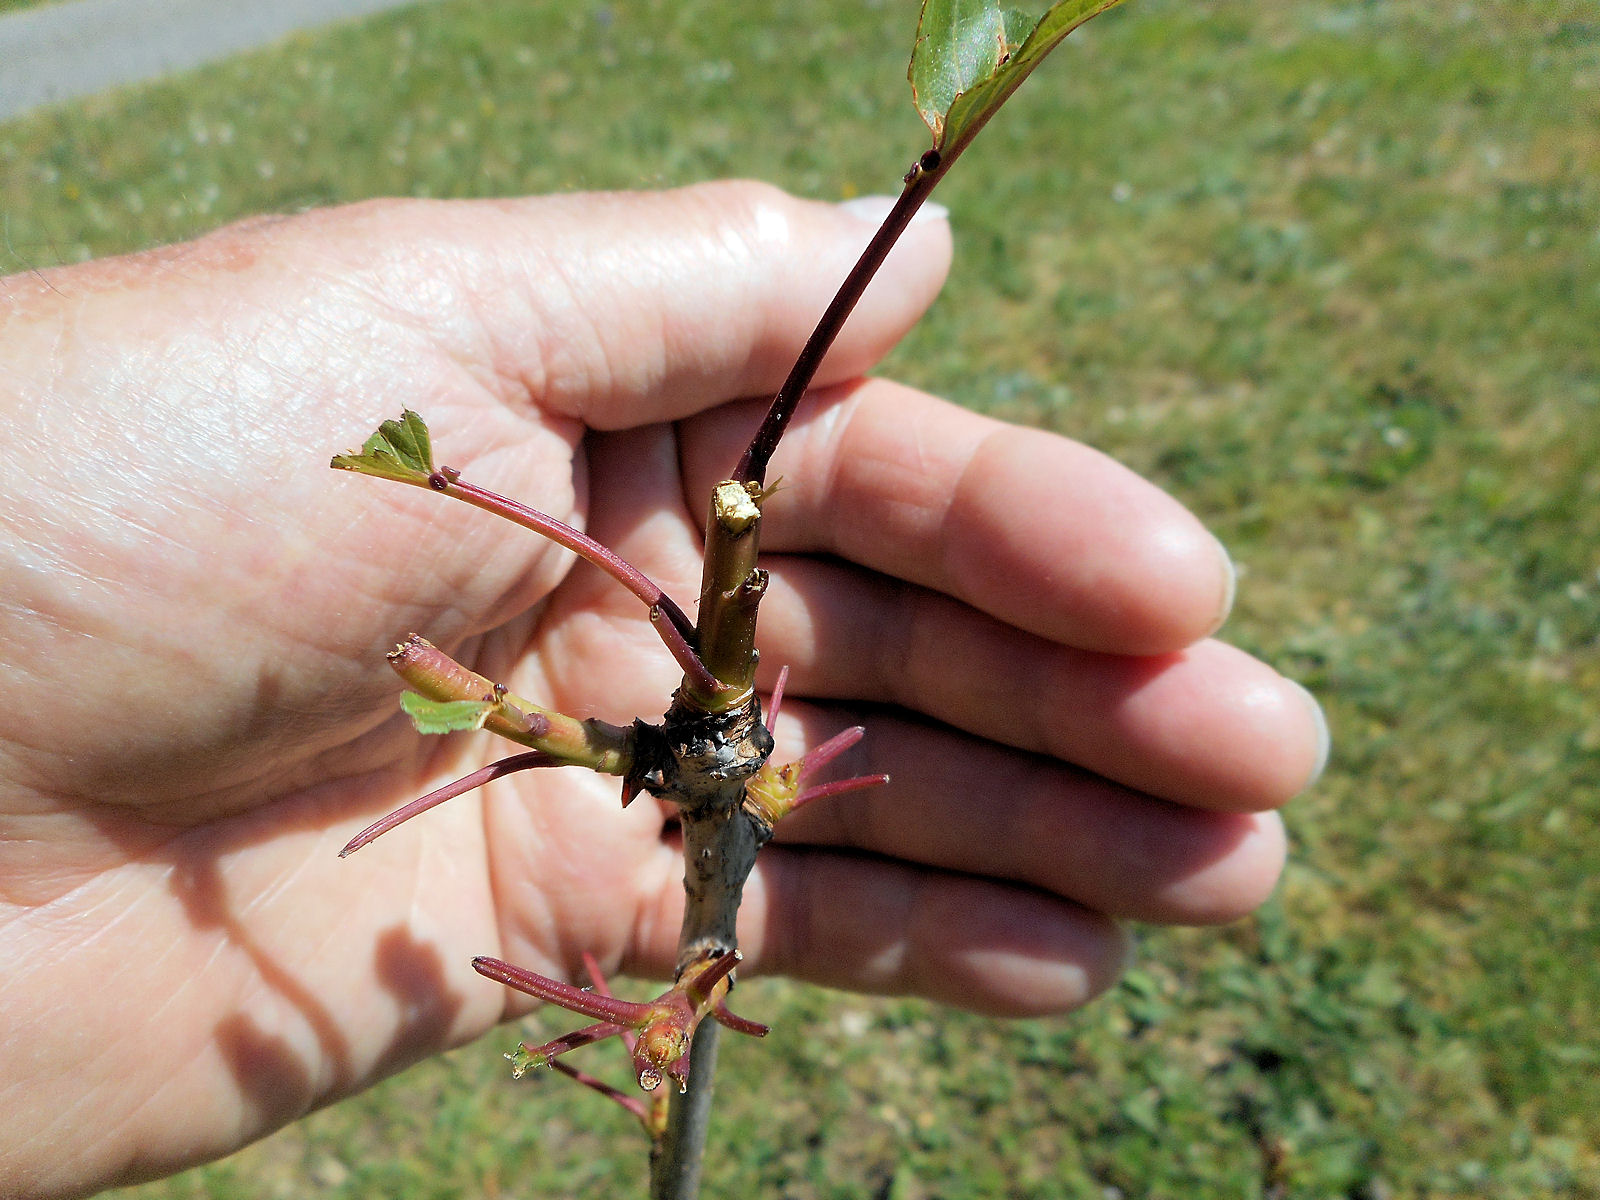
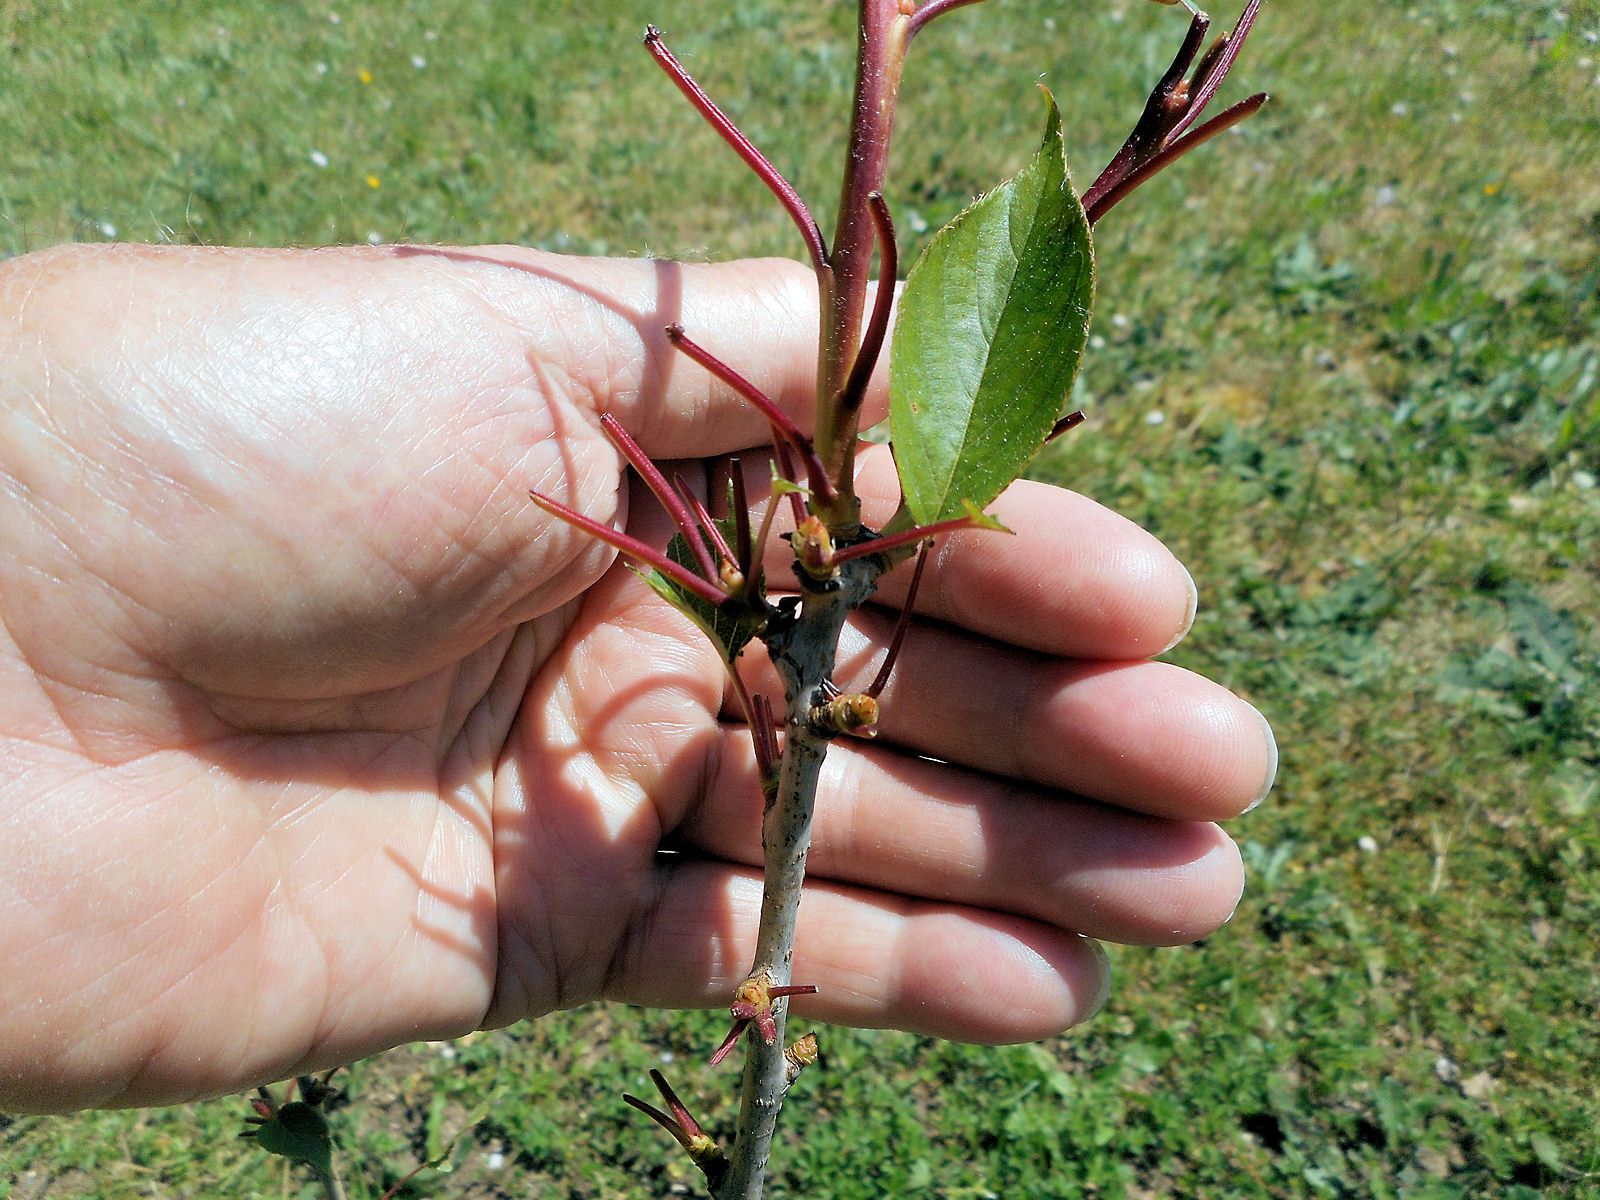
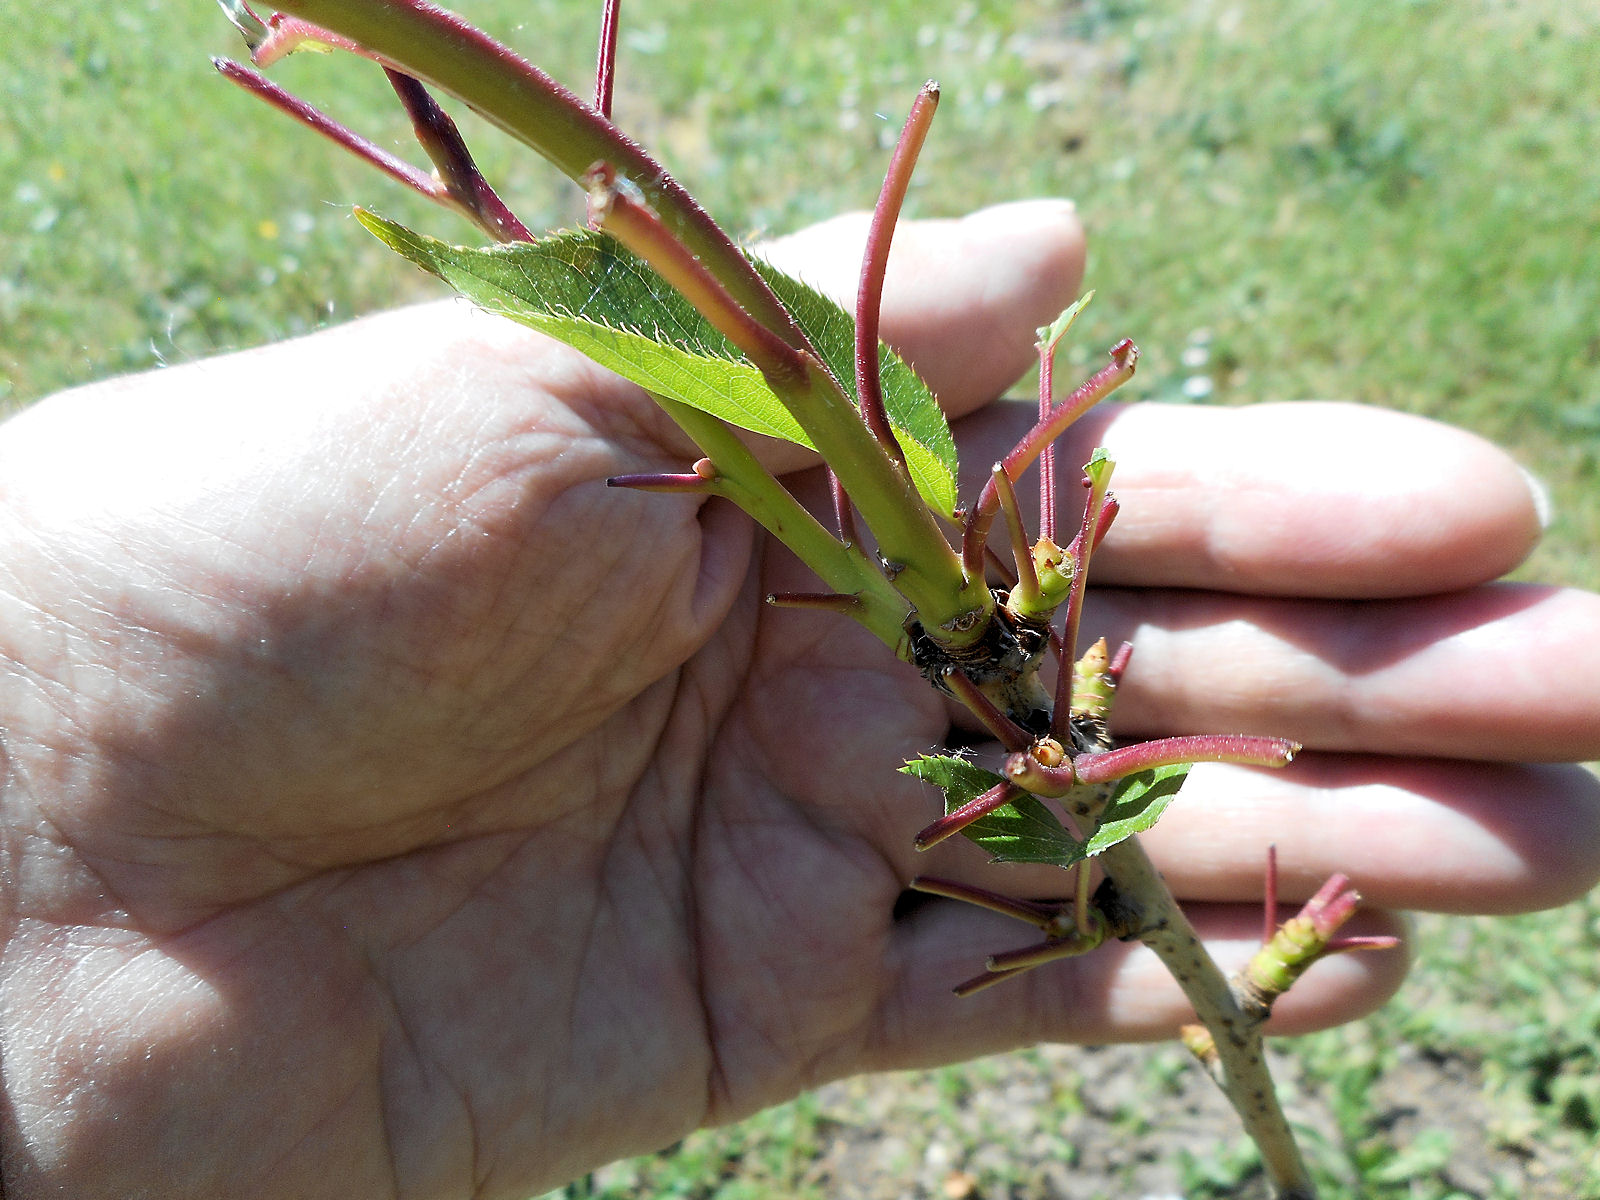
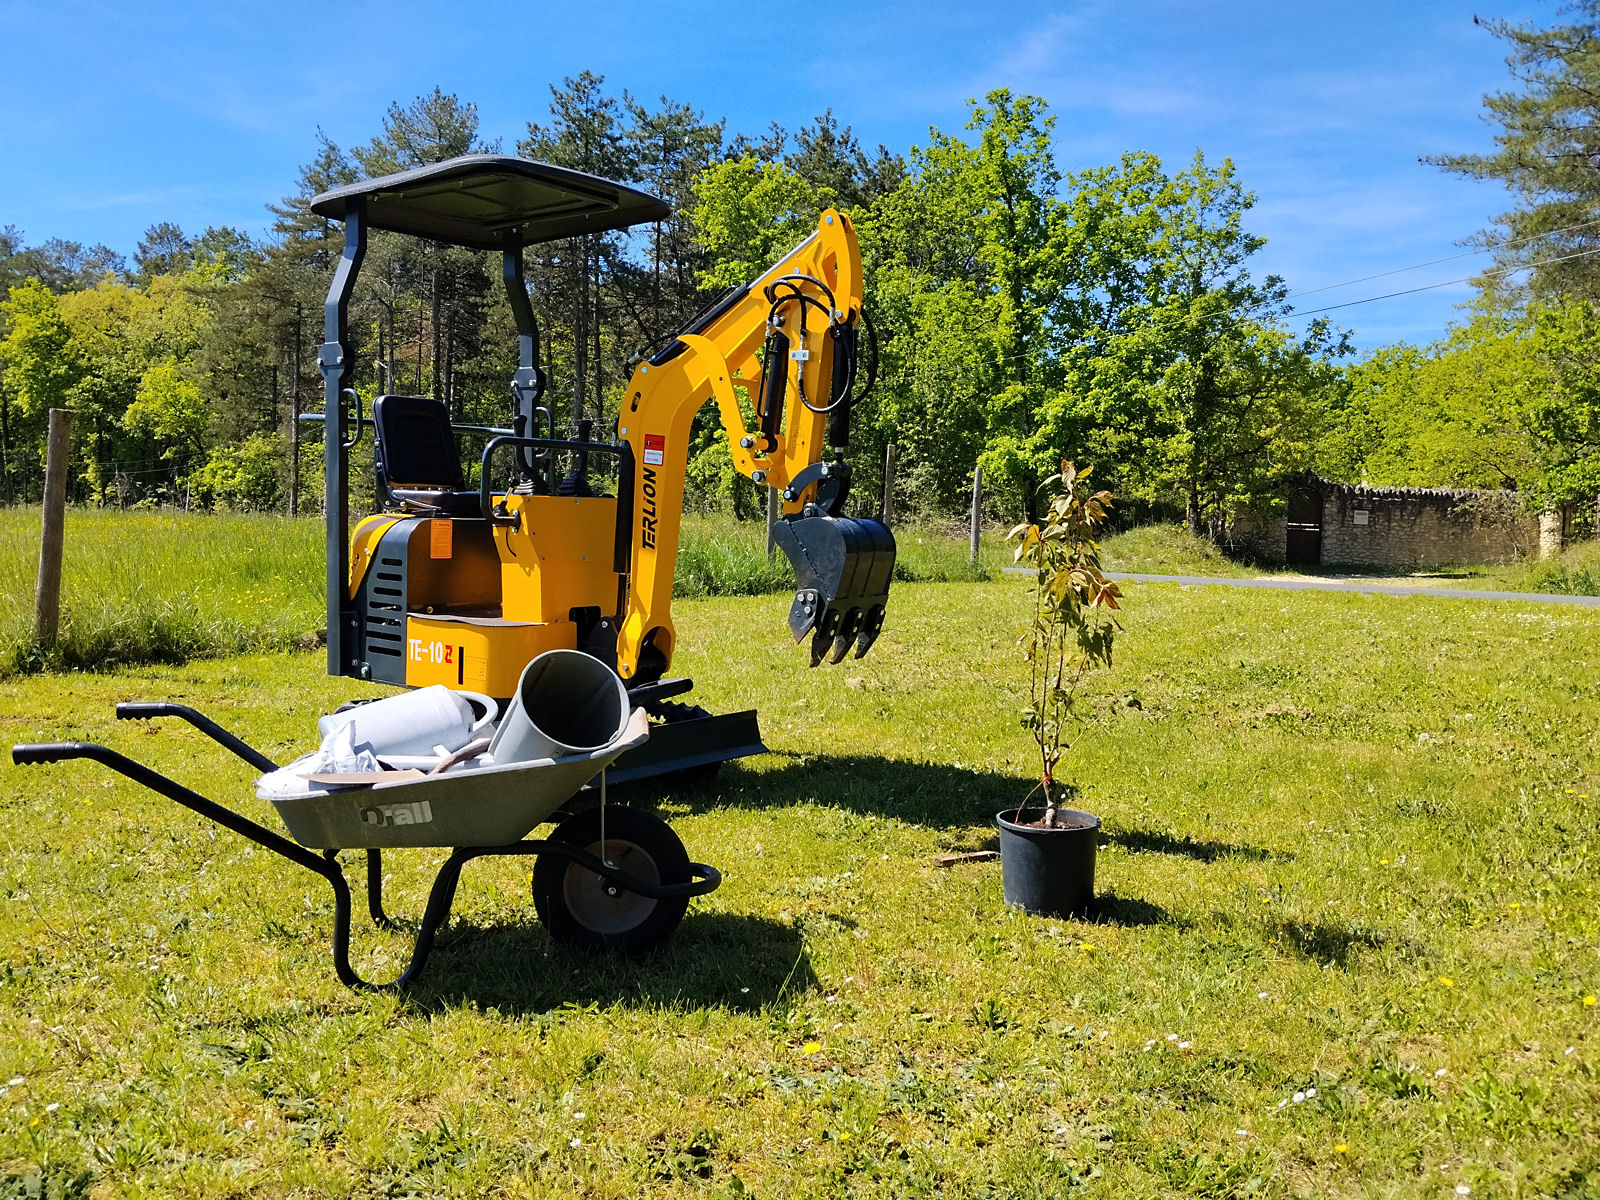
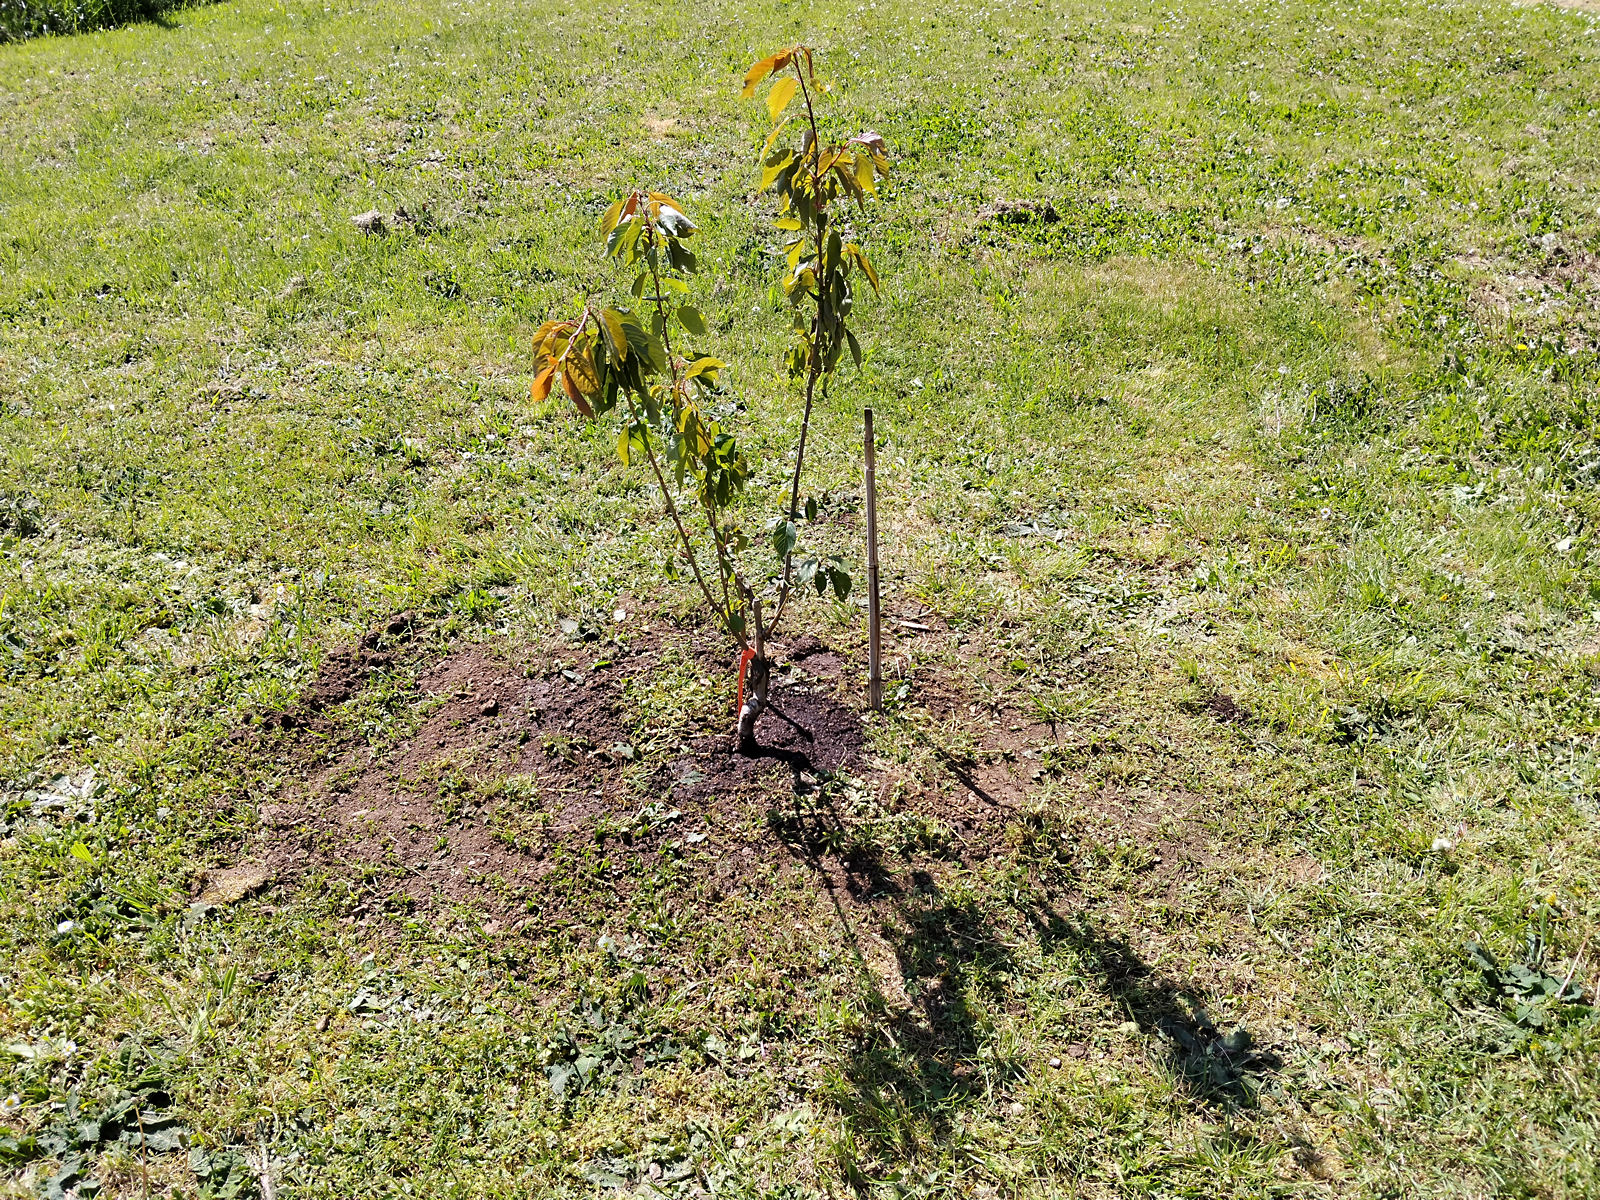
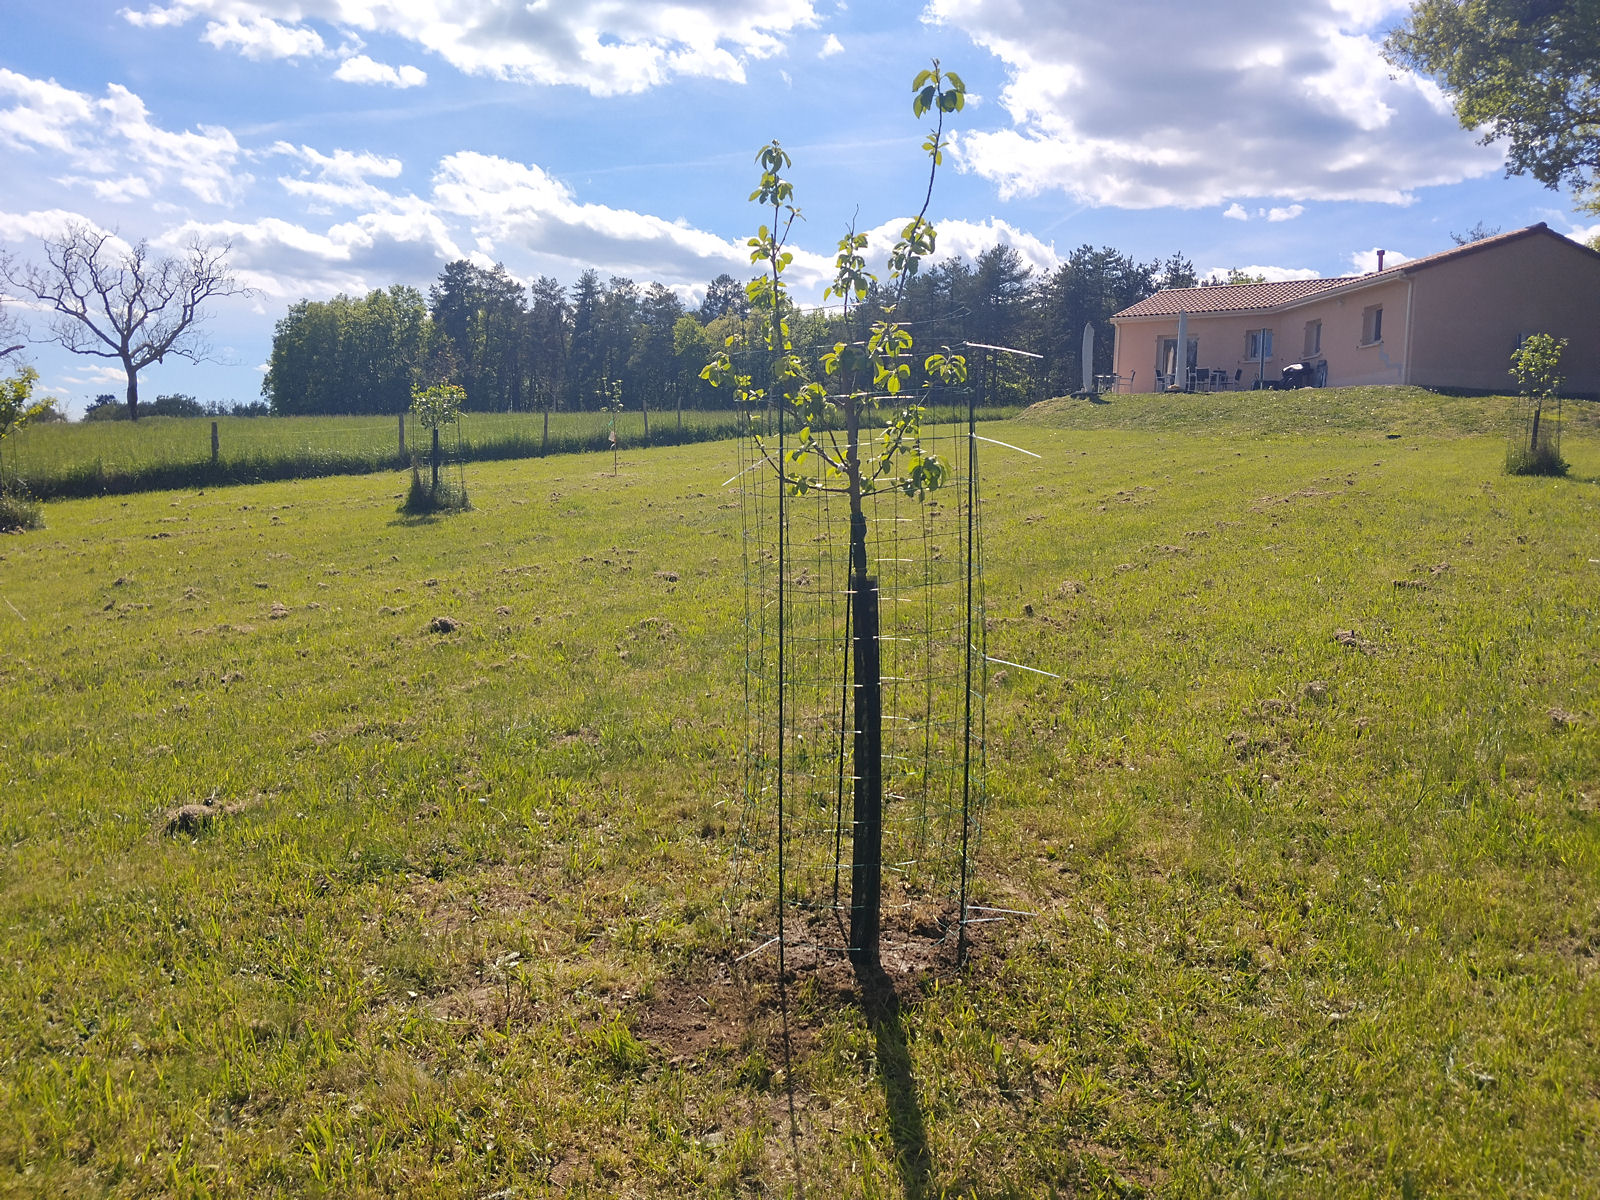
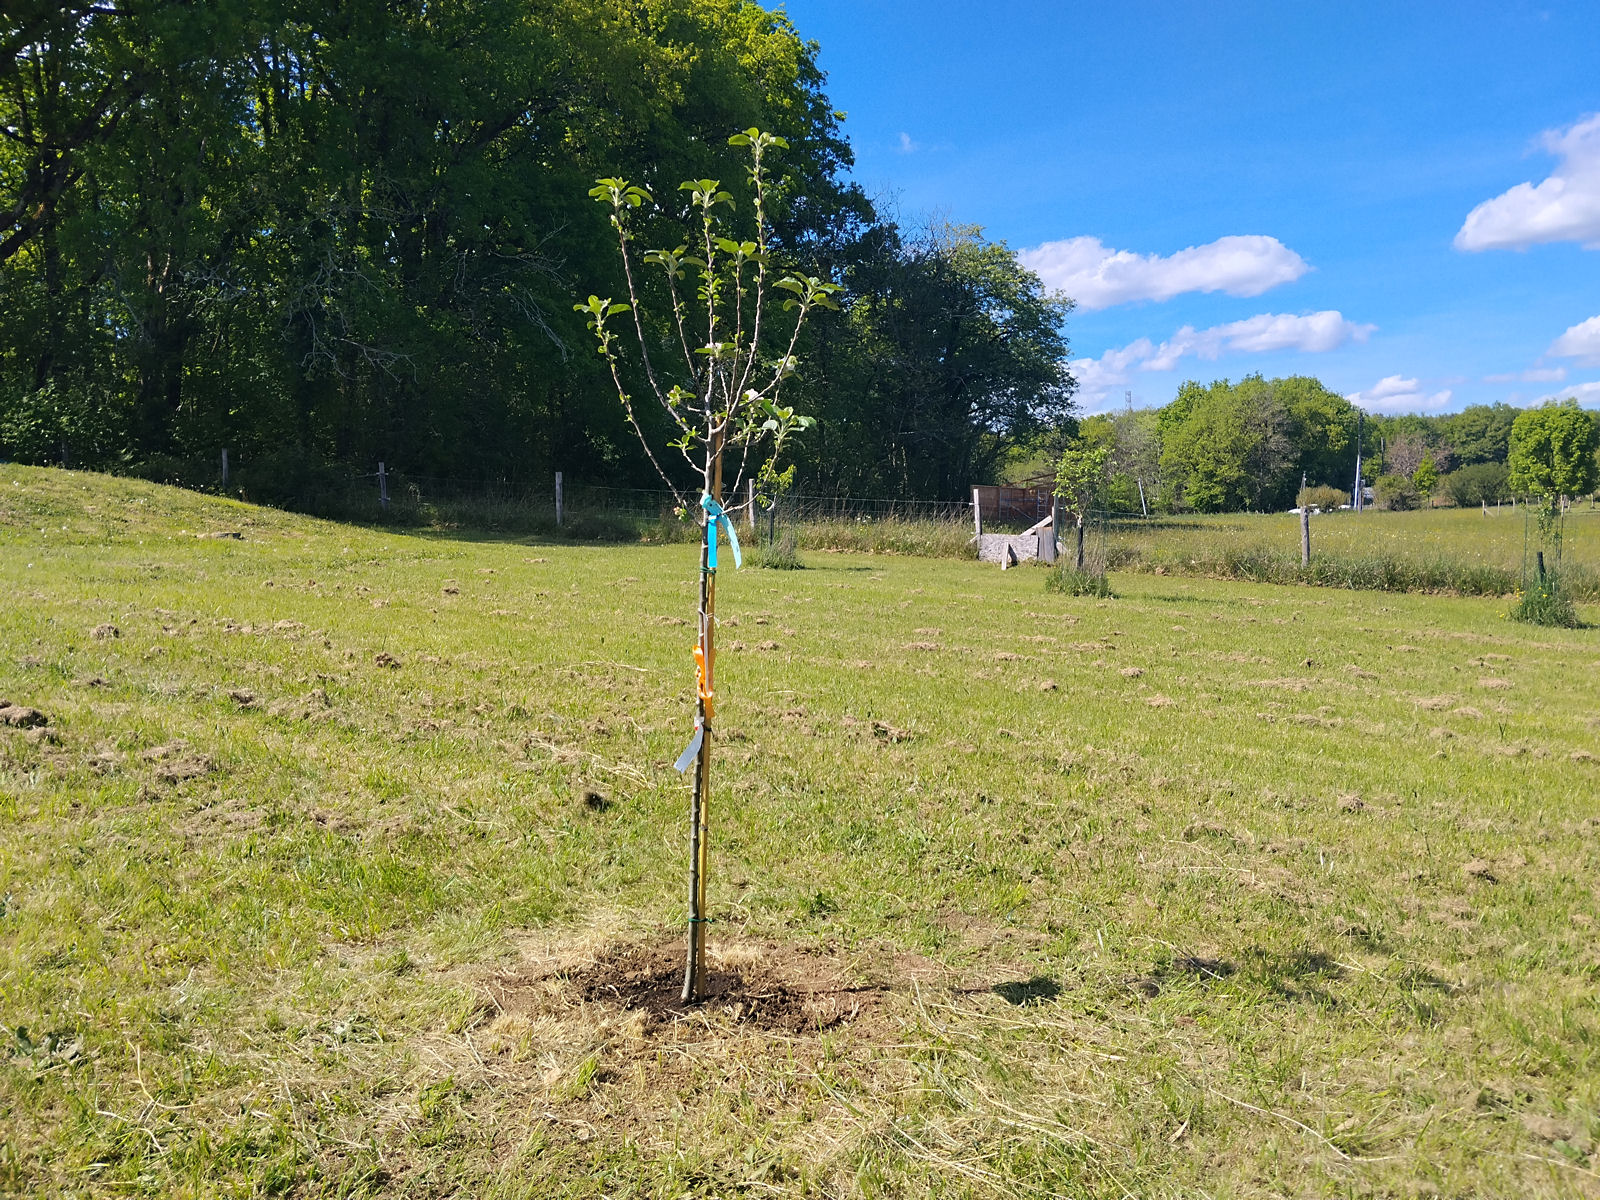
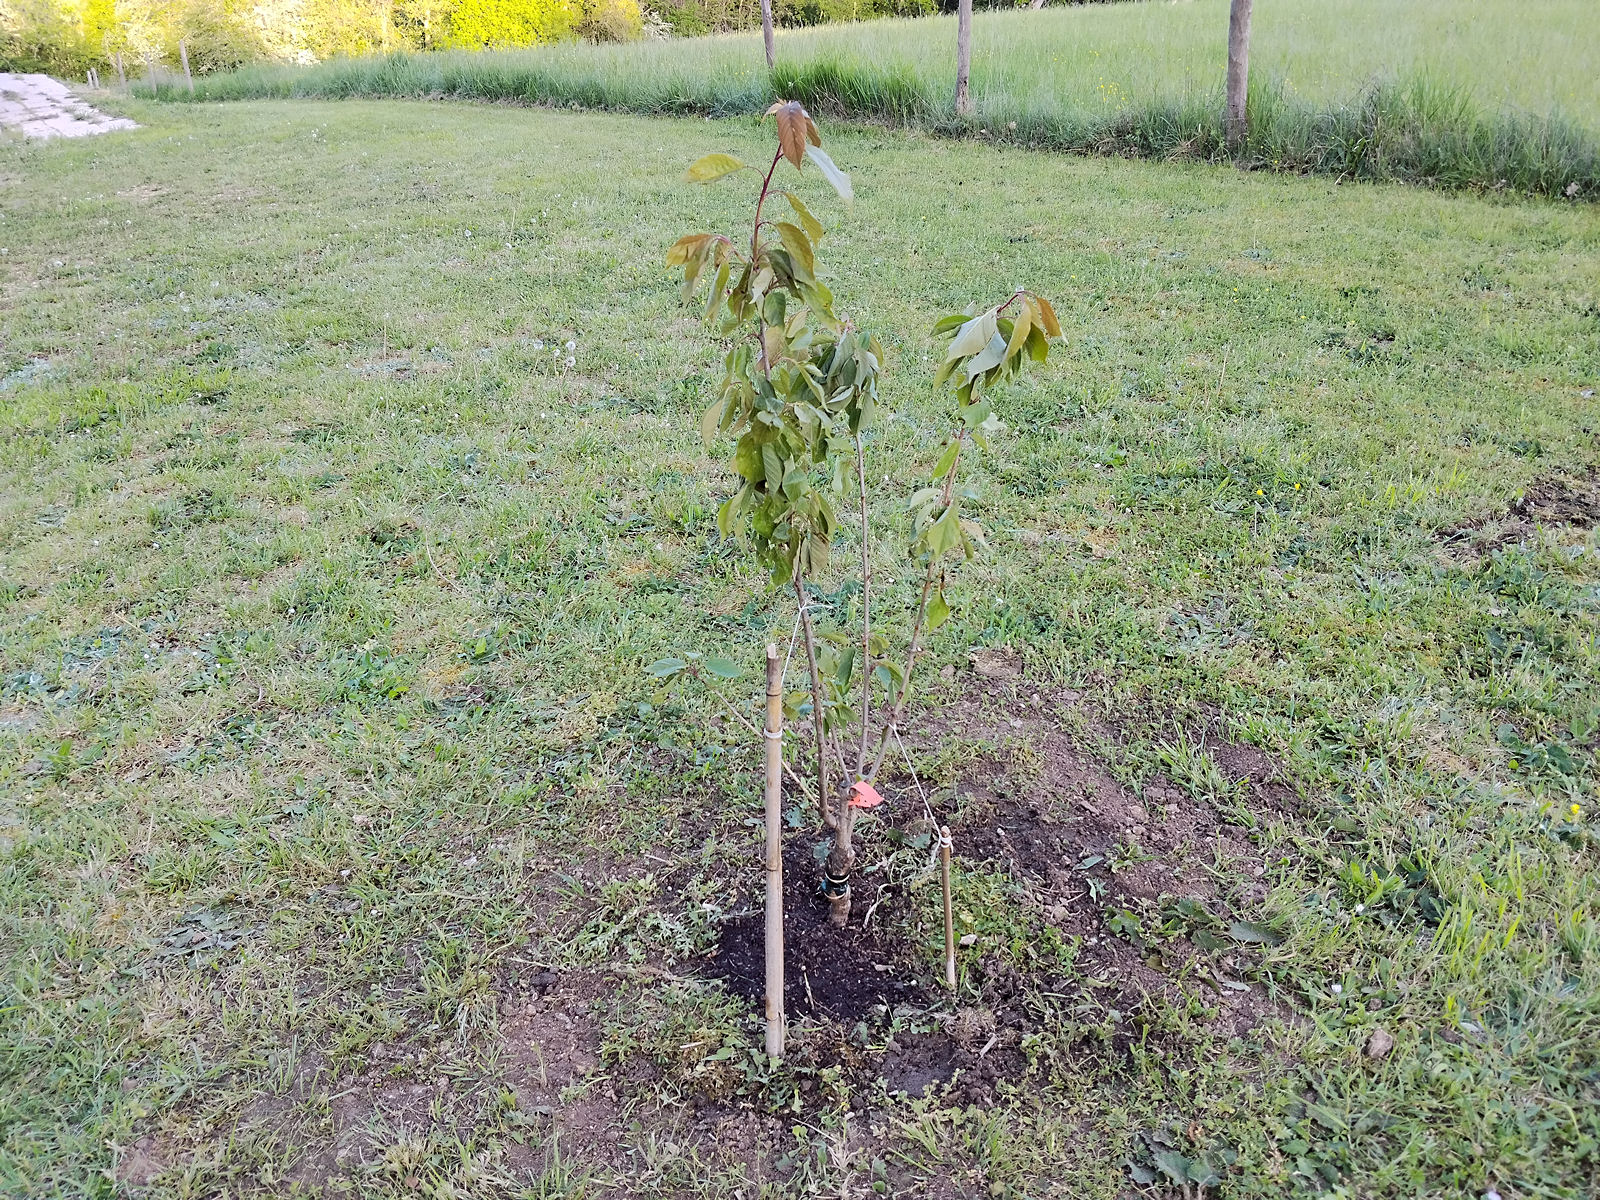
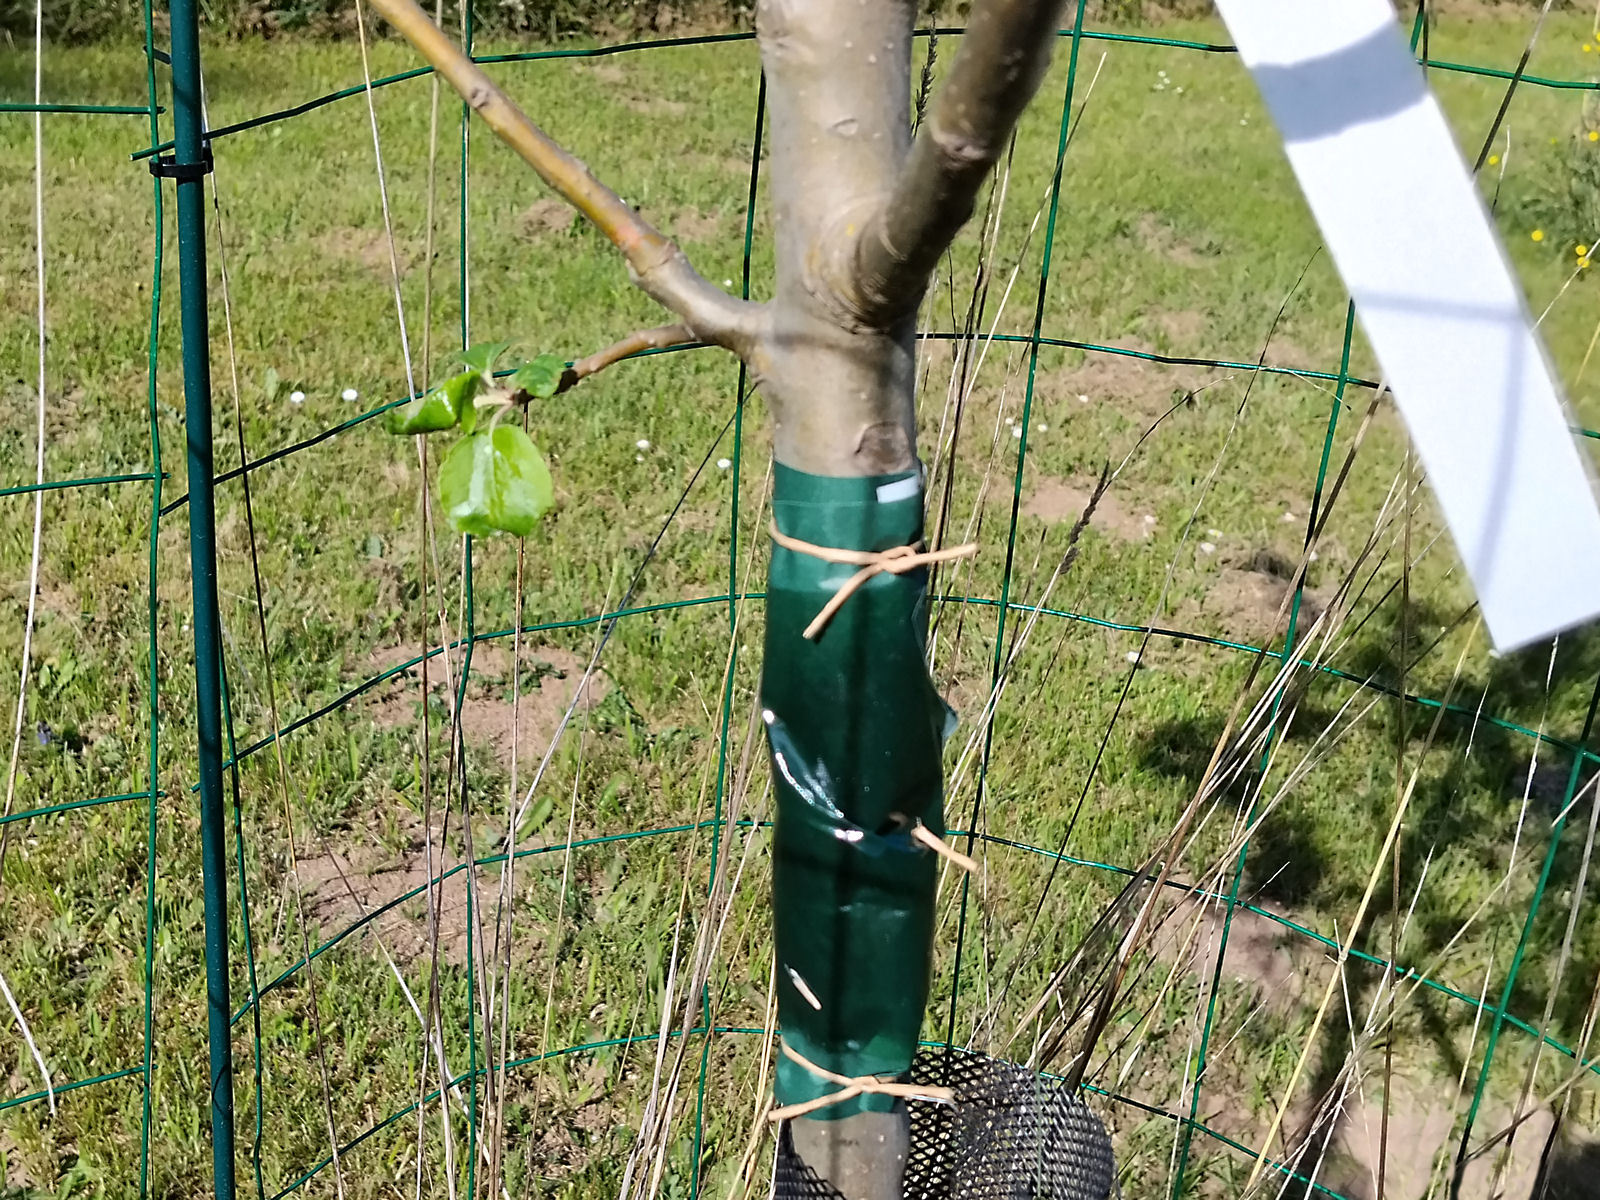
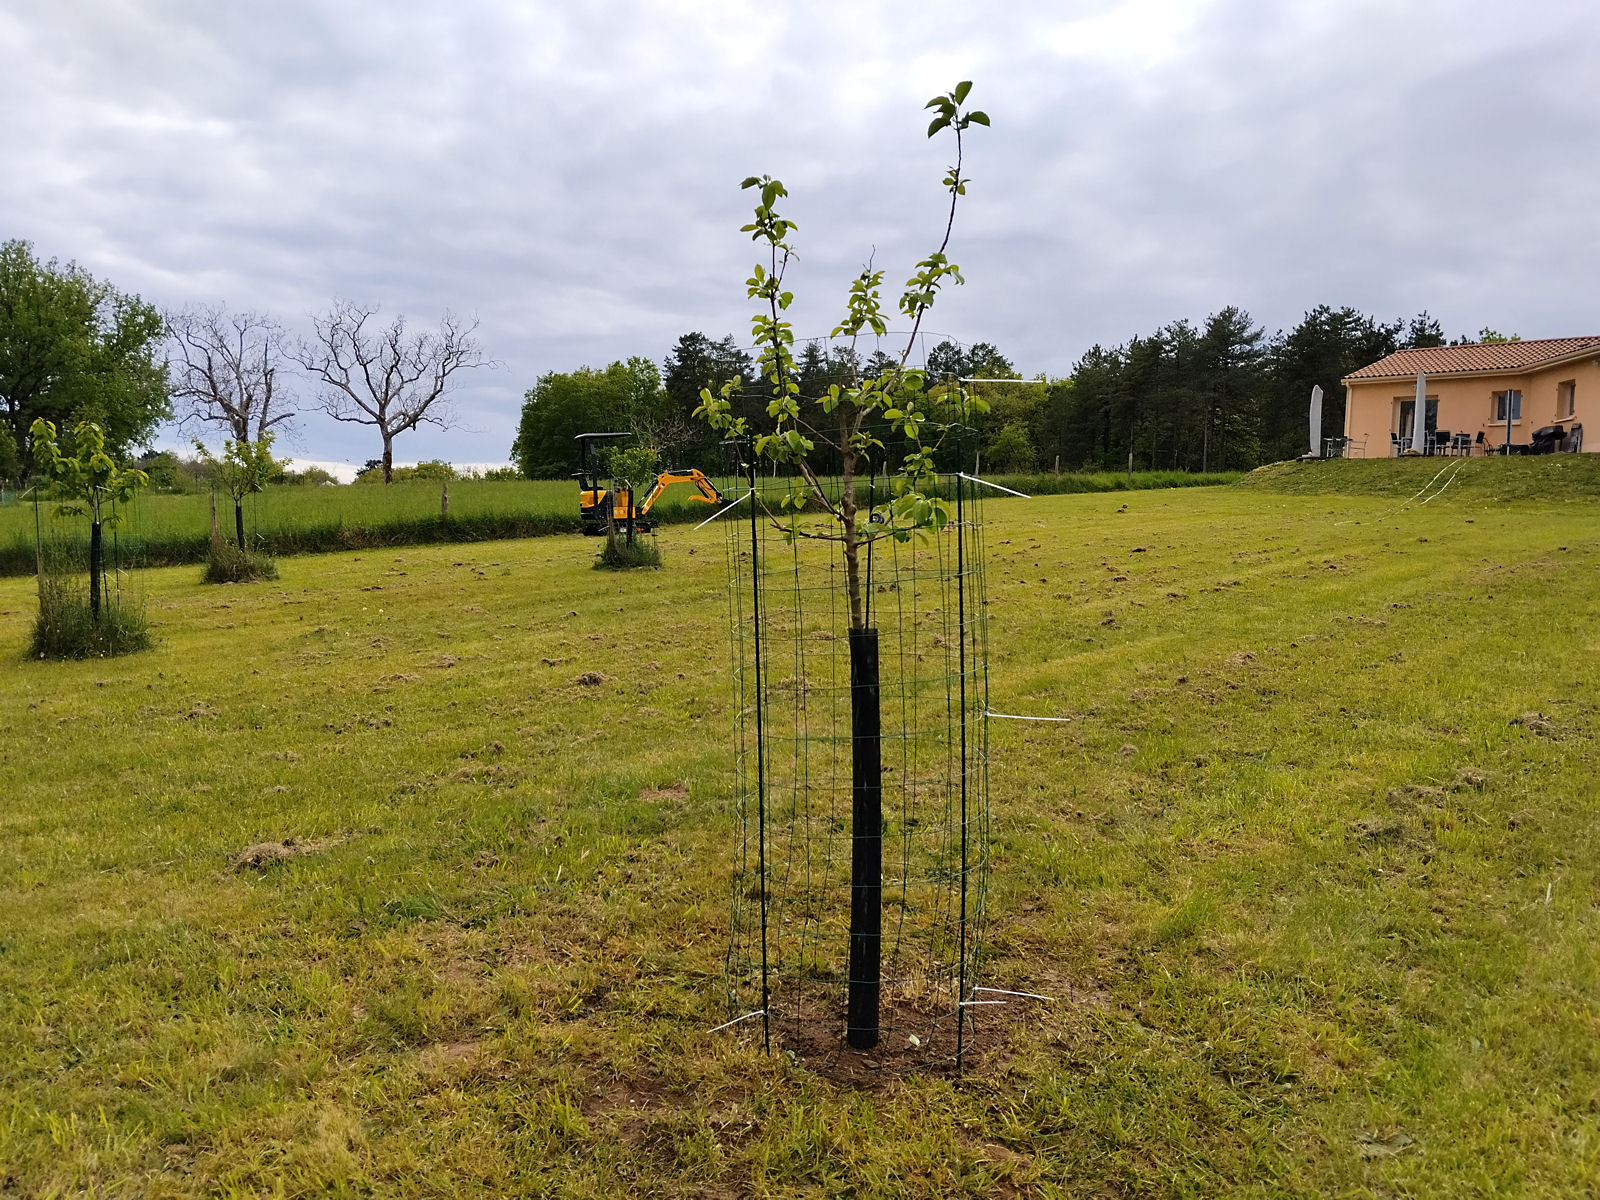
Starting with putting barriers around my newest apple tree in my back garden and the already chewed Japanese Flowering Cherry in the front. As far as the latter is concerned, it still has a few leaves on it and as they are reputed to be avid growers and I don’t have the time to do anything else with it for the time being, now I’ll just wait and see if it recovers. If not…

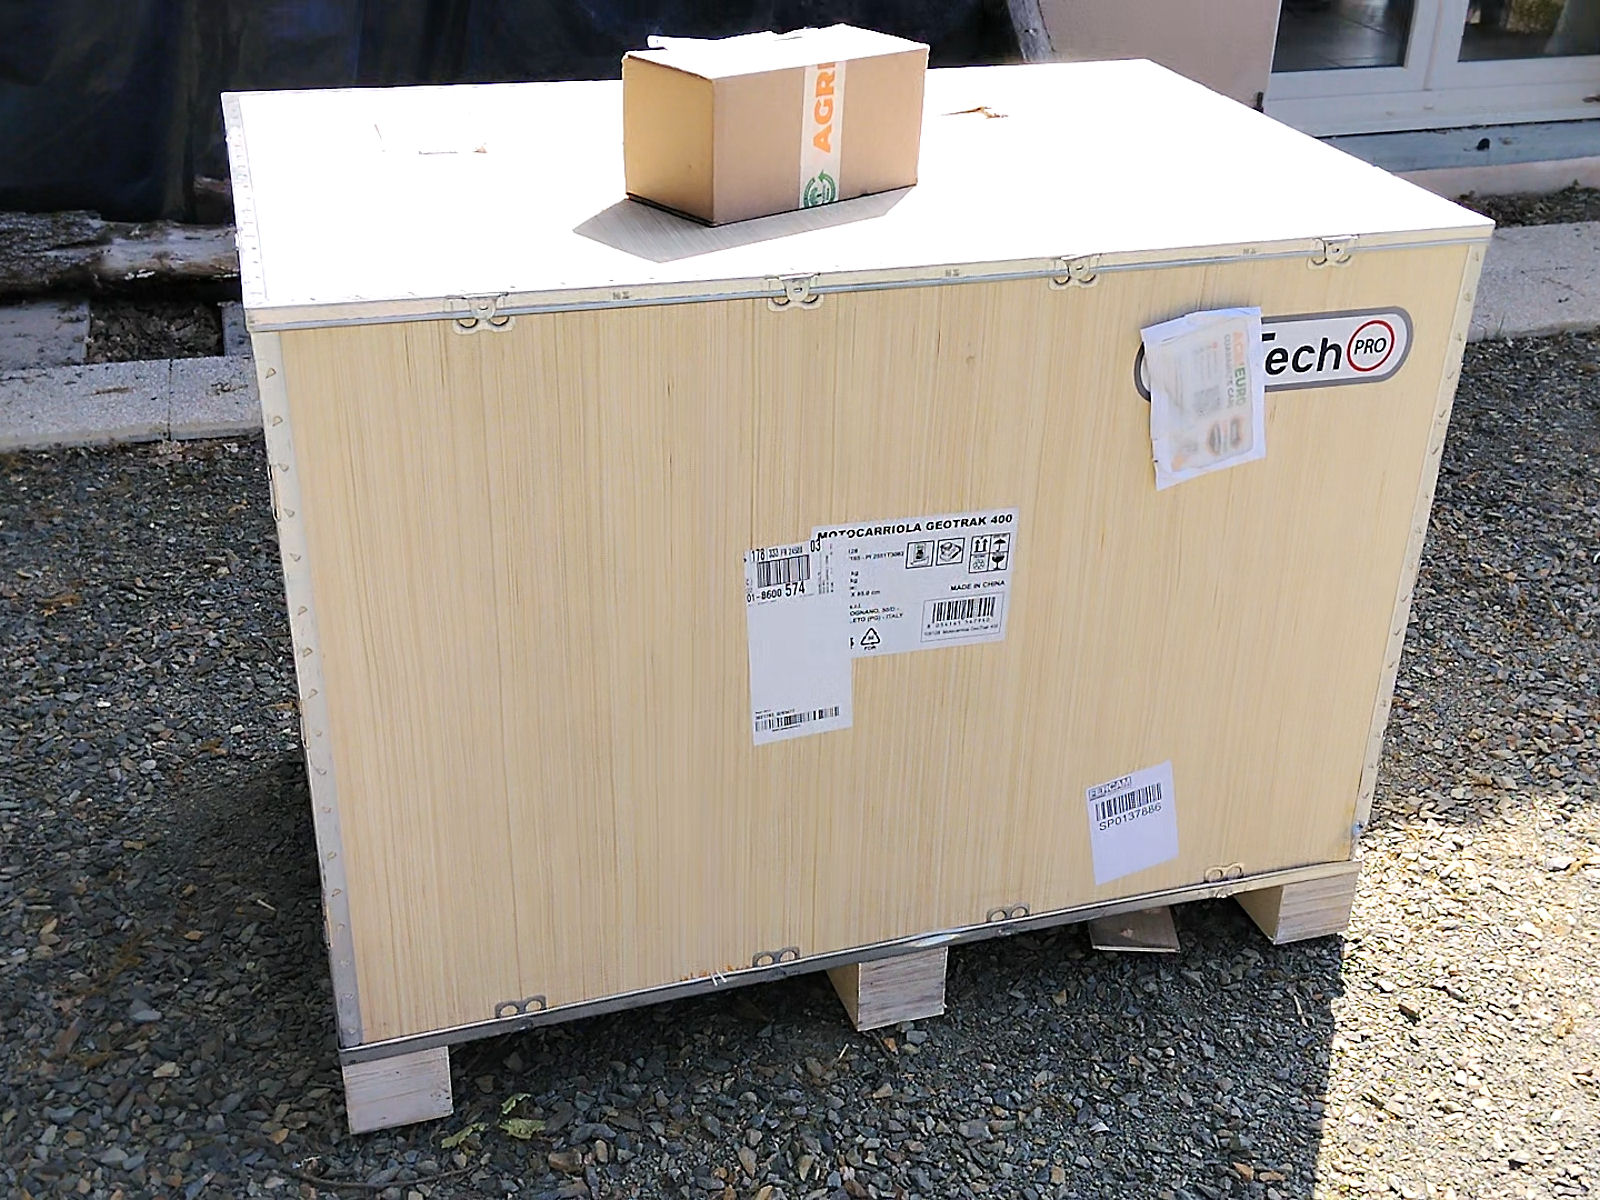
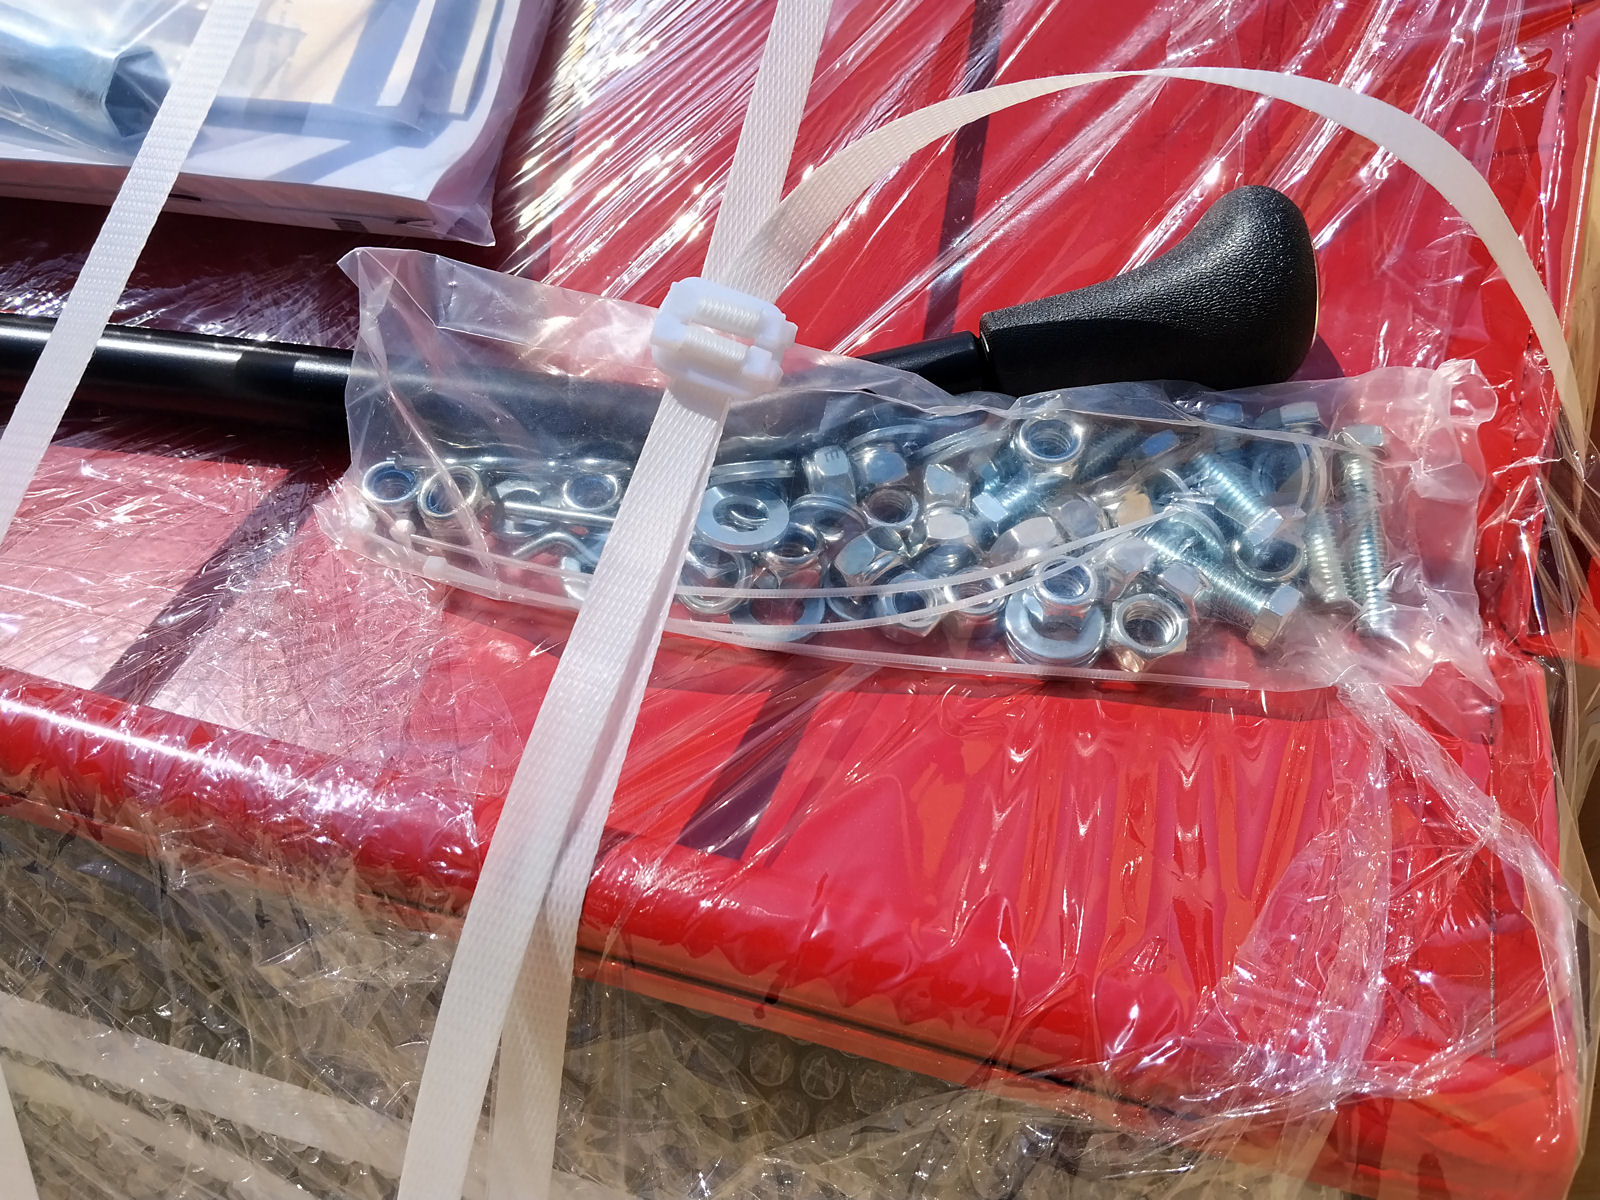
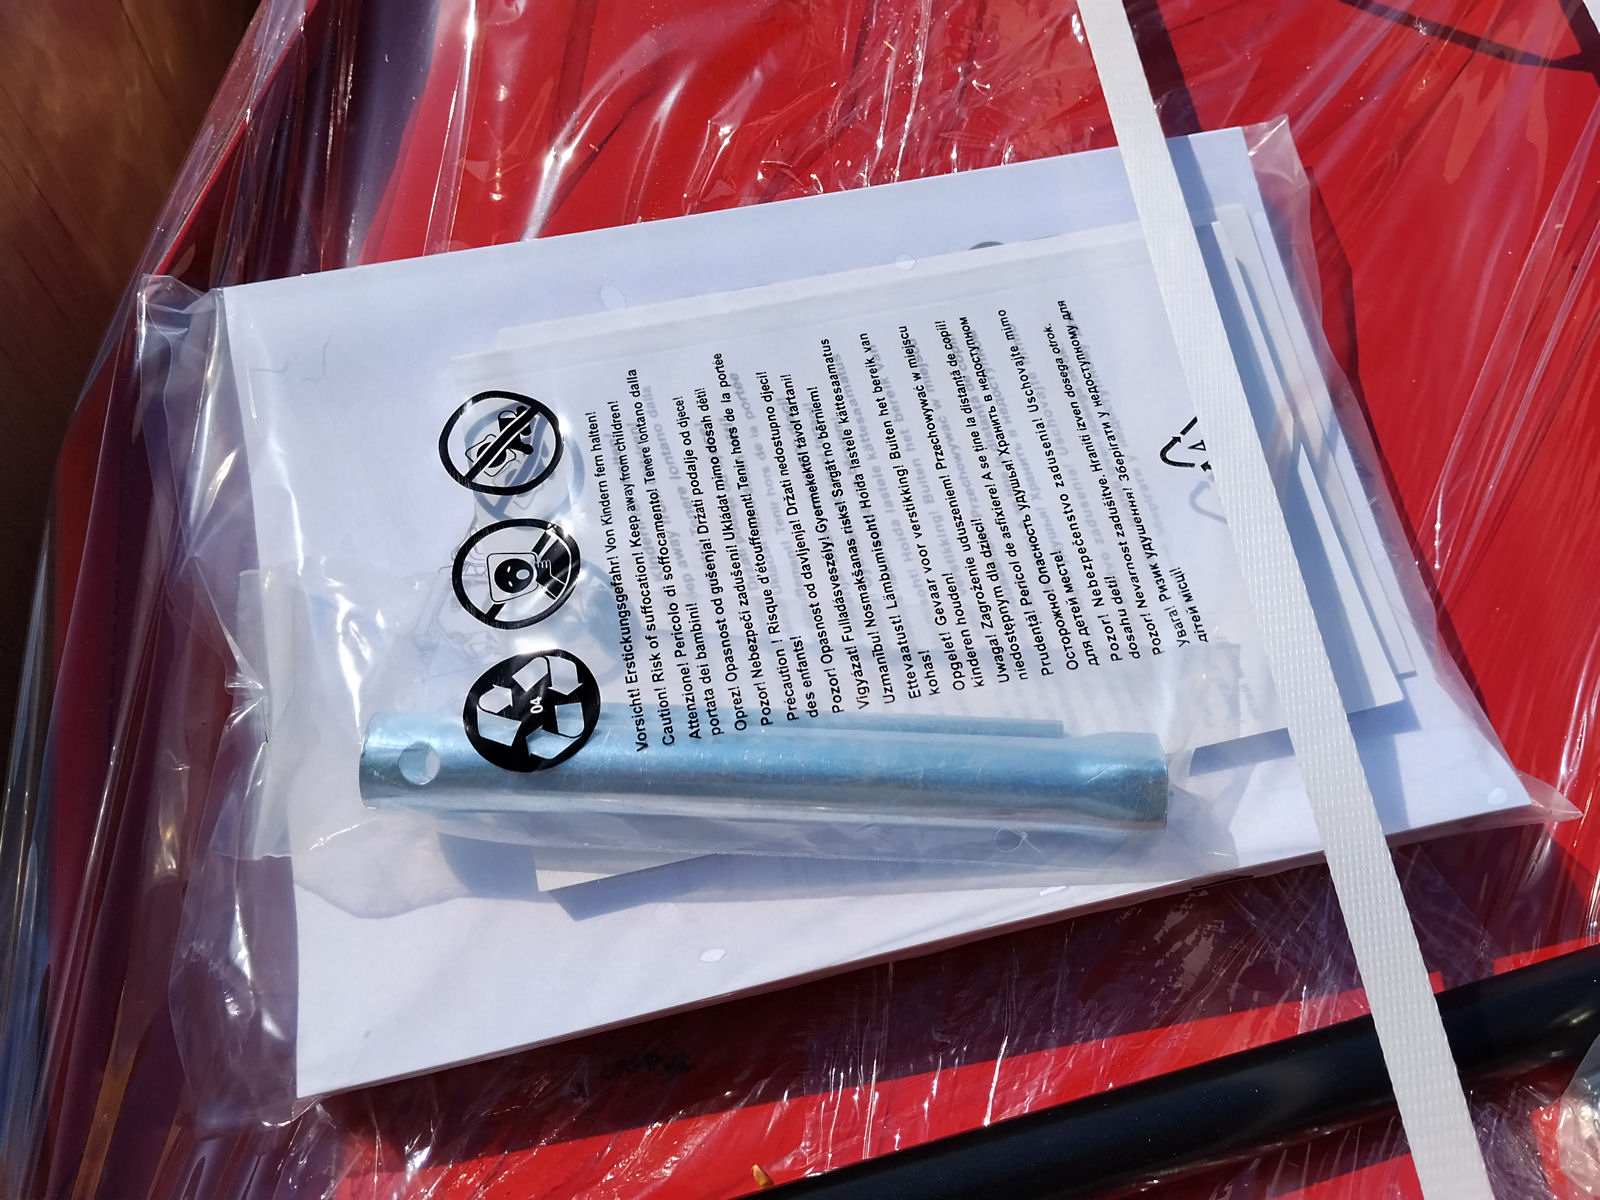
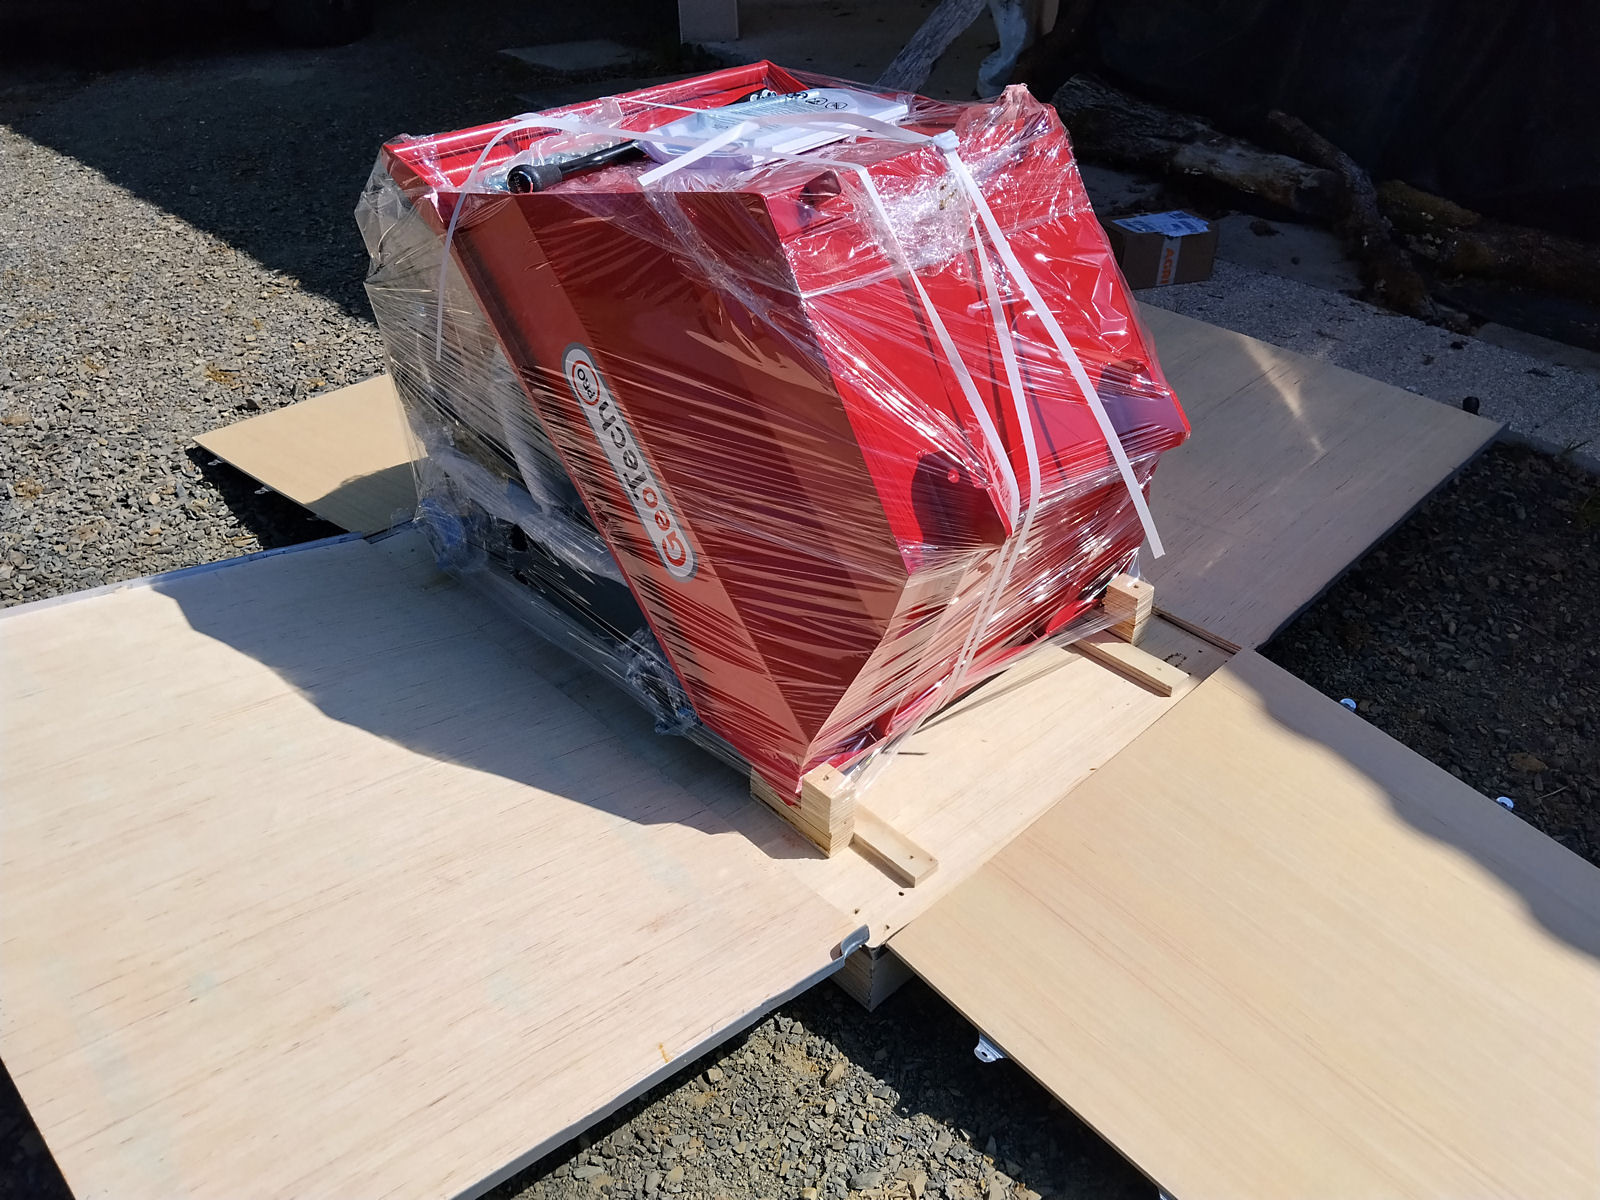
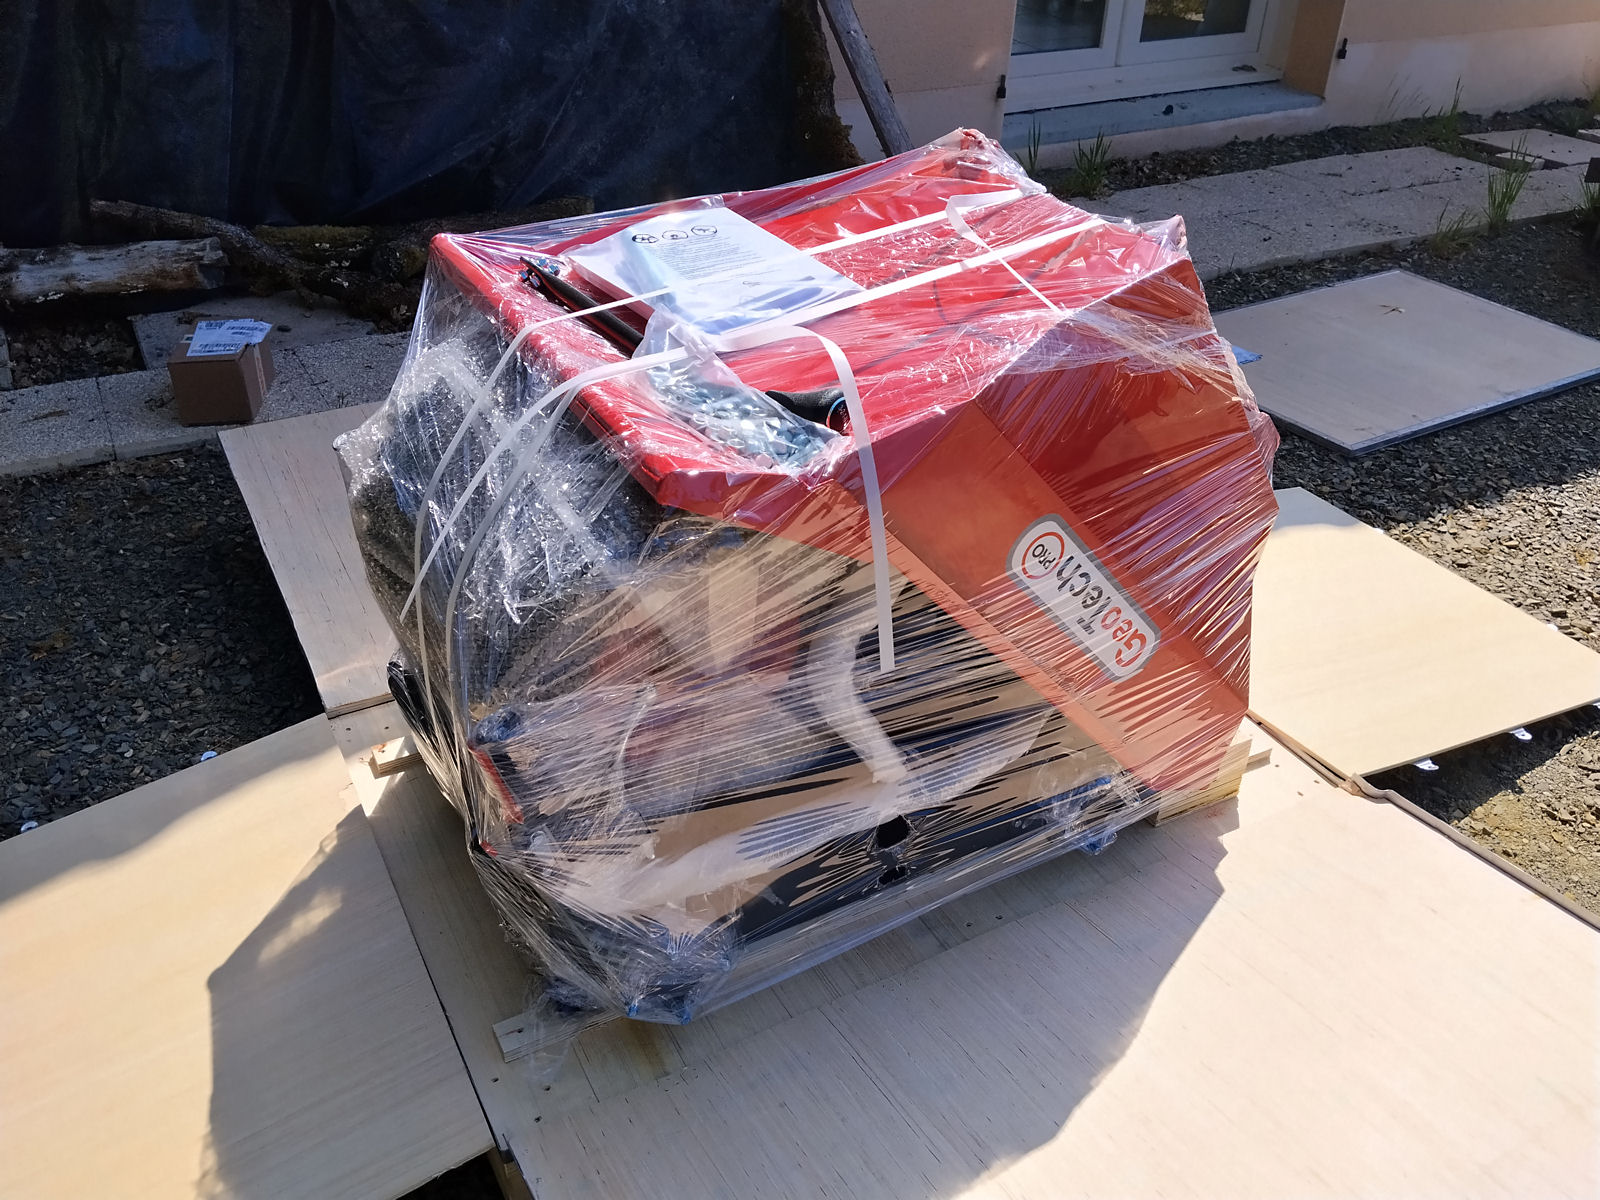
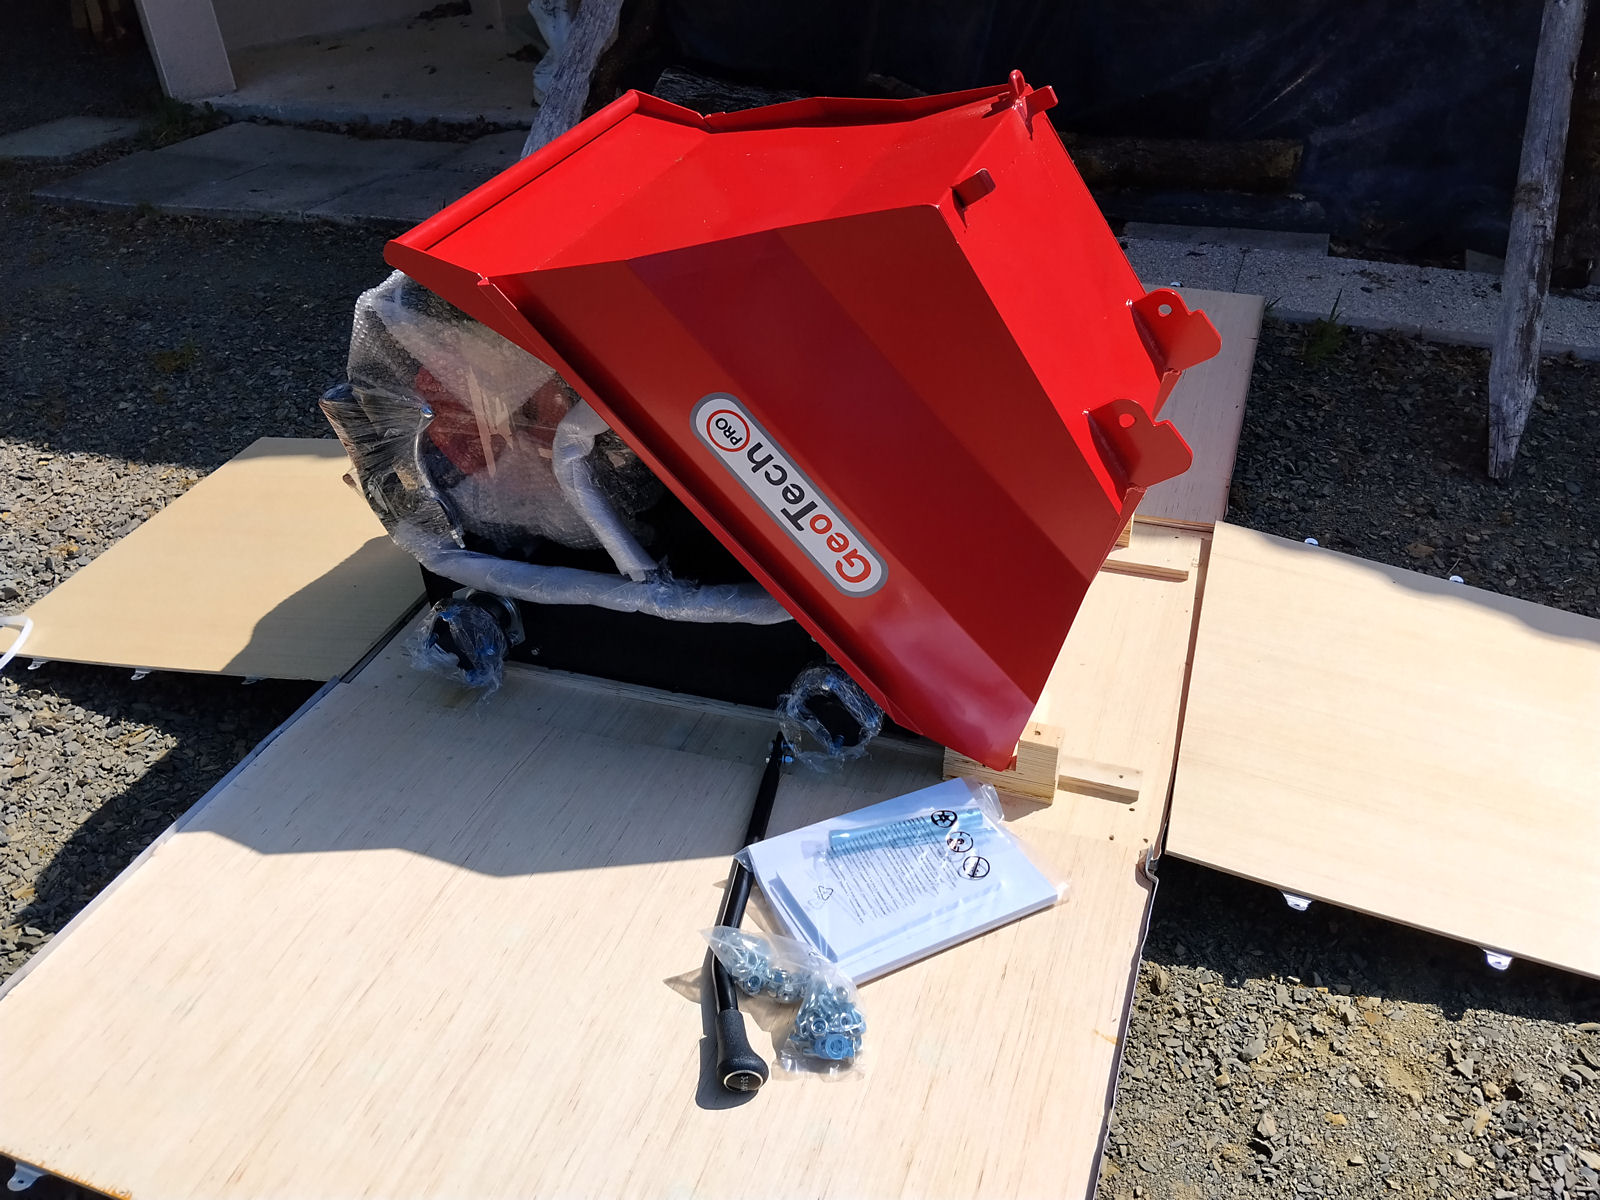
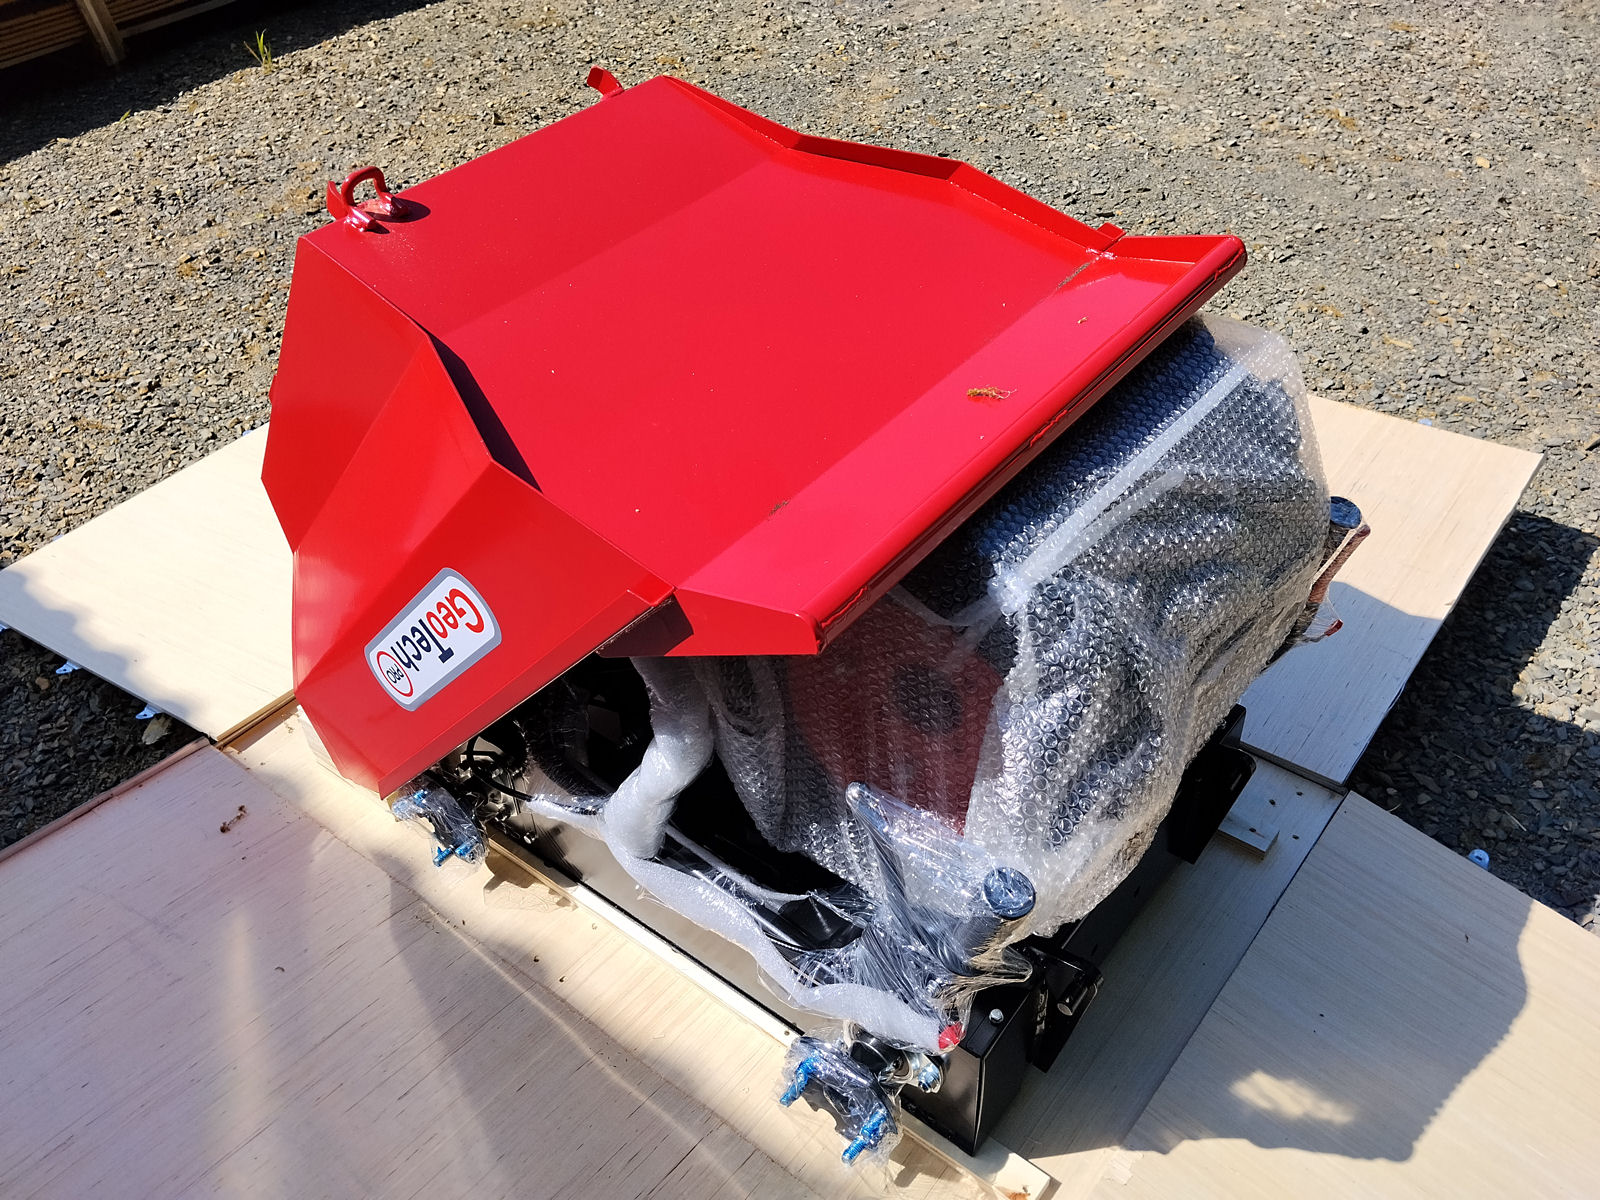
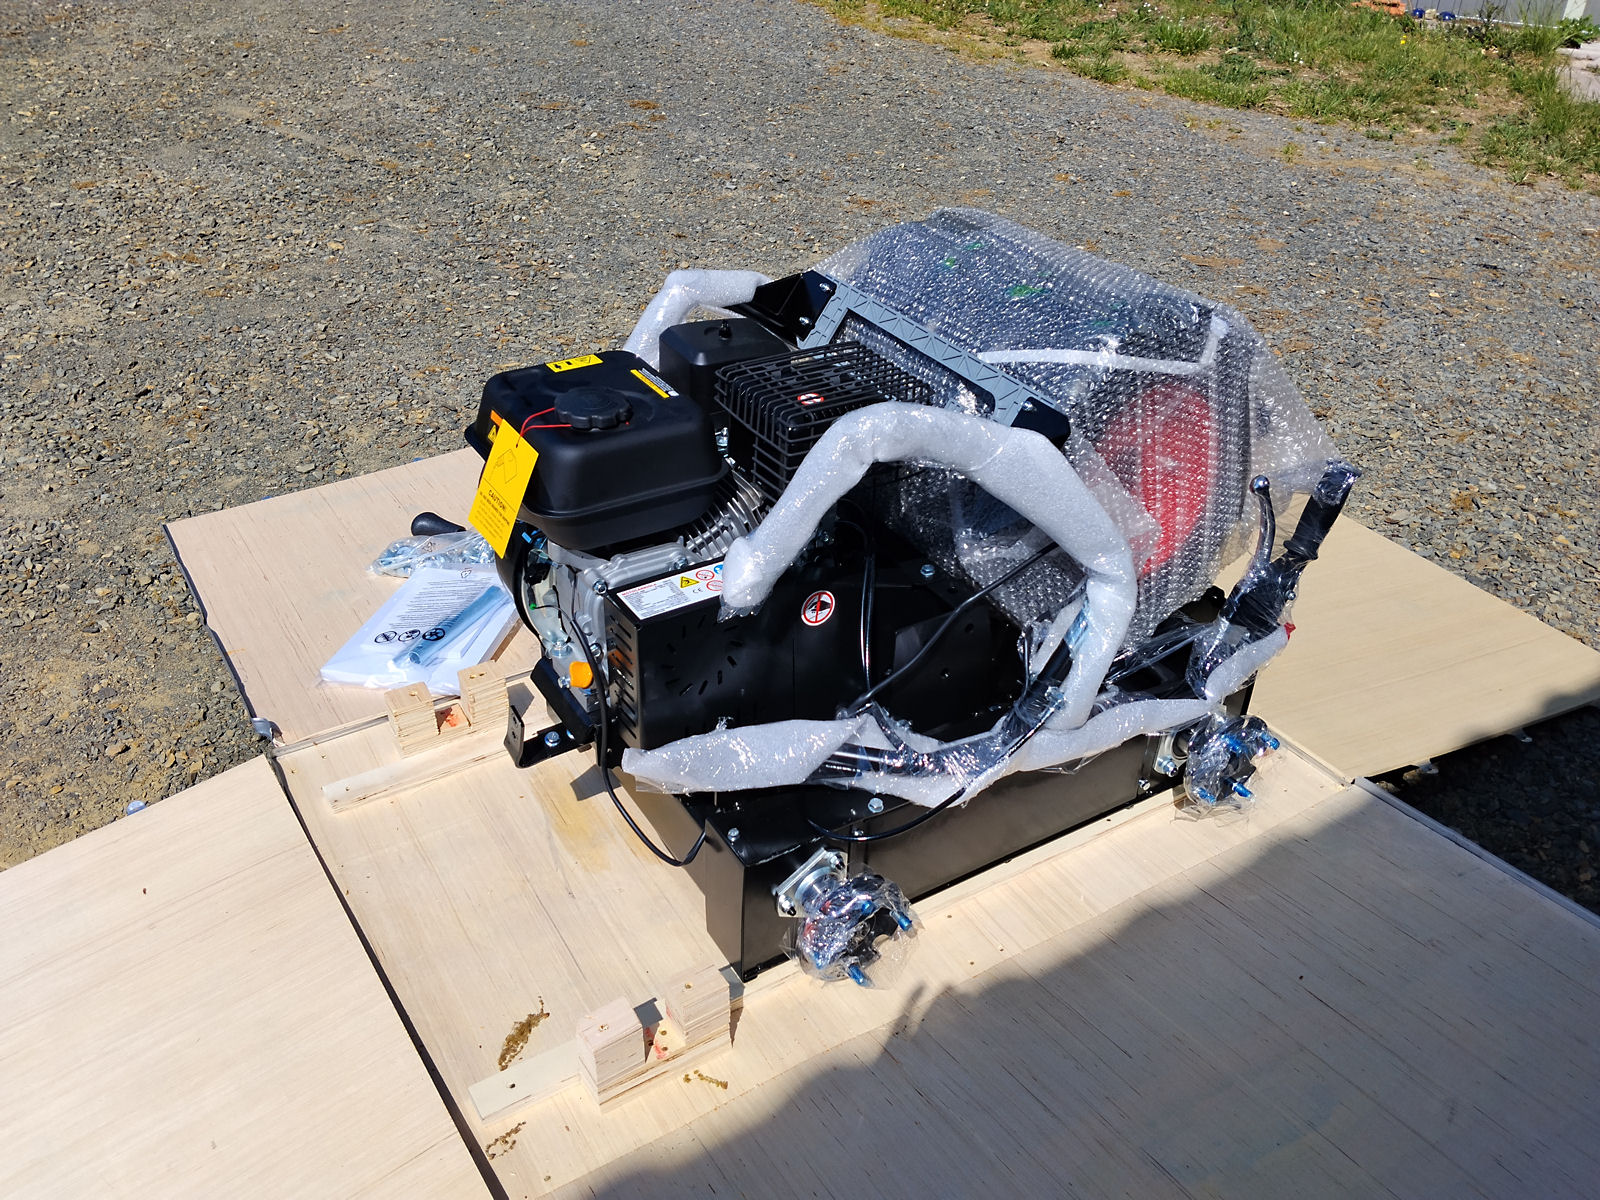
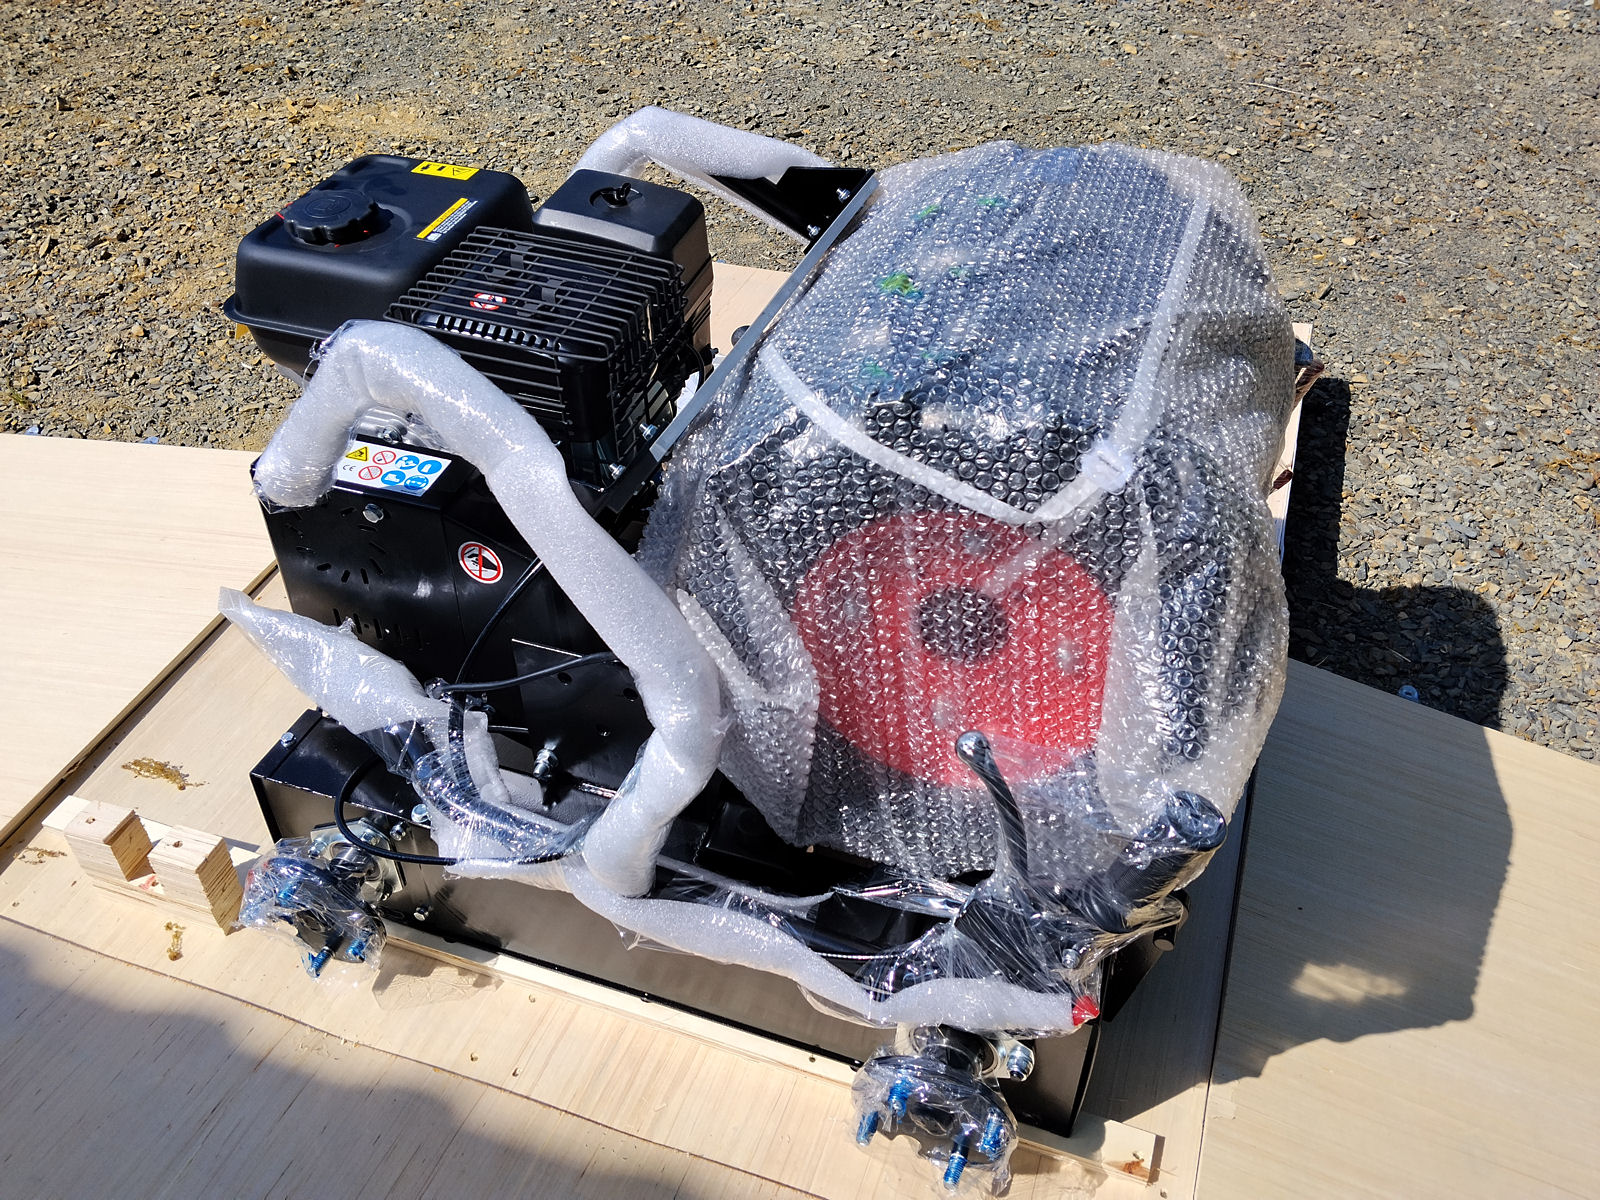
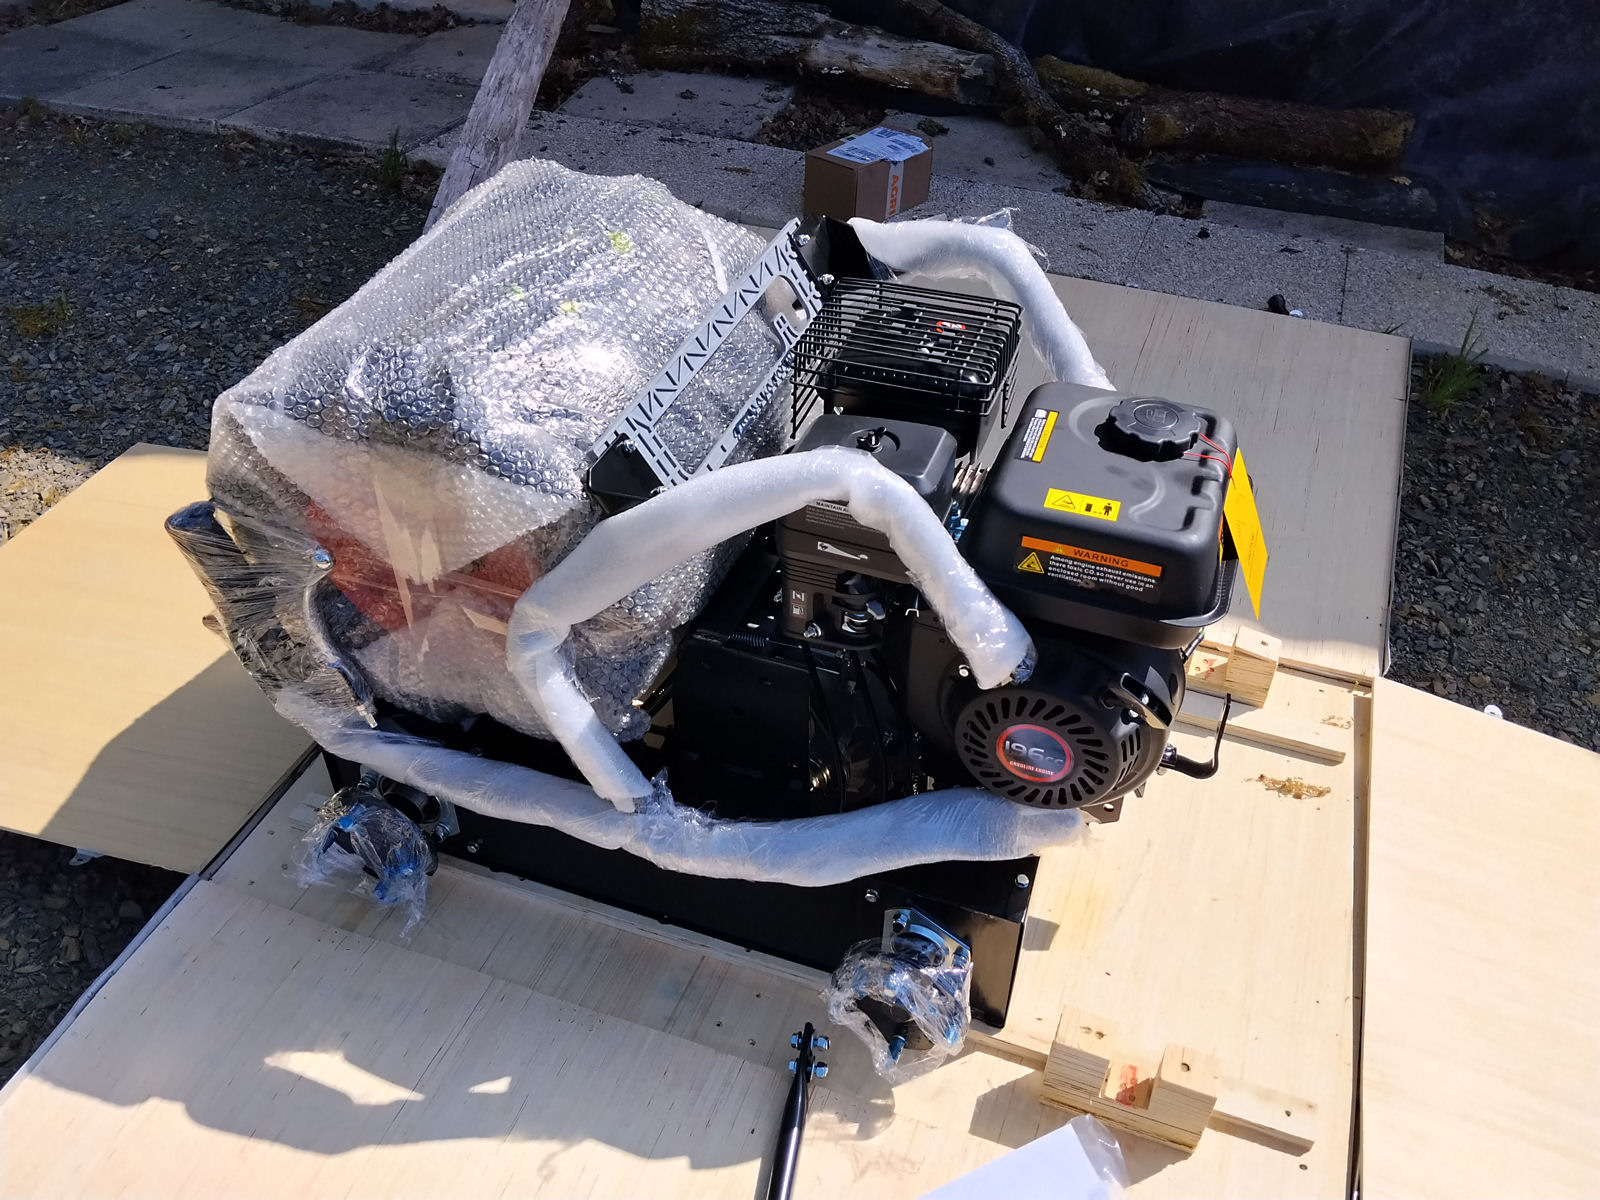
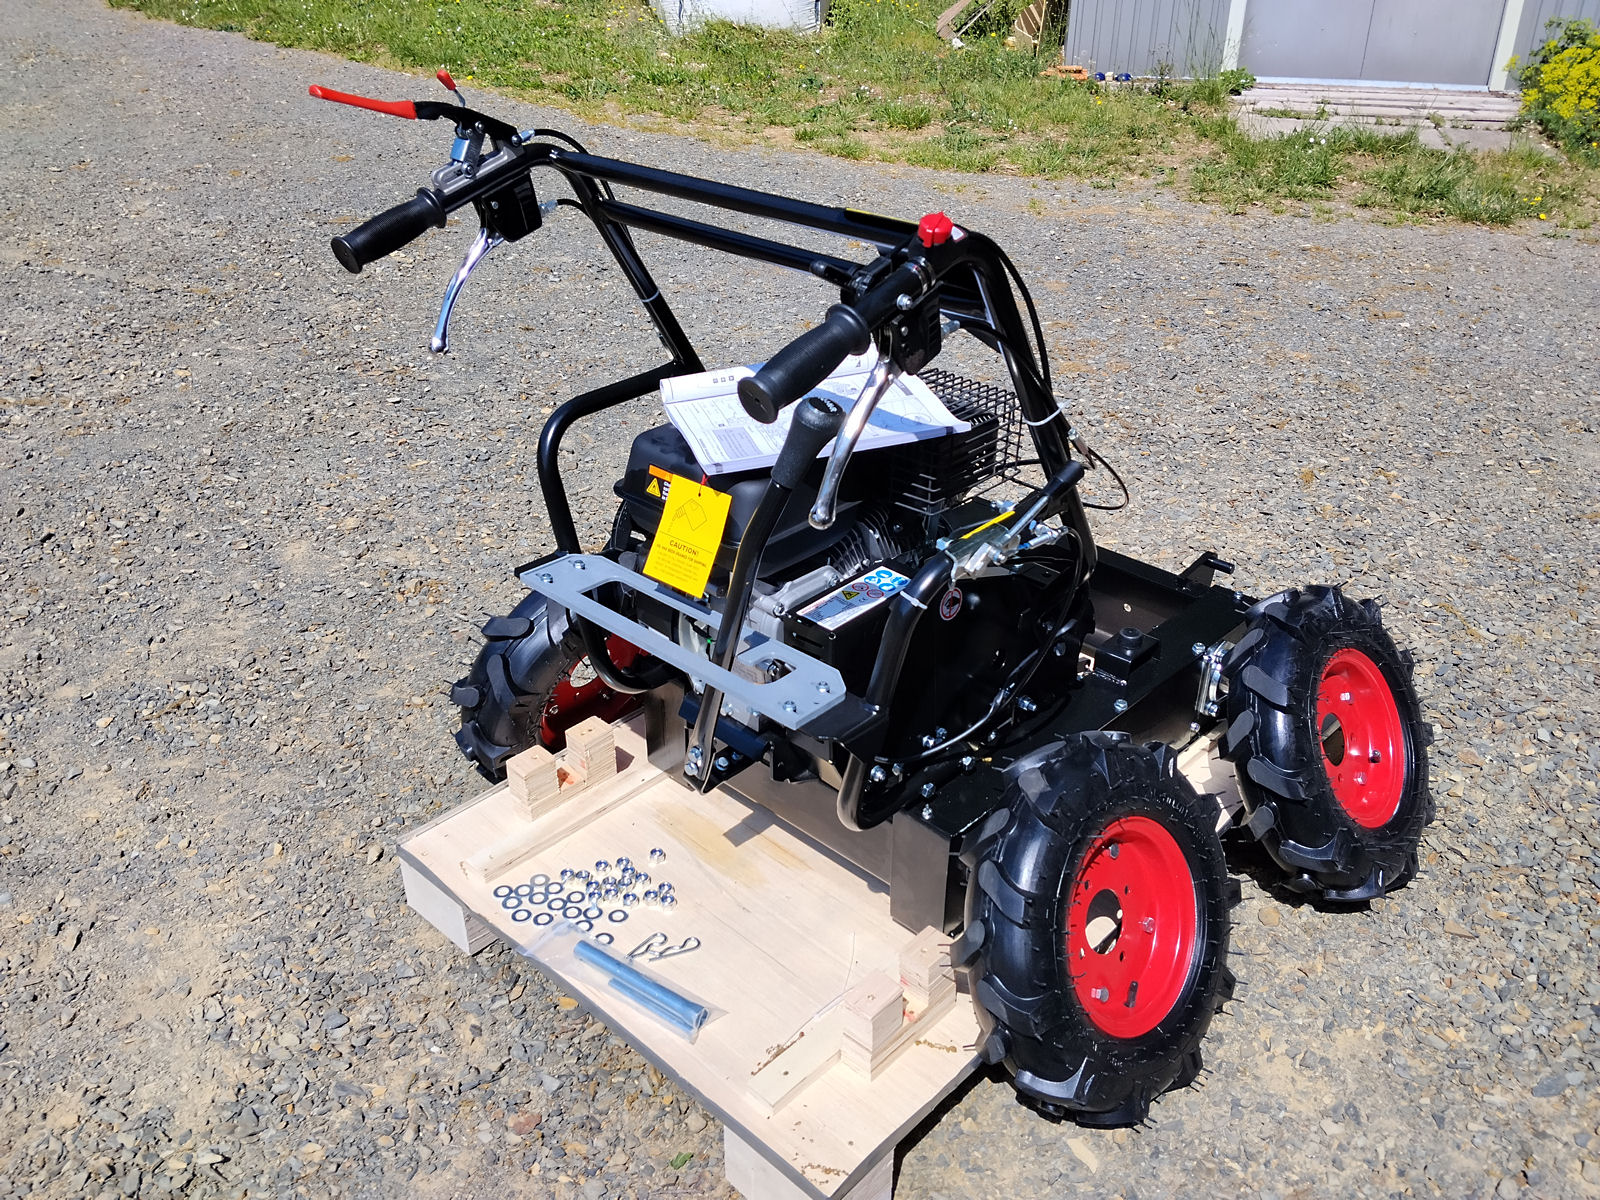
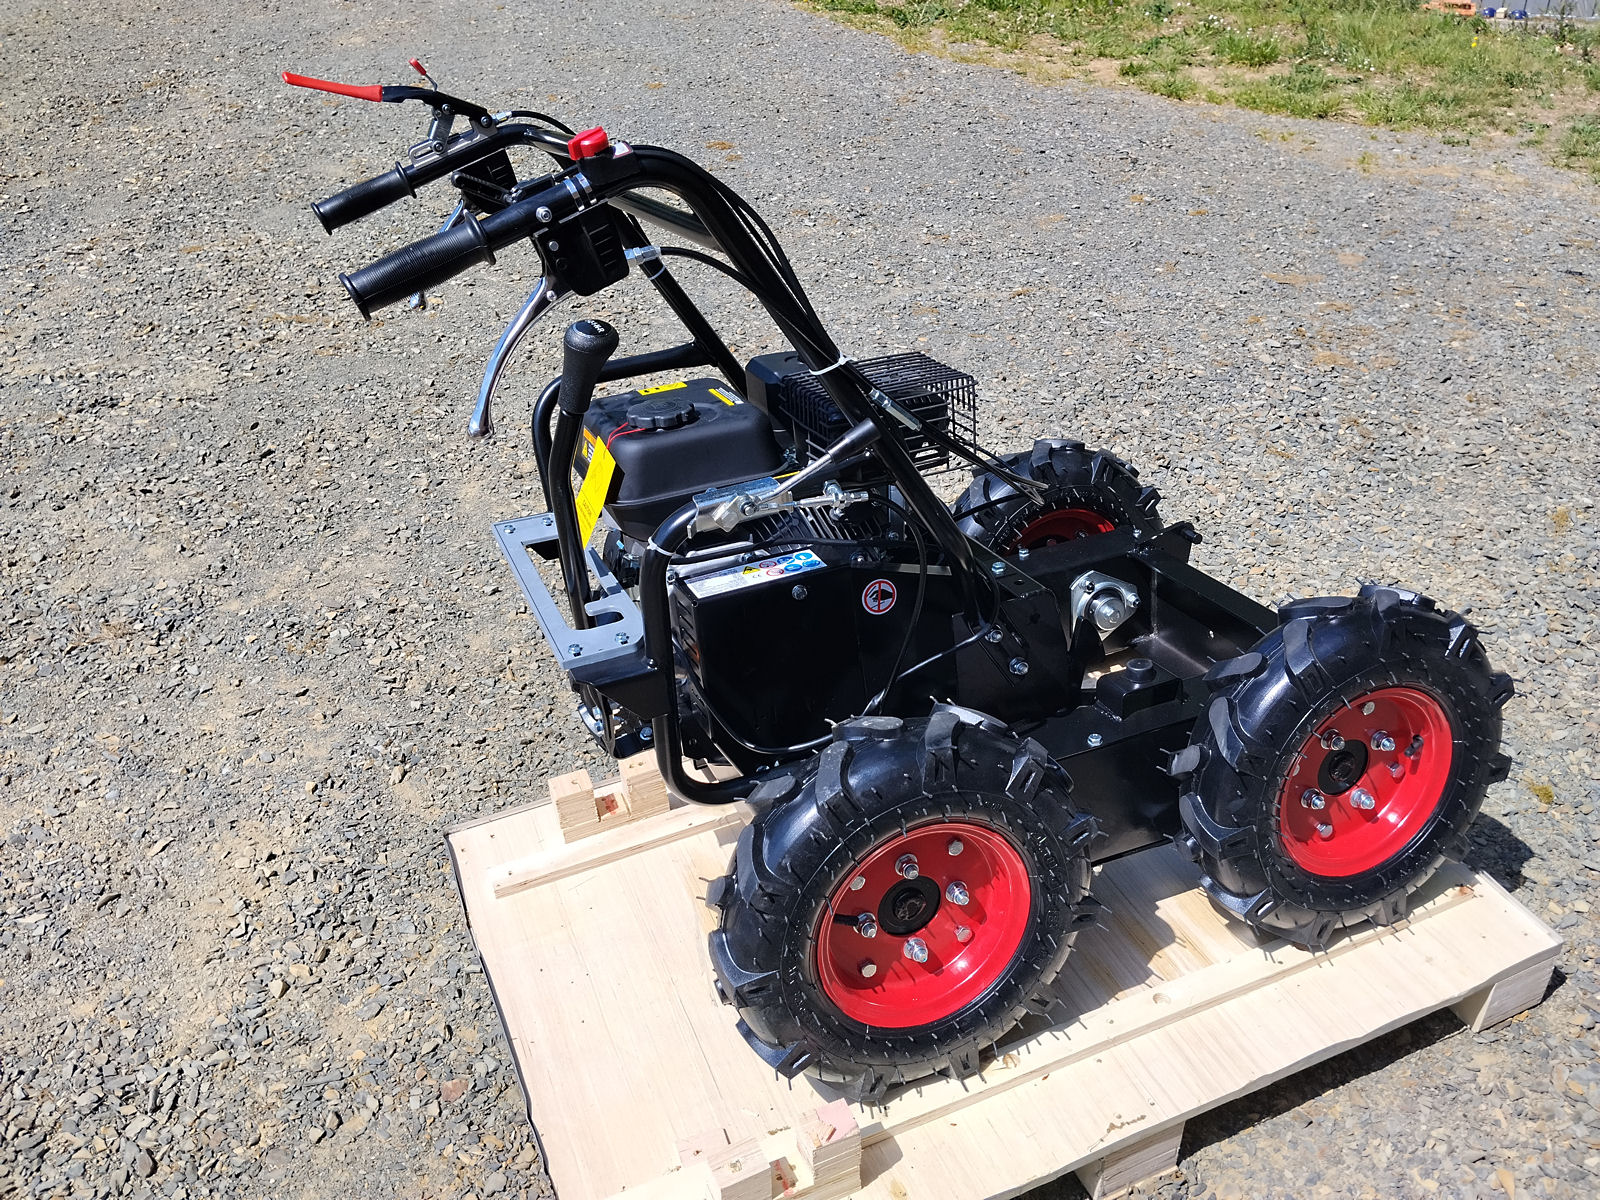
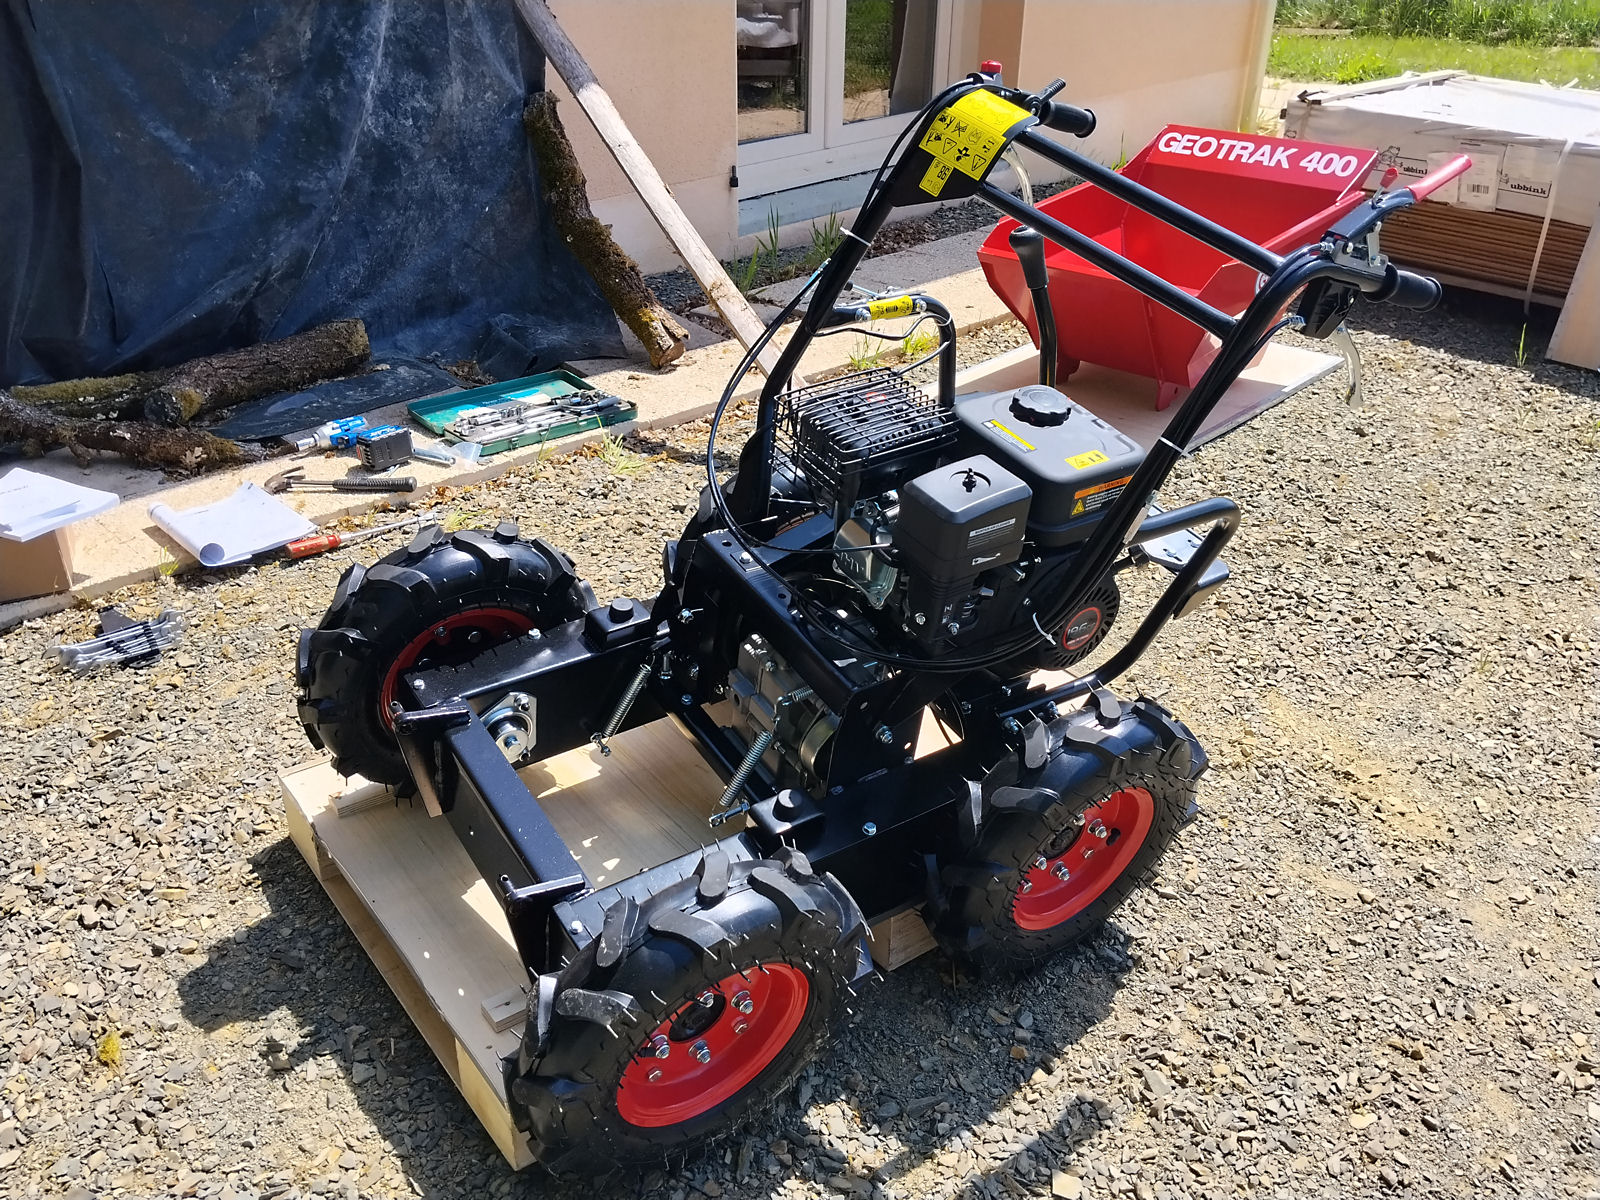
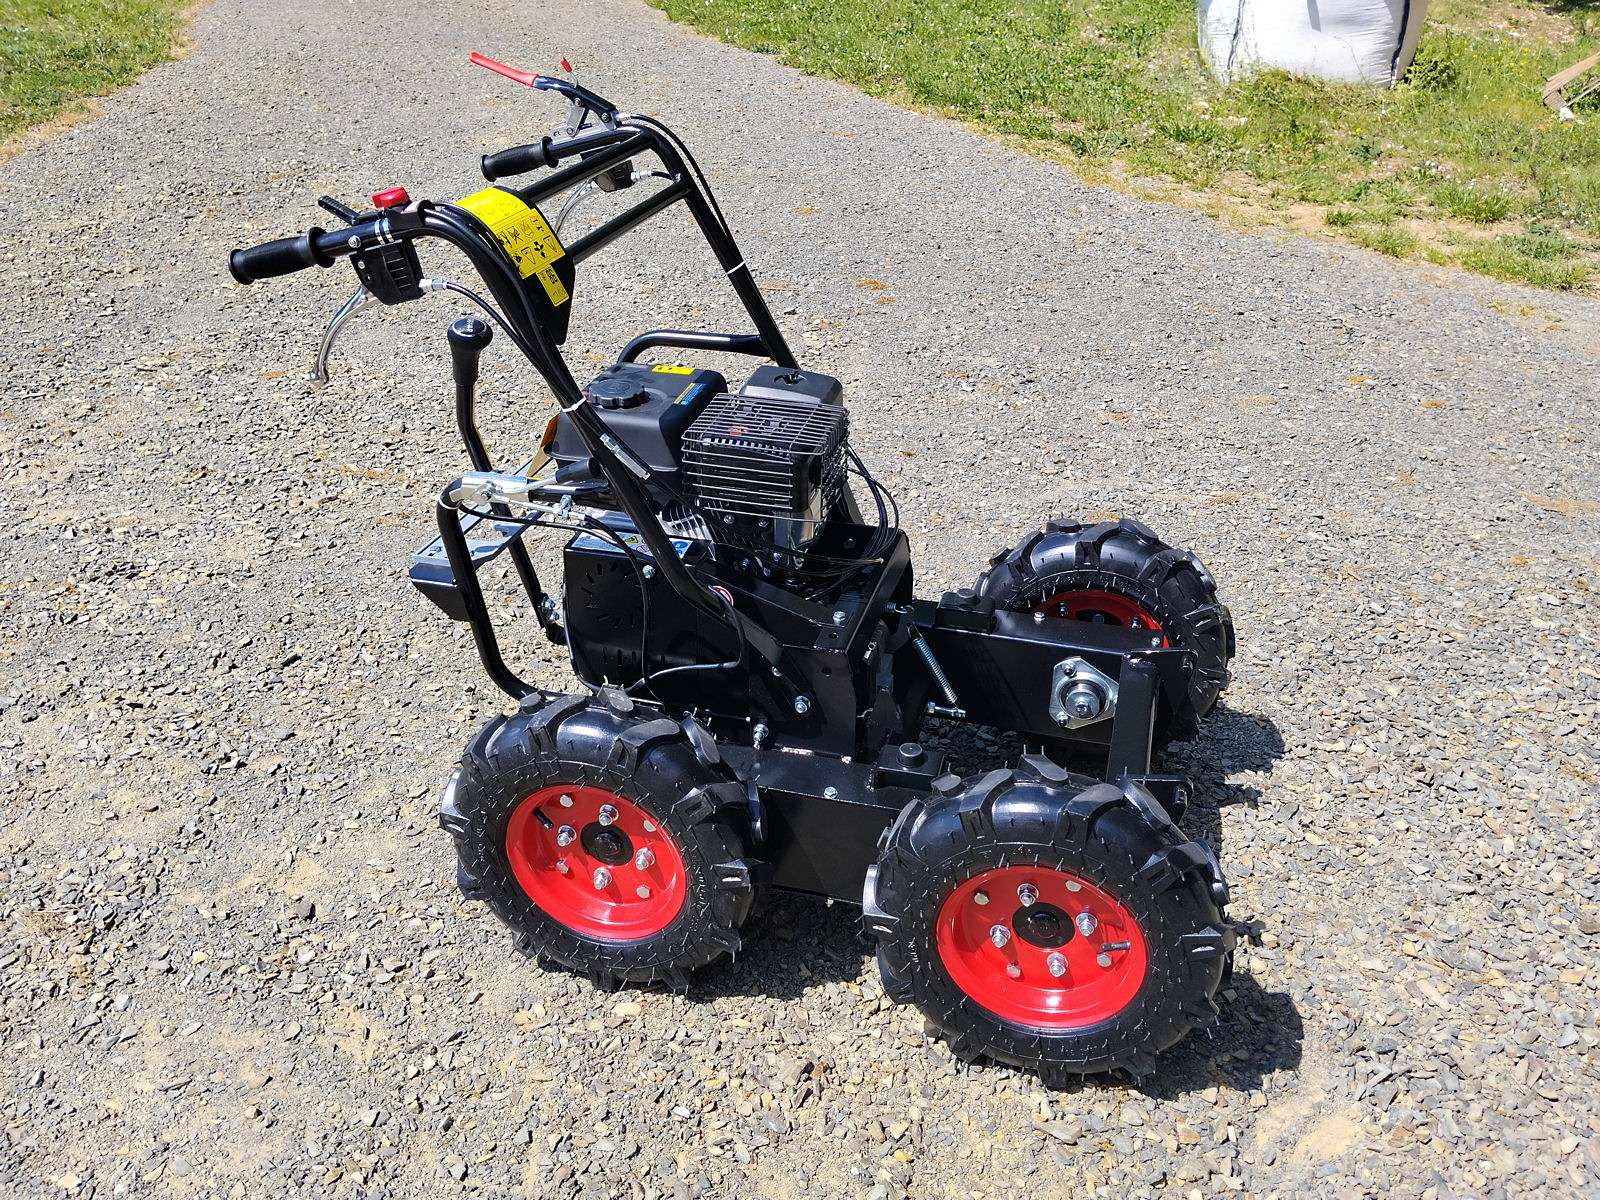
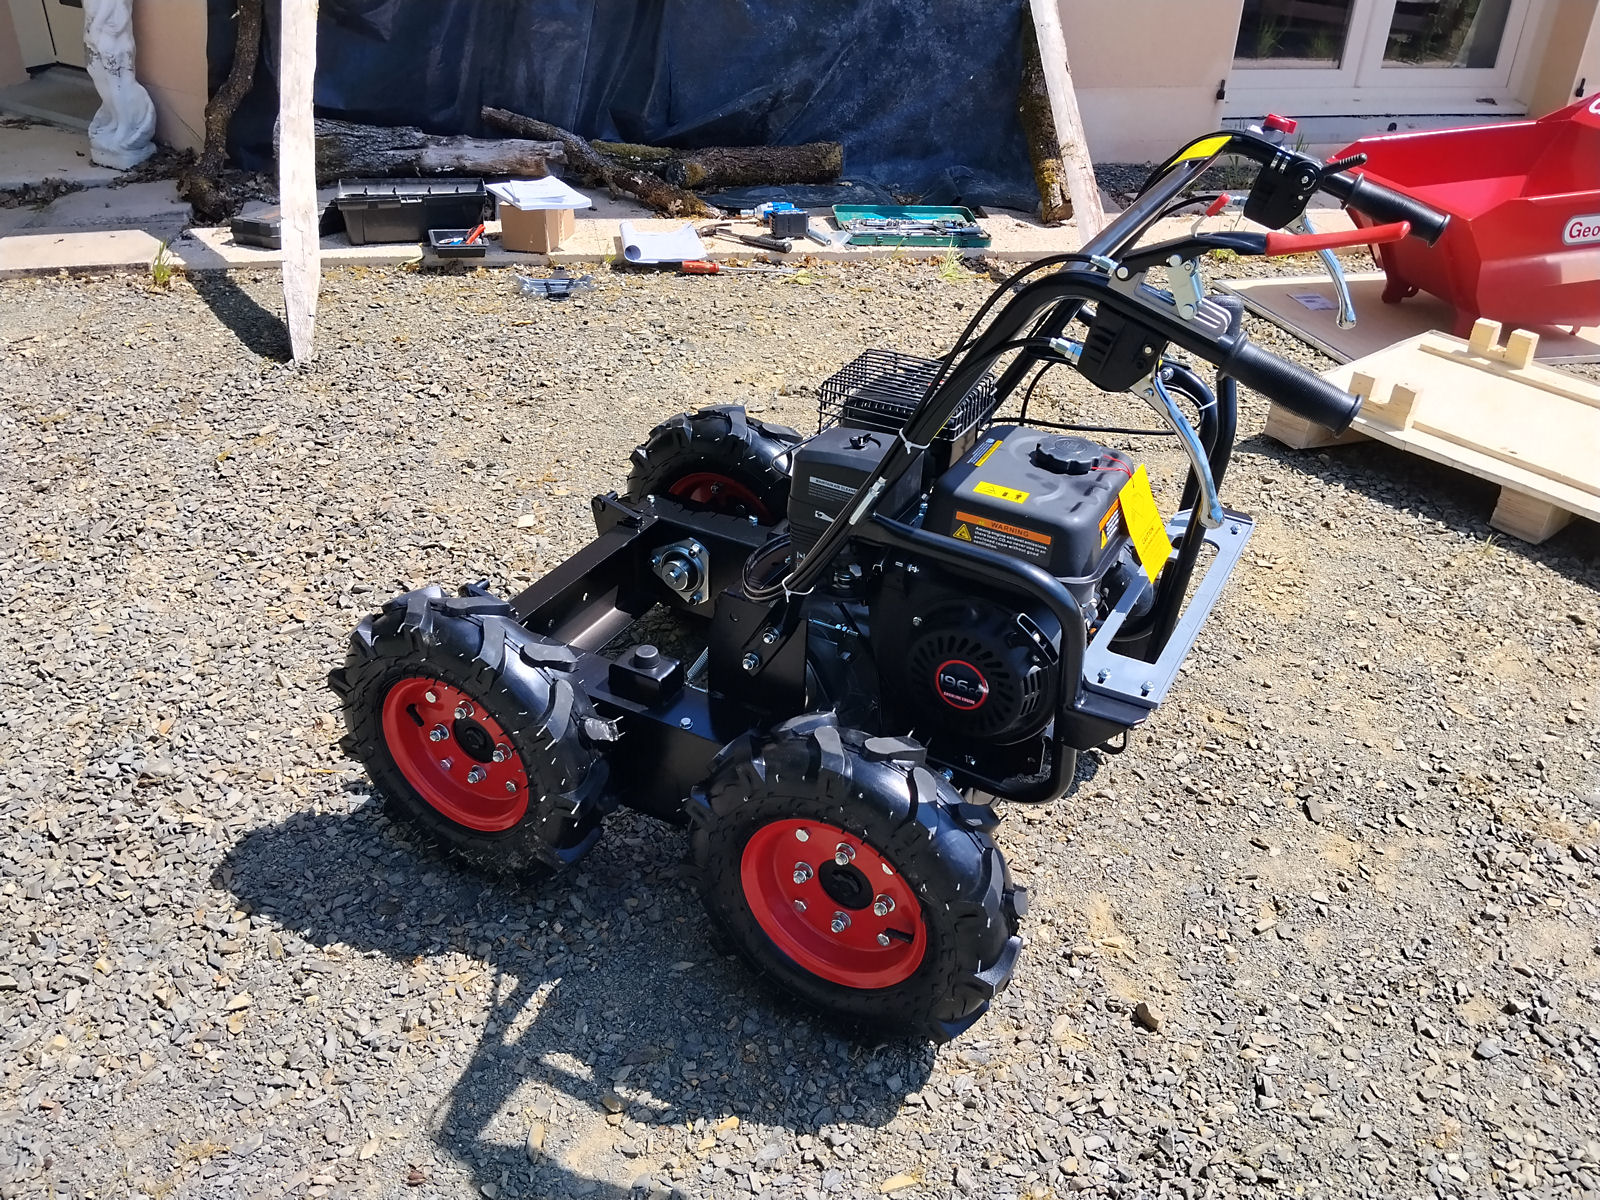
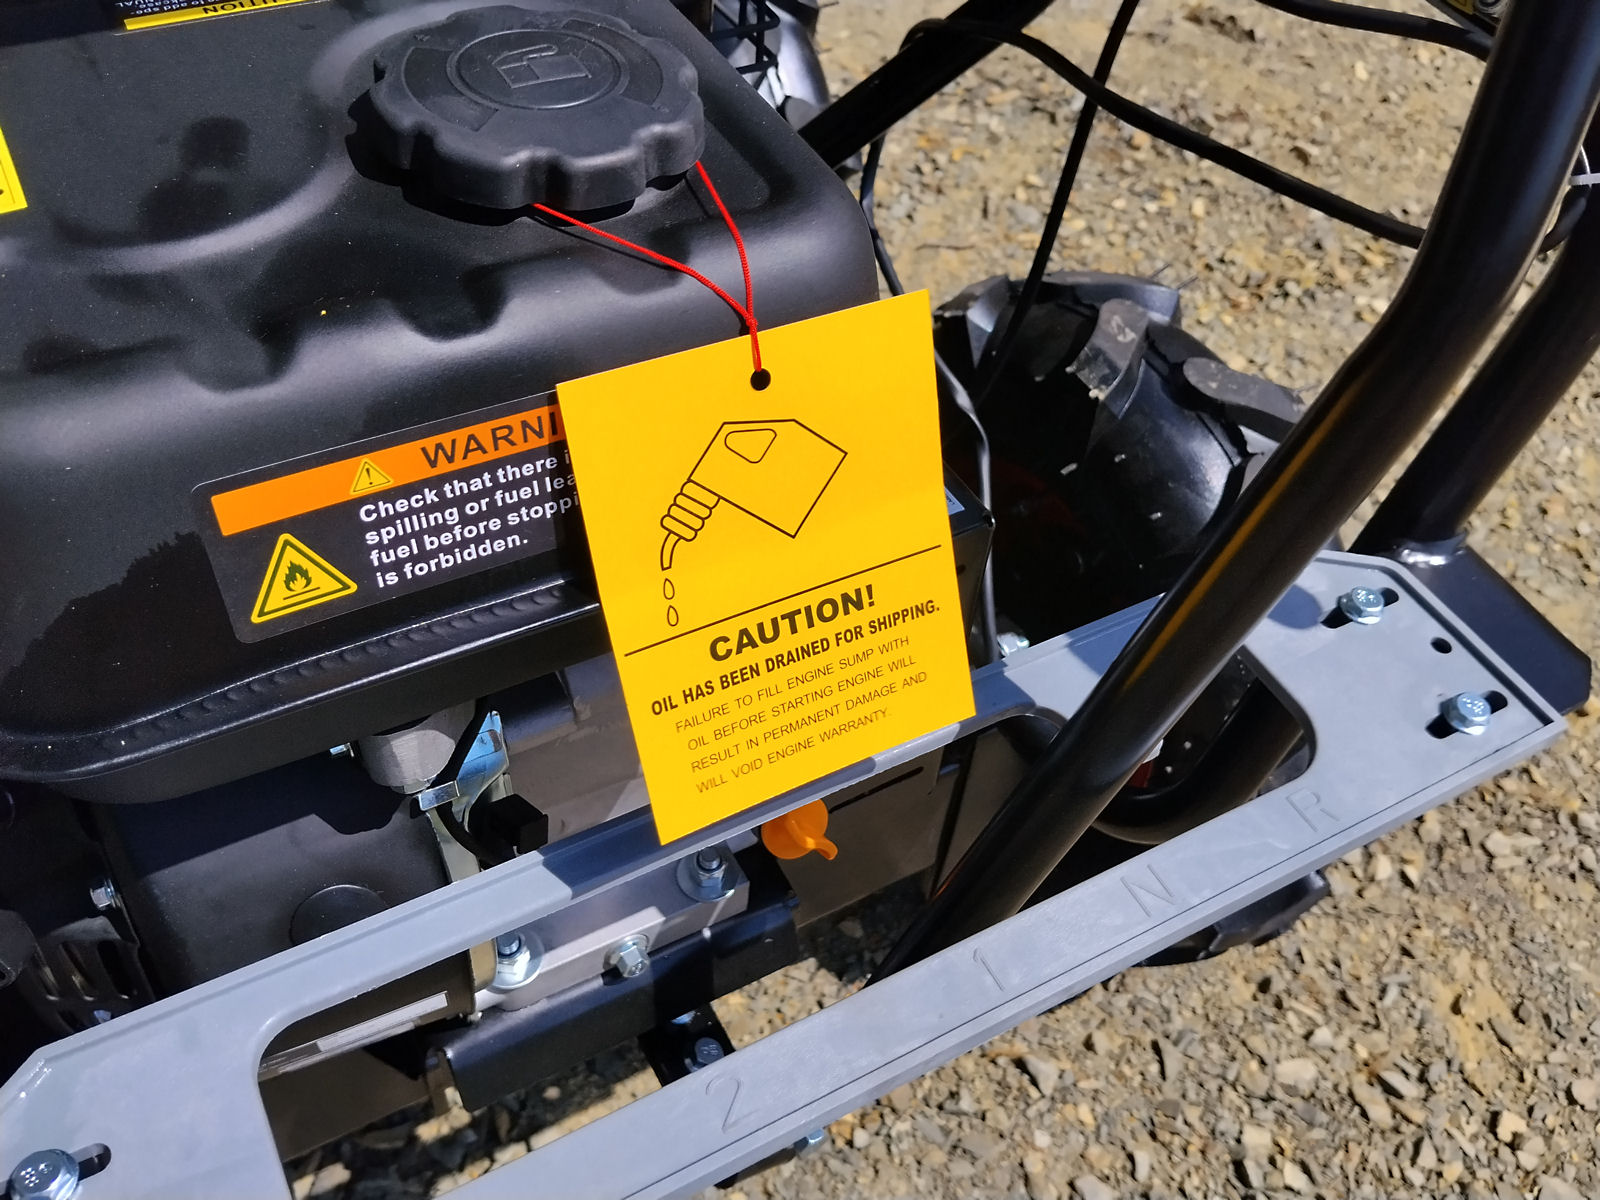
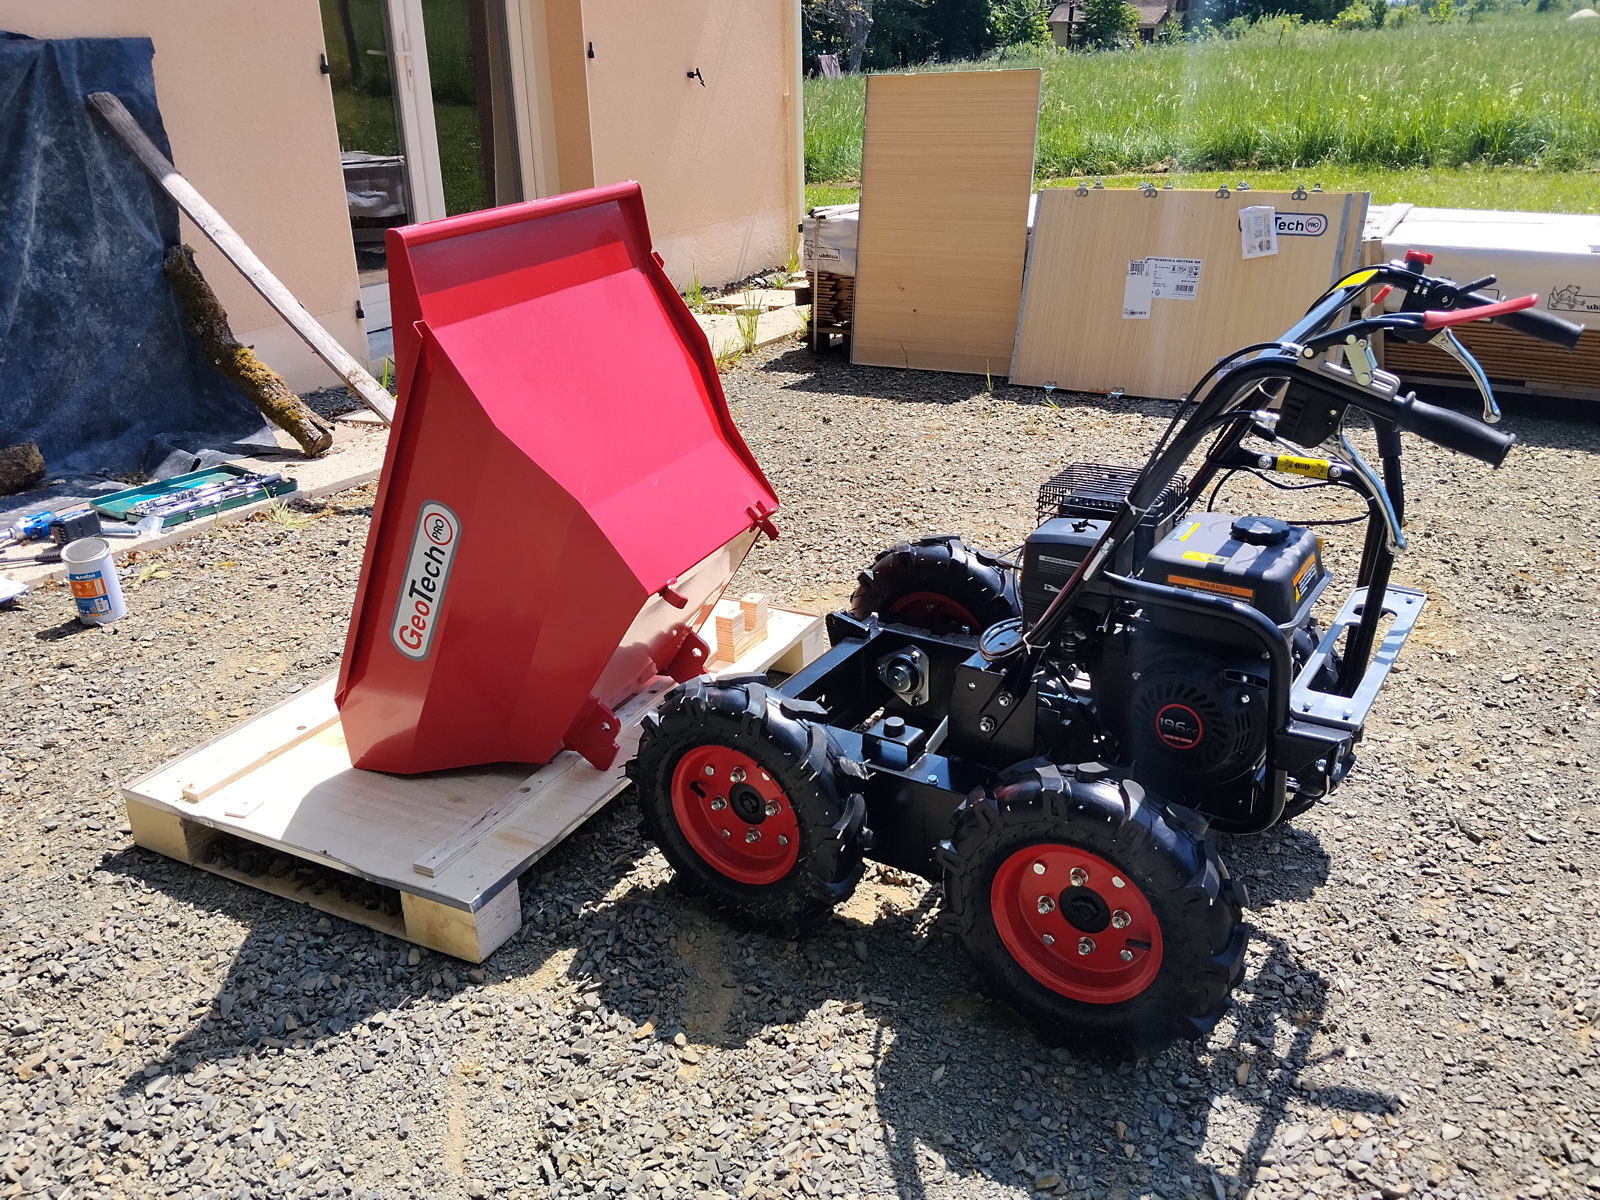
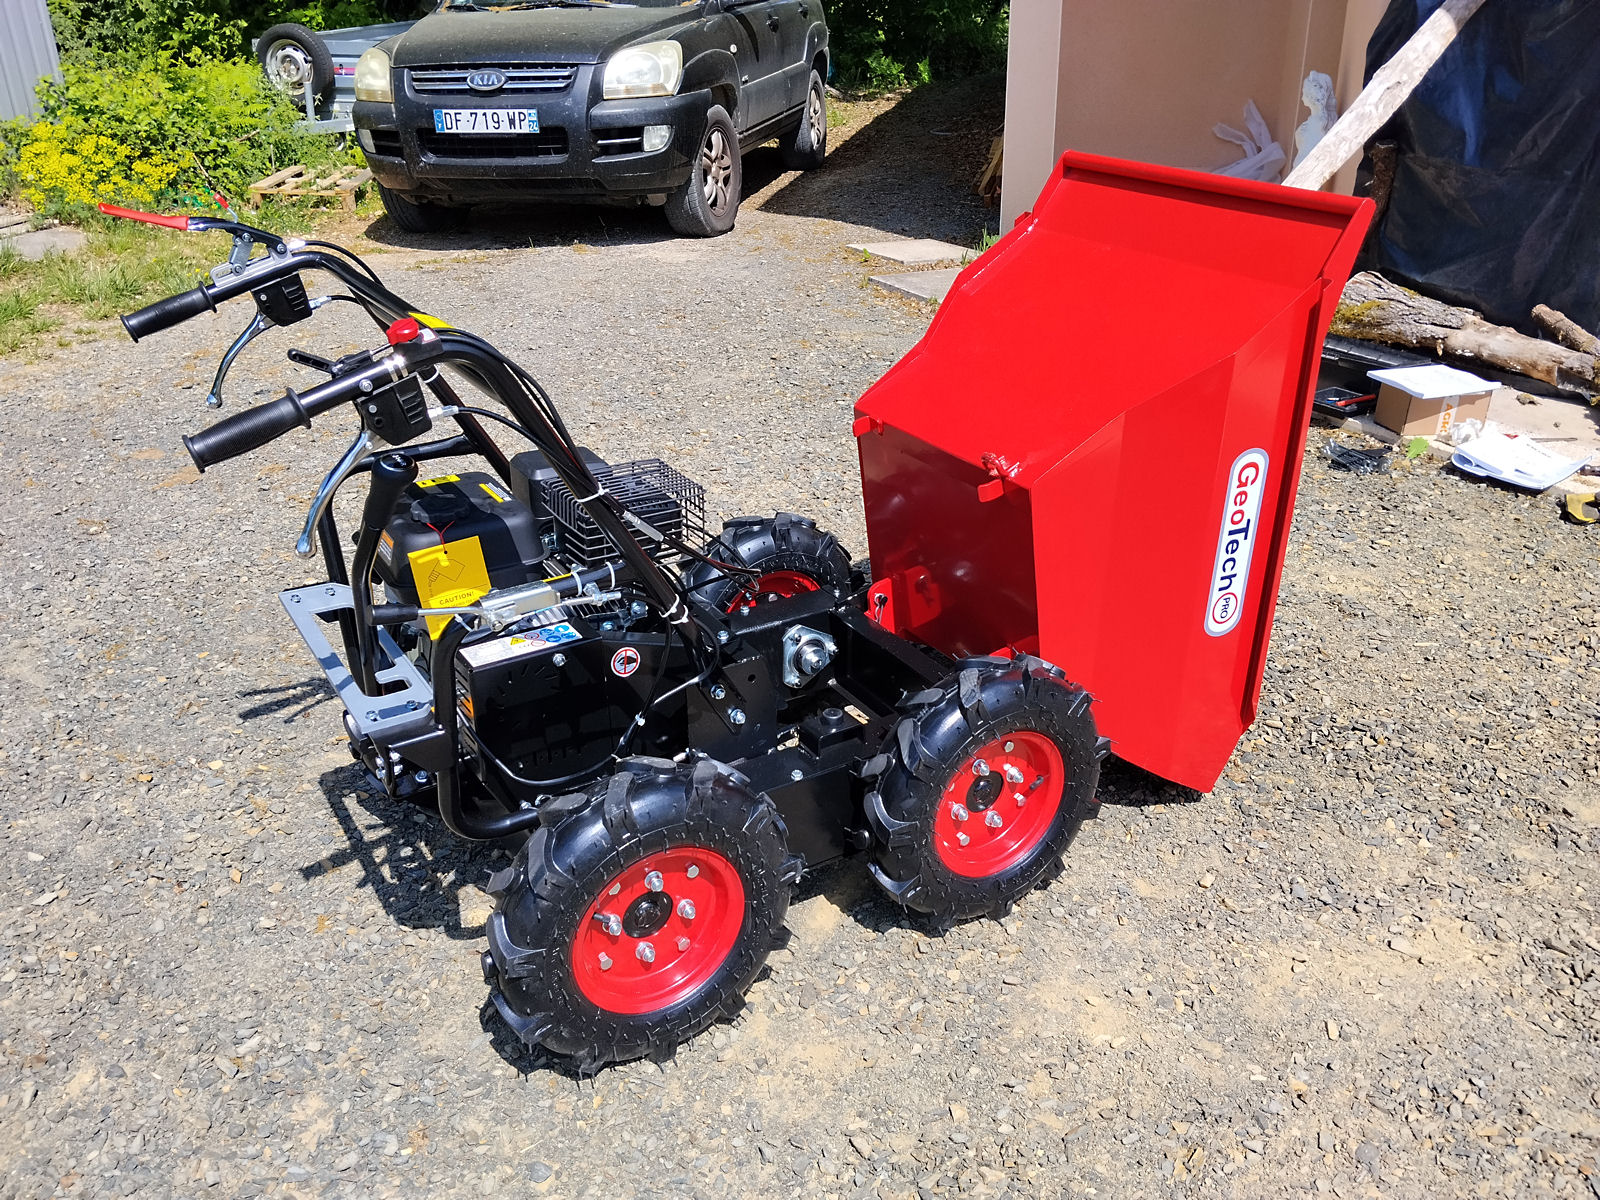
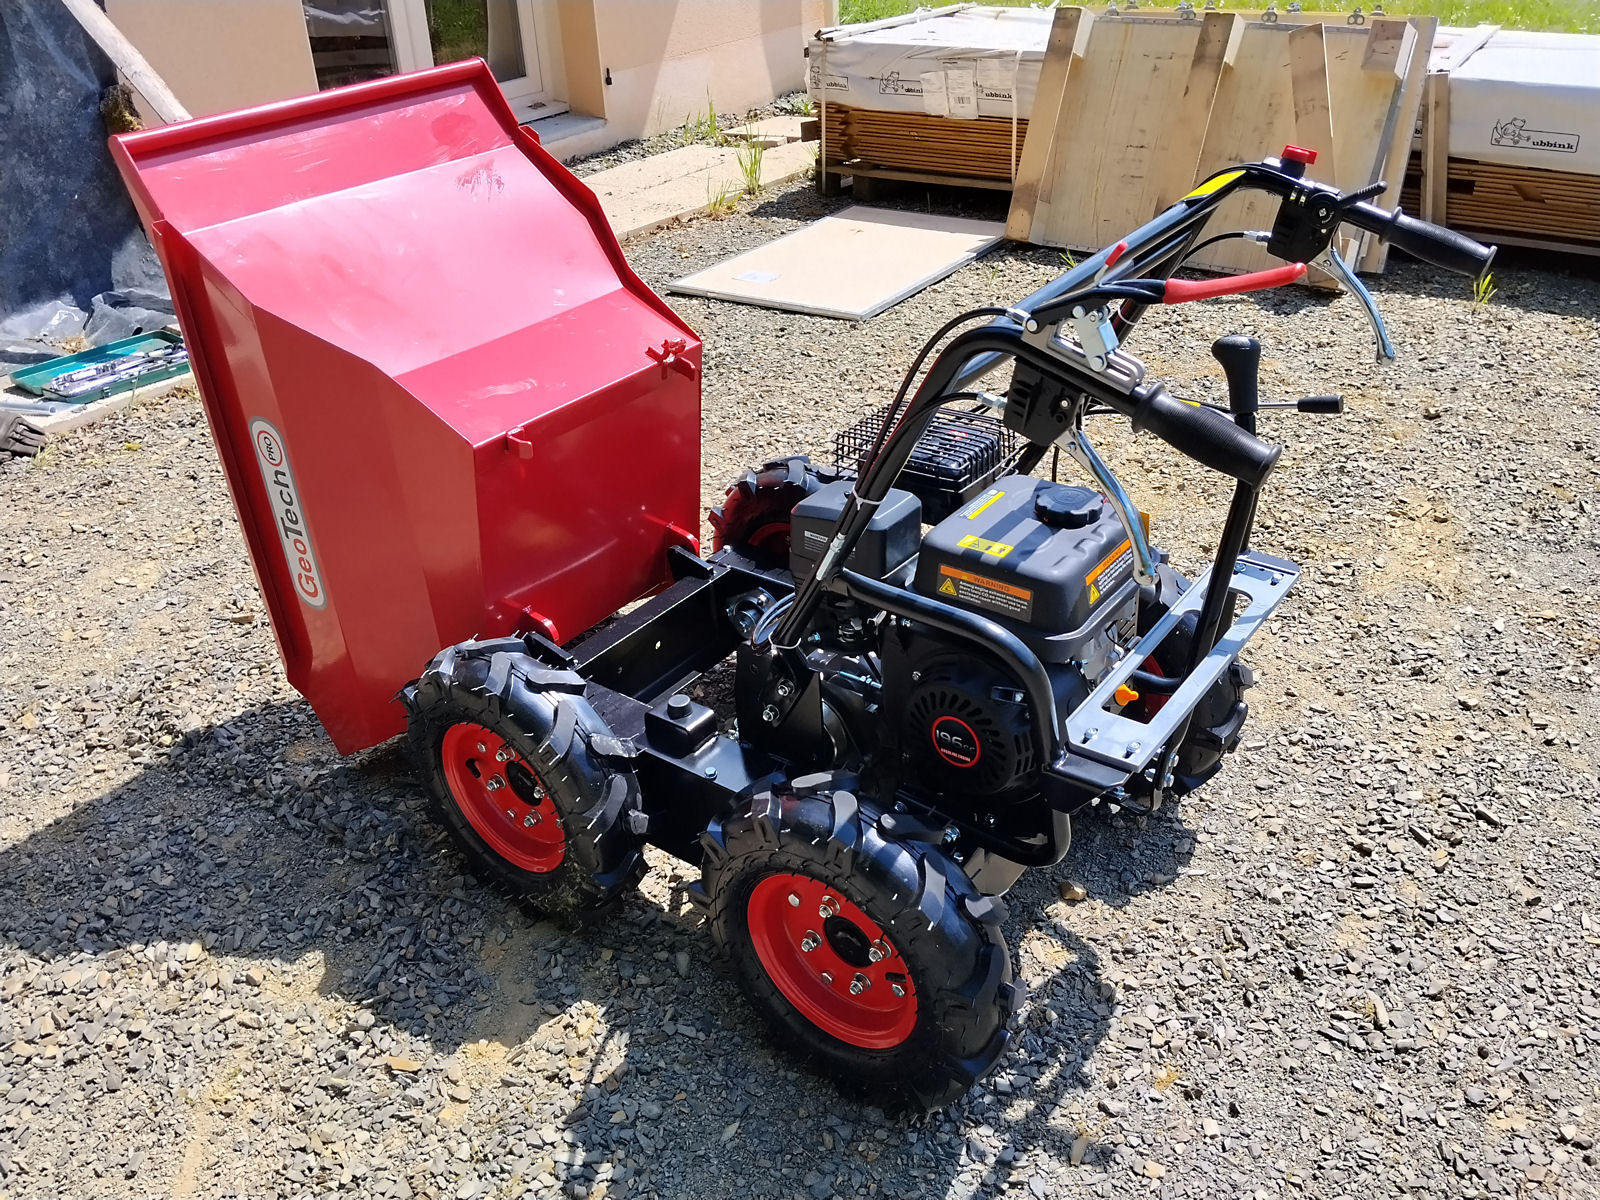
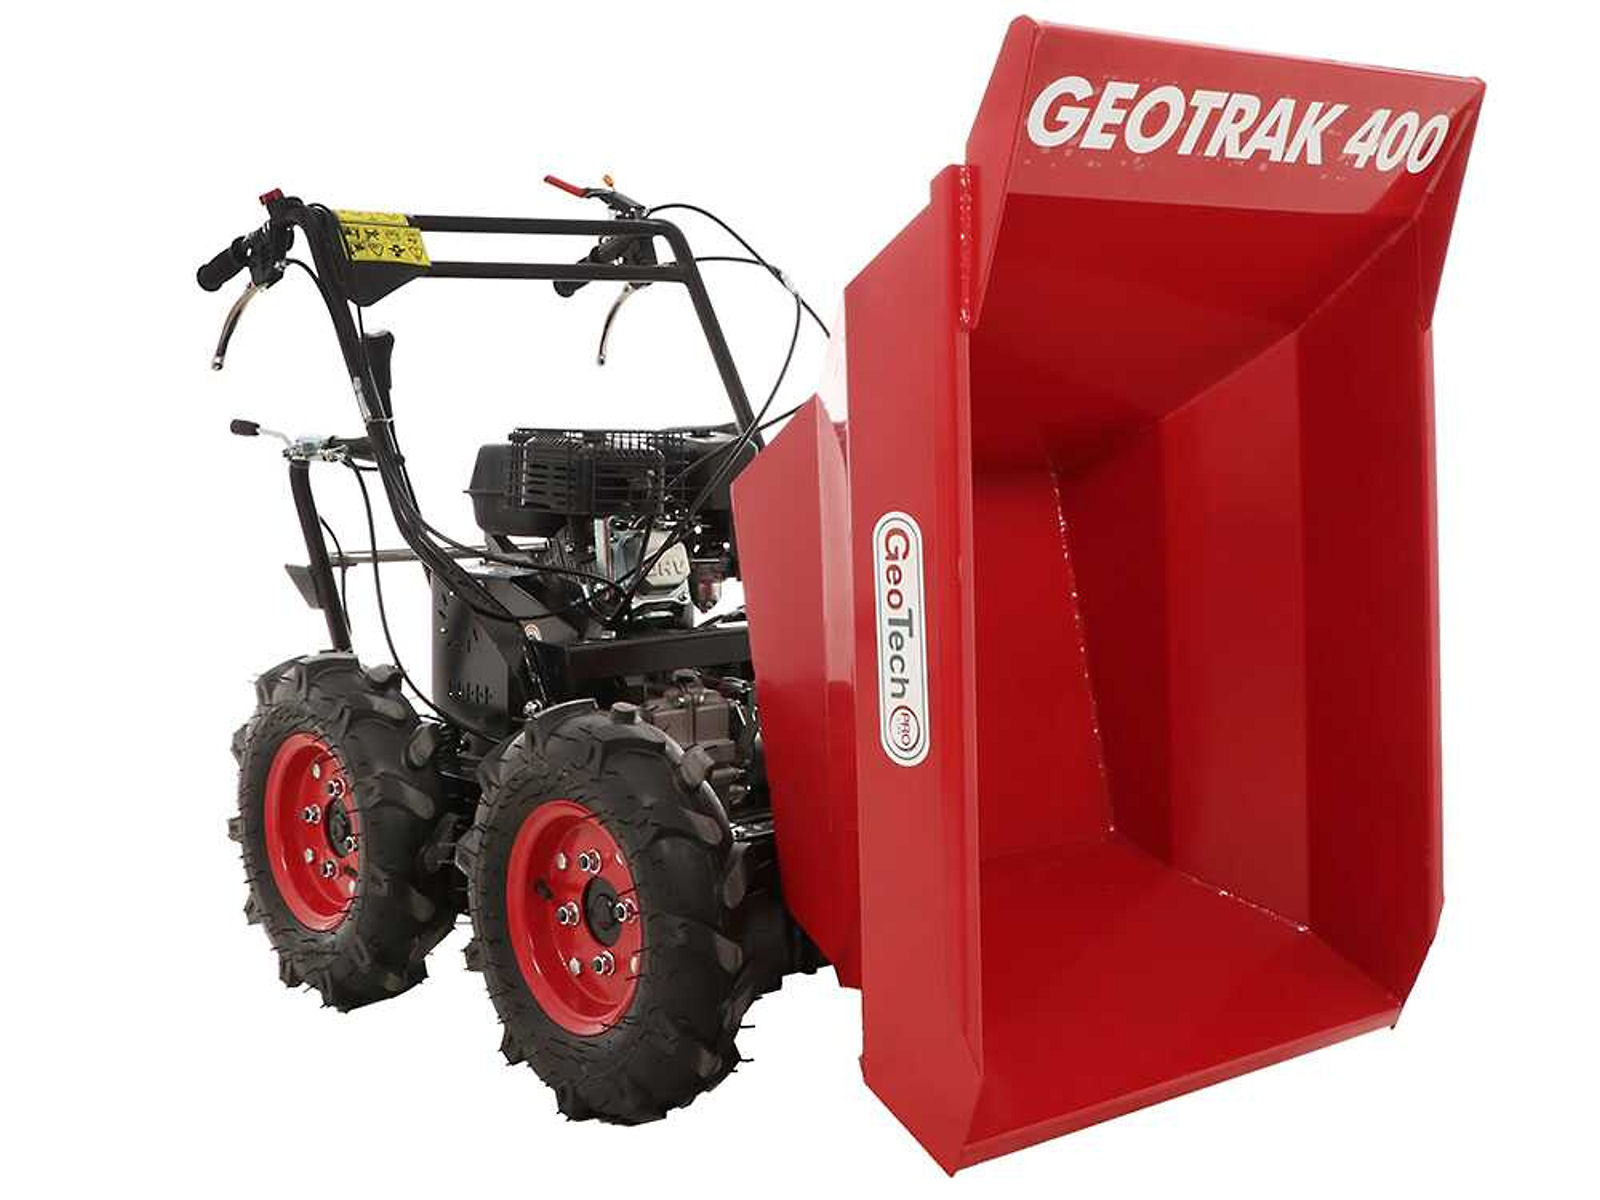
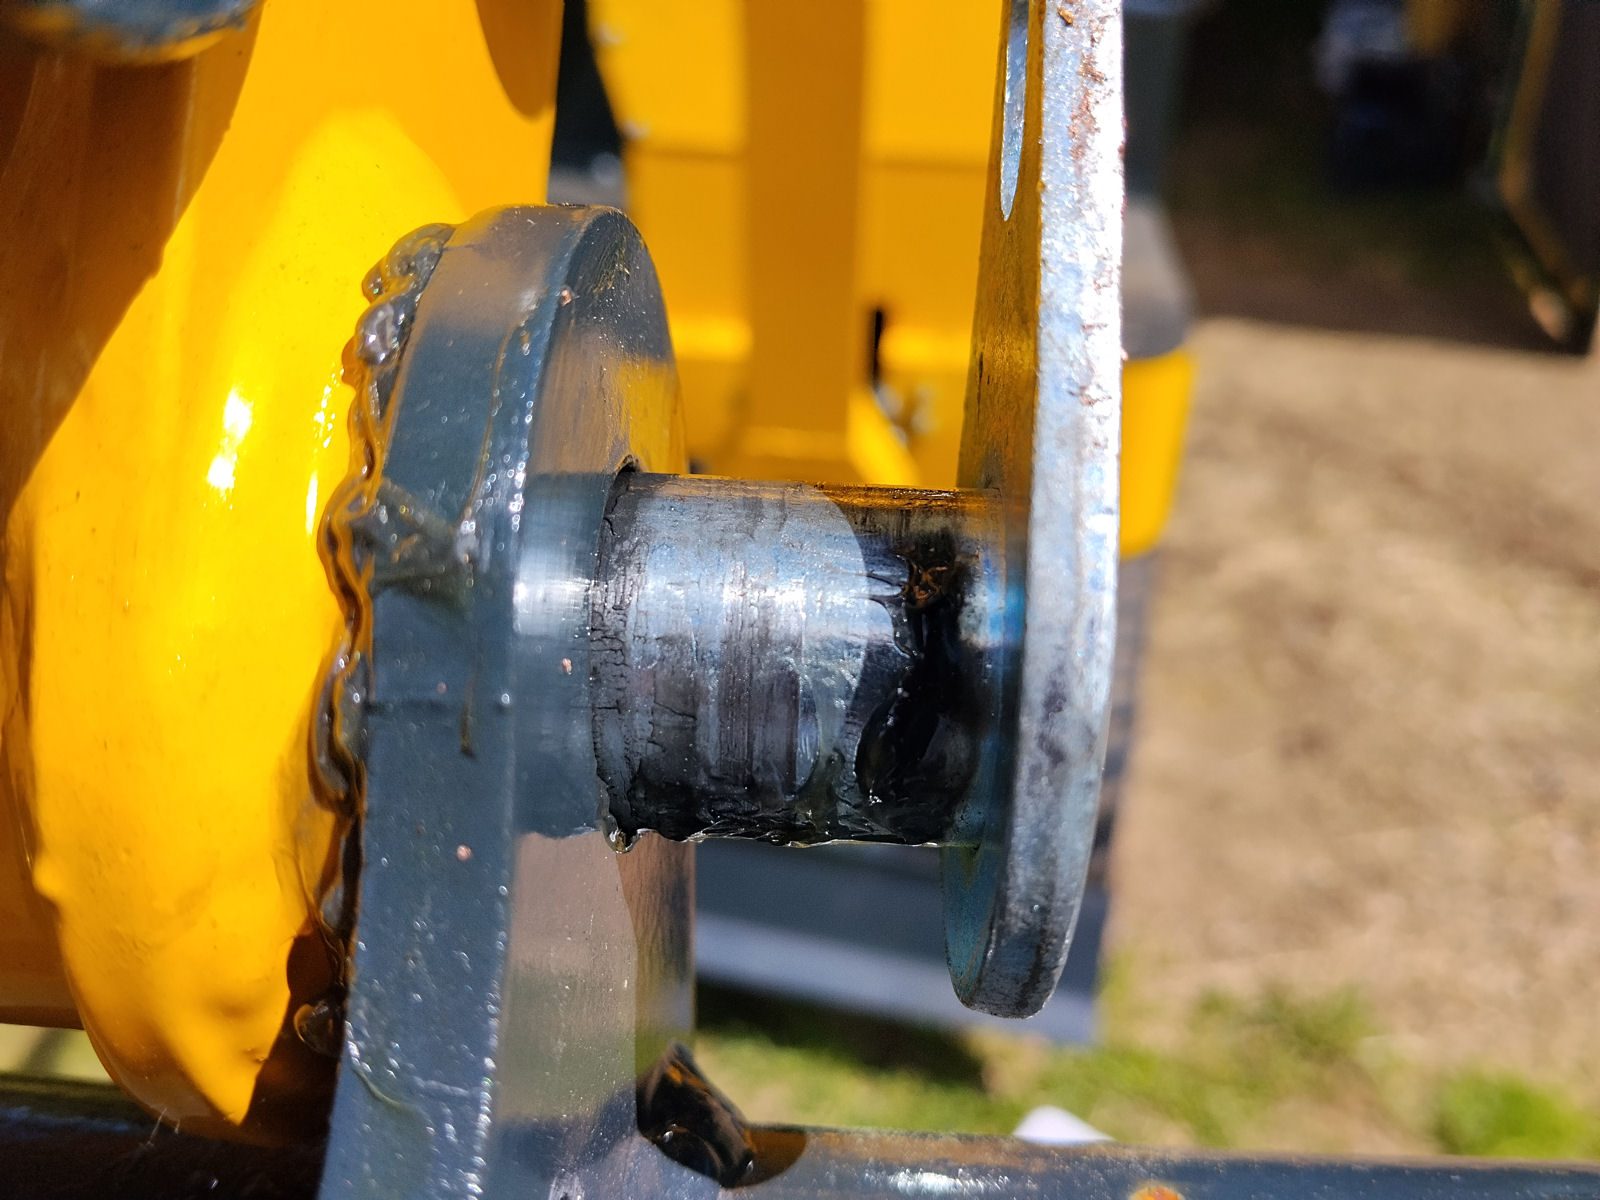
Then I refuelled both of my new machines which was a slow process as neither have any means of showing the level in its fuel tank until it overflows. That’s undesirable at the best of times but at the moment fuel on the ground, or worse, fuel all over the engine, is an expensive waste that needs to be avoided. Then I could get on with my digging, except that I couldn’t.

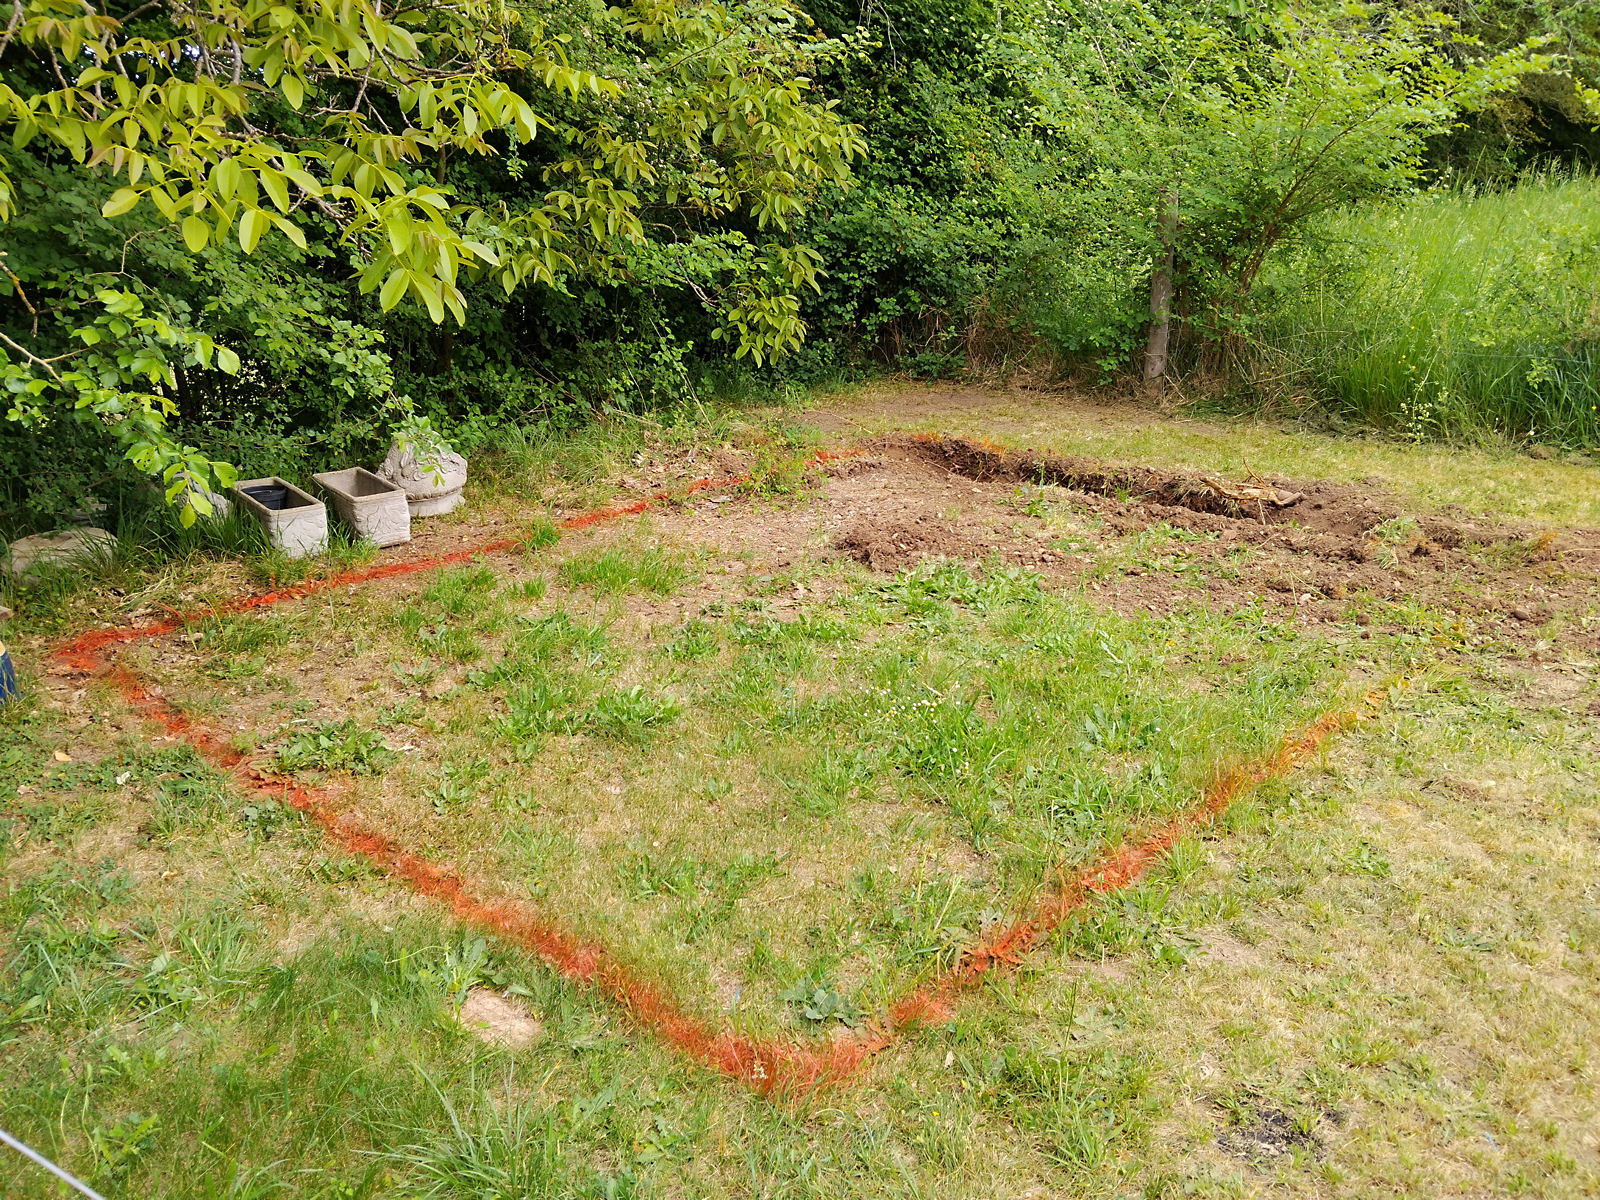
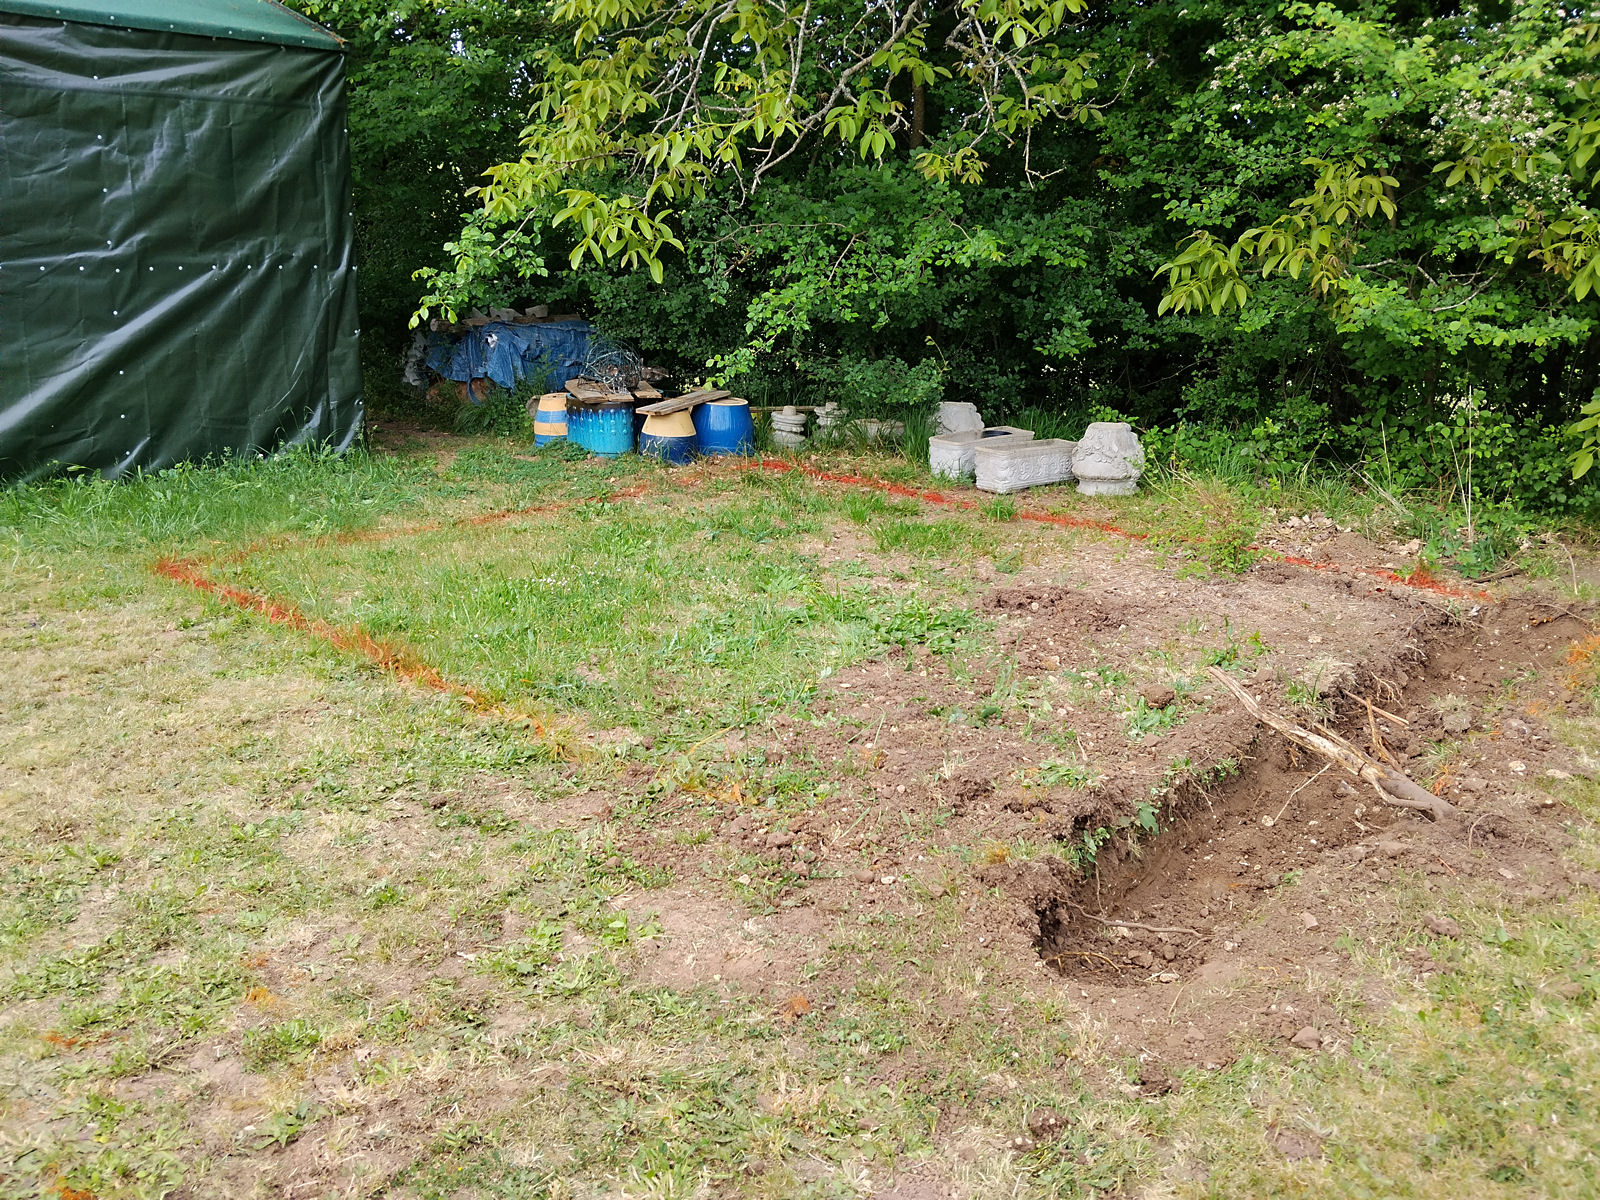
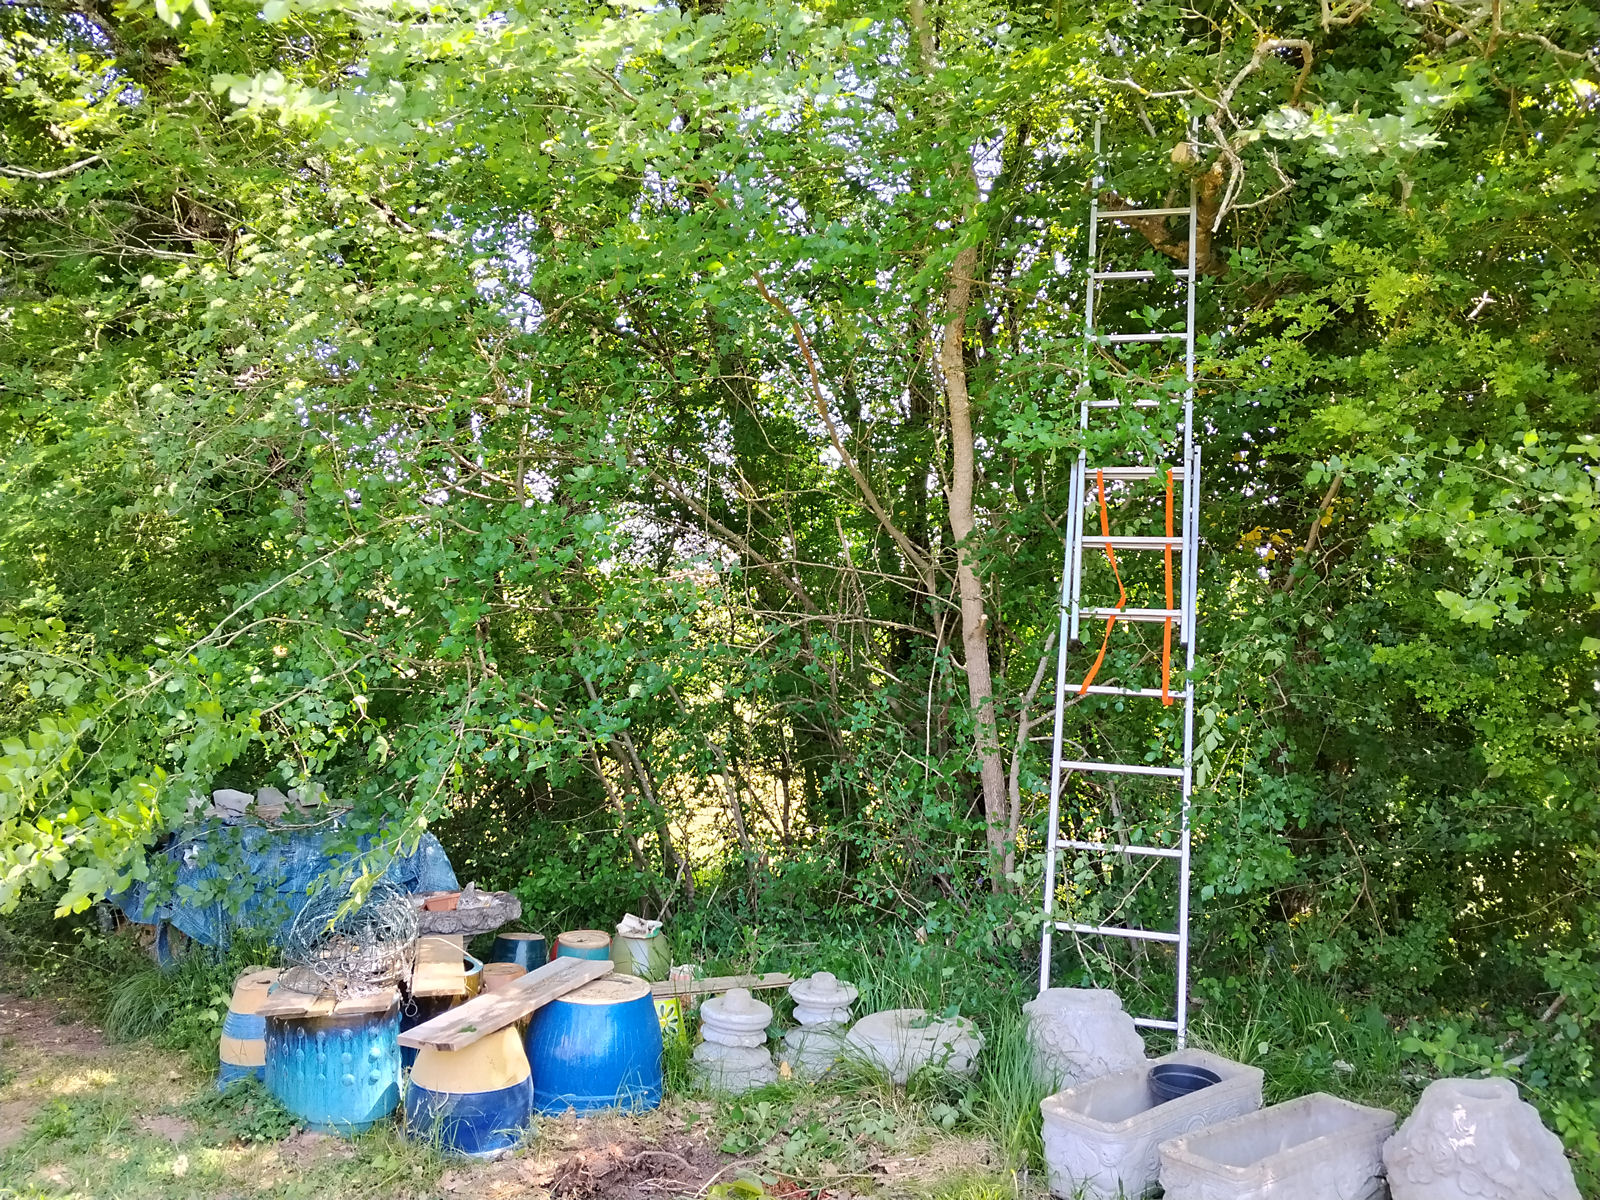
The reason was that I decided to continue from the other end of the excavation, the left hand side closest to the new excavator garage. The reason was that I thought that if I ended up there I’d be boxing myself into a relatively tight squeeze. The big problem, though, was that now the big old walnut trees and other greenery have leaves on their branches, they had dropped down into the area in which I needed to position the excavator.

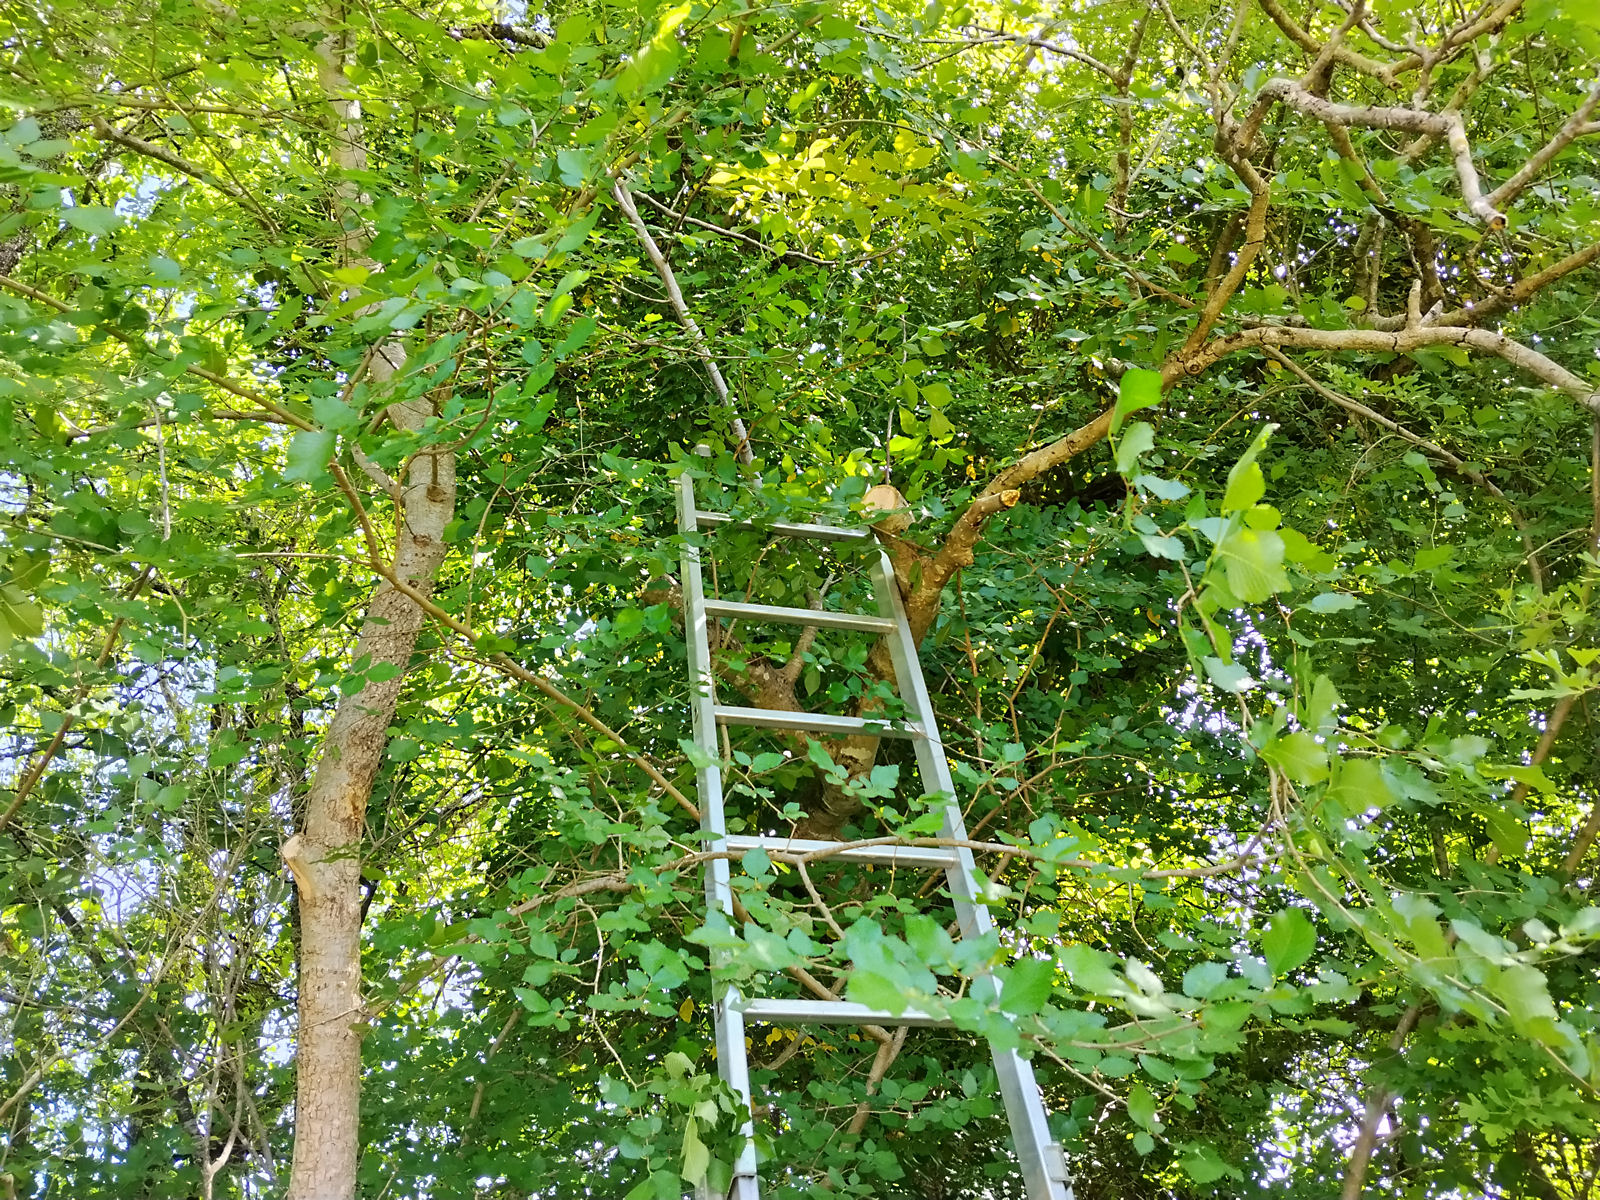
I knew that this was going to be a problem that would need to be dealt with at some time so today was as good as any to take my life into my hands and risk almost instant death by climbing up into the upper branches and sawing off the ones against which I’d be leaning my ladder. After a couple of scares when the ladder threatened to fall down taking me with it it actually went quite well and I lived to fight another day.

null

null

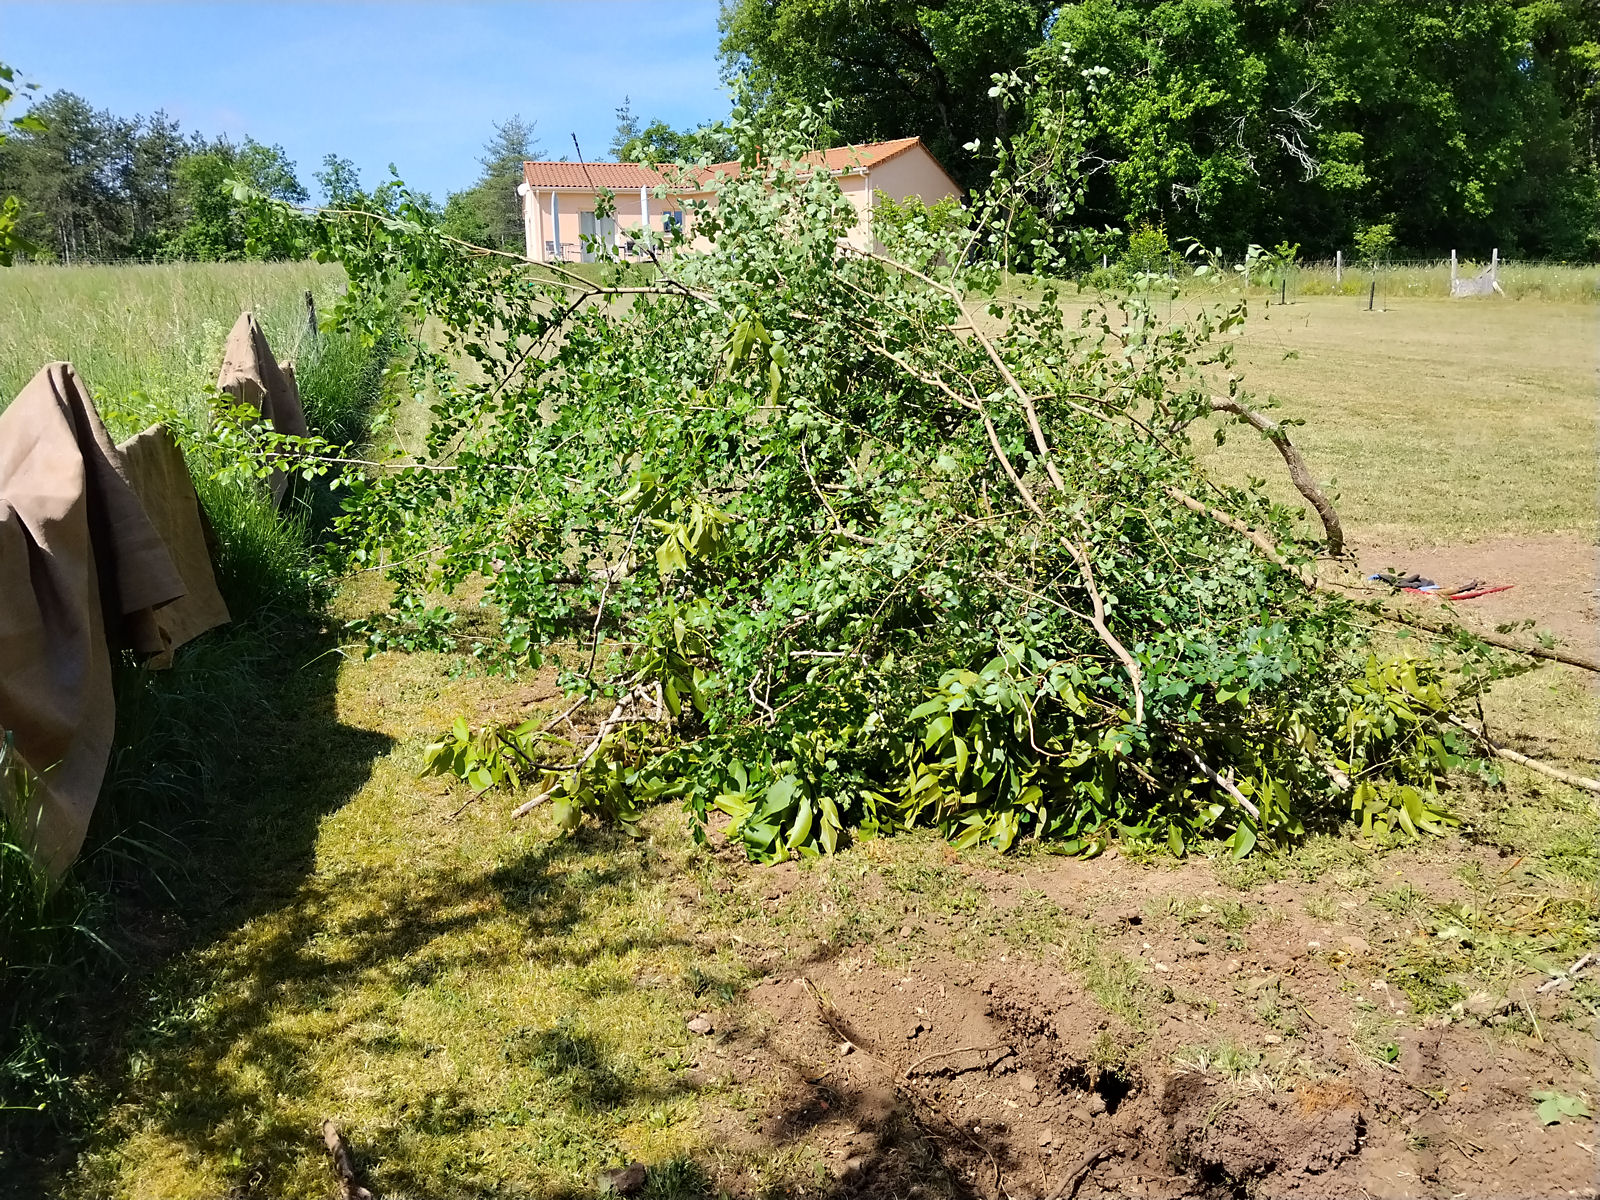
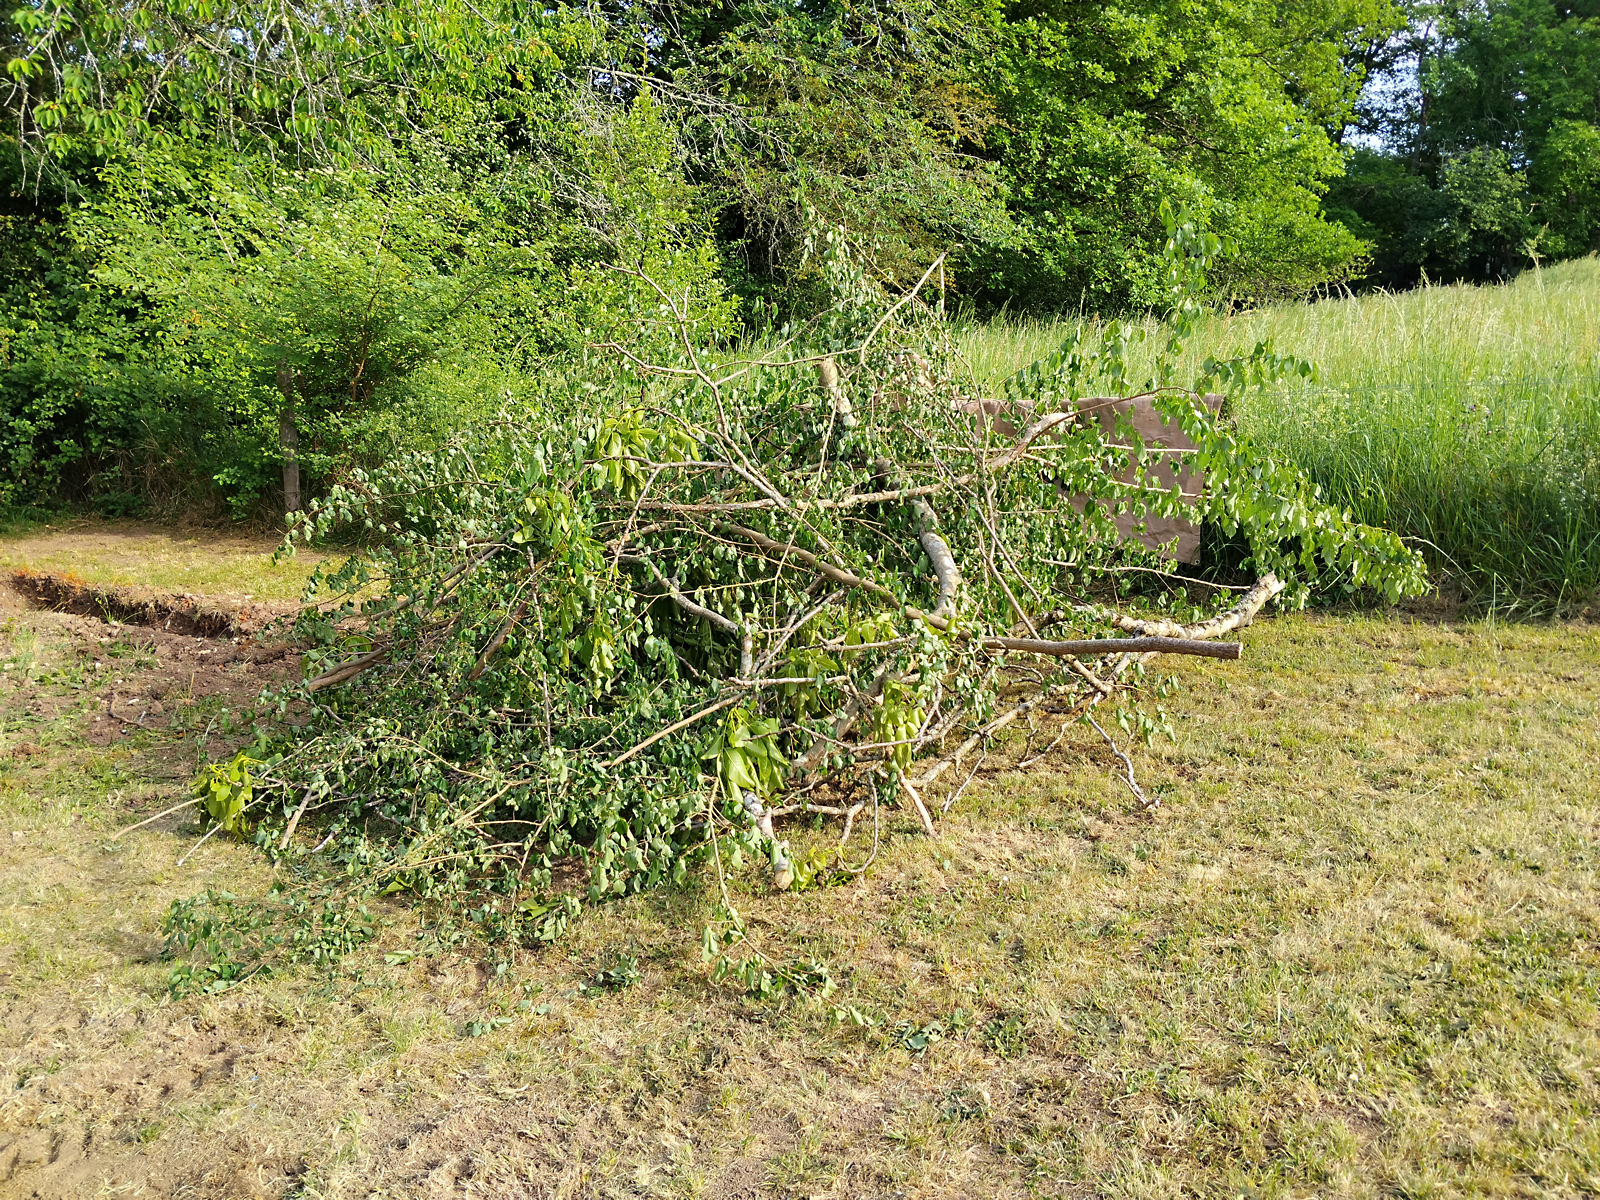
The amount of foliage that I removed turned out to be much more than I expected. I’ll leave it for now but as soon as I can get around to it I’ll have to chop it all up with my electric saw, put it in my trailer and take it to the ‘déchèterie’ at Rouffignac for disposal.

null

null

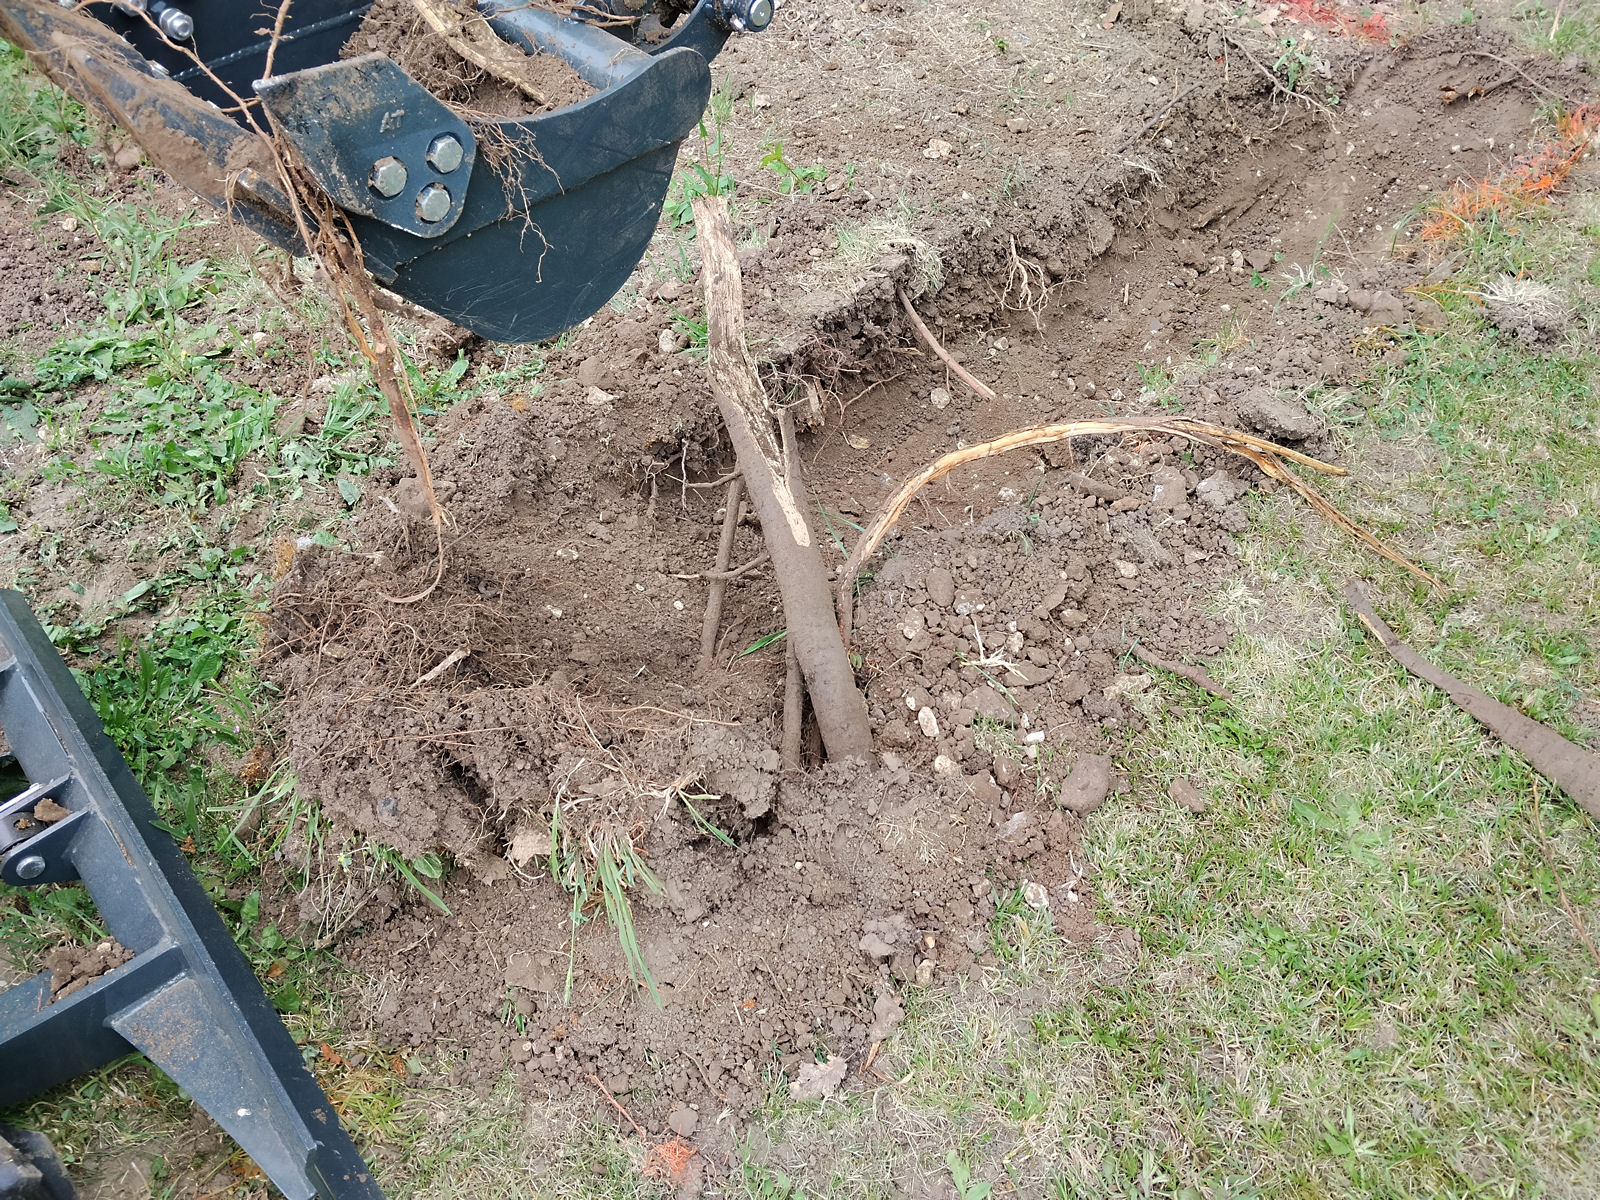
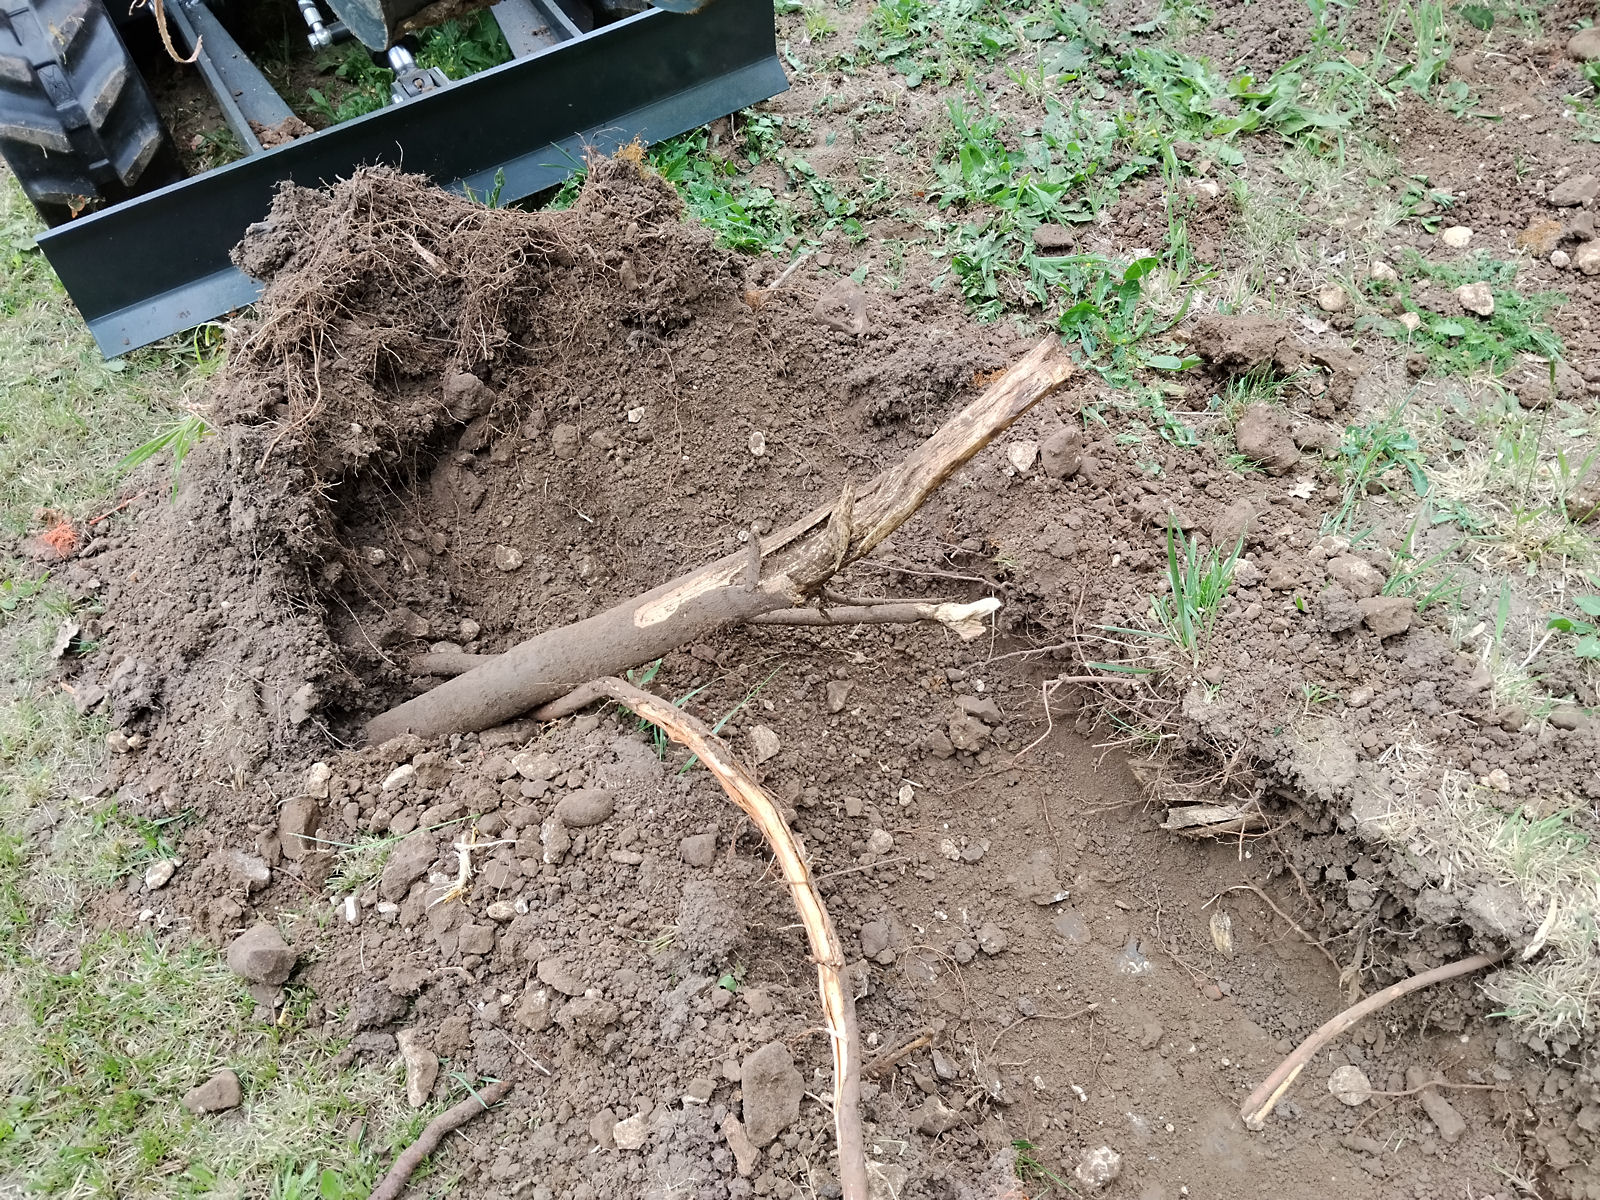
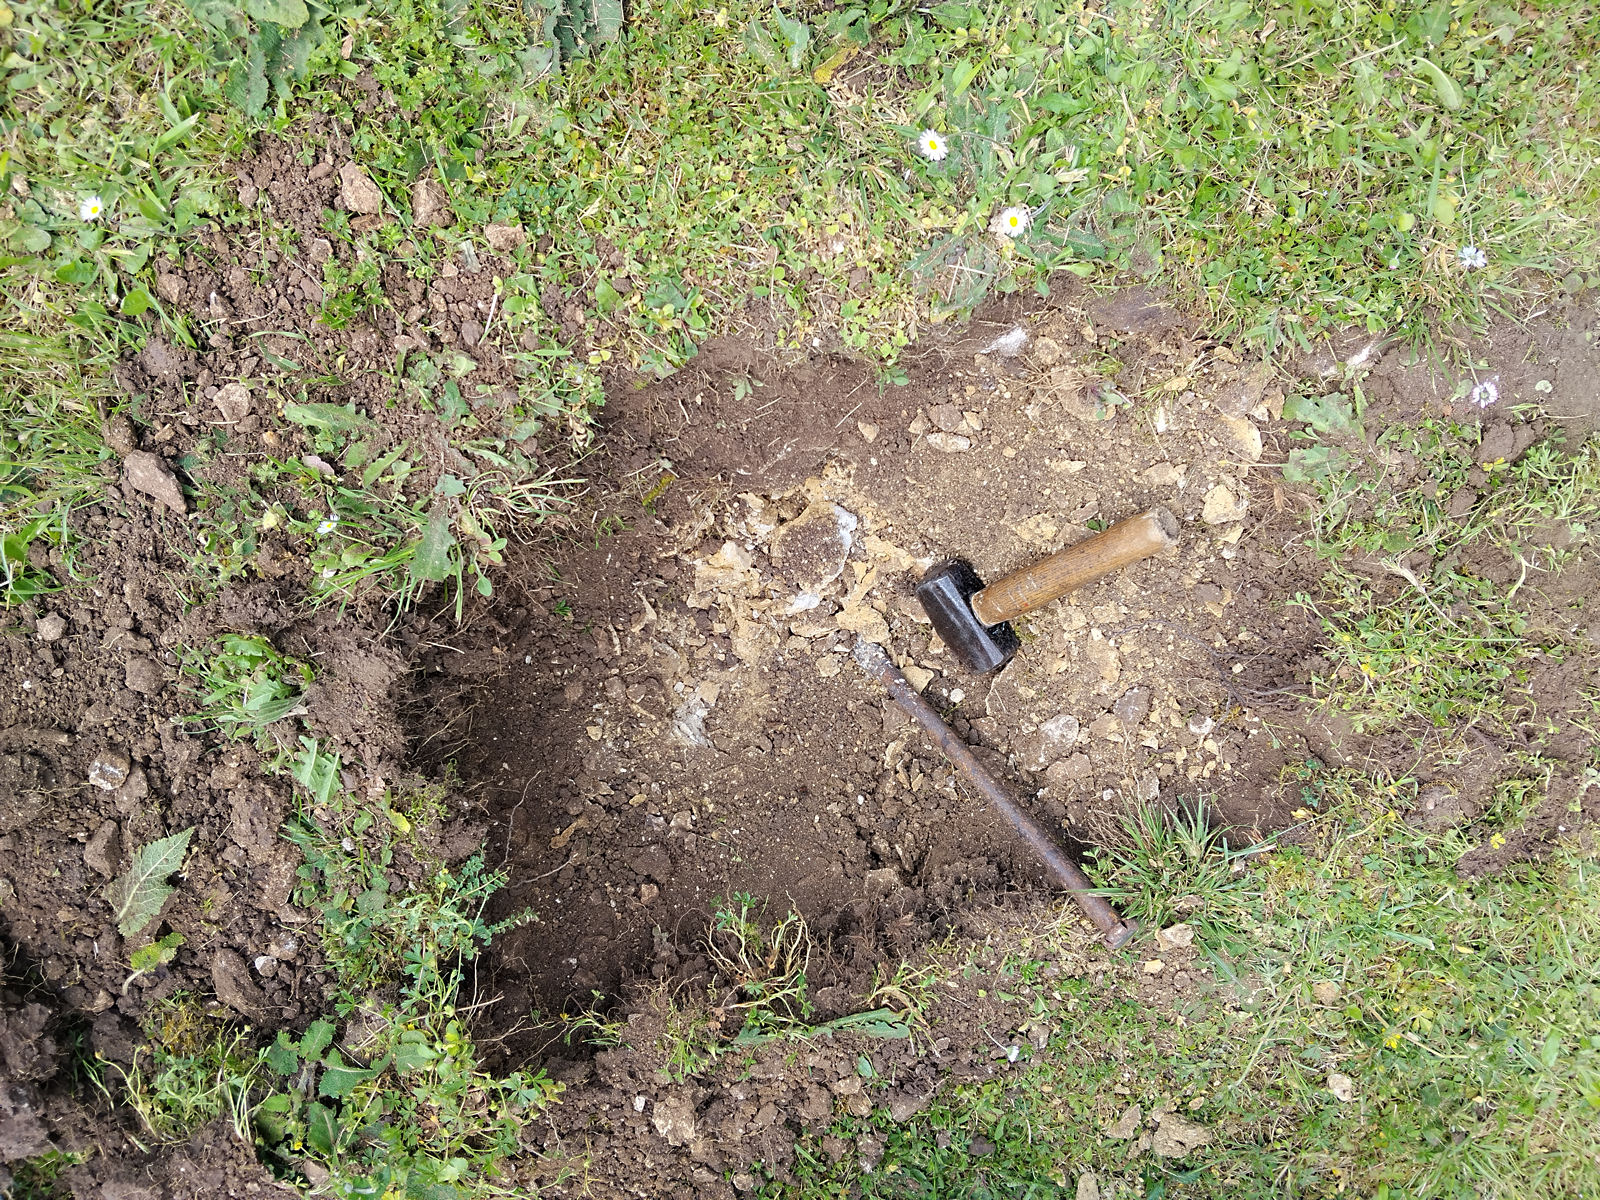
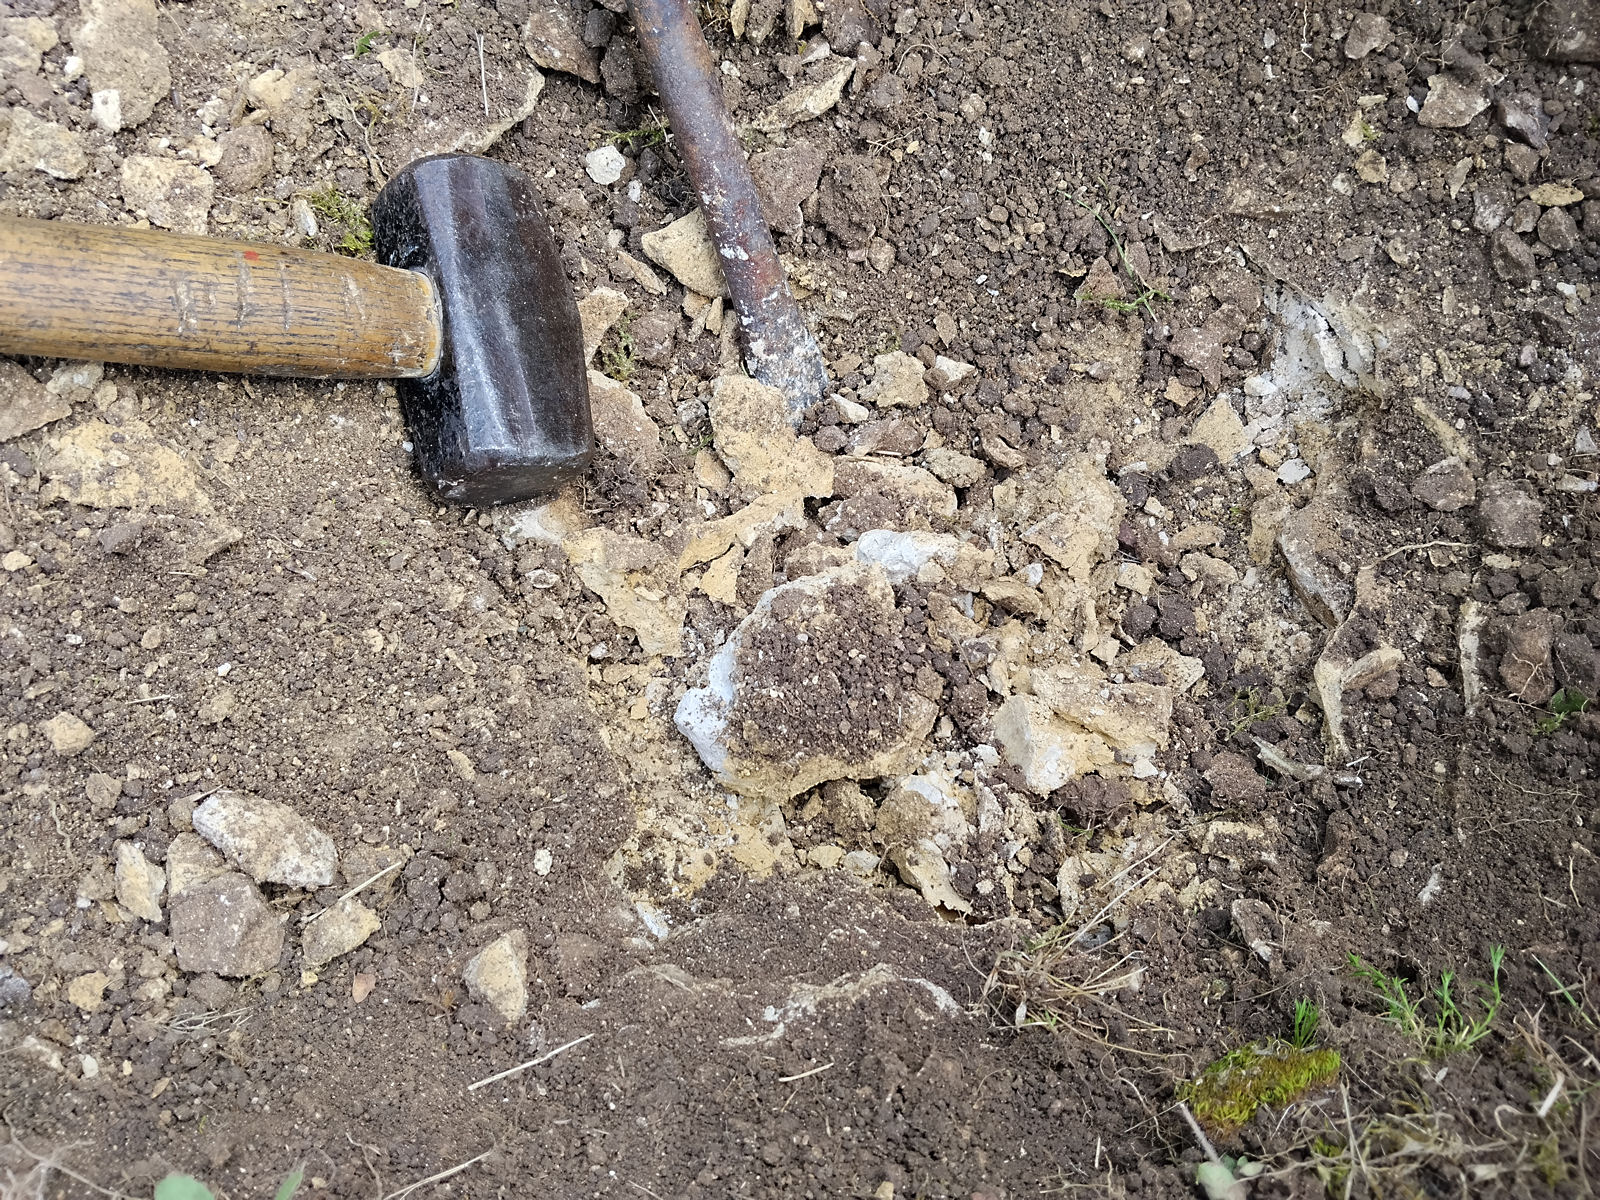
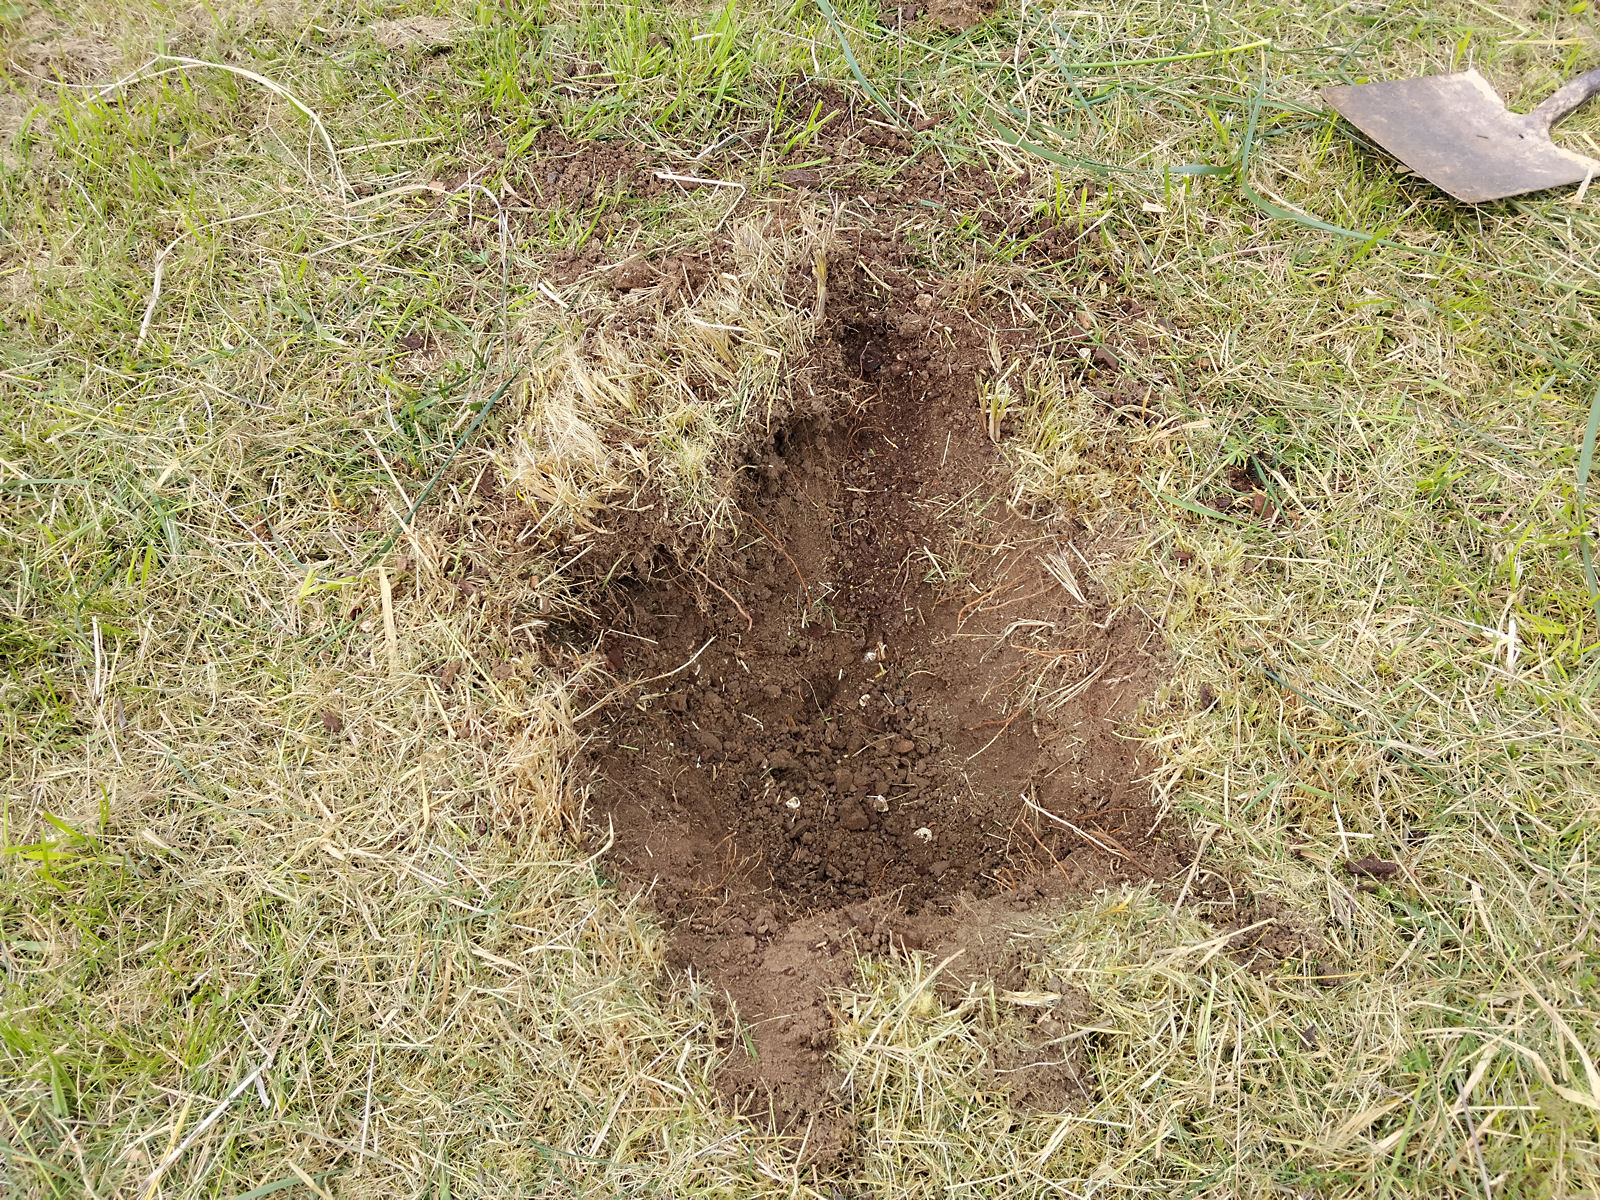
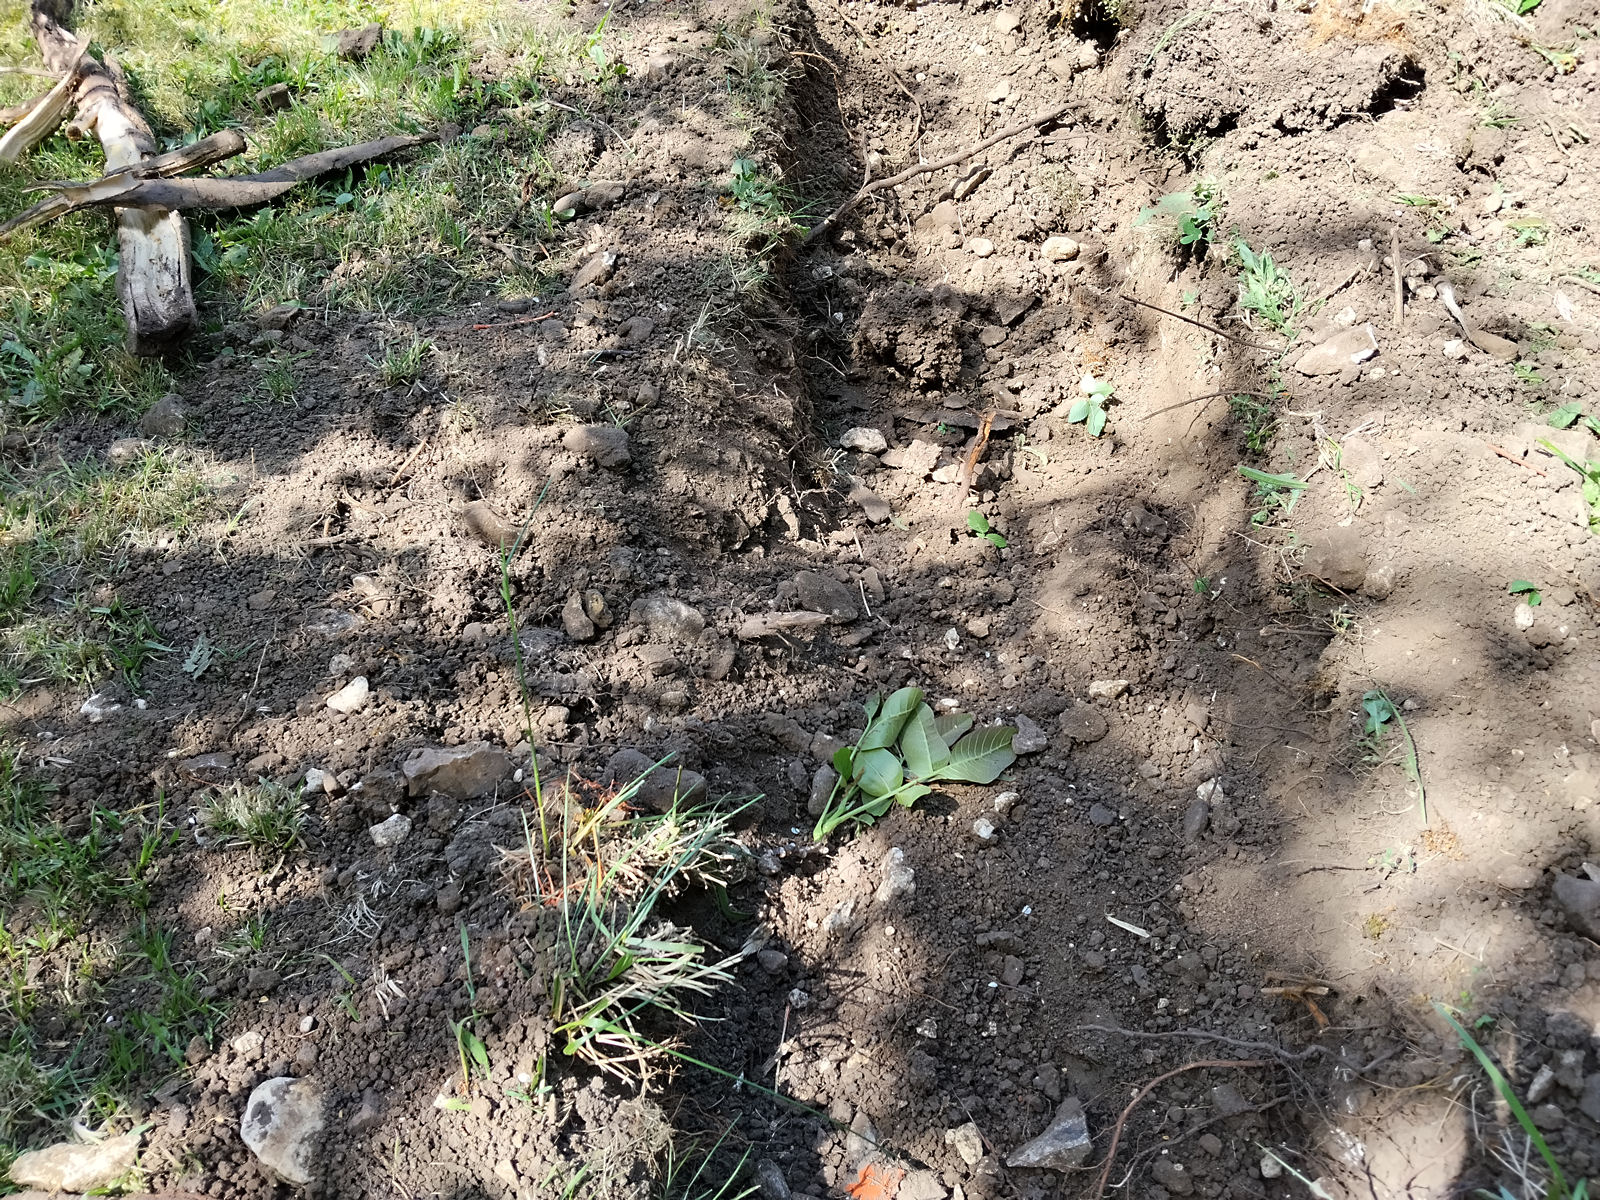
I also took my saw (hand, not electric) to the large root from yesterday and cleared the area of ground from which it had emerged.

null

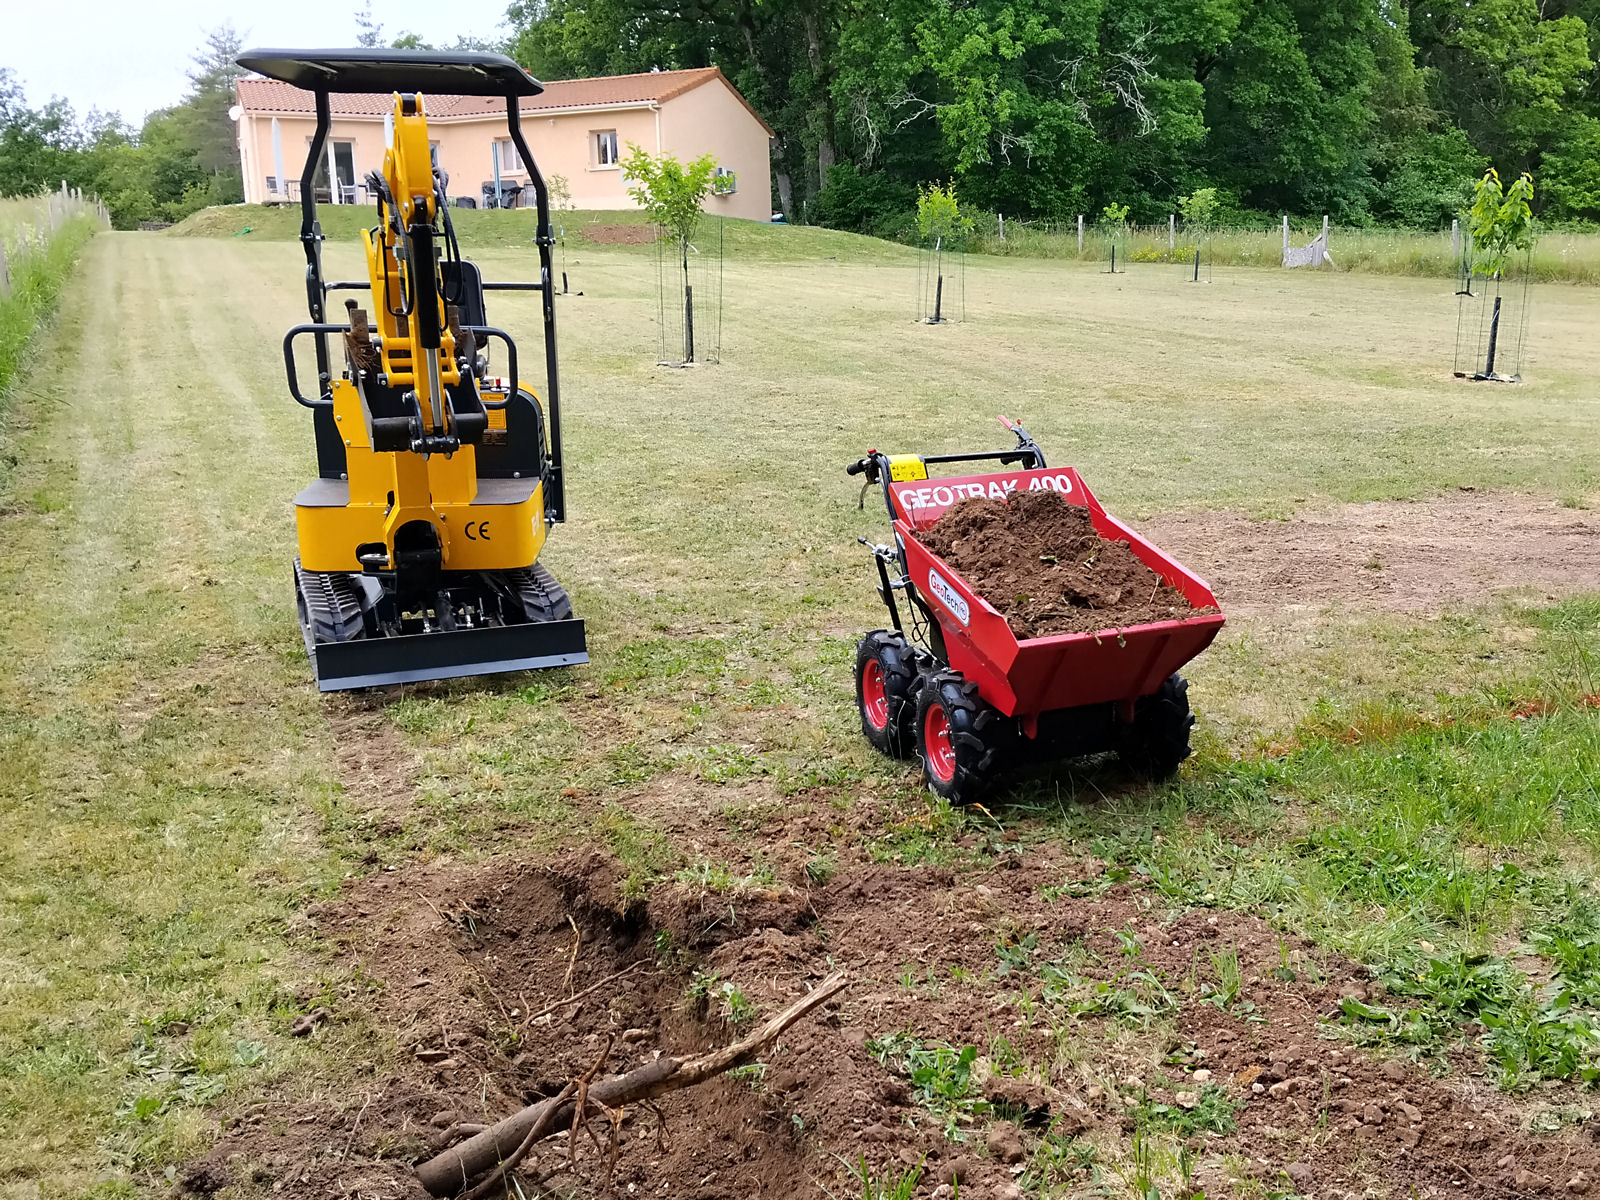
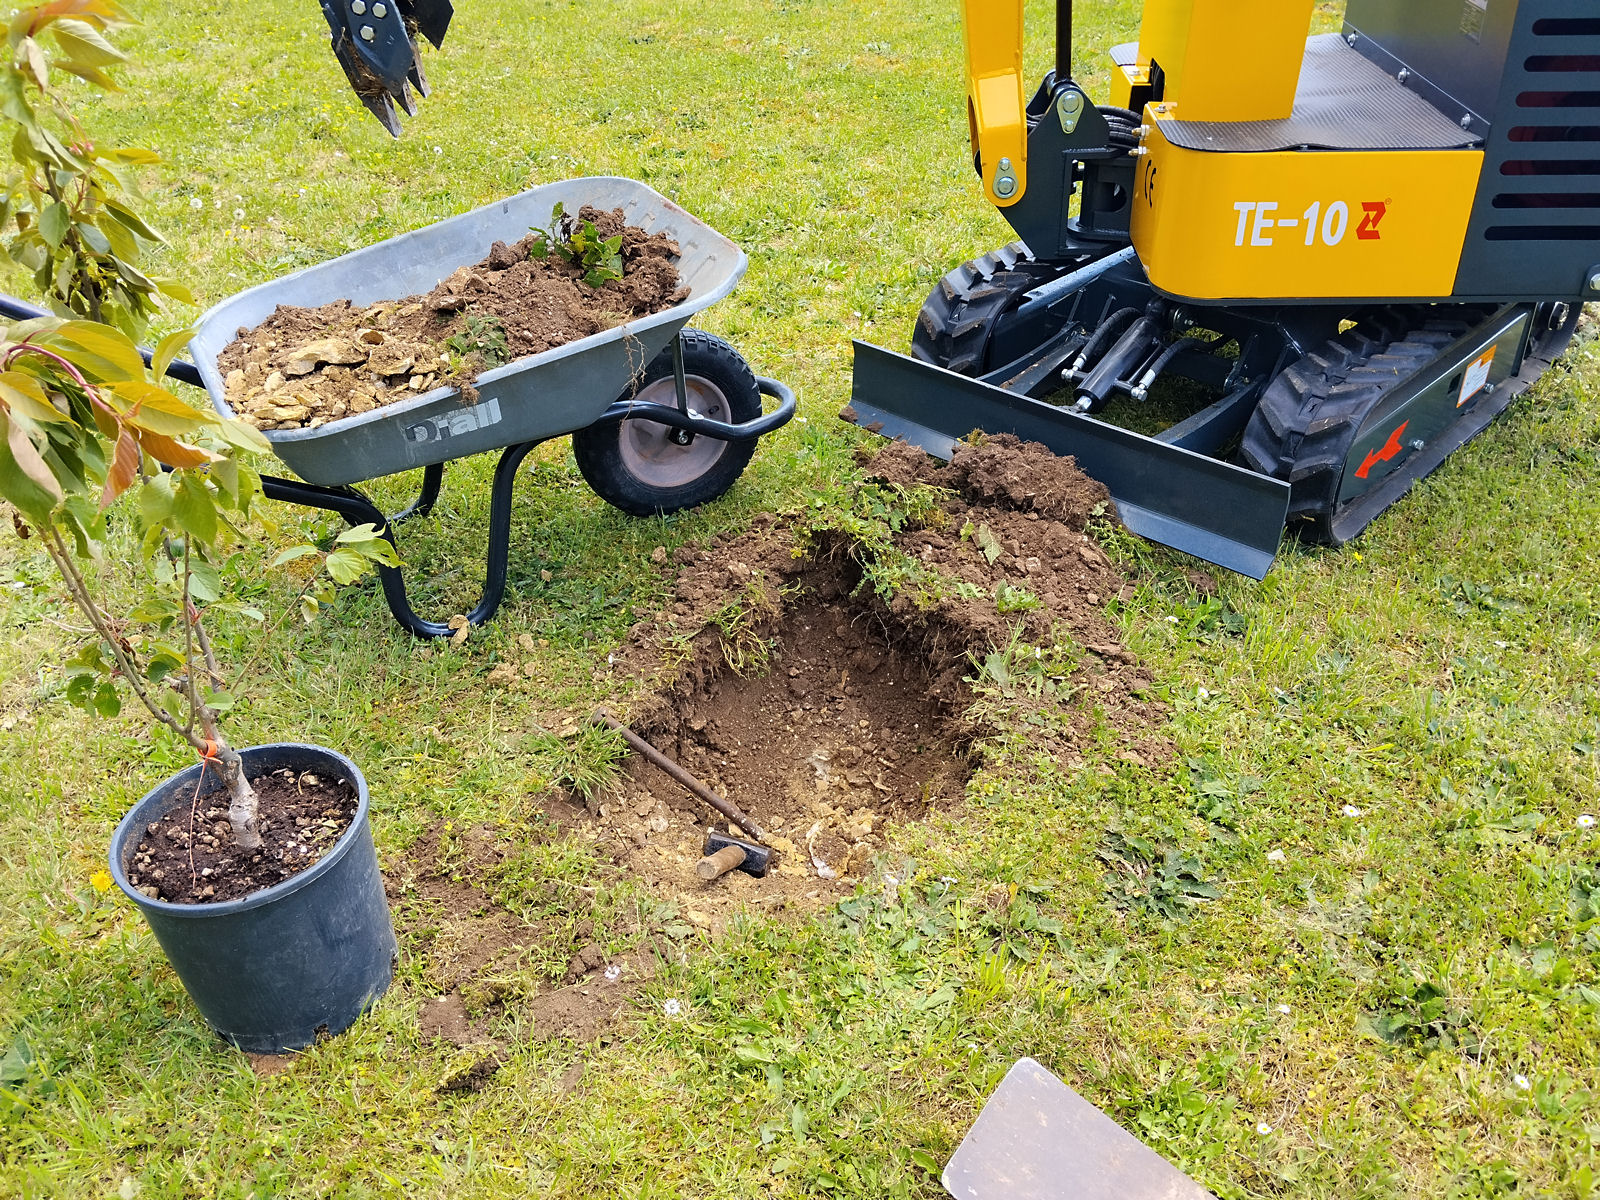
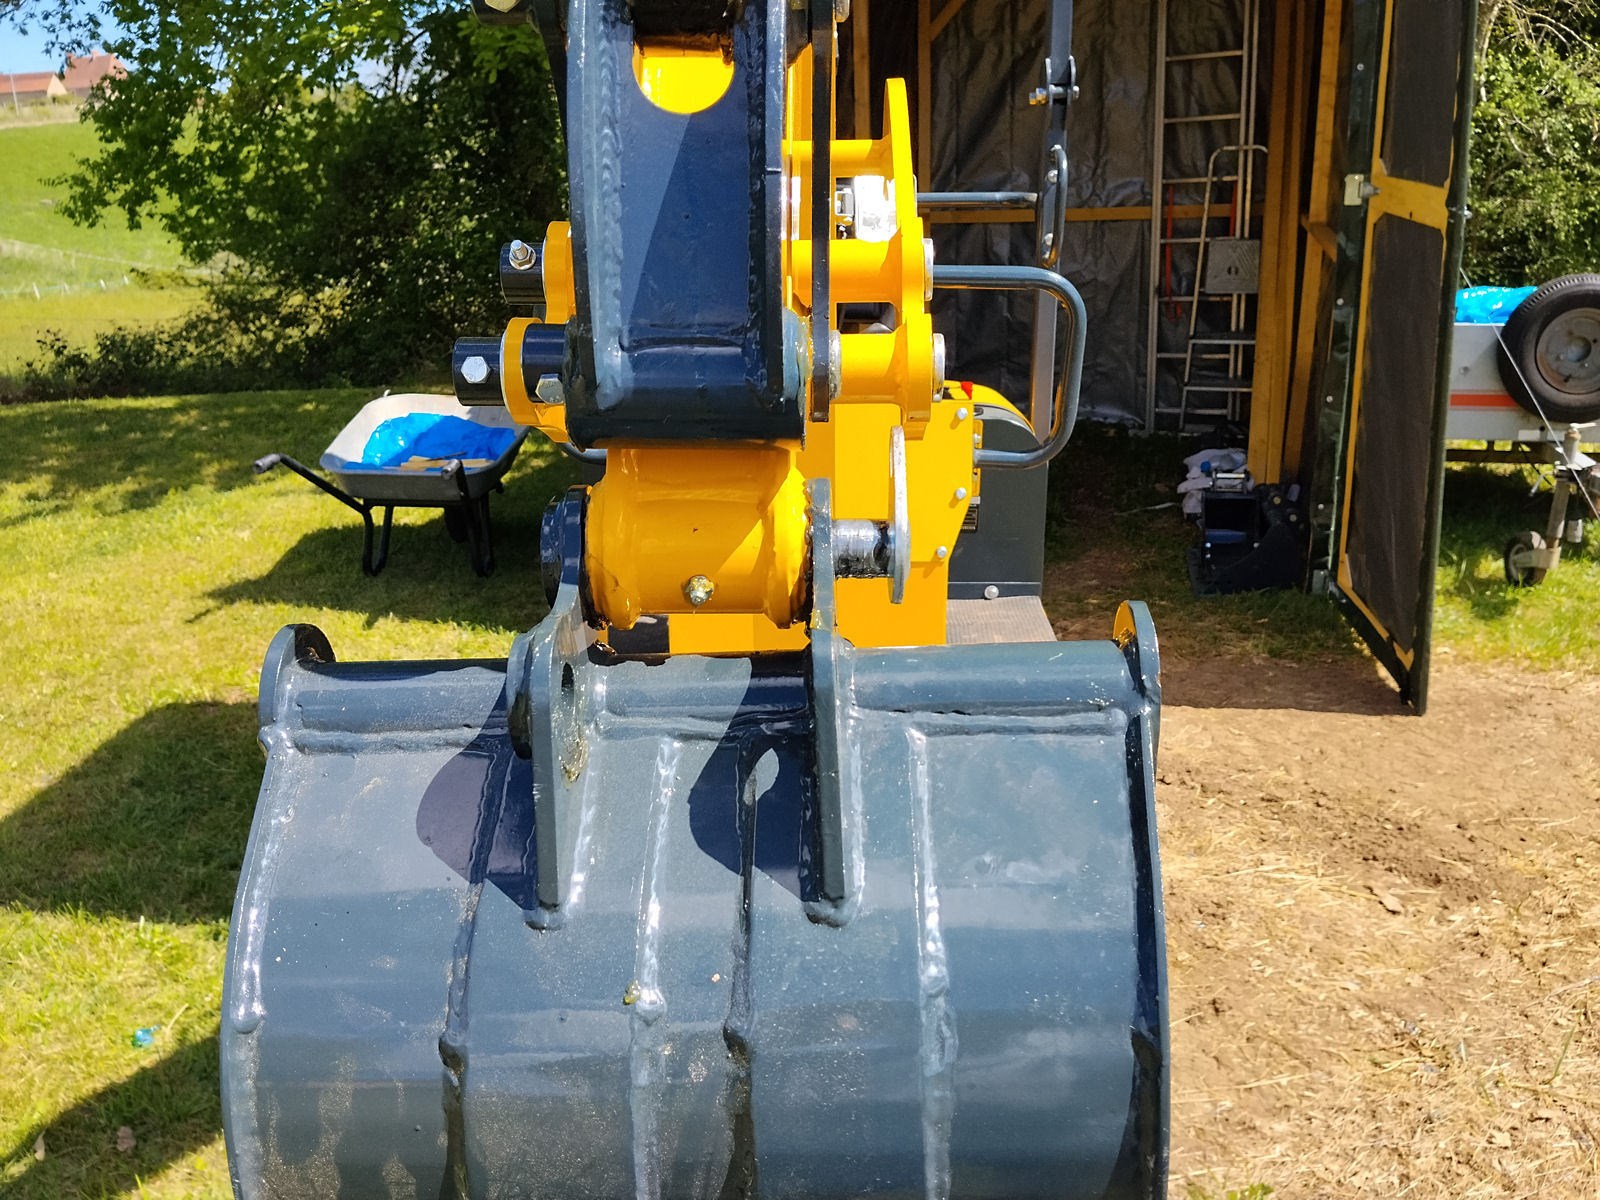
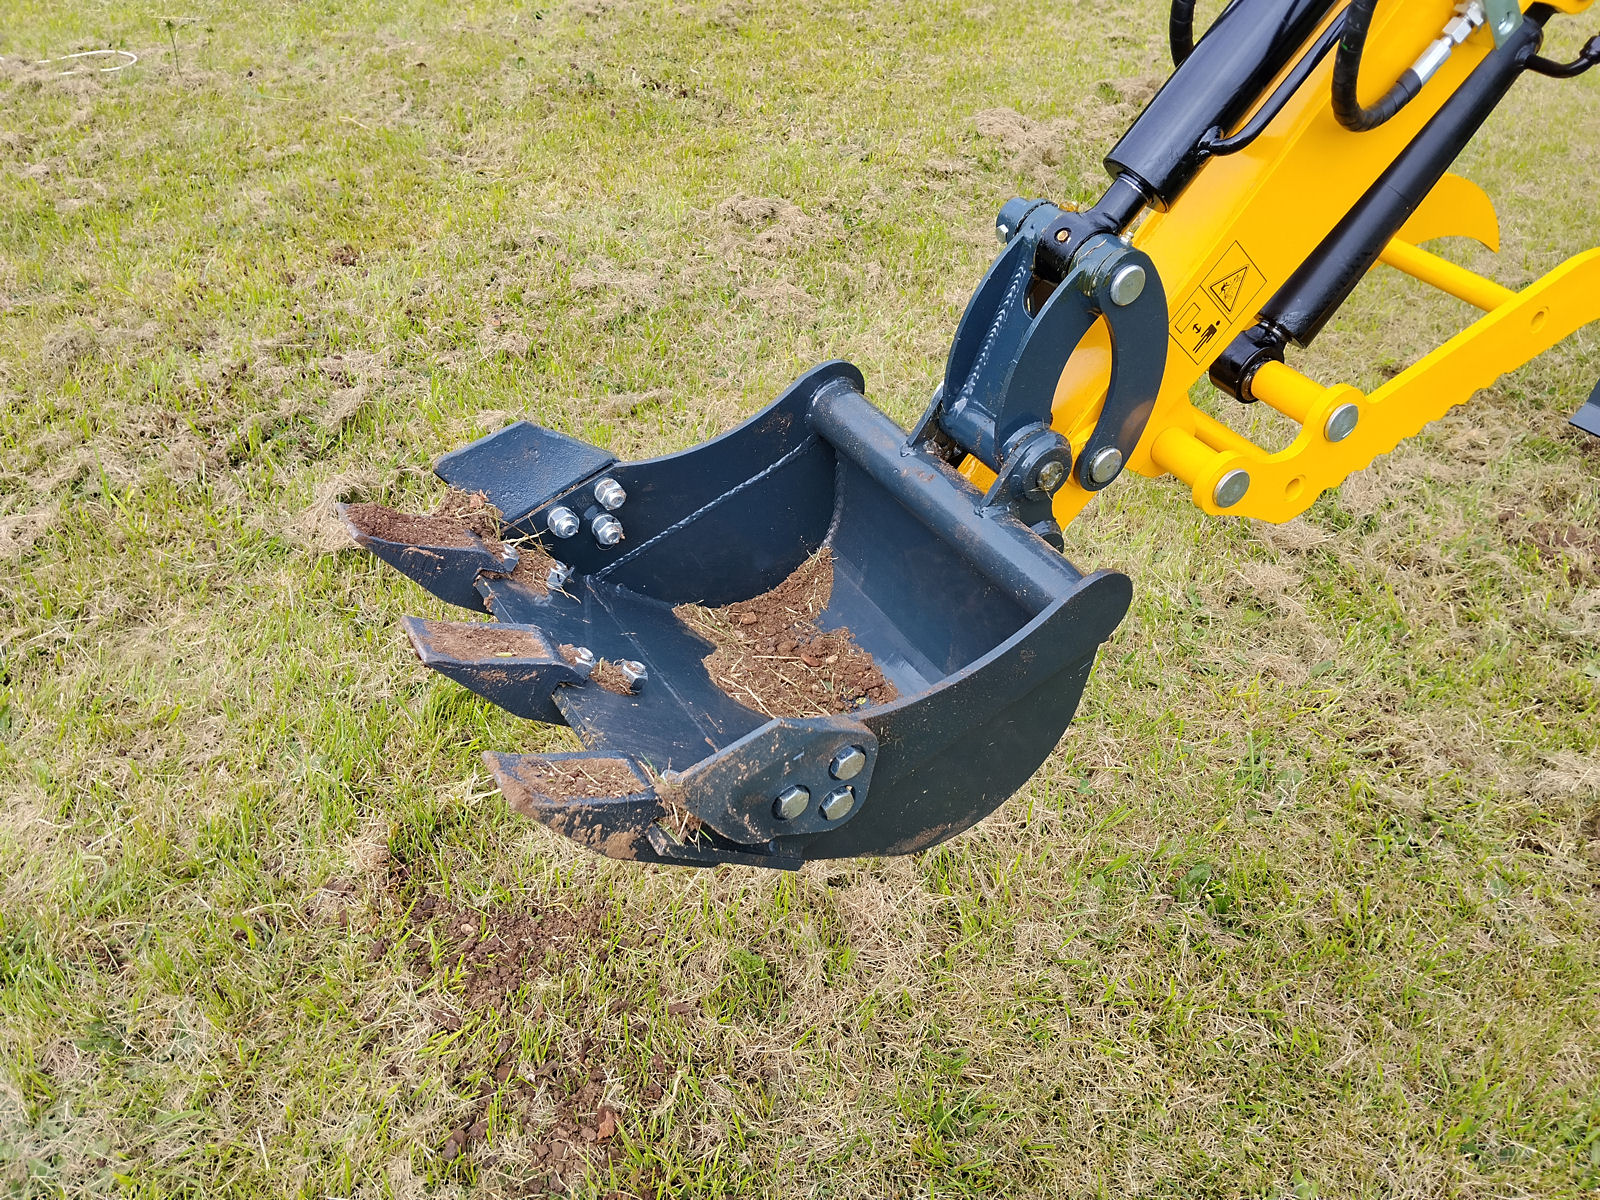
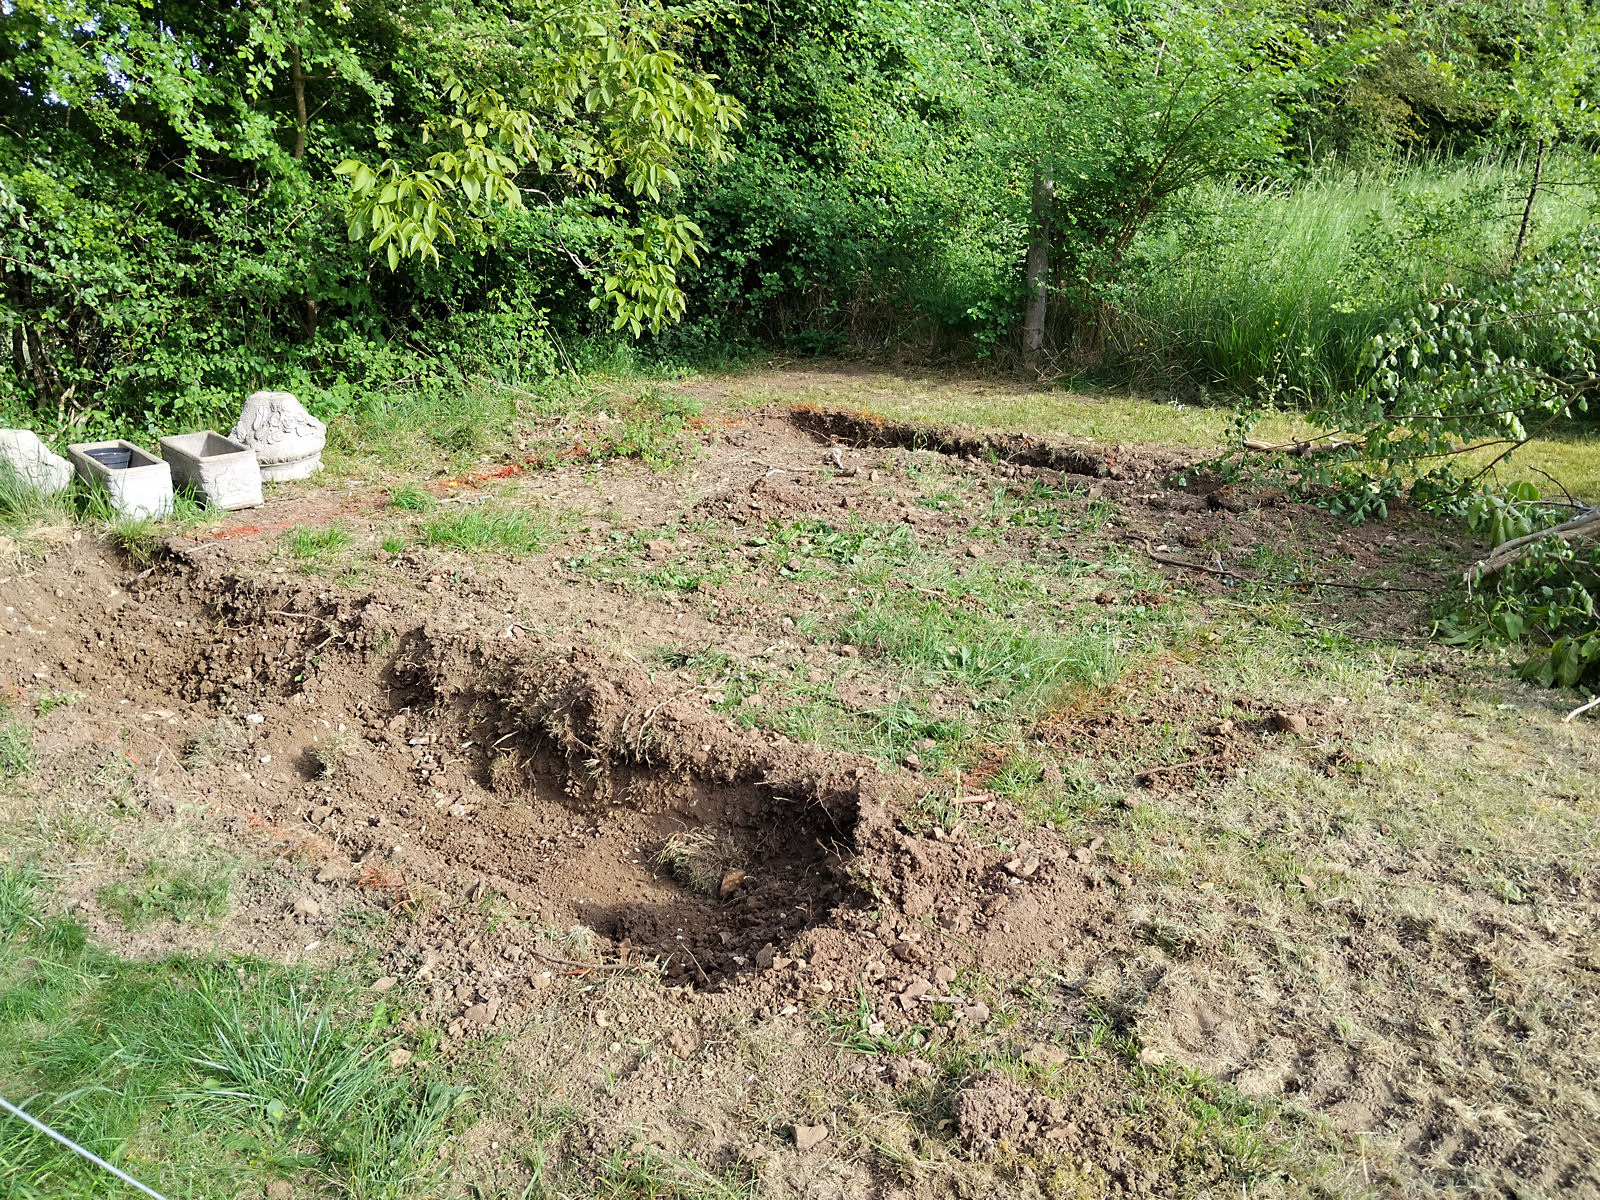
Only then was I able to get excavating again and at the end of the day I’d managed two more bucket-width strips. This was much slower than a ‘pro’ would have done, especially with a bigger machine, but I’m still learning the knack of working both levers in order to scoop a good bucket-load of earth cleanly out of the ground, then raise the bucket, swing the machine and drop the load into the dumper.

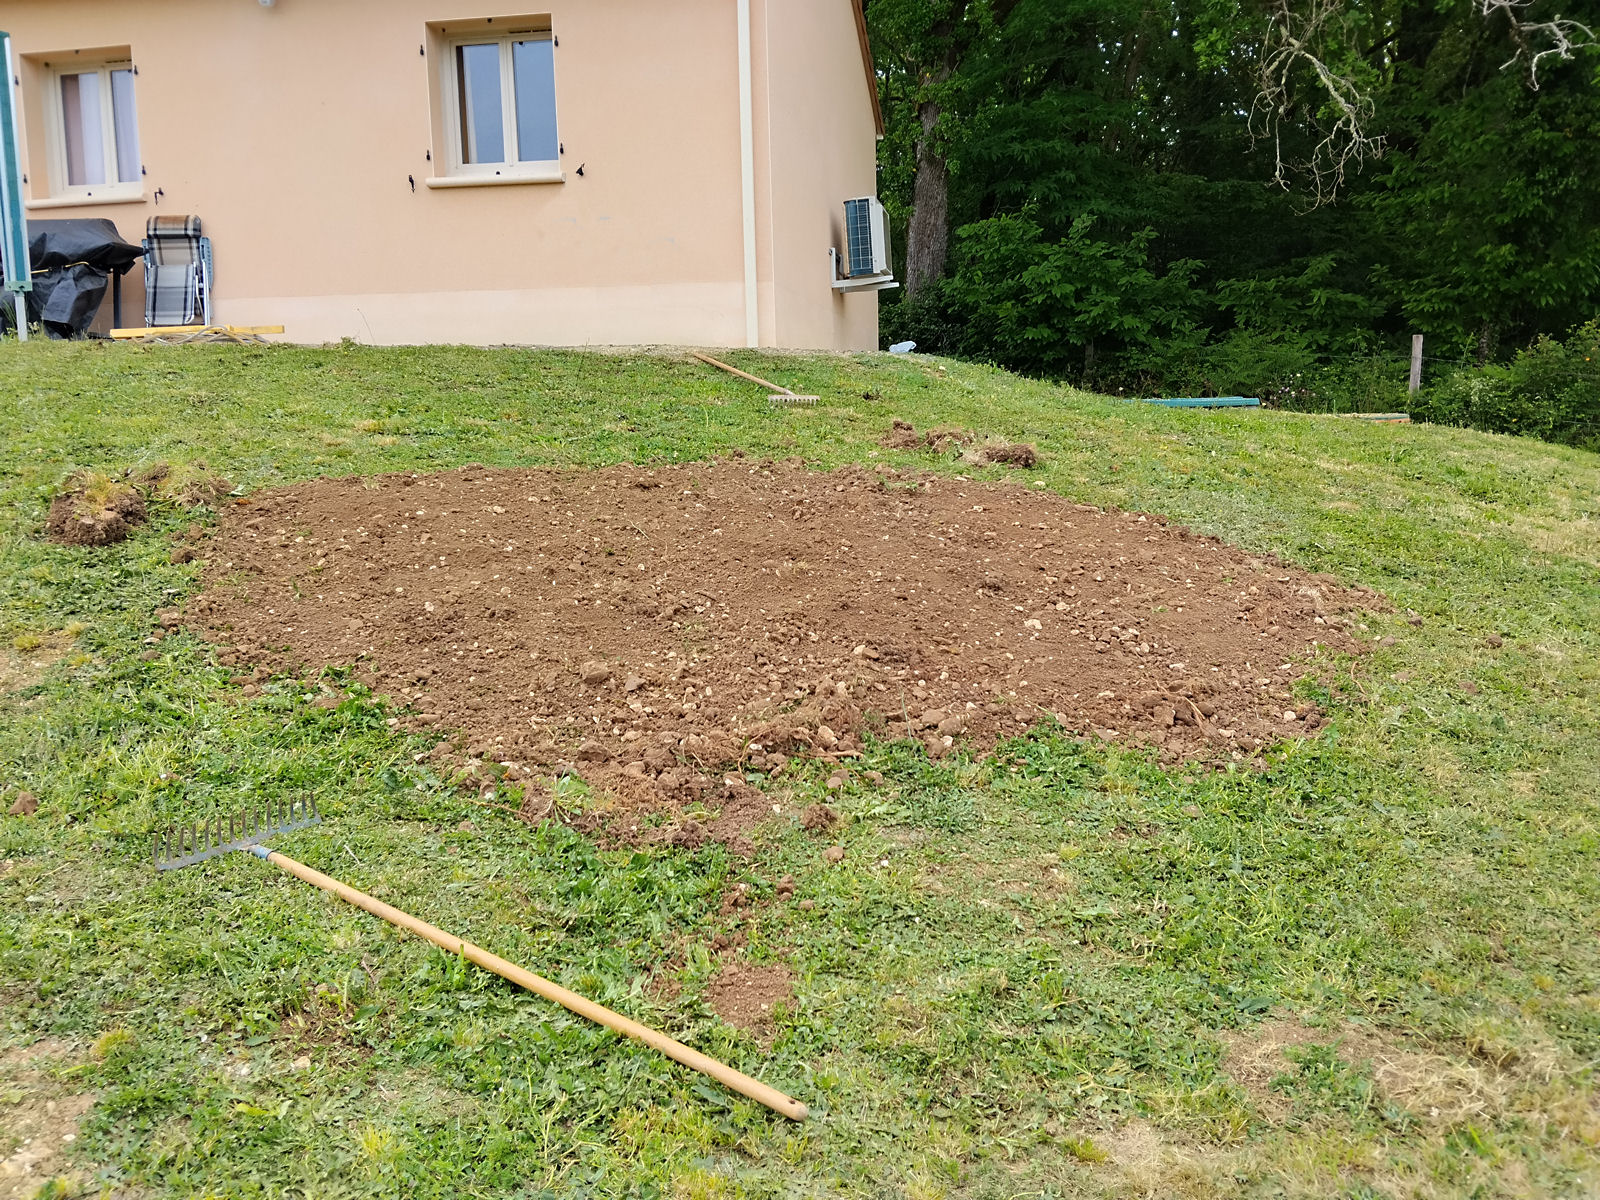
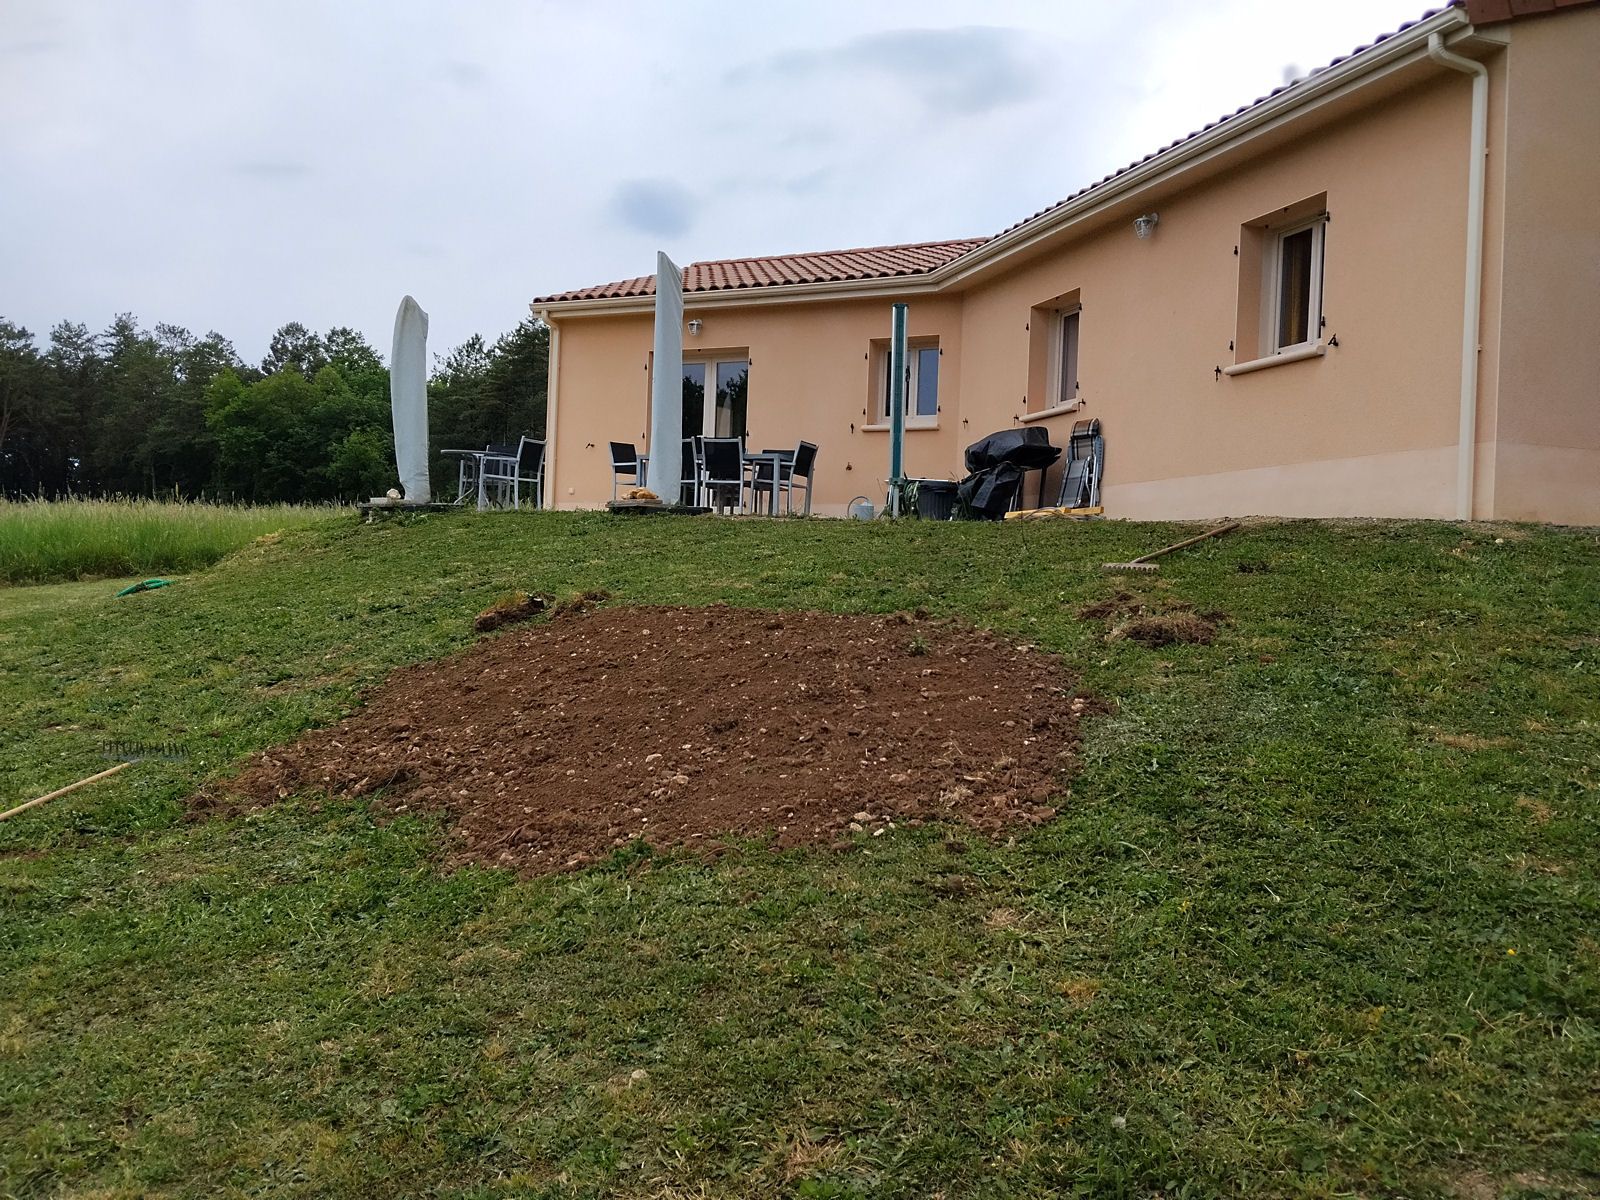
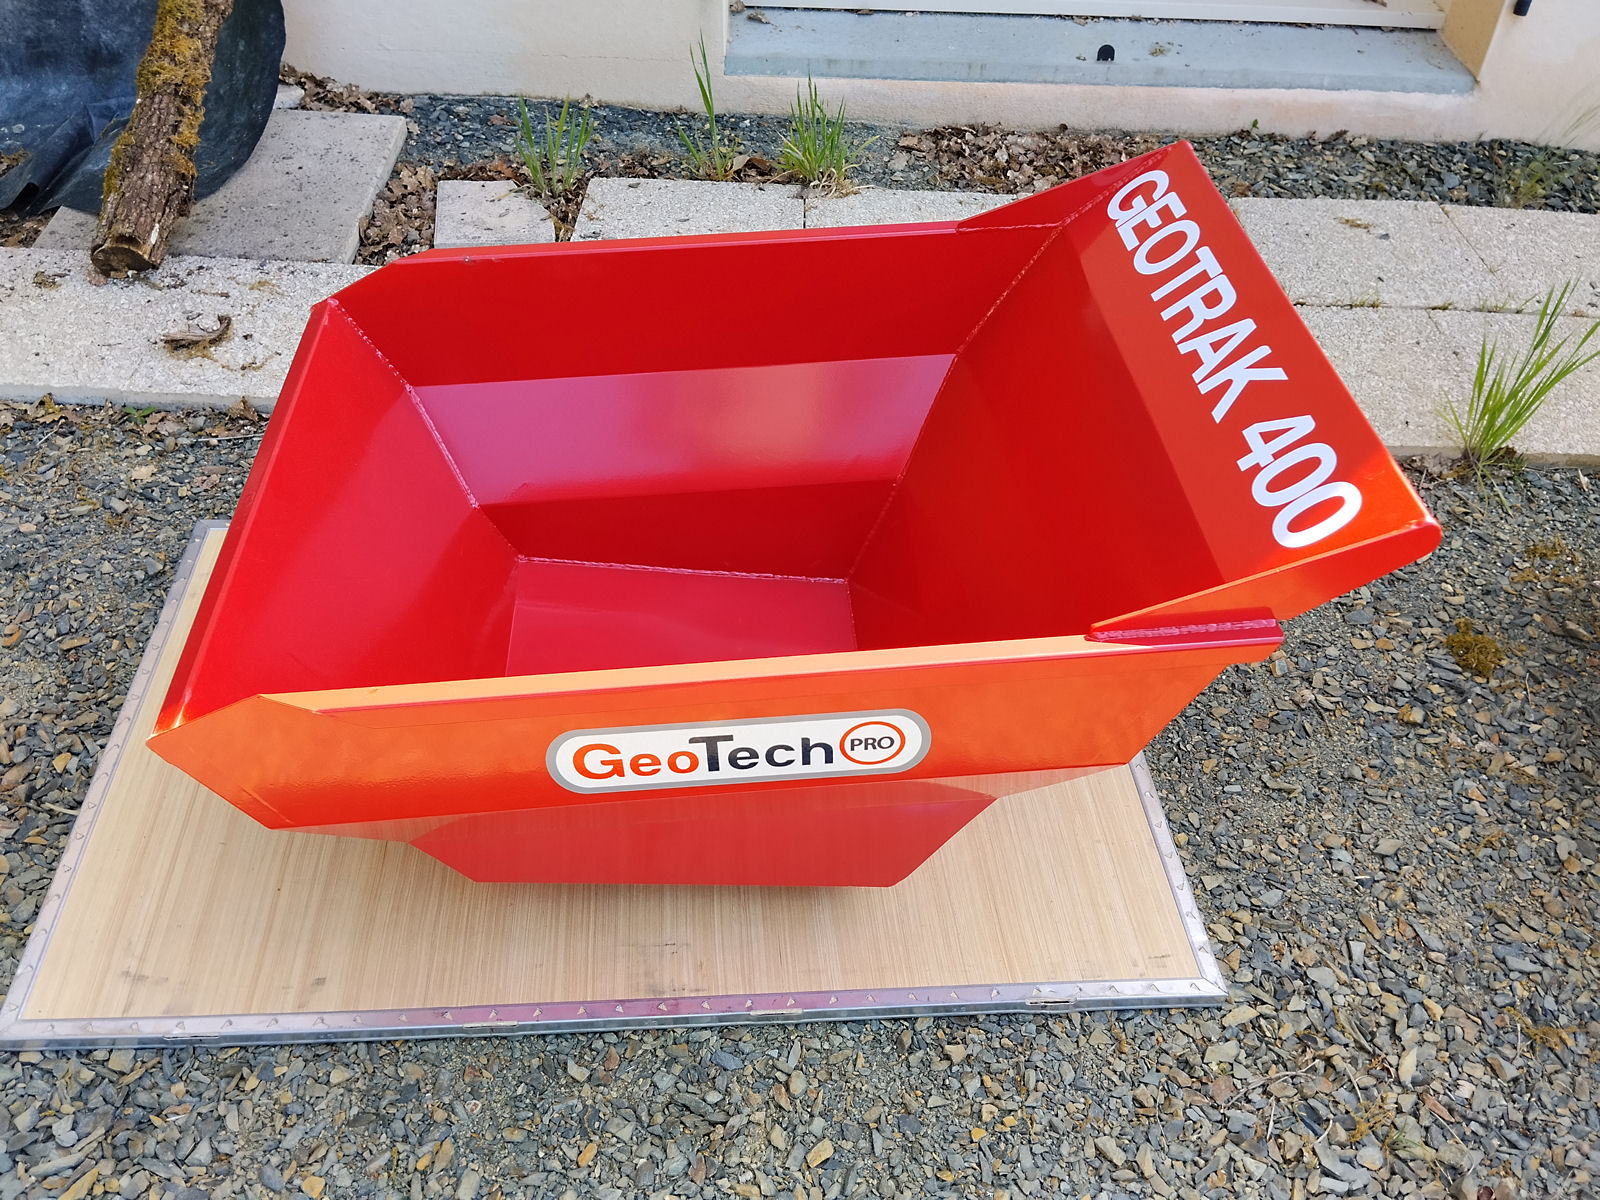
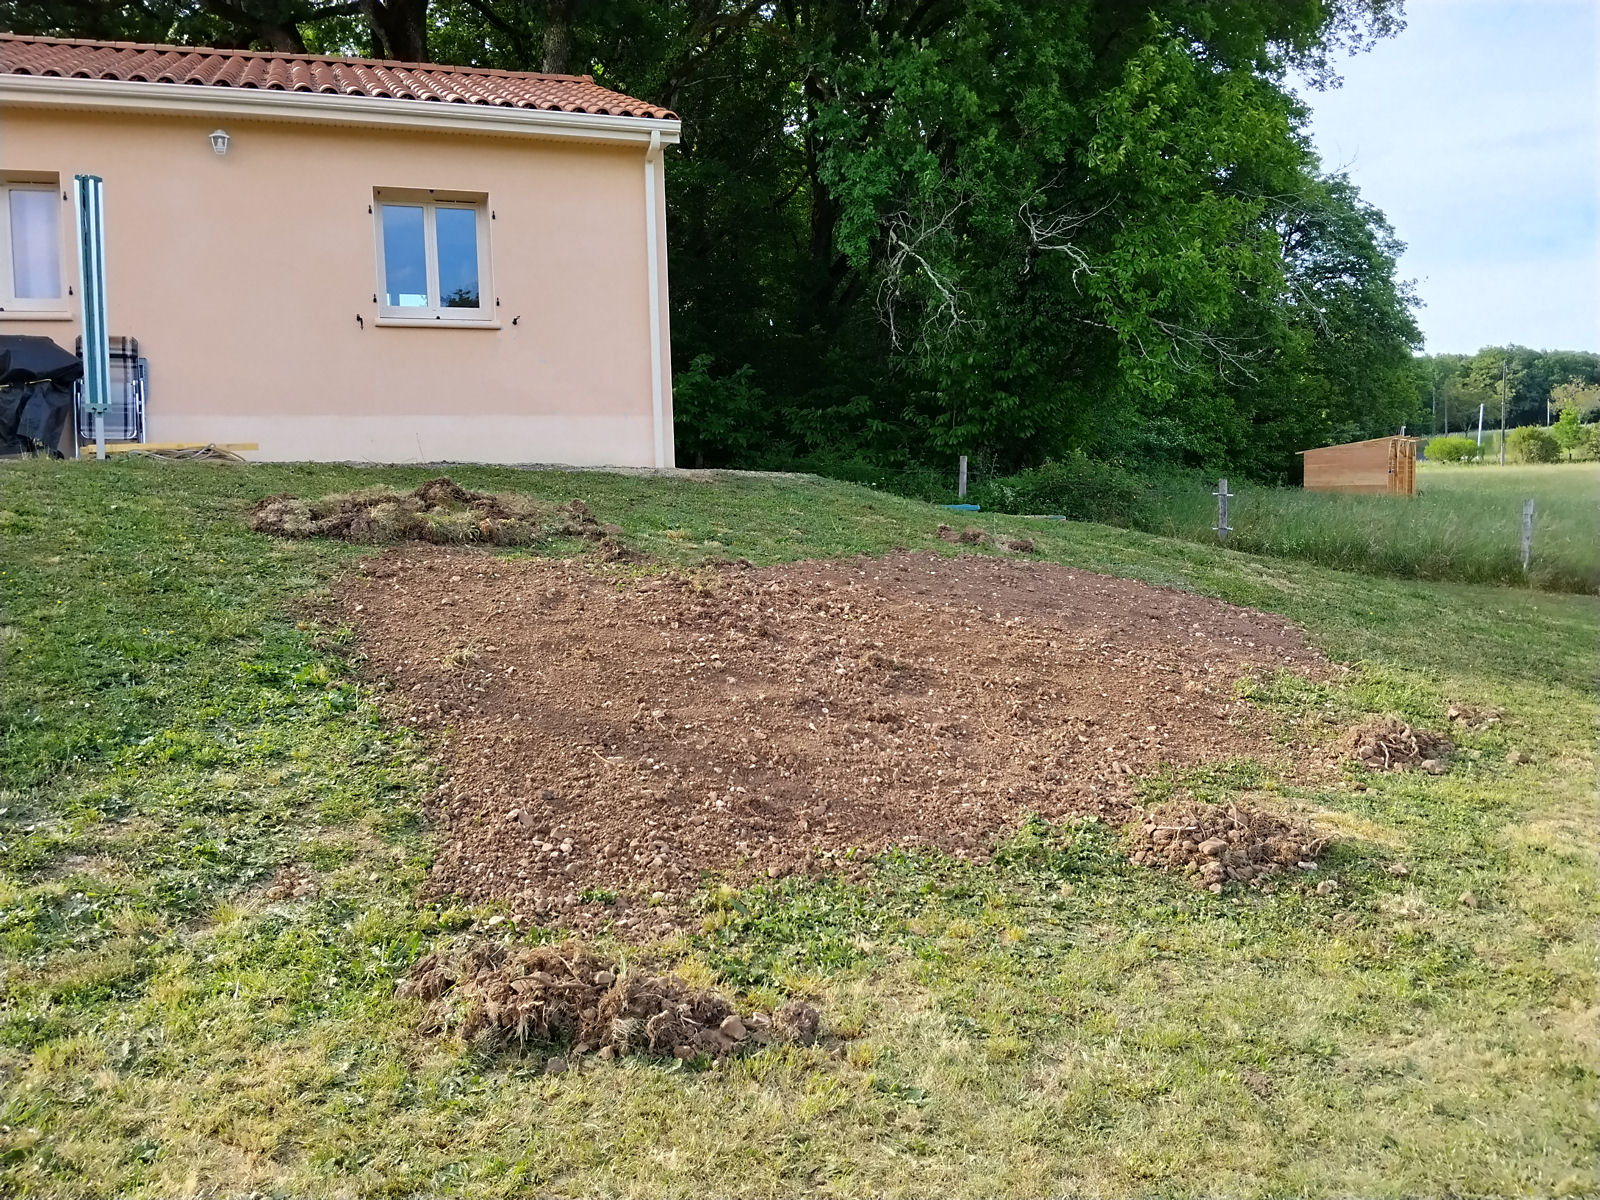
The other thing, of course, is that I’m running each dumper load up the garden, depositing the earth on the slope behind my house and then spreading it with a large rake to reduce the steepness of the slope, all of which takes more time.

null

null

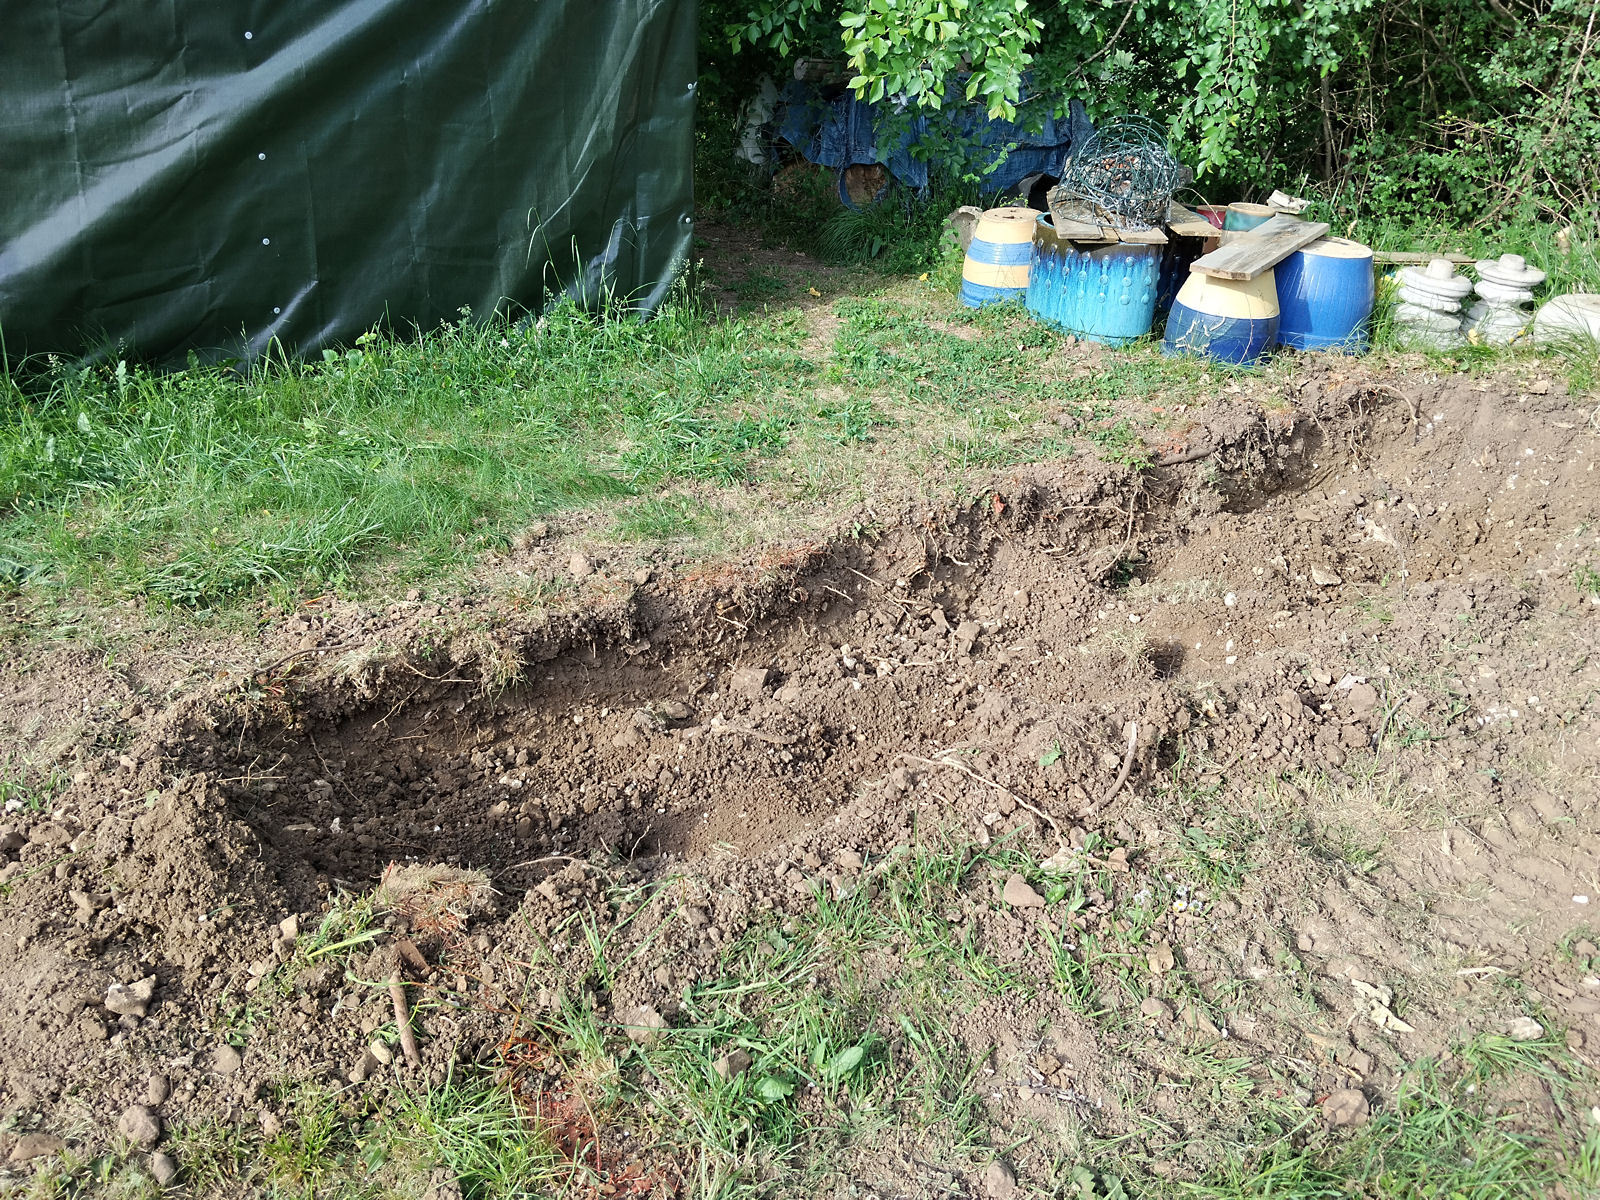
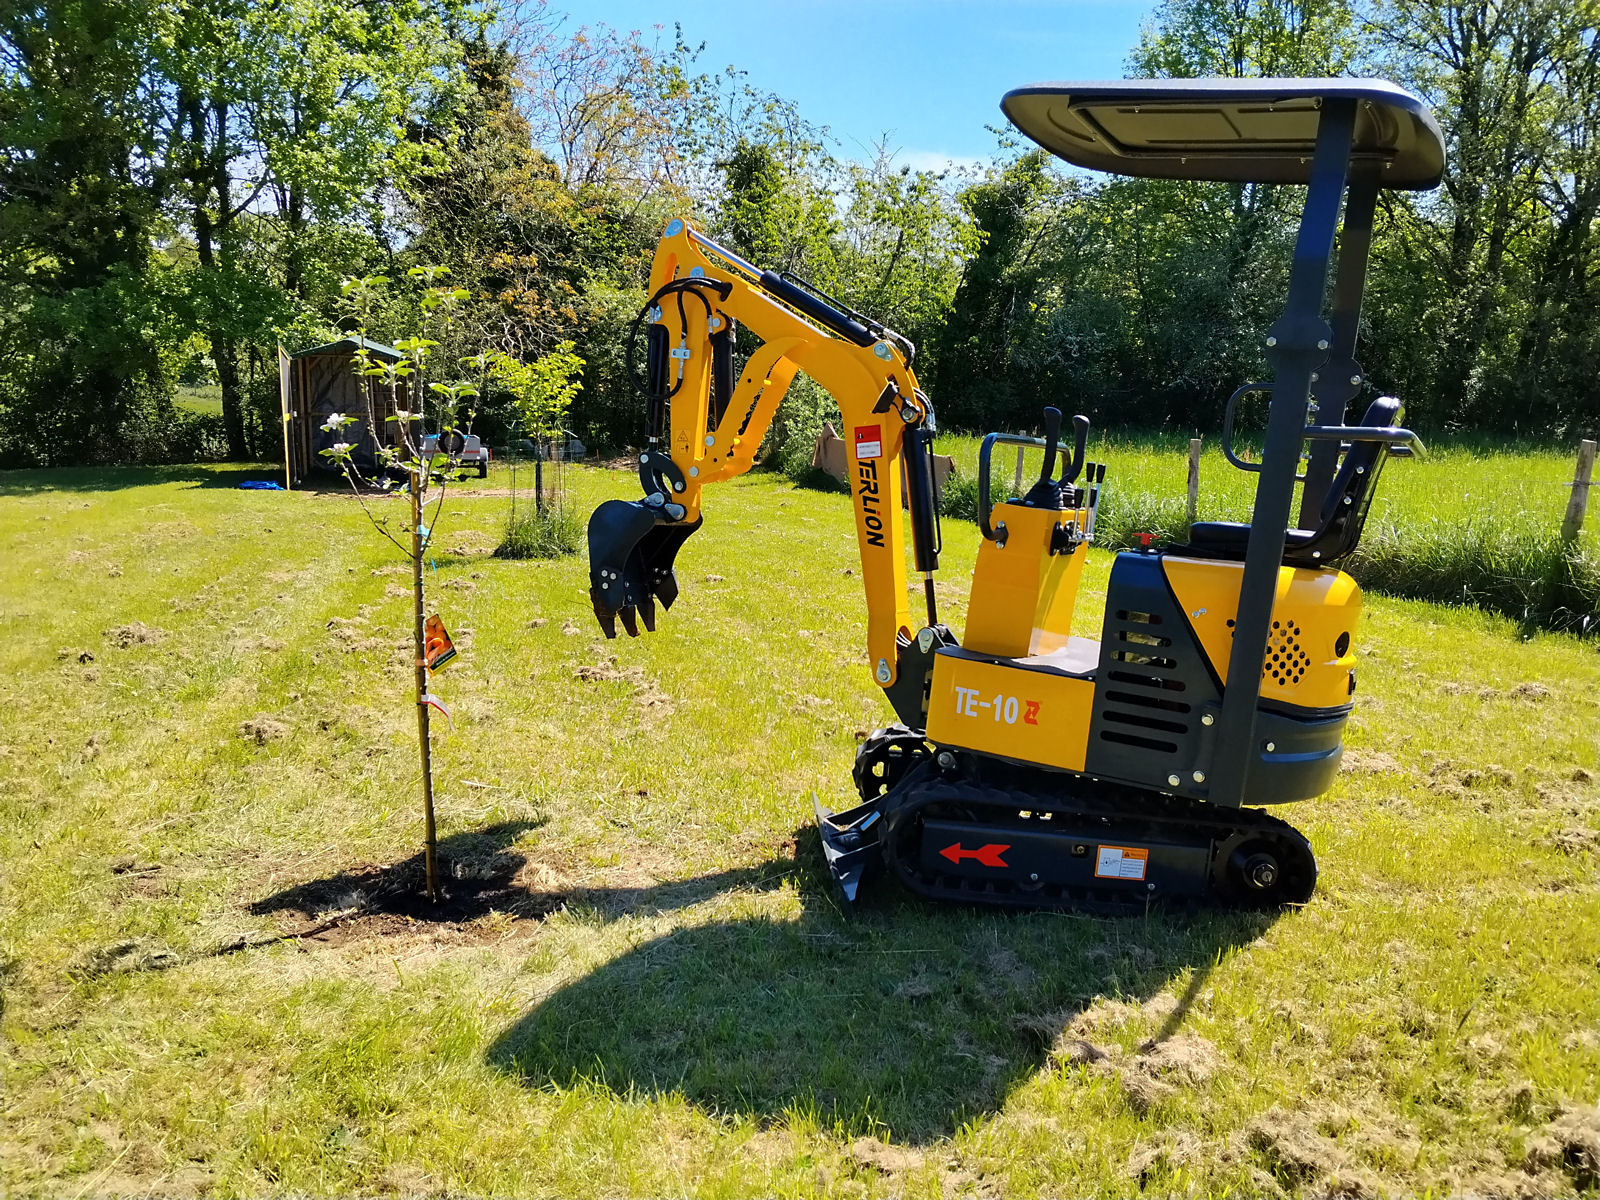
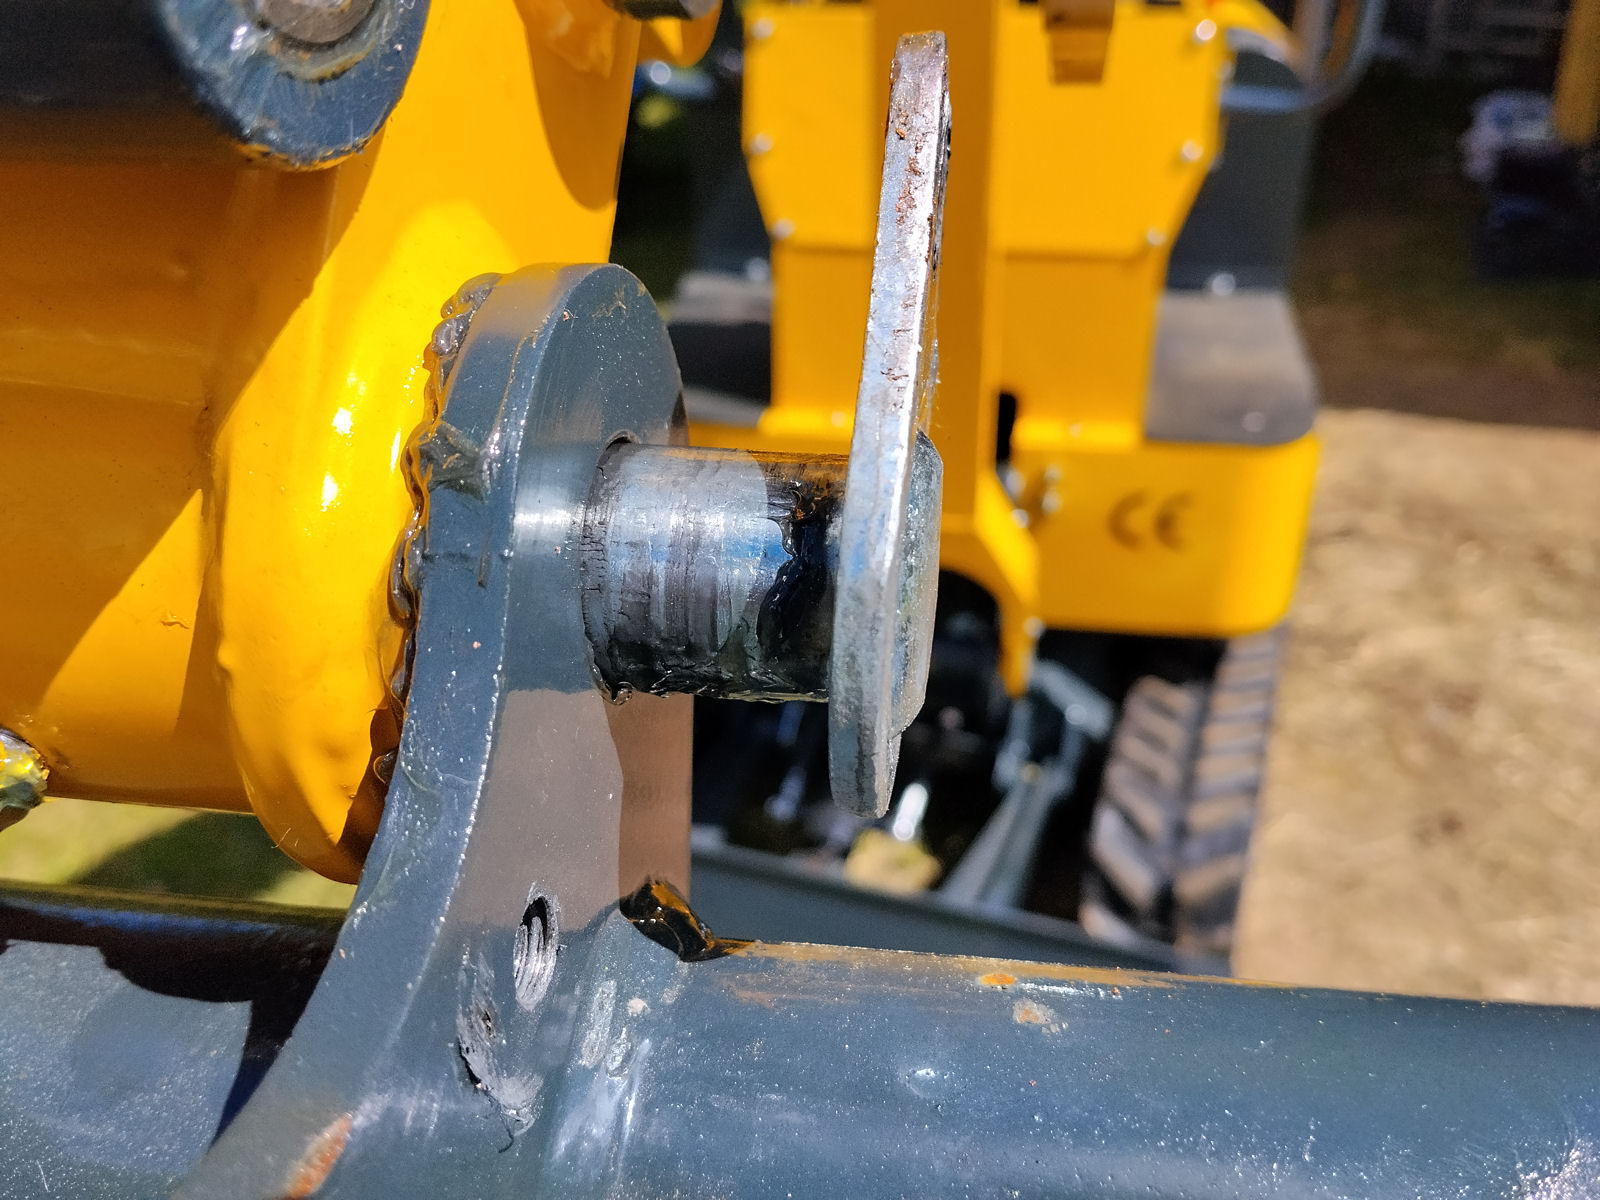
After digging the first strip the excavator’s swing beam came into its own as I had to dig the second strip to one side of the excavator, as I will have to for all the subsequent strips. All of the ‘cheap Chinese mini excavators’ that you see on the internet don’t have swing beams so are much less capable than my machine. I didn’t take any photos of it in action but I will next time.

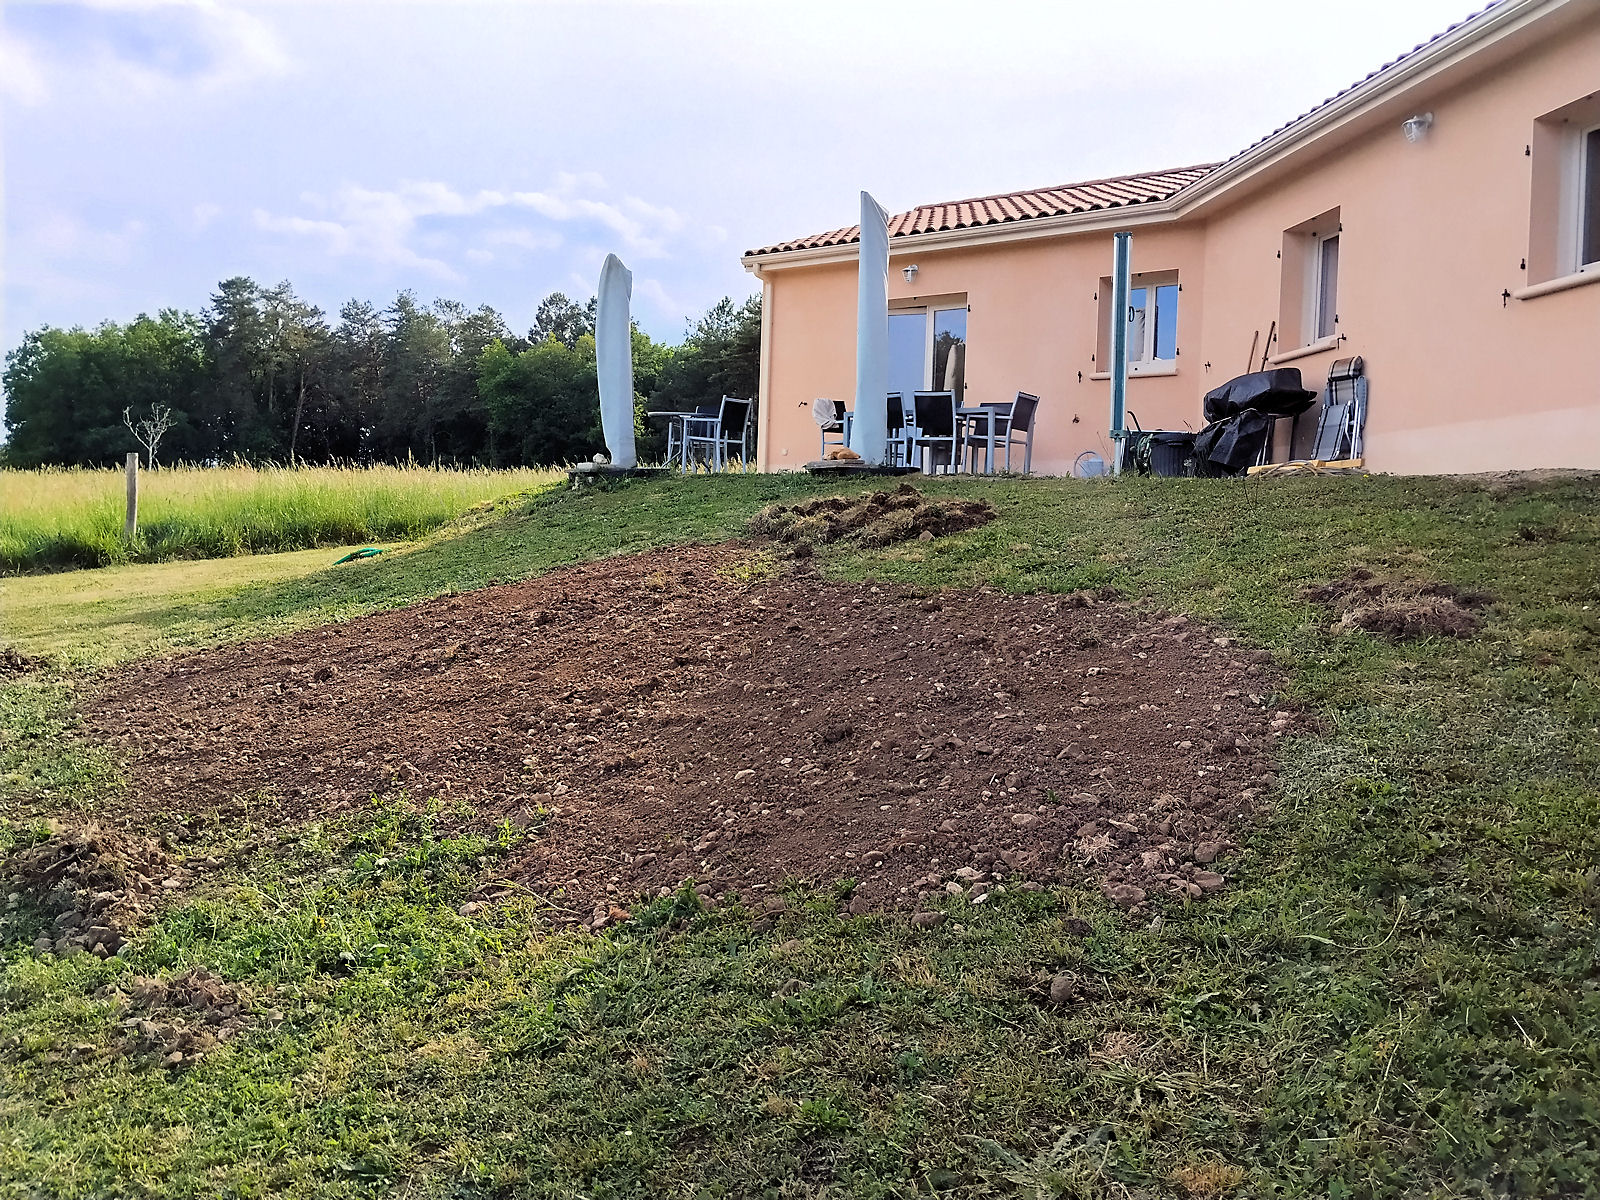
Finally, two shots of the earth I’ve dumped and spread on the slope behind my house in order to reduce its steepness. It doesn’t look like much but I’d guess that it must amount to around 2 tonnes, so an impossible task to do by hand, especially single-handed.

null

null

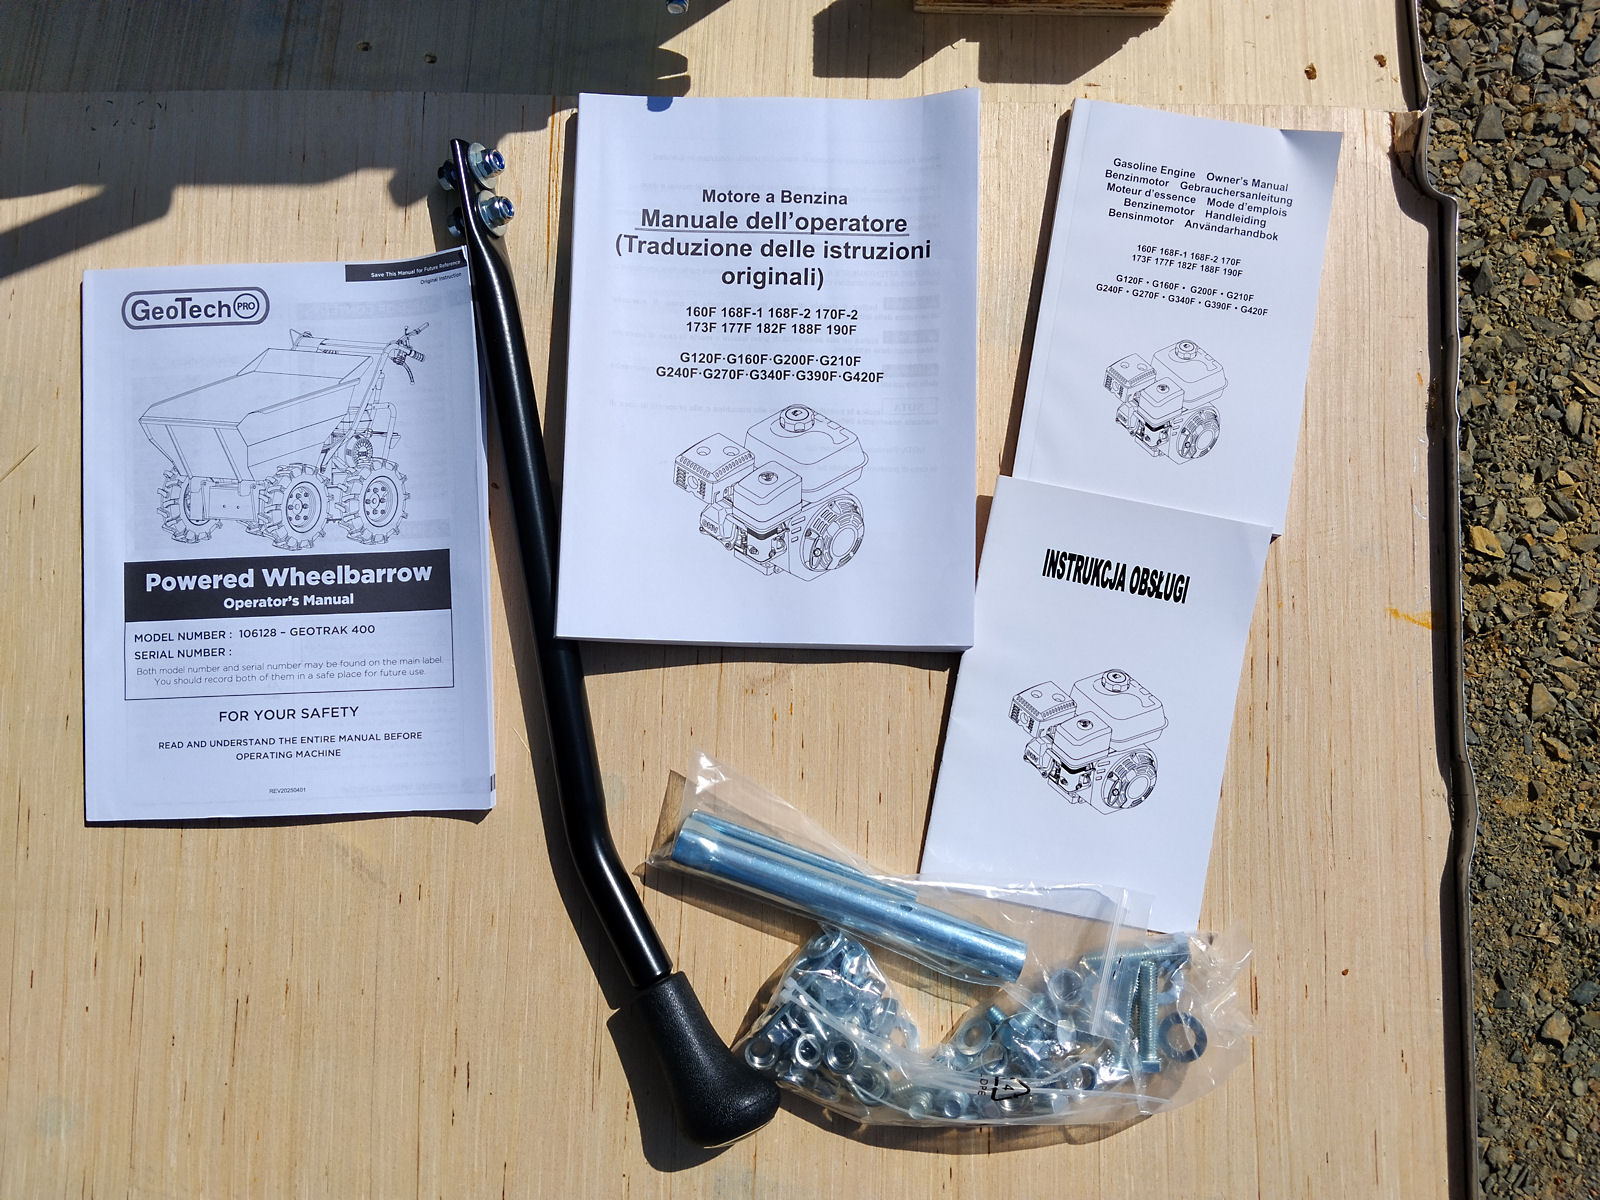
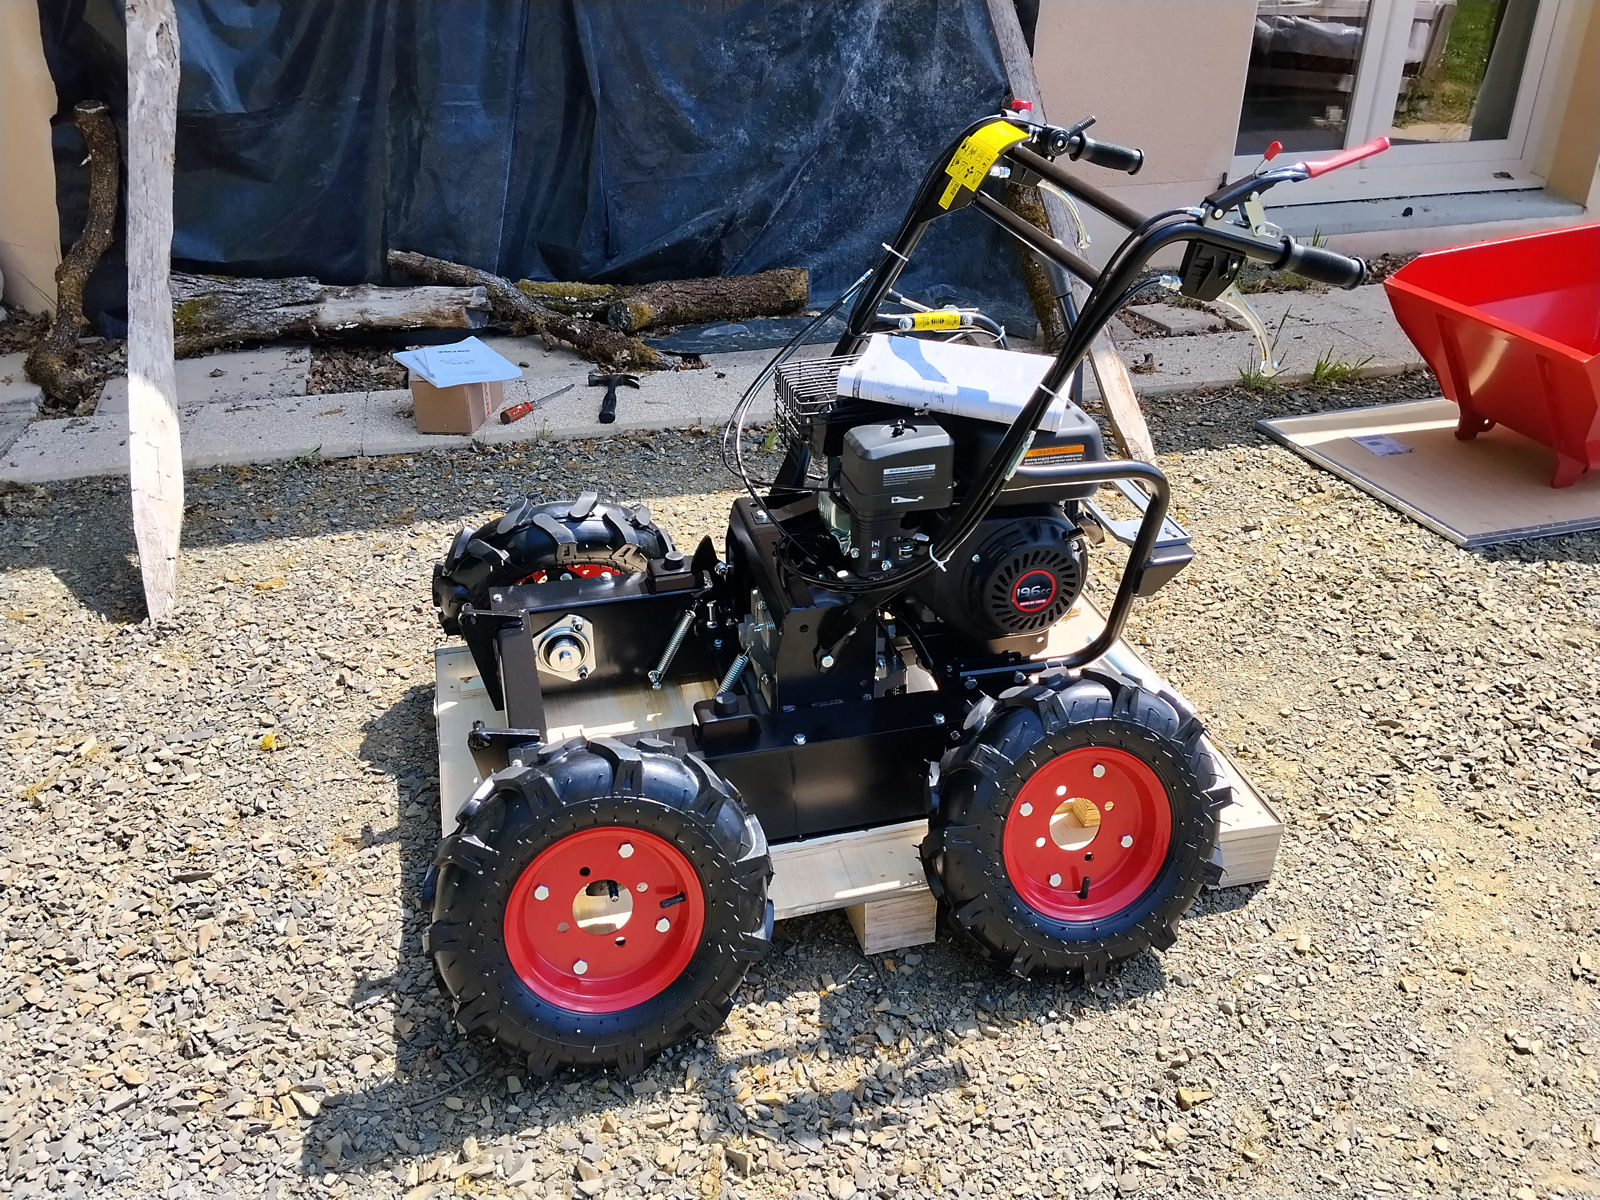
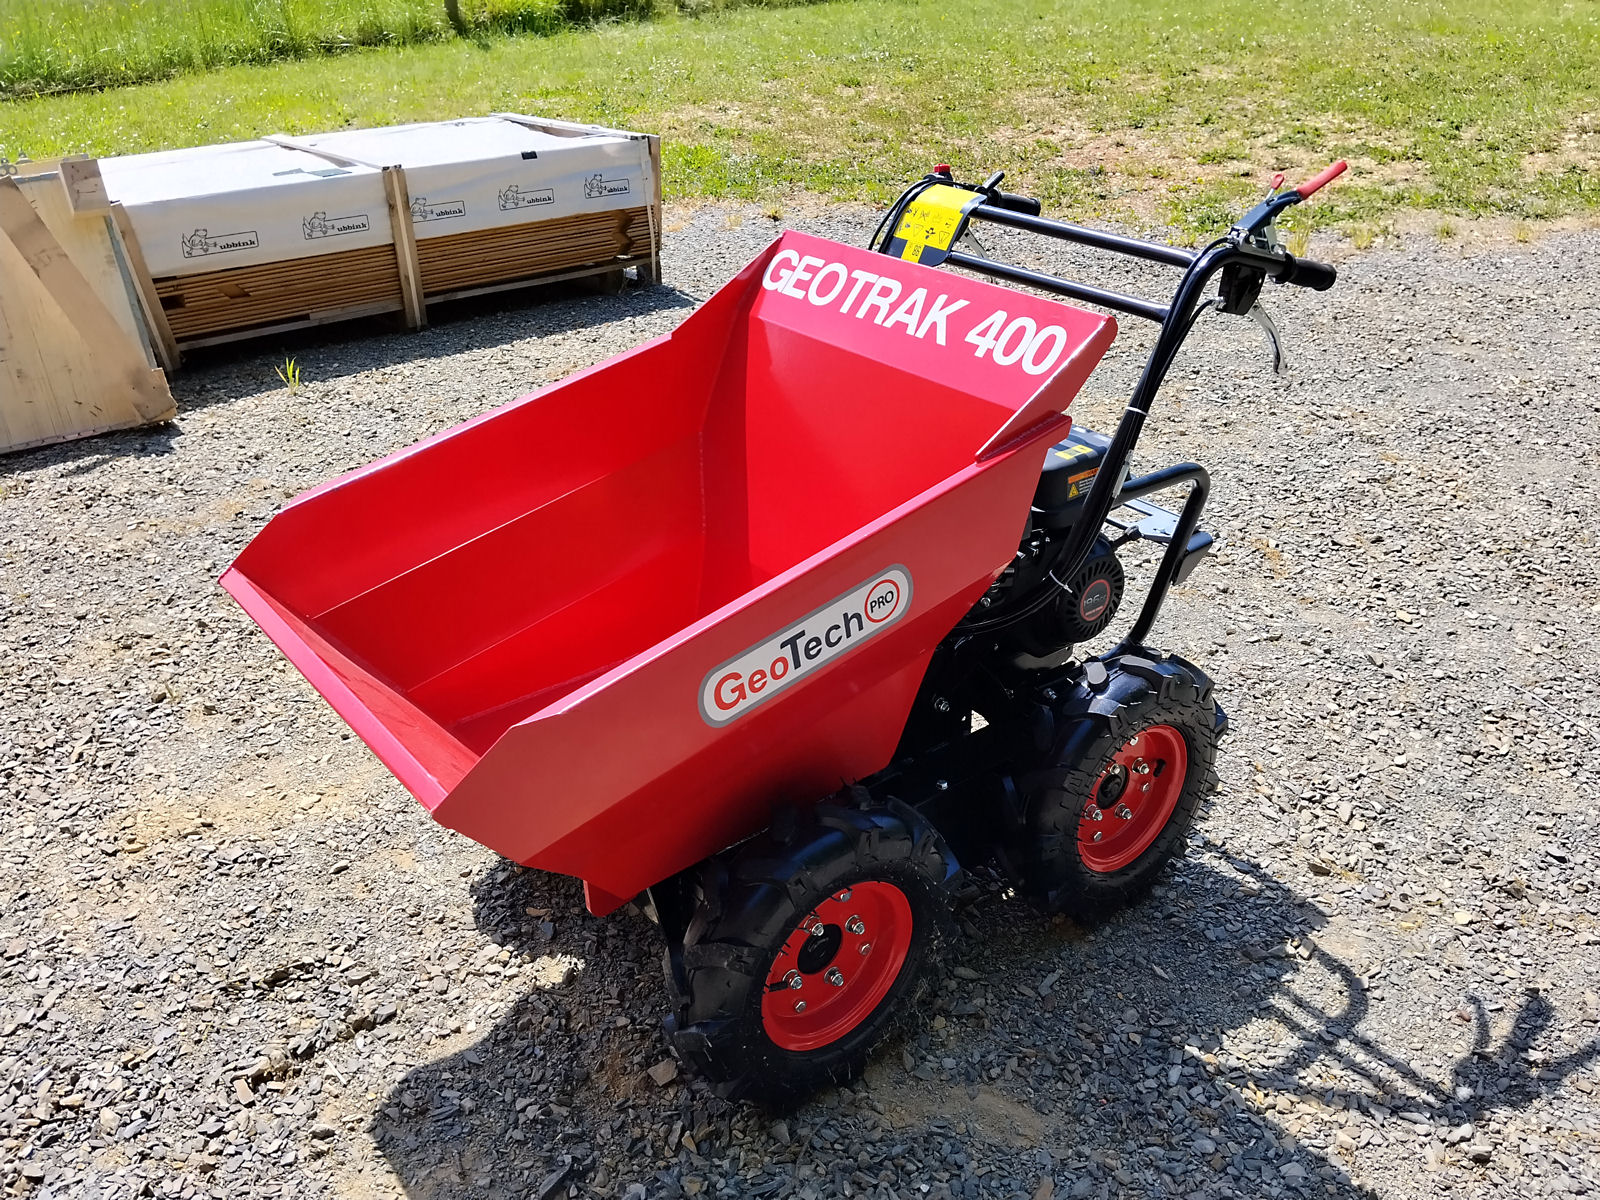
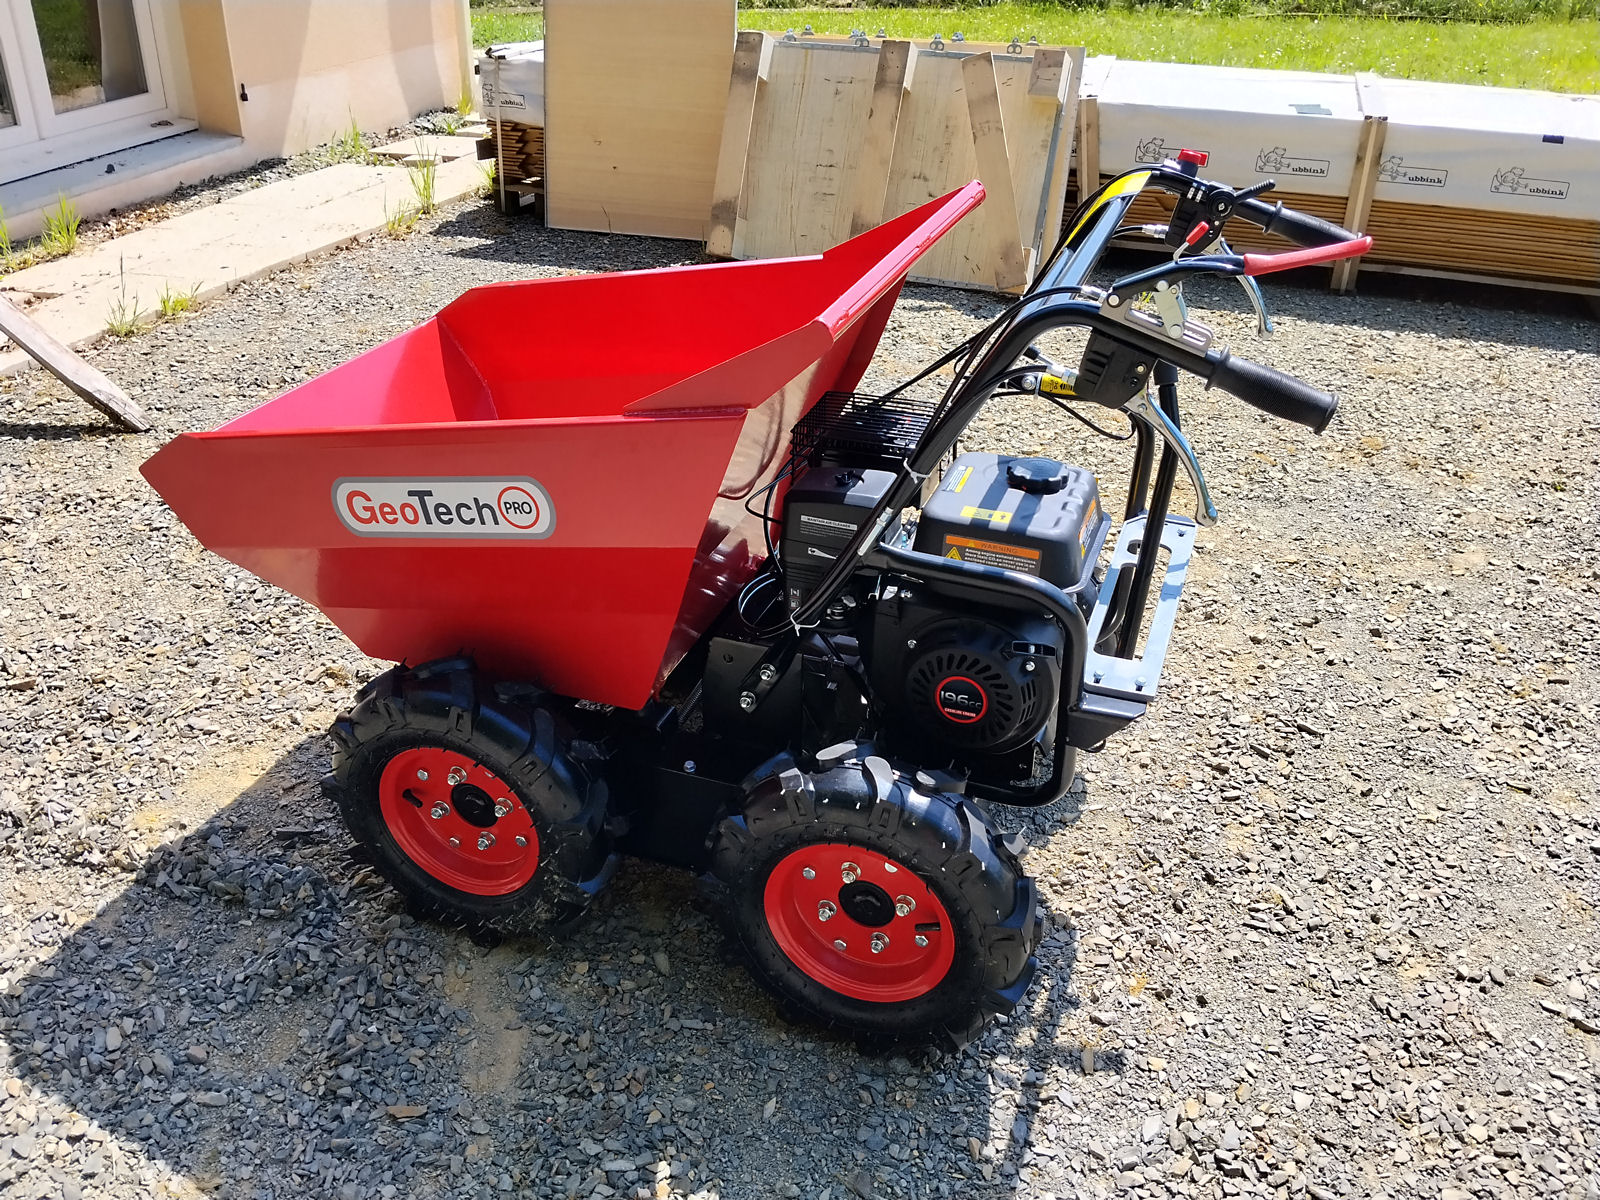
My two new machines are performing exactly in the way I hoped they would 🙂

Getting down to business

After waiting indoors this morning for a delivery that needed a signature – batteries for another labour-saving tool that I recently purchased, of which more later – we kept getting intermittent light rain that I didn’t fancy working outside in. So I went shopping instead and after a light lunch managed to get outside later in the afternoon to start on some serious work with my new excavator and dumper.

The first job requiring some proper earth moving is the base for my planned garden tool store and workshop. It will measure 4.5 x 3.5 metres and I intend to lay a concrete base 12.5 cm thick which will require about two cubic metres of concrete. I set out the area at the bottom of my garden a week or so ago with red pegs linked by light string and today marked it with fluorescent marker paint as I wanted to remove the pegs and string so I could start work.

null

null

null

It didn’t take me very long to find out how tricky working the excavator actually is and my admiration for the guys who have done work with much larger machines at my old house at Plazac and here grew by the minute. There’s a definite learning curve and it’ll take me some time to become even half-proficient, if I’m lucky. As it was I drove my new dumper into the excavator’s bucket when initially getting into position to tip earth into and whacked the side of the dumper’s bucket a couple of times while dropping earth into it, fortunately without doing any damage.

It was slow work compared to how quickly a pro would have done it and I only dug out one strip down one side of the base, but knowing how hard the work had been digging out the two bases I laid at my old house in Plazac by hand, I know that I could never have done the same here. There were a few smallish roots there but here there were both stones and a lot more roots, including one very large one which the excavator ripped through with relative ease.

null

null

I’ll need to cut it with my electric saw before continuing tomorrow but on the whole I was quite happy with what I managed to get done in not much more than a couple of hours or so.

null

I may be digging out a bit deeper than necessary but I’m not too worried about that. The reason is that in the fullness of time I will have to lose all of the black stone put down by the builder in my driveway entrance and all around the house, so putting some in this base and the base for my swimming pool to bring them to the correct levels will be a good way of doing that and freeing up some earth that will be highly usable for modelling my garden. But that’s for later.

null

null

I already started doing that in a small way today by using my new dumper to transport 400kg of earth at a time to the top of the garden to begin reducing the slope from the back of the house down to the garden. Ultimately I intend to do much more of this and may even need to bring some topsoil in to get what I eventually want to achieve.

null

null

So that was it for today. I was very happy with what I managed to do which would have been impossible without my new little excavator and dumper. And this was only the very beginning 😉

Been got, again

Yesterday I spent the day removing the barriers from around my fruit trees that have prevented the deer from attacking them for a couple of years or so, not because the trees no longer need the protection but because the barriers had allowed the grass and weeds within them to grow massively in height and thickness. This was bad news because the weeds and grass starve the trees of water and were now so bad that they needed to be removed.

After strimming away the weeds and grass I laid what turned out to be cheap, poor quality Temu mulch rings around the bases of the trunks of the trees in order to prevent the unwanted growth from coming back again and then replaced the barriers, but for the time being at least, without their supporting thin metal rods. The only exception was the new apple tree but I still have enough barrier material in my garden ‘abris’ from which I also intended to make it a new barrier.

null

null

null

null

I also intended to make a cut-down barrier for the new little Japanese Flowering Cherry that I’d planted nearly two weeks ago in my front garden, but as soon as I saw it this morning my heart sank. It was apparent that just as before, when the deer had attacked a new apple tree one day before I’d planned to put a barrier around it, the same had happened yet again with the Flowering Cherry.

null

I’m assuming that despite the abundance of greenery all around, a deer had taken a fancy to my new, weedy, out of shape Flowering Cherry. And it had done a thorough job, from top to bottom of the bush taking not only almost all of its foliage but also chunks of its stems.

null

null

null

null

The bush was something of a disappointment when it was delivered but I had no intentions of replacing it. Now I’m not so sure and may have to bite the bullet and shell out yet again for a replacement. If I do, I think that next time I’ll go for a tree format rather than a bush, which is what I originally intended, but for the time being I’ll leave what’s left in place and see how it does as I’ve got enough on my plate already to be dealing with in the garden.

What do you make of this?

What do you make of this?

null

I know what I do, and I think we’re going to see more of it if fuel costs stay high.

It’s one of the problems of living in rural France. You’re waiting on a heavy delivery and you’re informed of the delivery date and time so you wait at home especially to receive it.

But it doesn’t arrive. Why not?

Because at the time it’s due to be delivered the delivery company (on this occasion Geodis) doesn’t have any more drop-offs in your area so instead they start playing ping-pong.

As they have to have trucks travelling between their depots, they send it back from whence it came and then when it arrives there, it gets turned round again, in the hope that when it arrives at the depot responsible for delivery, in this case Périgueux, this time there’ll be other drop-offs in the same area.
If not, will it go round again? I wouldn’t bet that it wouldn’t.

So, so far two days late. Let’s wait and see.

Sweet as a nut

As we Brits say when something goes exactly according to plan. I was somewhat fearful this morning because the work I had planned for today needed for me to replace the excavator’s bucket the right way round. This also meant, of course, that I’d need to replace the bucket securing pin that had previously been seized in its joint and given me so much trouble when I was removing it, and that I was not looking forward to.

And sure enough it would not go back in. Each bucket (and the post auger) came with its own pair of pins so I then thought that as a last resort I’d try a pin from another bucket. And what do you know, it went in with almost no difficulty at all. So it appears that the problem isn’t serious after all. It’s just to do with slight variations in securing pin diameters, so I’ve informed the manufacturer and as well as asking for a replacement for the original pin, I’ve asked for a spare or two in case any of the others have also been manufactured on the big side.

Having replaced the bucket I could get on with today’s tasks, starting with planting the new Reine de Reinettes apple tree in the hole that was left after I’d moved the original tree further down the garden. This didn’t need much work by the excavator. All I had to do was tidy up the hole, finishing off by hand with a shovel, and plant the new tree in the usual way. Here’s how it looked after I’d finished. I was very happy as the manual effort required was minimal.

null

Then it was time to move to the front of the house to dig a hole and plant the new Japanese Flowering Cherry. This time I’ve shown a bit more of what’s involved.

null

The main thing I’ve discovered is that as you might expect, the excavator is not designed to dig small diameter deep holes. OK, the minimum width of the hole is the width of the bucket (in this case 400 mm) but due to the action of the bucket, the length of the hole extends the deeper you dig and in this example was about 800mm. Even so, I know from experience that the manual effort involved in digging a hole like this in this soil is considerable.

null

That’s because there was another problem, as I remember too well from when I was digging holes manually in the front of the house (eg when I installed my post box). The ground is so rocky that you hit rocks the moment your shovel (or your excavator bucket) hits the surface. The little excavator had its problems but I more or less got down to the desired depth before I had to start tidying the hole up by hand. And not just by hand. Also by club hammer and chisel in order to smash the large rocks in the bottom of the hole into smaller pieces that could be removed.

null

null

But compared to digging the hole by hand, planting the little flowering cherry was a doddle and the final result was very acceptable. It’s always a good idea to separate the roots of any tree that’s been grown in a pot and when I did so for this one I found that the earth it had been grown in looked awful – almost like dirty sand. I cleaned it up but left enough on the roots before planting the little tree with plenty of special compost and back-filling with original soil with all of its large stones removed.

null

So here’s looking back on the tree planting work of the past couple of days, starting with the original tree that I transplanted two days ago. It looks to be coming along fine in its new position.

null

Now the new Reine de Renettes apple that replaced the tree I’d moved. It looks to be in good condition but I’d say is a year younger and therefore less full than the tree I’d moved and also the other Reine de Reinettes that I bought at the same time, which is doing famously. That’s it behind and to the right of the new tree in the next picture.

null

And now the little flowering cherry. To be honest, I’m a bit disappointed with it. From the pictures on the supplier’s web site, I thought it would be bigger and fuller. It’s also bent to one side and as can be seen in the picture, I’ve tried pulling two branches outwards using sticks banged into the ground and with a bit of luck over time they will give the required results. The problem is that I have to buy on the internet as with all the other things I’m dealing with I don’t have the time to troll around the local nurseries sourcing trees and shrubs, much as I’d like to.

null

The final thing I did today was attach sticky anti-ants and insects bands to the trunks of all of the trees in my garden. Ants can already be seen on the leaves of several trees so it’s not before time.

null

The manufacturer of the sticky bands also recommends attaching bands to any supporting sticks, which I’ve done for the stick supporting the new tree, as the ants are very clever and otherwise use the sticks as ladders and cross over to the trees above the sticky bands on the trunks.

null

I also intend to remove the barriers around the trees and cut the grass surrounding them. Grass voraciously sucks up water that the trees need to survive and prosper but I won’t be doing it for a day or so as I’ve ordered several 60cm mulch rings to place around the tree trunks that will prevent grass and weeds from growing and also feed water down to the tree roots.

In fact there is now going to be a slight lull in activity, possibly save for me acquiring materials with which to construct the concrete base for my planned garden tool shed/workshop. That and the next job I have planned will begin to involve me shifting much more earth, more than I’d ever care to have to move by hand. For that, therefore, I’m waiting for this to be delivered.

null

More later 😉

First job

The first batch of fruit trees that I bought turned out to be weedy and of very poor quality. I ended up losing almost all of them – I think I have just one little cherry tree left that is fighting to survive but is still weedy and will probably never do anything worthwhile, at least in my lifetime.

The next batch I ordered were from another supplier in the Landes in south-west France. These were more expensive but were bigger and of much better quality. I was extremely pleased with my purchase, especially with one of the Reine de Reinettes apple trees that was a lovely shape, and despite the shock of being transplanted bore fruit immediately.

Unfortunately, after putting the trees in, the night before I planned to surround them all with protective netting the deer came into my garden and attacked them. The trees that were the worst affected were the two Reine de Reinettes and the one the most seriously damaged was my favourite.

The damage was extreme. In order to obtain the tiny, immature fruit the deer had ripped off one of the tree’s main branches and by so doing had ruined the shape of the tree. Then, to make things worse, the same tree was attacked the next year by aphids and ants and all of its leaves began to shrivel.

I hit it with vast quantities of Neem Oil spray which had the desired effect. Over several weeks it cleared the aphids and ants but the tiny fruit that had started to grow shrivelled and died and at one time I thought that the tree might have died as well. But it hadn’t!

So now we come to this year. I’ve had to remove a couple of small, dead branches but despite the fact that the tree now appears healthy, there’s no possibility that it will ever now be a thing of beauty as it’s completely lop-sided. And to make matters worse, because it was originally so lovely, I’d planted it the closest to the house.

I therefore had to make a decision. The tree couldn’t stay where it was, but it would have been a shame to lose it completely after all it had been through, and me with it. So my idea was that once I had the excavator I’d order a replacement and move it lower down the garden where it could do the best that it could, and if by doing so I lost it, so be it.

And today was the big day. I ordered a replacement Reine de Reinettes apple tree together with a Japanese Flowering Cherry from a supplier in Paris. They will both be arriving tomorrow courtesy of Geodis so I needed to move the existing apple tree today ready for its replacement to go straight in.

The Flowering Cherry will be going in front of the house and as it will be smaller (apparently they grow pretty quickly) I’ll be able to use what I learnt today and I’m hoping that I’ll be able to get that one in as well before the end of the afternoon.

With all that decided it was time to prep the excavator. Over the last day or so I’ve gone all over it and greased every grease nipple. I’ve also changed its engine oil for a known good quality diesel brand so this morning I needed to change the bucket config.

Usually the bucket digs backwards towards you, the driver, but I wanted to be able to lift the apple tree out of the ground with its roots in order to drop it into a hole in another part of the garden. For this I decided to see if reversing the bucket would do the trick, as I had to get under the tree from the excavator side.

Then my problems began. To remove the bucket you have to remove two large pins in rotating joints that secure the bucket to the boom. You have to remove the bolts that secure the pins and then bang them out, thus releasing the bucket. One came out as intended but the other didn’t. It was effectively seized in the joint.

The following images show that slowly but surely by using brute force the pin did begin to come out and as it did so it was clear that it had been inserted in the factory with what looks like no lubricant whatsoever. I’d pumped grease in but although it had oozed out of the joint ends it hadn’t penetrated into the centre of the joint at all.

null

null

null

The reason for this appears to be that the joint bush into which the pin was inserted was slightly undersize in manufacture. I’ve told the manufacturer about this but there’s very little that they can now do. I’ve asked for a replacement pin which doesn’t now look very pretty with all the bashing I’ve done on it but that will be purely cosmetic.

If the joint bush is undersize, which I suspect it is, it won’t do much to solve the underlying problem and changing the bucket as well as fitting the post auger will be a constant nightmare in the future. The only effective solution will be to slightly ream out the joint bush but I do not have the facilities to do that.

So how did the tree transplant go? Pretty well actually and although some physical effort was needed to tidy up the holes, it was not excessive. With the bucket reversed, the tree lifted out of the ground very quickly and easily with most of its roots and the hole it came out of, after a bit of tidying, will be fine for when the replacement tree arrives tomorrow.

null

null

Digging out the hole in the virgin ground in its new position was actually quite a bit harder and also quite tricky as there’s a learning curve getting to grips with the machine’s controls. If I’m honest I was surprised by the machine’s apparent lack of power digging down into the earth, but to be fair, I was using the bucket the wrong way round and not as it is intended to be used.

Finally, a couple of shots of the transplanted tree in its new position. I’m very happy with the results and there’s no way that I’d have been able to achieve them in the time that it took and with the minimal amount of physical effort that I had to provide.

null

null

Finished at last

After mulling over the ways of making some sort of curtain for the open front of my mini excavator garage I decided that the best thing to do was make a pair of full height doors. The doors did not have to be totally weather-proof. All they needed to do was stop the wind blowing rain inside and as the wind would not be blowing to force them to open – quite the reverse actually – they did not need to be of overly heavy construction.

I had plenty of tarpaulin left over after covering the walls so I decided to cover the frames with it and then hang each one on three hinges from the front verticals. The wood was very cheap – just under 3€ for each 3m length – and I reinforced the frame joints by gluing each joint and then gluing and screwing plywood reinforcements over each one made from scrap pieces of the crate the excavator came in. I finished off hanging the doors working in blistering heat over a very long day yesterday and the results are shown below.

null

null

null

It was tricky getting the doors to line up as the garage hasn’t been constructed on totally level ground. Nevertheless they didn’t come out too badly. The bolt I bought is far too small and securing it, although not easy, is possible. To make it even easier I’ve ordered a couple of flip-over latches that I’ll place above and below the bolt which will align the door fronts better and make securing the bolt easier. I’ve also got some very short nails which I’ll use to secure the tarp to the outsides of the door frames and that really will be it.

The garage really has turned out out to be a very nice, weatherproof shelter and will, I hope, be worth all the work when the weather deteriorates and the winds blow, as they undoubtedly will. I’ll now be able to finish greasing up the excavator (I’m waiting for some lithium grease to be delivered), change it’s engine oil for what I know is good quality stuff and be able to start using it. And not before time 🙂