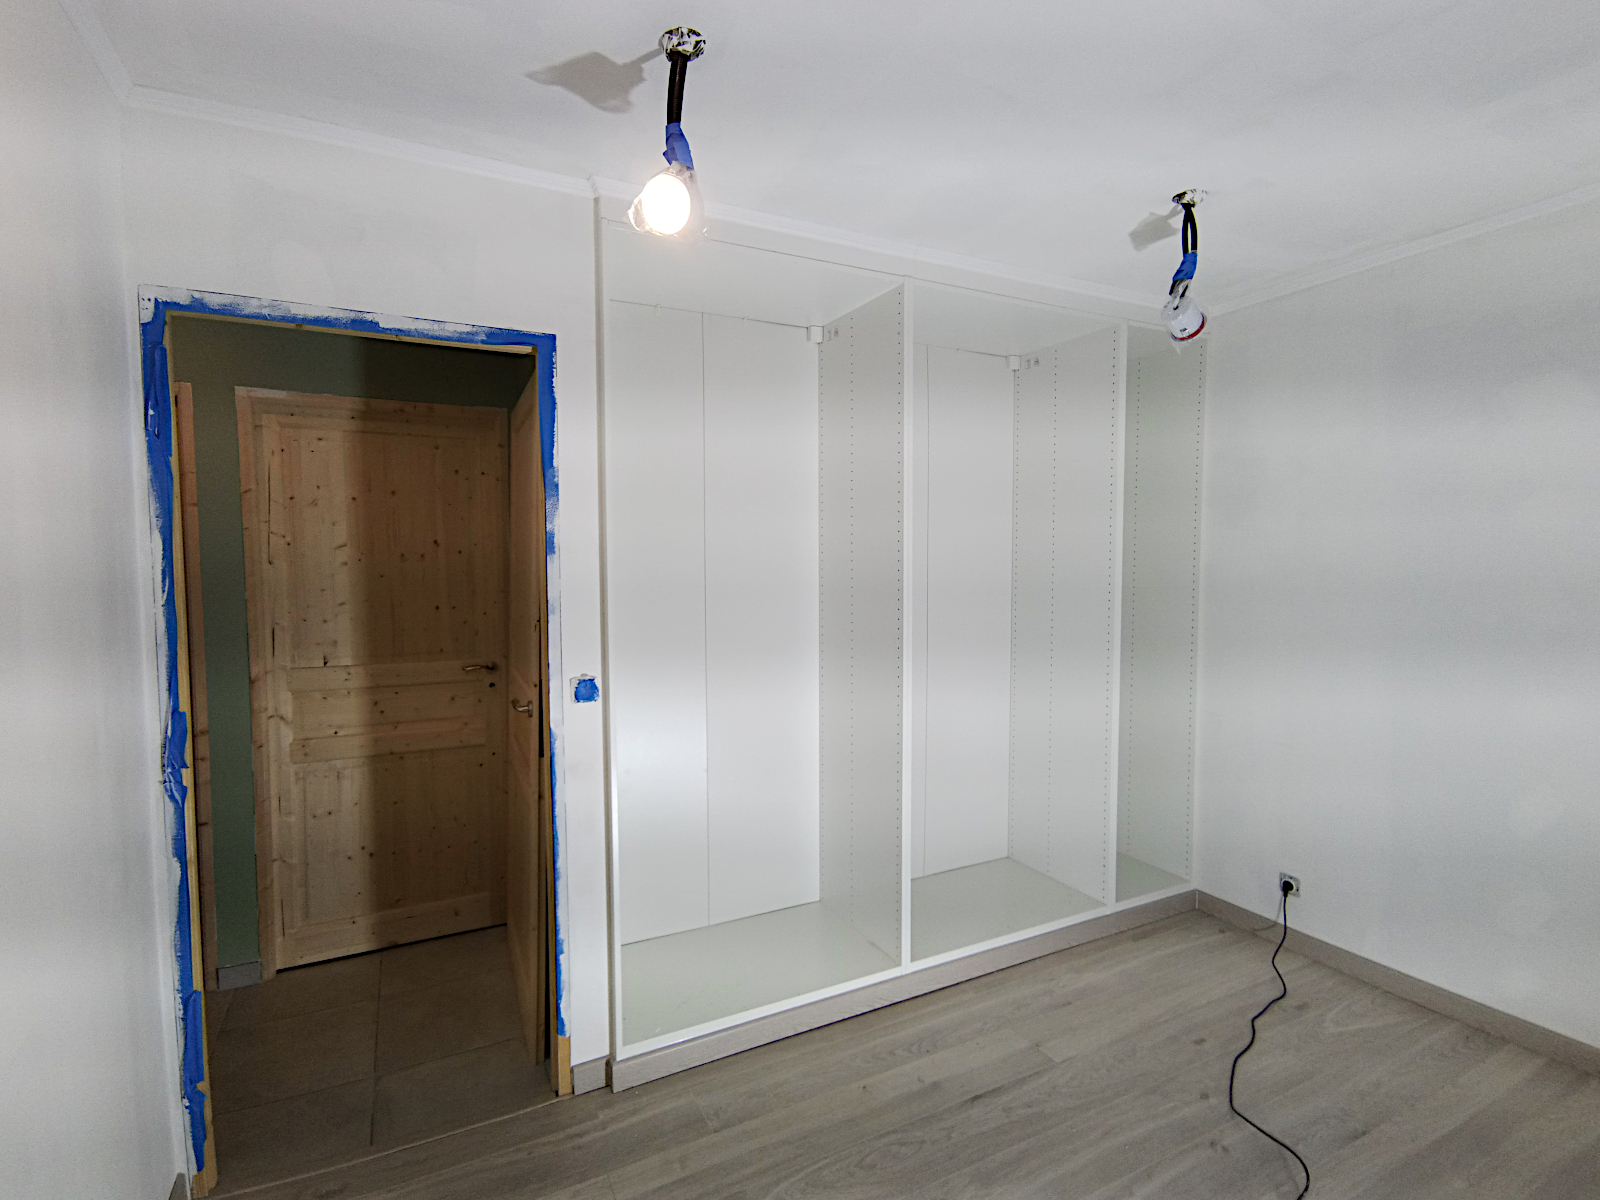
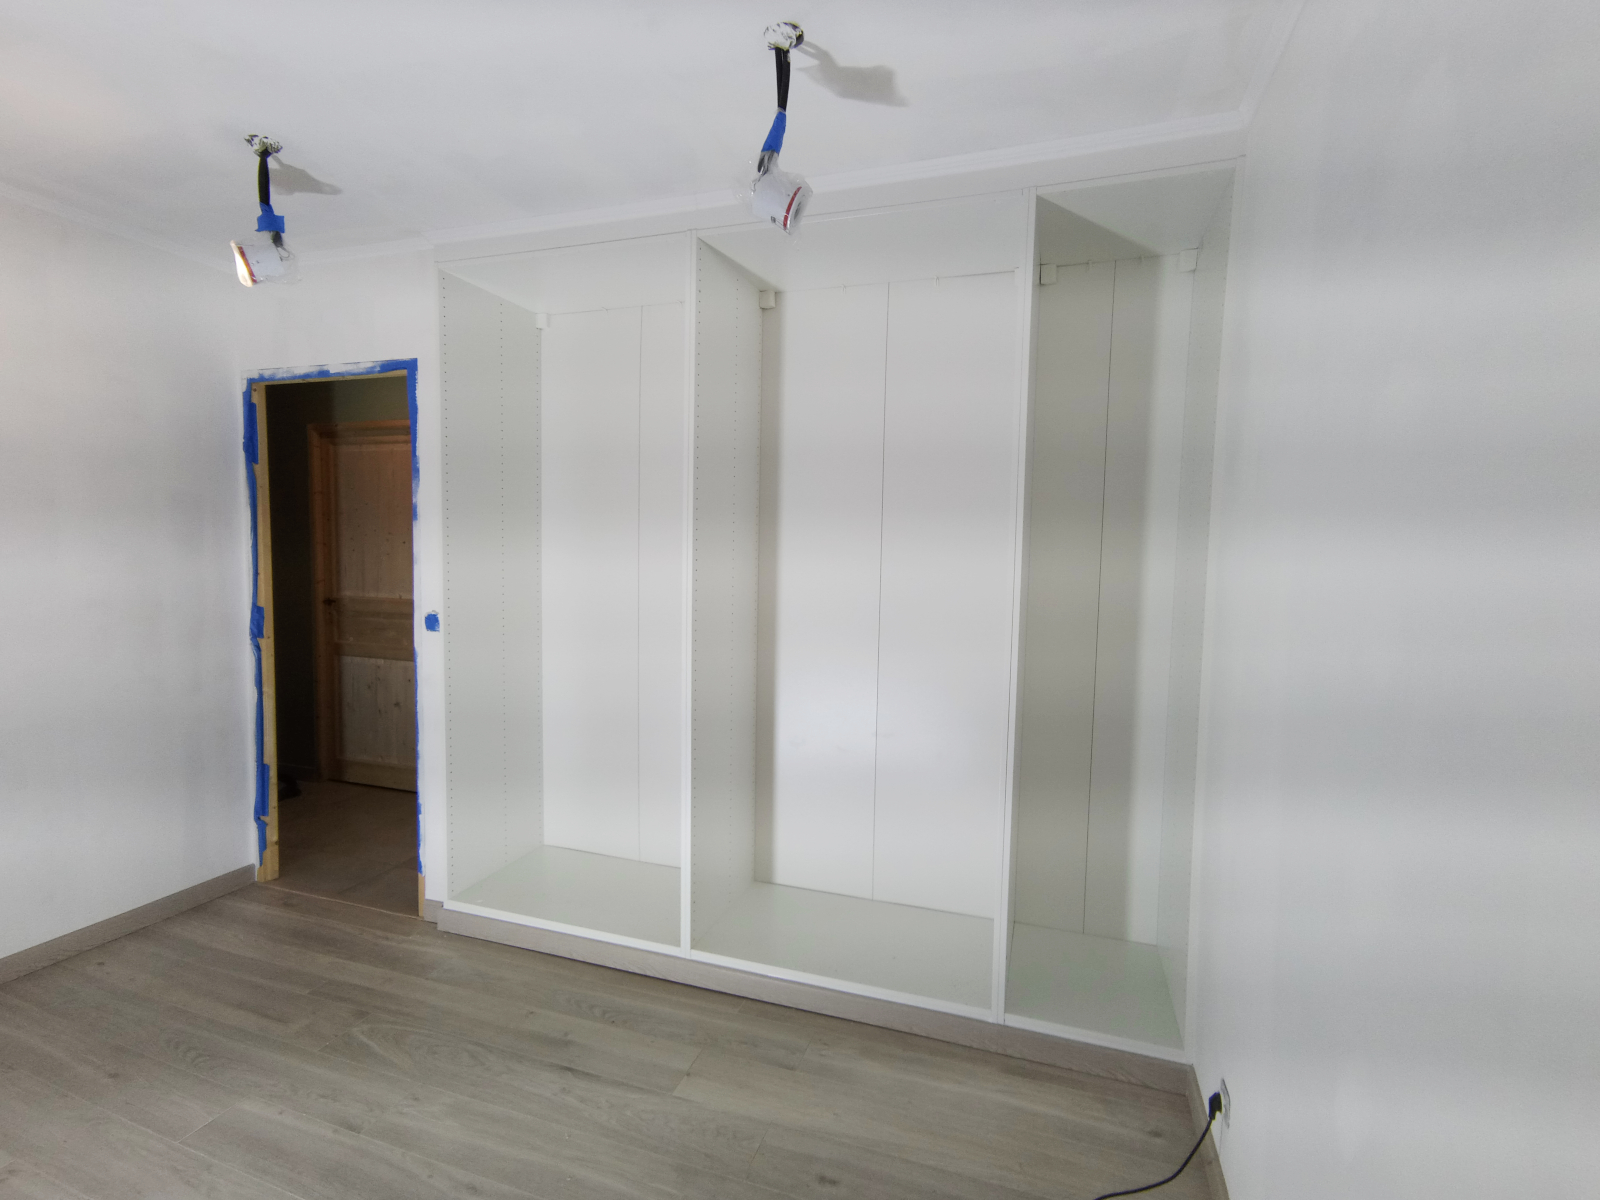
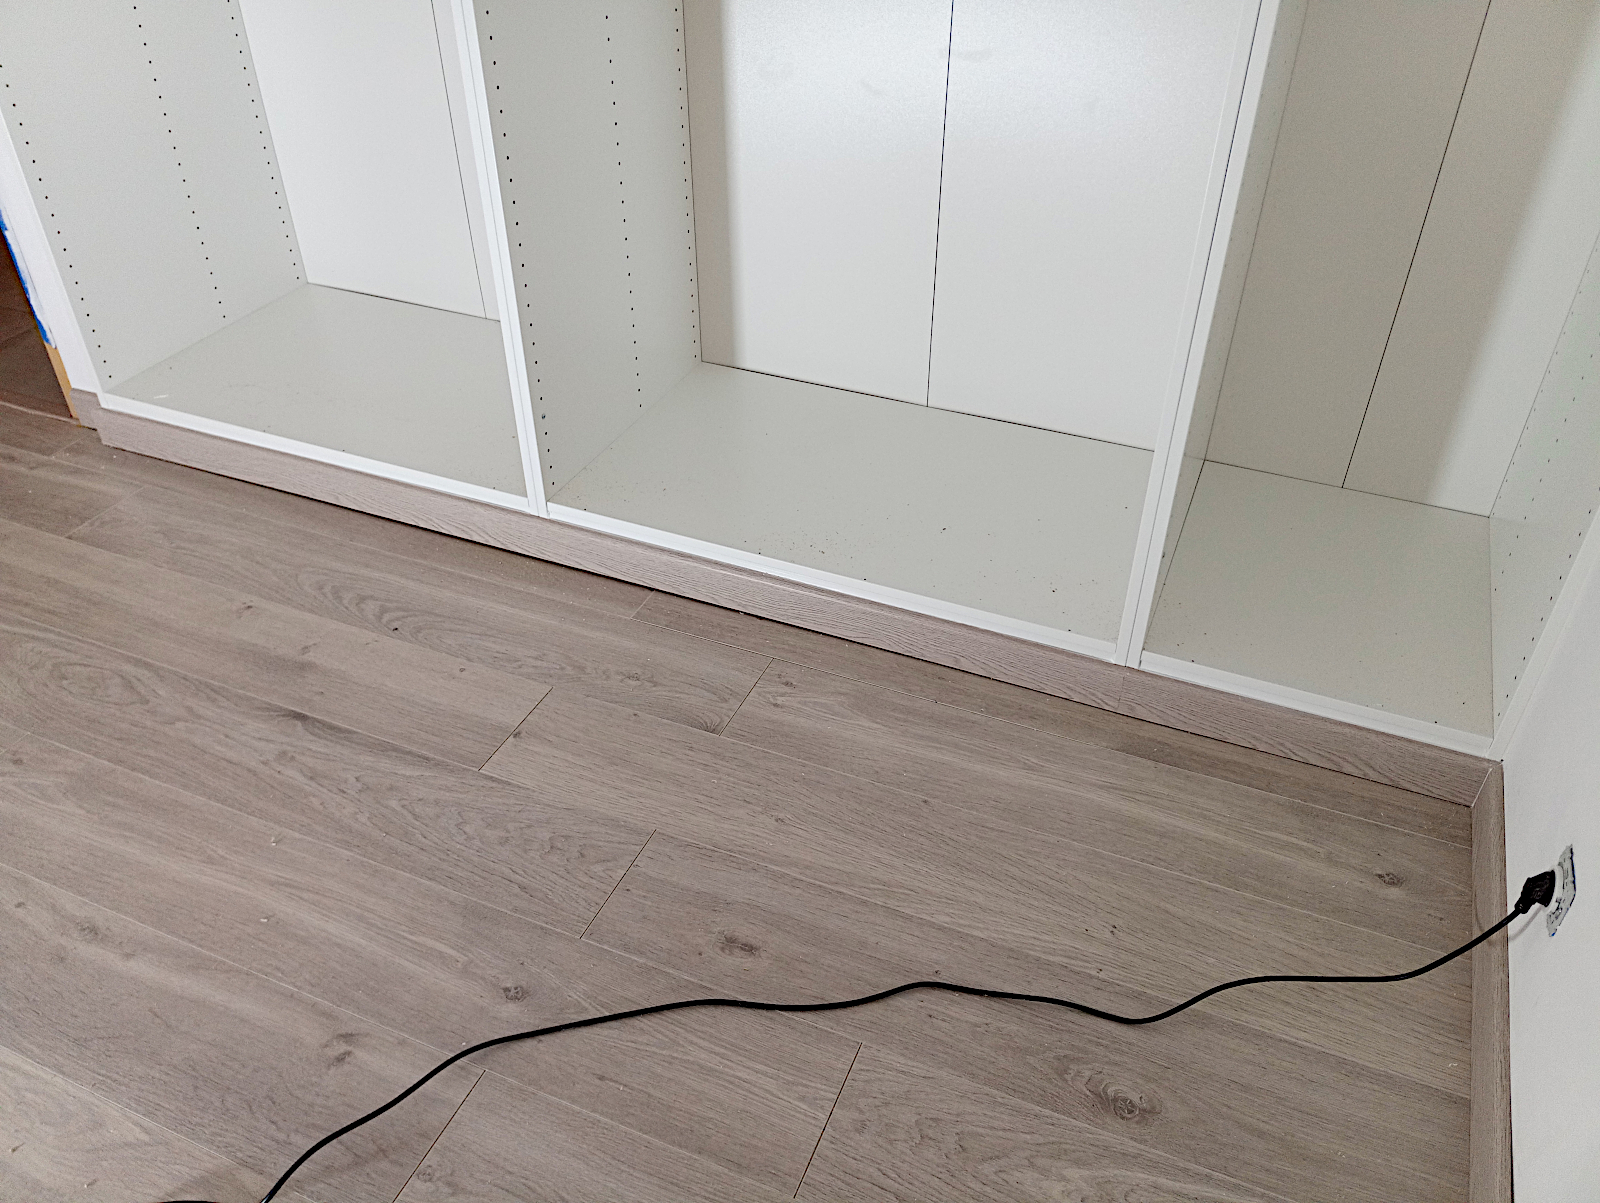
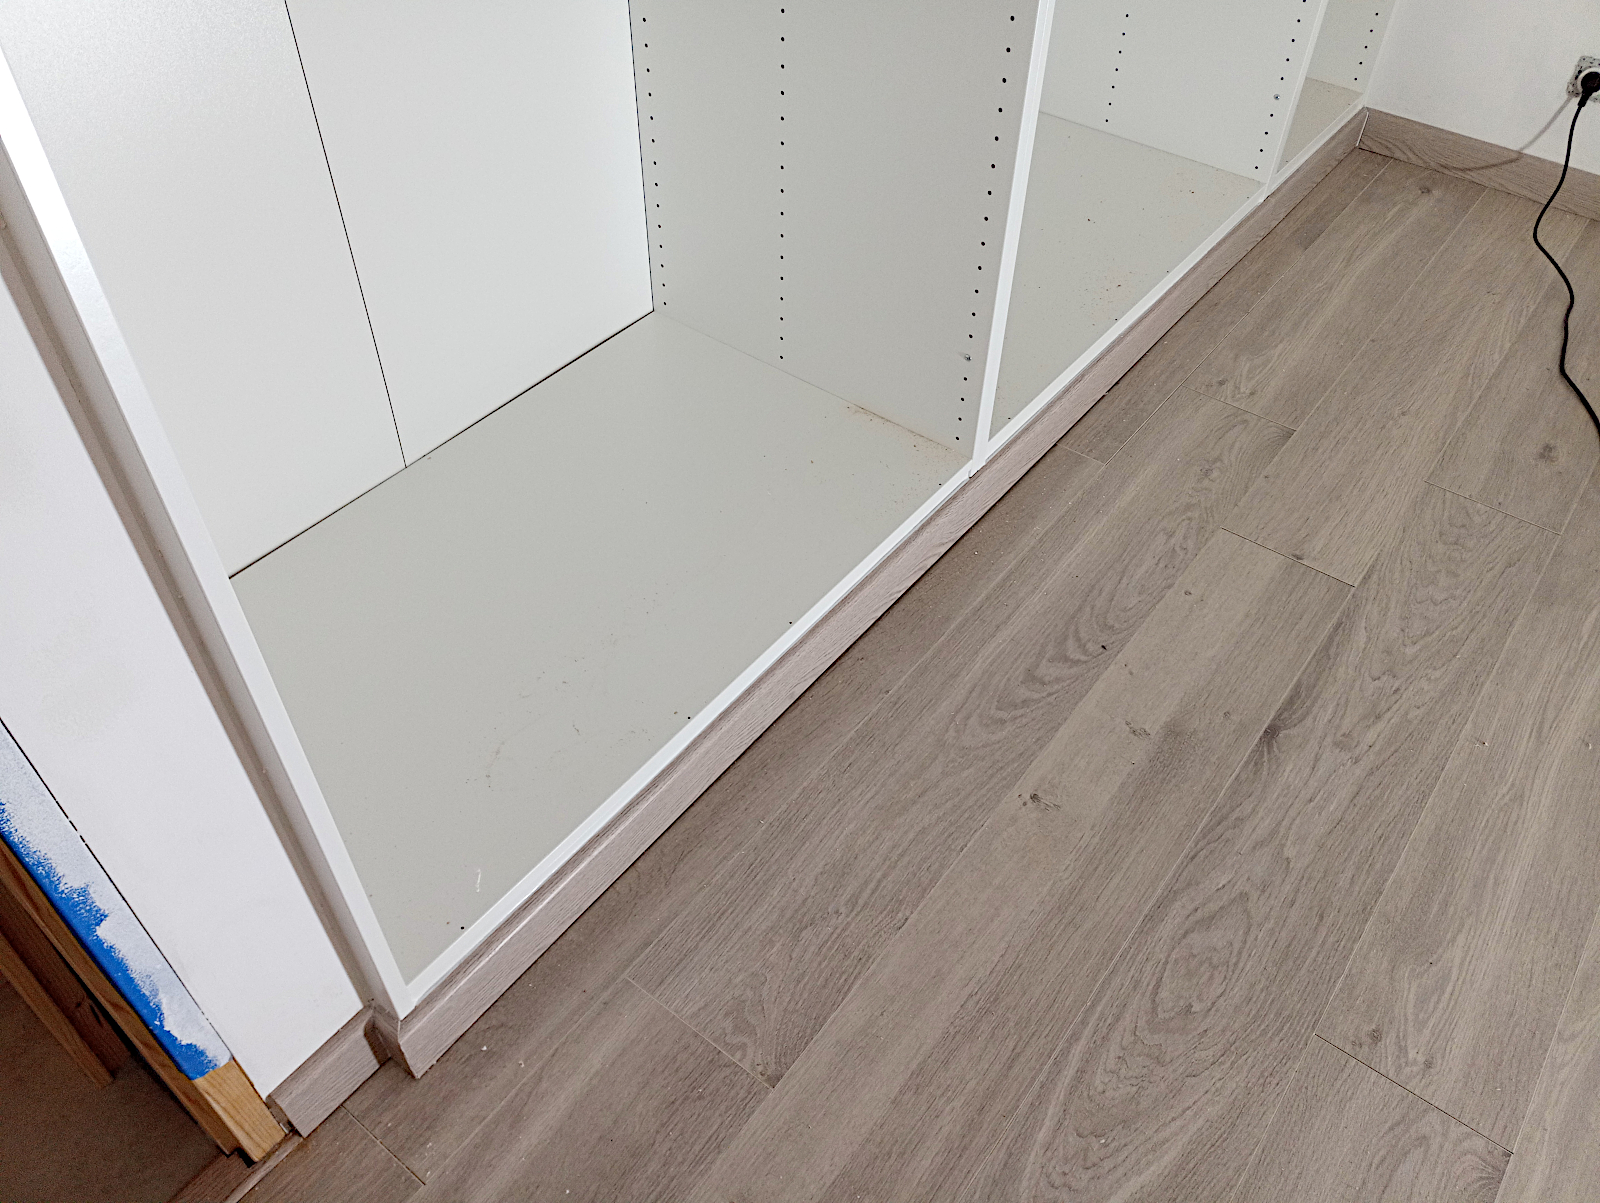
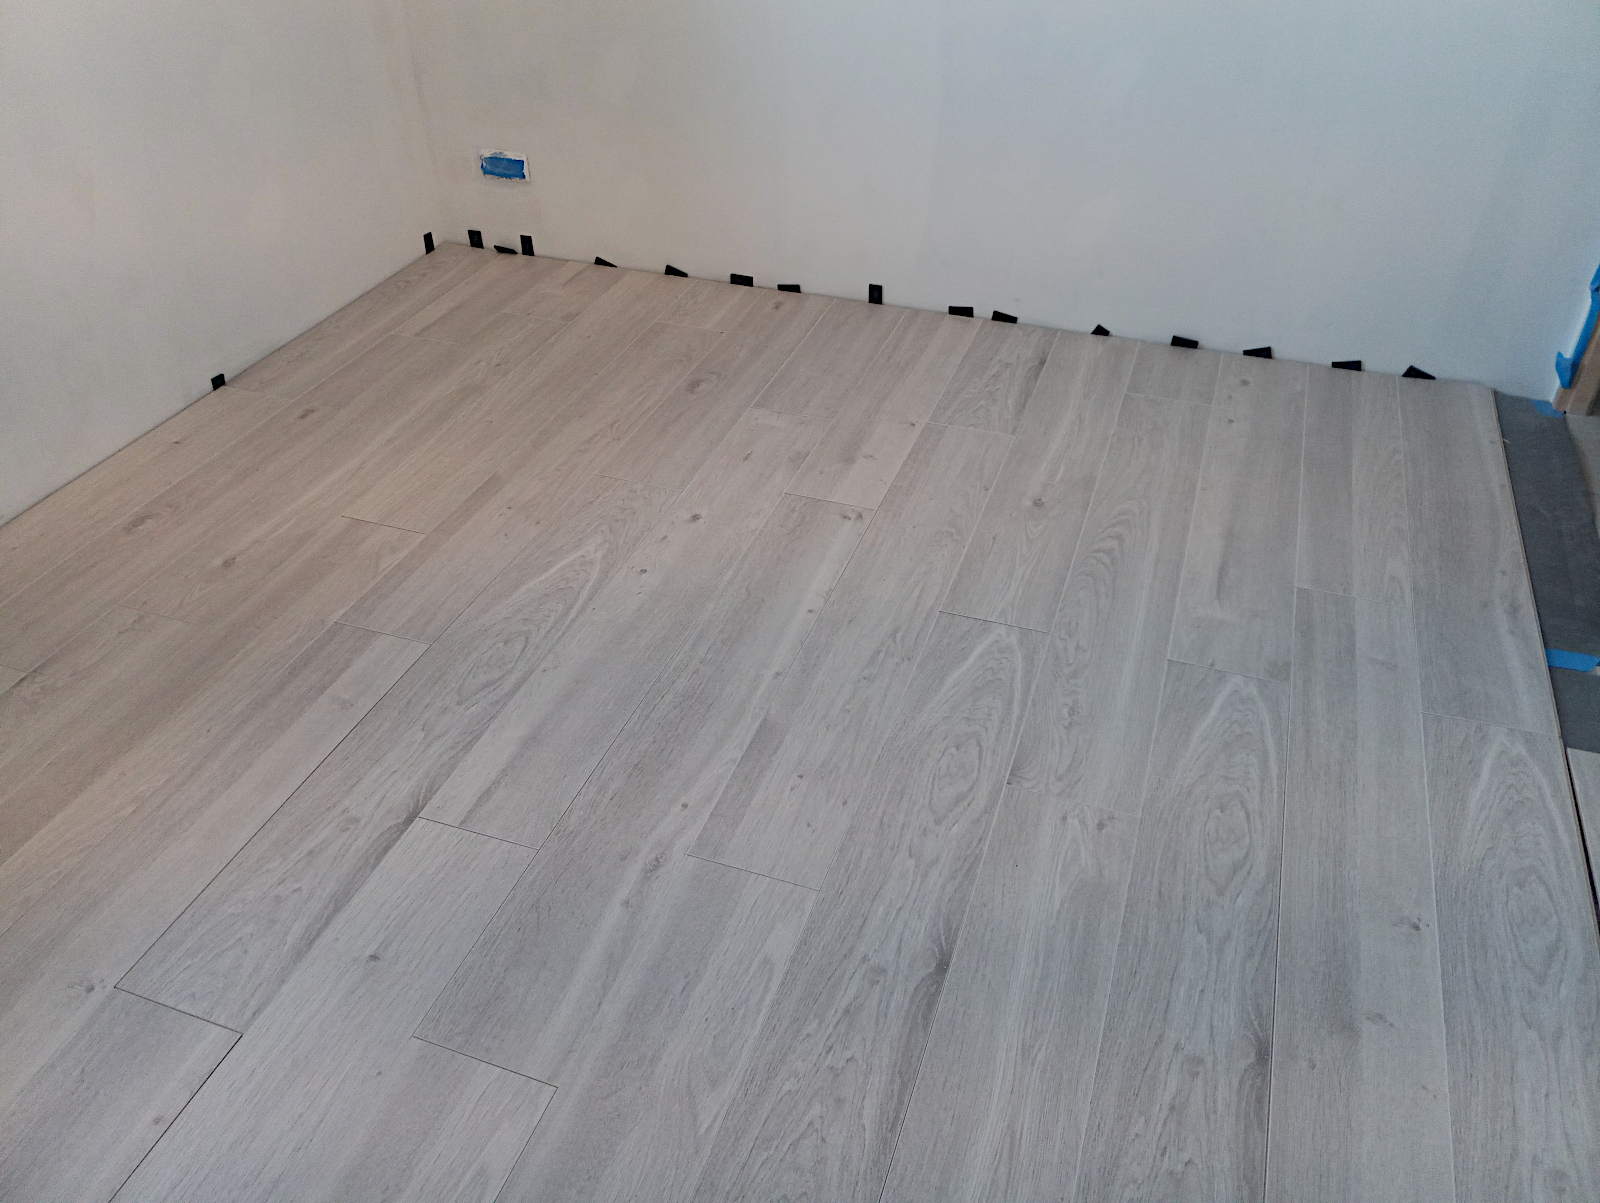
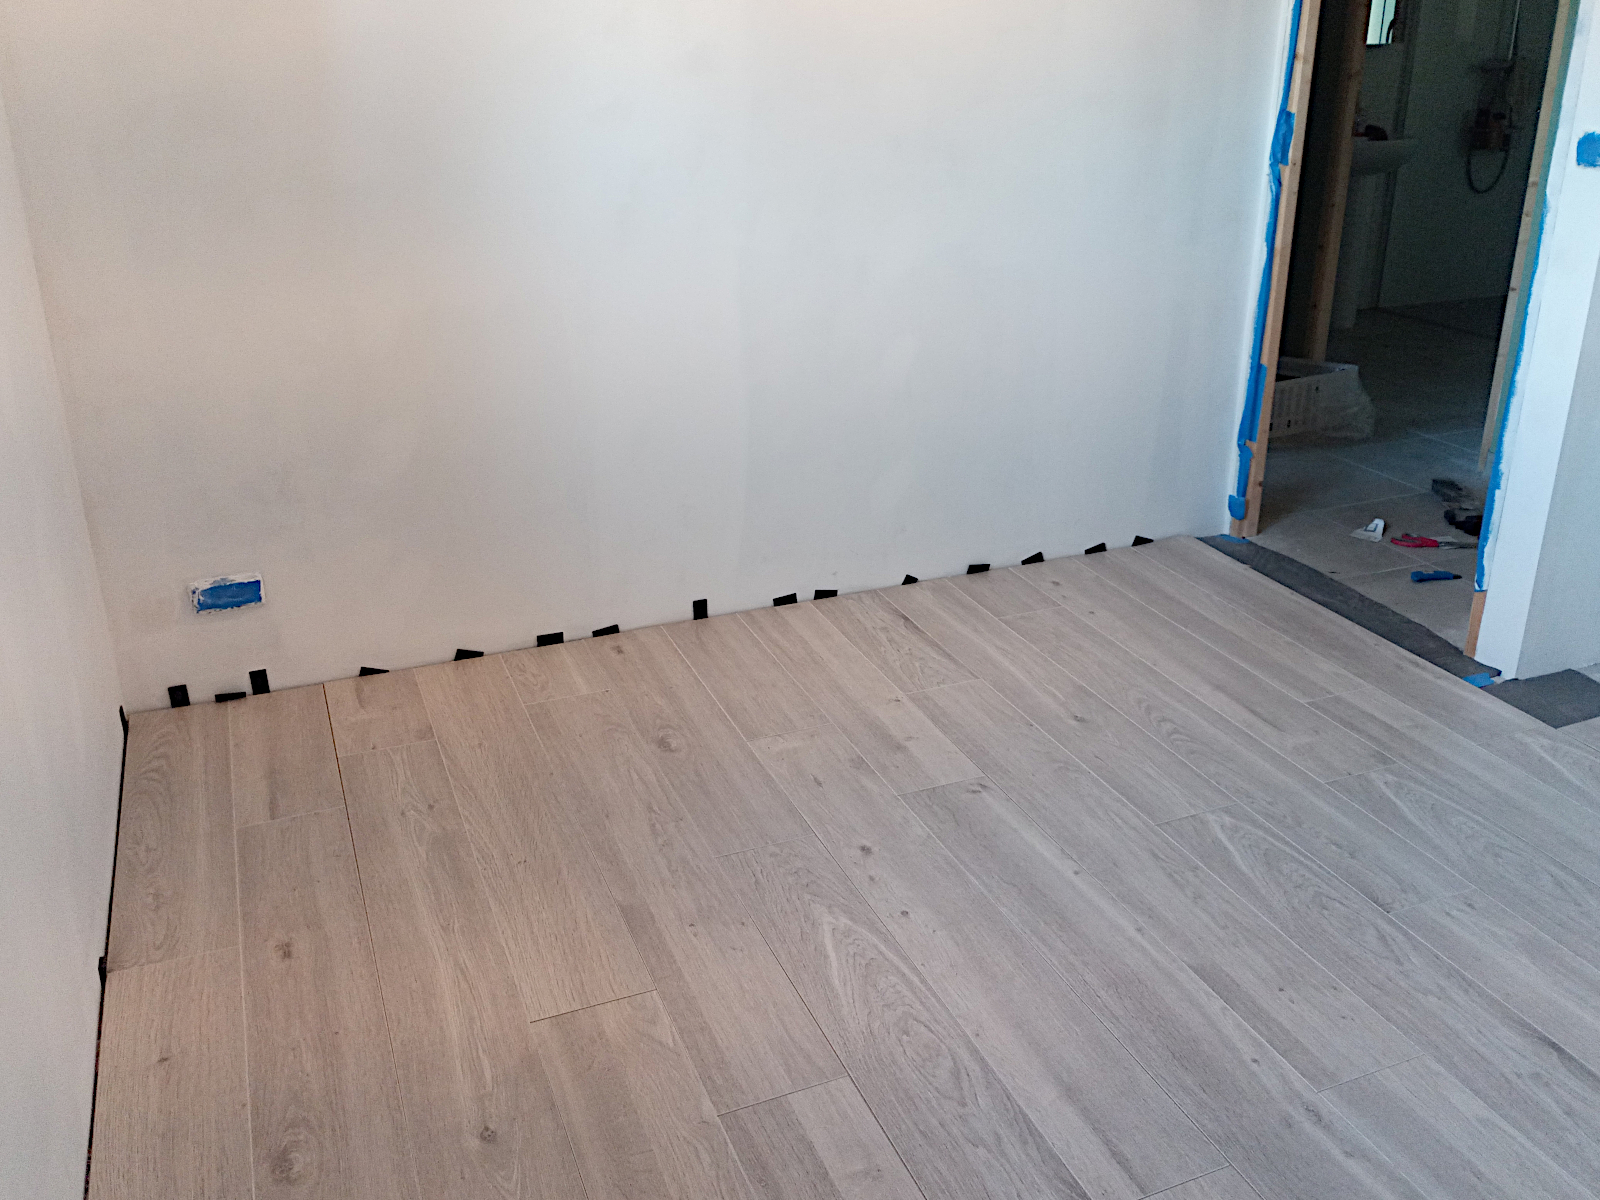
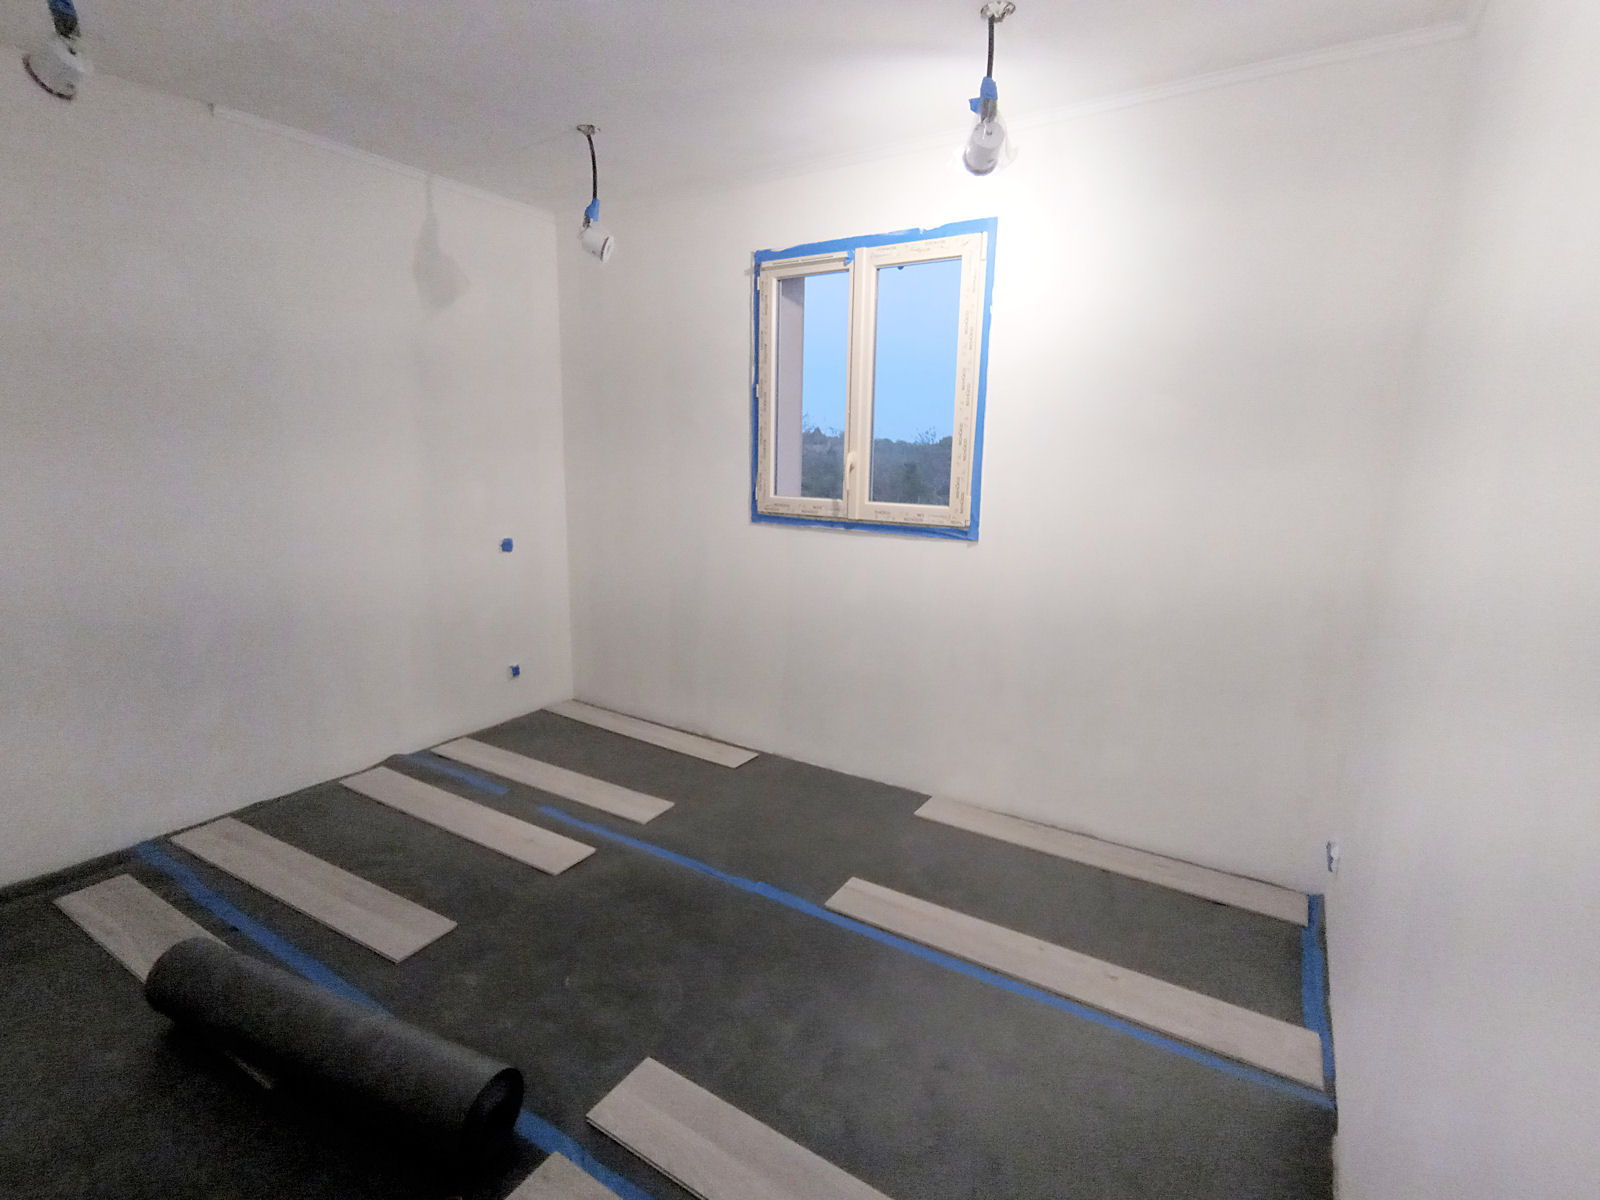
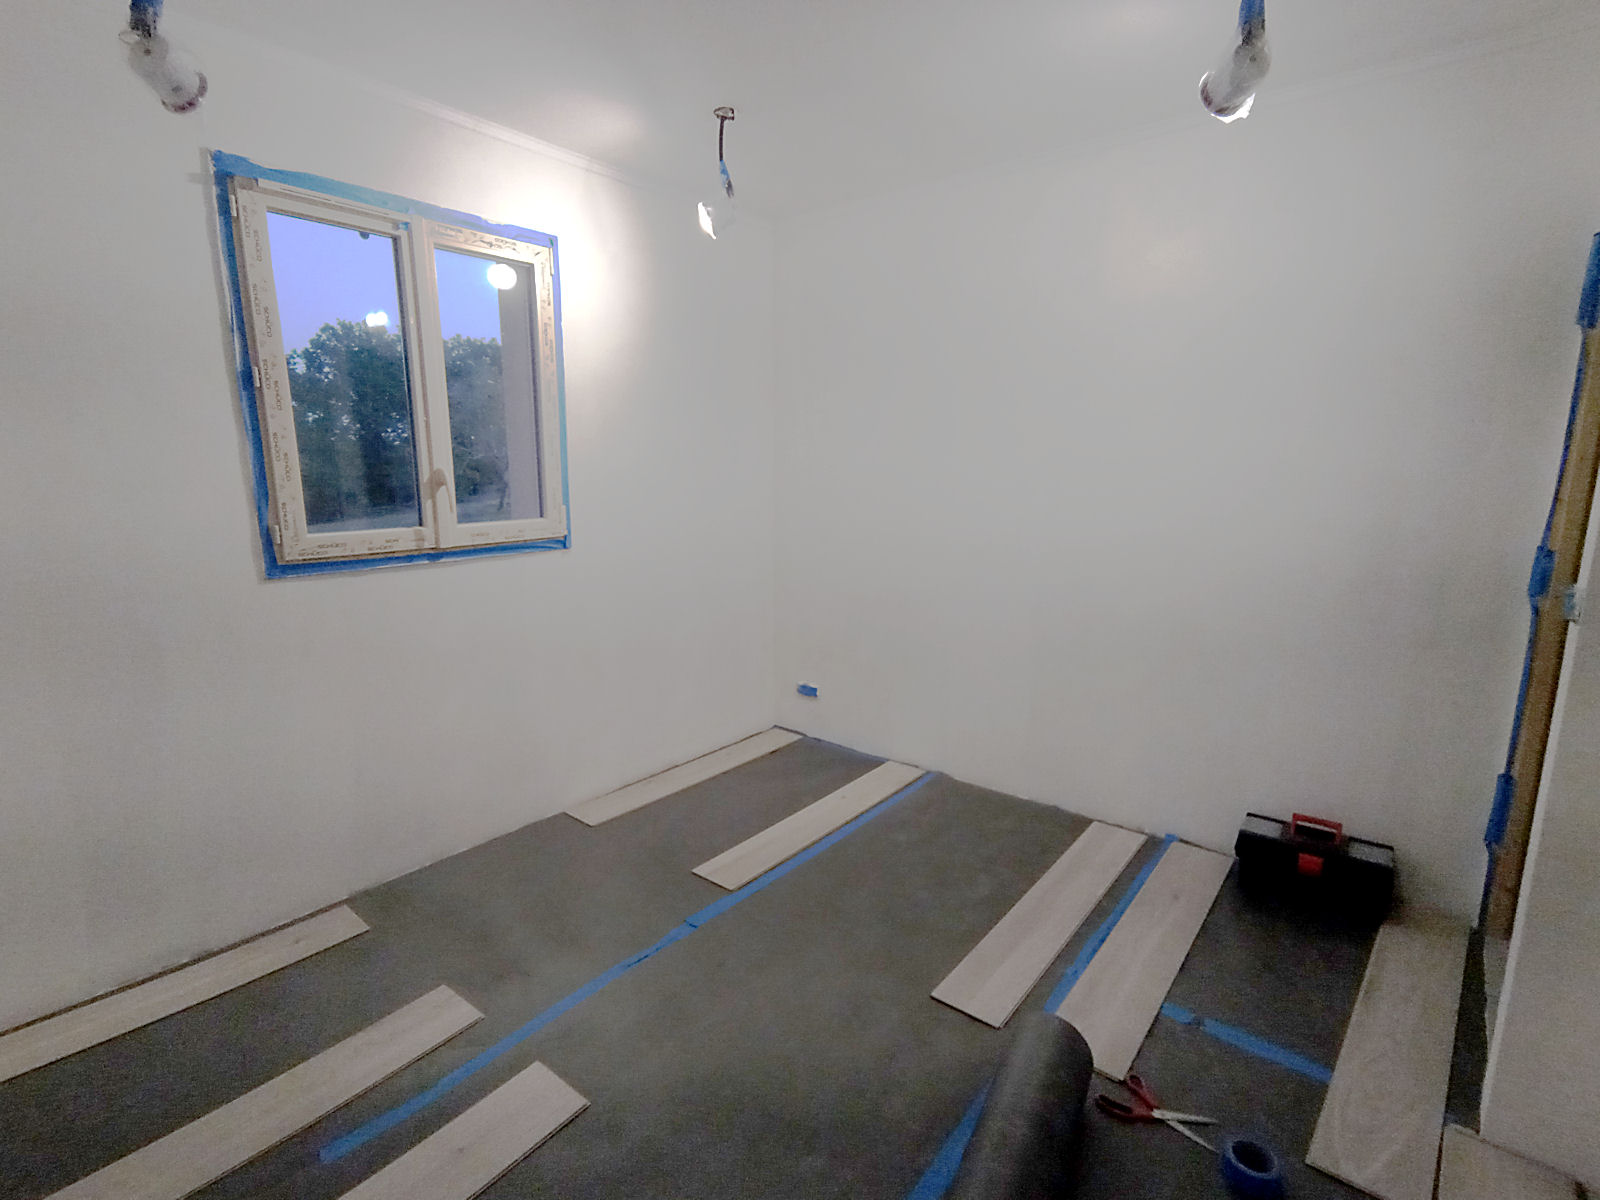
Running jump into 2024

No time to waste as after a two-year break due to Covid I’ve now booked another short stay in Hurghada on the Red Sea in Egypt at the end of the Winter and I want to get as much done as I can before I leave. I would like to have everything inside the house finished so I can get straight on to interior furnishings and the garden when I return.

But that might be too much to ask as not only have I got to wait until the second week of this month for the wall and floor units for the utility room to be delivered, but I also found out on Christmas Eve that the folding doors that I’d chosen for my cloaks cupboard cannot be delivered before 29th February at the very earliest.

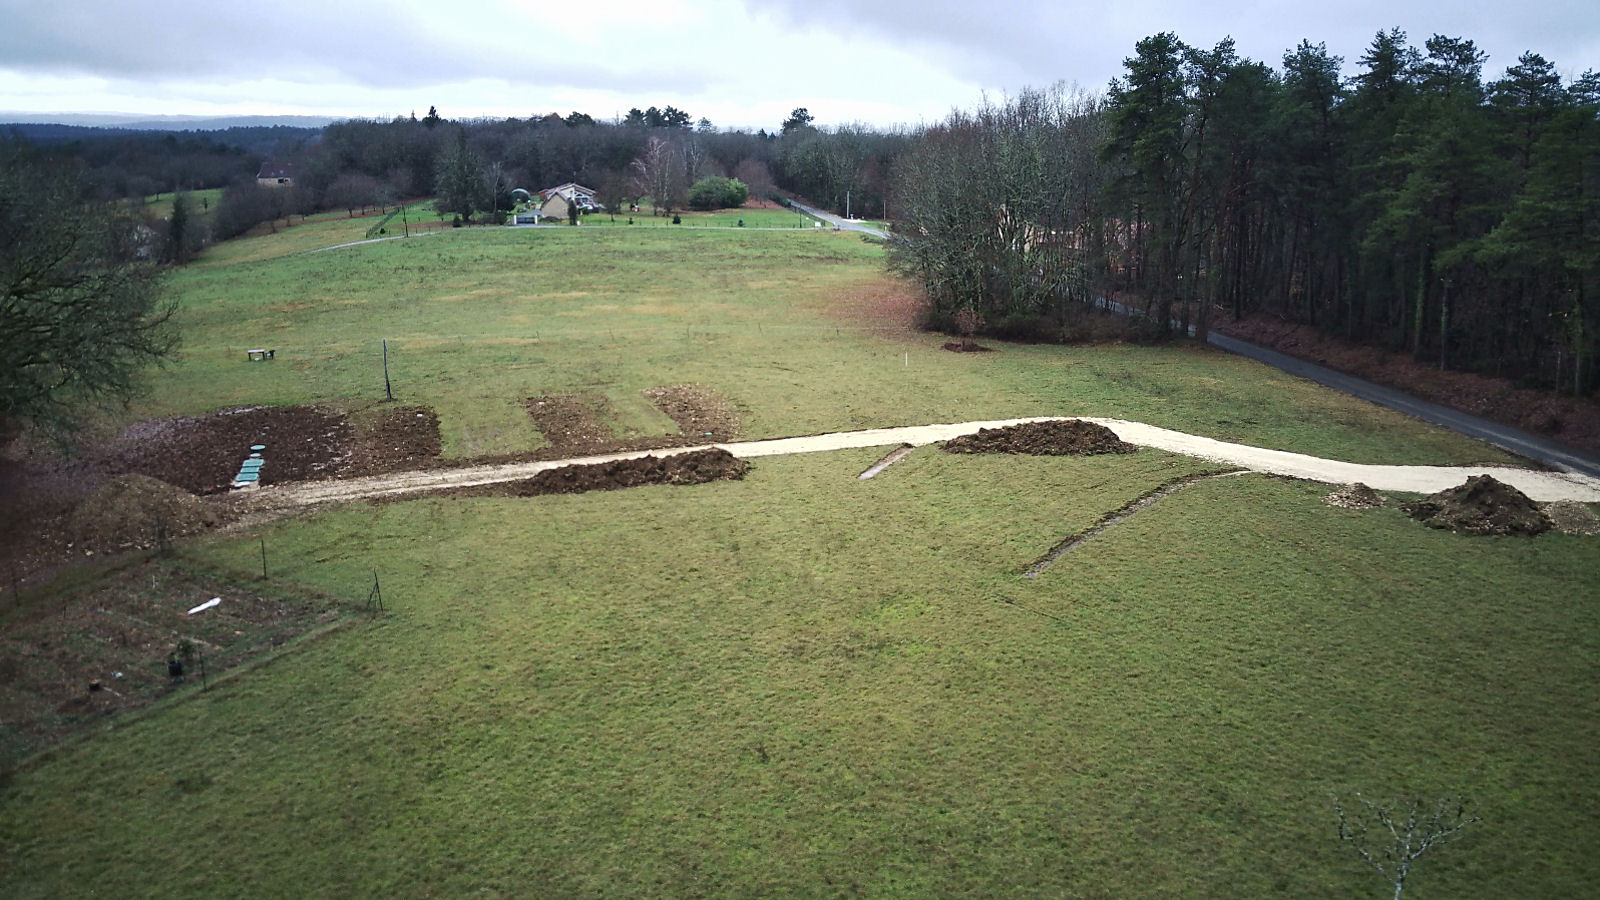
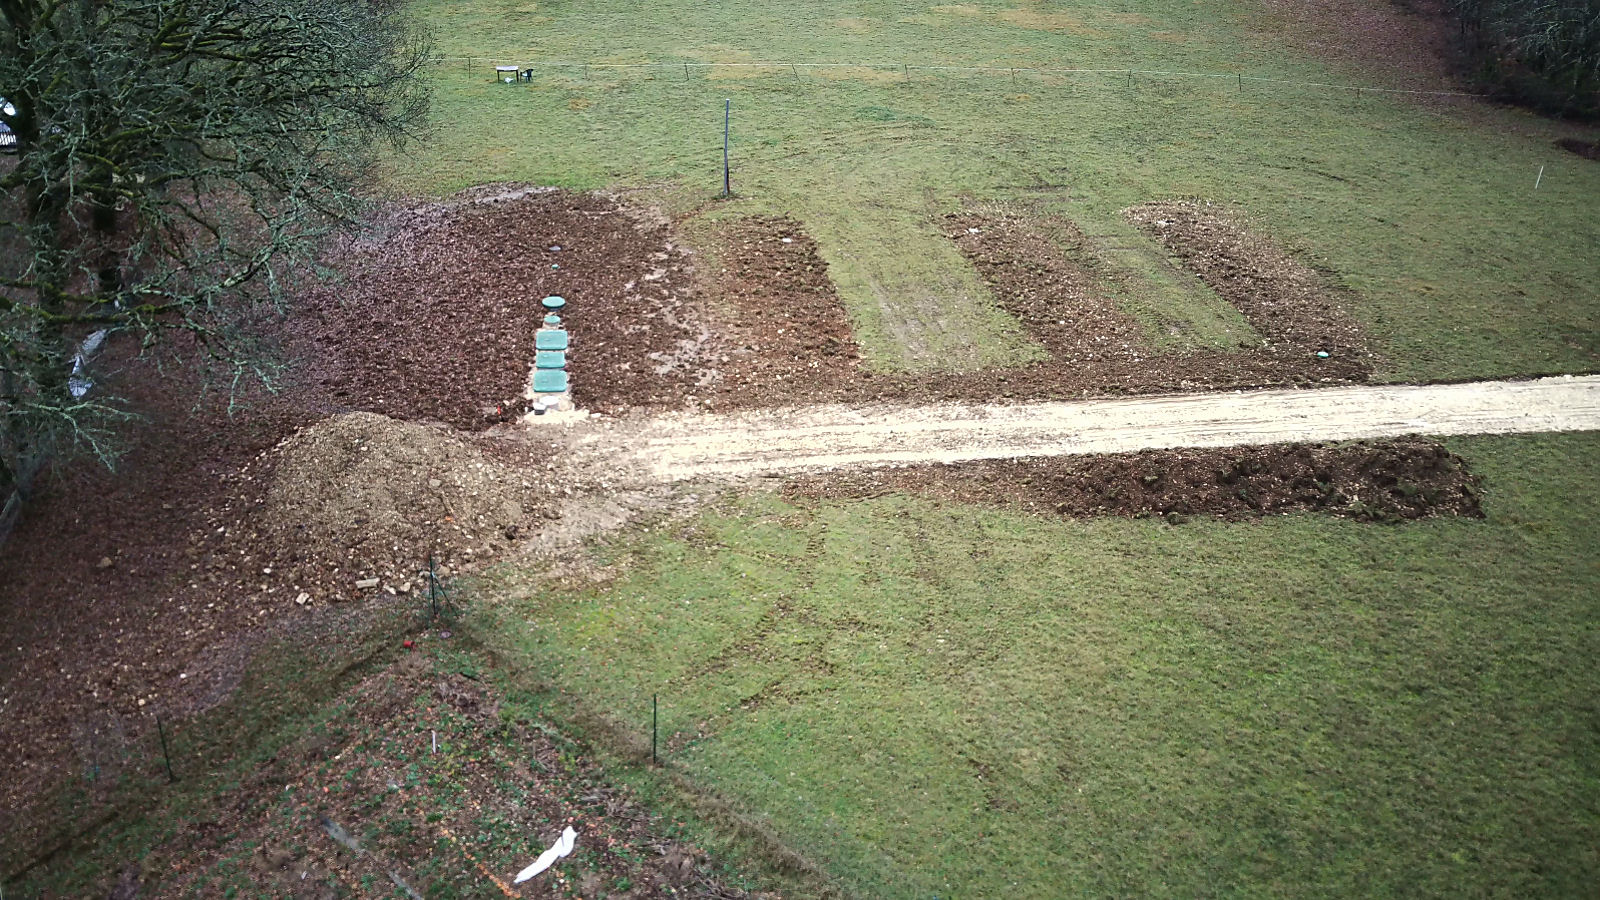
So I’m pretty much stymied at the moment except for one thing. My lovely neighbour had to install a new ‘système d’assainissement’ (septic tank system) for her gite complex and as I think it will also have to serve a house that she and her partner propose building in the future, its tanks are pretty big. So some very large holes had to be dug to take them and as most of the volume created would be taken up by the tanks, I reasoned when work started that there would be quite a bit of earth left over.

And there is, and to cut a long story short, she let me know over Christmas that I could have as much of it as I want, all of it even, so long as a small amount of topsoil is left for her own use. Here are some pics that show what I’m talking about.

null

null

null

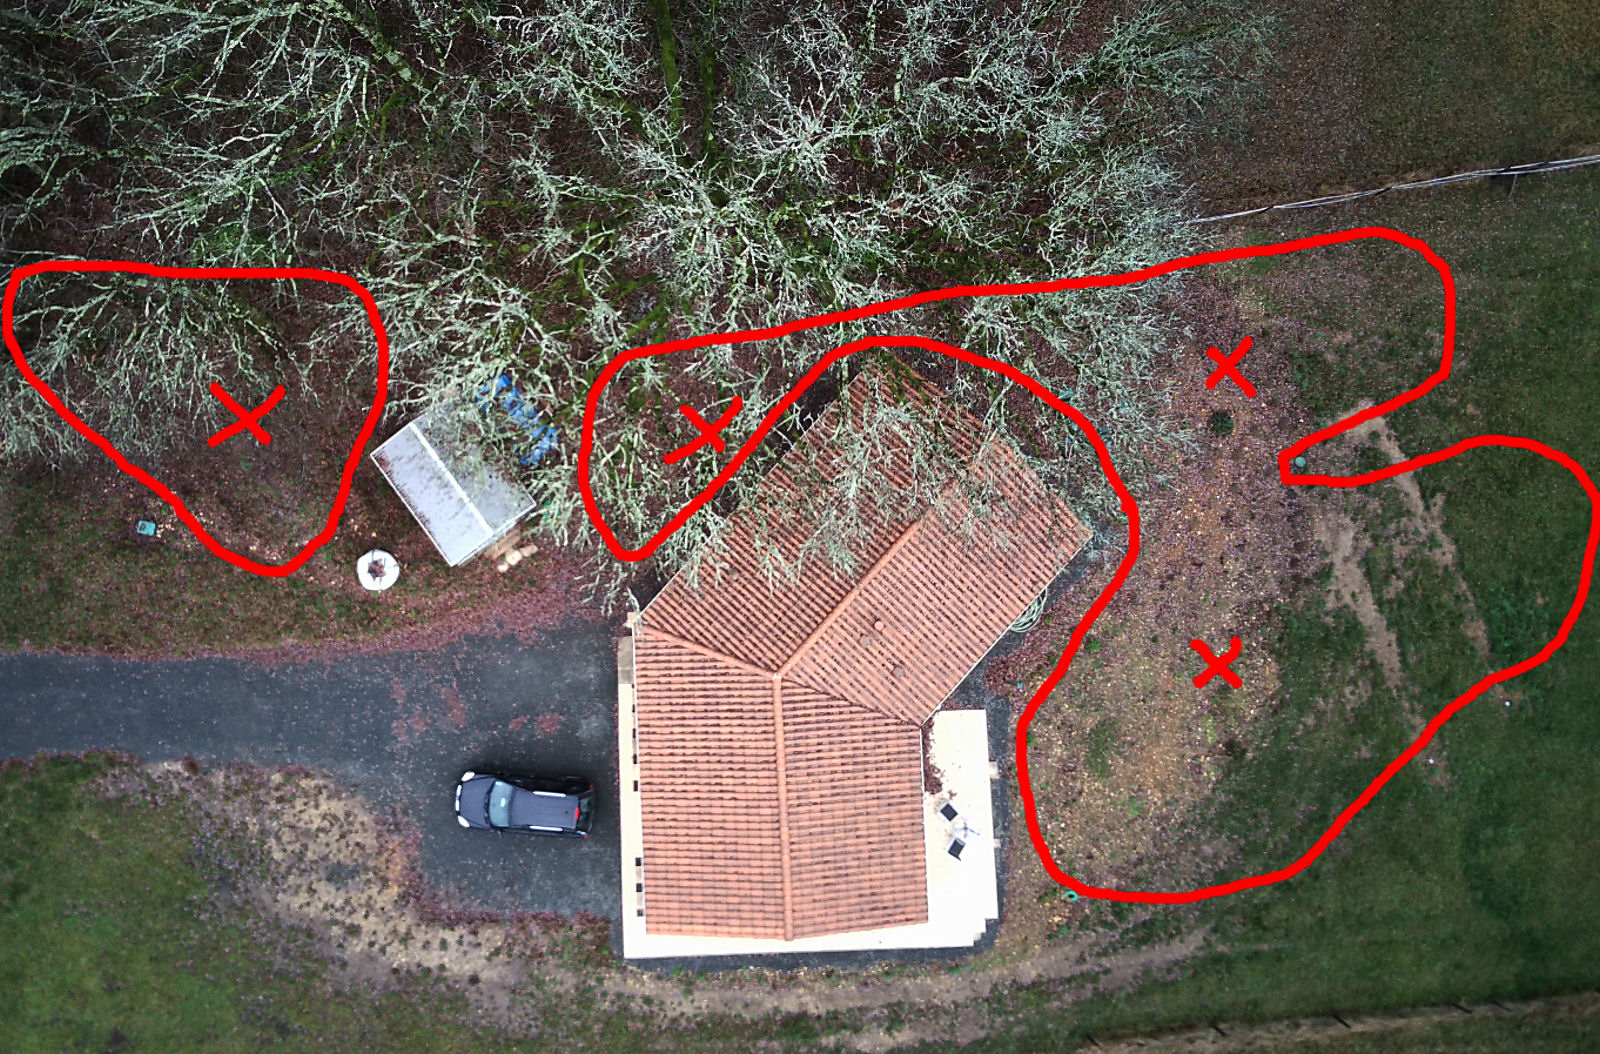
I always said that when the work on my house was completed, there wouldn’t be enough earth available to back-fill to create a platform around it with a gentle enough slope and I was right. There are several areas around it which could take quite a bit more earth to reduce the slope of the ground as it falls away fom the house, especially at the northern end and the back, and there’s also an area at the front of the plot, more or less where I originally placed my caravan, which could do with being built up and levelled. The areas I’m talking about are shown in the next image.

null

The workmen have offered to run the earth over from my neighbour’s property during this week and although I’ll ask them if they want to lay and level it for me, I doubt they will as they’ll probably have another job to go onto. But hopefully they’ll be able to drop it in the areas marked with X’s. It’s an opportunity that will be a win-win for everyone and although I’ll have to keep a watchful eye that I’m not having loads of old sub-soil and rocks being dumped on me, so long as I get enough topsoil to cover the areas I’ve marked after they’re filled, it’ll be a good result for me.

In other news, I think I’ve found a way to get around the delay on the doors I need for my cloaks cupboard. It appears that I might be able to source suitable doors from a couple of sources as well as a choice of folding door kits. So I might be able to make the doors up myself, in which case I could get cracking on them within about ten days. That’ll be more like it 🙂

Oh, and by the way, a Happy New Year to all my family and friends wherever they are who are following my adventures here in France.

‘Cellier’ setback

Maybe, maybe not. The following image shows my original plan for the main wall in the utility room in my new house.

null

I wanted a worktop under which I’d have my washer/dryer and my freezer with a 60cm wide floor mounted unit at the end butting up to the heat pump. The floor unit wouldn’t have a back so as to give free access to the hot and cold water pipework.

Three 60cm wide wall-mounted units would be mounted directly above to provide ample storage together with the floor-mounted one for household items, tools and suchlike and a small sink would be fitted in the worktop immediately above the floor mounted unit.

There was a problem, however. The heat pump was installed further away than I’d anticipated from the wall on the right of the above image and the main pipework, including the main supply into the house, extended much further to the left of the heat pump unit than I’d ever imagined. This meant that there was not enough room for the 60cm wide floor-mounted unit, thus throwing out my whole plan.

null

The space available was more than wide enough to take a 40cm wide floor-mounted unit but although units of this width are readily available, an internet search revealed that it would be almost impossible to find a small sink that would fit into it other than something very mickey-mouse that would be well-nigh unusable. The space would, however, take a 50cm wide unit – just!

null

But there was a problem with that. Not that many suppliers offer 50cm wide wall and floor-mounted units, and Brico Depot, my preferred kitchen unit supplier, offers none at all, just 40cm, 60cm and 80cm if you want the wall and floor-mounted to match as I do.

There are some suppliers that do, the most notable being Ikea, but I have a problem with that. The closest Ikea depot is a long way away in Bordeaux and not only that. I’ve only ever fitted one Ikea kitchen, the one for my friend Val in the Languedoc, and I wasn’t at all impressed by either its design or quality, so I didn’t want to go that route if I could avoid it.

So I was left with a quandary that found me searching the internet ever more frantically, a search that eventually yielded a surprising result. Brico-Depot is part of the Kingfisher group based in the UK that has another subsidiary in France, Castorama.

I’ve known for some time that both Brico-Depot and Castorama offer kitchen furniture ranges which have some overlaps but what I was very surprised to find was that whereas Brico-Depot offers no 50cm wide units, Castorama does, and specifically the units that I’ve fitted in my kitchen.

My original plan was to install less expensive units in my ‘cellier’ but this was of minor importance compared to having units of the size that I needed. My internet search revealed that no Castorama store within any reasonable (unreasonable even) distance from my home was declaring any 50cm wide stock except Castorama in Limoges who not only had several of the 60cm wide units in stock but also one each of the 50cm wall and floor units.

So after making one final check yesterday morning to ensure they were still there, I headed off up to Limoges not long after sunrise to make sure that I’d be the first in line to grab them. But I was to be thwarted. In true French fashion, the reported stock of 50cm units was found not to exist after all and given how long I’ve now lived in France, I was not wholly surprised. But all was not lost, however.

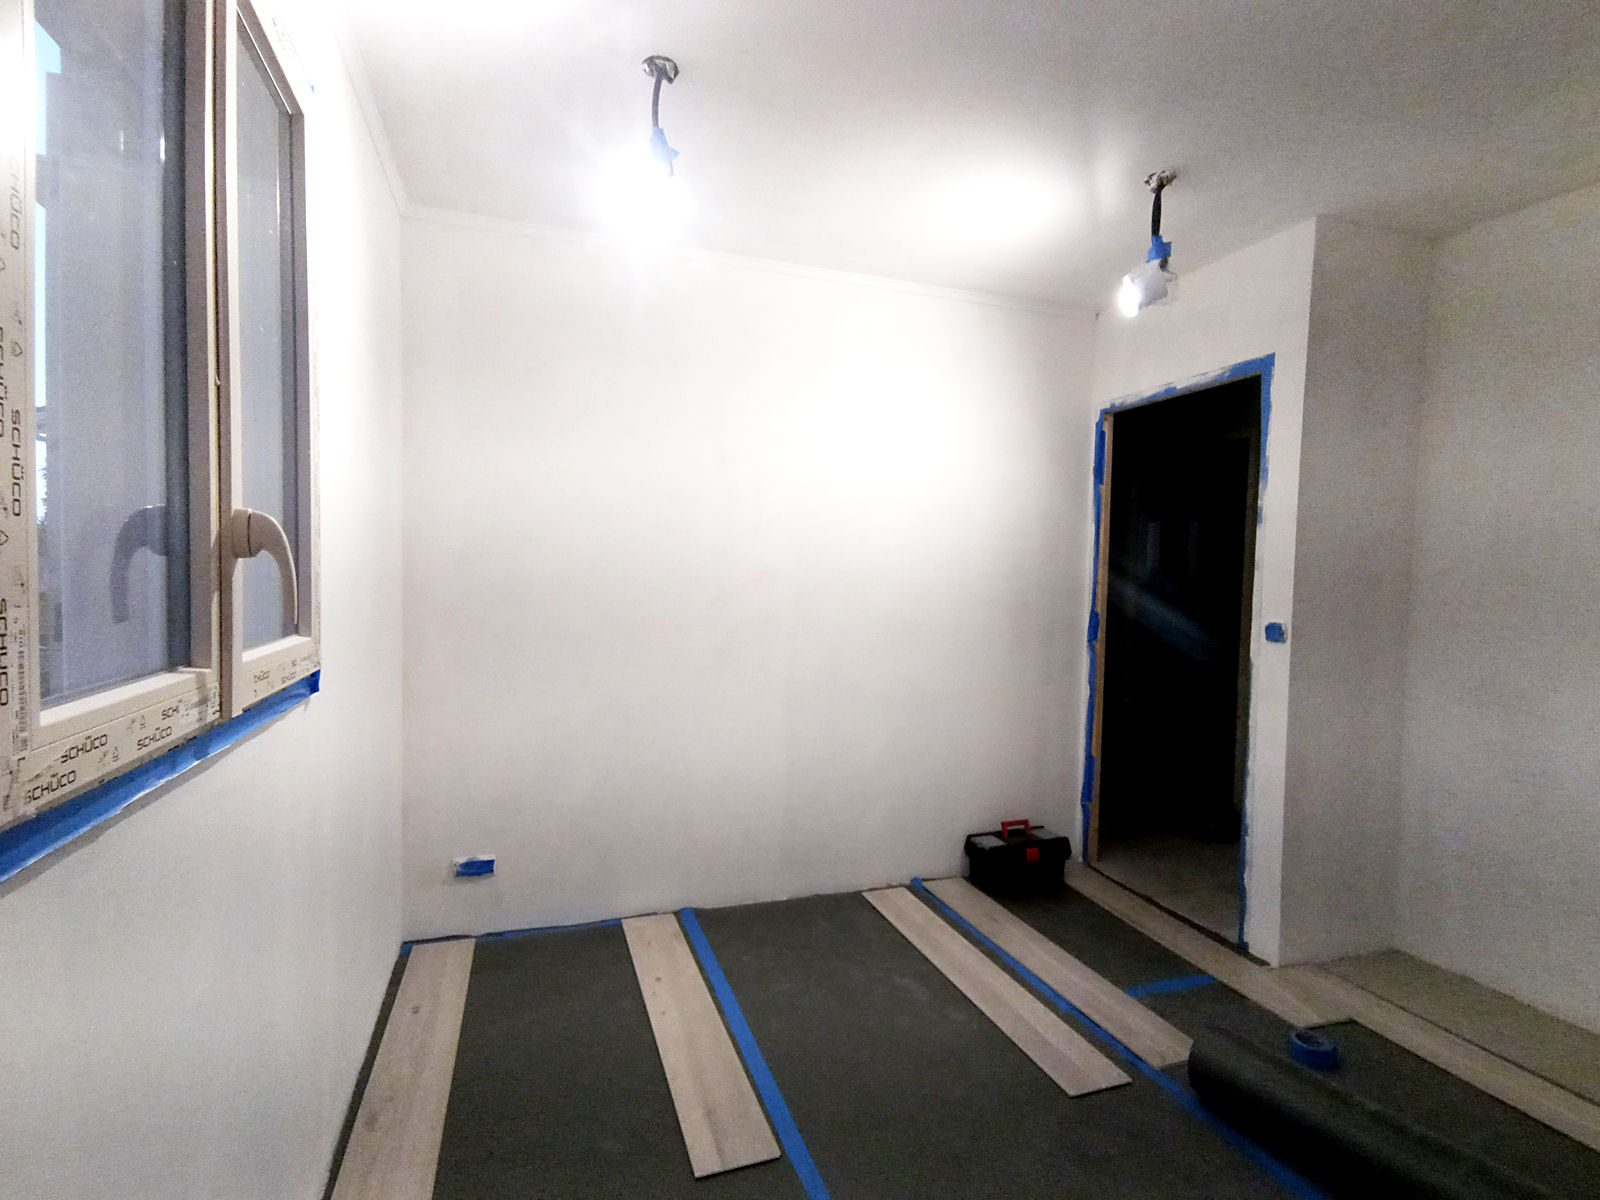
I was told that I could order them (which I could have done on my computer at home if I’d known) and they’d be available for me to pick up in 10-12 days time. This won’t be a disaster as instead of working on my ‘cellier’ I’ll now switch to building my cloaks cupboard, which was to be my final construction job after my ‘cellier’ work.

And the other thing was that one or two other items were the odd euro or so cheaper than in Brico Depot, so I picked them up while I was there, as well as a slightly damaged plinth for the floor-mounted unit which I got at a huge discount.

No problem there, as it’s long enough for several floor mounted units and as I’ll only have the one 50cm unit, most of it will be discarded anyway including the damaged bits. So on balance the trip was worth it, but I’ll have to wait a little bit longer, unfortunately, to finally finish off my utility room.

That’s better

I just re-jigged the washing machine waste and replaced the manifold that was too long in the utility room and now things are exactly as they should be. I wasted a couple of PVC fittings in the process because the new adhesive that I purchased from Leroy Merlin was flashing off much to fast.

You only had to touch the parts being joined together and they immediately became locked rock solid. I had to replace the two bends making up the offset for a third time as when they locked they were not on the correct angle. Luckily I still had some old adhesive that I got from Brico Depot a long time ago which cured much more slowly and allowed me to do the job.

The washing machine waste is now positioned far lower with a longer inlet and now there’s no chance that it will ever overflow.

null

I removed the 4-outlet manifold and replaced it with the 3-outlet version.

null

null

This has allowed far more room for the freezer which can now be pushed closer to the wall so it will not protrude from under the worktop.

null

I can now go ahead and order the floor and wall units, worktop, small sink and a mixer tap to finish the room off and make it exactly as I want it 🙂

More ‘cellier’ work

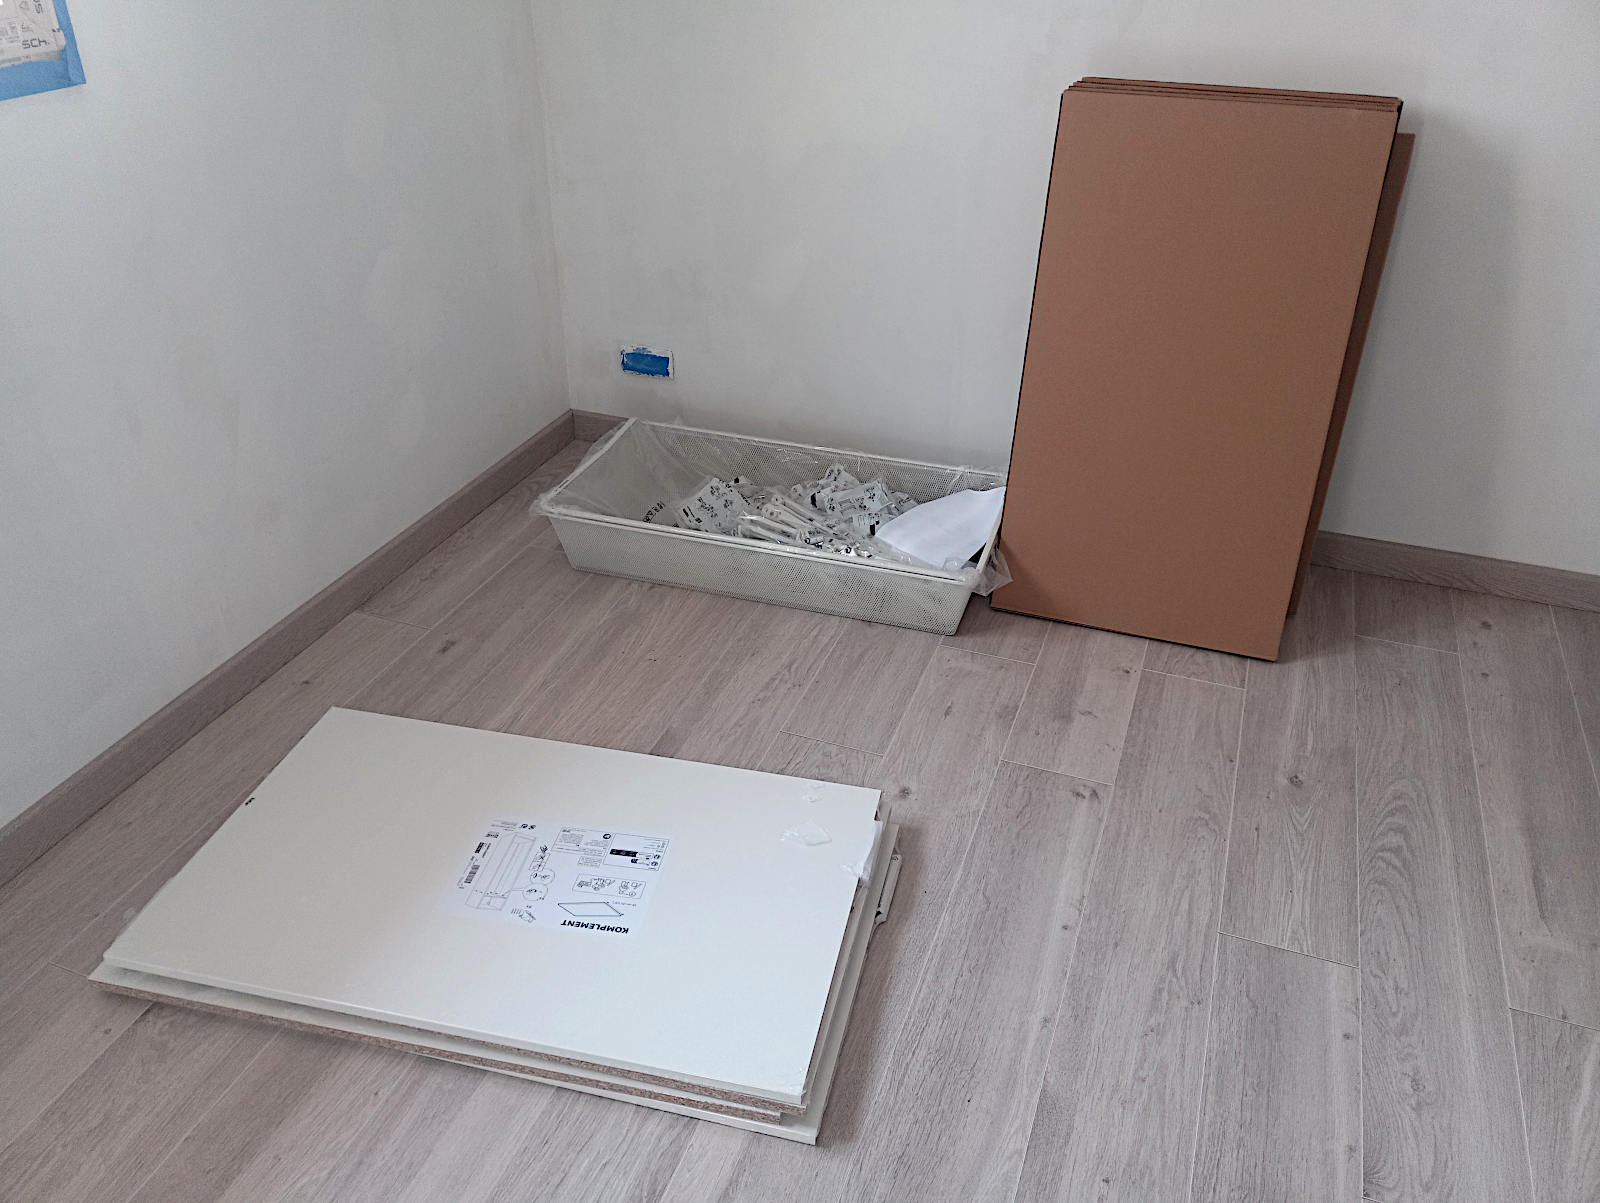
Having painted it, I’ve been pressing on as fast as I could to complete the work in my ‘cellier’ (utility room). The main reason for this is that until all of the preparatory work was completed I couldn’t install the floor and wall units that I have planned and until the storage that they will provide is available I can’t empty out all of the items that I have in storage that I’ve now been paying for for 30 months.

As well as painting its walls and ceilings, the plumber left me with something of a problem in the far corner of the room where I want to have my washing machine. The pipework he left behind was a bit of a mess to say the least because he’d committed the plumbing sin of having pipes crossing over, as shown in the following image.

null

He’d included a ‘P’ trap for the washing machine waste to feed into but I’d told him that I also wanted to fit a worktop with a sink along the same wall that would also need a hot as well as a cold supply. He evidently hadn’t thought at all how best to arrange these together with the shared waste outlet to the septic tank and what he left behind was actually pretty awful.

He placed the pipe for the sink waste on the left whereas the sink will be off to the right and by having the washing machine waste crossing in front of the hot and cold water supplies not only would it be tricky to run the three connections up to the sink but it also meant that it would be impossible to push the washing machine as far back against the wall as one would want. This would leave a lot of the machine protruding from beneath the worktop which would not only be unsightly but would also make the front of my lovely new Indesit washing machine prone to knocks and potential damage.

So before I could continue on to fitting the floor and wall units and the worktop I had to address this problem and come up with a completely new layout of the piping. The next image shows what the pipework in the corner now looks like.

null

In fact I’m thinking about altering it again because by placing the washing machine ‘P’ trap on top I’ve had to cut down the tube that the rubber outlet pipe from the washing machine pokes into to a point where the water surface inside is closer to the top than I would like. By redoing the arrangement and dropping the ‘P’ trap in question down lower I could avoid any possibility of water overflowing when, say, the machine is pumping out and the sink is being emptied at the same time. So that’s what I intend to do after Christmas and it’ll only take a short time to accomplish.

As the image shows, I’ve completely separated the cold and hot supplies to the sink and here’s a shot of the ends of them to which the mixer tap flexies will be attached. When I cut the pipes to do the re-jig I kept the connectors that the plumber had fitted to save a few euros and also have connectors that I knew wouldn’t leak.

null

Here’s a view of the complete new arrangement.

null

When the plumber fitted out the separate toilet we agreed that we should abandon the outside tap that I’d originally proposed to have on the front corner of the house and move it further round to the side. The original connection at the manifold in the ‘cellier’ was therefore abandoned and he ran a new connection for it. Whether this was the reason I do not know, but one manifold outlet now remains unused and blanked off, as shown in the next pic.

null

The problem with this is that the manifold has four outlets when it only needs three and extends further to the left than it needs to just preventing the freezer from being pushed back against the wall. I’ve found that Leroy Merlin offers a suitable smaller replacement for only 9.50€ so that’s another job I’ll be doing as soon as Christmas is over.

null

But that’s it for now and I’ll be taking a day off tomorrow like everyone else in France. But Christmas only lasts for one day here so like everyone else (almost) in France I’ll be back to work on Tuesday.

Happy Christmas everyone. Enjoy the break and I’ll be back next week.

Special day

I began fitting ceiling coving throughout my new house in June and began painting the interior starting with the kitchen in the last week of that month. Since then I’ve installed the complete kitchen, the hand-basin in the bathroom, a couple of wall-mounted bathroom cabinets, the shower screen, the floors in all of the bedrooms, a floor-to-ceiling fully-fitted wardrobe and storage unit in the larger two, 6 exterior lights and 43 LED spots throughout the whole of the interior.

I’ve also had to paint the ceiling and walls of every room with a sealer-undercoat and top coat and today is special because at last almost exactly six months to the day, I’ve now completed the task by finishing off the ‘cellier’, the utility room that houses the heat pump unit and will also be the home for my washing machine and freezer.

null

null

null

It wasn’t a job that I was relishing or looking forward to mainly because if I’d known how much pipework would be associated with the heat pump I’d have painted the room before it was installed. But I left it too late and was left with the unenviable job of trying to paint around all the plumbing as I just couldn’t face leaving any part of the room as bare plasterboard. It took a lot of masking but I’ve managed it to a point where I’m pleased with the results.

The room isn’t finished – I’ve got to install at least one worktop and wall and floor storage units as well as make some alterations to the plumbing to connect a small sink and allow the washing machine and freezer to fit closer to the wall than they originally could. But with the painting done the worst is over (I hope!) 😕

More heat pump stuff

Here’s another one for all the heat pump cynics.

I can’t do an exact date-wise like-for-like comparison with my old house at Plazac and my new house because the former’s billing ran from mid-September to mid-November (2020) and my new house’s will be running from end October to end December 2023. However, I can make some very accurate estimates.

Here are the actual units consumed for two periods for my old house.

19/11/20 – 18/01/21: 1771 units
19/09/20 – 18/11/20: 1557 units

A good assumption is that the units consumed 19/10/20 – 18/12/20 will be the average of the above: 1664 units

My new house has a smart meter and exact figures are therefore available.

29/10/23 – 18/12/23: 636 units
Estimated 29/10/23 – 28/12/23: 763 units

763 units for the new house is 46% of the figure for the old (1664) and this at a time when the major demand has been for heating and the house has been toasty warm the whole time with the indoor temperature never falling below 22 degrees C day or night.

My old house (a poorly unsulated converted barn) was never uniformly warm and although I had background heating using electric convector heaters, the main source of heating was my wood burner. Obviously the cost for this was over and above the cost of electricity which was only used for lighting, oven cooking, hot water and running household appliances.

The figure for my new house is for everything – lighting, heating, cooking, the lot.

These are the numbers for energy input and output since installation.

Electricity input: 387 kWh
Energy output: 1607 kWh
Ratio: 4.15

So the heat pump is delivering over 4 times the amount of energy required to run it, which I find astounding. The numbers speak for themselves and it goes without saying that I am delighted with how the system is working 😀

3 bedrooms

Is what I now have, all usable. I had to do quite a bit of ‘rearranging’ of stuff, moving materials and tools around and disposing of rubbish before I could get working on bedroom three. And when I eventually was able to, it turned into a nightmare as I’ll explain. But first a couple of pictures of the results.

null

null

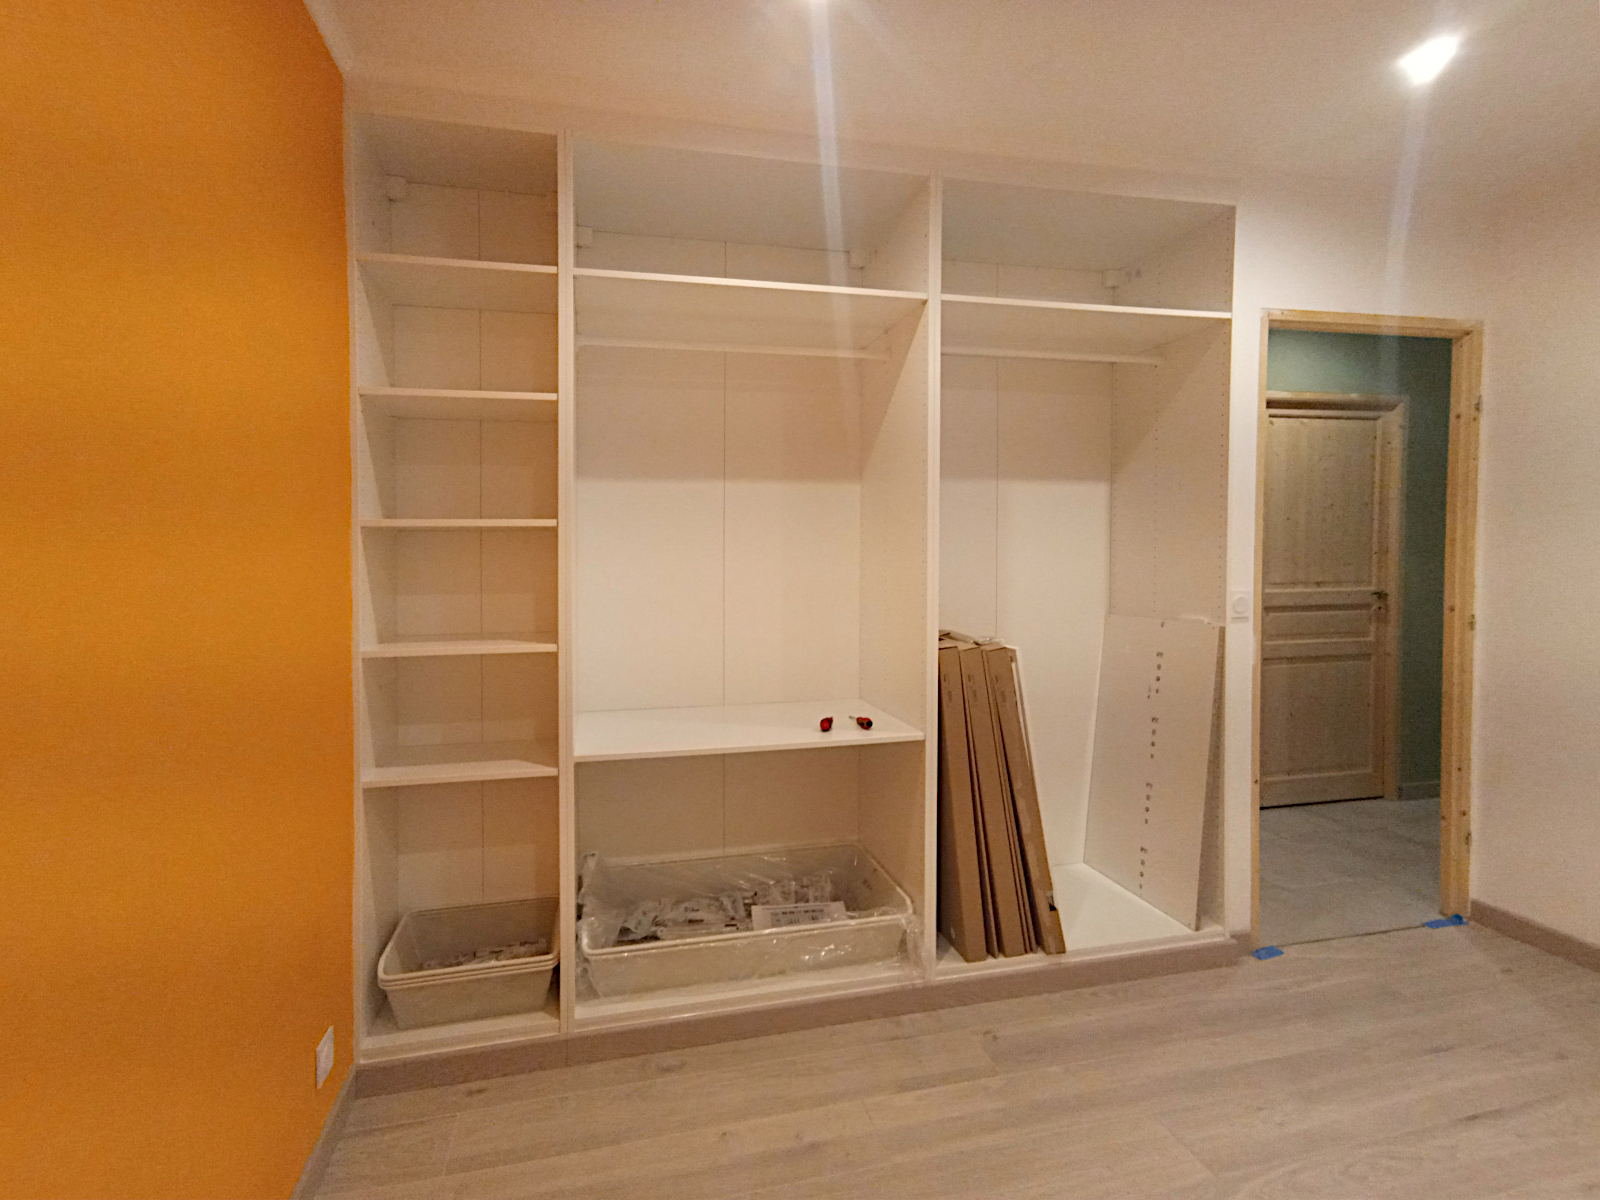
Once again, the camera hasn’t quite caught the colour which has a slight dusky pink tinge to it, making it colour-coordinate exactly with the floor covering and the wall plinth. But you might like to know why it was a nightmare getting to this point, so I’ll explain.

Regular readers may recall that two plasterers were involved in finishing the internal walls and partitions in my house, covering nail heads and the joints between the plasterboard drylining sheets. I wasn’t that impressed when I first saw their work and quite honestly I’ve become less happy with what they did the more I’ve been involved in decorating over it.

Apart from areas that they missed entirely (there’s an area from floor to ceiling in the ‘cellier’ for example) it’s now evident that for much of their work they used old, dead plaster. Unlike fresh plaster straight from the pack that sets very quickly, old plaster takes much longer to cure but usually eventually does so.

Dead plaster, on the other hand, mixes with water and looks like fresh plaster even when it has dried. However, it doesn’t undergo the chemical reaction that makes it cure and becomes soft again if water or a water based material, such as paint, is applied to it. The result is that if the paint is applied using a roller, the roller’s suction removes the ‘plaster’ as it passes over the surface.

This has happened in all of the rooms in which I’ve painted using a roller and I’ve had to make good areas of both the walls and the ceilings. However, in bedroom three the areas involved were huge, both on the ceiling and the walls and especially on the coloured wall.

This is why after making the coloured wall good, it looks patchy in the above pictures. It was made worse because I achieved the colour by adding white and a dash of red to a can of beige and over the two or three days in which I did the work it was impossible to keep the mix and therefore the colour totally uniform. It will have to do however.

This is the price you end up paying by sub-contracting work out to sub-standard workers but at least now I’ll be ready for when I can expect the first visitors to stay over in my new house.

Finishing off today’s story

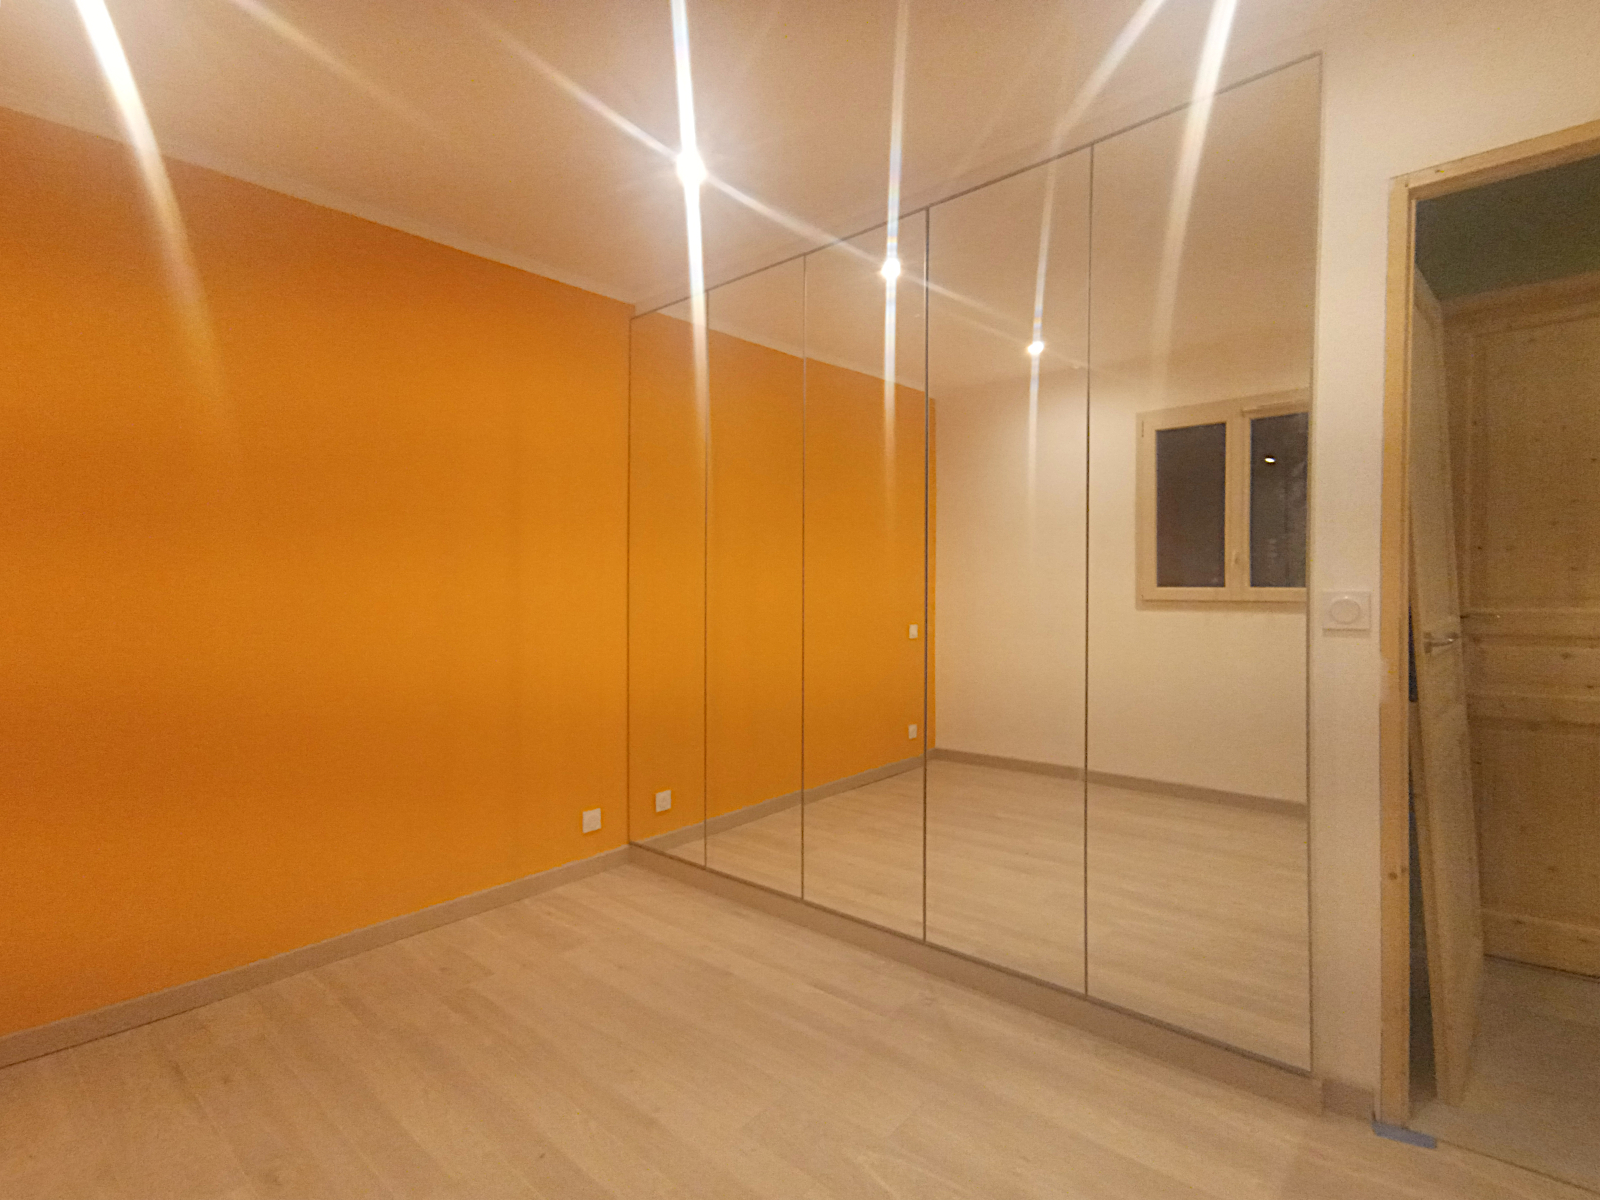
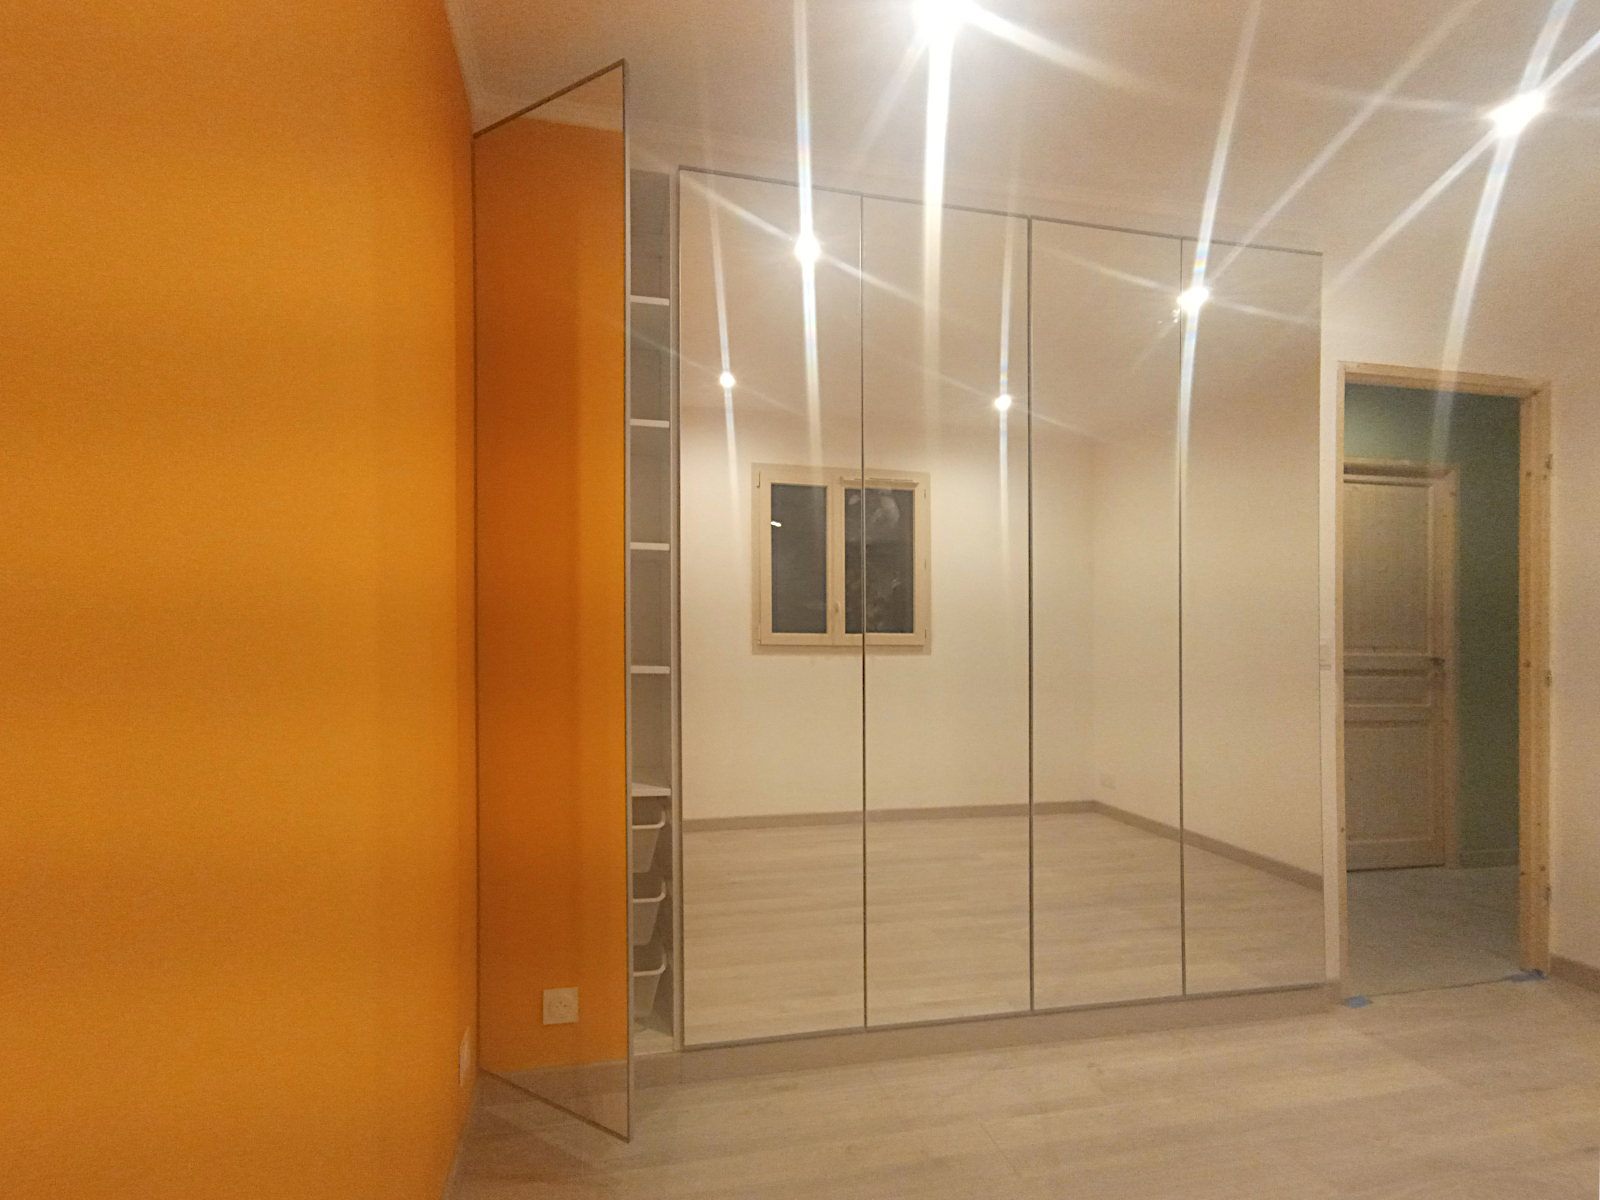
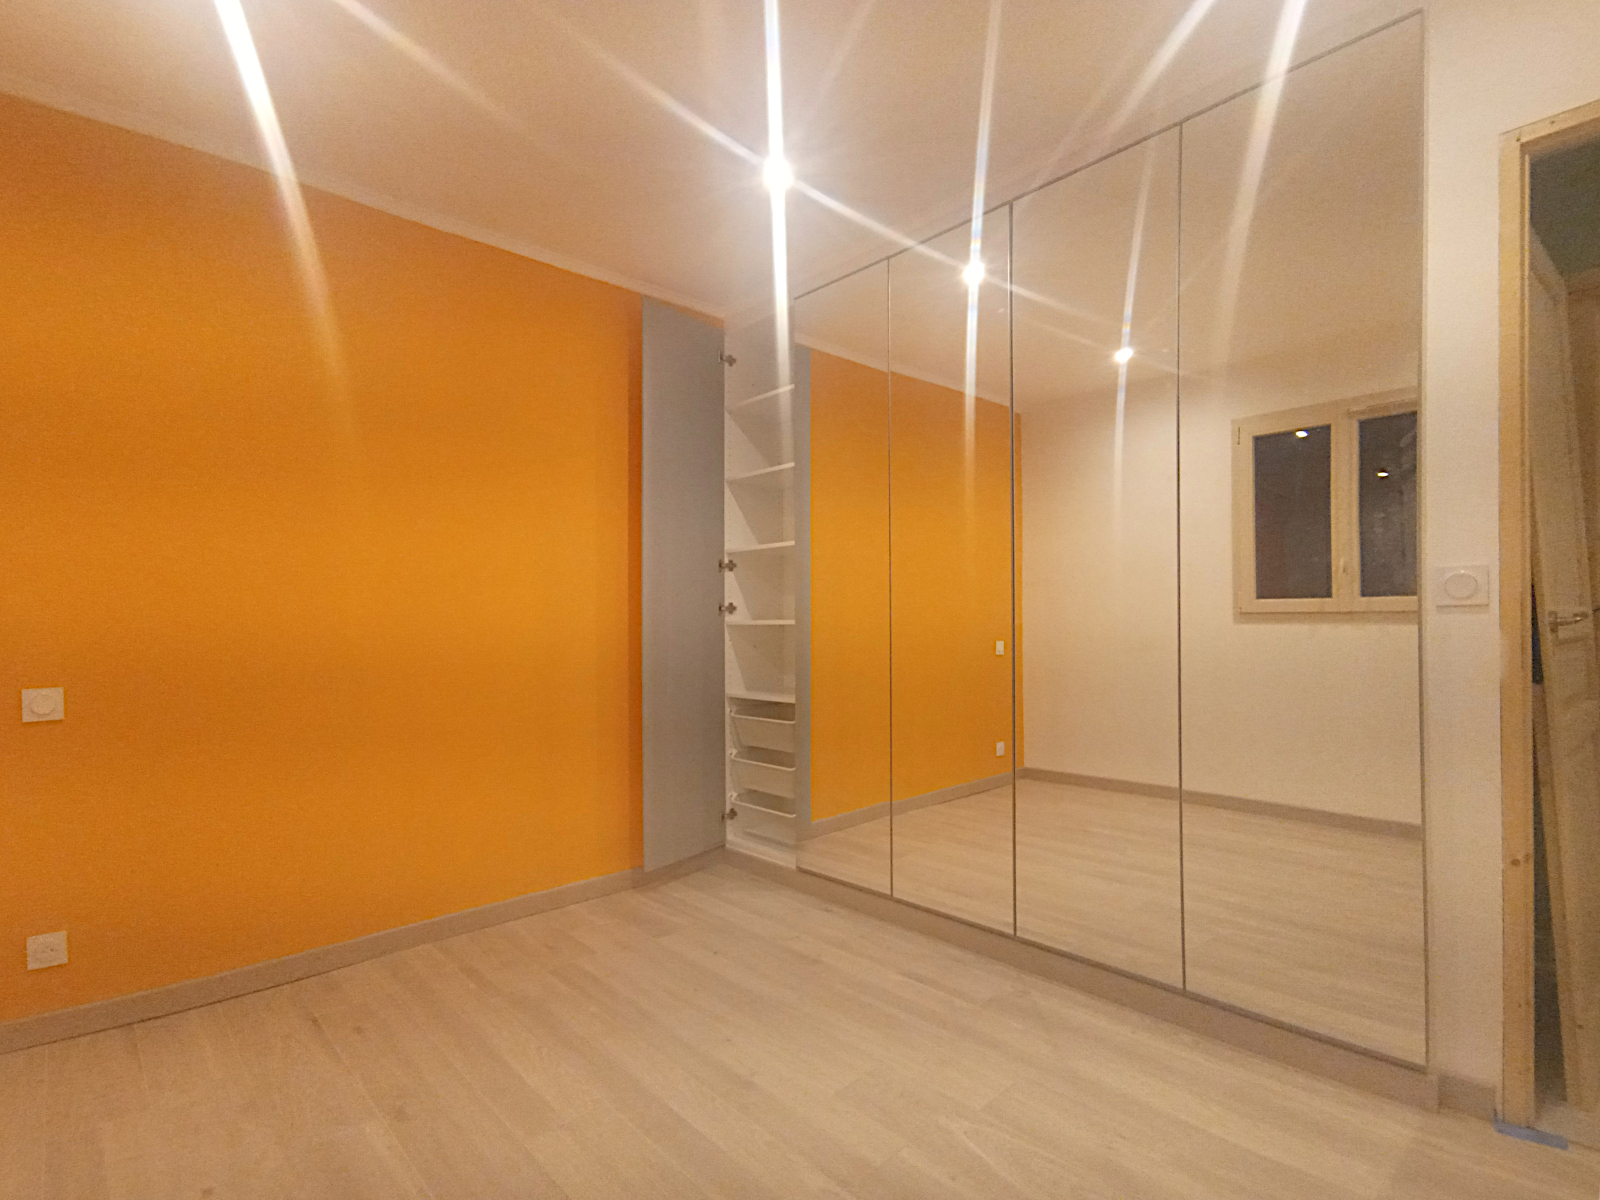
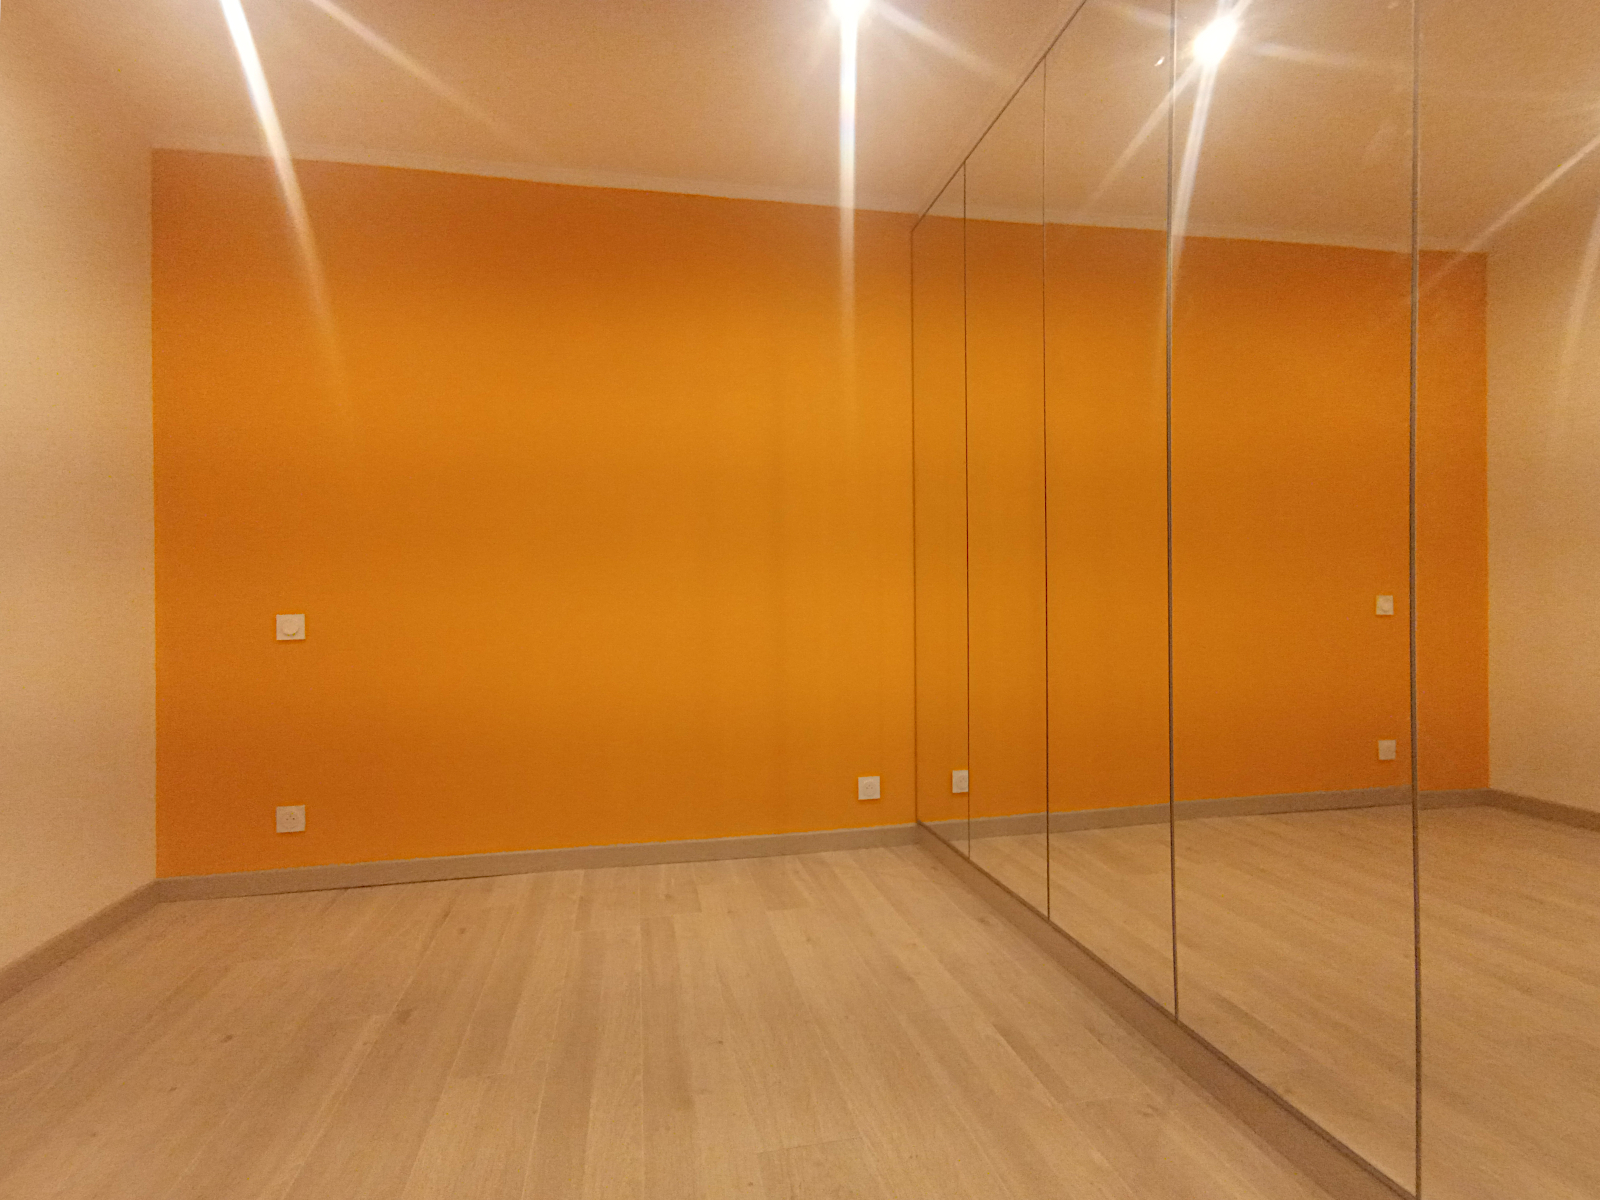
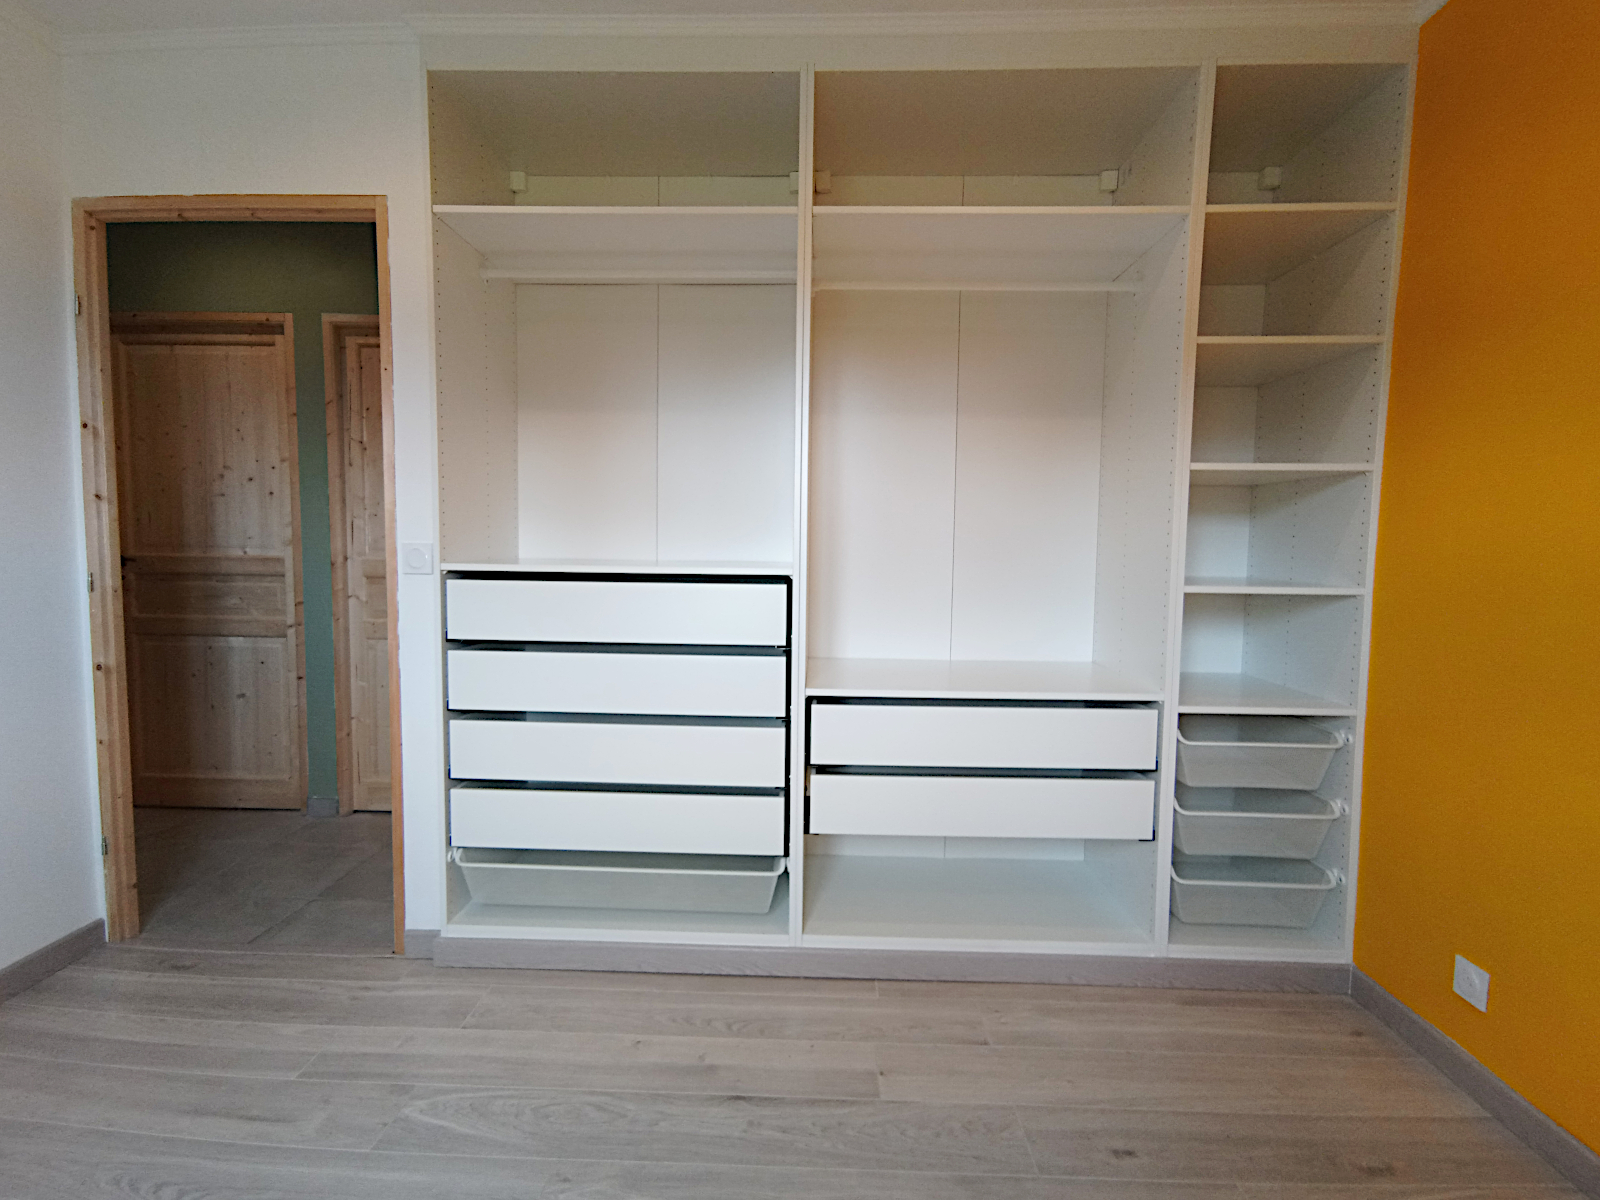
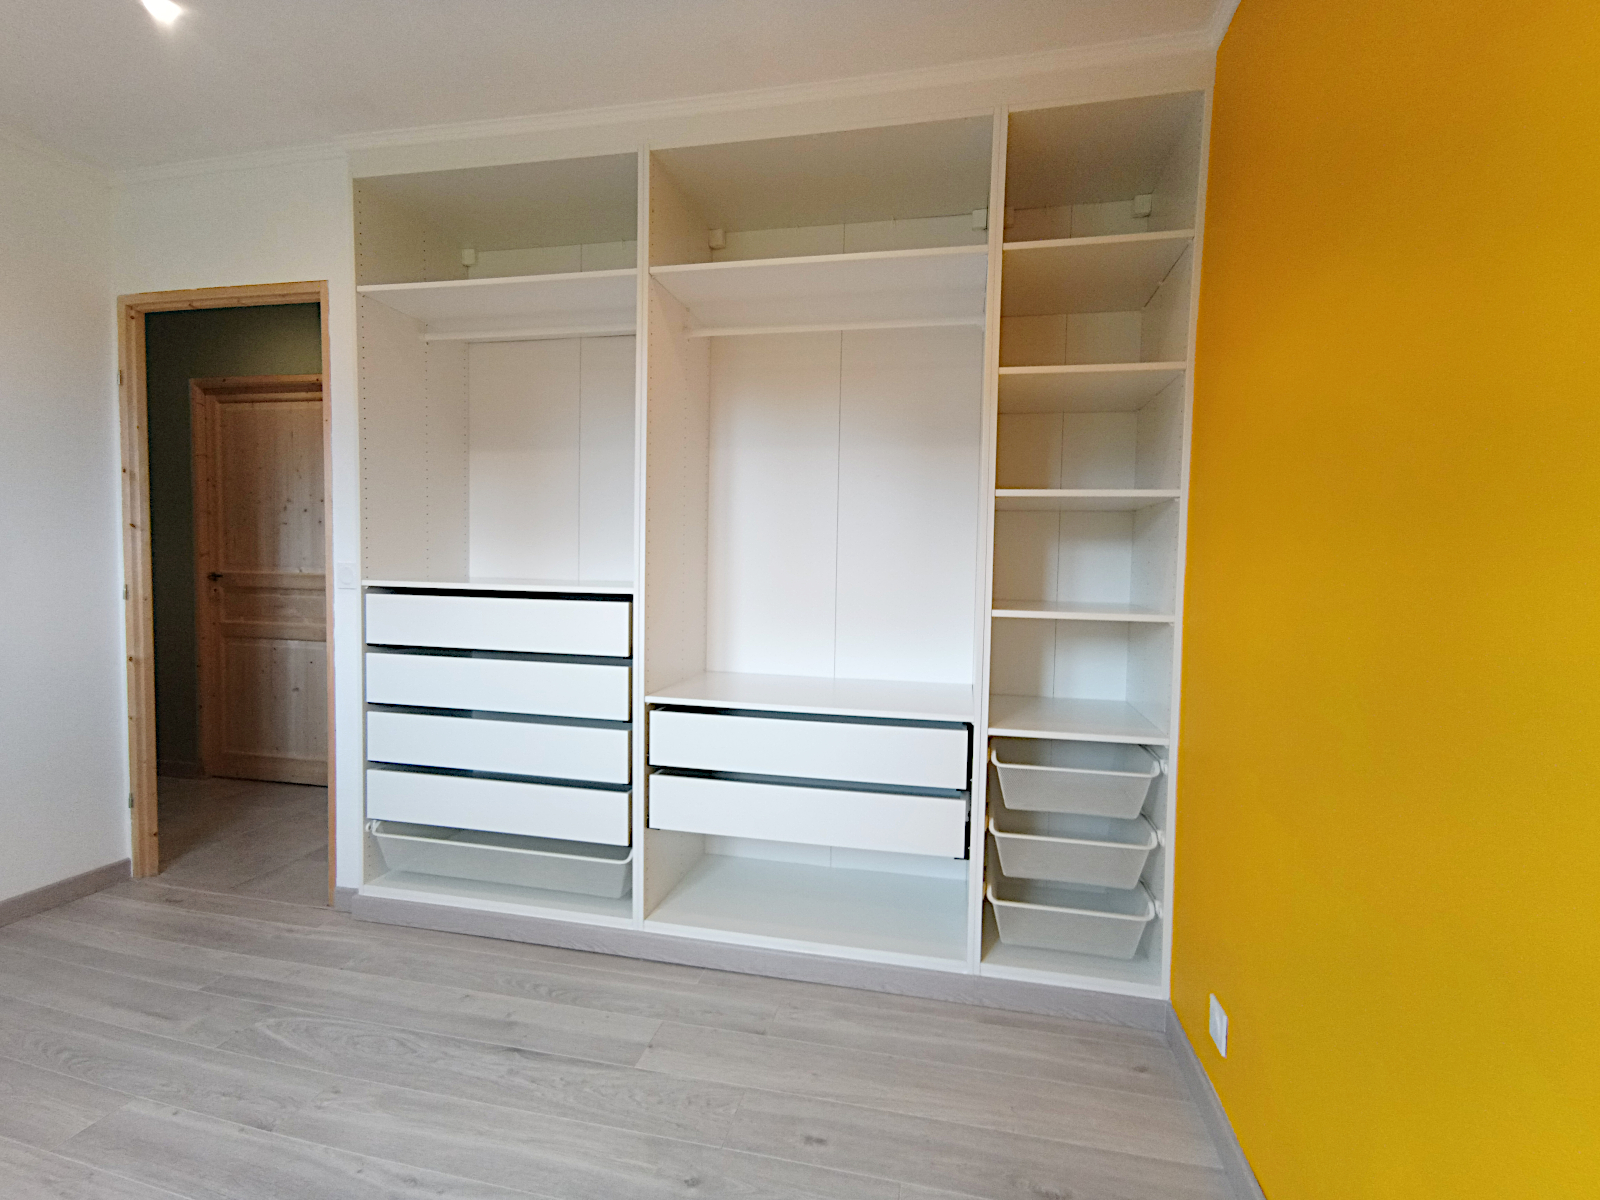
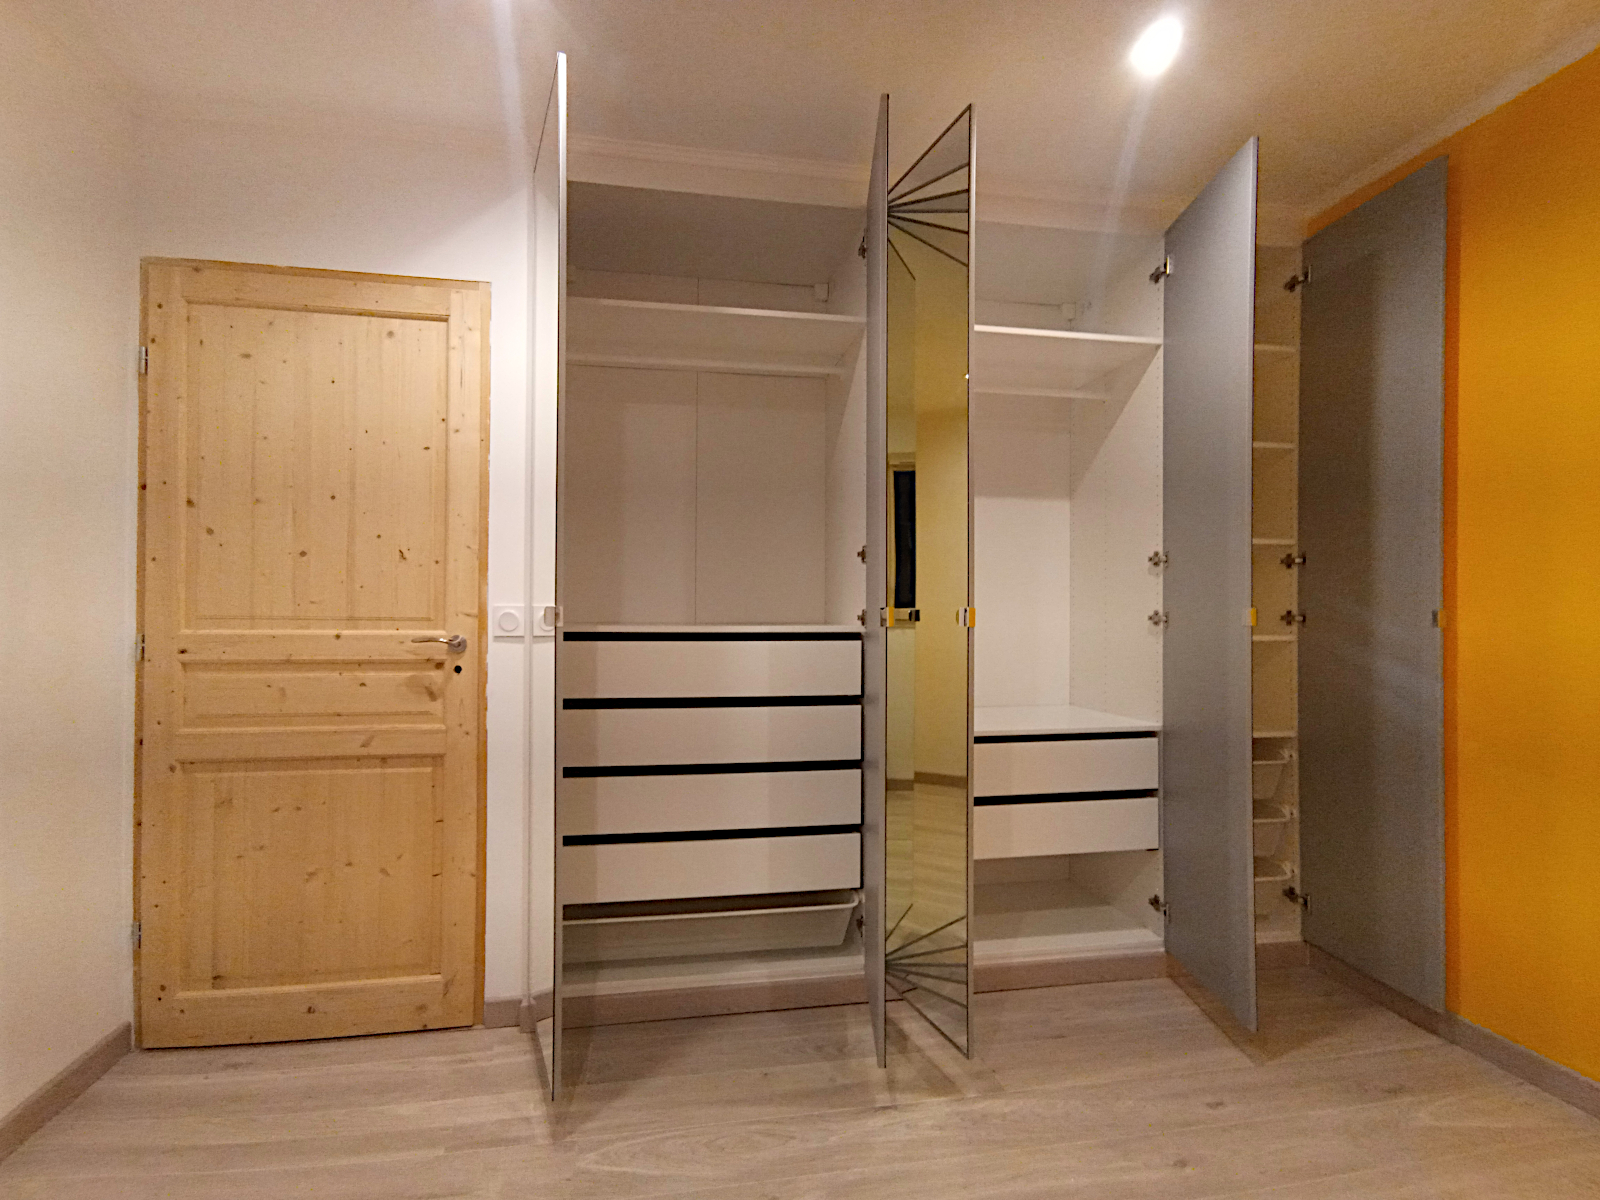
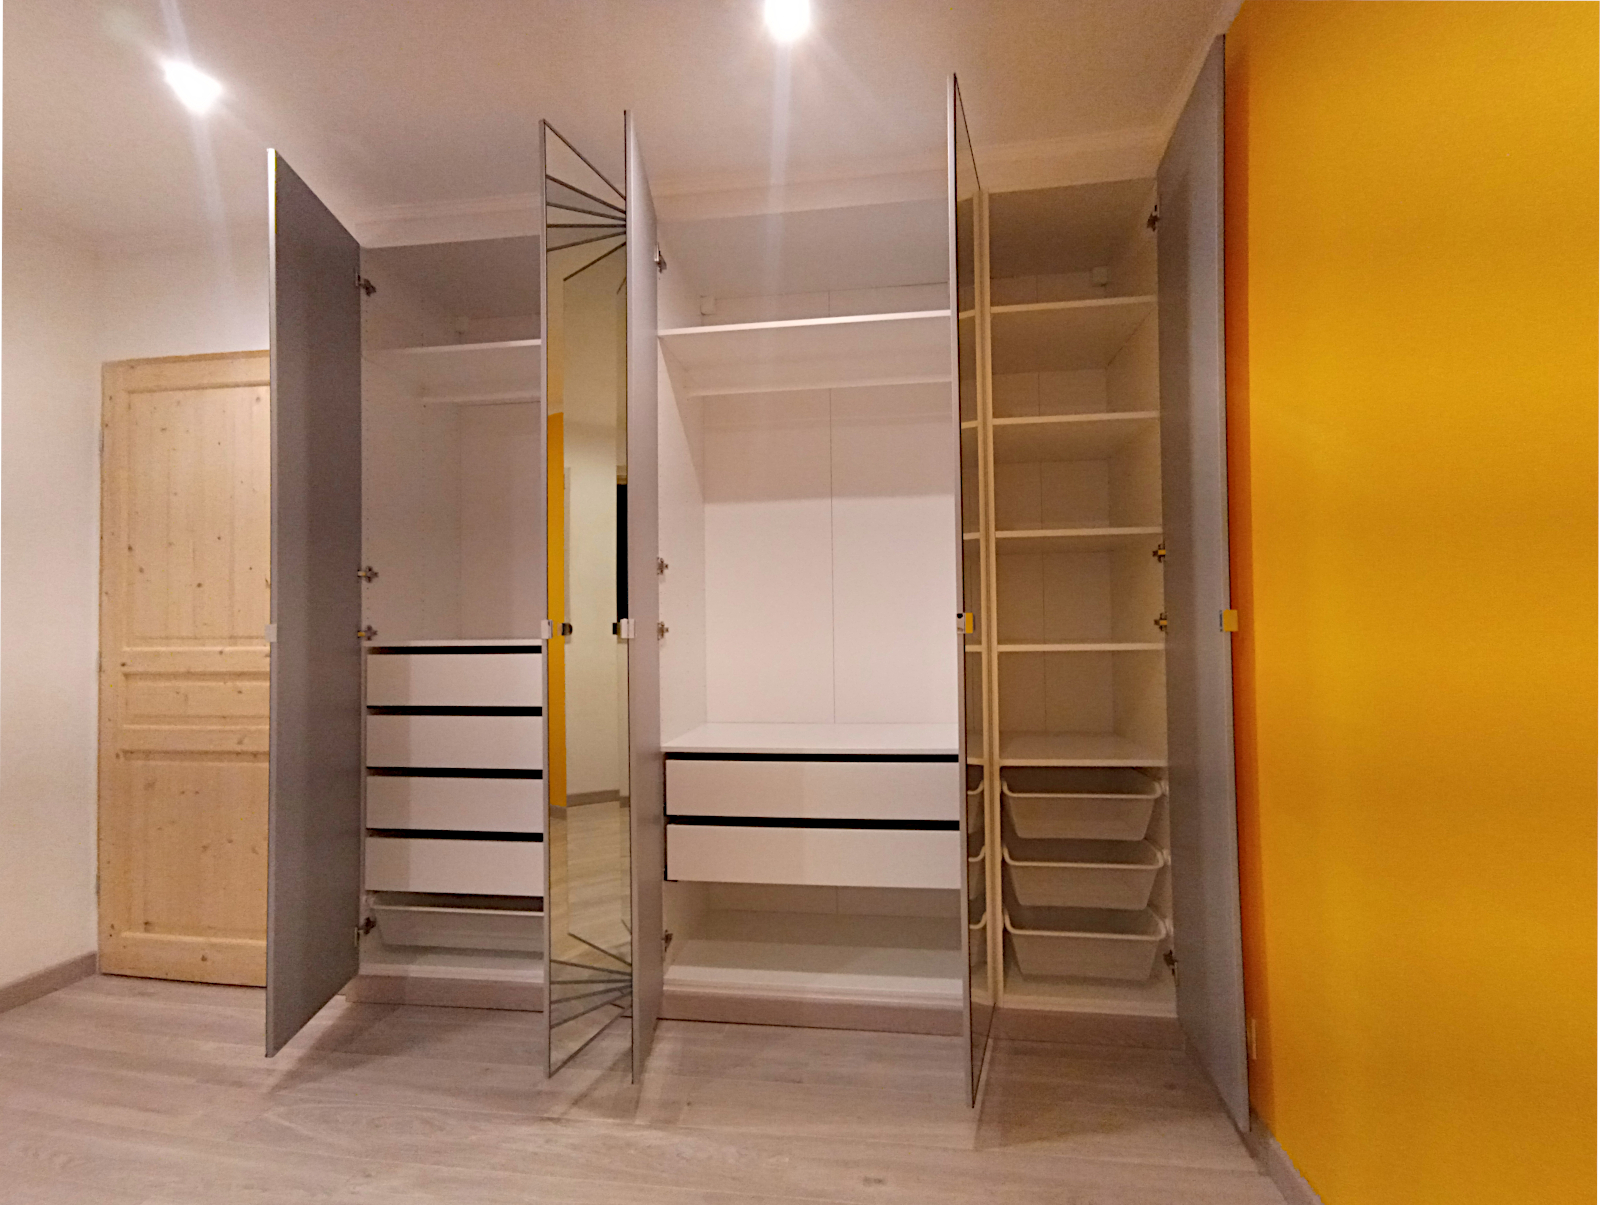
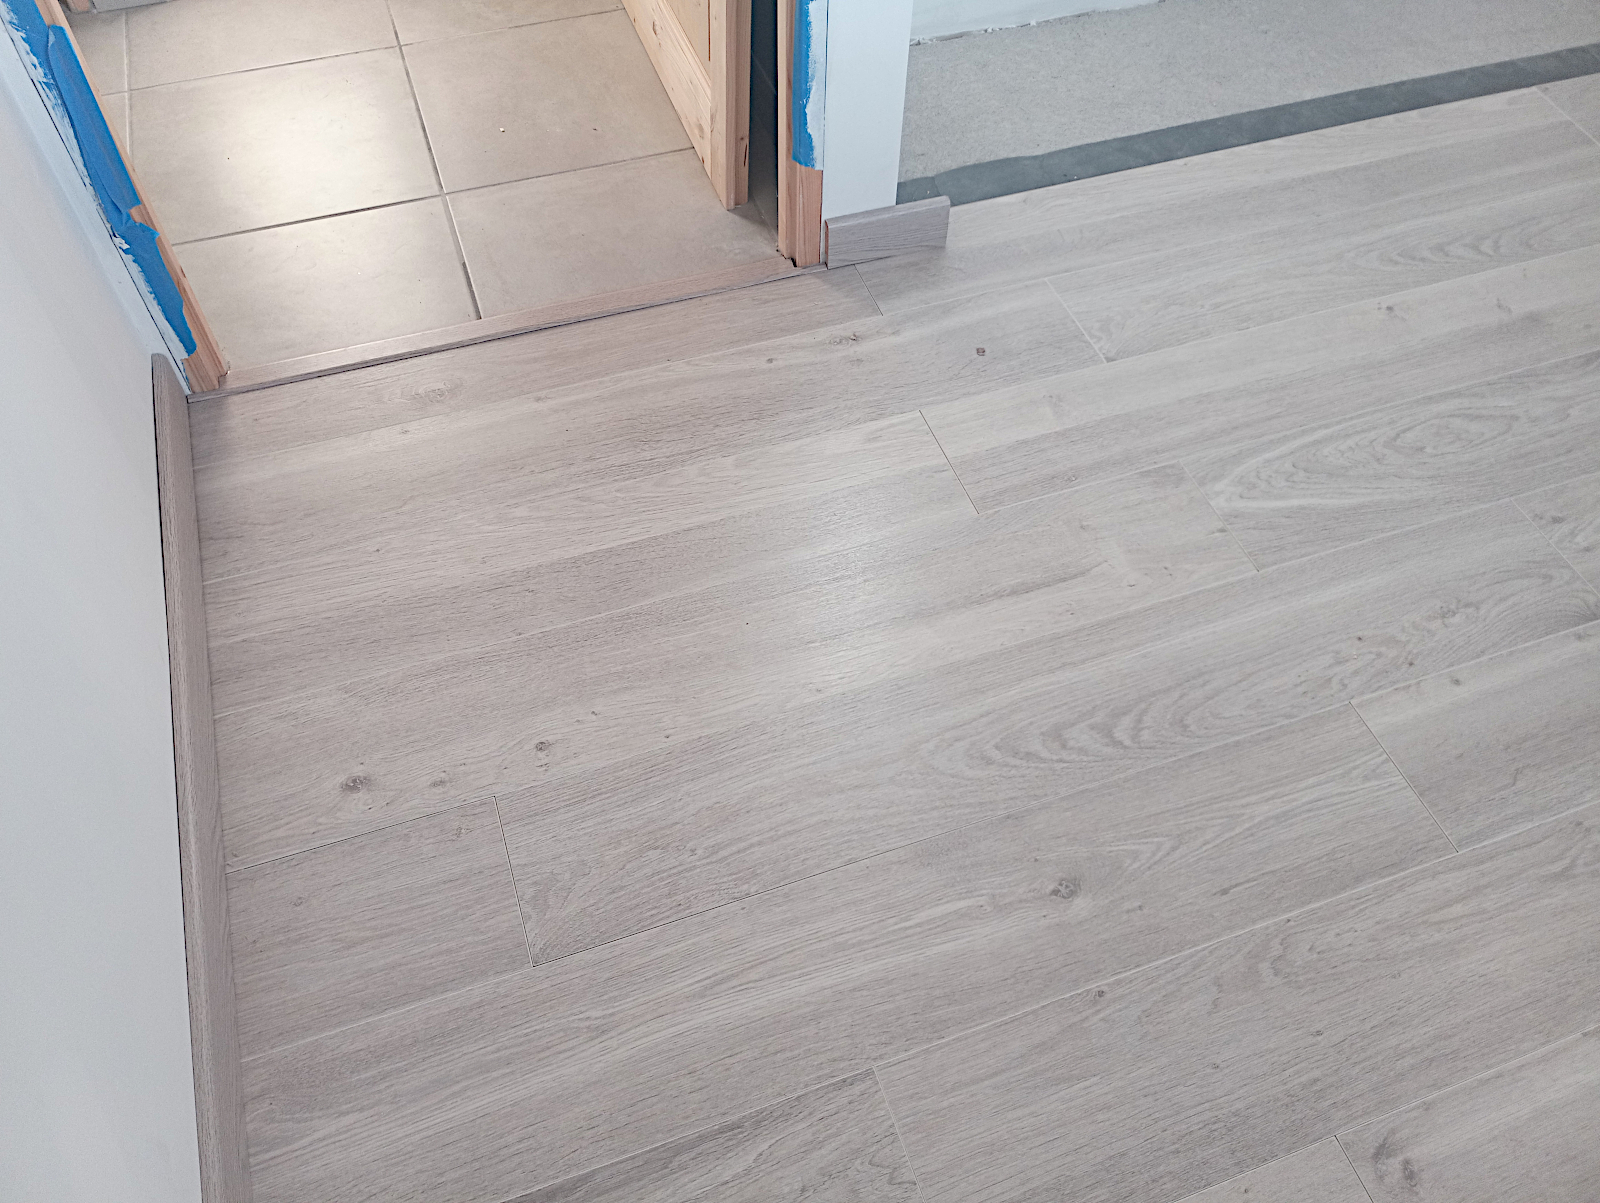
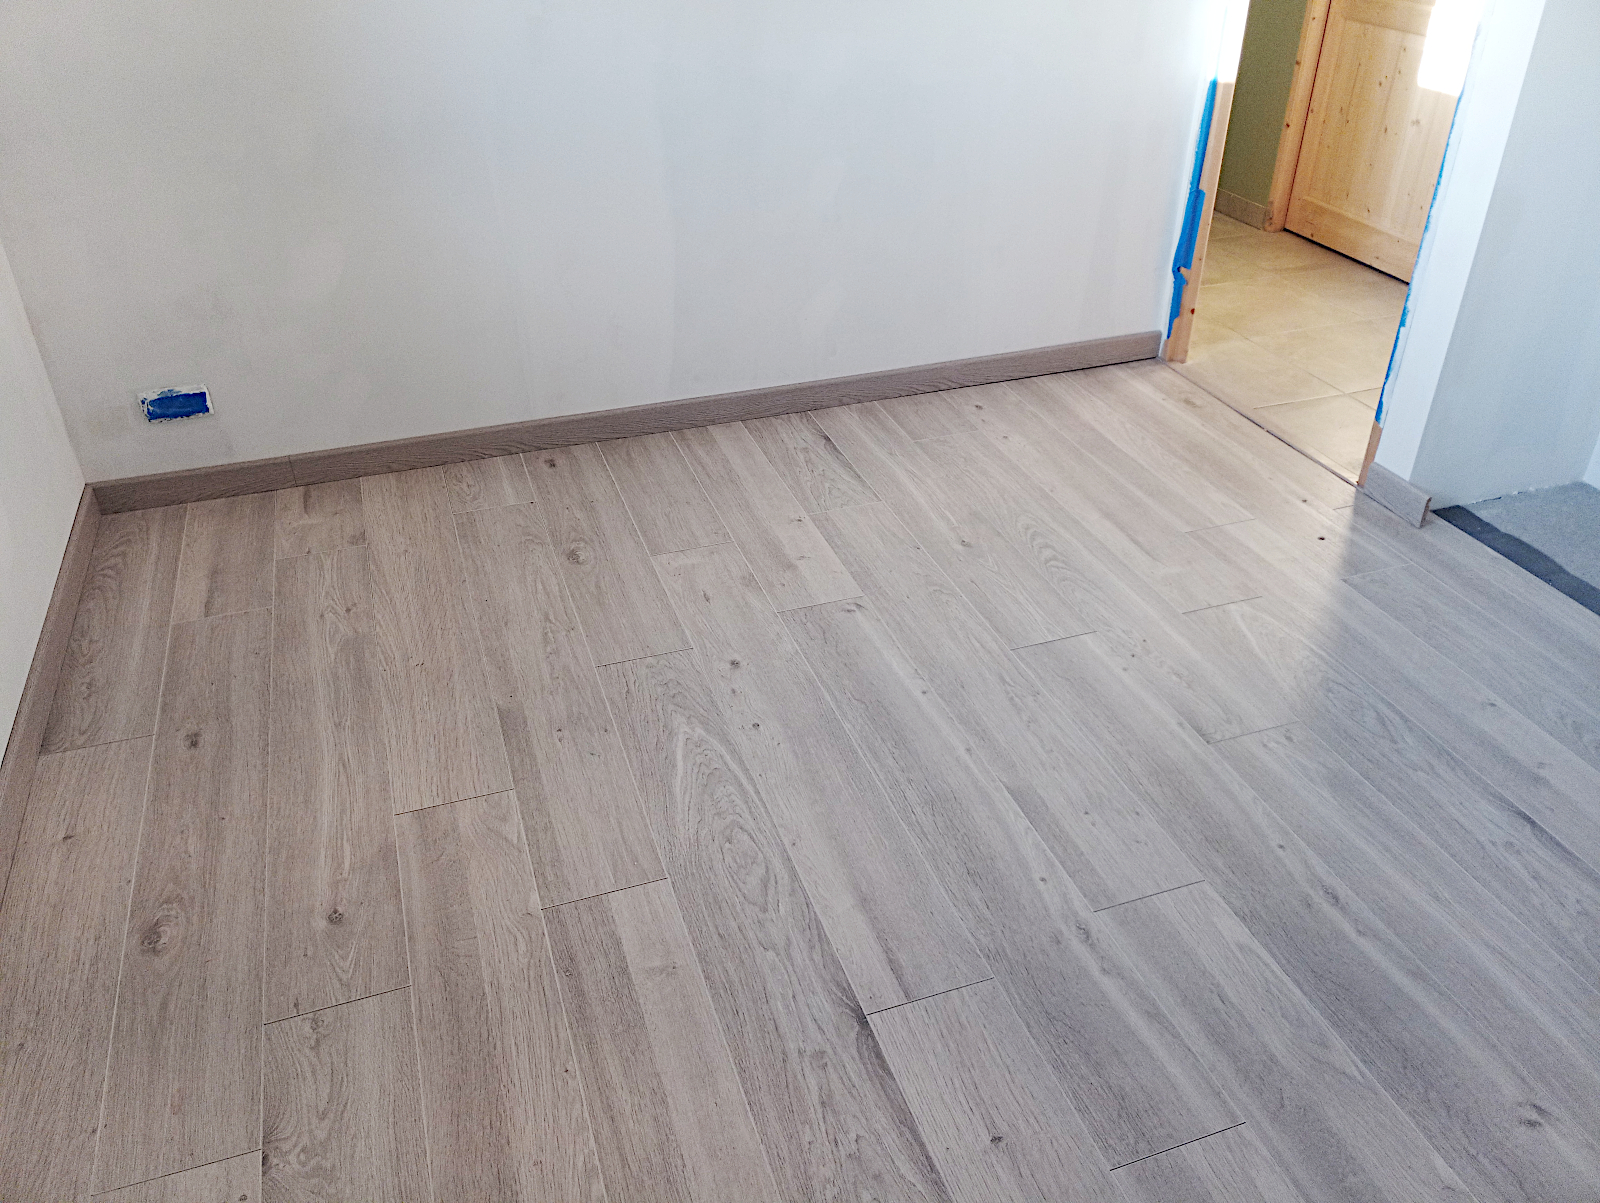
Bedroom two isn’t totally finished. I still have to adjust the doors of the Ikea ‘dressing’ and fit the handles and I’ve also got to fit the threshold piece in the doorway to cover the gap between the tiles in the corridor and the new bedroom floor. But those are jobs for tomorrow as it’s been a very long day and I’m tired. Here’s how the room now looks with all of the wardrobe doors on.

null

null

null

null

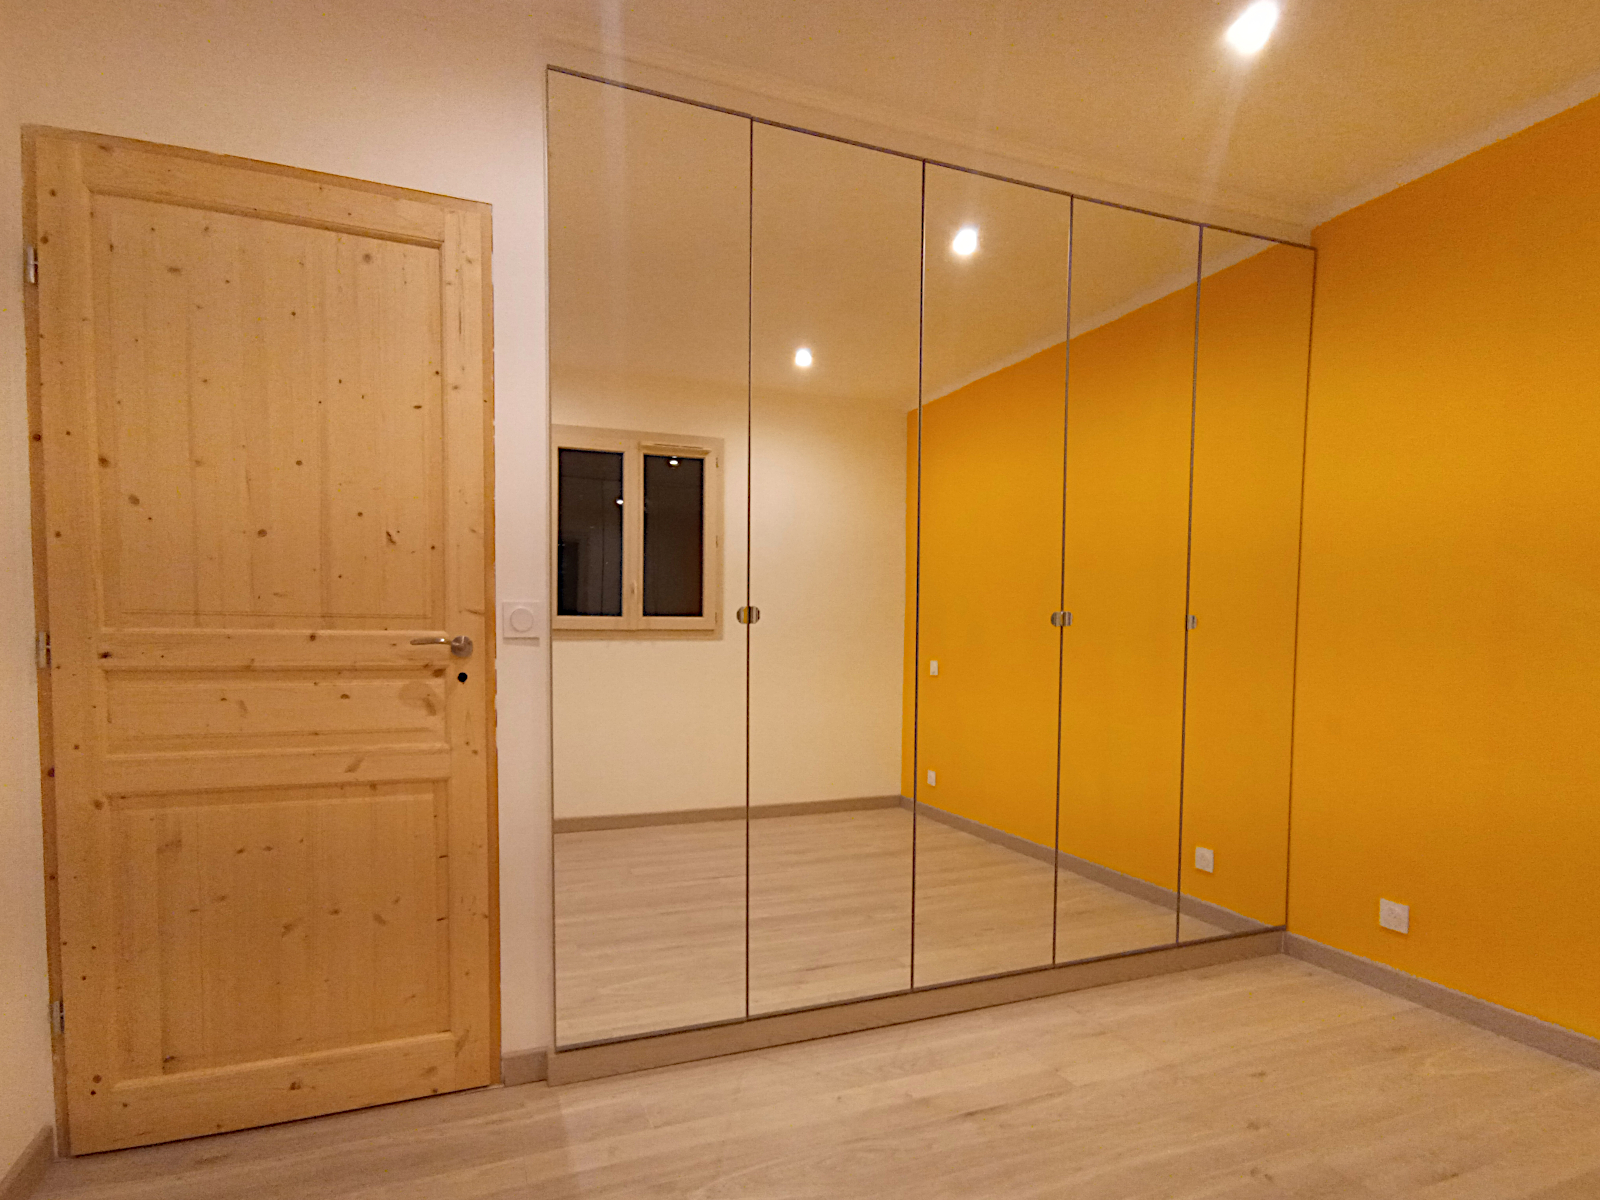
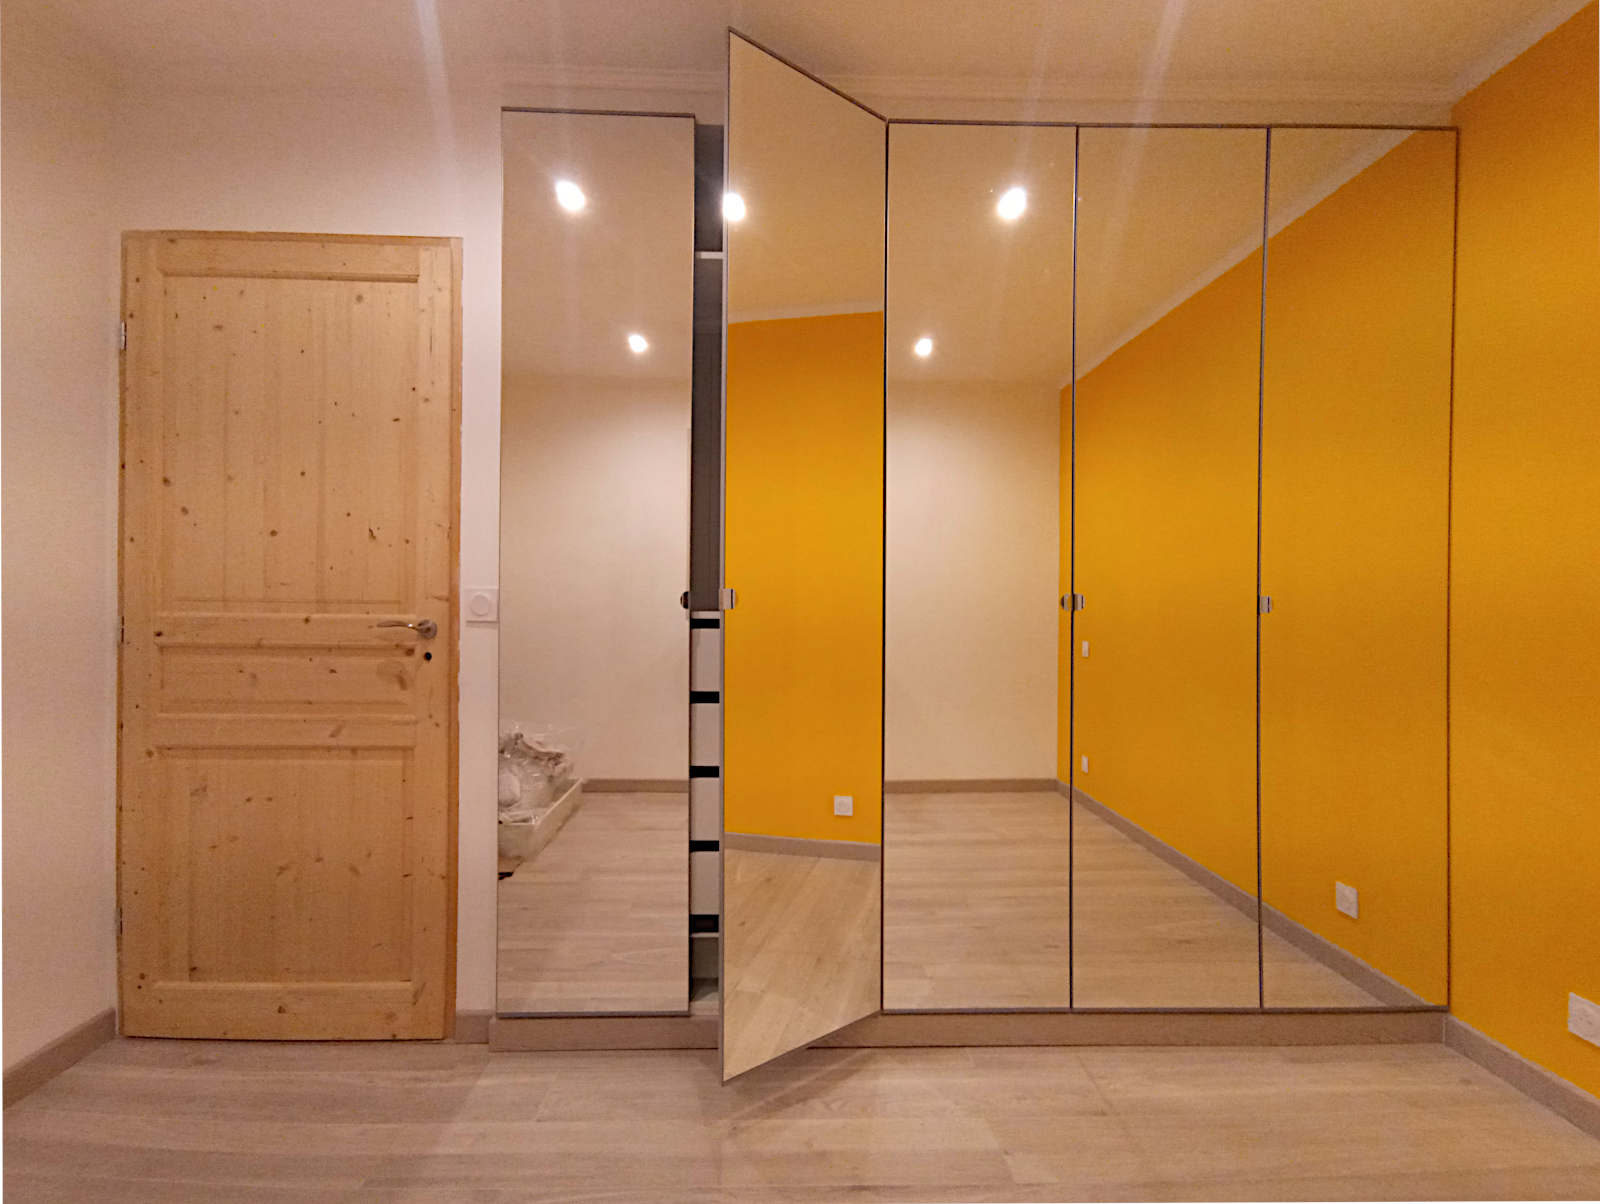
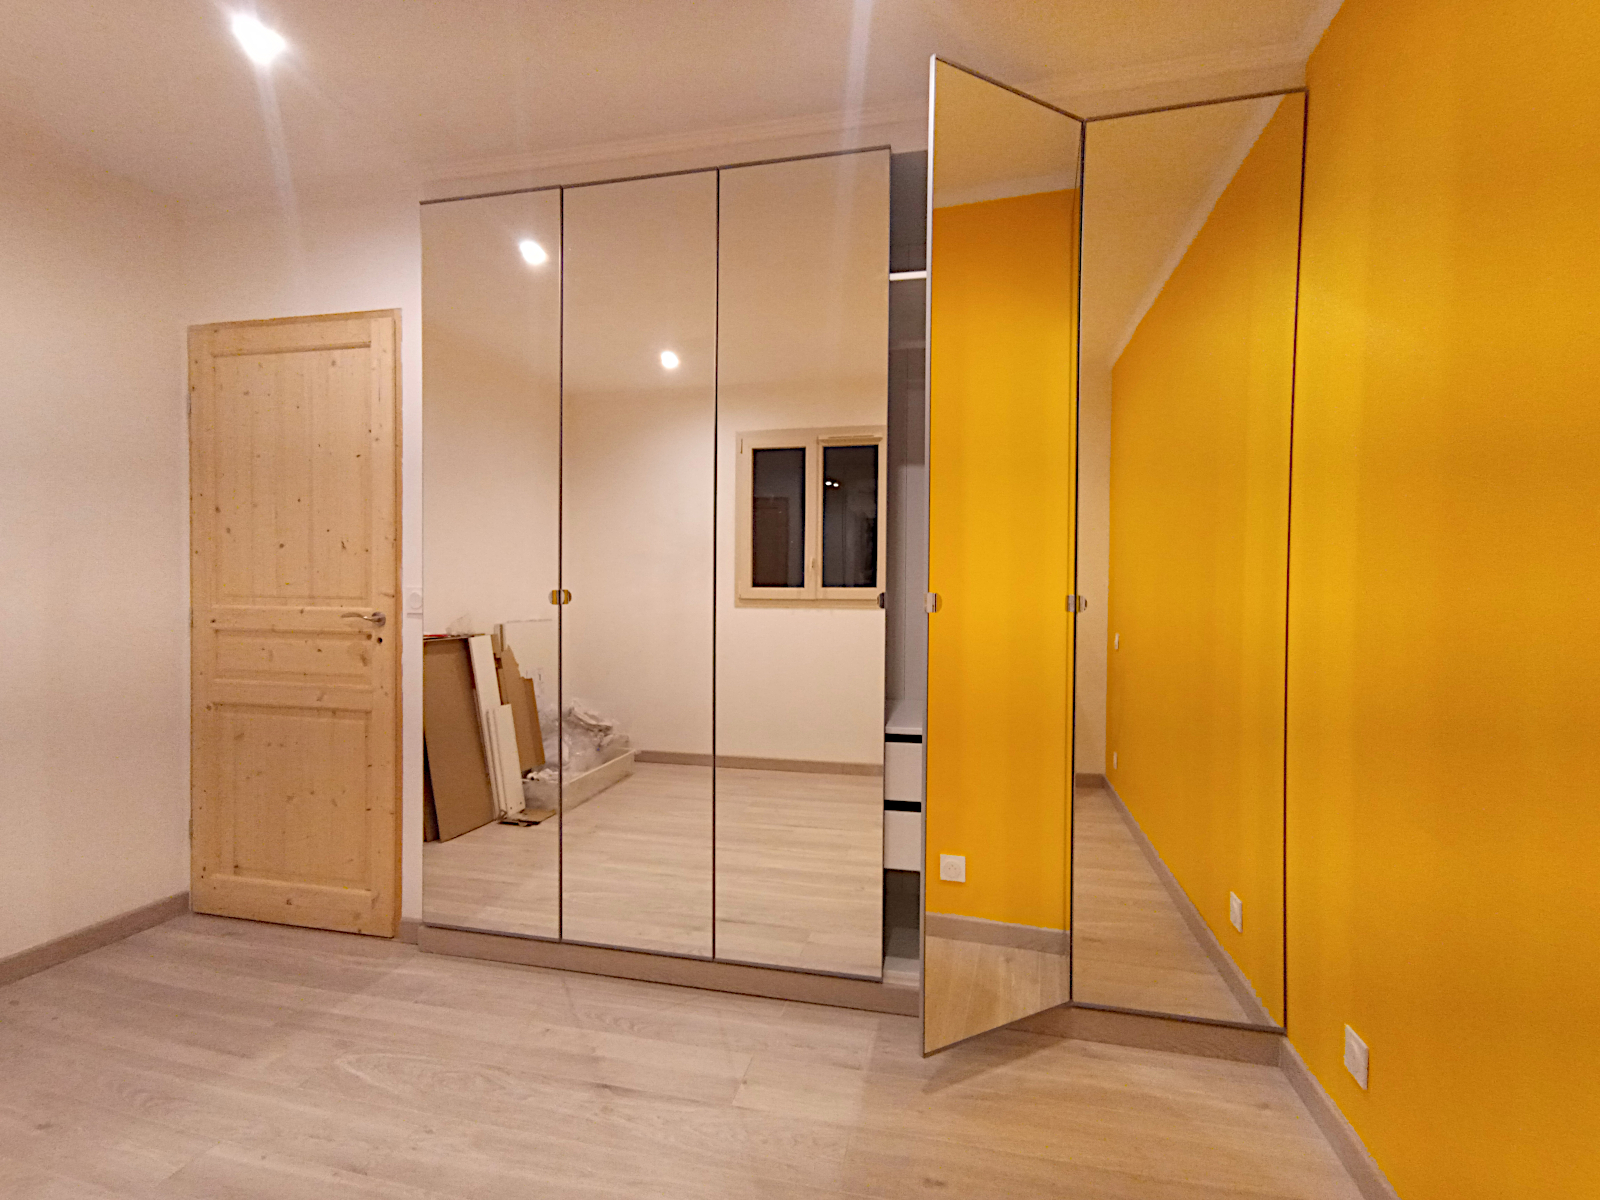
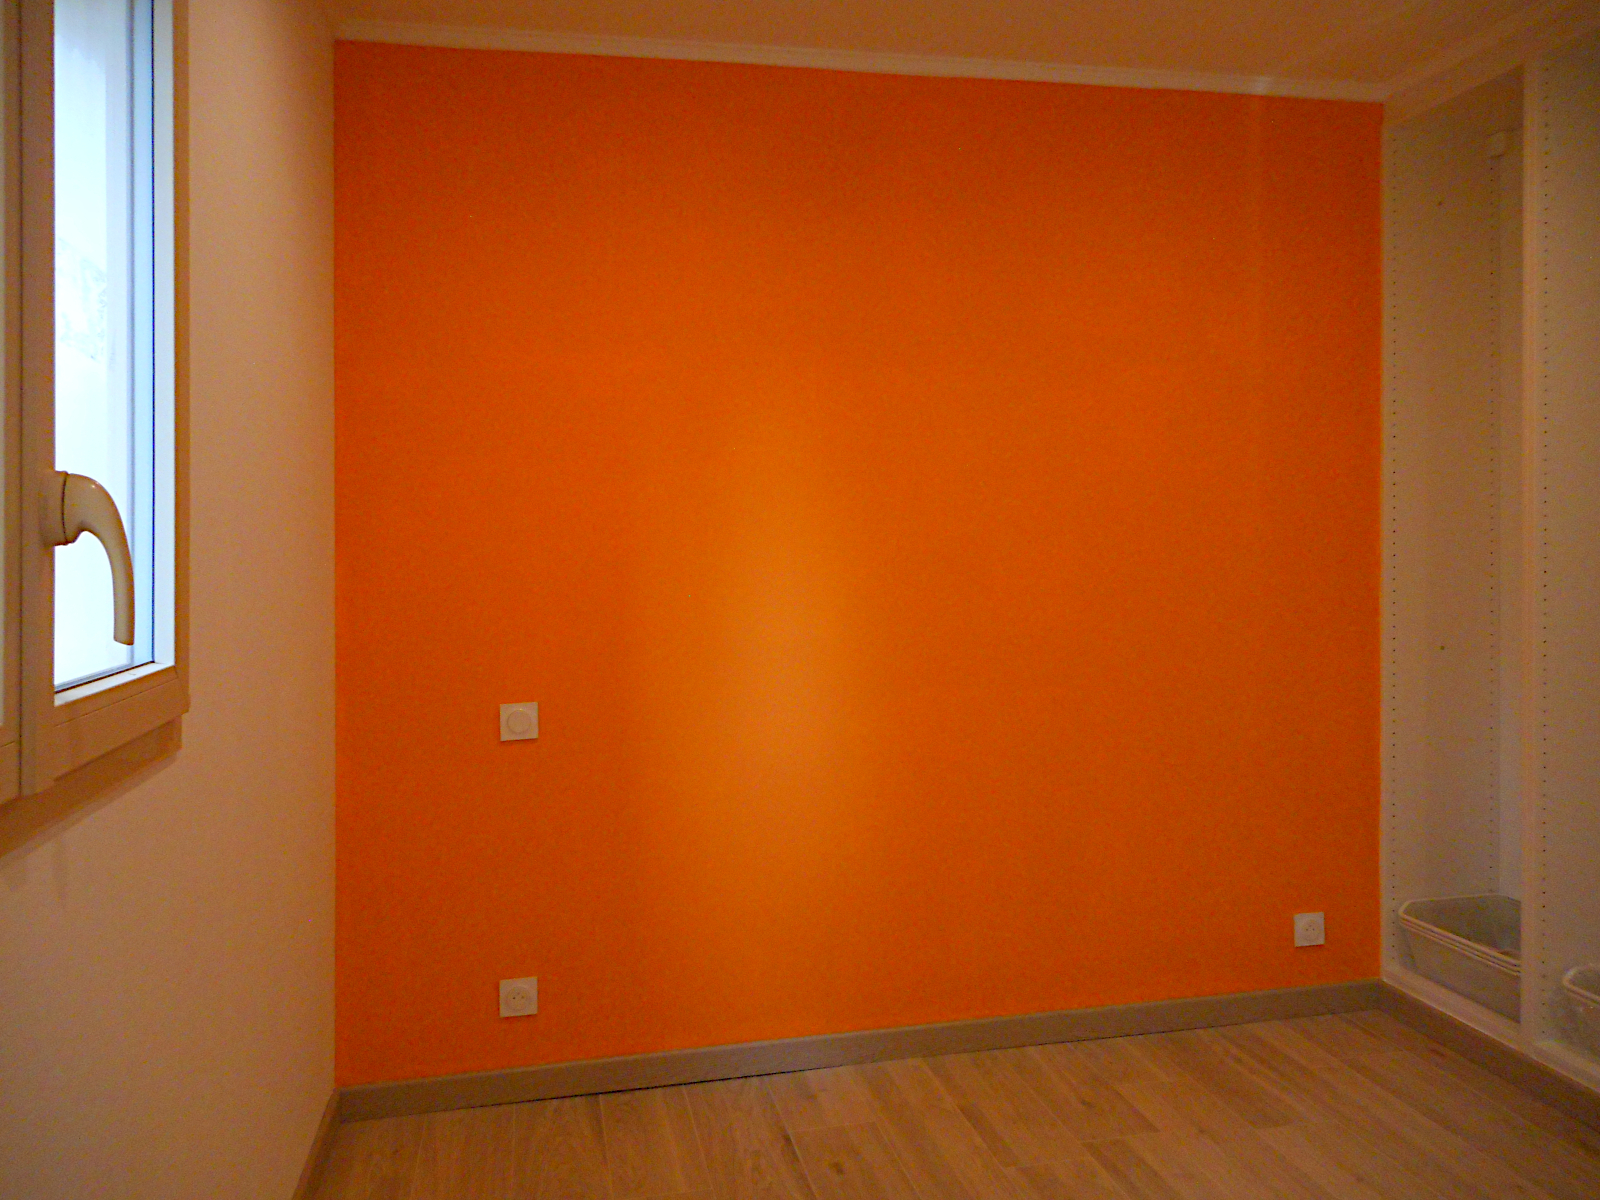
Don’t forget that the wall colour isn’t a dark yellow as it appears in the photos – it’s a very warm, rich peachy-orange. I love it. It’s warm, bright and modern just as I wanted and it more than meets my expectations, so I’m very happy with the results 😀

And again, my friends

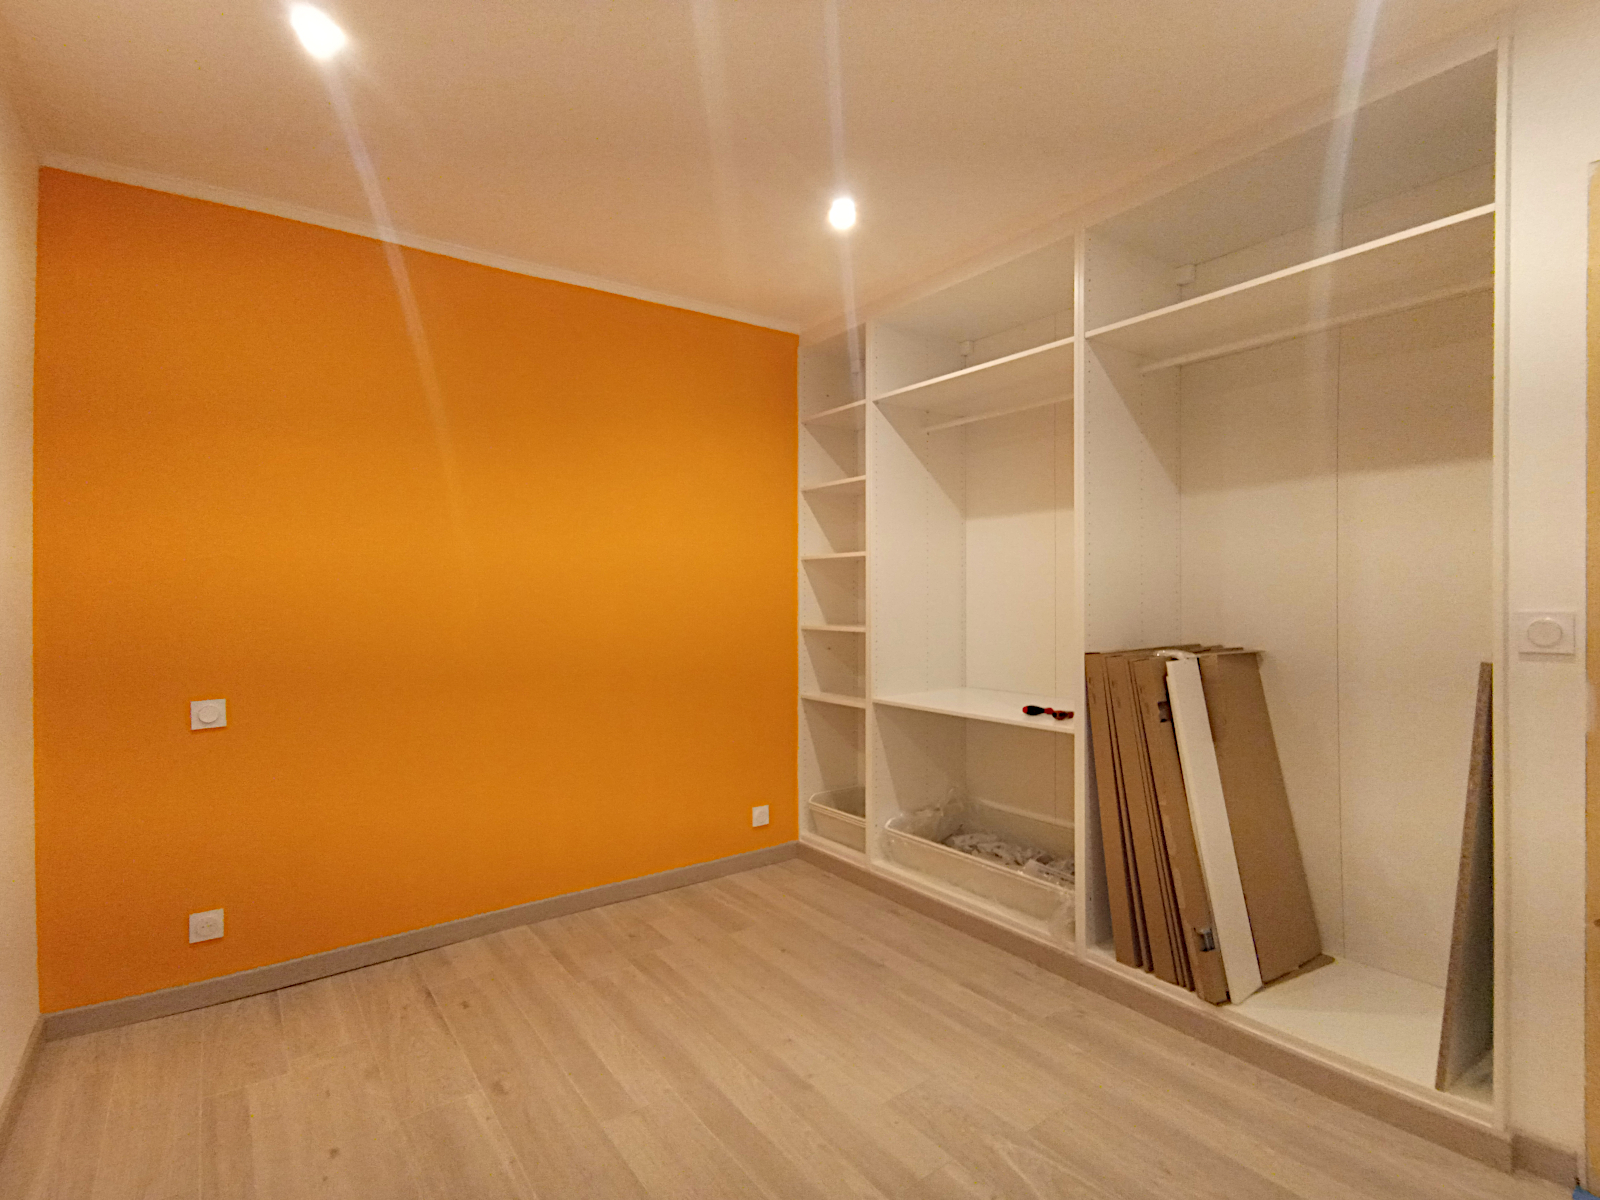
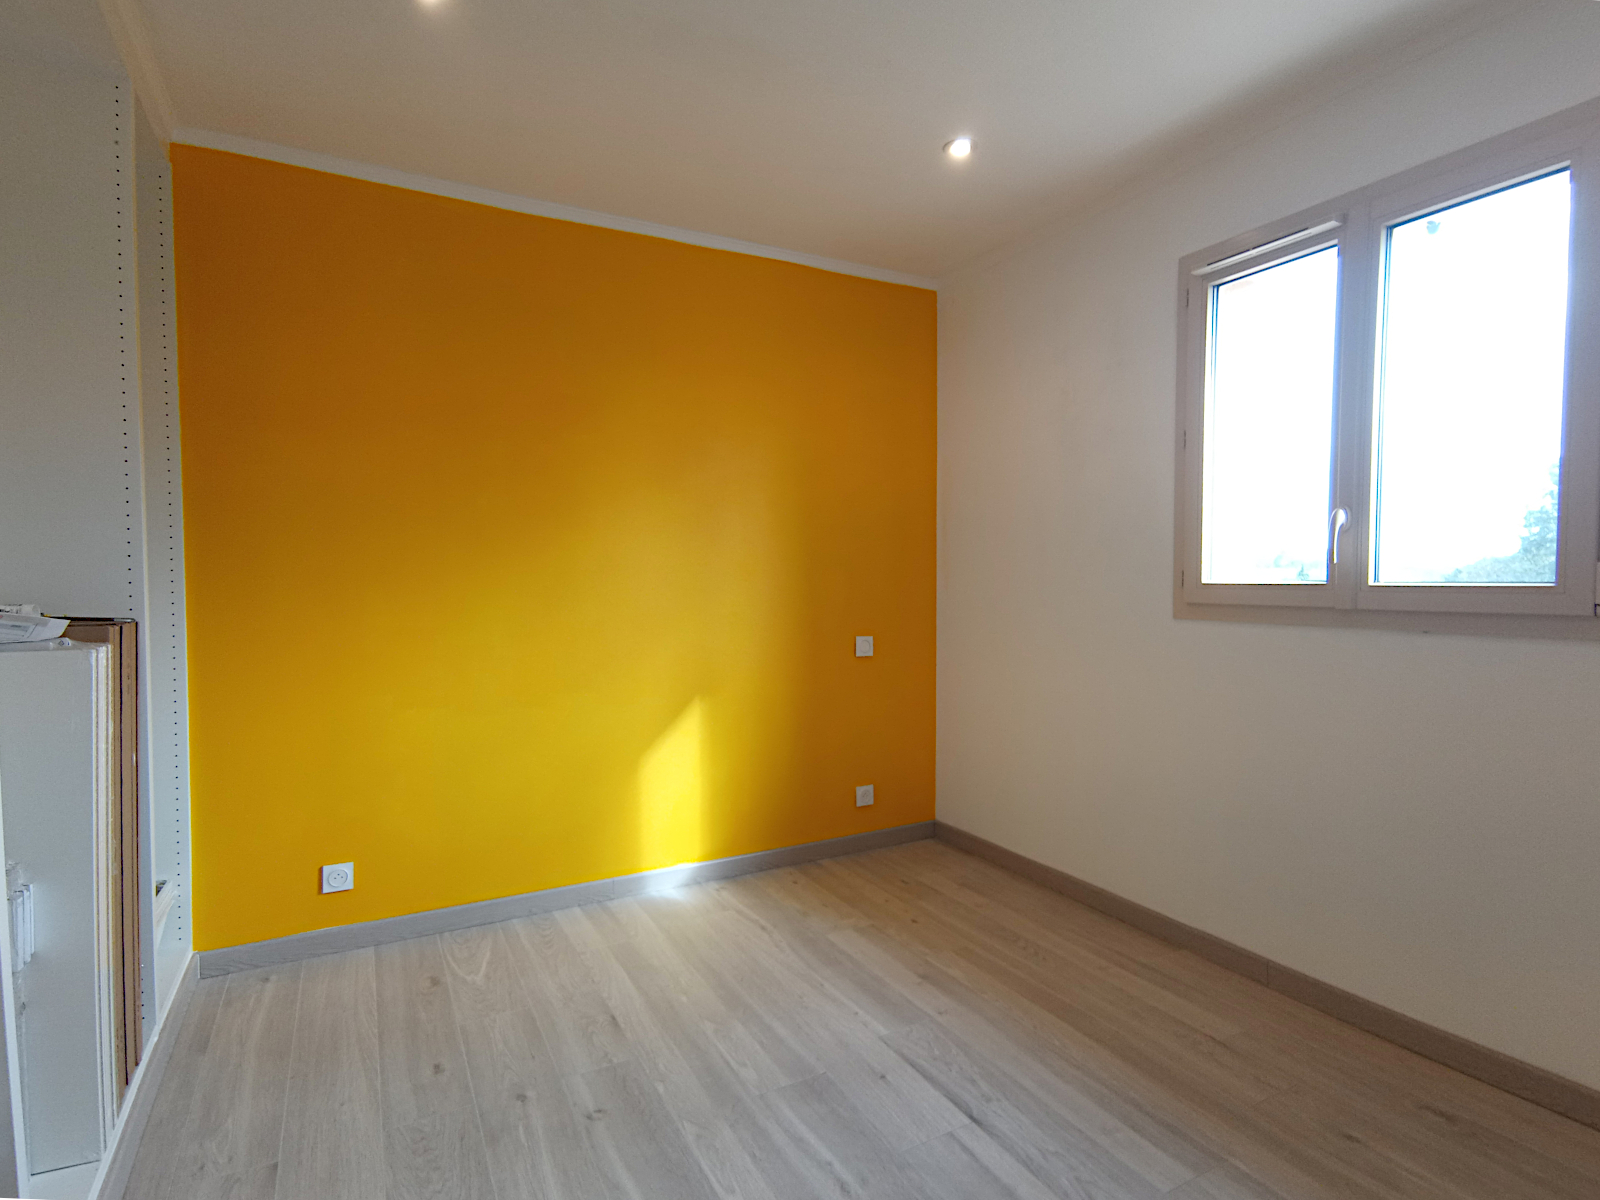
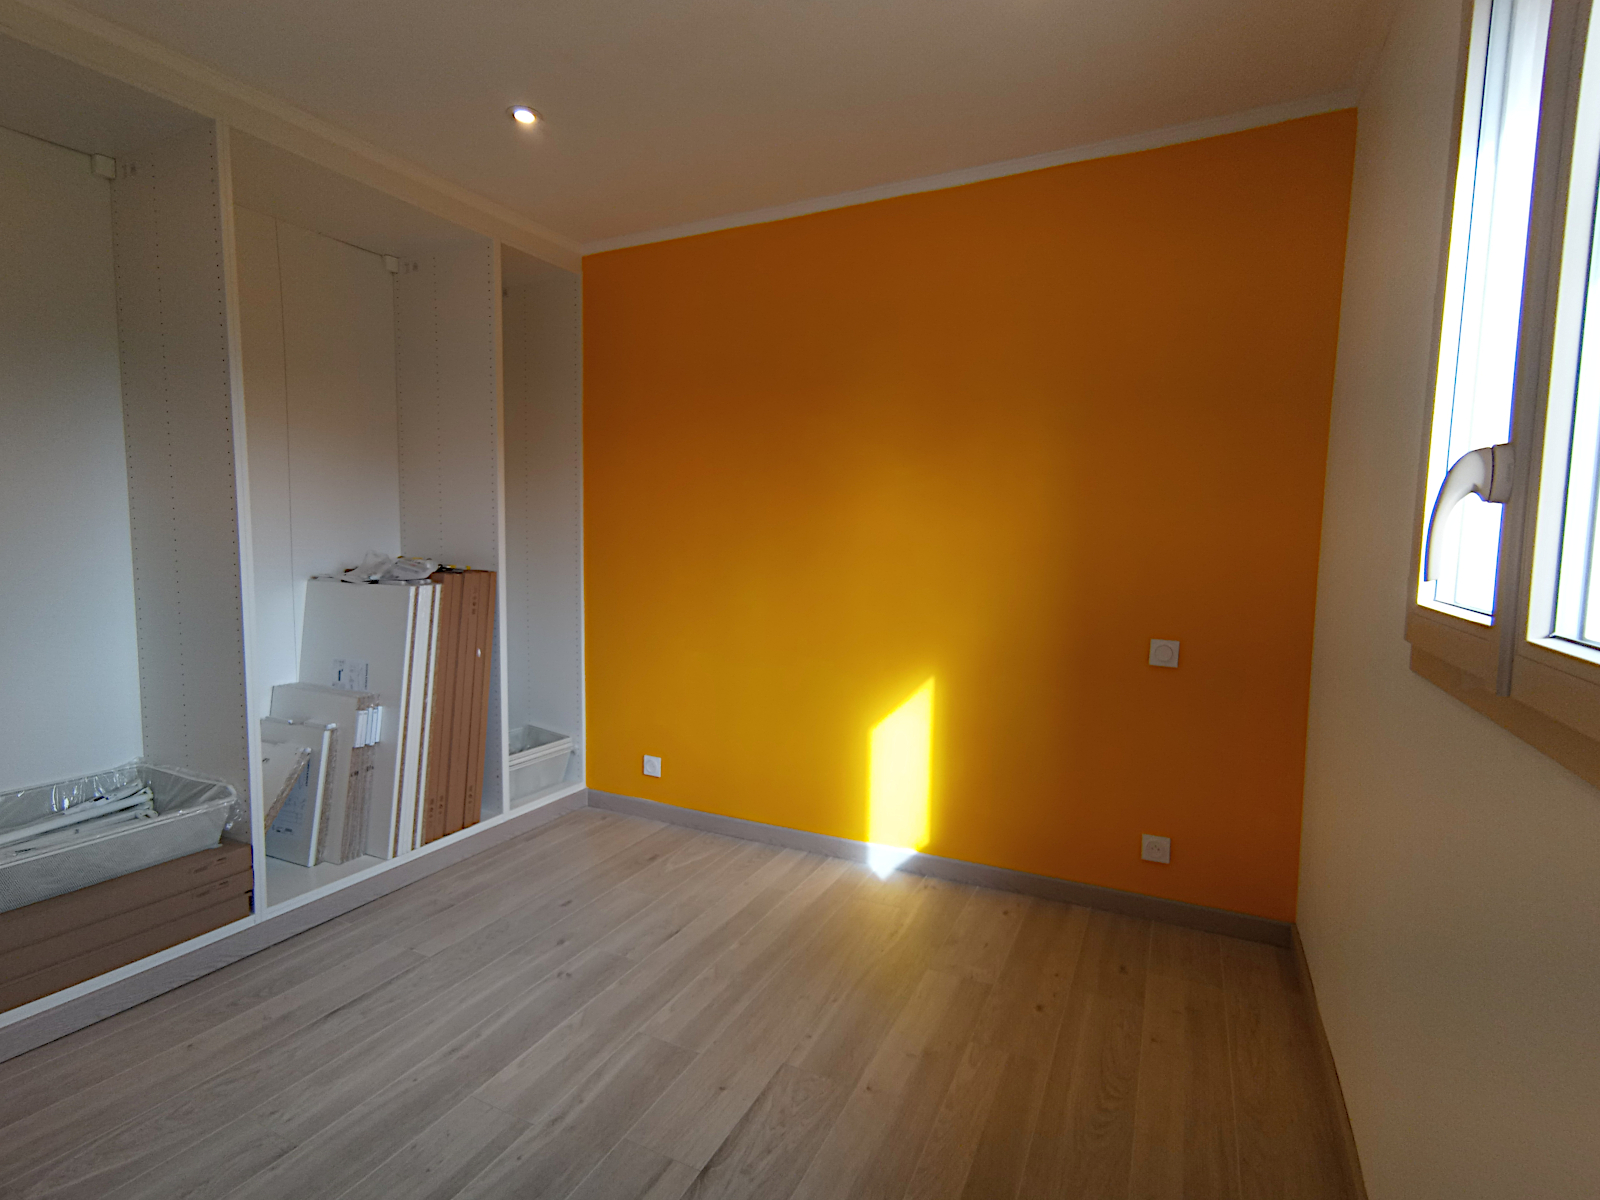
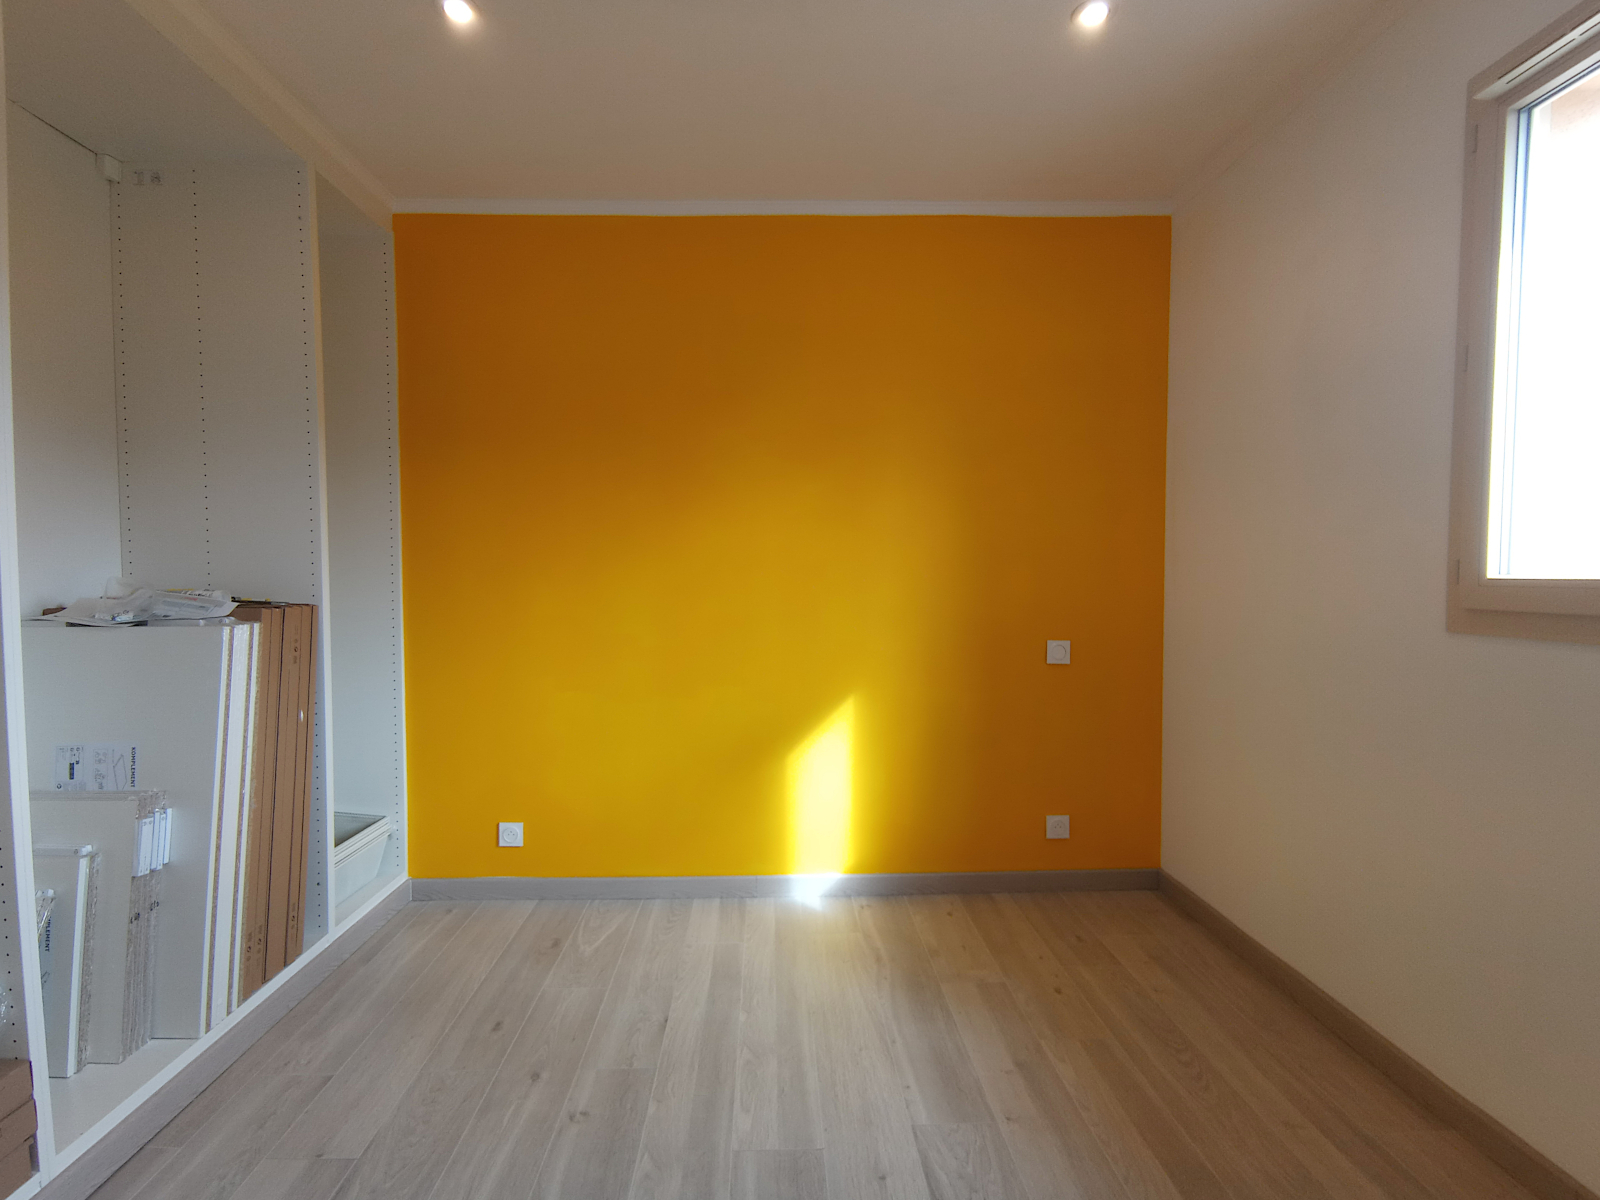
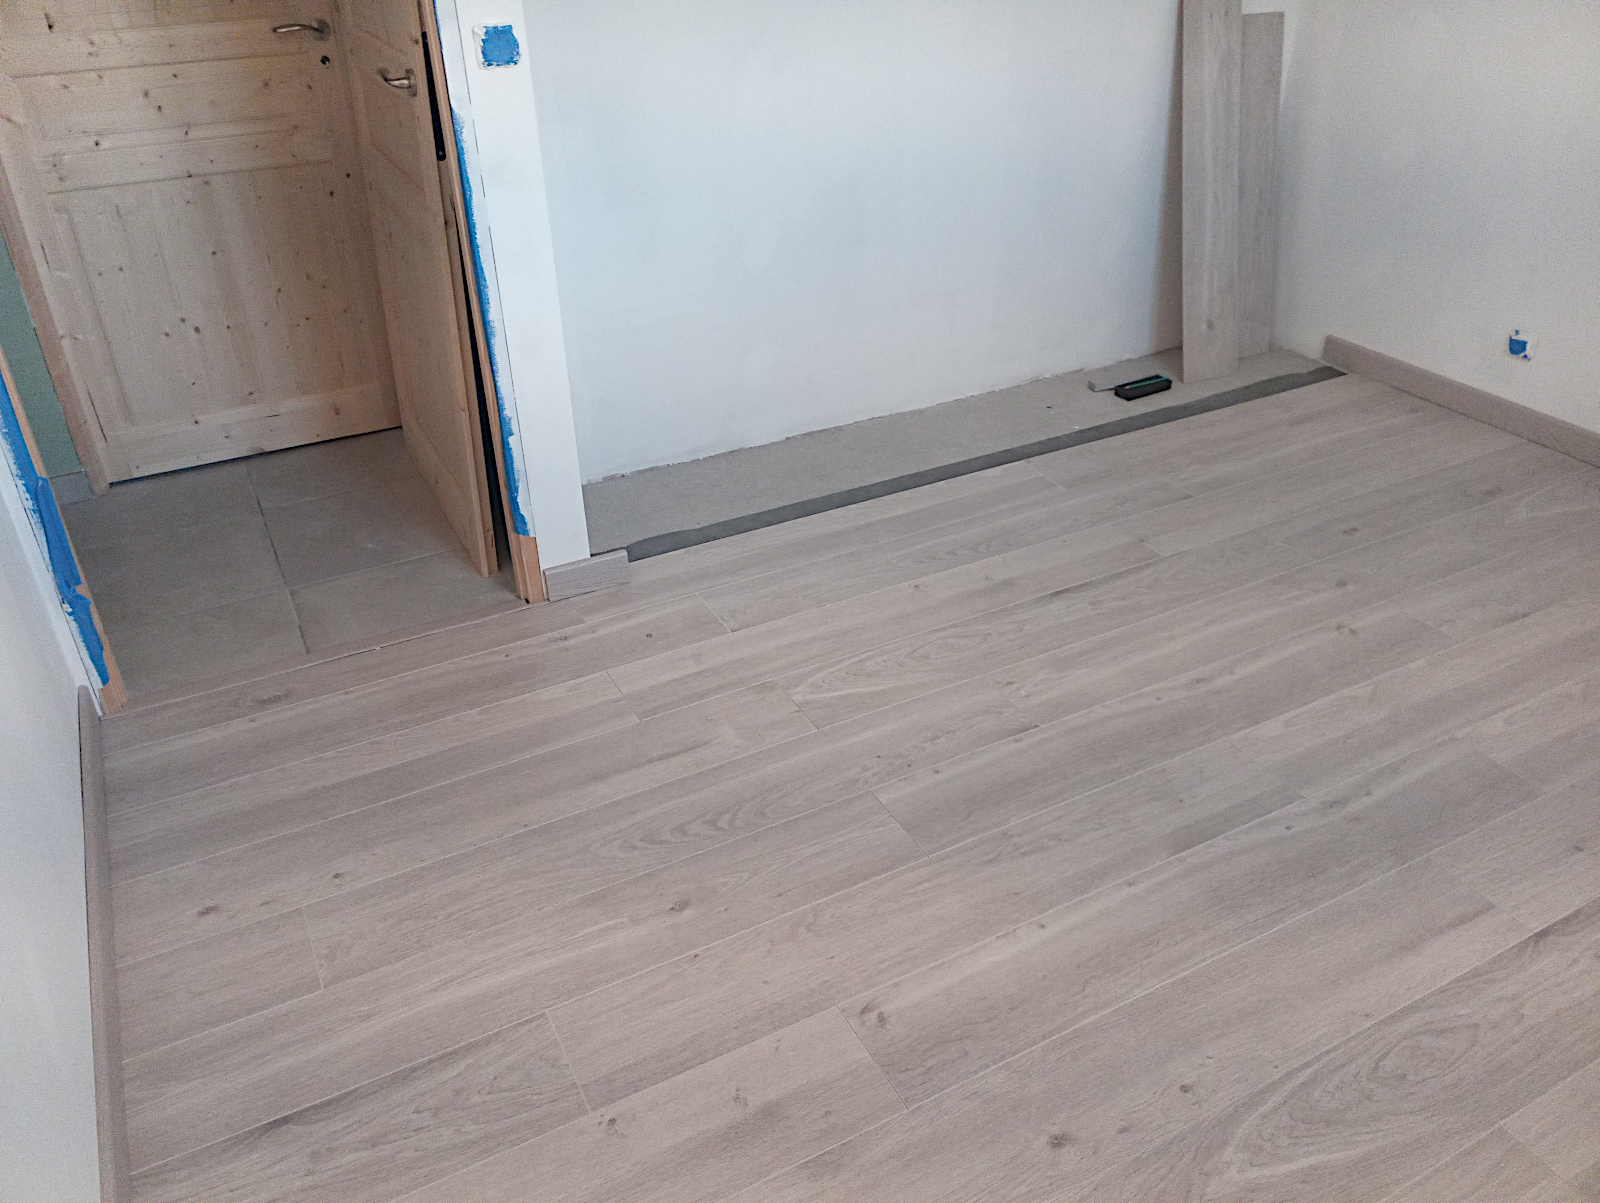
I’ve been busy for the past week or so working on bedroom two which I expect to finish completely tomorrow. I’ve fitted the laminate floor and plinth, the Ikea ‘dressing’ as it’s called here, the ceiling coving that was left still to do and today I finished painting the walls. Here’s where I got to this evening.

null

null

null

I’ve wanted to use colours throughout the house that are warm, bright and modern and also reflect the area in which I live. I’ve never ever previously used colours as bright as in the two bedrooms I’ve painted so far, and I’d never have used them if I’d stayed in the UK, but here they seem to work perfectly. What do you think? Have I gone right over the top this time?

In fact I can’t get a shot that properly shows the correct colour. Due to the limitations of my phone camera it appears to be a rich golden yellow in the first two images, but it’s not. The final image above was taken with my Nikon Coolpix and still isn’t quite right, on my computer screen anyway, but is the closest I’ve managed so far, which is actually a warm, rich, peachy orange.

I love it. What do you think?

BTW, the light patch in the third image was the light from the low sun streaming through the window and the bars that show in all of my bedroom images with artificial lighting are due to mains frequency strobing of the LED spots that the phone camera is supposed to cut out but doesn’t.

An unexpected honour

A few weeks ago I was approached by the Daily Telegraph newspaper in the UK to write an article about my house-build project after a comment I’d left on an article in their Property section. It’s taken a while for it to happen but it was finally published today and seems to have started a lively debate among the ‘Grand Designers’ who think I won’t win any architectural awards, the ‘Armchair Developers’ who think I don’t know anything about how to get a house built and the lovely rest of the world who realise that it was all just about realising my dream to build a house for me to live in.

null

The image above links to the article – I don’t know if you’ll need a subscription to DTOnline to read it though. If so, here’s a link to a copy that I’ve made for My Trike. It looks a little different to the real article but the copy and images are the same except I’ve substituted the DT’s picture of Fleurac by one of my own as theirs wasn’t of Fleurac in the Dordogne at all.

DTOnline house-build article

I think it’s been an amazing experience and a privilege to be able to share it with so many others.

Outside in

The gentleman came this morning to test my house to ensure that it meets the environmental standards that were claimed for it in my ‘permis de construire’ (building permit), in particular those relating to insulation, heat loss and draught exclusion. To do that he blocked up all of the air vents and sealed the front door with an airtight cover incorporating a machine with a large fan connected to a lap top computer.

The house was then pressurised and measurements taken to assess how much air was escaping taking heat with it and also the potential for cold draughts entering the house from outside. The result was astounding – astonishingly good in fact – but not surprising in a way given how warm the house always is. The internal air temperature never drops below 23 degrees C with a setting of 24 degrees on the wall thermostat and it’s especially noticeable as the days become cooler when you re-enter from outside.

However, he was kind enough to take me round afterwards to show me where there were a couple of gaps which are allowing cold draughts to come in from outside. These will be simple for me to fill with silicone etc while I’m doing my decorative work and will increase the thermal performance of the house even more by preventing any cold air whatsoever entering the house. It goes without saying that I’m absolutely delighted!

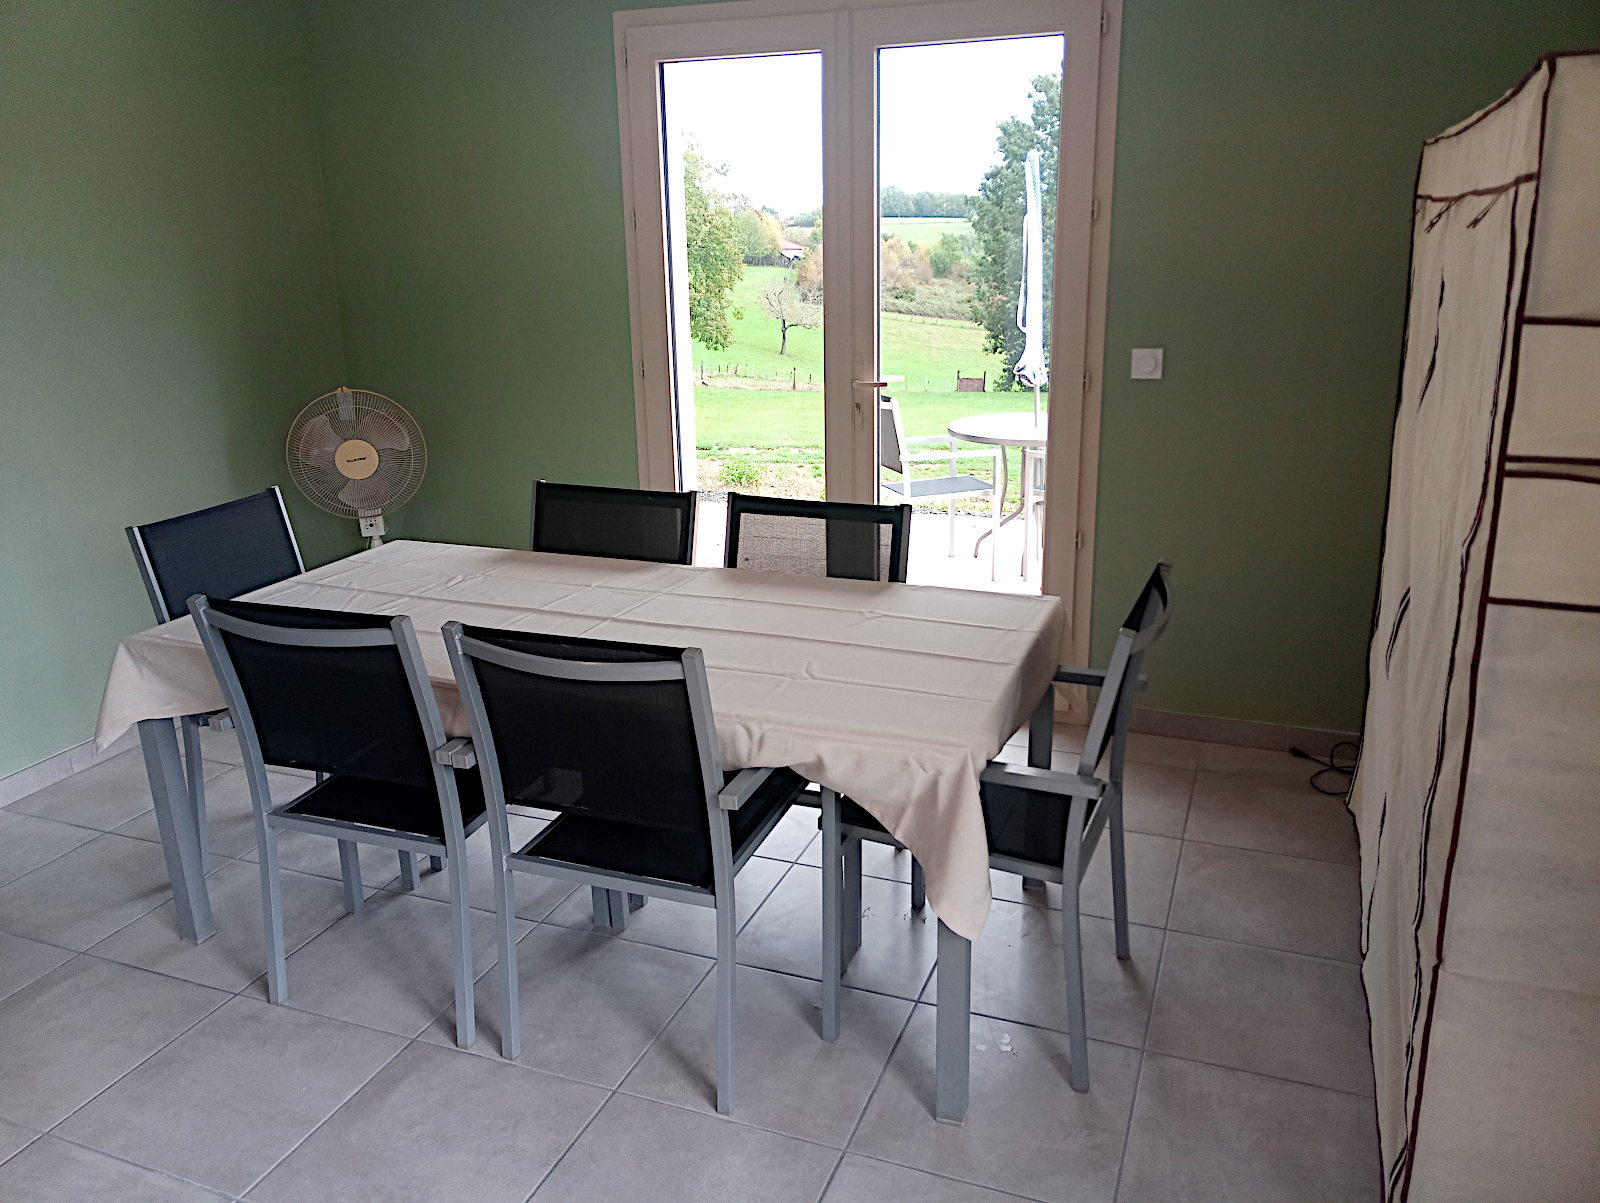
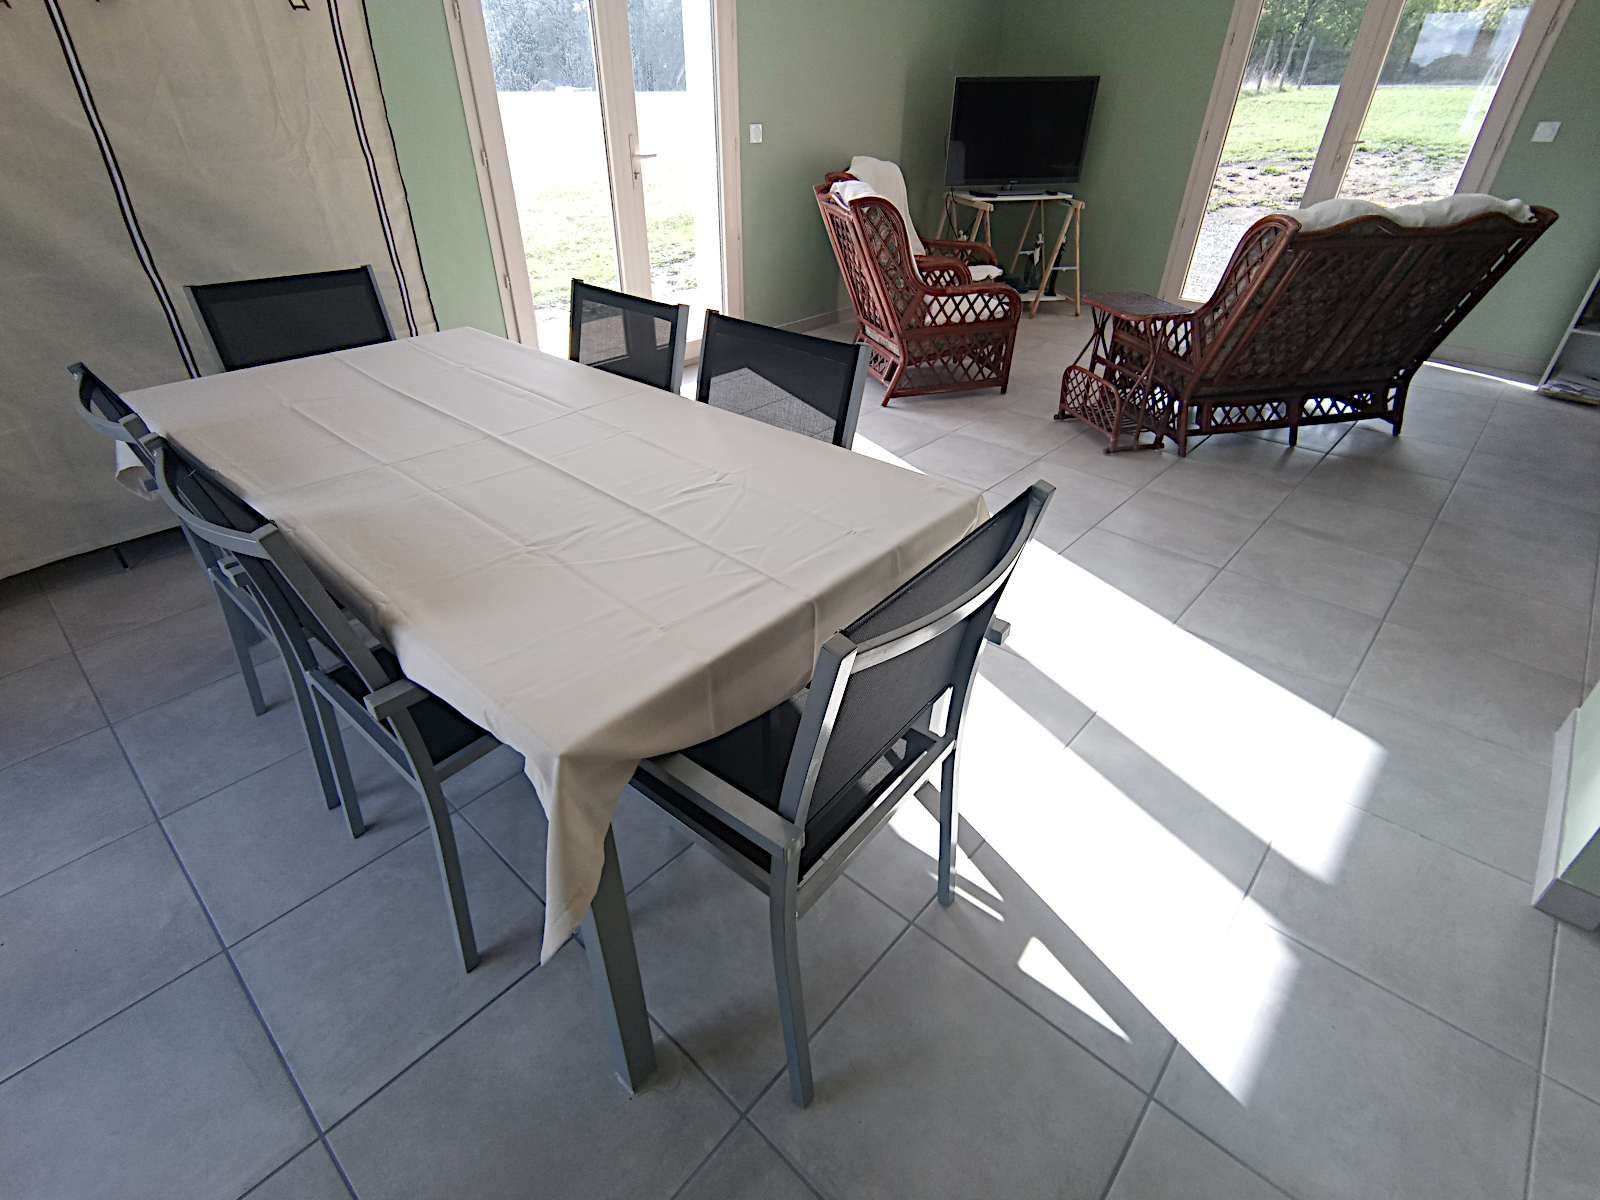
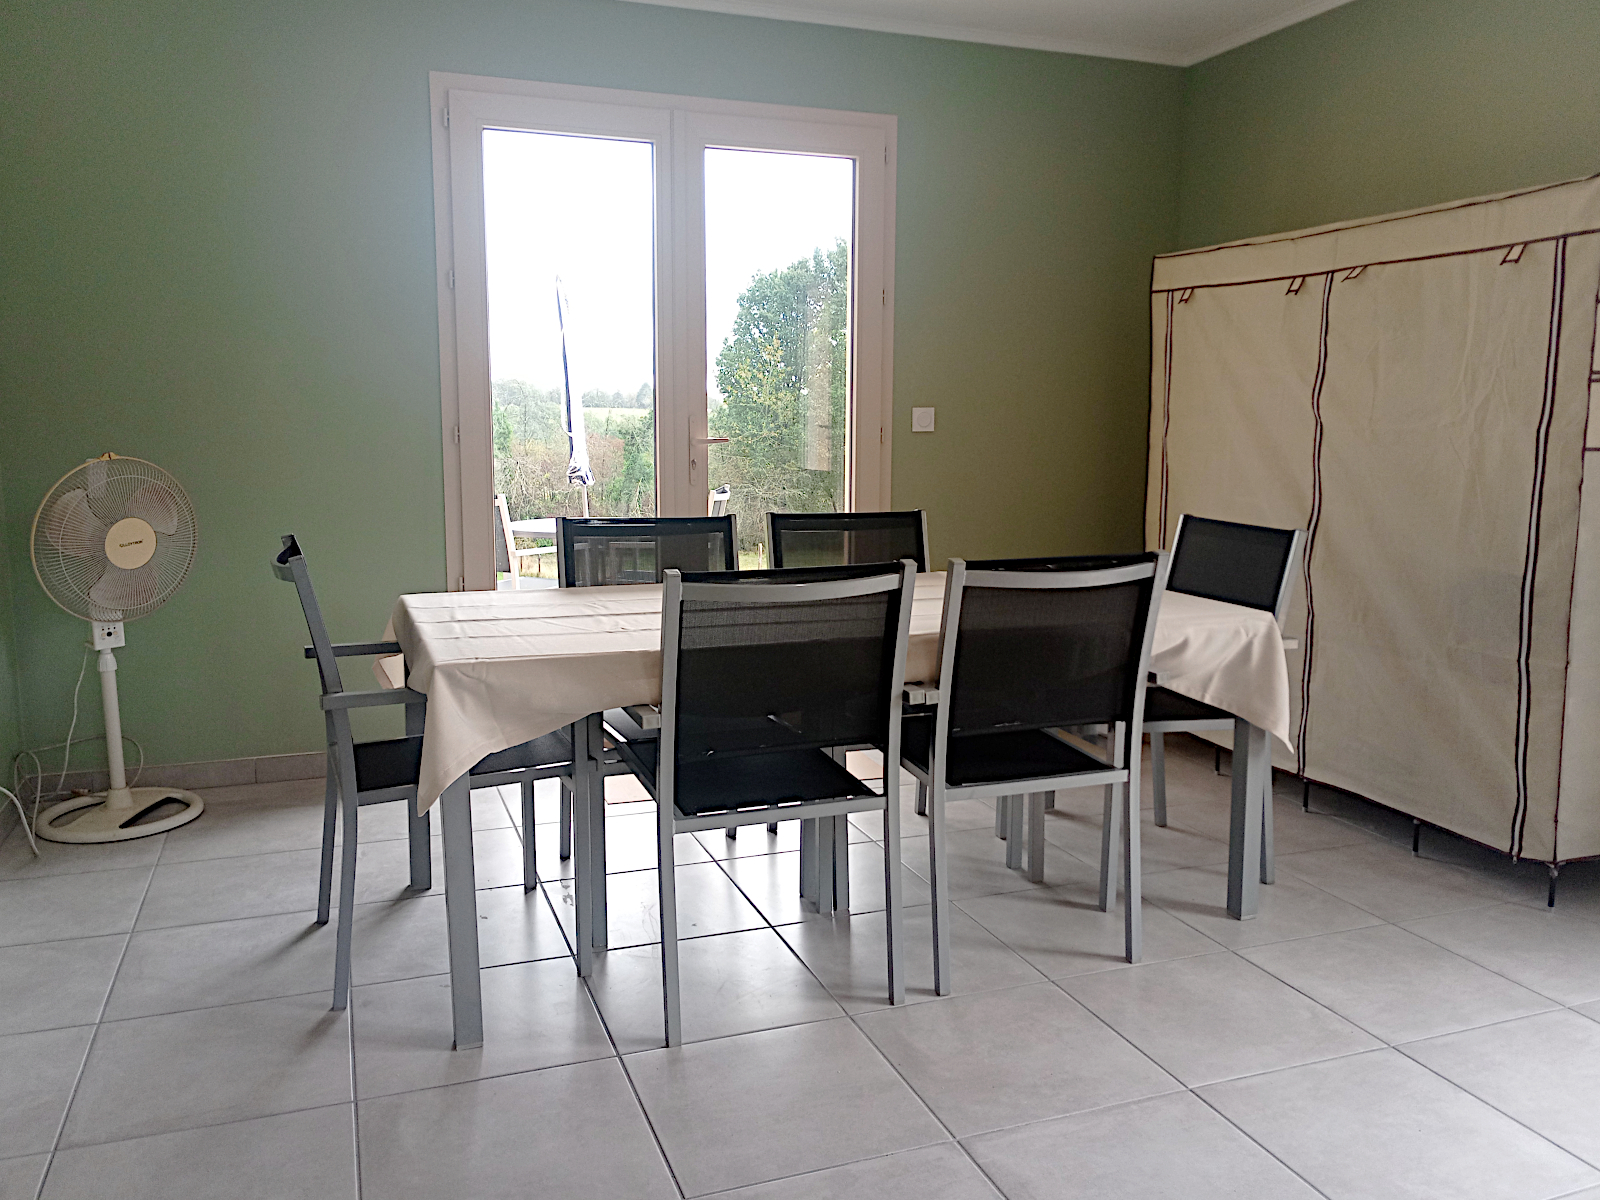
On the subject of outside in, I recently reorganised the house since installing the wardrobe and storage space in bedroom one to make everything more tidy and get more space back. As part of the process a large space was vacated in the dining area where I originally placed my inflatable bed which will eventually be taken by the dining room table and chairs that are still currently in storage.

The space is plenty large enough to take the large outdoor table that I moved up onto the terrace area a few weeks ago together with six of its eight chairs, the last two remaining outside next to the small round table that I also moved up from outside the caravan. Sure enough, the table and chairs fit in the space beautifully and with the addition of a smart new tablecloth don’t look out of place at all.

null

null

null

Brilliant! For the first time in several months I’ll now be able to entertain friends and visitors. The official hand-over of the house keys is scheduled to take place any time now so who knows, maybe the first occasion will be a small house-warming party 😉

The awesomemost…

I’ve built quite a few furniture units in my time for kitchens, bedrooms, bathrooms and more, but only one set of Ikea. That was for my friend Val in the Languedoc’s kitchen and although it looked fine when finished, I wasn’t particularly impressed with its build quality. I’ve now finished the Ikea wardrobe unit in bedroom one and although I still think that Ikea has a few quality issues, it has to be the most awesome unit that I’ve ever built and installed.

Everything went together exactly as it was supposed to, except the hinges on one set of doors conflicted with a shelf and I had to discreetly notch its edges. I could probably have done the whole job a bit quicker if I’d been prepared to risk making mistakes but I wanted to avoid that at all costs. It’s exactly how I saw it in my plans and I love how it’s turned out. Here are a couple of shots of the cabinet interiors.

null

null

The unit is high and it didn’t help adding an extra 2.5cm of timber on the floor below it to allow for fitting the floor plinth. The main consideration is the height of the clothes hanger rails. The one on the left is the ‘male’ hanger and I can reach that fairly comfortably but I purposely set the ‘female’ one with the longer drop on the right slightly lower to allow for ladies of shorter stature.

Finally, here are the shots of the finished unit with all of its doors on.

null

null

null

null

null

The one thing that I’m especially pleased about is how true the door mirrors are. You’ll notice that the reflections of straight lines in adjacent doors are hardly distorted at all which I think is important because when standing in front of a junction between adjacent doors you want to see your whole reflection, albeit with a line down the middle, and not have a chunk missing because the two doors aren’t flat and parallel.

And it appears that although I had to go all the way to Nantes to pick up the ten mirror doors that I needed for the two units in bedrooms one and two, in fact I had a stroke of luck. I checked on Ikea’s French web site today and not one store, including Nantes, now has them in stock and in fact it appears that Ikea might have dropped them. My reason for thinking that is that out of interest, I also checked Ikea’s UK web site and exactly the same applies there too.

The units for the two bedrooms have together cost a little over 2000€, so not cheap compared to having plain white doors. However, I know from my researches that the only alternative was to have the units custom built and that would have cost a minimum of twice as much and even more with the level of internal fit that I’ve done. So it looks as though things worked out well for me for a change 🙂

It’s finished

Bedroom one is now completely painted. What do you think? Have I gone completely mad with the colour this time?

null

null

null

I don’t know why, but I always saw the wall behind the bed in this room being a golden yellow. I’ve looked on the internet and seen some beautiful gold, yellow and autumn brown bed linen and having lived with ghastly pink floral patterned duvet covers that I inherited from my marriage I always knew that it was time for a change. I think, or at least I hope, this is taking me in the right direction.

Now all I need to do is assemble the interior of the Ikea unit and fit its doors. The latter could be quite challenging given their size and weight.

Done it!

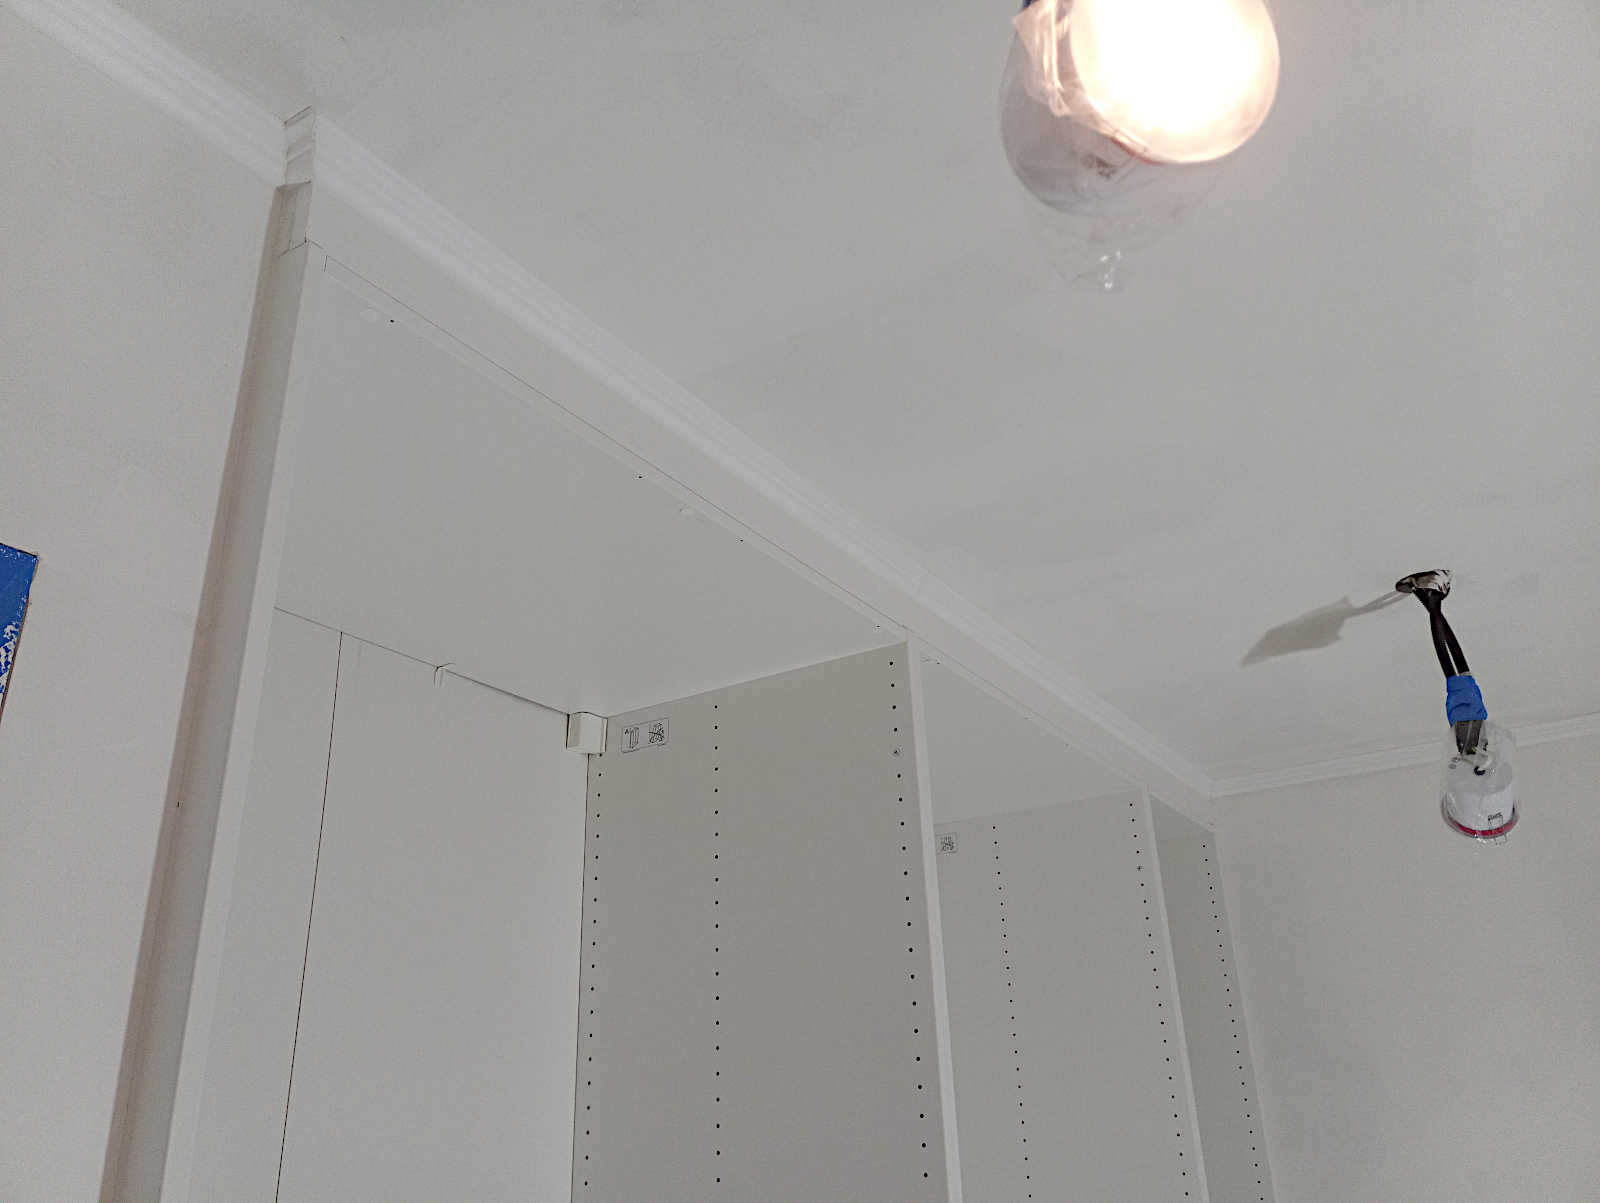
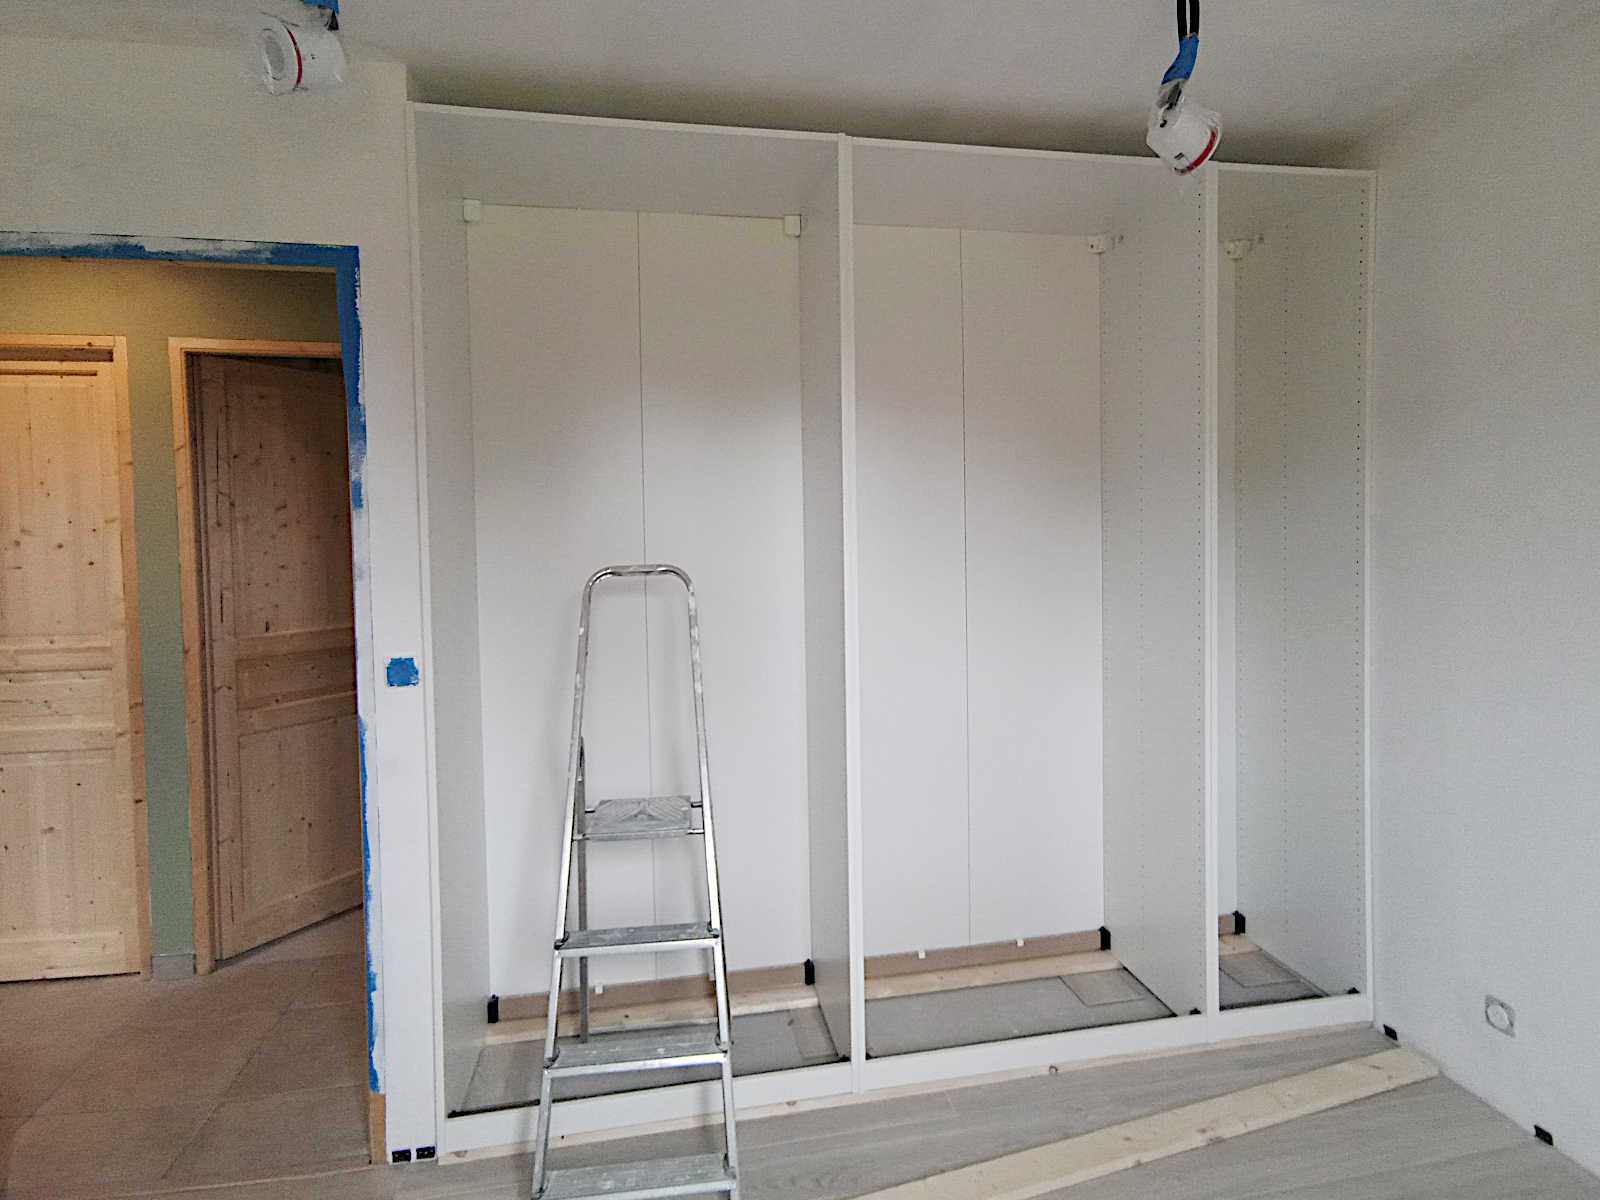
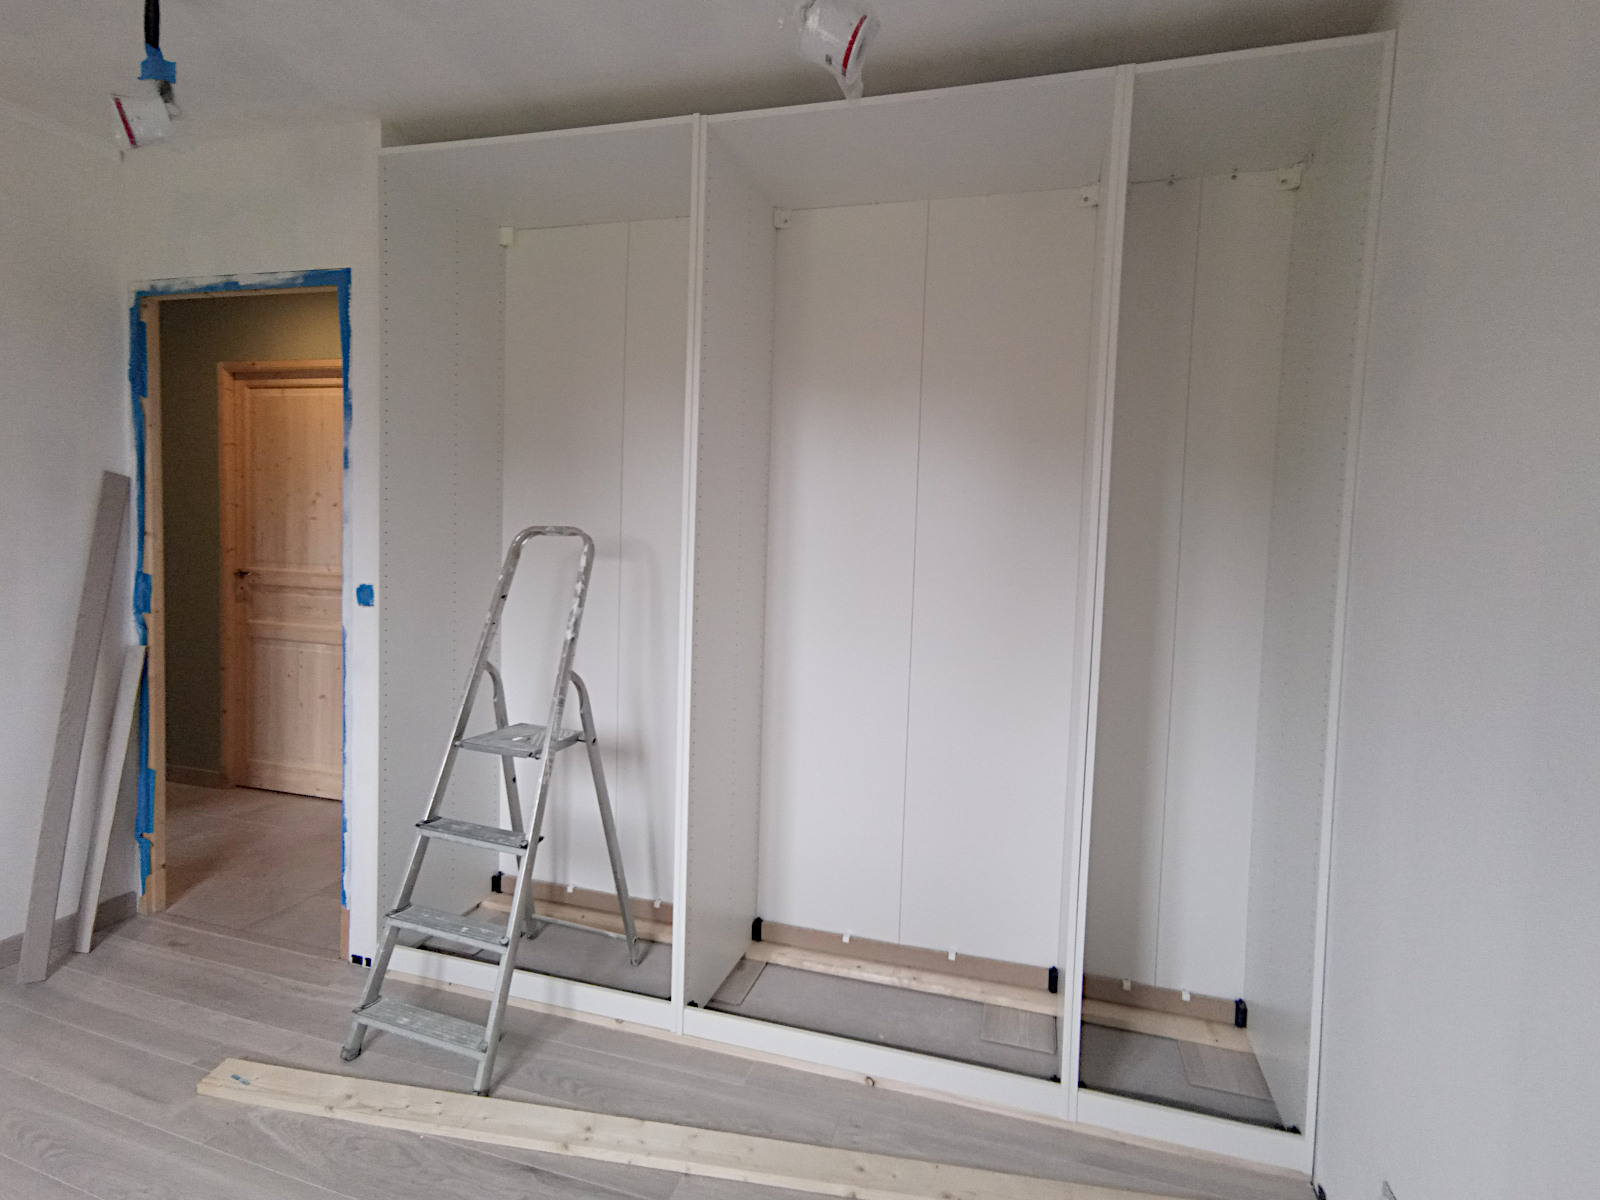
Over the last couple of days I pressed on with fitting the Ikea unit in bedroom one but I didn’t want to keep posting part-finished shots of the job and have waited until today when it’s finally complete to show how it’s come out. The outstanding tasks after last time were just to fit the floor plinth across the front of the final unit, seal the wall gaps at the ends, fill in the gap between the top of the unit and the ceiling and fit the ceiling coving but these were fiddly and time-consuming.

But I’ve finally finished and I’m very happy with how it’s turned out.

null

null

null

null

null

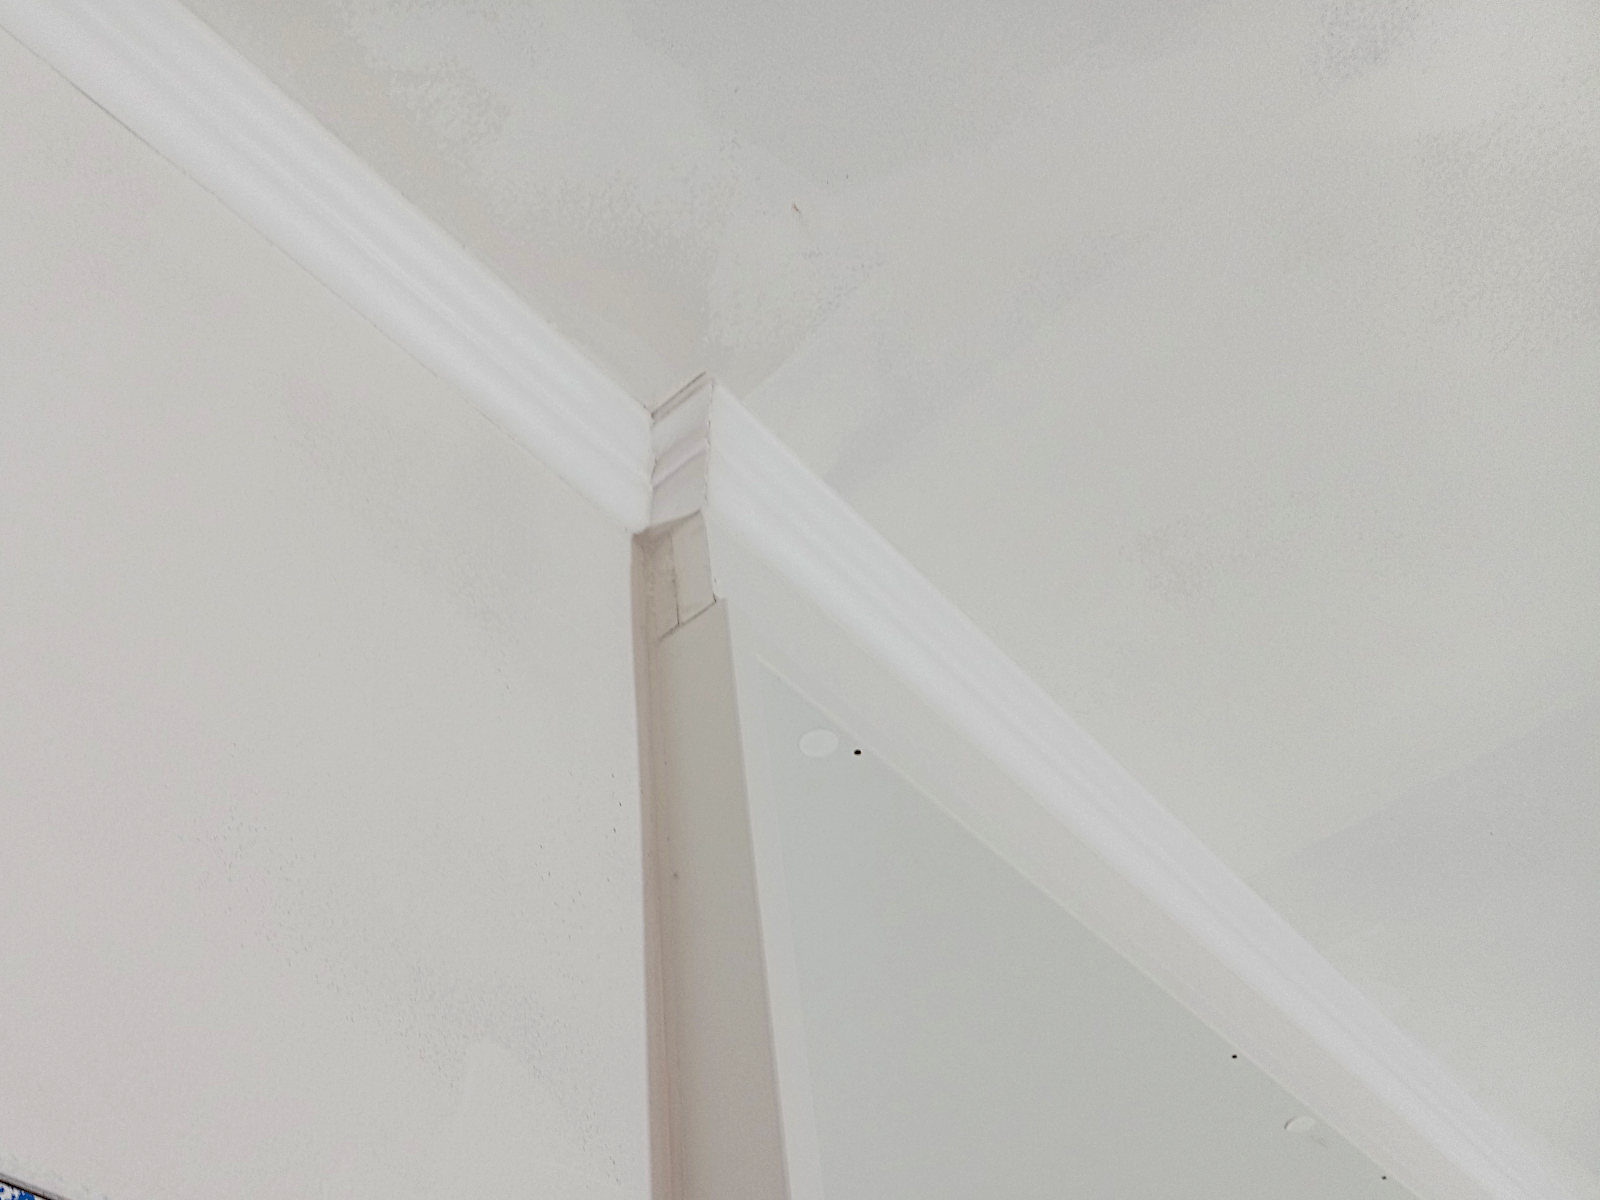
I’m especially pleased with the tiny bit of coving at the end of the unit that juts out from the wall. I wasn’t very optimistic in the beginning but in the event it turned out OK I think.

null

The room is now ready for painting. I bought the colour for the wall that will be behind the bed but apart from saying that it’s bright and warm I won’t say what it is. I’d like to get the room painted tomorrow but I don’t think that it’ll be possible because first I’ve got to seal the coving and even if I get that done in the morning it probably won’t be dry enough to apply a top coat over it until at least the evening. But anyway, I’m pleased with where I now am and we’ll see how things go tomorrow.

Amazing statistic!

Out of interest, I’ve just done a comparison of my electricity consumption in my new house (heat pump for hot water and heating, LED lighting, electricity for cooking and everything else) and my old one (steatite electrically heated hot water tank, electric background heating, electric oven but only used occasionally, some LED but mainly halogen and incandescent lighting).

Old house: 19/09/20 – 18/11/20, 1557 units consumed (26 units/day)

New house: 12/09/23 – 26/10/23, 246 units consumed in total of which the heat pump accounted for 34 units. Thus ‘all other’ accounted for 212 units in 44 days (5 units/day)
Heat pump: 19/10/23 – 26/10/23, 34 units consumed (5 units/day)

Thus my total daily consumption in my new house has been about 10 units/day ie under 40% of my consumption in my old house at about the same time of year.

I find this staggering especially bearing in mind that my old house was always cold, especially during the day, and had to be additionally heated by my wood burner whereas the new house has a constant room temperature of 24 degrees C throughout the building and hot water at 55 degrees C.

I think the figures show that modern heat pumps really do work so long as the houses in which they’re installed have been designed around them, like mine has been. Obviously I’ll keep monitoring the figures but I don’t think I’ve made a mistake – in any sense of the word 😀

Coming along nicely

The Ikea Pax unit in bedroom one that is. I’m not rushing things because the two units for bedrooms one and two have cost a lot of money and I don’t want to make any mistakes. I also want them to look good when I’ve finished.

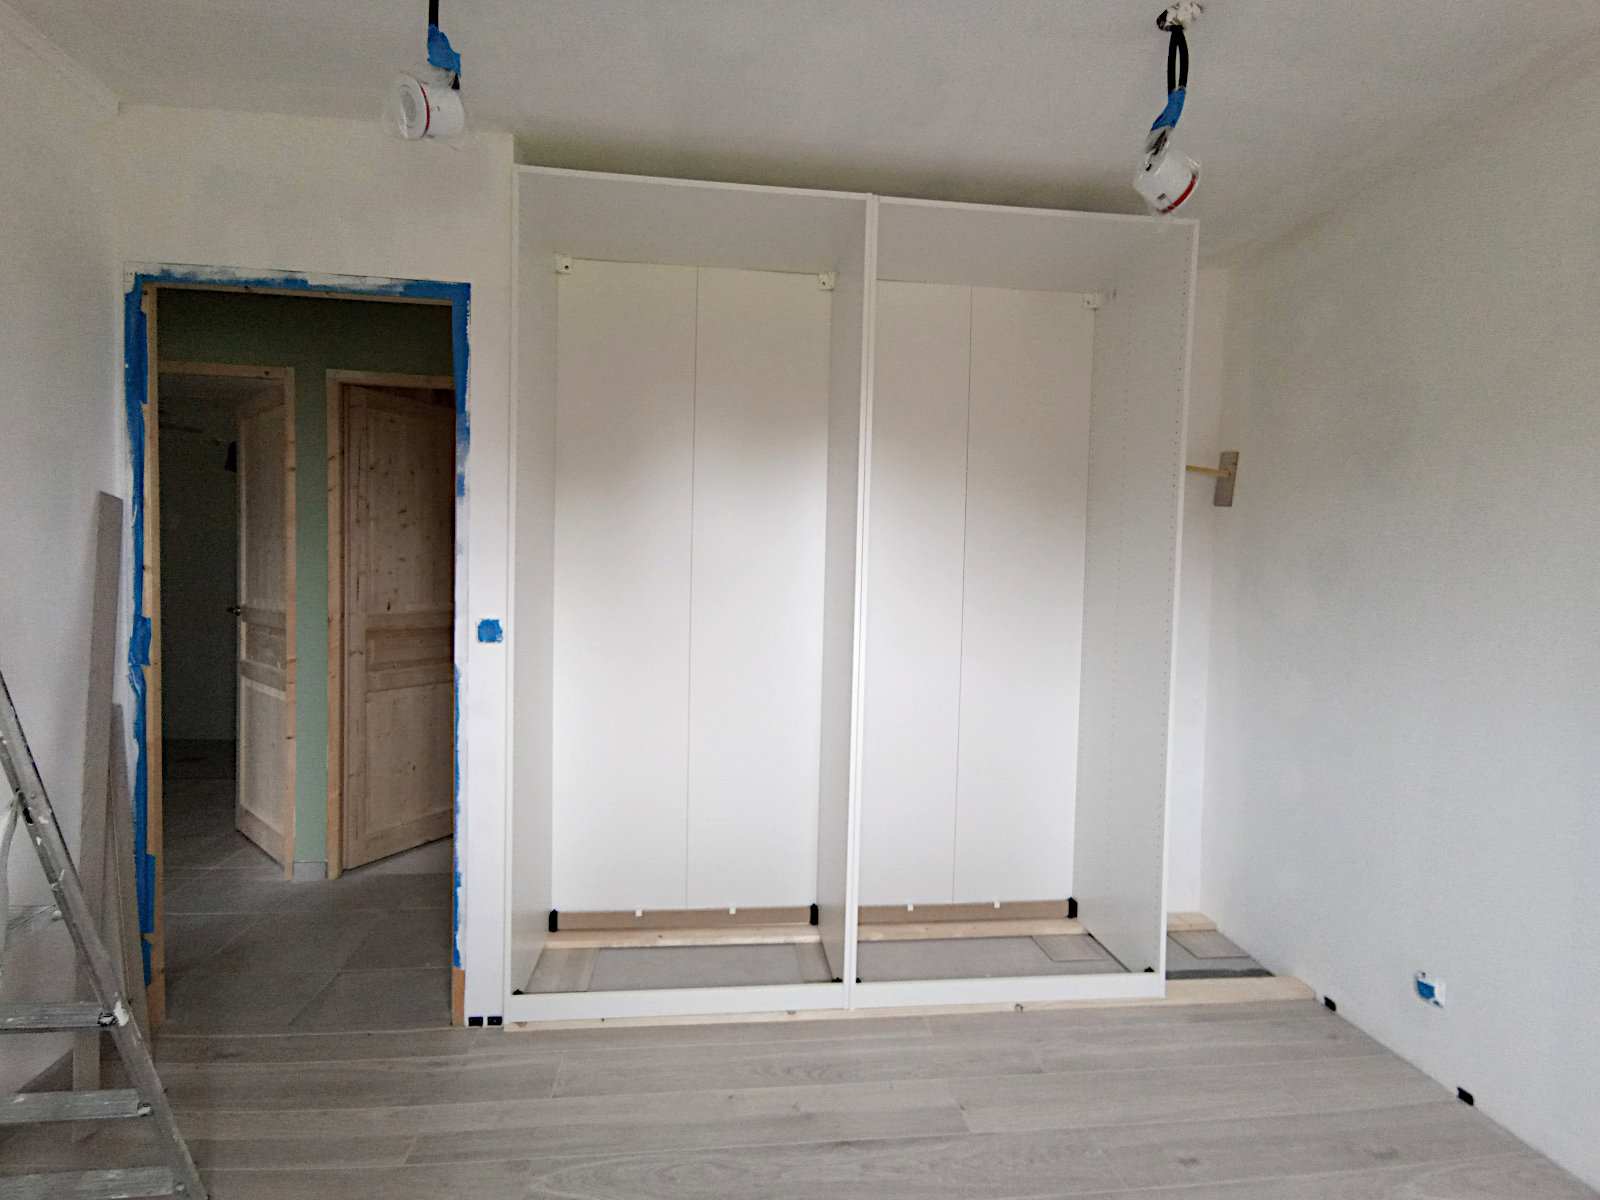
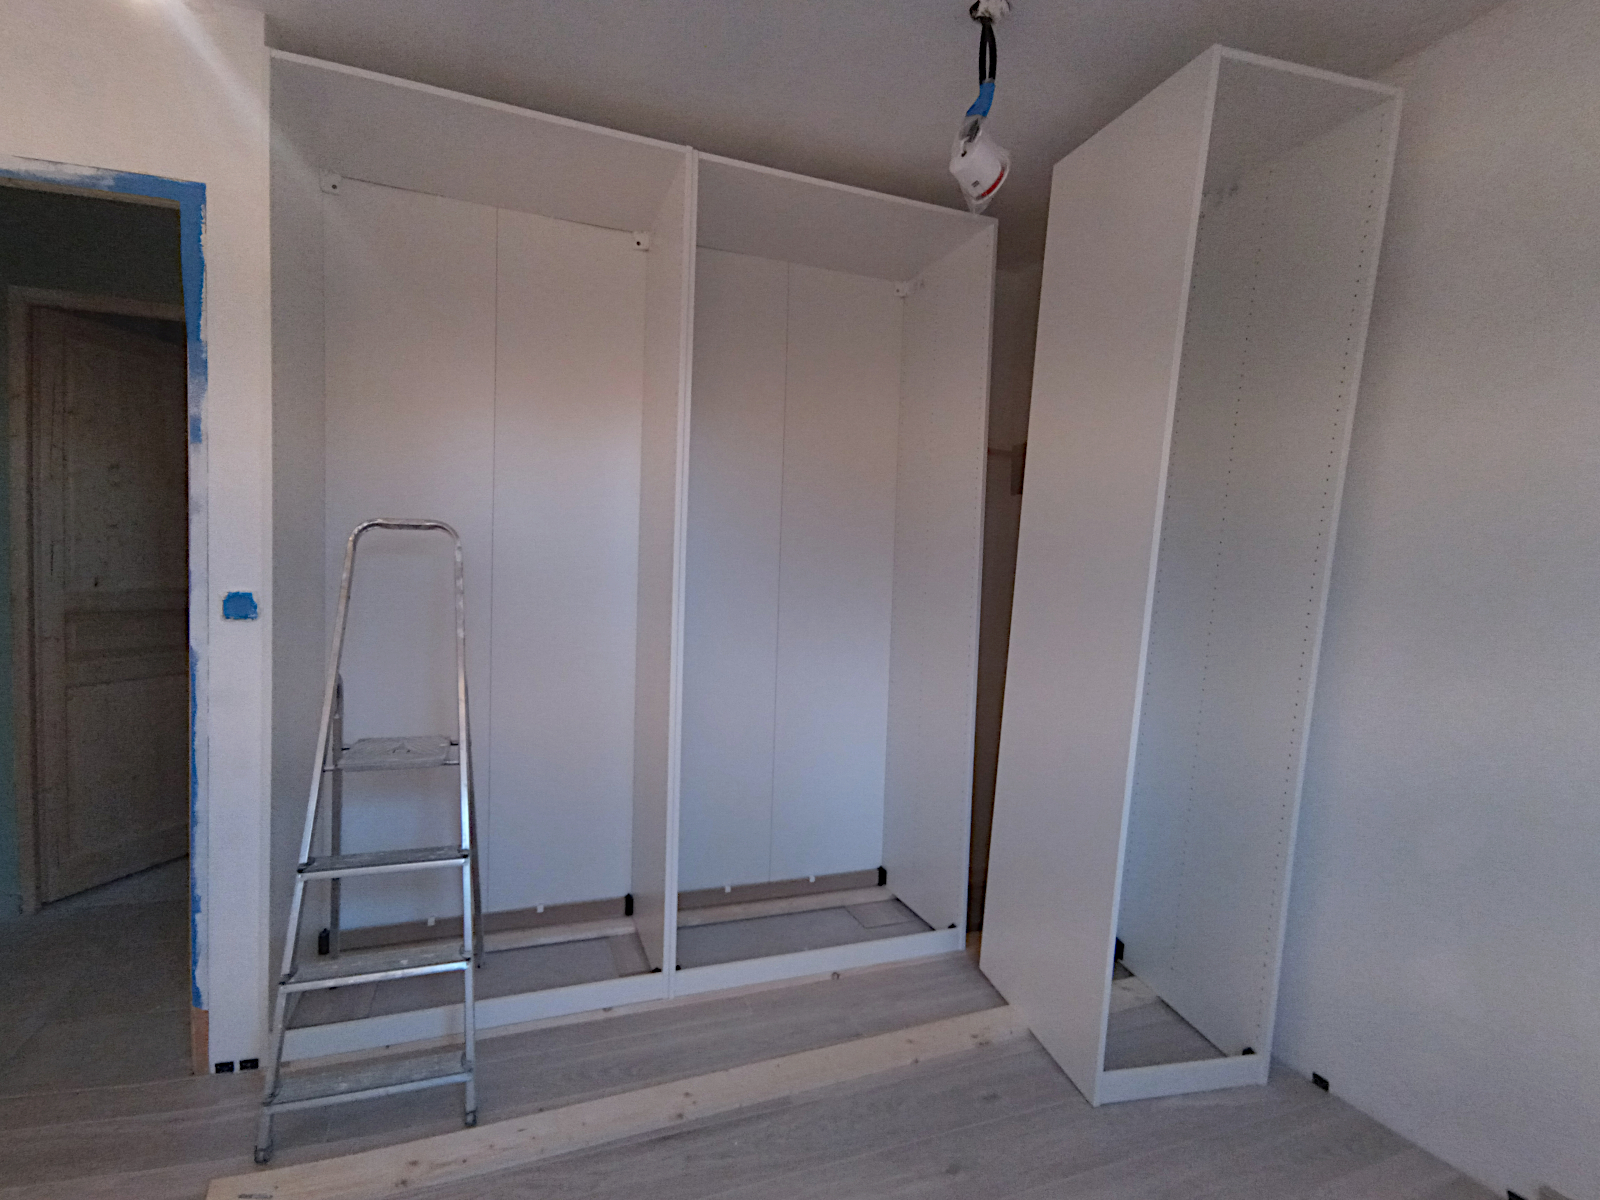
Today I got all three of the cabinets in bedroom one fully installed and permanently fitted in place. I was extremely lucky because they went in with no gaps at either end and look as though I must have made the alcove in which they’re fitted to the exact width to take them. But I didn’t. It was a lucky accident.

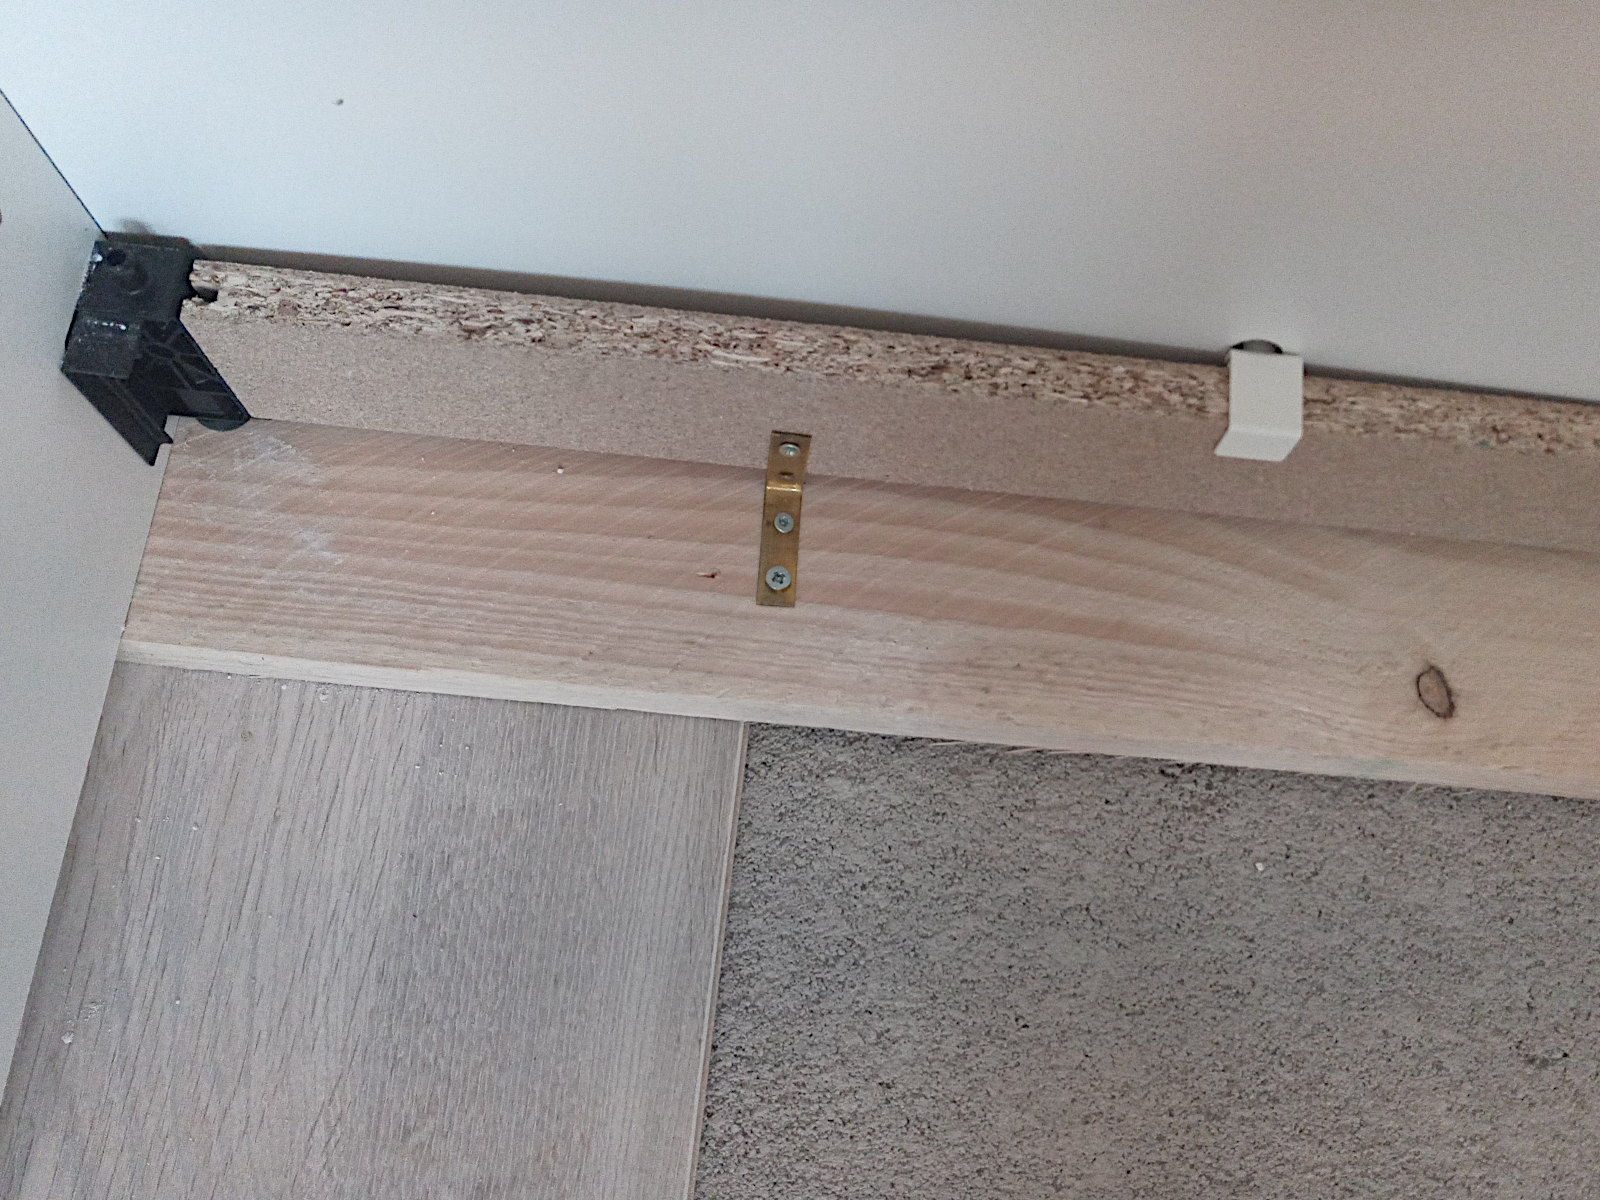
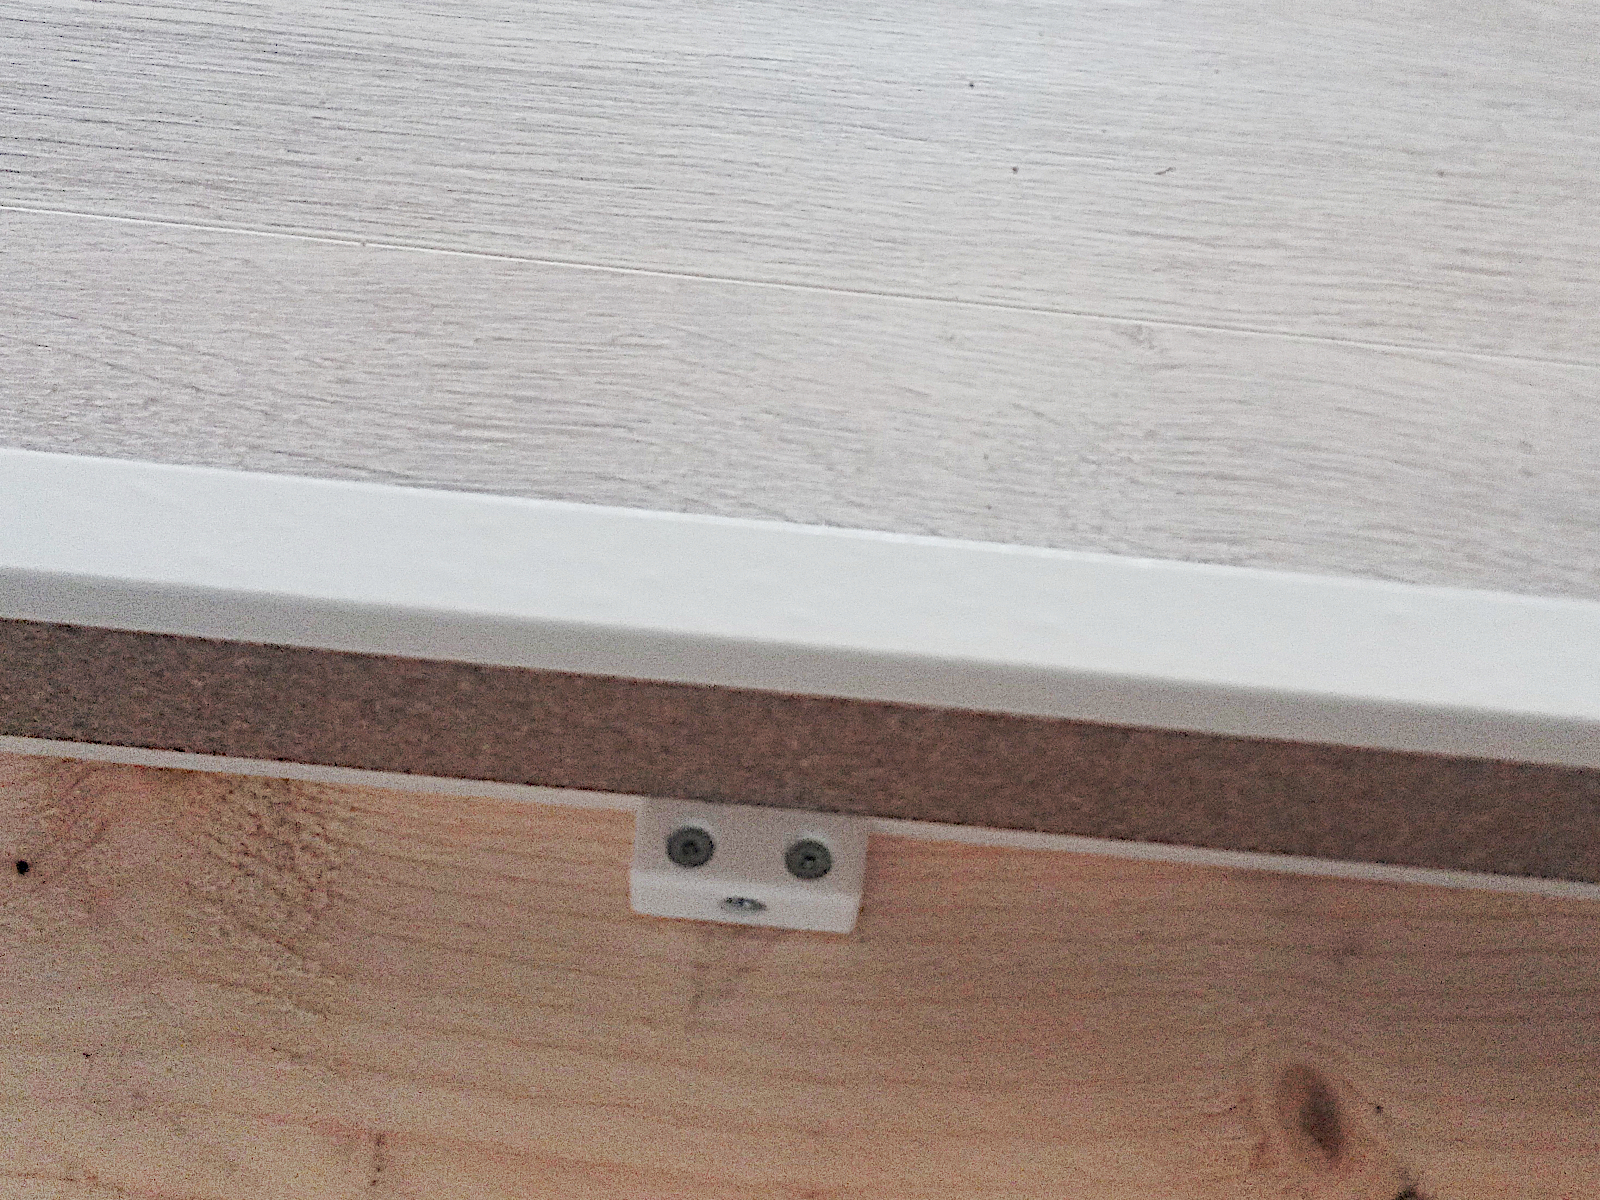
As I mentioned previously, I raised them by 2.5cm so I can fit the wall plinth from the floor across their fronts to match the rest of the room. I did this by laying two lengths of timber on the floor inside the alcove below the fronts and backs of the units.

null

null

The chance of the timber moving in the future was minimal unless there’s an earthquake but I made sure that couldn’t happen by attaching it with brackets to the backs and fronts of the units. These will not be seen as they’ll be under each cabinet’s floor.

null

null

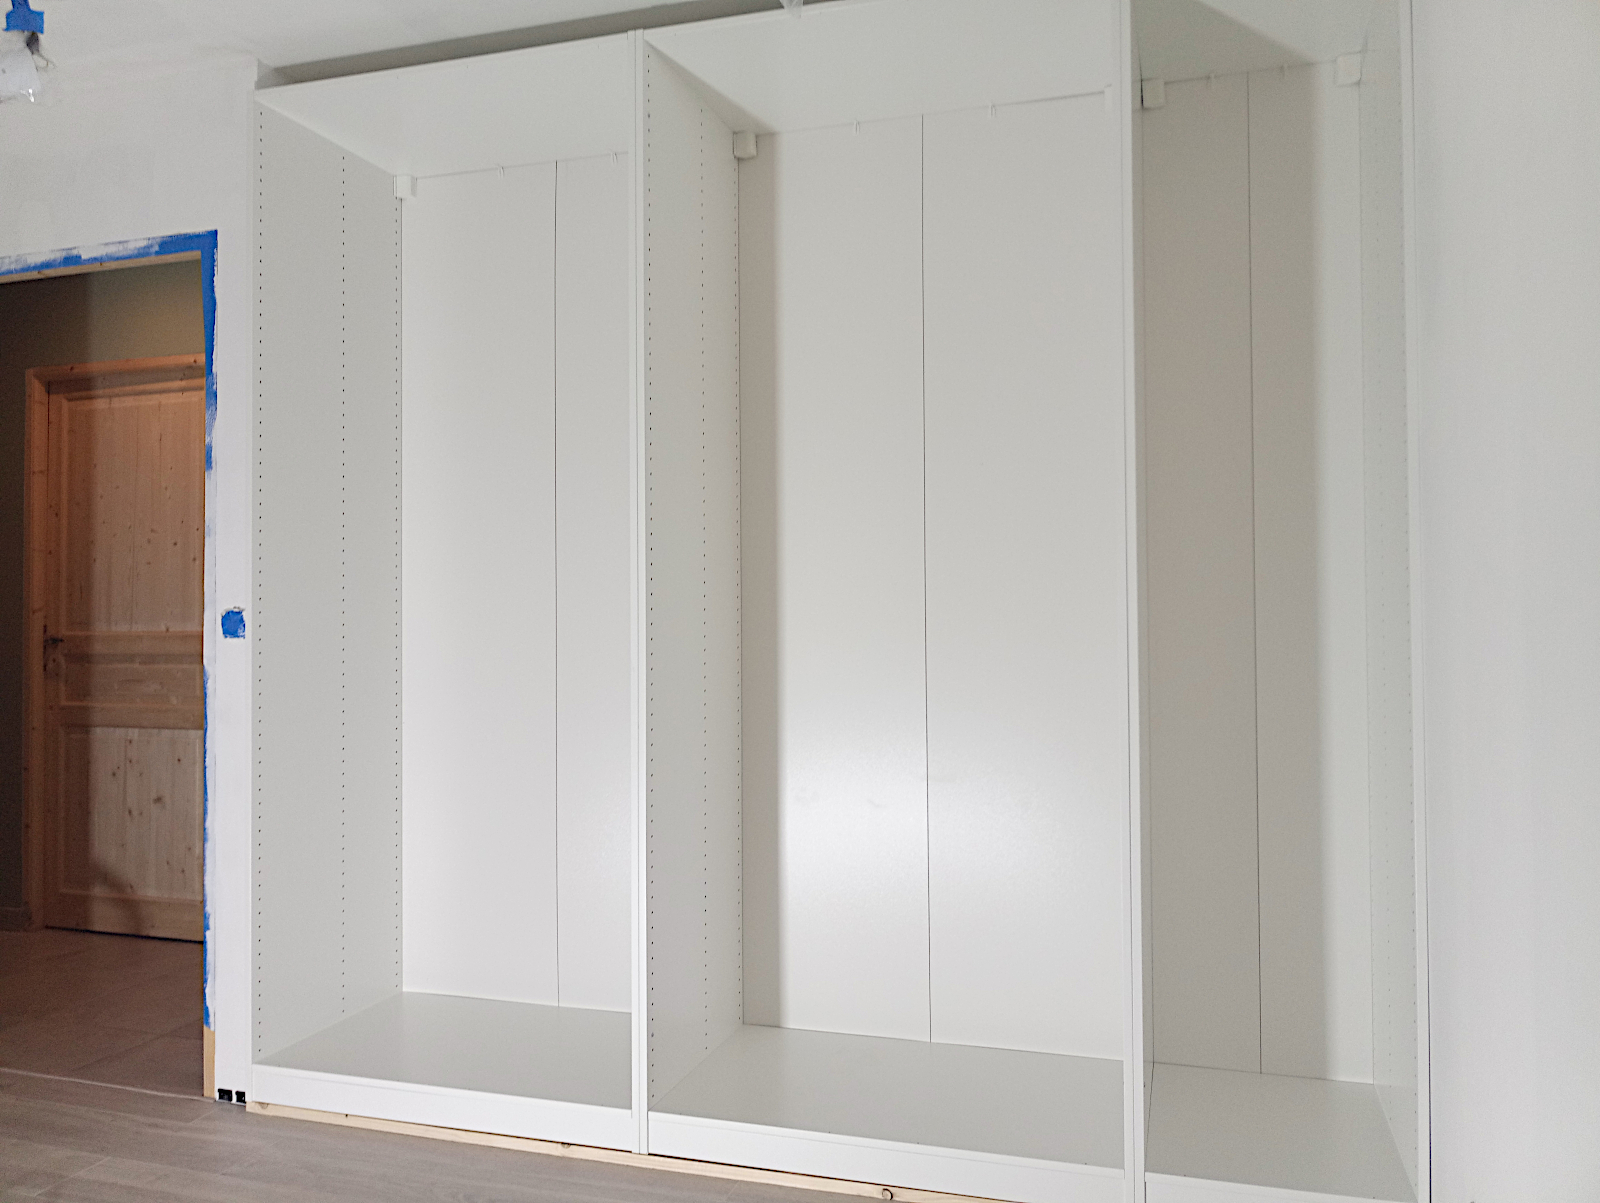
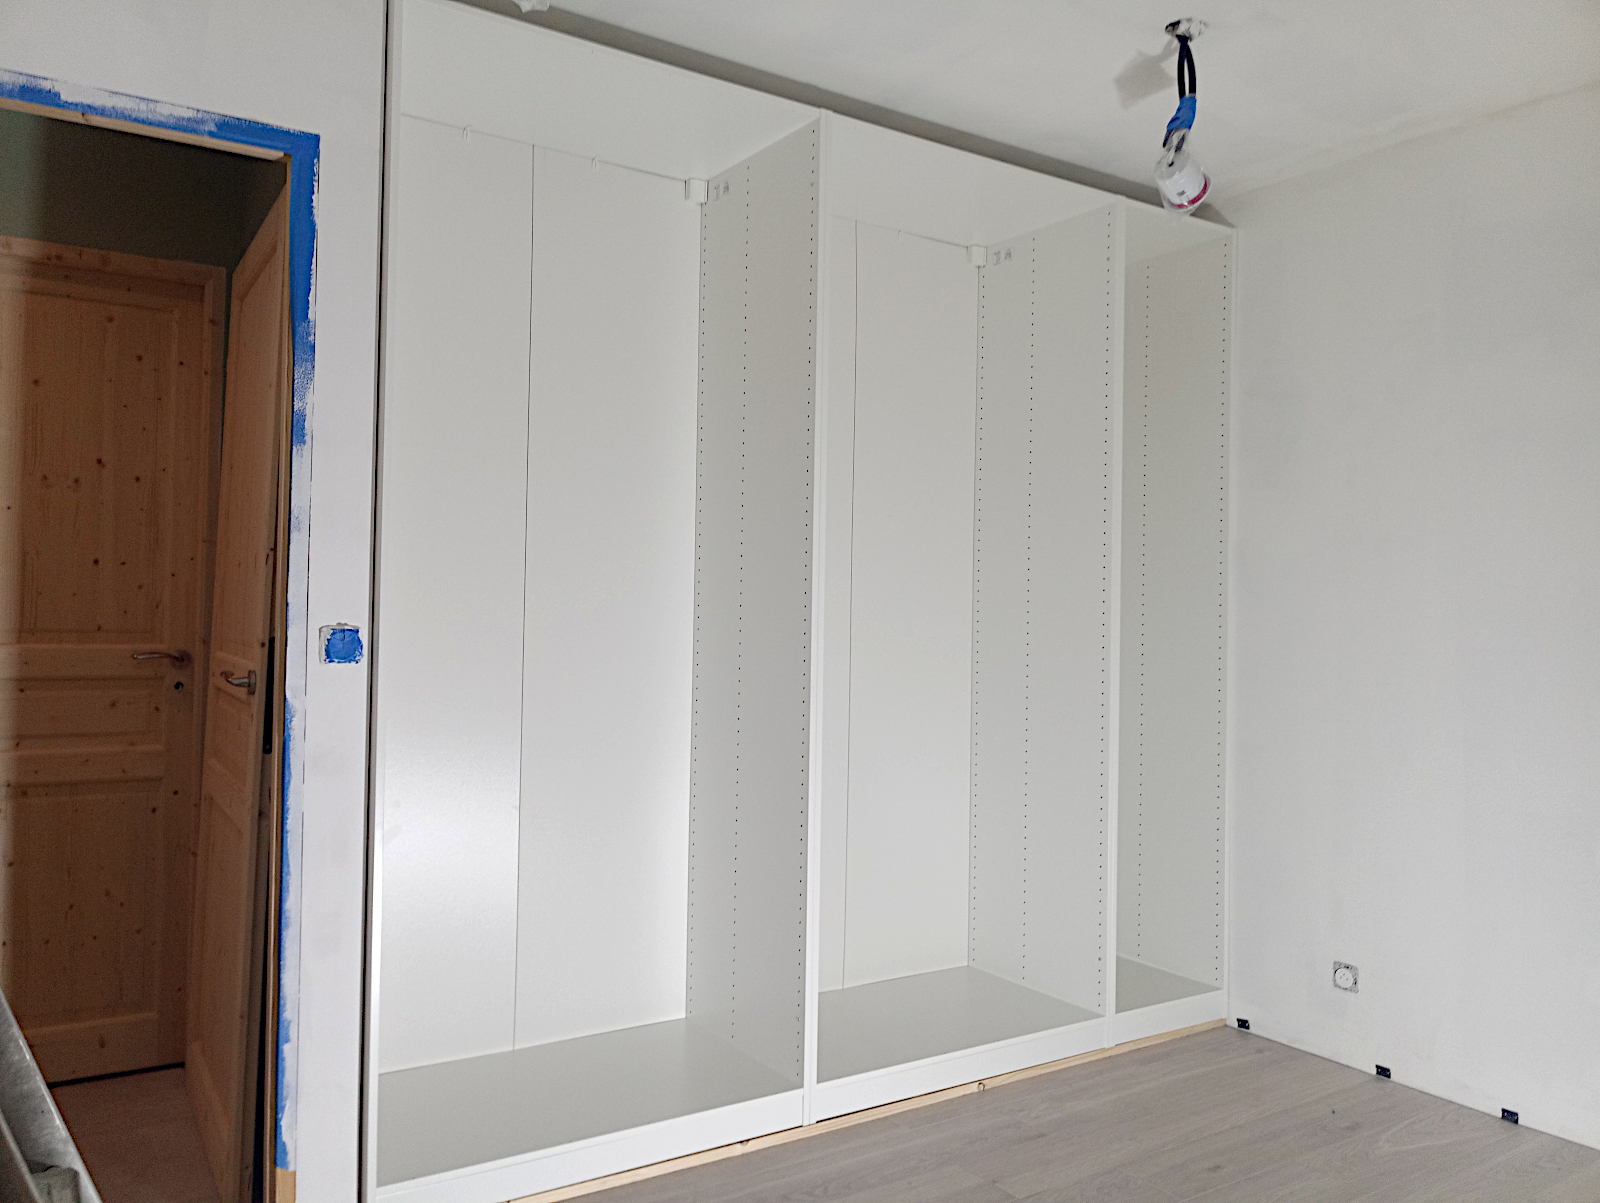
All three cabinets have been firmly fixed back to the wall so they can’t try to topple when their doors are opened. They have also been joined together in the same way as my kitchen cabinets were using the special screw-together joiners that Ikea provided with each cabinet. Here’s how they looked at the end of the day.

null

null

The next tasks will be to fix a fill-in panel between the cabinet tops and the ceiling to which I’ll be able to attach coving, together with the floor plinth. Then it’ll just be a matter of painting the room, fitting out the cabinets and adding the doors to complete the bedroom and make it useable. Then on to bedroom two to do it all over again.

Ikea – pressing on

But not quite as far as I’d hoped. The missing narrow unit that I needed for bedroom one was delivered on time this morning and I wanted to get all three assembled and fixed in position by the end of the day. Unfortunately after I’d had my lunch I sat down in a comfortable chair that was so comfortable I dozed off and ended up losing quite a lot of time 🙂

I got all three of the units assembled and only when I came to position the narrow one did I realise that Ikea had incorporated a method for attaching the units to the back wall so they can’t topple forward that allows you to drill the wall and fix them without having to remove them again. I then found though that I didn’t have enough of the shorter fasteners that I needed for the job so had to pop over to Brico Marché in Le Bugue to get some more.

By the time I got back it was too late to finish the job but here are a couple of shots that show where I got to today.

null

null

First Ikea unit

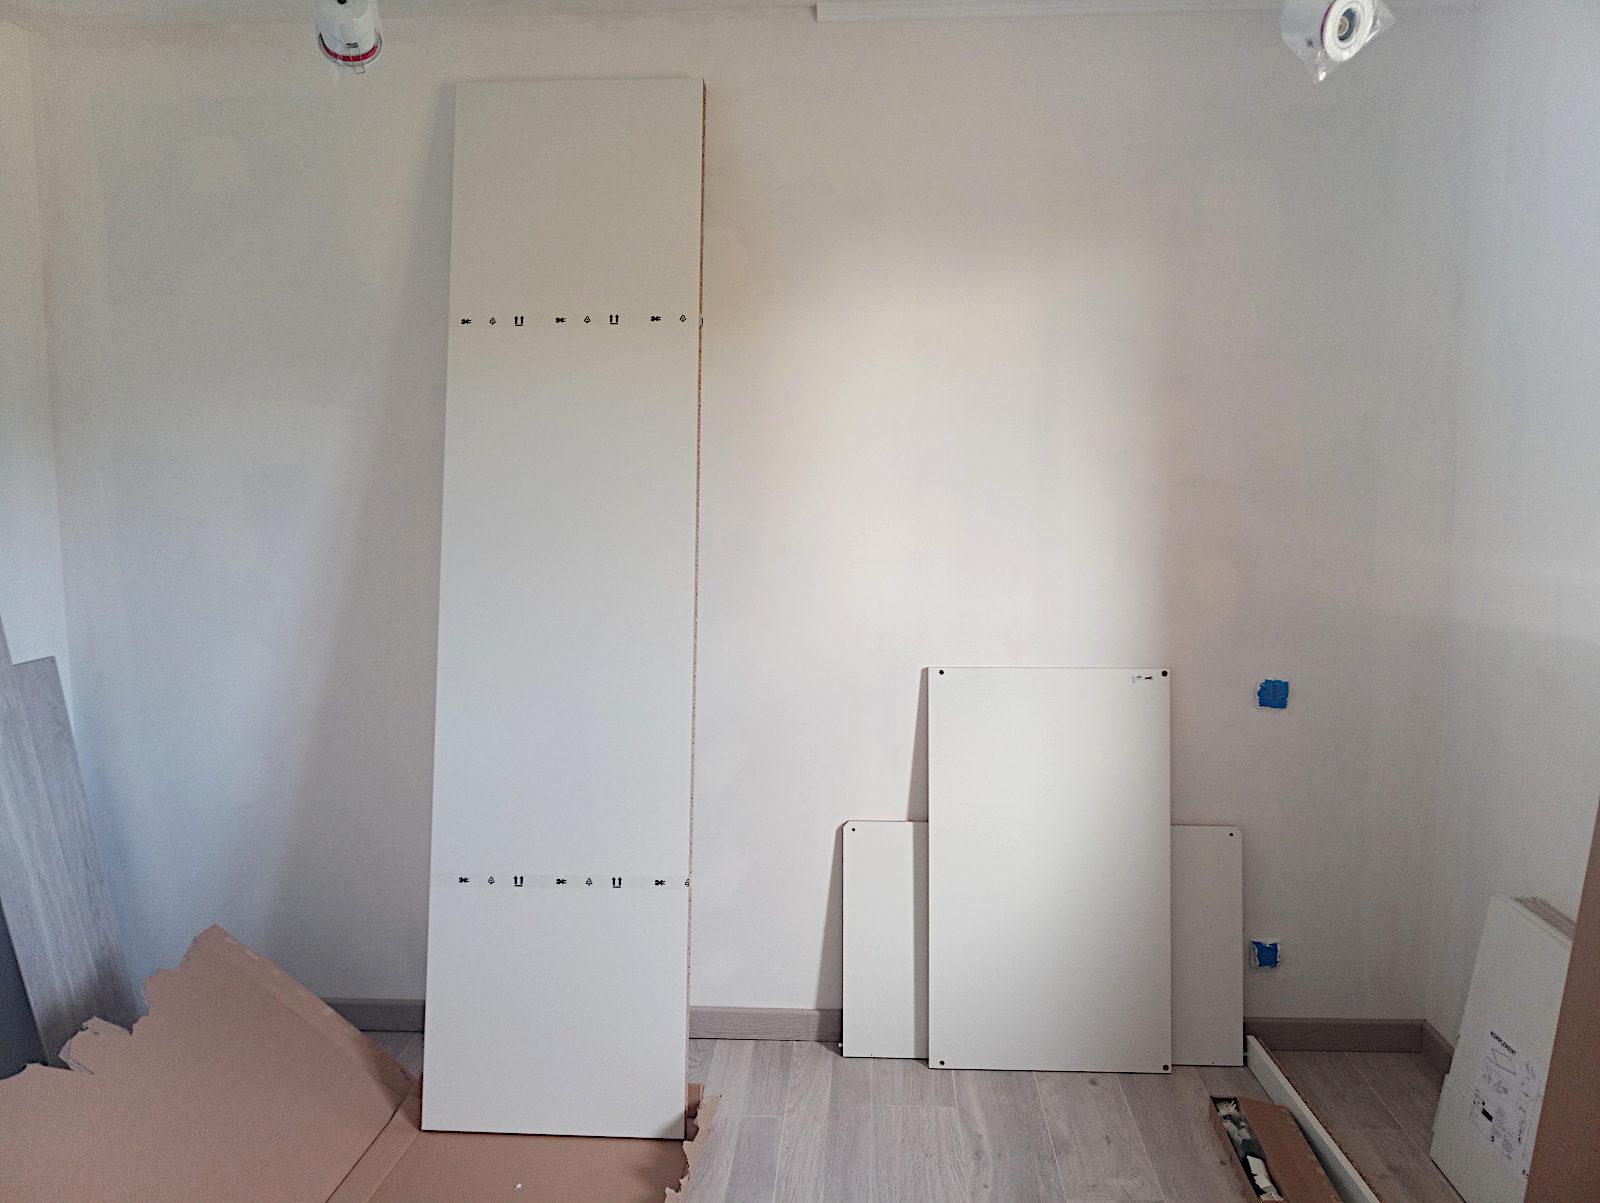
The first part of the Ikea Pax wardrobe and storage unit in bedroom one. It will be fitted across the full width and to the full height of the alcove that I built into the wall and will consist of two units 1 metre in width and one of 0.5 metre. The four boxes that took two of us to load into the van at Nantes were the 1 meter wide units for the two bedrooms, one and two, and this is the first of those.

It’s quite fearsome and Ikea recommend that two people are involved in building it. However, I’m doing it just by myself and although very heavy to lift and move due to the thickness of the ‘melaminé’ board from which it’s constructed, it’s no more daunting than other projects I’ve taken on. It’s height is the most impressive thing about it. I took a shot of its components early this morning (around 6.00 am) when I first started.

null

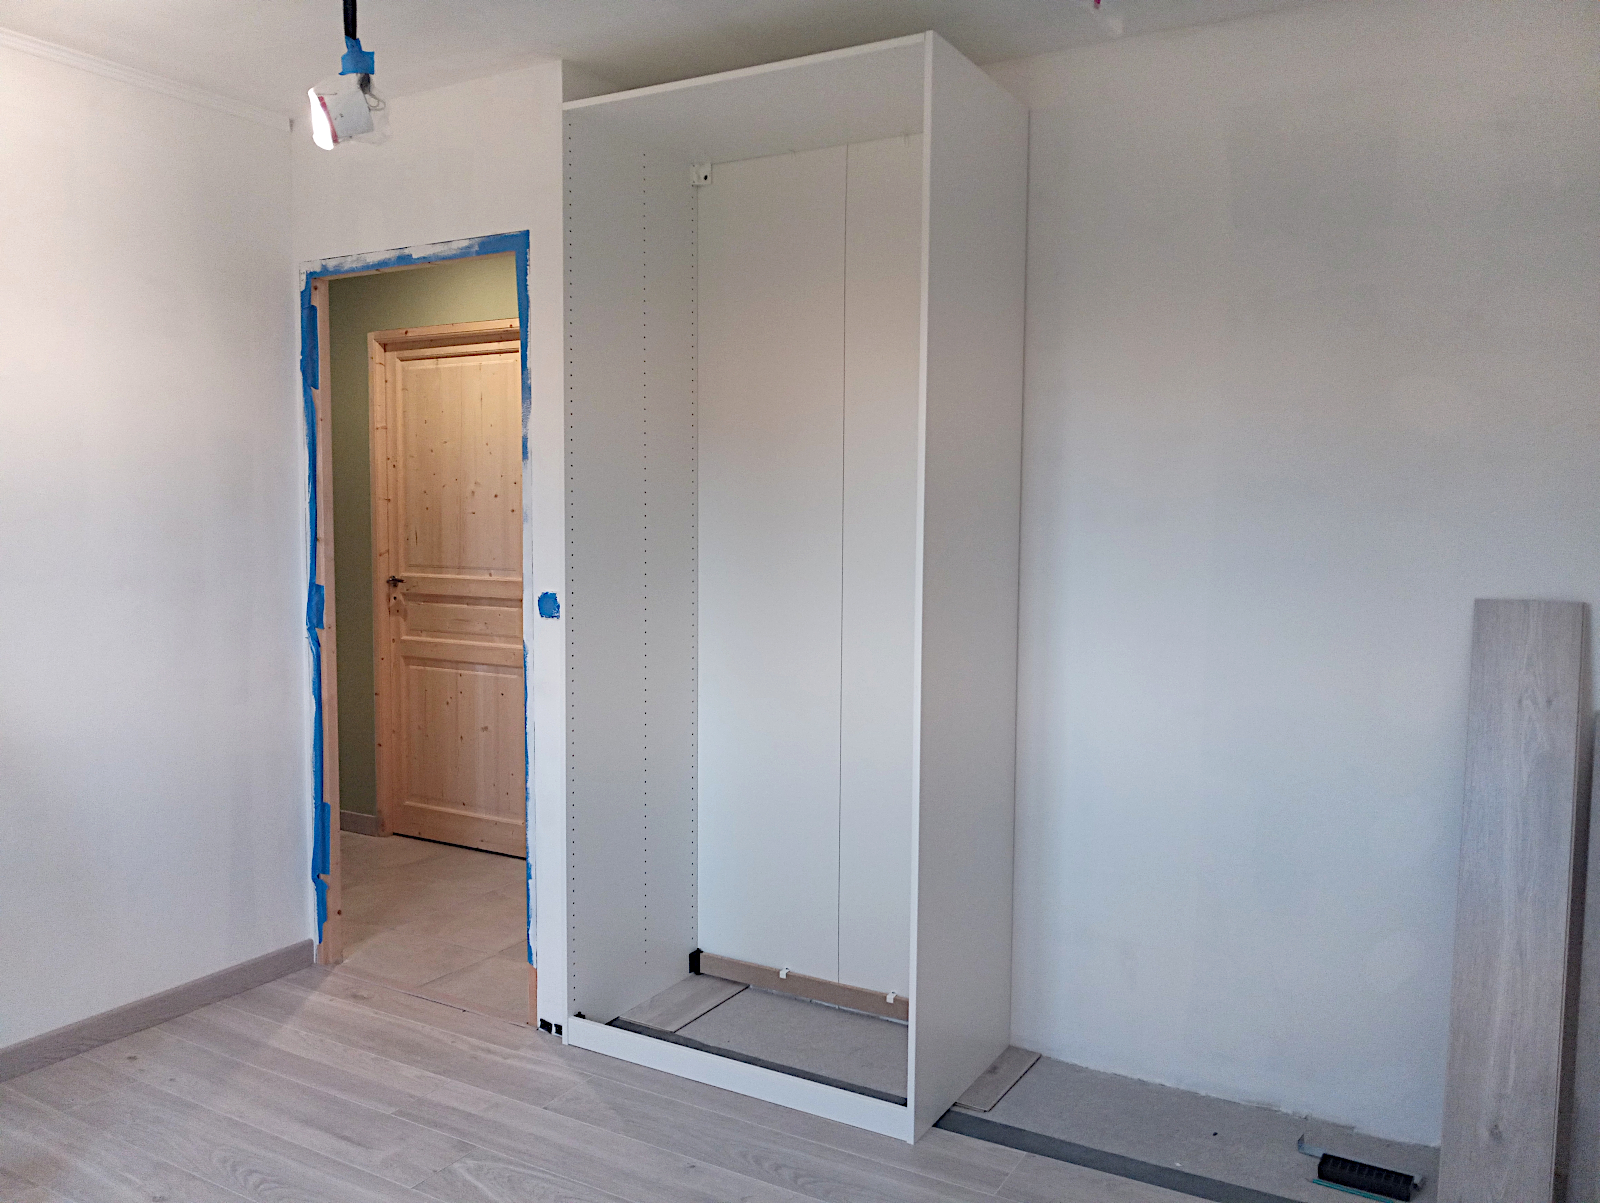
It’s sides and back all come connected and folded together wrapped around with securing bands so you don’t have the choice of moving it piece by piece. When you have stood it vertical you remove the bands and unfold them like a giant birthday card and having done so add front and rear bottom rails to stiffen the structure followed by its top and bottom. I’ve only fitted its top for now as after moving it into place I have to raise it by a couple of centimetres so I can fit the floor’s wall plinth across its front. The next shot is of it standing in position waiting to be raised.

null

I’ll be nipping out to Leroy Merlin after typing this to buy four lengths of 2.5cm thick timber (2 per room) on which to stand the cabinets in each bedroom and raise them to the required height. When the whole job’s finished I’ll probably need a long ladder to place things on the top shelves… 😕

Two very fraught days

I hired a van from Leclerc in Trelissac to drive to Nantes on Friday (20th October) to pick up the two wardrobe and storage units for bedrooms one and two. The vehicle was the smallest they have for hire, a Ford Transit of 8m3 capacity and knowing the length of the items I was picking up I was concerned that it might be a bit too short and that perhaps I might change my order for a larger vehicle. However, there wasn’t one at either of the two local Leclerc depots so I decided to take the chance. Little did I know that this would be the least of my worries.

null

The total distance there and back was a bit over 800 kms and the little van proved to be more than up to the job although the first problem I encountered was the weather. It was cloudy and already raining by the time I left Périgueux at around 9.15am and things went from bad to worse as the journey progressed. Rain with high wind gusts had been forecast and this proved to be an understatement with the conditions on the main roads being a nightmare with the amount of spray being thrown up from the wheels of trucks making passing them a distinctly less than comfortable experience.

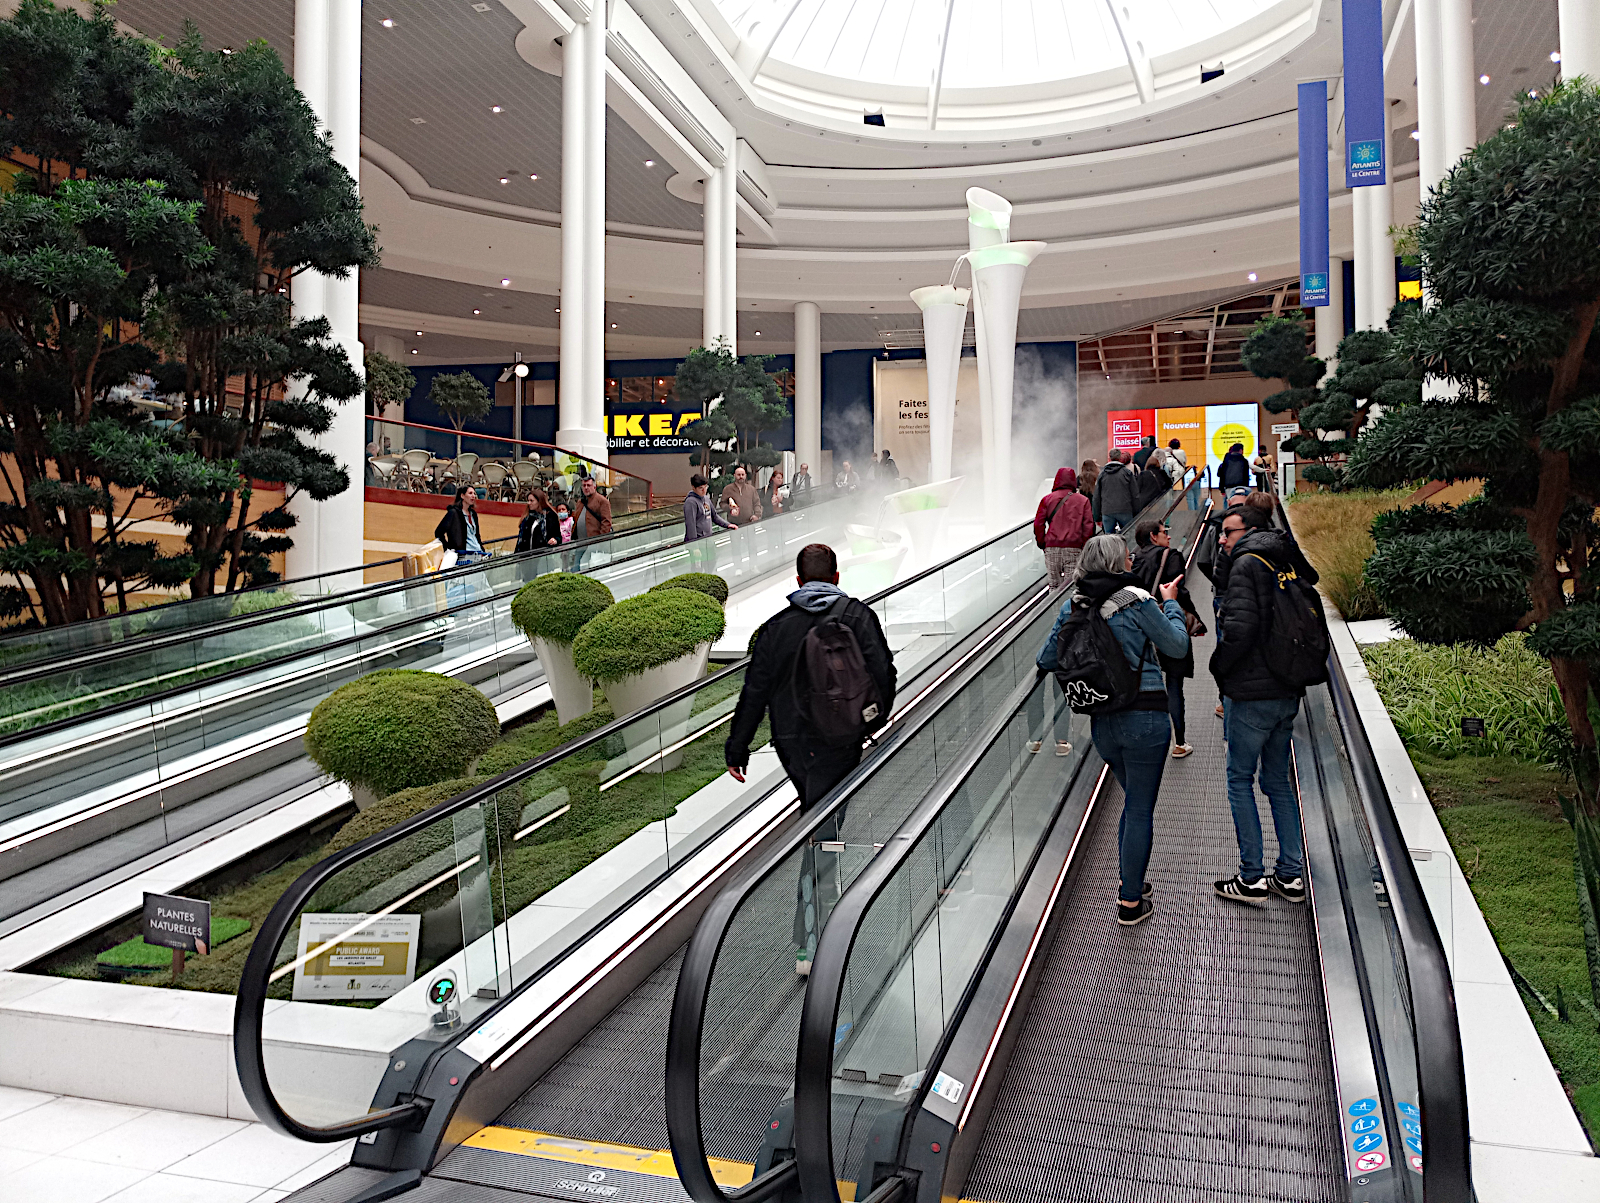
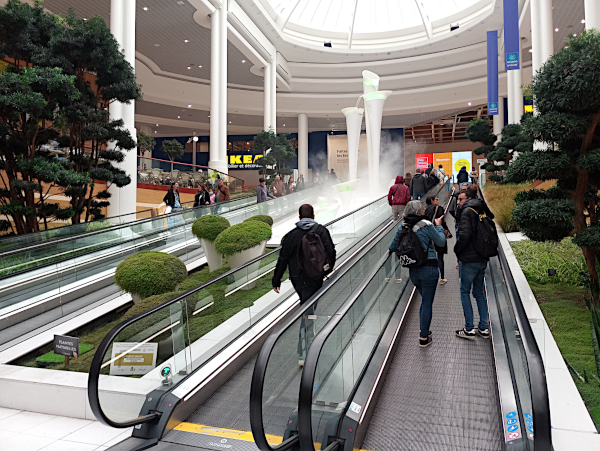
However, I arrived at Ikea in Nantes at around 2.20pm and was thus able to meet my intended pick-up schedule. The shopping centre that Ikea is located in is huge and impressive with an enormous car park at ground level under the centre’s main structure and on entering the latter you have to ascend moving ramps to get to Ikea on the first floor. They refer to it as levels 1 and -1. Here’s a shot I took of the foyer with the ramps leading up to Ikea.
null

On entering Ikea I had no idea where I was supposed to go but there was a small arrivals desk just inside where I entered the store and the lady standing there very kindly took me to where I could pick up my purchases. The young chap there said everything except one item was available and for that I’d have to go to another Ikea depot, the address of which he gave me. Luckily Waze, the satnav on my mobile phone, recognised it immediately as it had the address of the main Ikea store which I was then in.

I was staggered when the young guy wheeled out my purchases. Because of their lengths the ten mirror doors were laid across two large trollies and the remaining items the same on two more. I said I’d need help to load them onto my van and another young colleague kindly agreed to do so. We had to take two lifts to descend to the car park because of the widths of the loaded trollies and when we got down there he suggested that he would wait while I brought my van over and parked in the ‘mother and child’ bays close by to load it.

So off I went to find it, but easier said than done. I found the van some way away via a tortuous route and then had the task of trying to find my way back to the lifts where the young chap was waiting. I ended up driving around the car park several times before I finally noticed him waving at me in the distance. OK, I thought, but it still took me another couple of goes before I found the right aisles in the car park that took me back to where he stood.

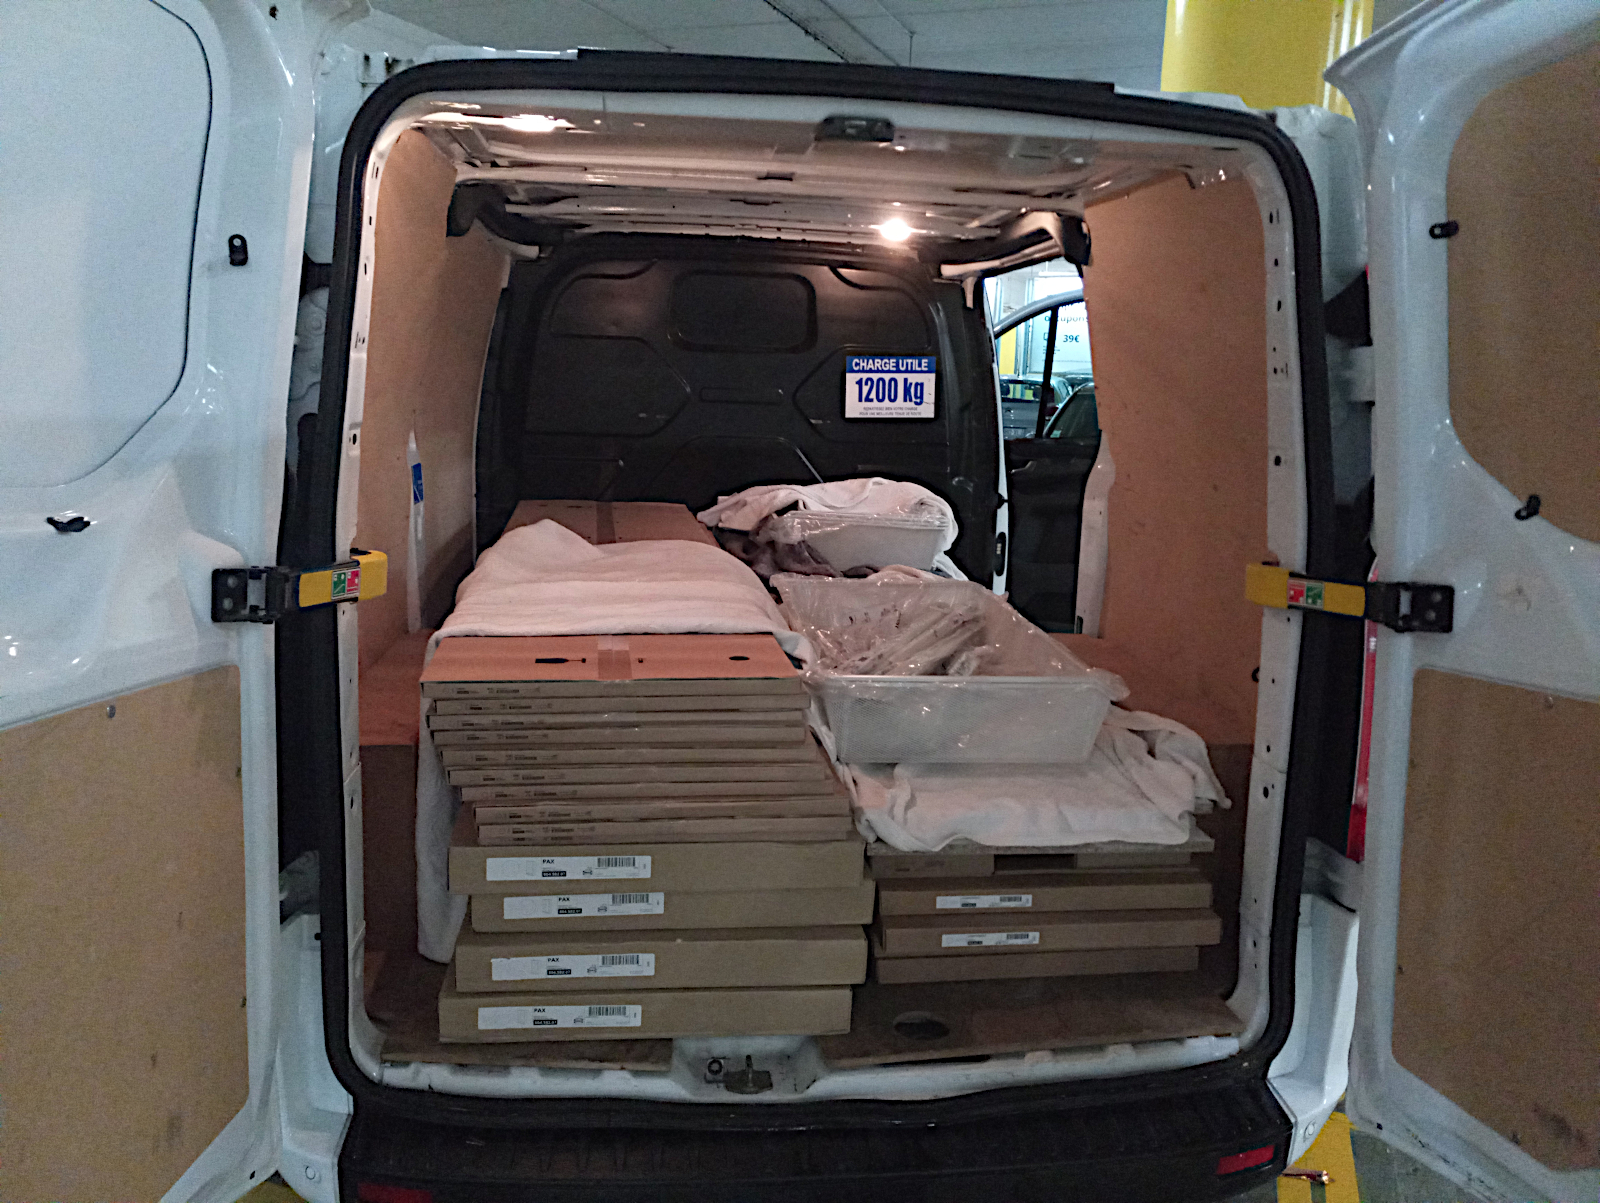
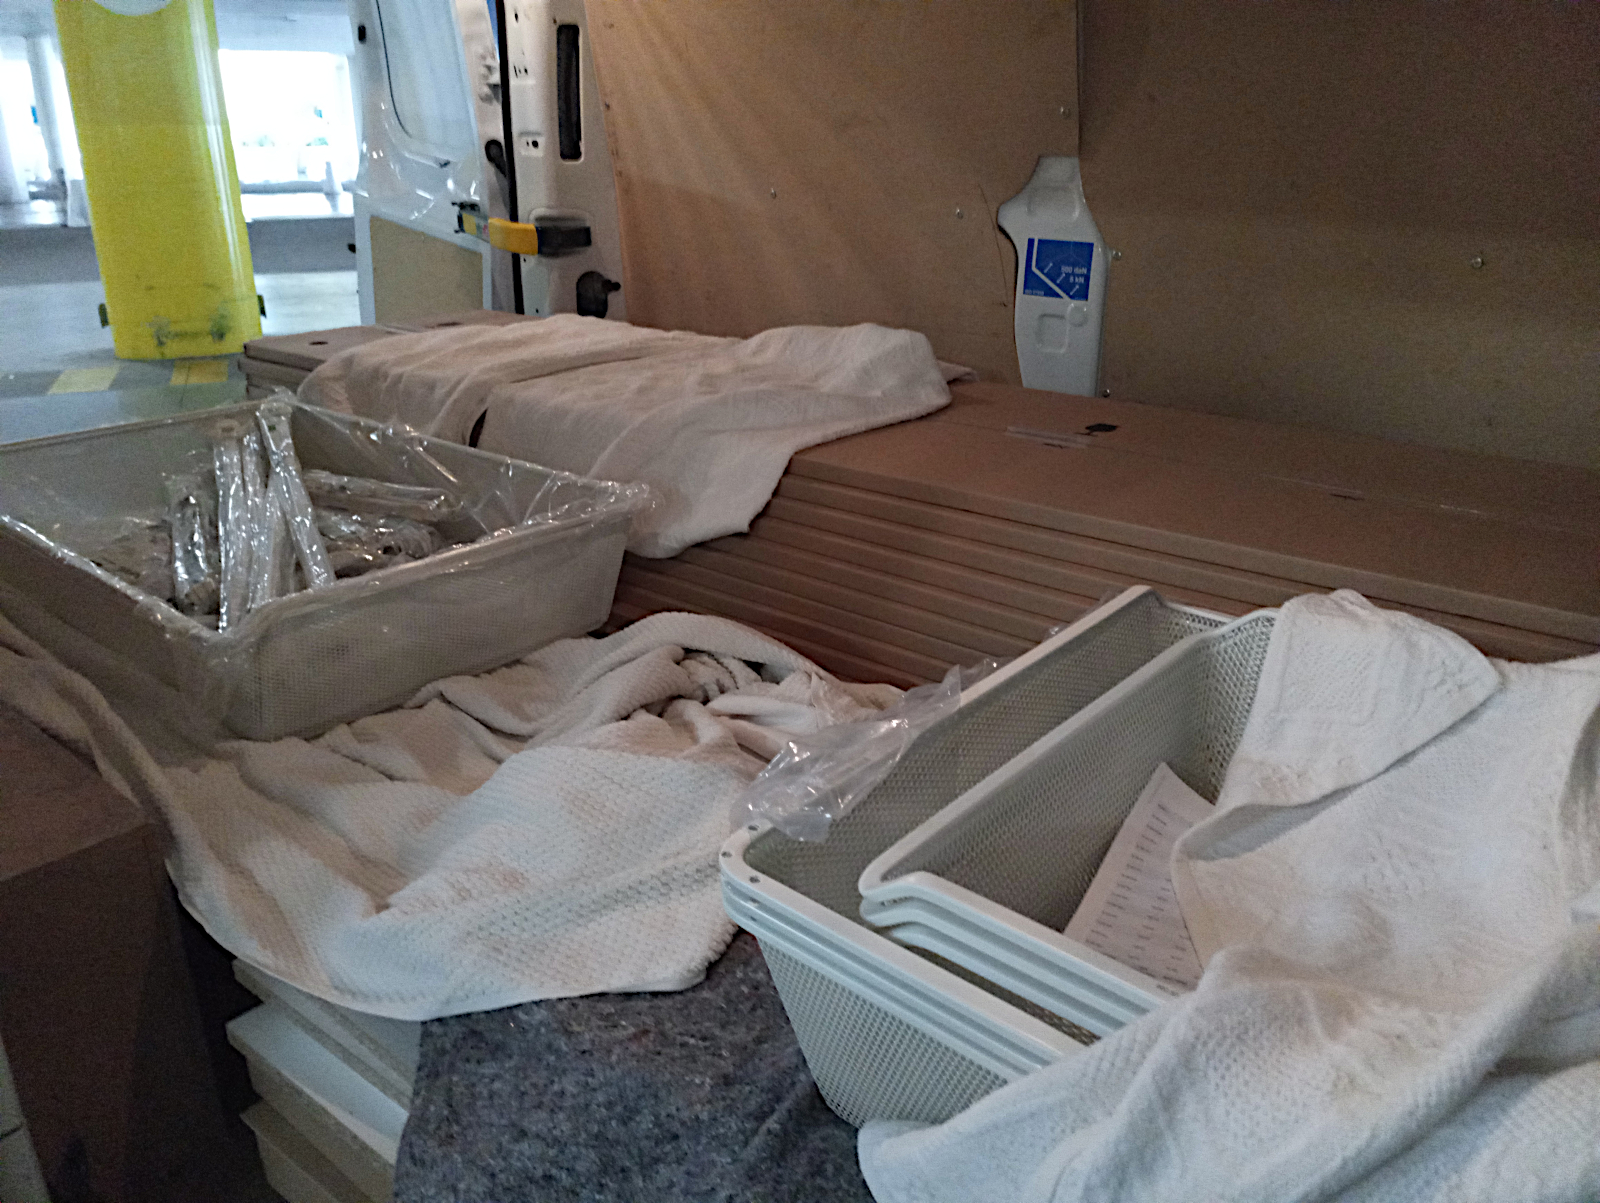
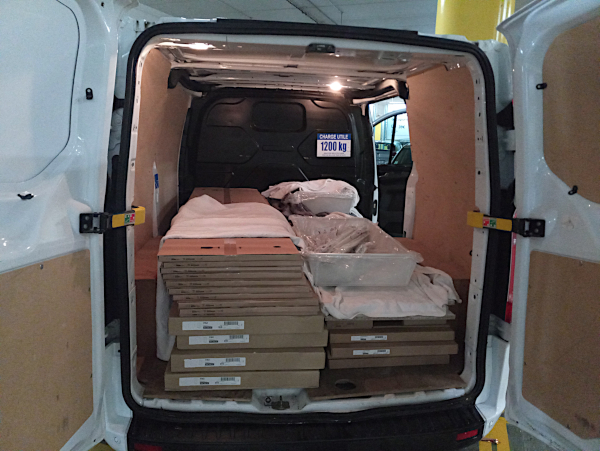
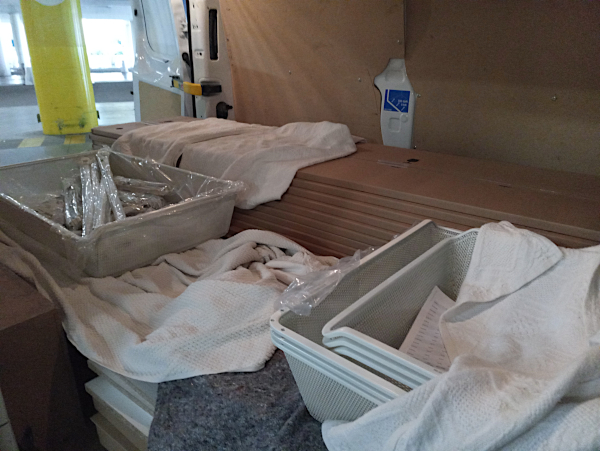
With the volume and weight of several of the items it took the two of us to load the van. Luckily everything just fitted in for length but I was amazed by the shear volume involved. I was already then beginning to think about how I would be able to unload the van at the other end as it would be night time, I’d have no one to help me and I’d have to get it all off so I could return the van early the following morning. Here’s how the interior of the van looked after it had all been loaded, and don’t forget there was still one more item to come.
null

null

I had an horrendous drive home. It was fine but still blustery when I left Nantes in the late afternoon having picked up the final item at the other Ikea depot. It was the longest of all, too long to go directly in the van but fortunately it fitted in diagonally placed on top of all the other items. As I headed south and it became dark I drove back into the stormy weather again. The rain wasn’t as hard as in the morning but the spray from other vehicles was just as bad in places and was exacerbated by the headlights of oncoming vehicles.

It was a terrible driving experience but there was worse to come. I was in a stream of vehicles on the main road heading south in the Charente when a large wild boar sprang out of the woods on the right hand side of the road, right in front of my van. With all of the vehicles to choose from why did it have to choose mine? I slammed on the brakes which were remarkably effective given the state of the road and the weight I was carrying and the animal crossed in front of me over to the other carriageway.

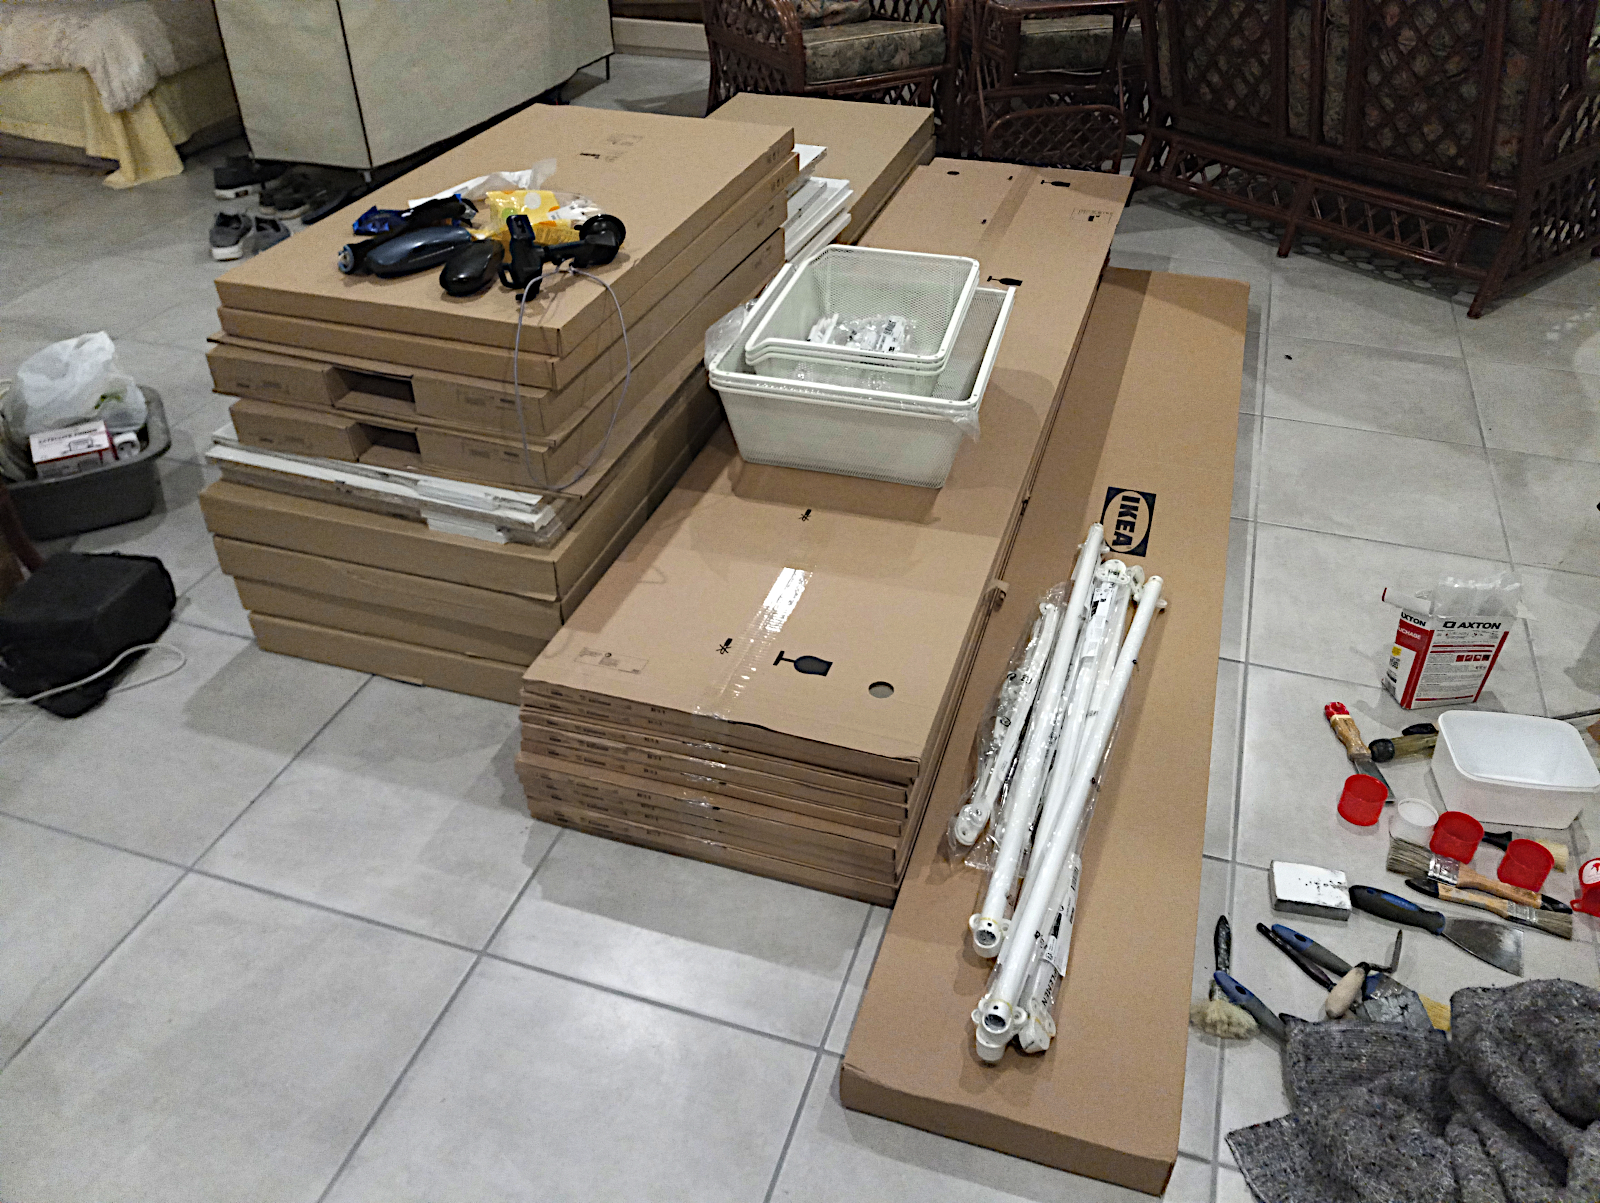
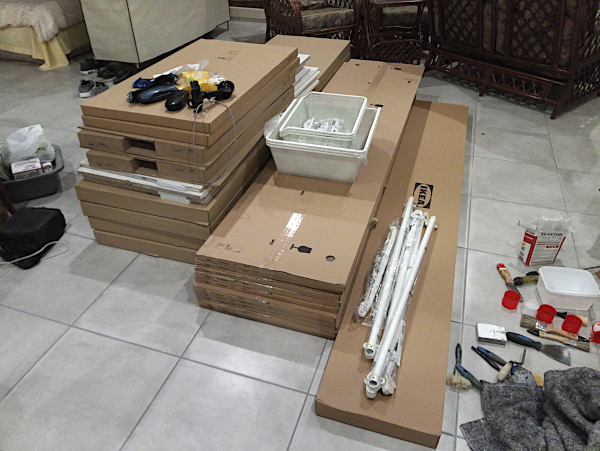
There happened to be no oncoming traffic at the time but instead of continuing it stopped and turned back again, right in front of me. I could do nothing to avoid it but luckily I think I only gave it a hard tap. But anyway, when I got out to check there was no sign of it and there was no apparent damage to the front of the van, so I continued my journey home where I eventually had the job of unloading the van at around 10.30 pm in gusting wind and rain showers. I succeeded with difficulty in getting the items off that took two of us to load in Nantes and here’s how the main part of the load looked afterwards on the floor of my living room.
null

And here are the remaining small items that I put separately in bedroom one.
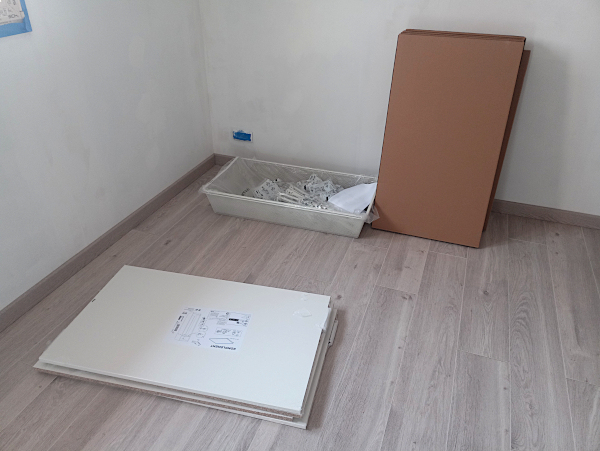
null

But my nightmare still wasn’t over. It continued when I returned the van to Leclerc. The first thing was that they said the van was ‘dirty’ and demanded a 50€ ‘cleaning’ surcharge. I said I’d never heard of such a thing before. Usually when a hire vehicle is returned it’s prepared for rehiring by the hire company. Now Leclerc expect you to do it for them apparently.

The vehicle only had normal road grime on it and I said that I’d take it away and clean it myself but that I wouldn’t pay any additional hiring fees while I was away. I ended up taking it to the car wash in the Leclerc facility and that cost me an additional charge of over 11€. Nearly half of that was wasted as you have to buy ‘jetons’ (tokens) to go in the machine and the minimum you end up paying for covers two washes at least. Not much use to me living in Fleurac.

But it wasn’t to end there, far from it. When I’d picked up the van I’d mentioned how many knocks and dings had been noted on its sheet, none of which had been fixed or repaired as all were minor or cosmetic. When they checked the van after I’d washed it I was called outside and told that there was a problem. It was a stone chip on the front bumper about the size of a little finger nail, acvtually a bit less, probably as a result of debris thrown up by another vehicle. It was nothing special and anyone would have just dabbed a spot of touch-up paint on it.

But not Leclerc. They made a huge issue of it and said that the vehicle would have to go off to the body shop to be assessed by their painter. In the meantime despite my protestations they have seized my 1500€ security deposit and I know what I now expect. A huge bill for repainting the van’s front bumper. They won’t do it, of course, it’ll just be marked on the sheet as another cosmetic blemish on the vehicle as far as future hirers are concerned.

I suspect Leclerc is making more out of ‘repairs’ on the van that I hired than from the actual hires themselves. You hear stories like this but usually about less reputable vehicle hire companies. But it would seem that Leclerc has now decided to go the same way. I’ve used them several times since I’ve been here without any problems but this will be the last time, that’s for sure.


Interesting heat pump information

Really interesting. I was paging through the heat pump’s main menu on the unit itself and found a section called ‘Information’. When I looked into it more I found it had the following sub-menu.

null

‘Malfunction history’ was interesting because it showed there was a repetitive problem labelled ‘Water flow problem’ on the morning of installation which probably explained why the engineer was on his phone so much. However, as all now seems to be working what I was more interested in was ‘Energy data’ and when I selected that the following sub-menu came up.

null

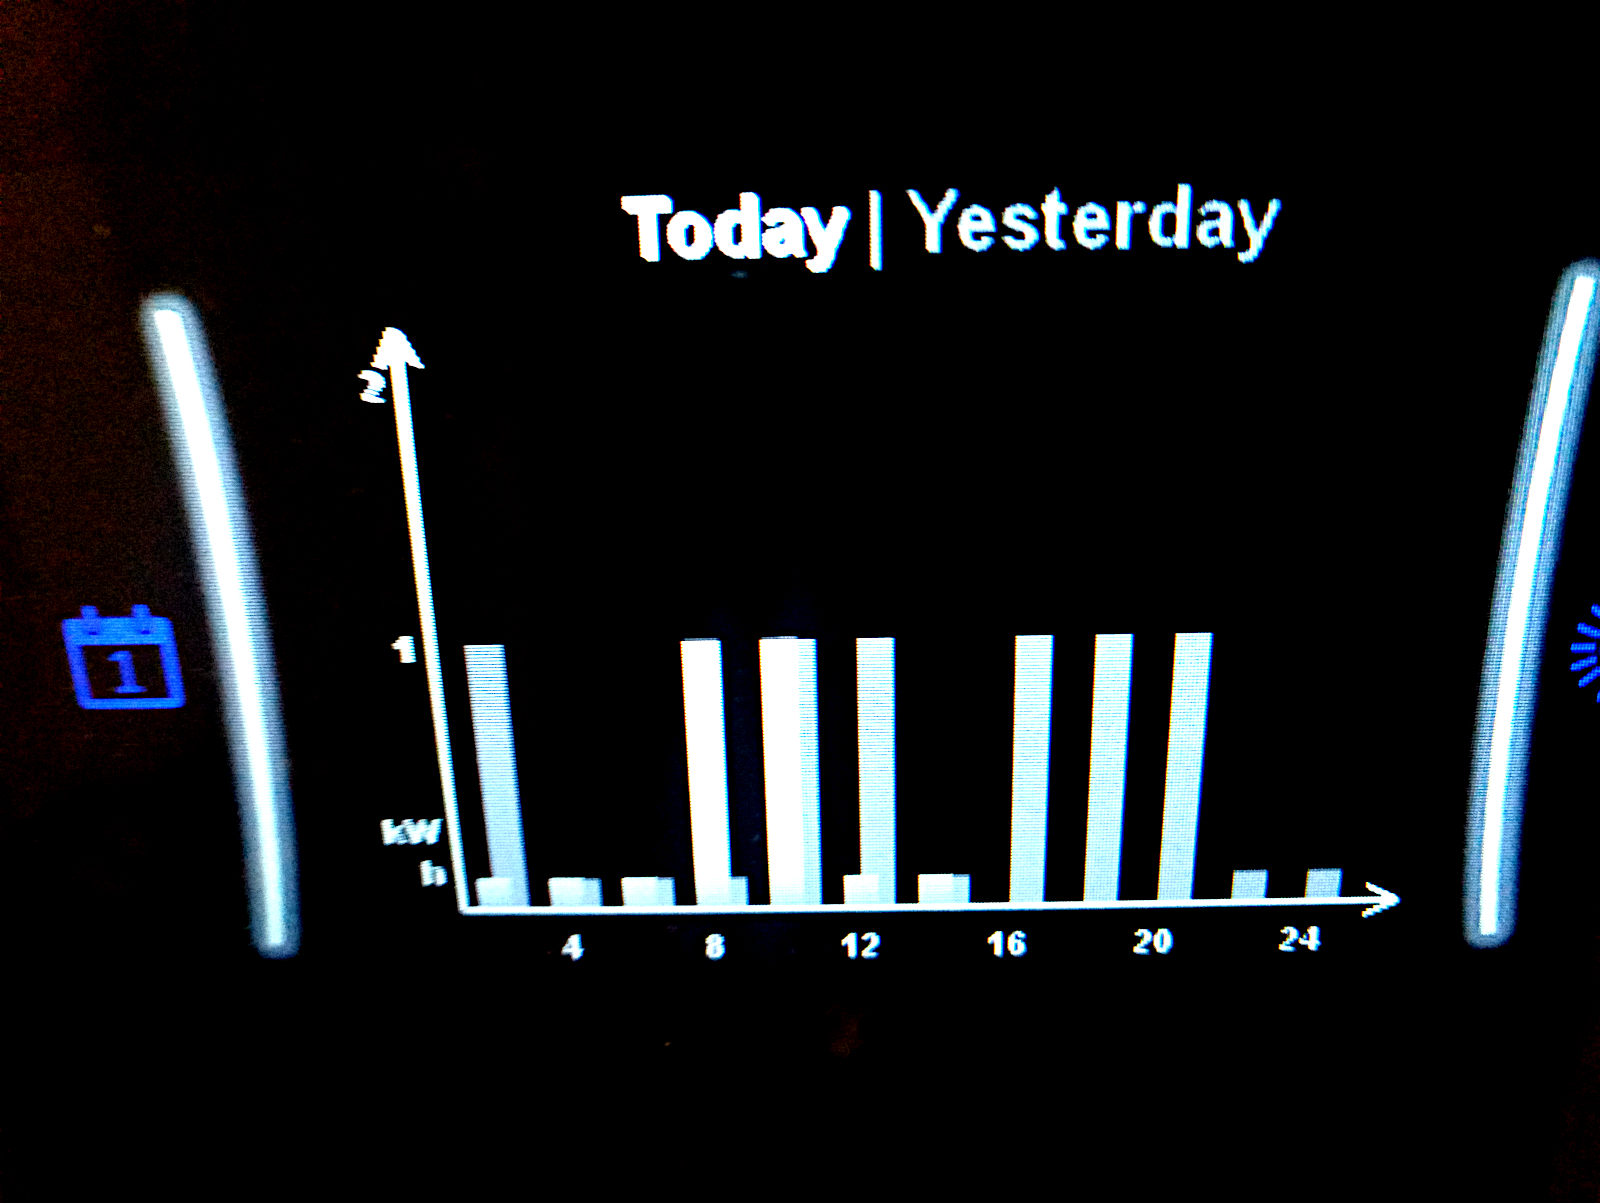
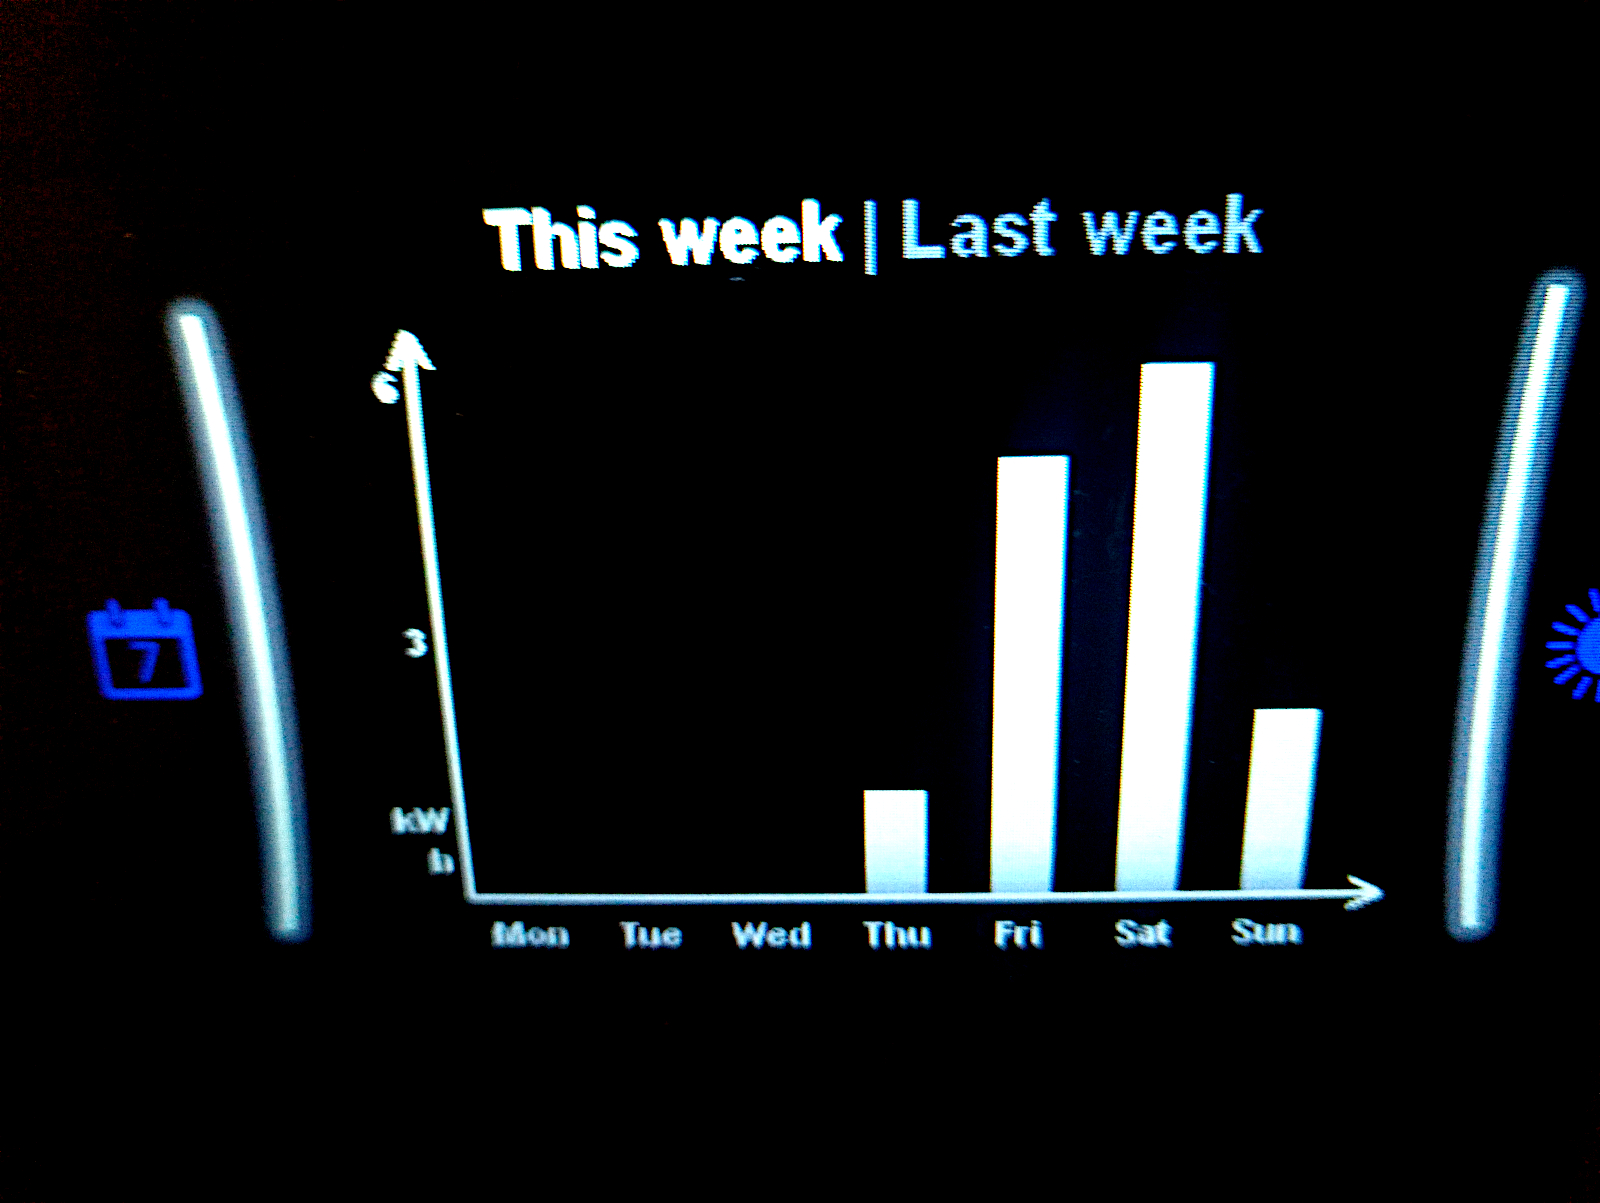
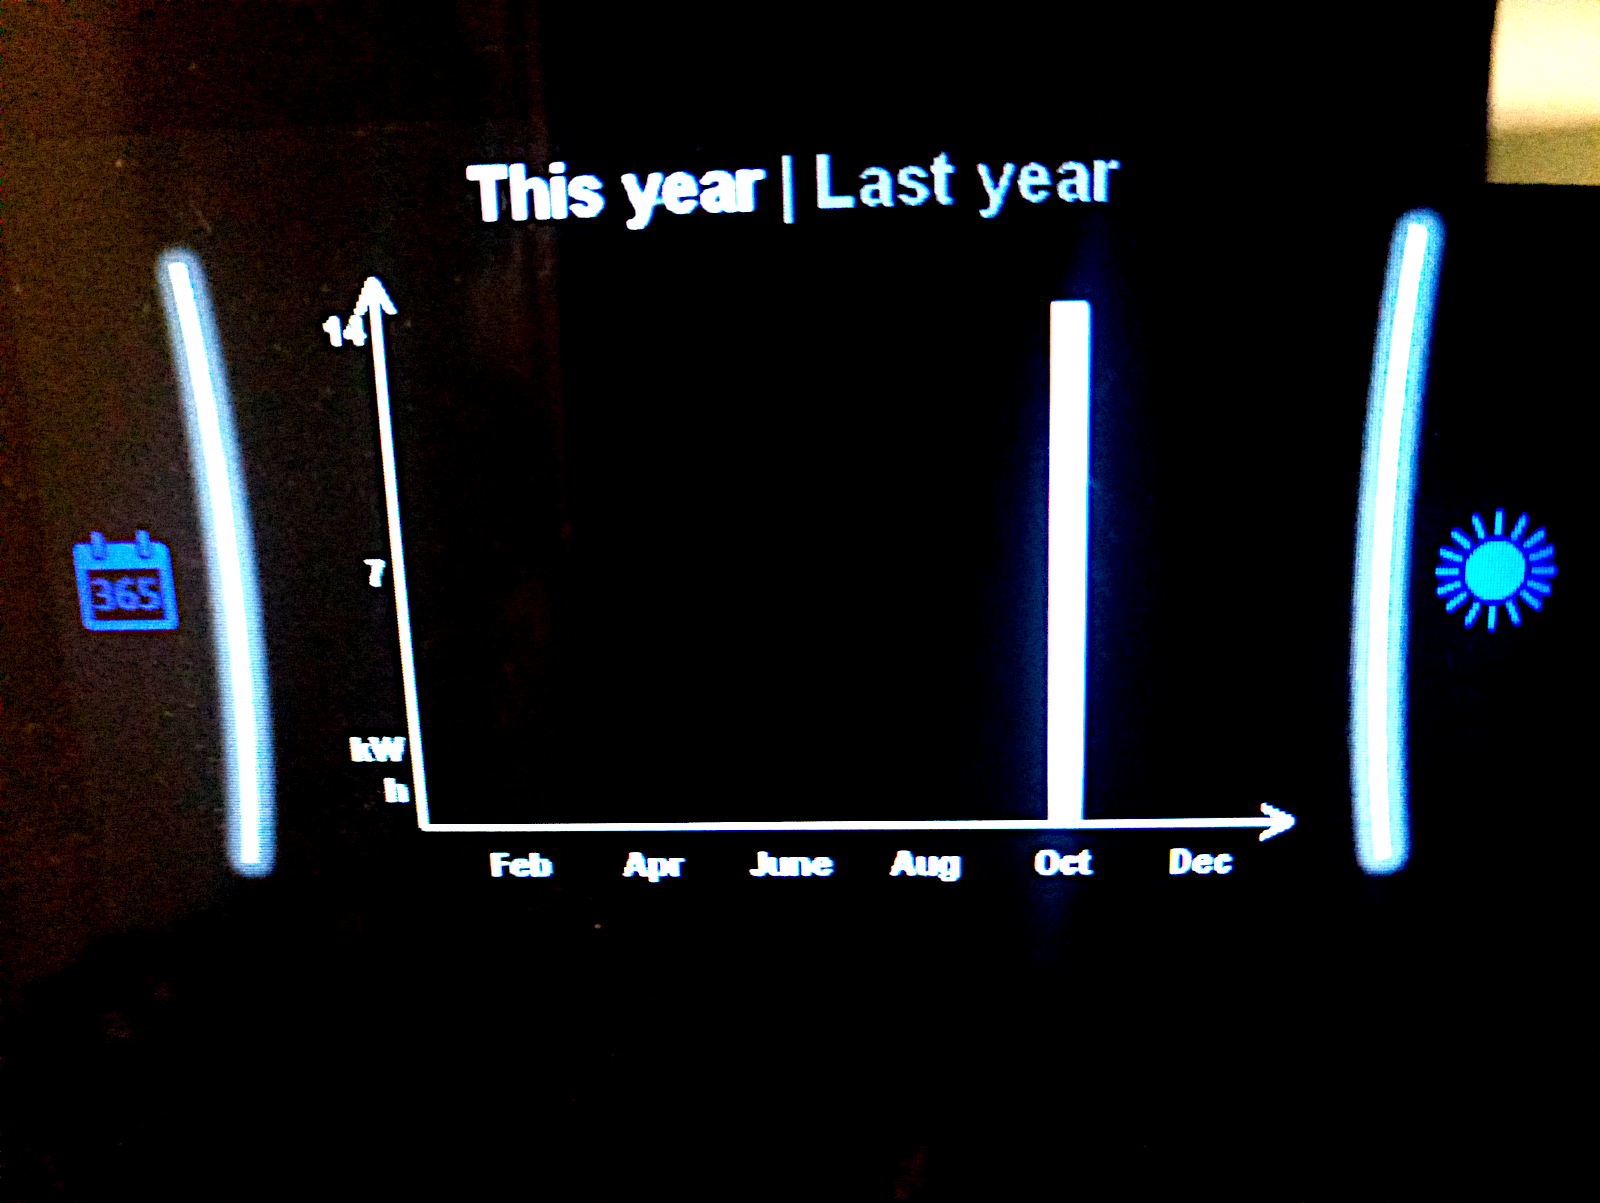
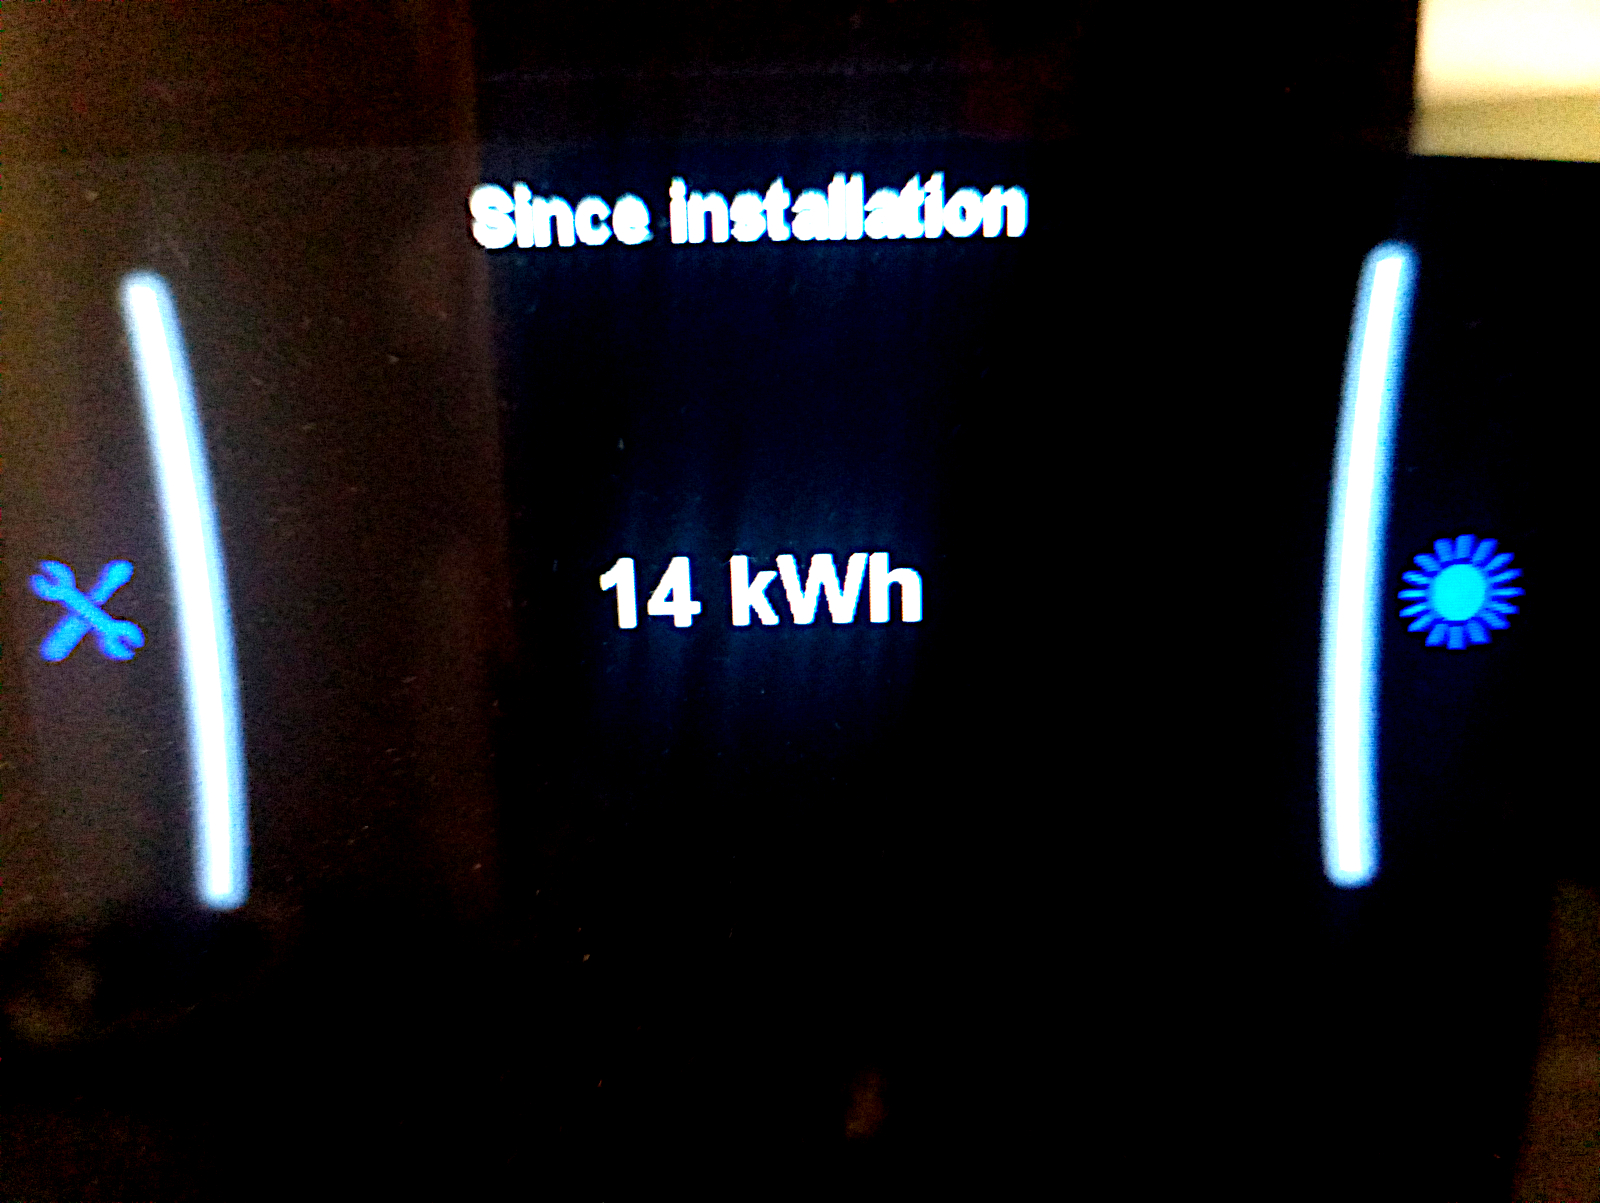
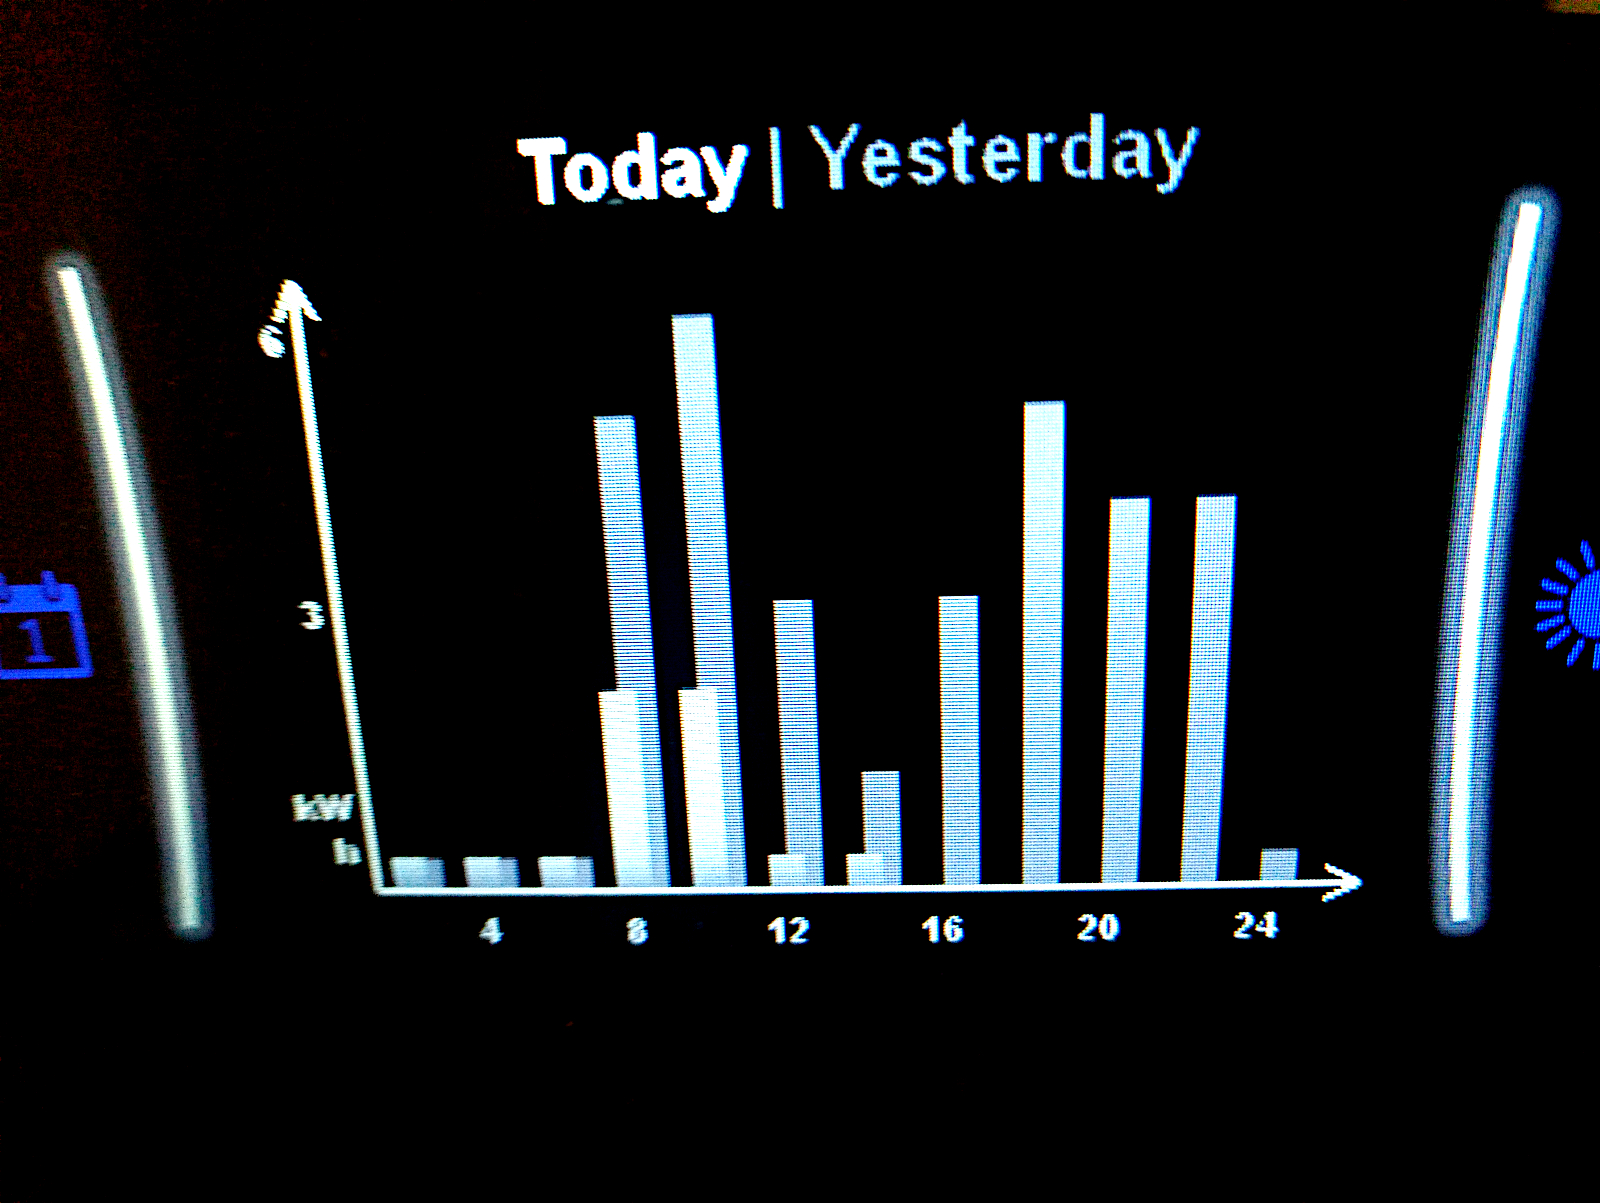
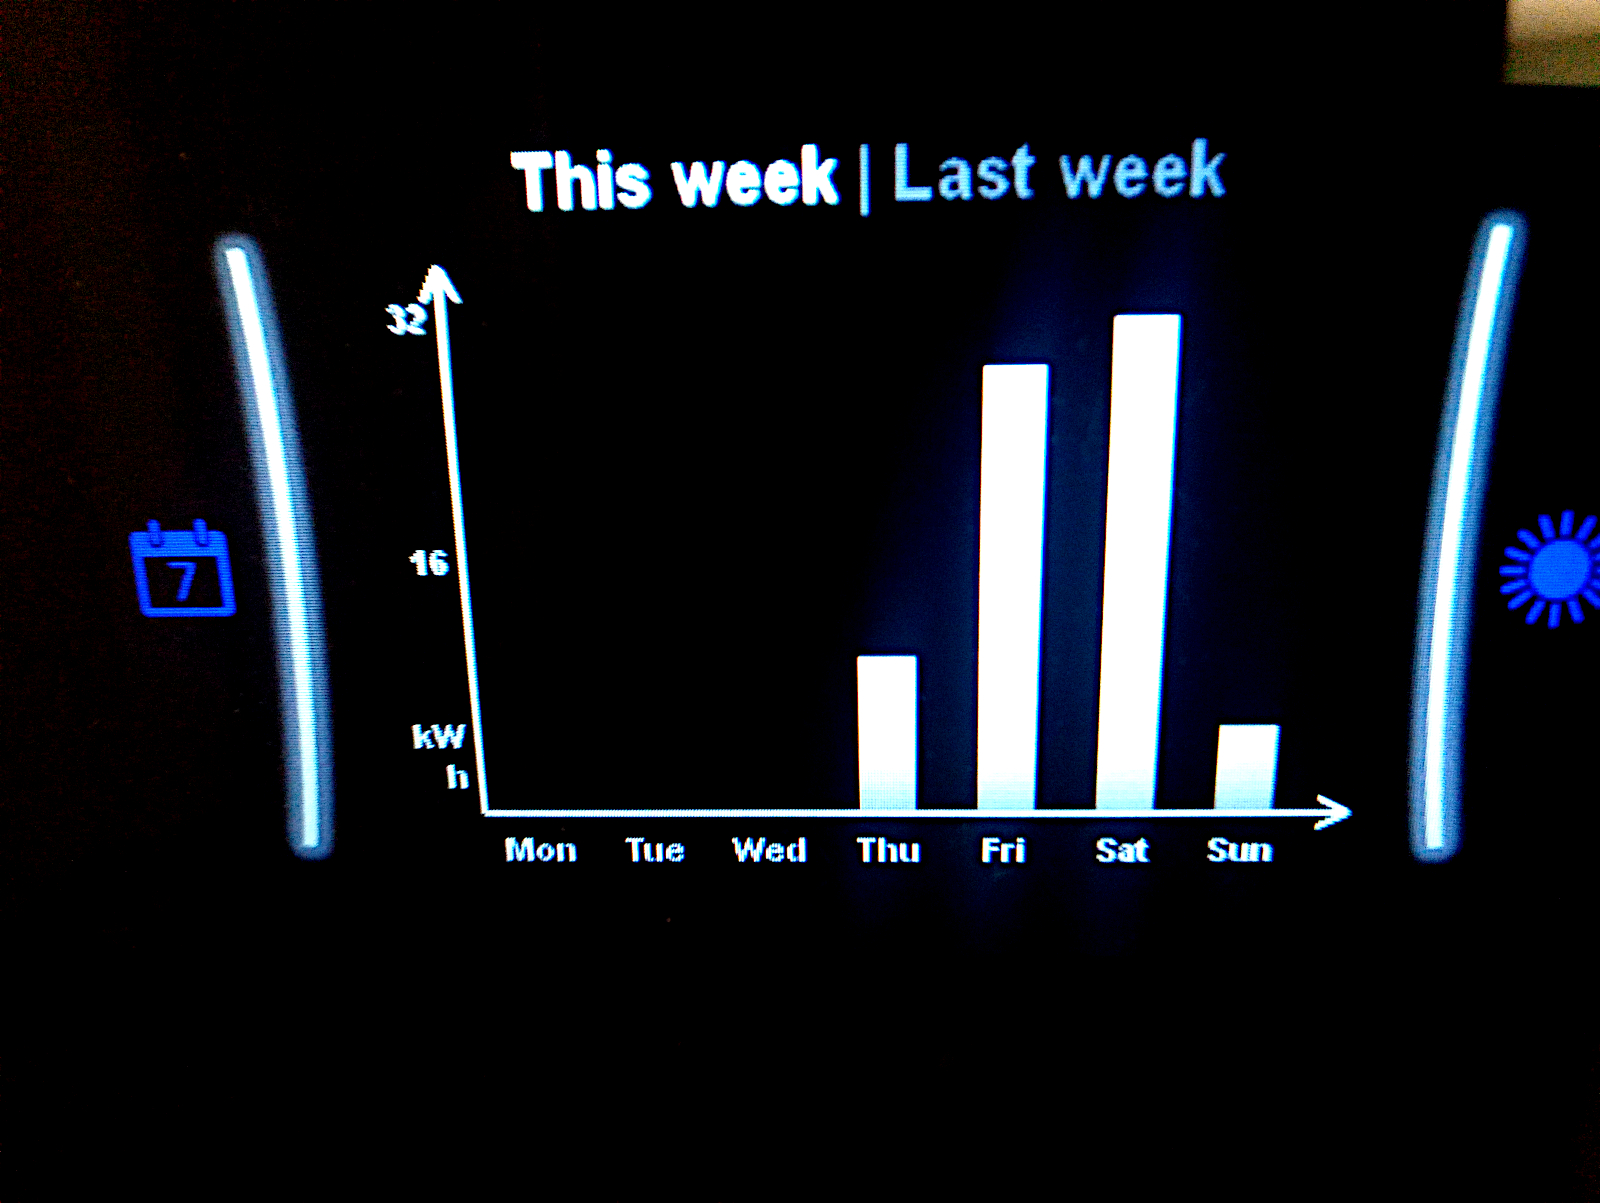
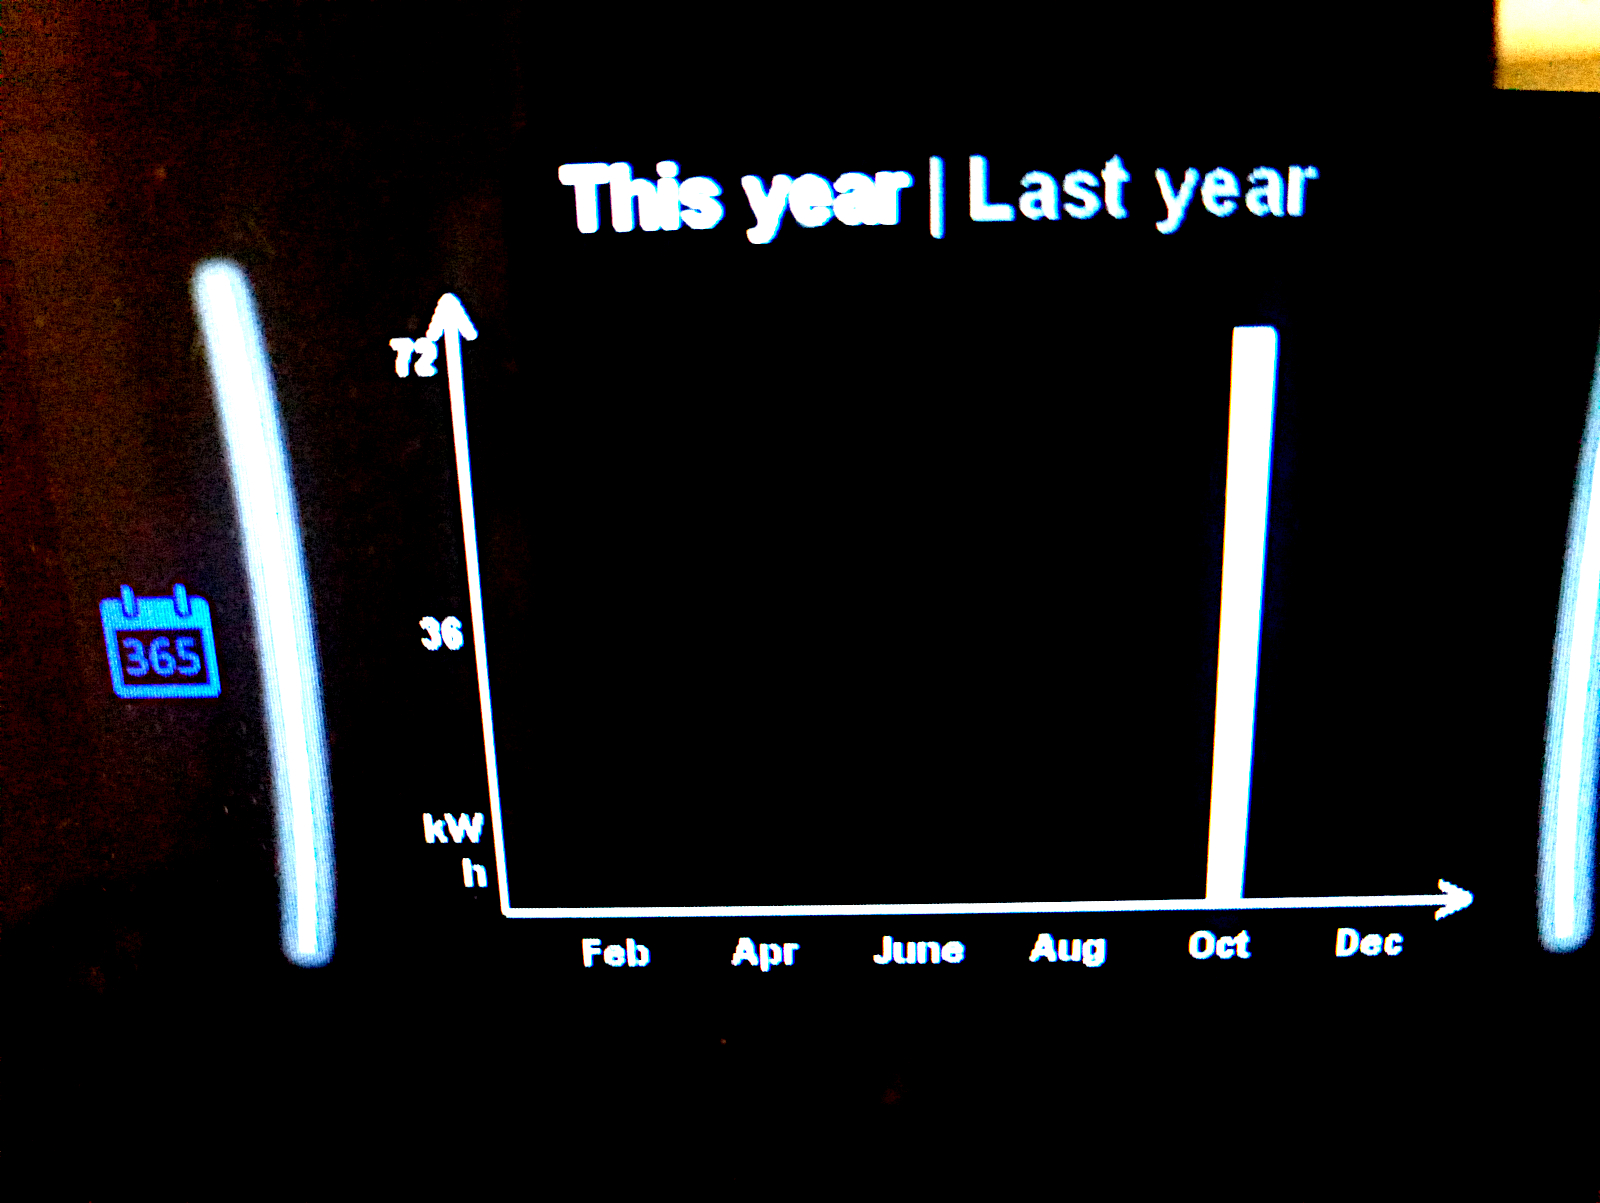
That caught my attention so I decided to immediately investigate ‘Energy input’ and was treated to the following data screens showing the heat pump’s consumption of energy by day, week, year to date and since commissioning. I was really impressed.

null

null

null

null

Then I decided to look at the data for ‘Produced heat’, was presented with a similar set of data screens and was even more impressed!

null

null

null

null

null

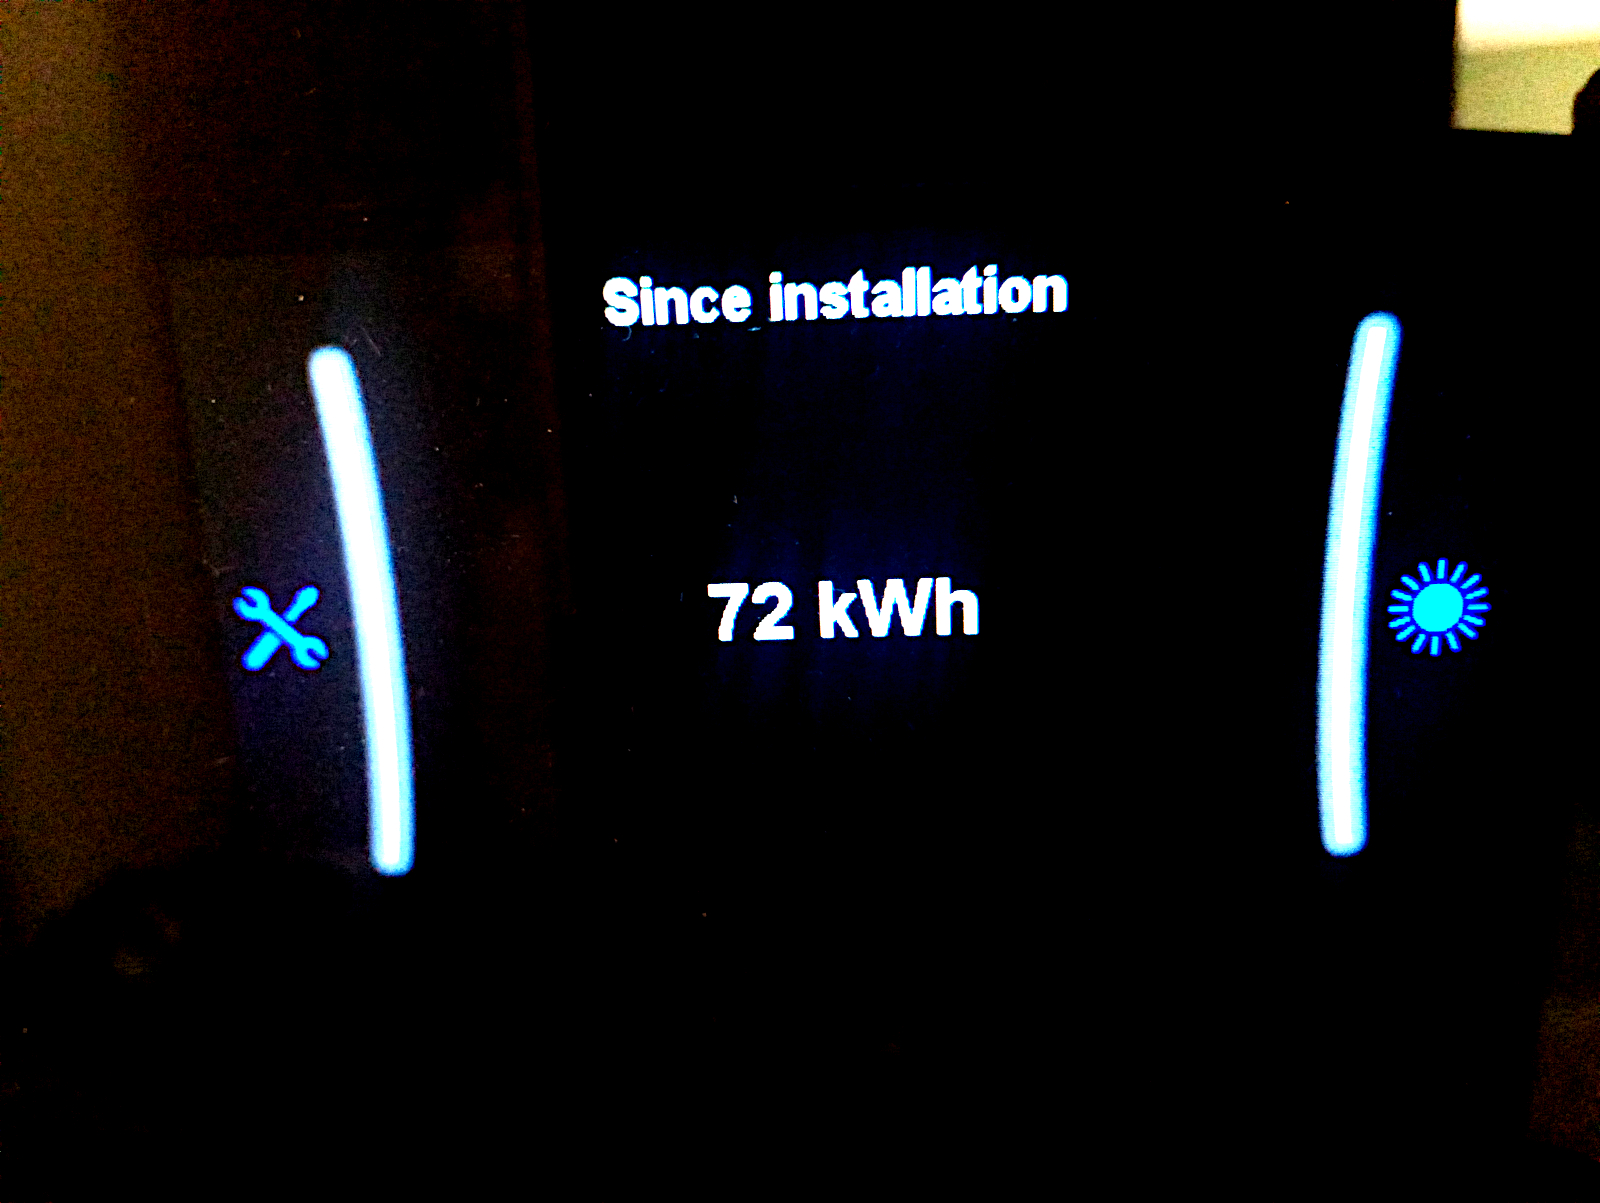
Amazing! So with an input of only 14 kWh since the pump was installed on Thursday it has produced a heat output of 72kWh, over 5 times as much! That figure blew me away. I’ve previously read about heat pumps having a performance factor of 3x but to be getting over 5x I find to be almost unbelievable.

I don’t know what this means for the future – it’s still very early days and the outside temperature is still relatively warm at 16 degrees C. However, the heat pump specification sheet says that even with an outdoor temperature of -15 degrees C the pump can produce an output temperature of 65 degrees C. I find that amazing and very encouraging as I think that that should be quite adequate to keep my new house very cosy through the winter months here in the Dordogne 🙂

A rather fraught day

On Thursday (19th October) an affable young man arrived from Daikin to connect and set up my heat pump. It took much longer than I expected, several hours actually, and he seemed to be on his phone quite a lot.

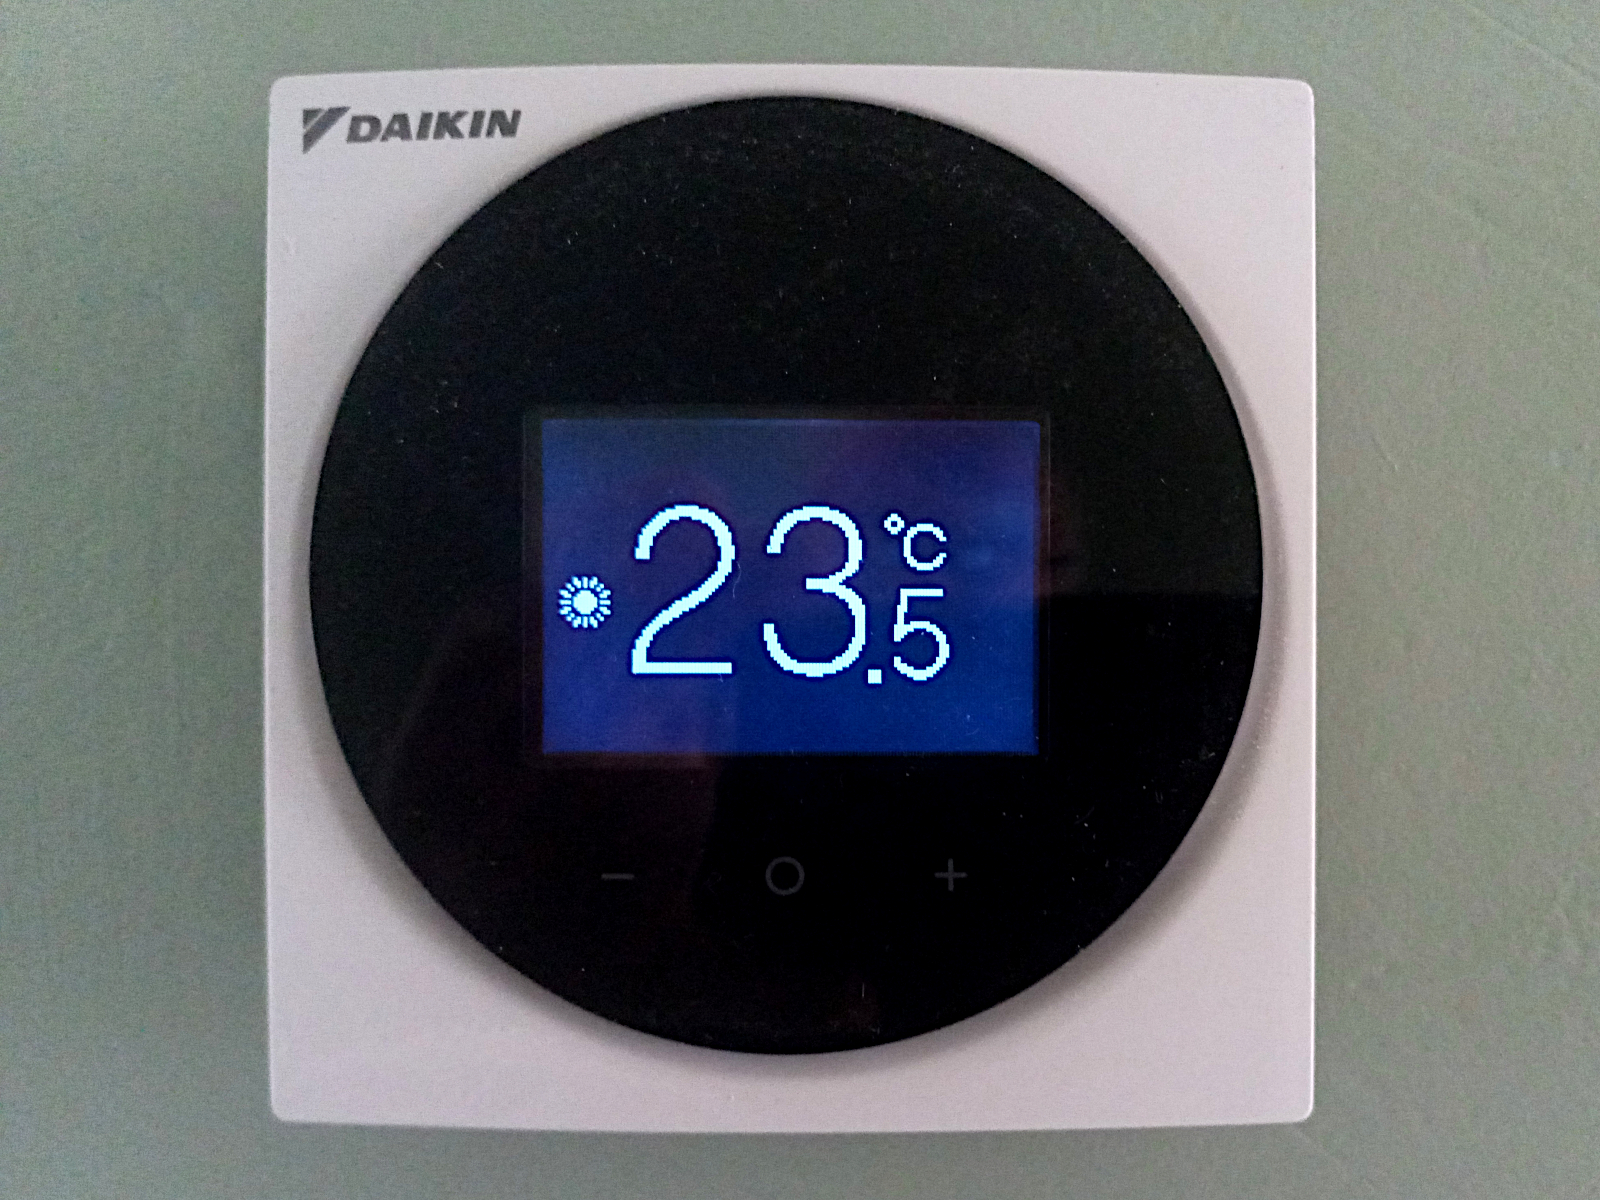
Having arrived at around 9.00am he finished at around mid-day and said that he’d give me a quick run through of the controls. For that we went up to the wall-mounted thermostat in the corridor and he implied that everything I needed to do I could do from there. First he showed that when you initially touched it, it would light up and show the room temperature ie the temperature of the space it was in.

null

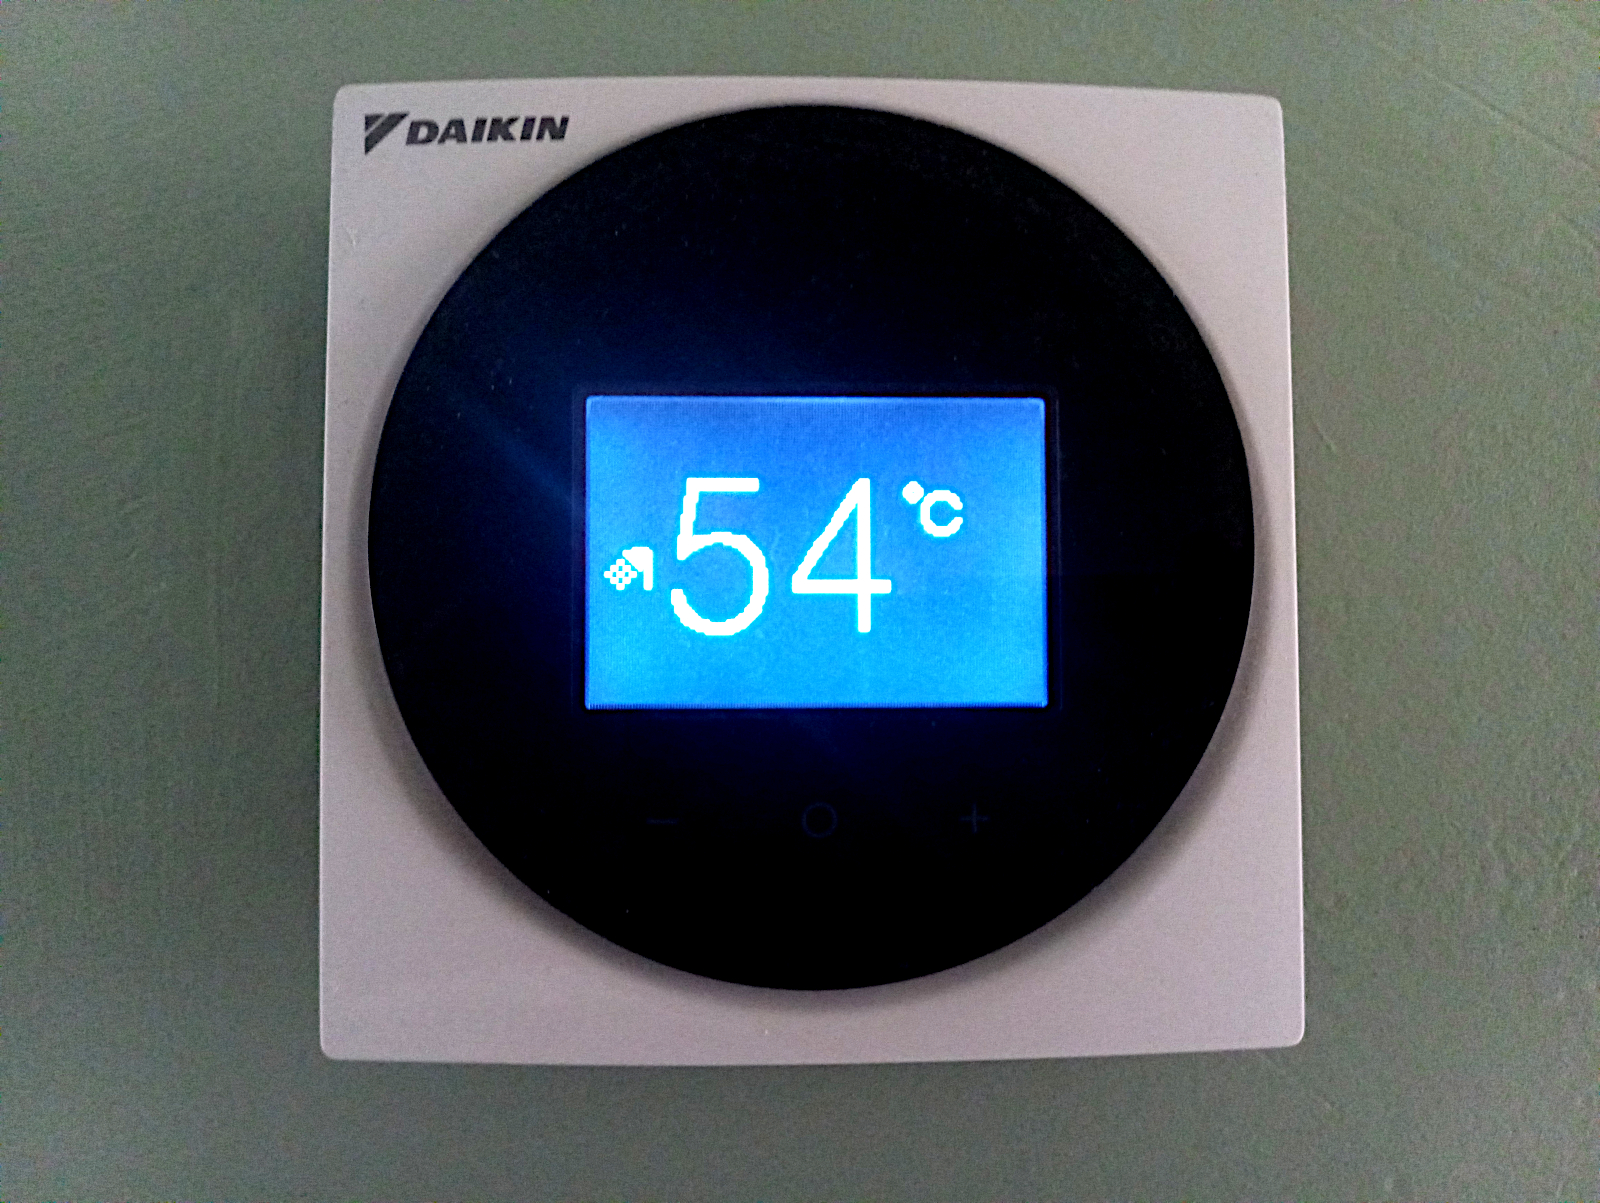
Then he showed that by touching the button again you could see the hot water temperature. In the following image it is at 54 degrees C but when he showed me it was only at 45 degrees, much too low. Nevertheless, he said that I’d be able to have a hot shower by the afternoon.
null

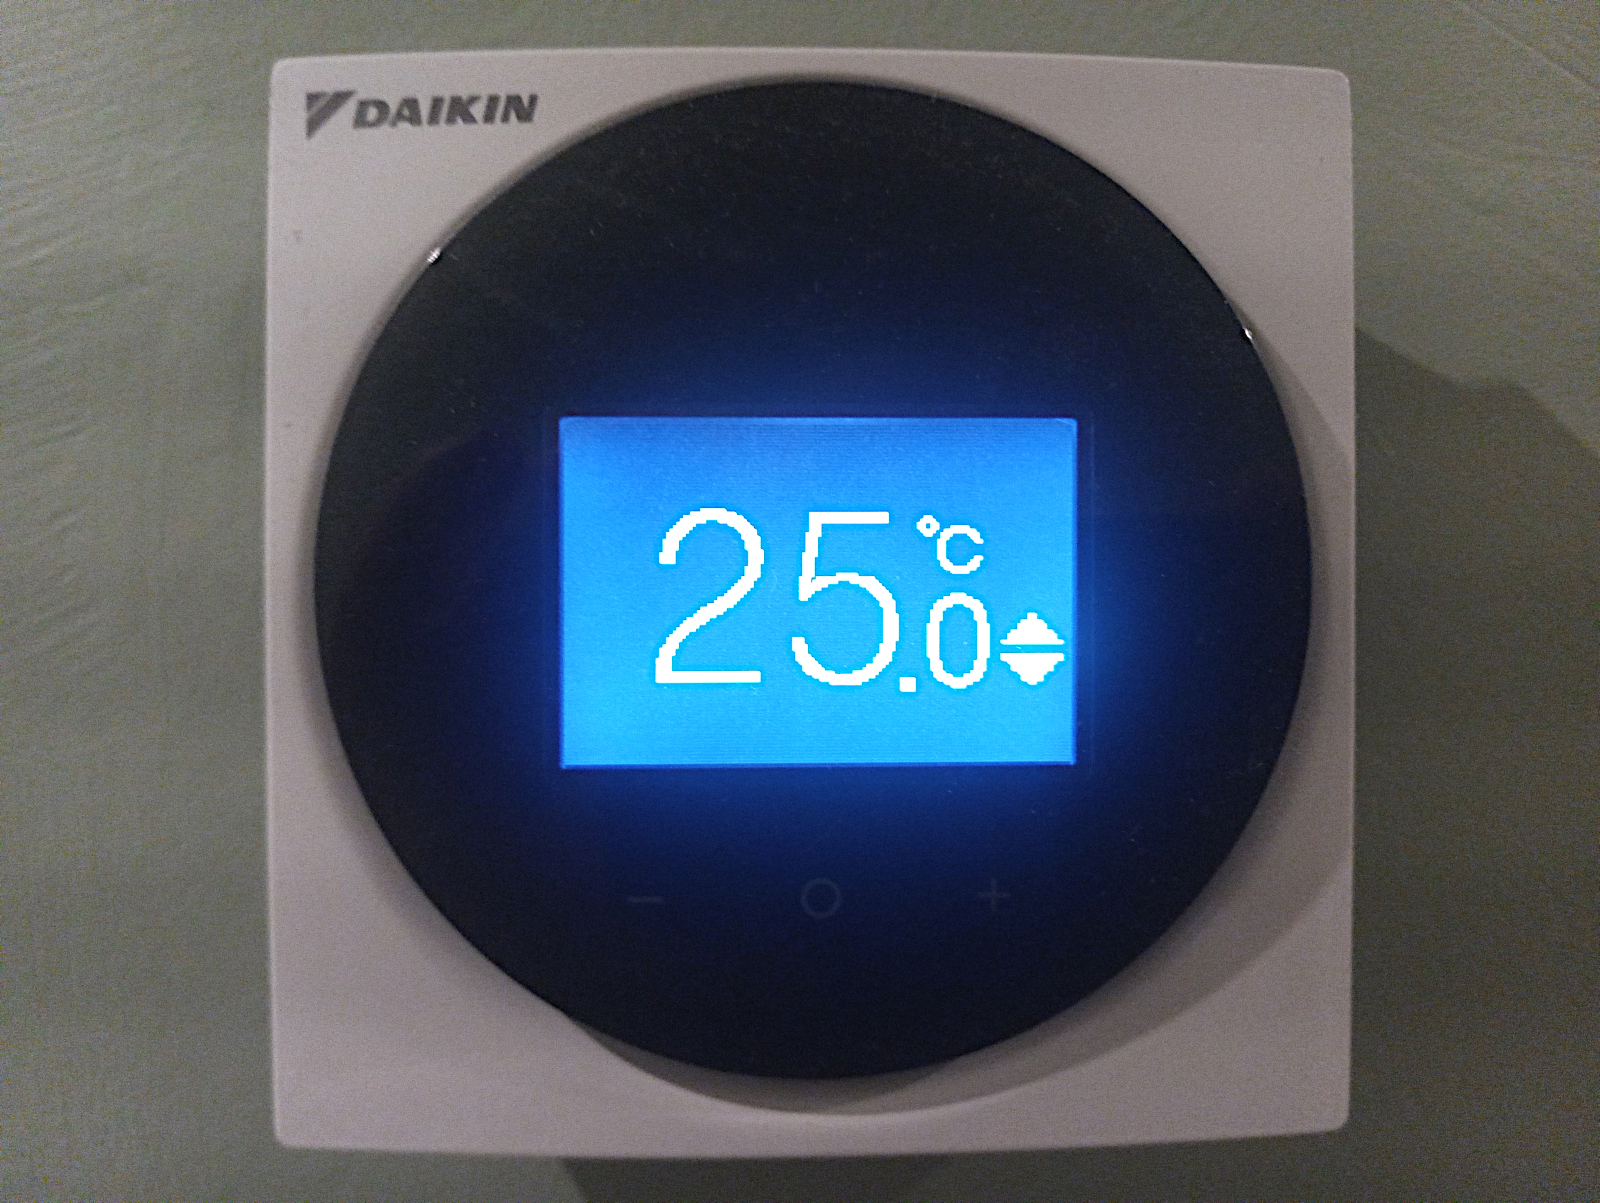
Then he demonstrated how to see the temperature of the floor heating and said that by increasing or decreasing that on the thermostat you could change the room temperature, which seemed pretty logical and straightforward.

null

So after he’d gone I waited to see what would happen and the result was nothing. The hot water temperature remained at 45 degrees and no matter how much I fiddled with the thermostat setting I couldn’t get it to change either upwards or downwards. And the same with the heating system.

A massive wad of papers came with the heat pump and one of them was a user instruction manual for the thermostat tweely referred to as a Human Comfort Interface so you immediately suspect it to be cobblers, which it was. It said that you could change settings on it and I was mainly interested in the hot water temperature which failed to respond to the simple instructions contained in the manual.

I immediately suspected a fault in the heat pump thinking that was why the engineer was on his phone for so long and scooted off so quickly and sent a snotty message off to Daikin Europe saying that I was rather unimpressed. However, being an inquisitive soul and fairly tech-savvy I decided to take a peek at the main heat pump unit that I’d previously already discovered while I was waiting for the pump to be connected had a master menu of its own.

The engineer had not shown me this at all and I suspect he didn’t know his way around it and after I’d changed the language from French to English I started to pick my way through it. One of the first things I found was that there are two heat settings for the hot water – Eco, the minimum setting and Comfort, the higher, both of which are user-settable and both of which were at 45 degrees C, the first clue.

So I left Eco at 45 degrees at set Comfort to 55 degrees, a much more usual temperature for domestic hot water. I also adjusted the settings for room temperature, 24 degrees and floor temperature increasing the latter to 28 degrees in an attempt to evoke a response but still nothing changed.

Paging through the menu I then found that there were sub-menus for some settings and the interesting one for water heating was ‘schedule’. I wondered if the reason why nothing was happening was because the system needed a schedule to work to and entered one for the day (Thursday) the best I could. Nothing seemed to change so then I paged through to see if heating needed a schedule too, which seemed logical.

And sure enough it did, so I went ahead and entered one for that too, setting one up for Monday which I then copied and pasted for all of the other days of the week. Then I went to check what was happening on the Human Comfort Interface and was astonished to find when paging through its menu that the hot water temperature had already increased to over 51 degrees C! So I was on the right track.

So I then went ahead and set up proper schedules for both hot water and heating and both systems are now working as intended. I’m not saying that I understand them fully as there is at least one other temperature in the menu that you can change but whose relevance I don’t know and the instructions provided in the main wad of paper are scant and aimed more at the installer it seems to me, than the user. But the house is comfortable and I can now start to fiddle with settings to see what happens.

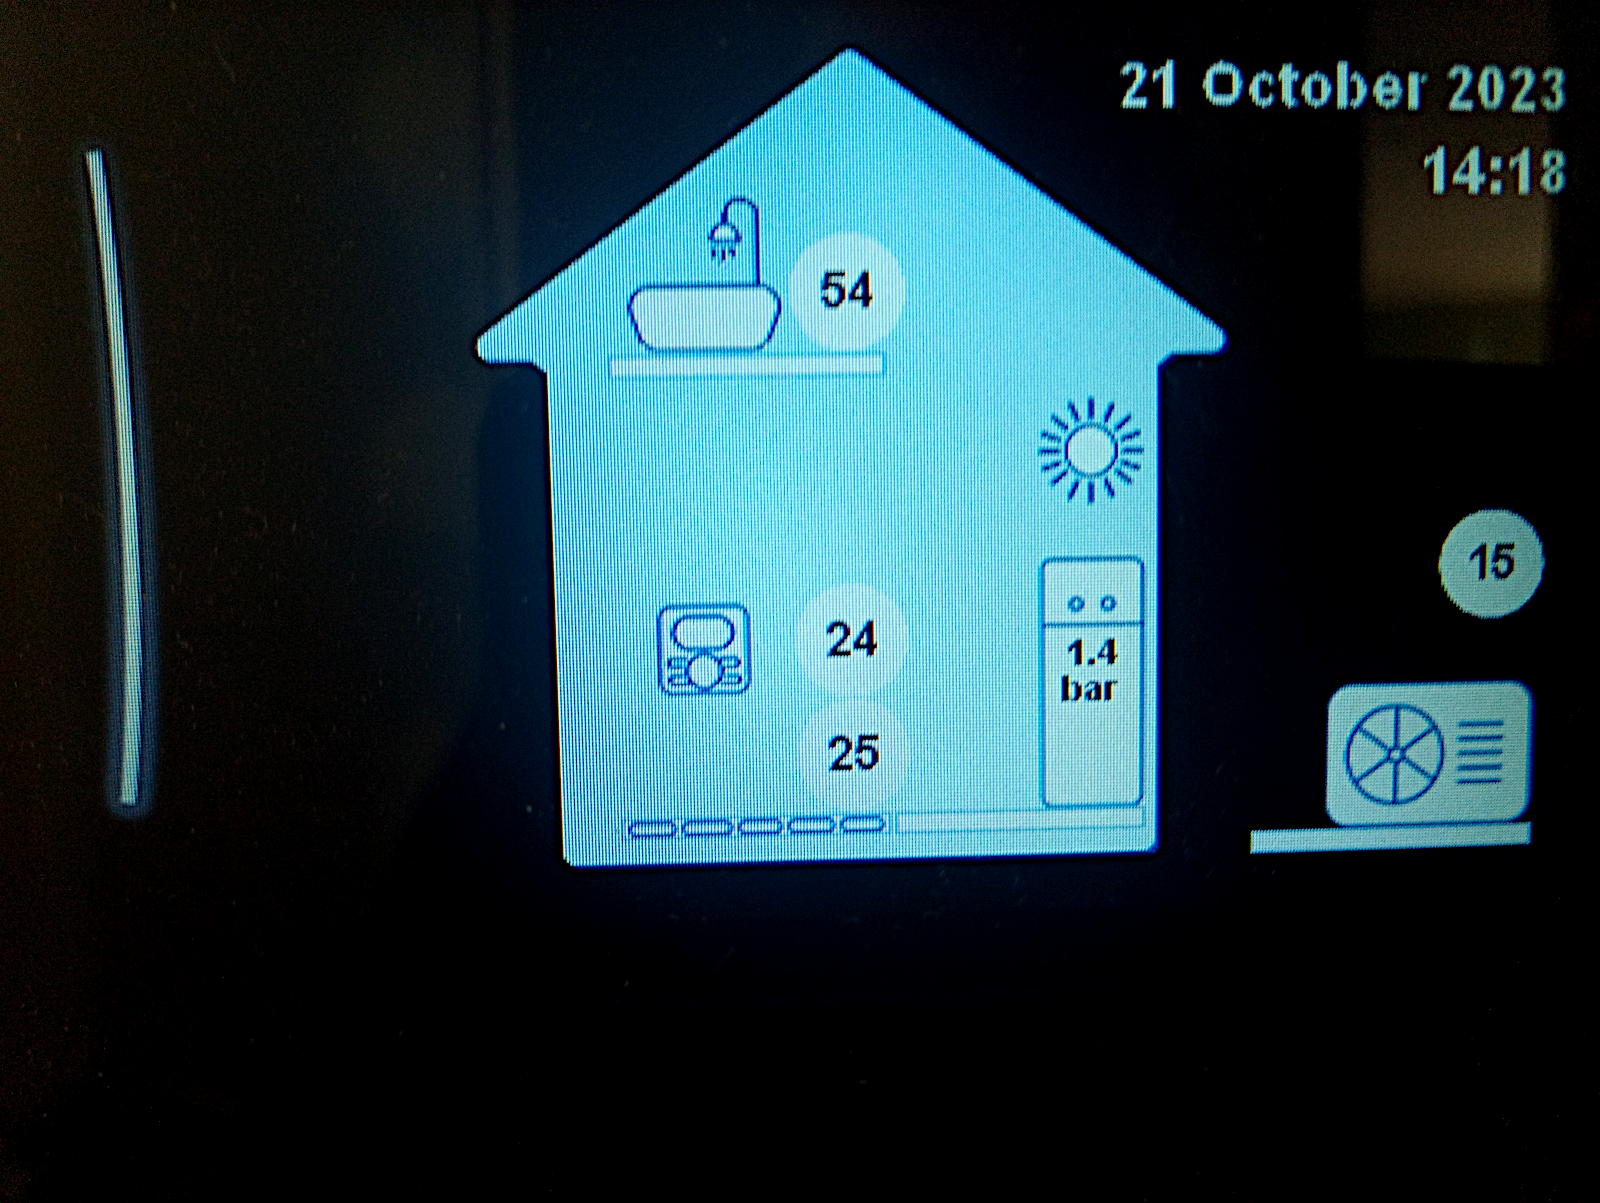
Here’s how the pump unit main menu currently looks with hot water at 54 degrees C, room temperature at 24 degrees, floor temperature at 25 degrees and an outdoor temperature of 15 degrees.

null

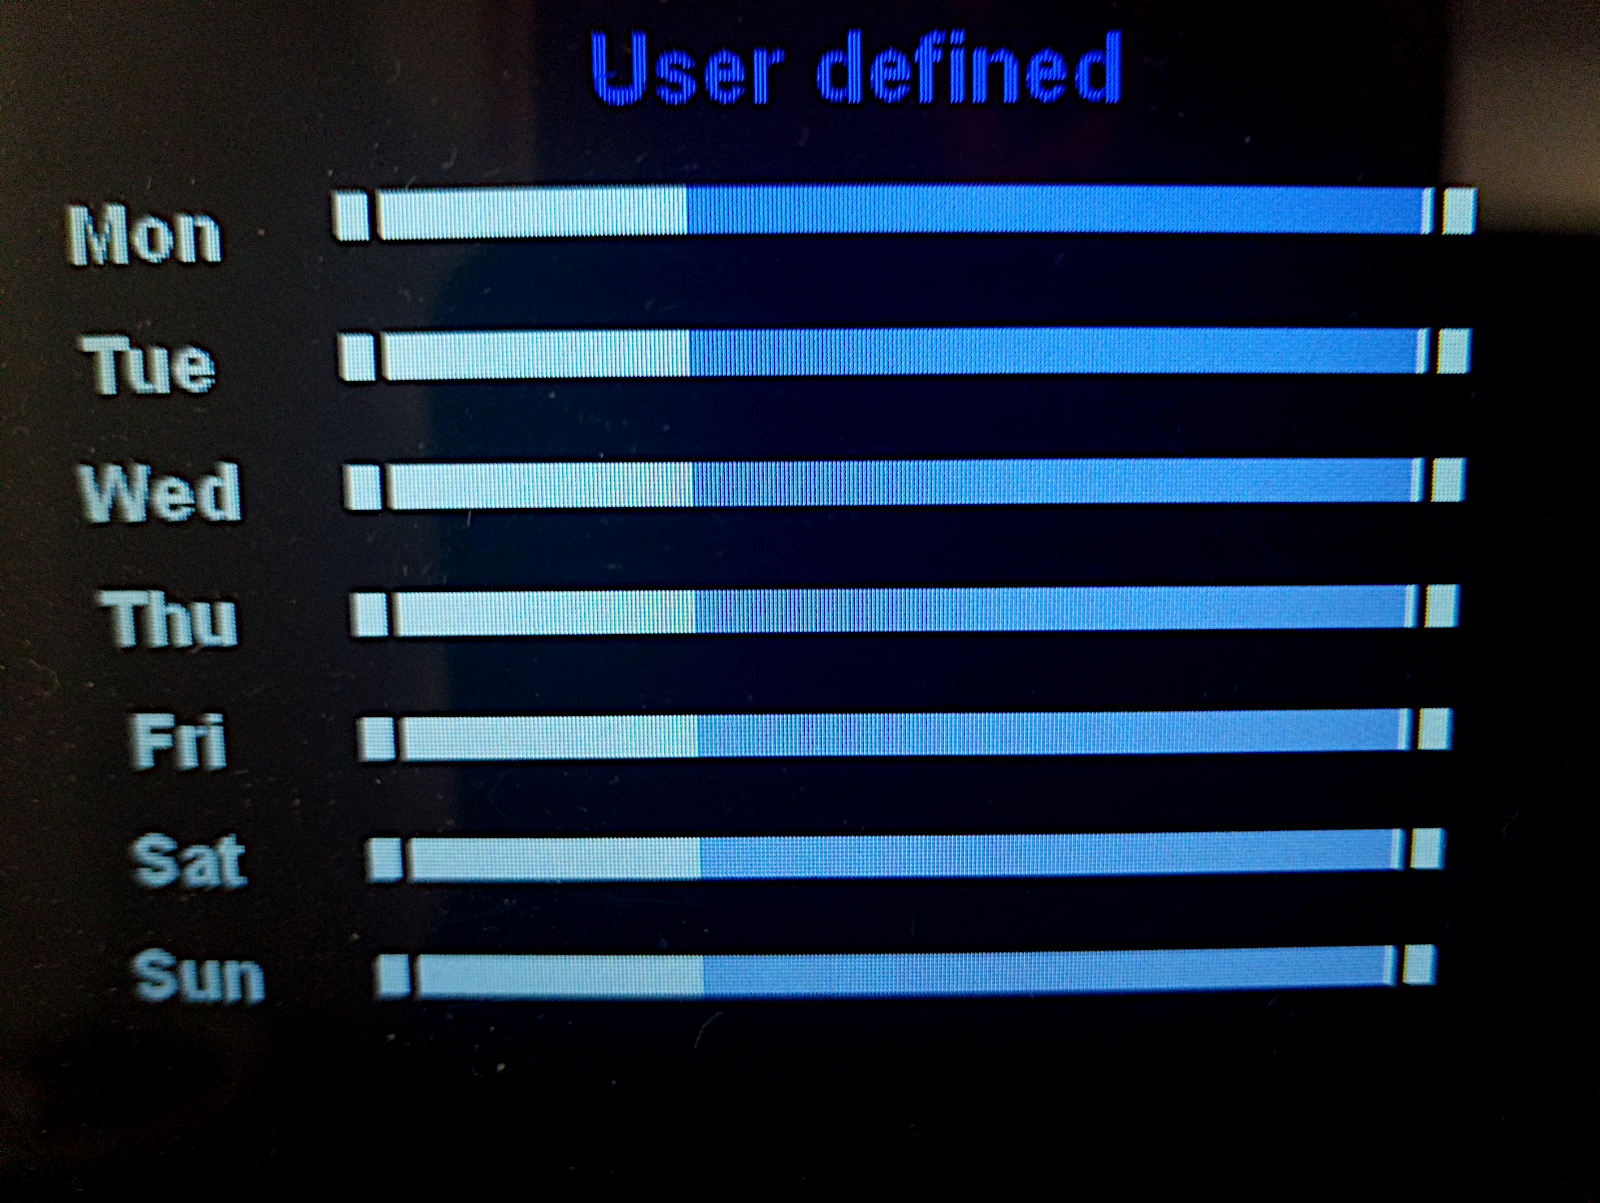
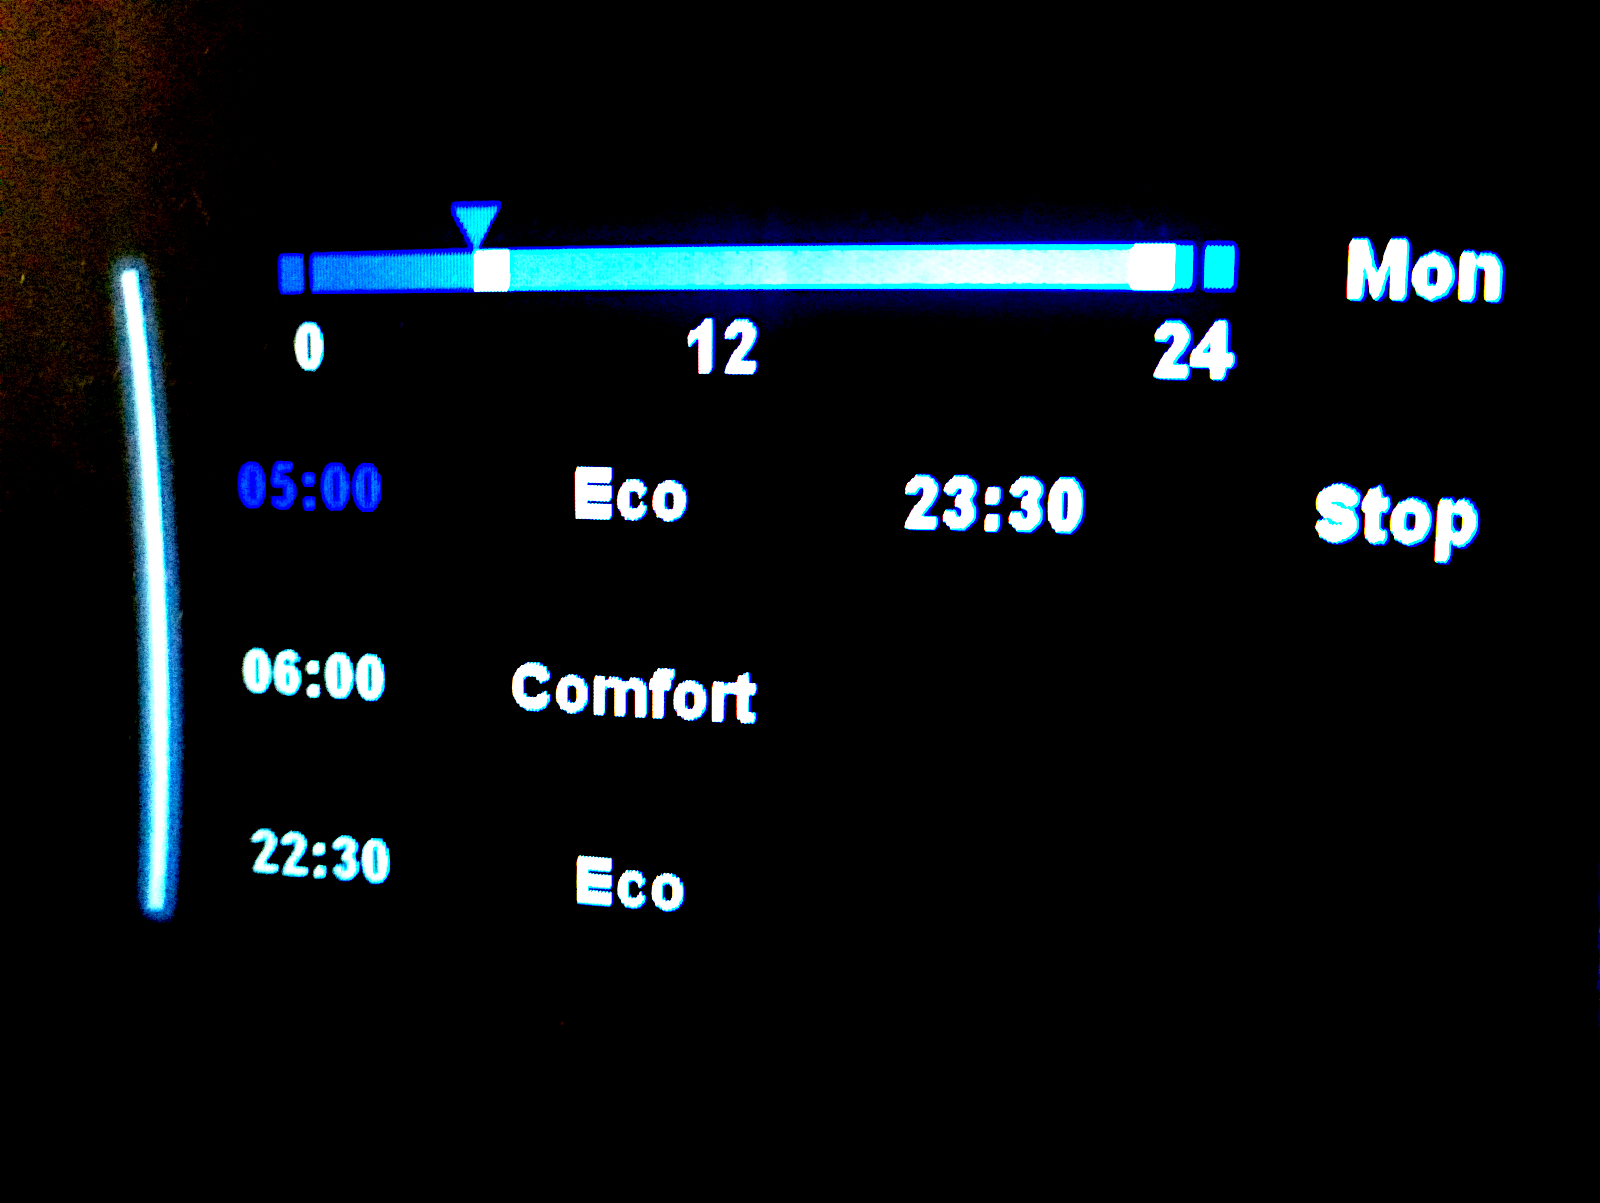
The next two images show what a schedule screen looks like and the daily schedule I’ve set up for hot water, referred to as ‘tank’.

null

null

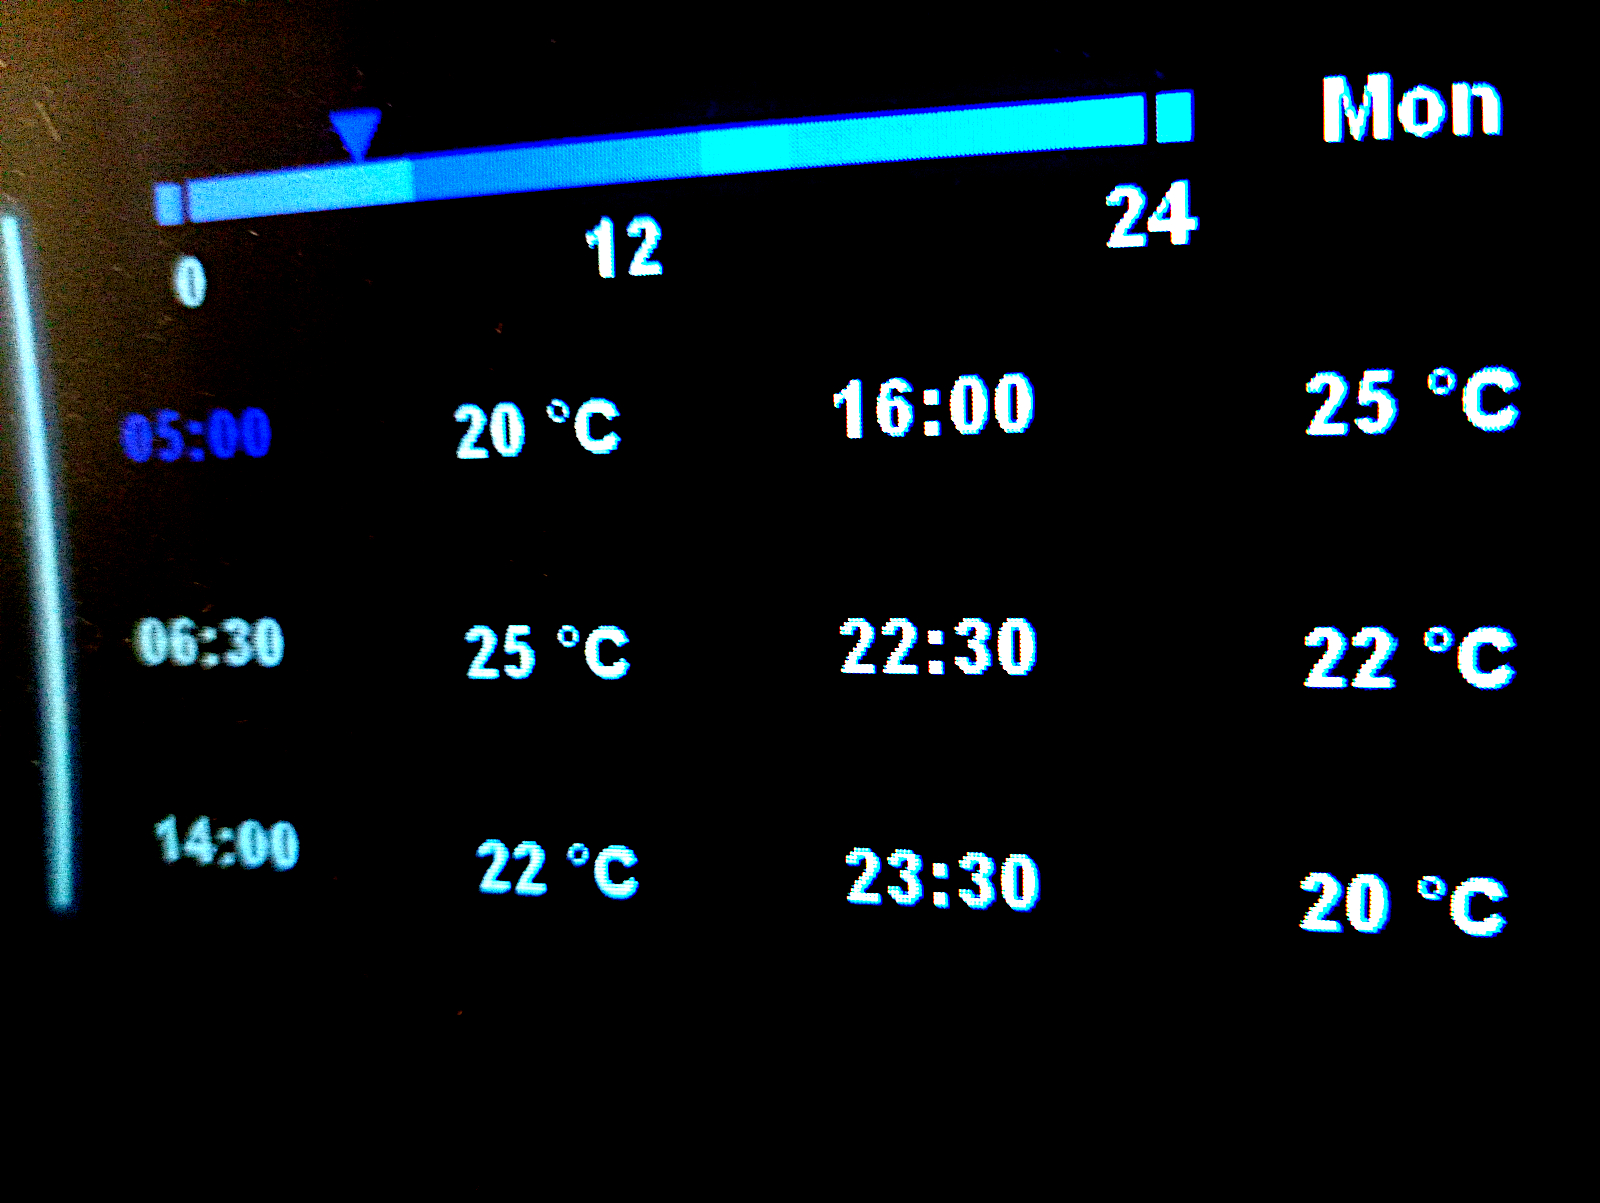
And the final image shows the schedule I’ve set up for heating.

null

What I find slightly annoying is that none of this was explained to me by the Daikin commissioning engineer and I’ve had to find it all out for myself. He didn’t even show me the main menu on the heat pump unit and I don’t know how someone less tech-savvy than me would have fared as I’ve failed to find a Youtube video that explains this stuff despite the engineer saying there are several and the paperwork doesn’t cover it in sufficient detail. Shame on Daikin! Their heat pump seems to be working but their instructions seem to me to leave more than a little to be desired 😐

Ouch again!

The deed is done. I’ve ordered the Ikea fitted wardrobe/storage units for both bedrooms 1 and 2 and have arranged to pick them up from Nantes on Friday. And it’s even more painful than I thought because there’s no way that everything will fit into my car. The alternative would be to load it all onto my large trailer but somehow I don’t think I can risk having 10 mirror doors worth 950€ bumping along in my trailer for the 400 kms from Nantes to Fleurac. So I’ve decided to play safe and hire a van for the job which will add around another 150€ to the cost.

But there’s a sting in the tail. Ikea Nantes does not have one small 50cm wide cabinet carcass in stock so I tried to order that from Bordeaux for pick-up at their ‘point relais’ in Trelissac, incurring a delivery cost of 29€. No, Ikea want to play silly beggars yet again. For some reason they have decided that delivery to a ‘point relais’, that’s any ‘point relais’, will not be permitted and that it must be delivered to my home for which the delivery charge will increase to 39€.

This will be the last time I buy anything from Ikea. At least I hope so. It’s all been so painfully difficult 🙁

Ouch!

I think I’ve cracked my Ikea conundrum. As a reminder, it’s when you can apparently create a product to your required spec using the design tool on their web site but when you come to order it you find that certain items are unavailable either for collection, in store or from a ‘point relais’, or for delivery. If not, why are they still being offered for sale on their web site, you might ask?

Well, it appears that Ikea are playing a special game without telling anyone. If you check availability more closely you find that you can check out other stores to see if they have the item(s) you need. When I did so I found that just one in the whole of the western sector of France, possibly in the whole of France outside Paris did have. And that’s in Nantes, a 5 hour, 250 mile (400 km) drive away.

I remember that when I was helping my friend Val with her Ikea kitchen down in the Languedoc we had a similar problem, having to go to Toulouse for everything, not quite as far as from my house to Nantes but far enough. But there’s a catch. The absolutely key item for my project not available except at Nantes is the 50 cm wide mirror fronted door, of which I need ten, five per bedroom. However, if I go through the process of placing the total order for collection from the Nantes store I find that there they are missing the 50 cm wide carcass, of which I require two, again one for each bedroom.

First you ask yourself how come a global organisation like Ikea can be in such a ridiculous pickle as far as stock control is concerned. Then you have to try to work out how to get around the problem as there’s no way that you can influence them to solve it for you. Leroy Merlin would order the missing item(s) into their local store for you and let you know when they’re available to pick up but from the evidence available I think it would be futile to think that Ikea might do the same. So what do do?

It looks as though the way to go is to knock the 50 cm wide carcasses off the order placed on Nantes and drive there to pick up everything else that’s available. I think I can then place a separate order on the Bordeaux store for the 50 cm carcasses for collection at a ‘point relais’, the closest being at Trelissac near Brico Depot. For that I’d have to pay an extra delivery charge of 29€, which is annoying, but at least I’d then have what I need to complete bedrooms one and two which would otherwise be at a standstill 😐

Alternatively it appears that I could order everything from Bordeaux except the mirror doors for pick-up from Trelissac for a delivery charge of 29€ and then just drive to Nantes for the doors. This would be a much better option as I’d only have to transport the bulk of the goods over a much shorter distance.

Priorities

I’ve come to a decision. Yesterday I fitted as much of the plinth as possible in bedroom one before the proposed Ikea wardrobe unit is installed and I like the result even though in my opinion the plastic brackets that attach it to the wall are too flimsy and allow it to bell away in places from the wall surface.

null

null

null

null

null

However, on checking as on every other occasion I’ve tried, various items are ‘unavailable’ at Ikea either for collection or delivery. Notably these include the mirror fronted doors which are key to the whole bedroom design. When I attempt to place the order I am invited to either delete them (yes Ikea, really sensible) or add them to an ‘I’d love to have’ list.

This means that unless and until this situation is clarified I am totally unable to proceed any further with work in bedroom one and I have the opportunity therefore to move over onto painting my shutters. However, I have to complete and deliver my newspaper piece by the end of this week so have decided instead to press on and complete that today if possible, or by tomorrow at the latest.

But this does not mean that the shutters will be left out in the elements if, or rather when, the weather changes. They have to come off to be painted and they are not necessary to protect the walls or windows. So there’s nothing to stop me taking them down and storing them in the barn with my aircraft until next spring. That will remove the pressure I’m under and break my mental log-jam. Job done.

Reset – try again

Before going to bed last night I took a good look at the floor I’d just laid in bedroom one and realised that it was awful. There were a couple of sheets in the centre of the floor that were hardly connected to their neighbour at all and moved as you walked over them. And it wasn’t down to the product. I was the one who was at fault.

By the time I’d got to the last few rows yesterday I realised that my original technique was at fault and I’d been trying too hard to get the sheets to connect. The long edges are key and you don’t have to force them together. All you have to do is gently angle up the back edge of the sheet you’re connecting to the one in the row above that’s already down and gently push its leading edge forward. Then it clicks in.

And I was unfair. Sure, this product doesn’t clip one sheet to the next but if you do as I’ve said above, when both sheets are lying flat they wedge tightly together. The end joints are a bit more problematic but by slightly raising the end of the sheet to the left that you’ve previously laid and aligning it with the one you’re now laying they push together to get a nice joint, not always completely but always enough for a good appearance.

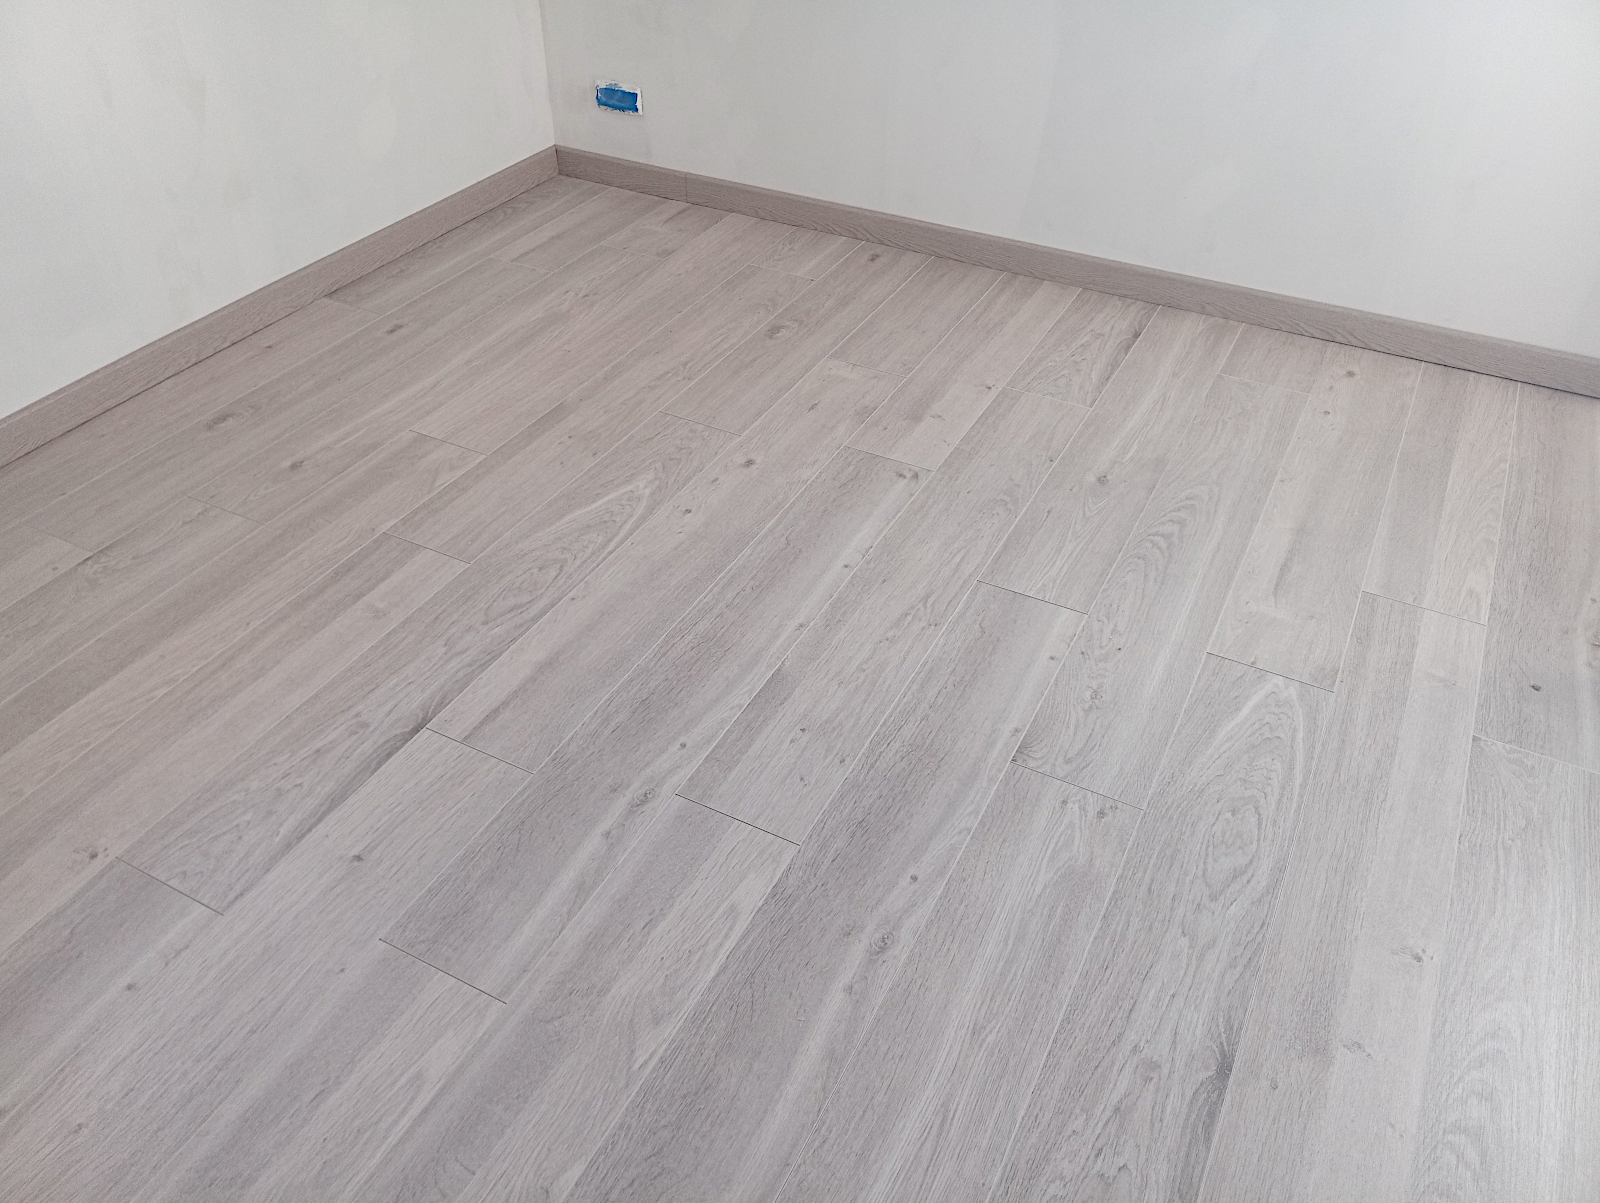
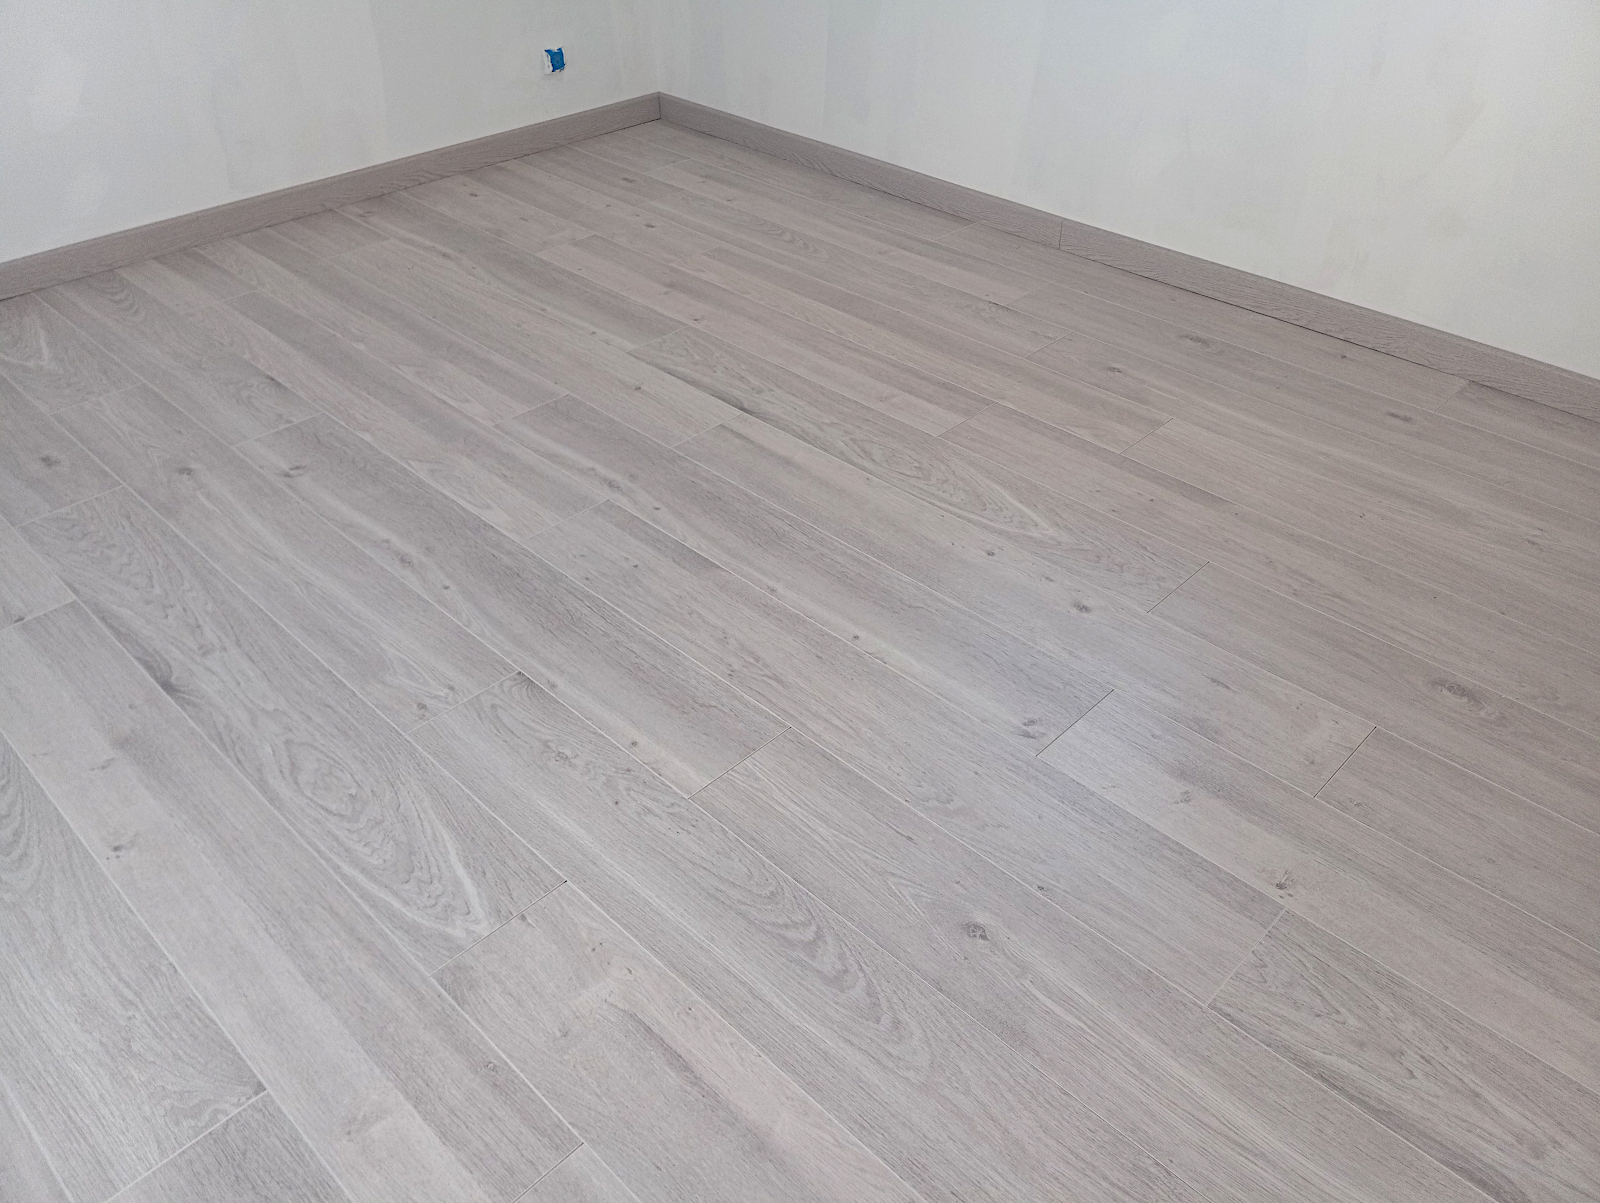
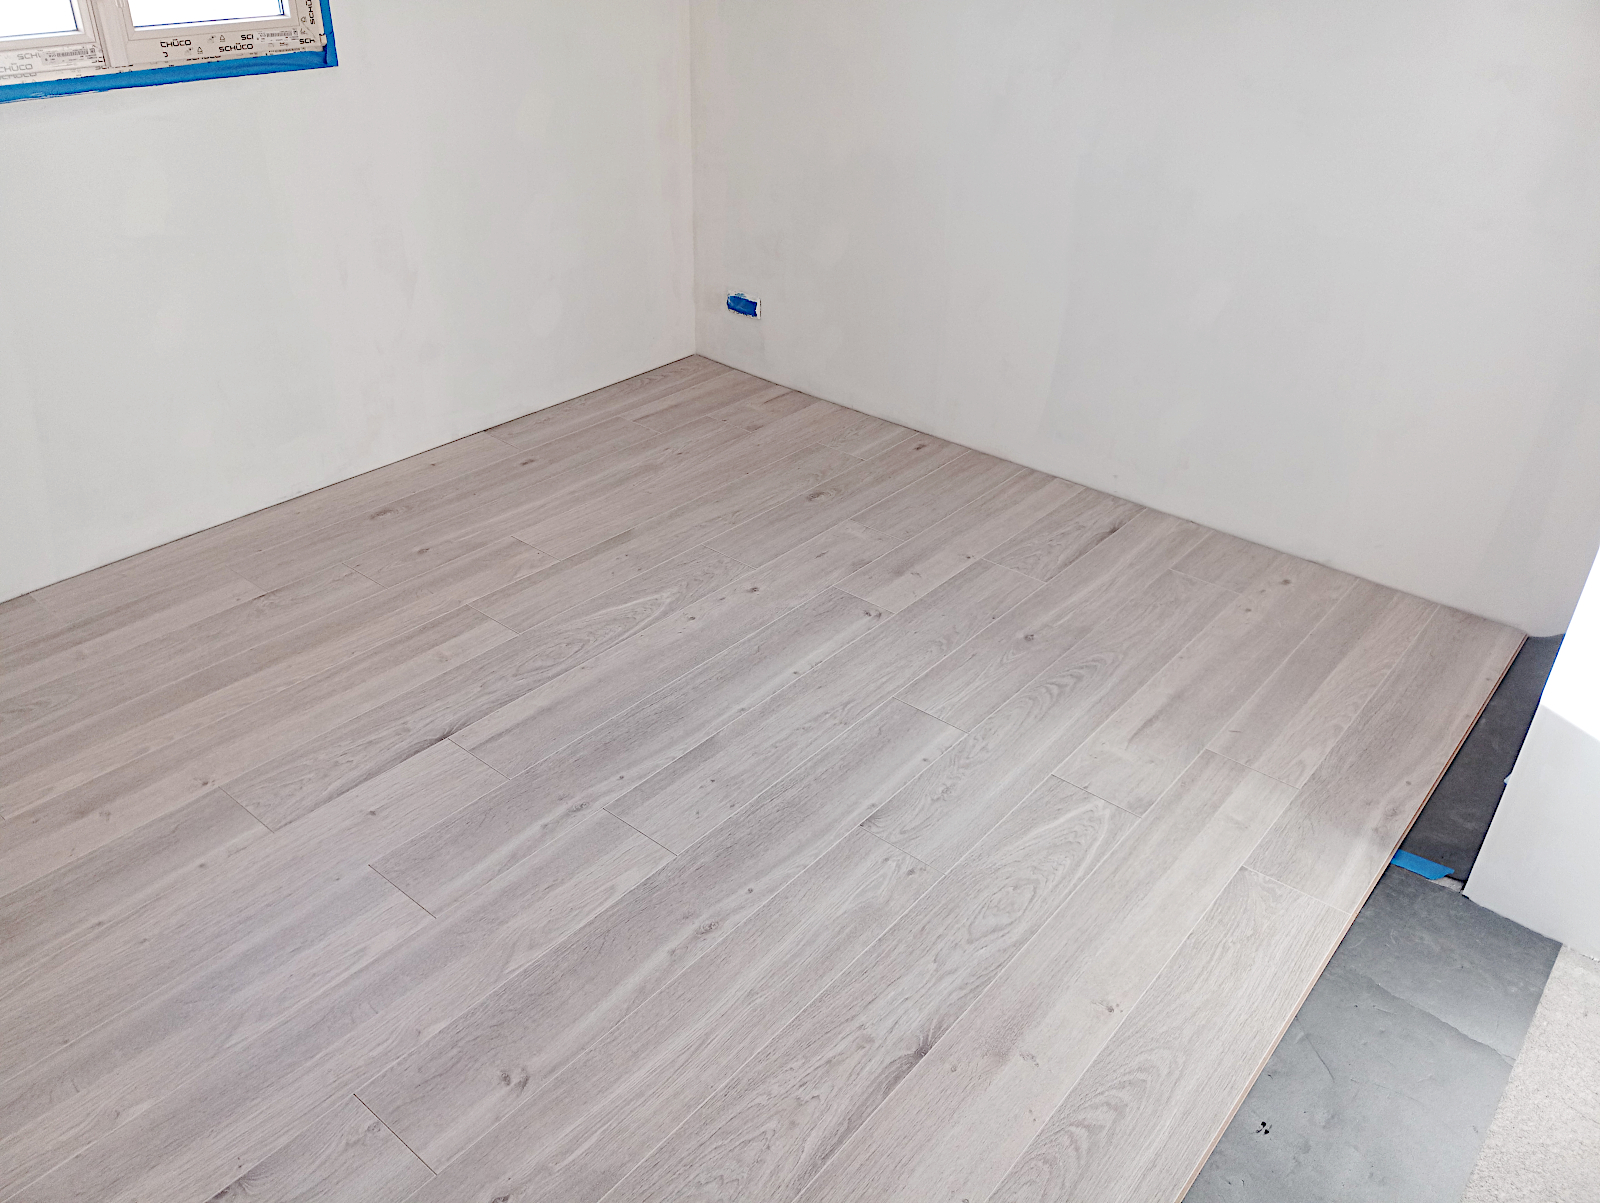
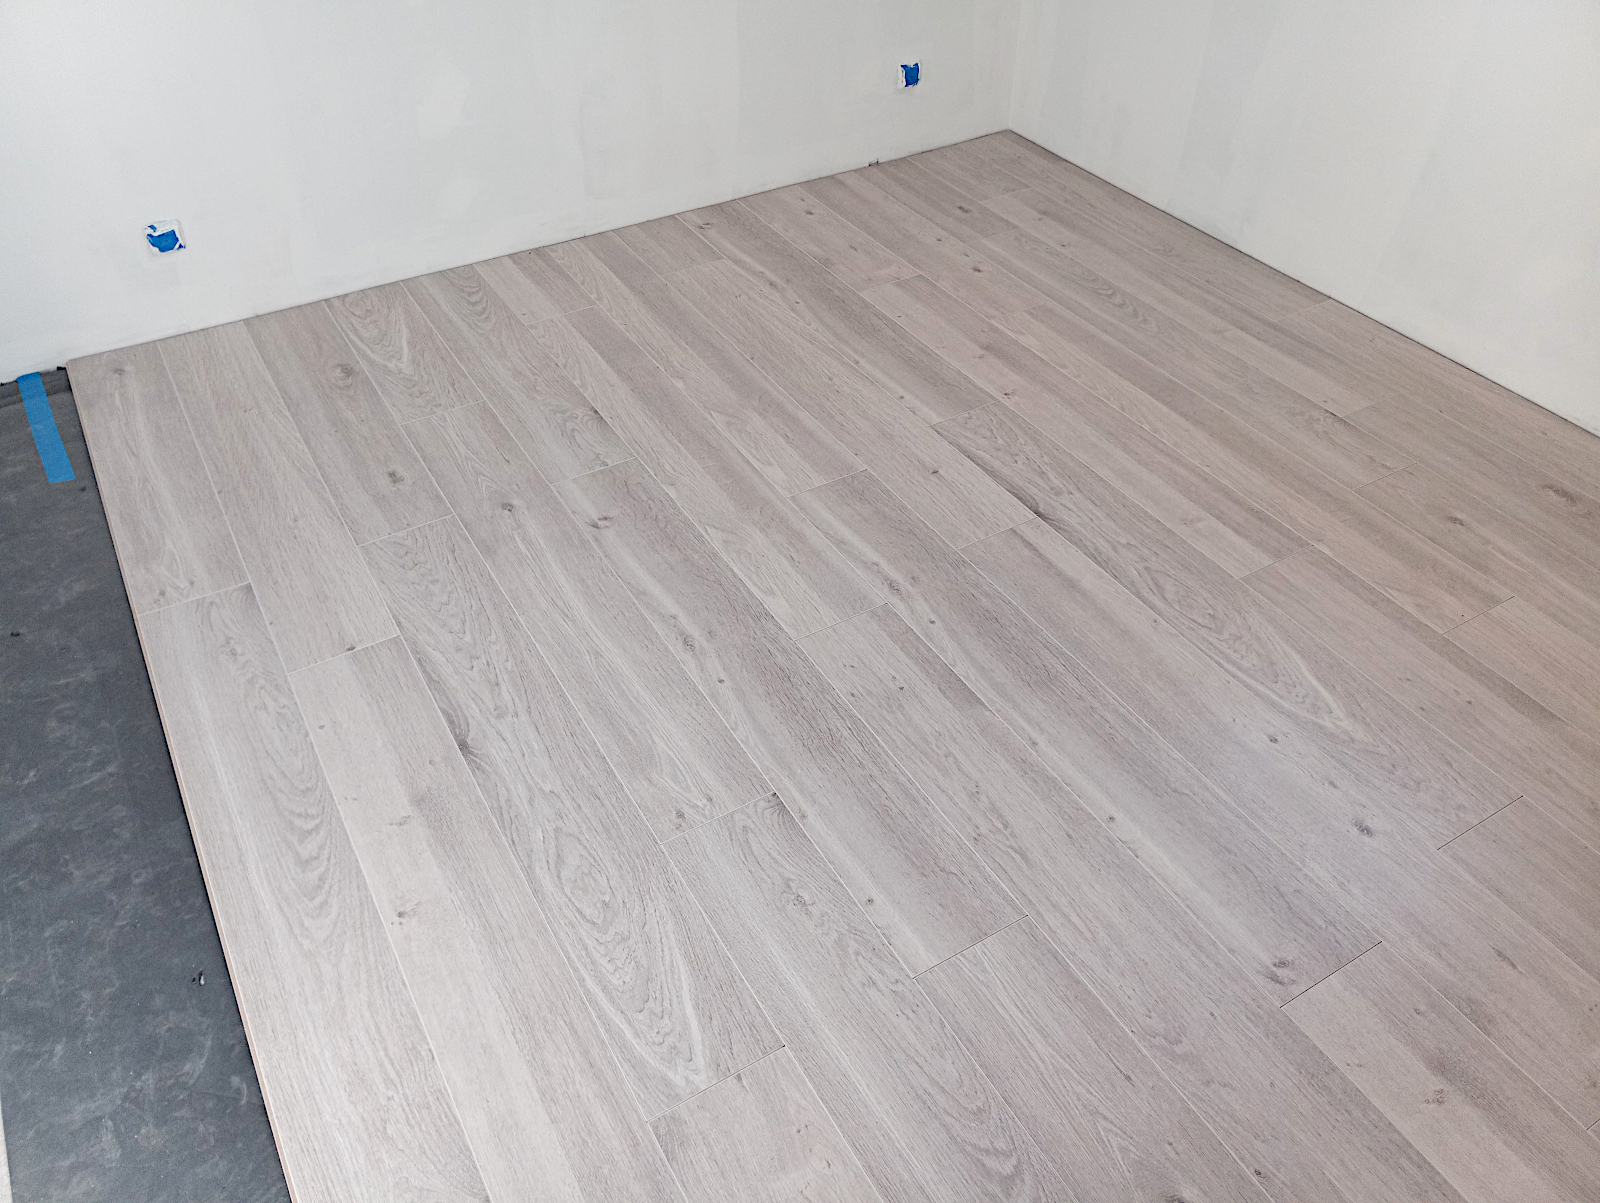
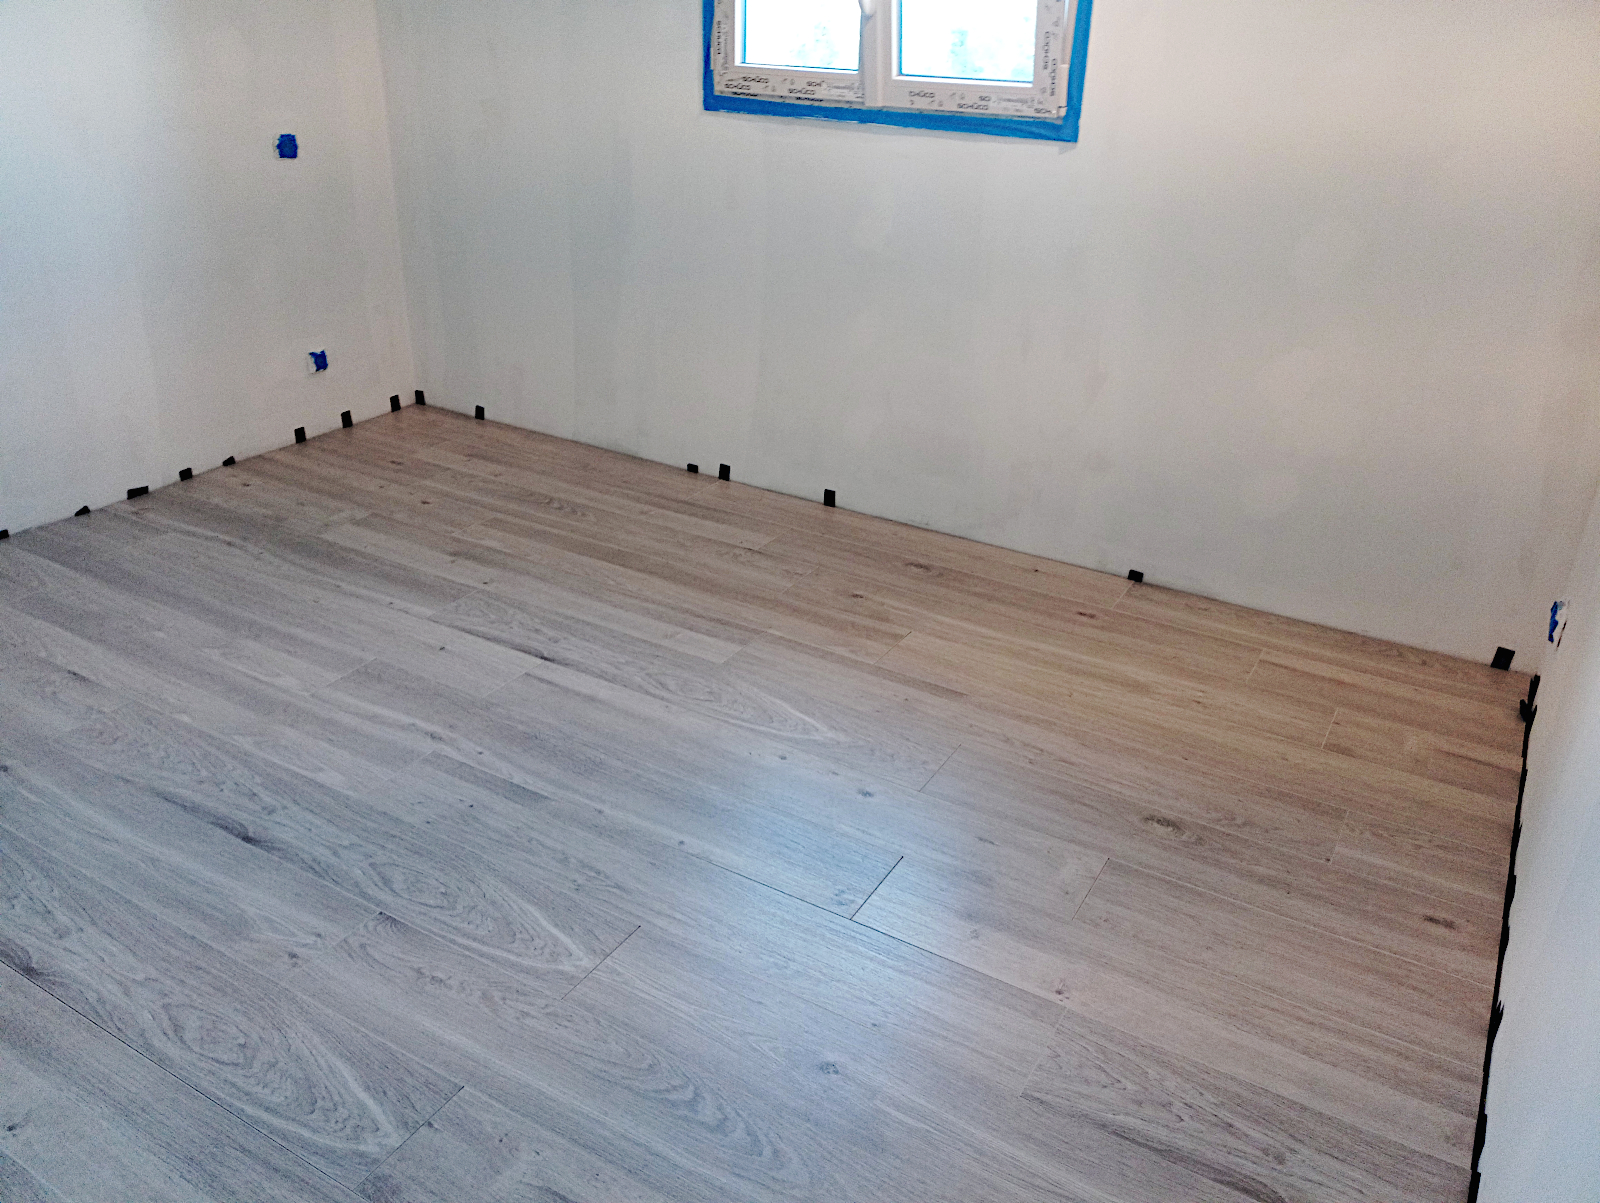
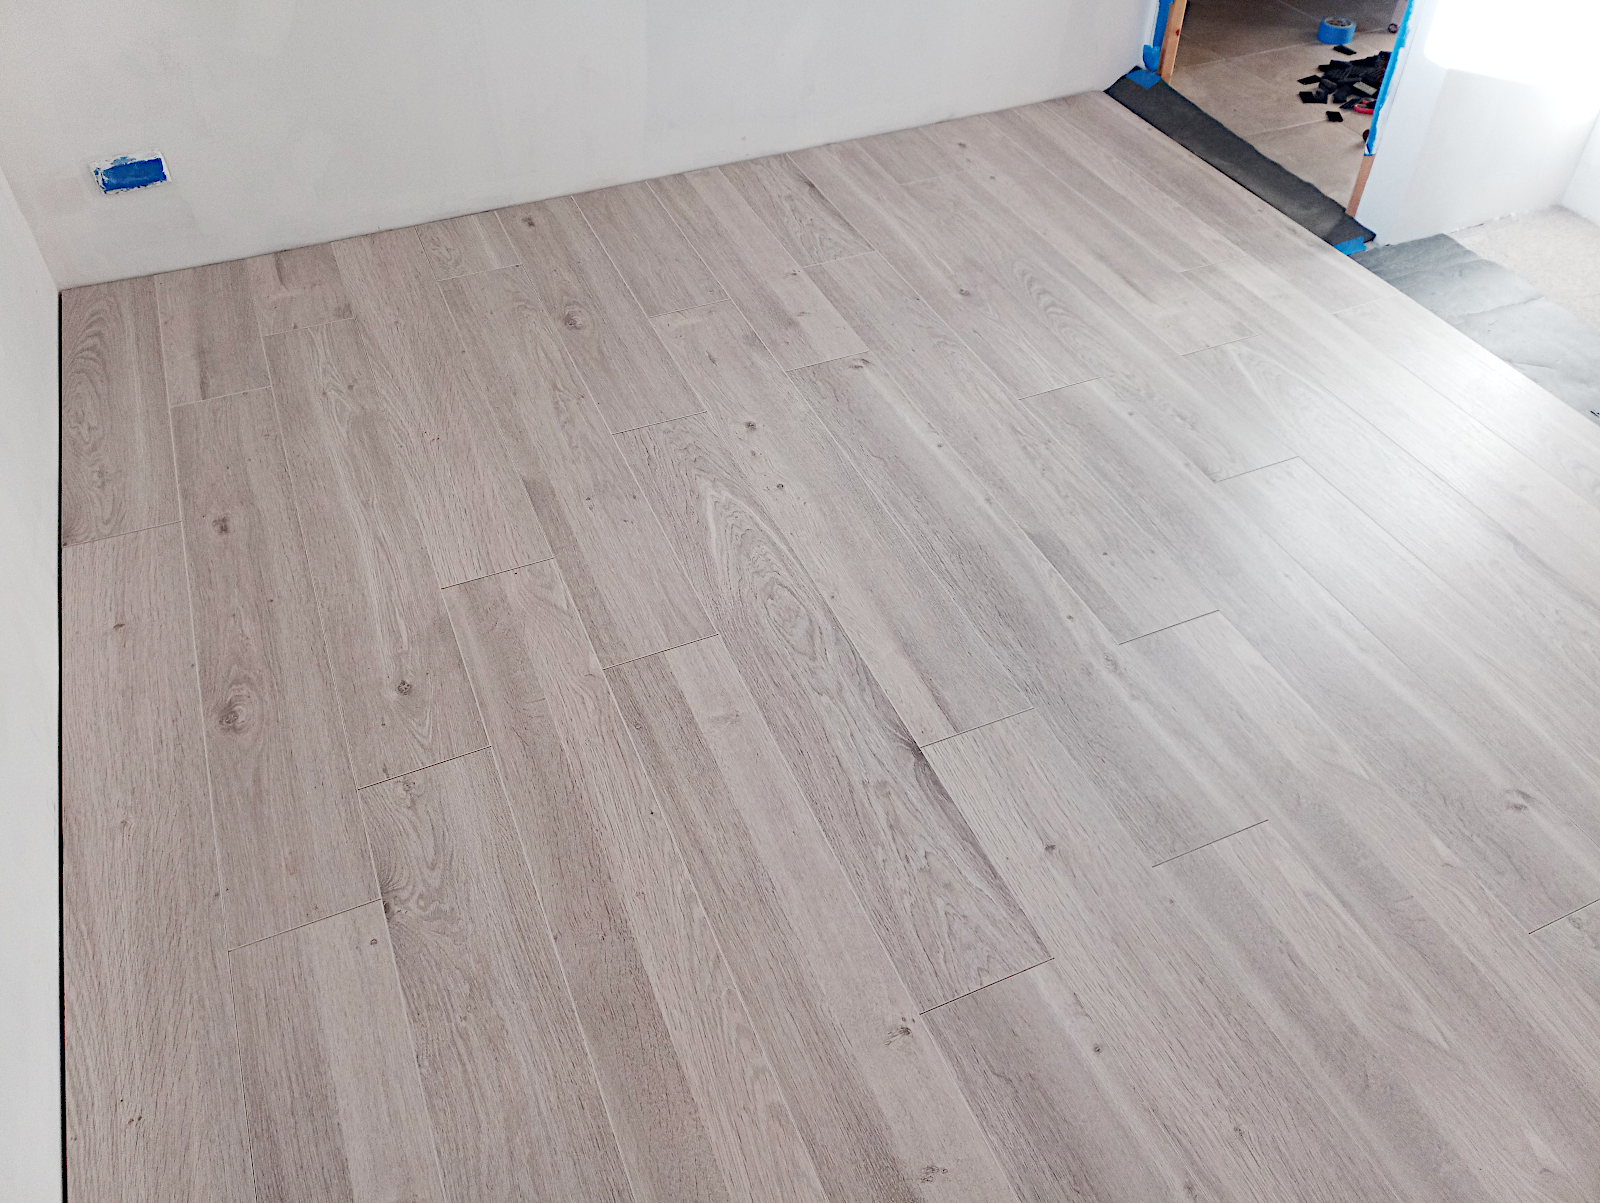
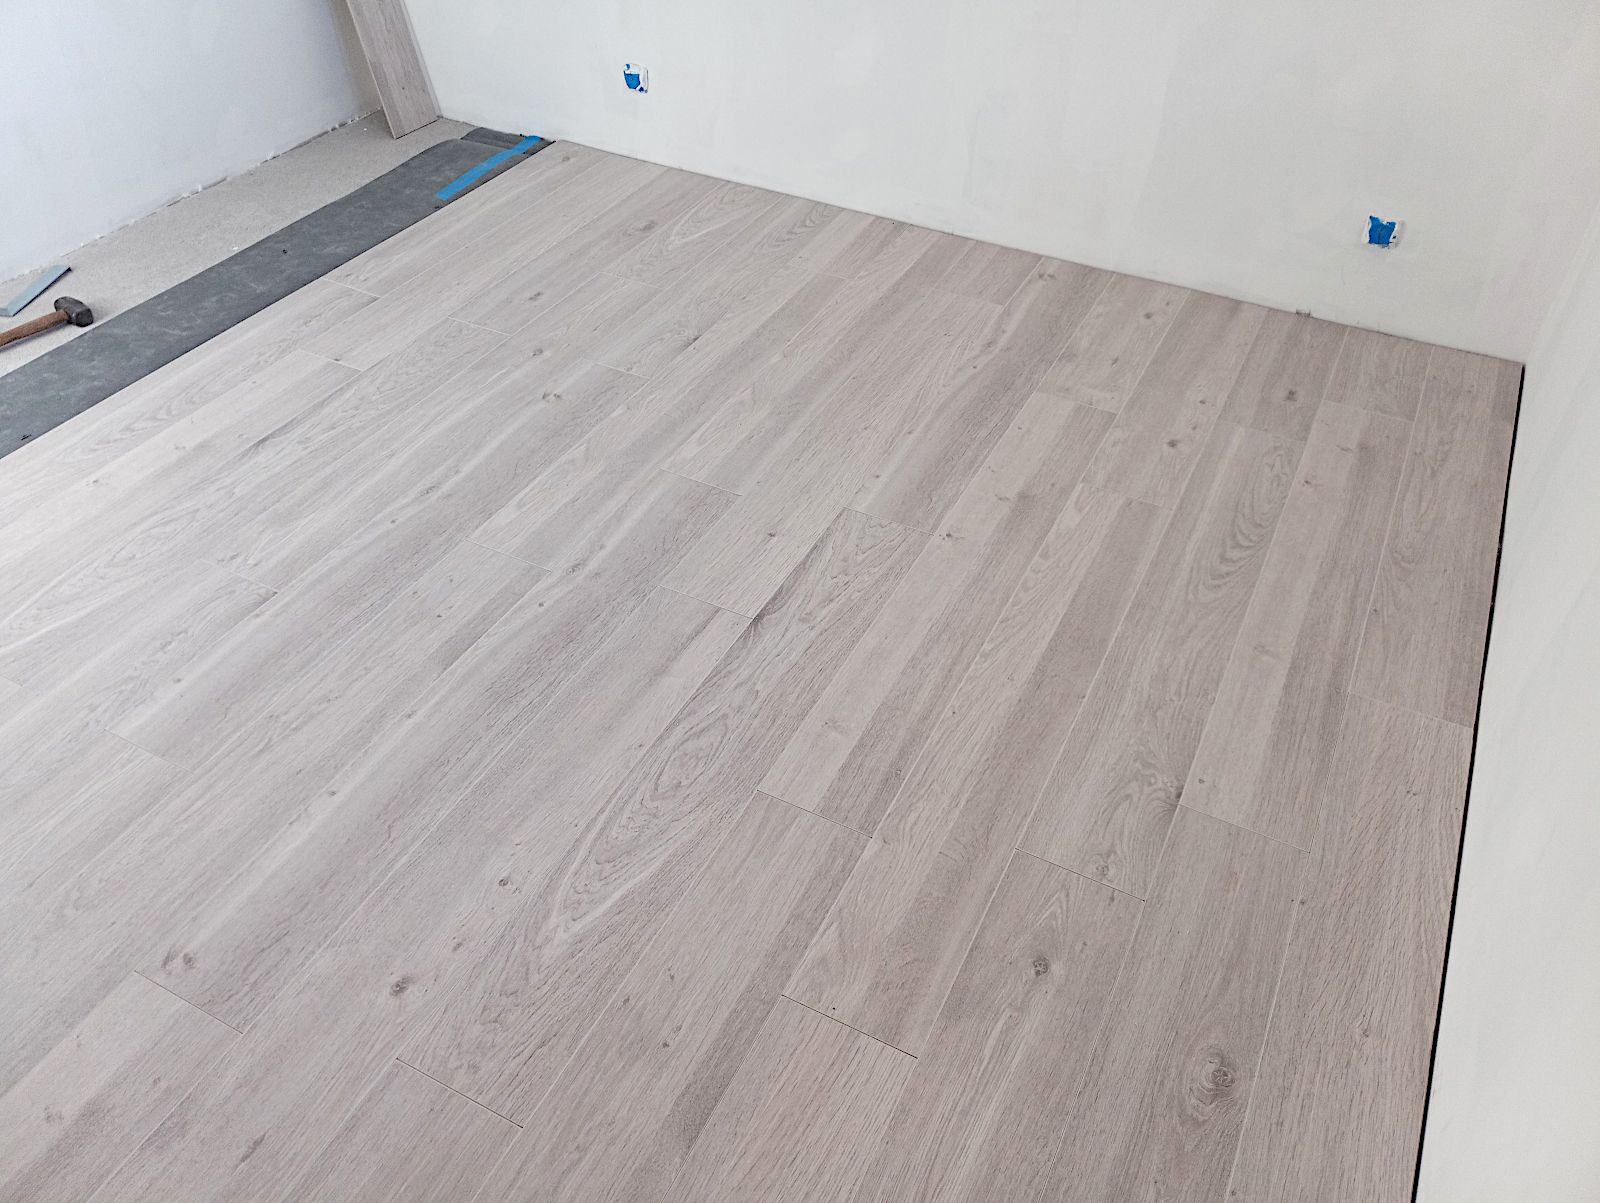
So I resolved last night to take the whole floor up this morning and re-lay it. That’s the problem with being a perfectionist, but it was well worth it because with the sheets already cut to the correct lengths it only took just over an hour to redo the whole job. And now although it may not be 100%, it’s pretty close, as the pictures show. And more to the point, I’m happy 😉

null

null

null

null

I’ve decided that I shall try and go as far as I can with the bedroom at the expense of the shutters. I had to take a decision one way or the other and that’s what I’ve decided so today I’ll press on and get as much plinth fitted as I can before moving on to the Ikea fitted unit.

More bedroom stuff

I resolved yesterday to get the new laminate floor in bedroom one laid today but I soon realised that when I’d bought the flooring many months ago I’d not included an installation kit. It consists of a set of plastic wedges that you have to place around the edges of the floor to act as spacers to allow for expansion of the flooring sheets, a metal tool that you use to whack the sheets on their ends to make them budge up tighter without damaging them and a special plastic block that you can use to do the same along their long edges.

Without one it’s difficult, if not impossible, to lay the floor properly so my first task was to head off to Leroy Merlin who have the best range to choose from, but it meant that it was lunch time by the time I got back. I bought a fresh ‘pain’ (large baguette) on the way home so after a delicious crusty ham sandwich with red onion and Branston pickle I was all ready to get going.

This is the first laminate floor that I’ve ever laid and from what I’ve seen on Youtube it shouldn’t be that difficult. However, I’m afraid to say that the flooring I bought is the first Leroy Merlin product that I’d describe as low quality, and it doesn’t help that after laying it it’s so light that you can feel it moving under your feet and floating almost on the ghastly underlay that I mentioned yesterday.

I noted today that Leroy Merlin now have a different type in stock that wasn’t available when I bought mine. It comes in flat folding sheets that would be easier to cut and will lay flat when in place thus avoiding the problems that I experienced today and would also make laying the flooring sheets more precise and much easier.

From what I’ve seen you can buy flooring sheets that positively click together and can’t move therefore, once they’ve been laid. My product doesn’t do that – its top and left-hand edges just tuck under the adjoining sheets – and I found that with the ruddy underlay able to lift the sheets the ‘joints’ between them soon move and come undone. To my regret, I bought enough for all three bedrooms so I’ll be tearing out what little hair I have left even more when I move on to doing bedrooms two and three.

However, I had to persist and do my best and by early evening I’d got to the last section in the threshold of the bedroom door. This will need special care marking and cutting the material and the left and right hand door jams should also be cut for the sheet in the door threshold to slide under them to allow for expansion as you can’t fit a plinth there. I thought therefore, that this would be a good time to stop as I was feeling tired and will tackle this first thing tomorrow.
As the photos show, within a very short time the bedroom will be ready for the Ikea wardrobe unit that I’ve designed for the alcove to be installed and maybe going west to pick it up will be the best way to spend the afternoon.

null

null

null

I’ve also got some very exciting news. I’ve been asked by a national newspaper in the UK to write an article about my house-build. I’ve obviously got gazillions of material but they would like to receive it this week – yes, while I’m trying to sort out the bedroom and get my shutters painted before the winter. However, there’s a suggestion that if it goes down well there could be a series in the offing so there’s quite a bit at stake and I really do need to get it done.

Remind me, will you. How many hours are there in a day? 😕
My dilemma

Here’s my problem. I need to paint my shutters before the winter otherwise the new, bare wood will be fully exposed to the elements. To do the job I need good weather and it looks like the current amazingly hot, sunny spell will come to an end by the week-end when the weather will revert to a more seasonal cool, damp pattern.

I also still have quite a bit of work to do inside the house. In particular I need to get at least one bedroom finished with the wardrobe and storage installed that I have planned for it. Until I’ve done that I have no hope of reorganising the living room so I can get my dining table and chairs into it and also of clearing other stuff out of the storage that I’m renting.
As well as the financial aspect, the space is not of very high quality and is also prone to dampness so I definitely don’t want to leave my possessions in it for another winter. That means there’s an urgency to getting at least one bedroom done, but I can’t do both the shutters and the bedroom at the same time.

For the past few days I’ve been working on bedroom 1 so even if I can’t get it totally finished, I can get it to a stage whereby it can be used, its storage is installed and I can put my bed in there thus vacating the living room. For that to happen I need to have the room’s walls and ceiling undercoated, as much of its coving up as possible given that I have to allow for installation of the storage unit and the floor laid, minus the plinth, and that’s what I’ve been doing.

Here are some shots taken this evening showing the progress I’ve made. I put up coving and laid the floor underlay today so should be able to finish laying the floor tomorrow. Then it will be ready for the Ikea wardrobe and storage unit to be installed.

null

null

null

Ultimately I’ve decided that much as I’d like to paint the shutters, the bedroom has to be made useable first. We still get some lovely warm, dry weather in October and even beyond and with a bit of luck I’ll be able to get the shutters done before winter sets in. However, in the final event, I’ll just have to press on and take my chance.

A different mode of transport entirely

I contacted Oliver yesterday who, as well as being a friend, is also the mechanic who looks after my car and already has my Kia in ready to repair when the new fuel pump is available. I explained my dilemma to him about the part having arrived, but in Montignac where I can’t get to because of having no transport, and asked if he had an old vehicle available that I could use to do the journey.

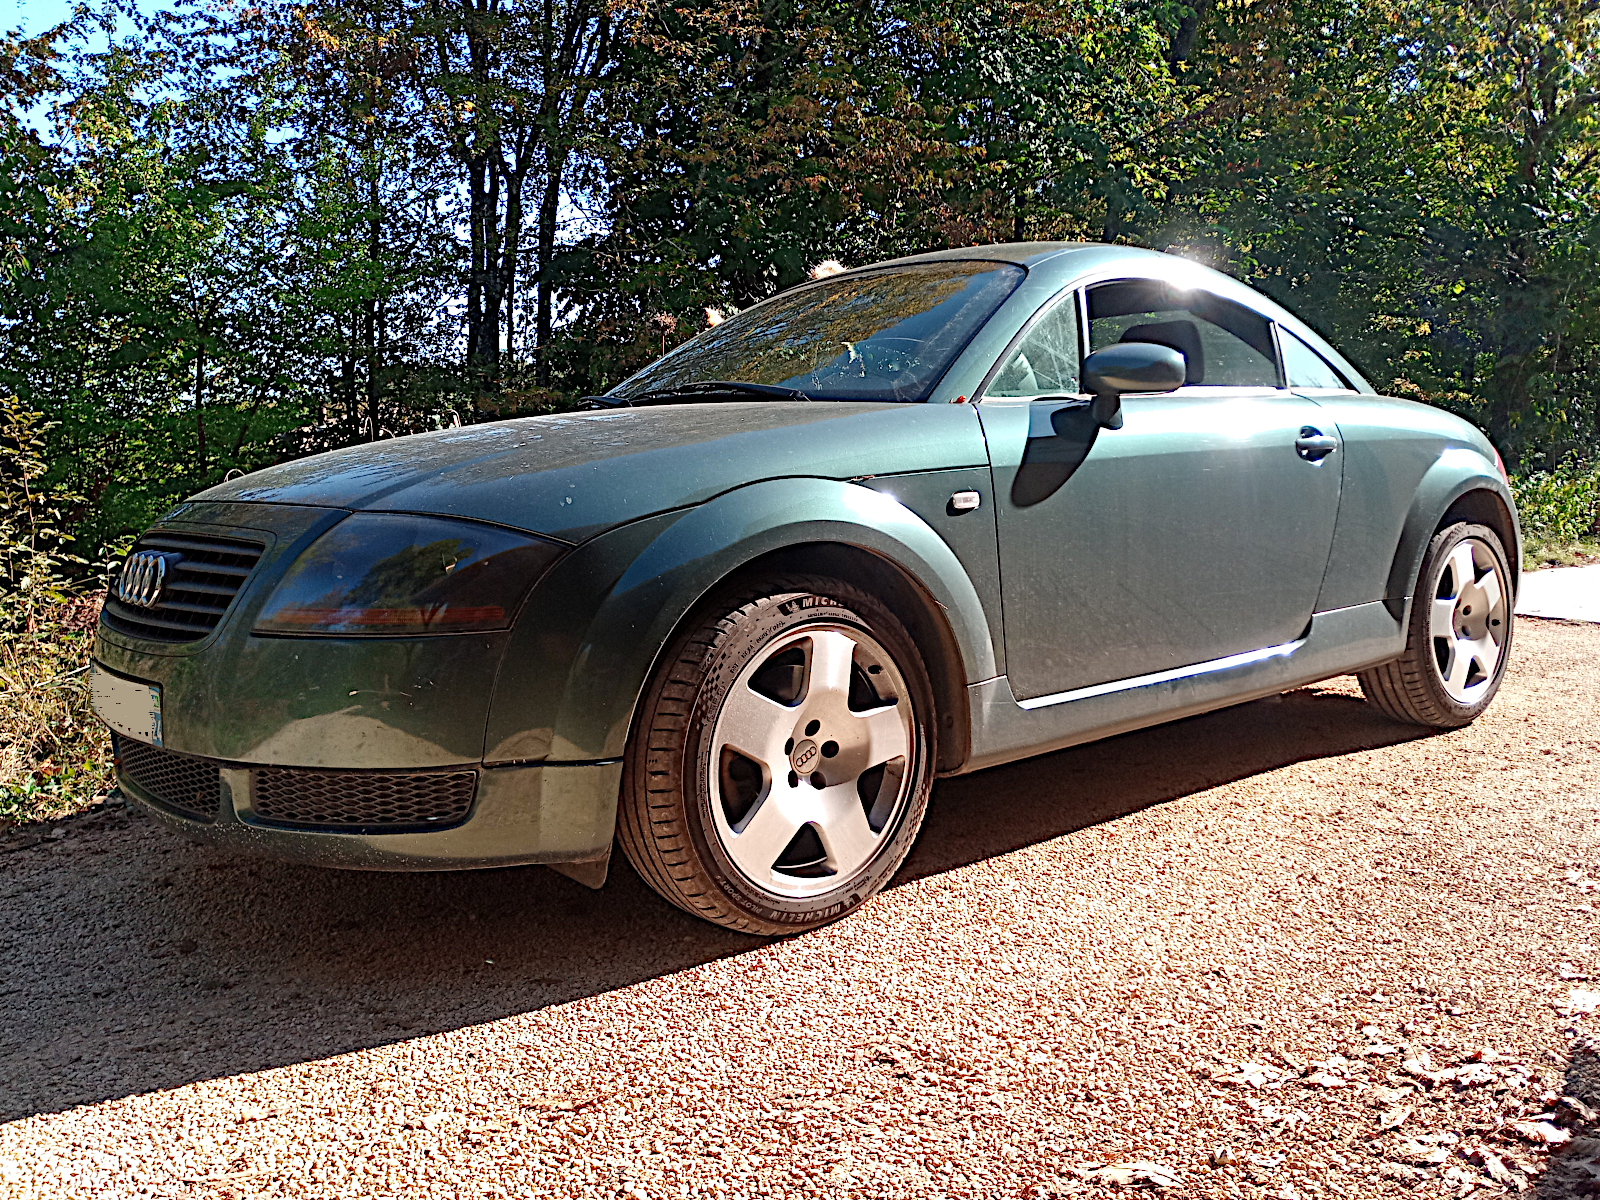
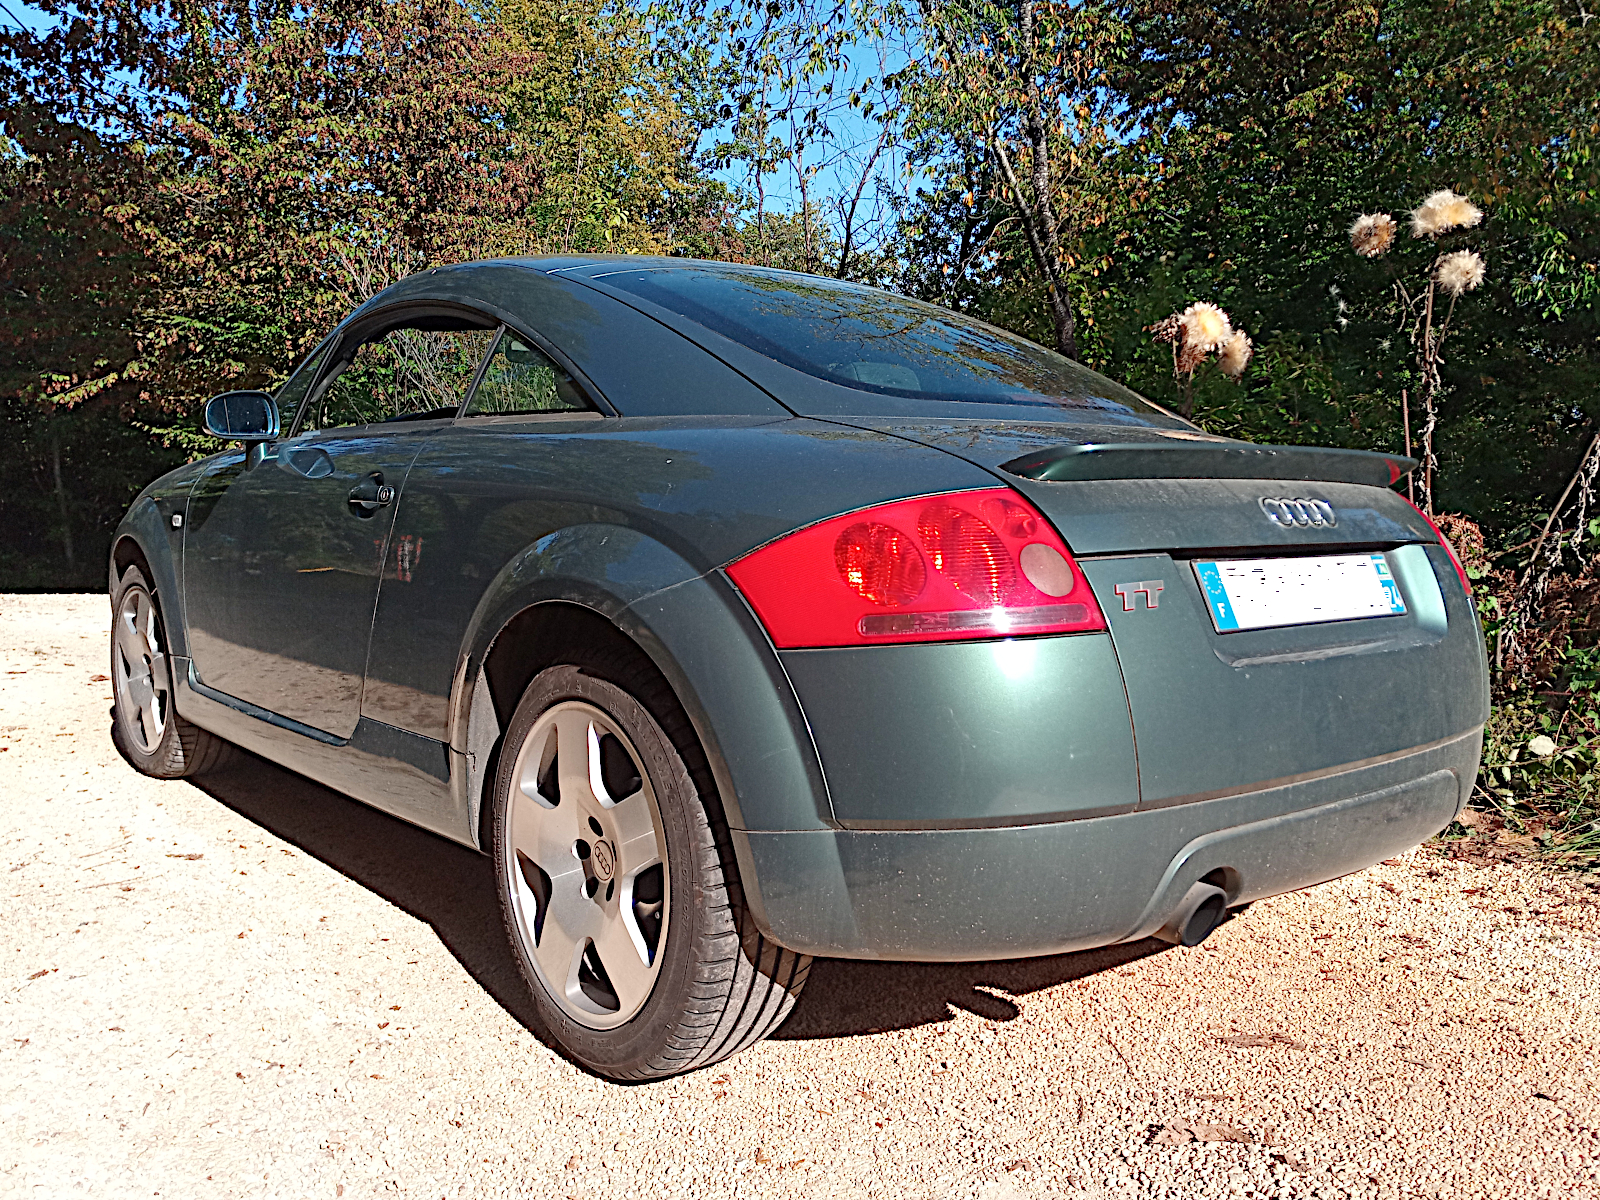
He told me that he has two but that both are at present out with customers whose cars are in for repair. However, he had another suggestion. He said that he’s never loaned it to anyone else and I’m the only person who he’d entrust it to, but if I turned up at his workshop today at 1.00 pm I could borrow his Audi TT. What a fantastic offer!

So I rode there on my trusty e-bike and headed off to Montignac in it shortly after 1.15 pm. I just happened to drive the long way via Rouffignac, Plazac, Fanlac and Thonac, a route that just happens to include some gorgeous windy roads that you don’t have to drive that quickly on in an Audi TT to have fun. And great fun it was too.

When I was picking my parcel up I found that in my haste to leave the house I’d left behind my wallet, bank cards and all my money. This was a blessing in disguise. I’d intended to do some shopping in Intermarché to see me through the next few days while I don’t have a car. Imagine if I’d turned up at the checkout at Intermarché with a trolley-full of goods only to find I had no way to pay for them!

So after I’d picked up the fuel pump I had to go straight home again, pick up my wallet and then go straight out again to do my shopping in Rouffignac. Then I had to return home again before returning the TT to Oliver. Oh dear… all that extra driving 😀

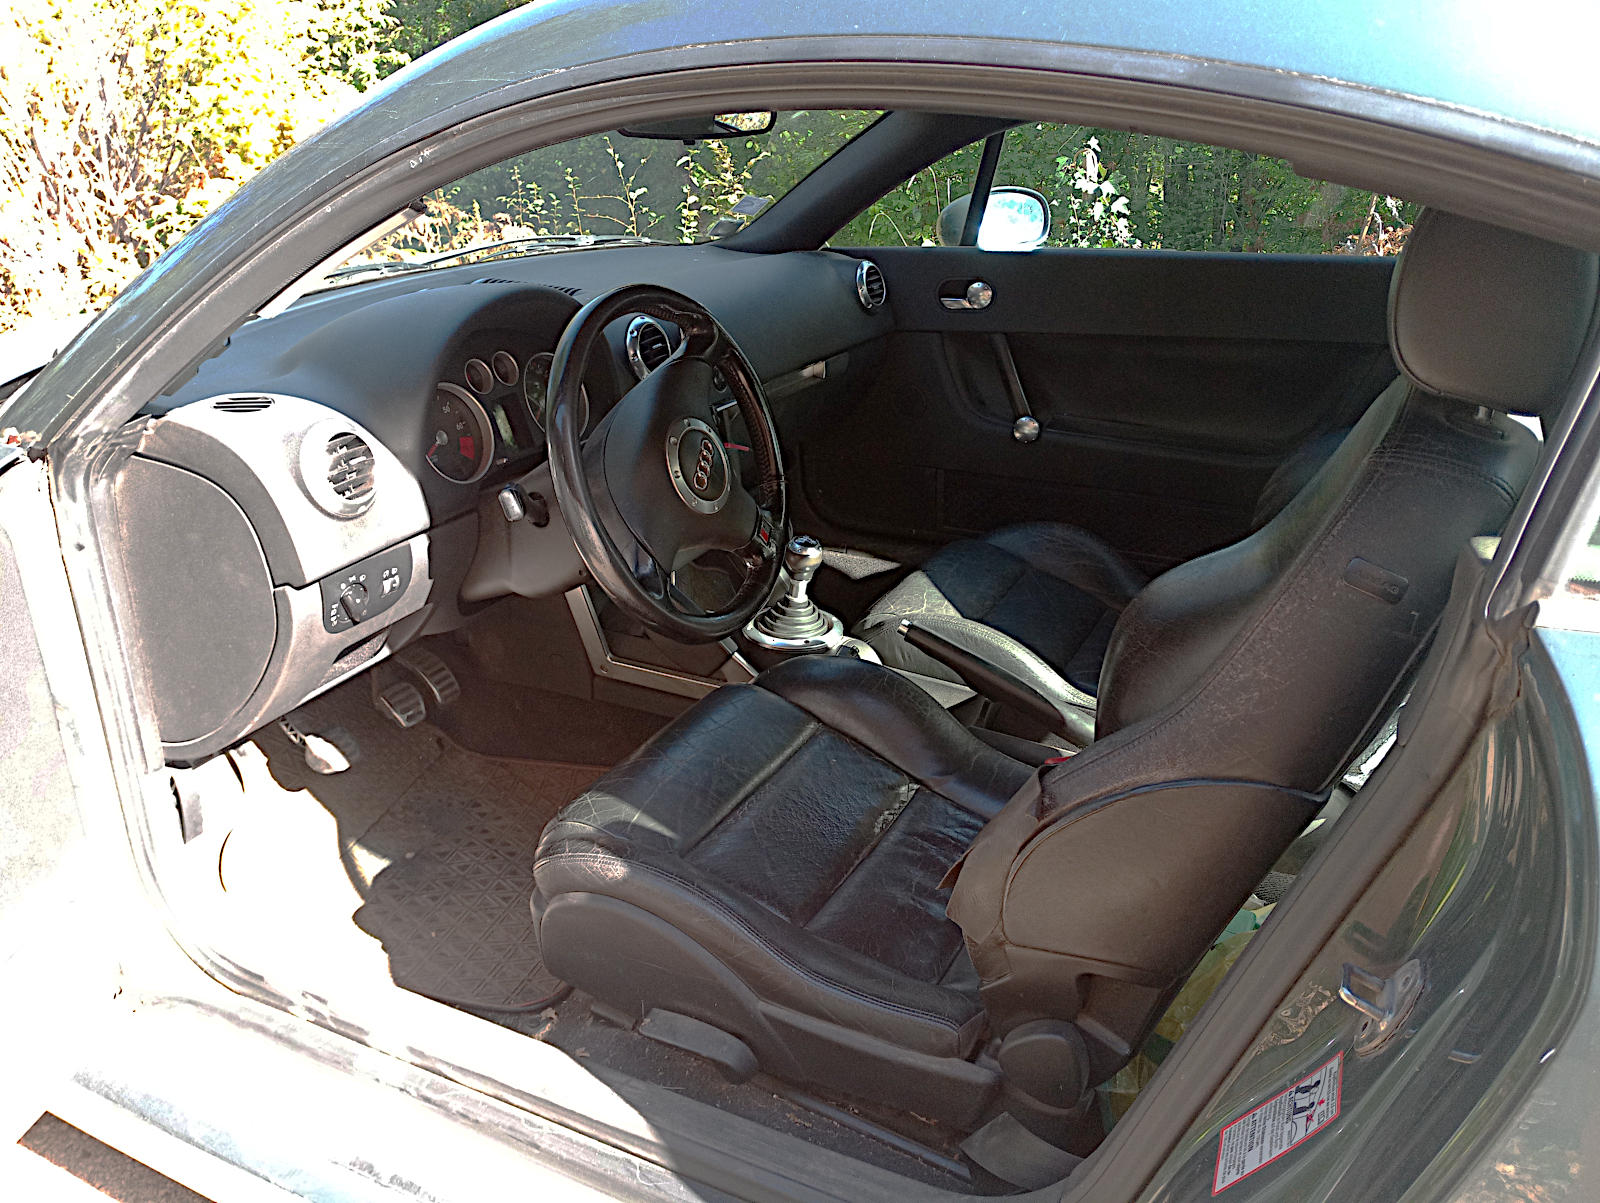
Here are some shots that I took of the car before I jumped on my bike and headed back home again. It’s been around the block a bit and is charmingly scruffy inside but its body is in beautiful condition and is also excellent mechanically, as you’d expect.

null

null

null

Before leaving for home I mentioned to Oliver that just as he’d found someone to buy my old C-Max, if someone turned up who had a cheap runabout that they wanted to sell to let me know. You have to have a car down here and if your car breaks down, as mine currently has, your life is put on hold.

This especially applies for me with the work I’m doing on and in the house frequently requiring me to dash off to Leroy Merlin, Brico Depot and elsewhere at the drop of a hat. I can’t do that on my e-bike trusty as it is, so having a handy runabout in reserve that doesn’t incur anything like the costs that apply in the UK, would be very handy indeed.

Yay!

I made it to Rouffignac and back on my bike this morning and quite enjoyed the experience. I’ve lost a bit of weight and am quite a bit fitter than I was after the work I’ve been doing in my new house and garden so that was a big part of it.

I left in plenty of time to make my appointment and it only took 20 minutes or so to get there so even after doing a tour right round the village I was still 20 minutes early. Afterwards I even dropped into Carrefour to grab a couple of items and rode home like a real Frenchman with a baguette and a litre of milk strapped to my bike carrier.

It was a bit fresh this morning and I wisely chose to wear a baseball cap and a light scarf and if I hadn’t done I don’t think the ride would have been as enjoyable as it was.

My next challenge will be more problematic though. The new fuel pump that I ordered for my car will be delivered to a ‘point relais’ in Montignac. Rouffignac is a comfortable distance from Fleurac but I think Montignac is a bit too far for me to go to by bike. I’ll have to think about it 😕

This should be interesting

My damn car has broken down again. It’s the fuel pump again which destroyed the engine last time by pumping neat fuel straight into the engine and ruining all of the engine bearings. The engine just stopped on the way home and I don’t think it’s done damage like that this time. I’ve ordered a replacement but it won’t arrive until the end of the week.

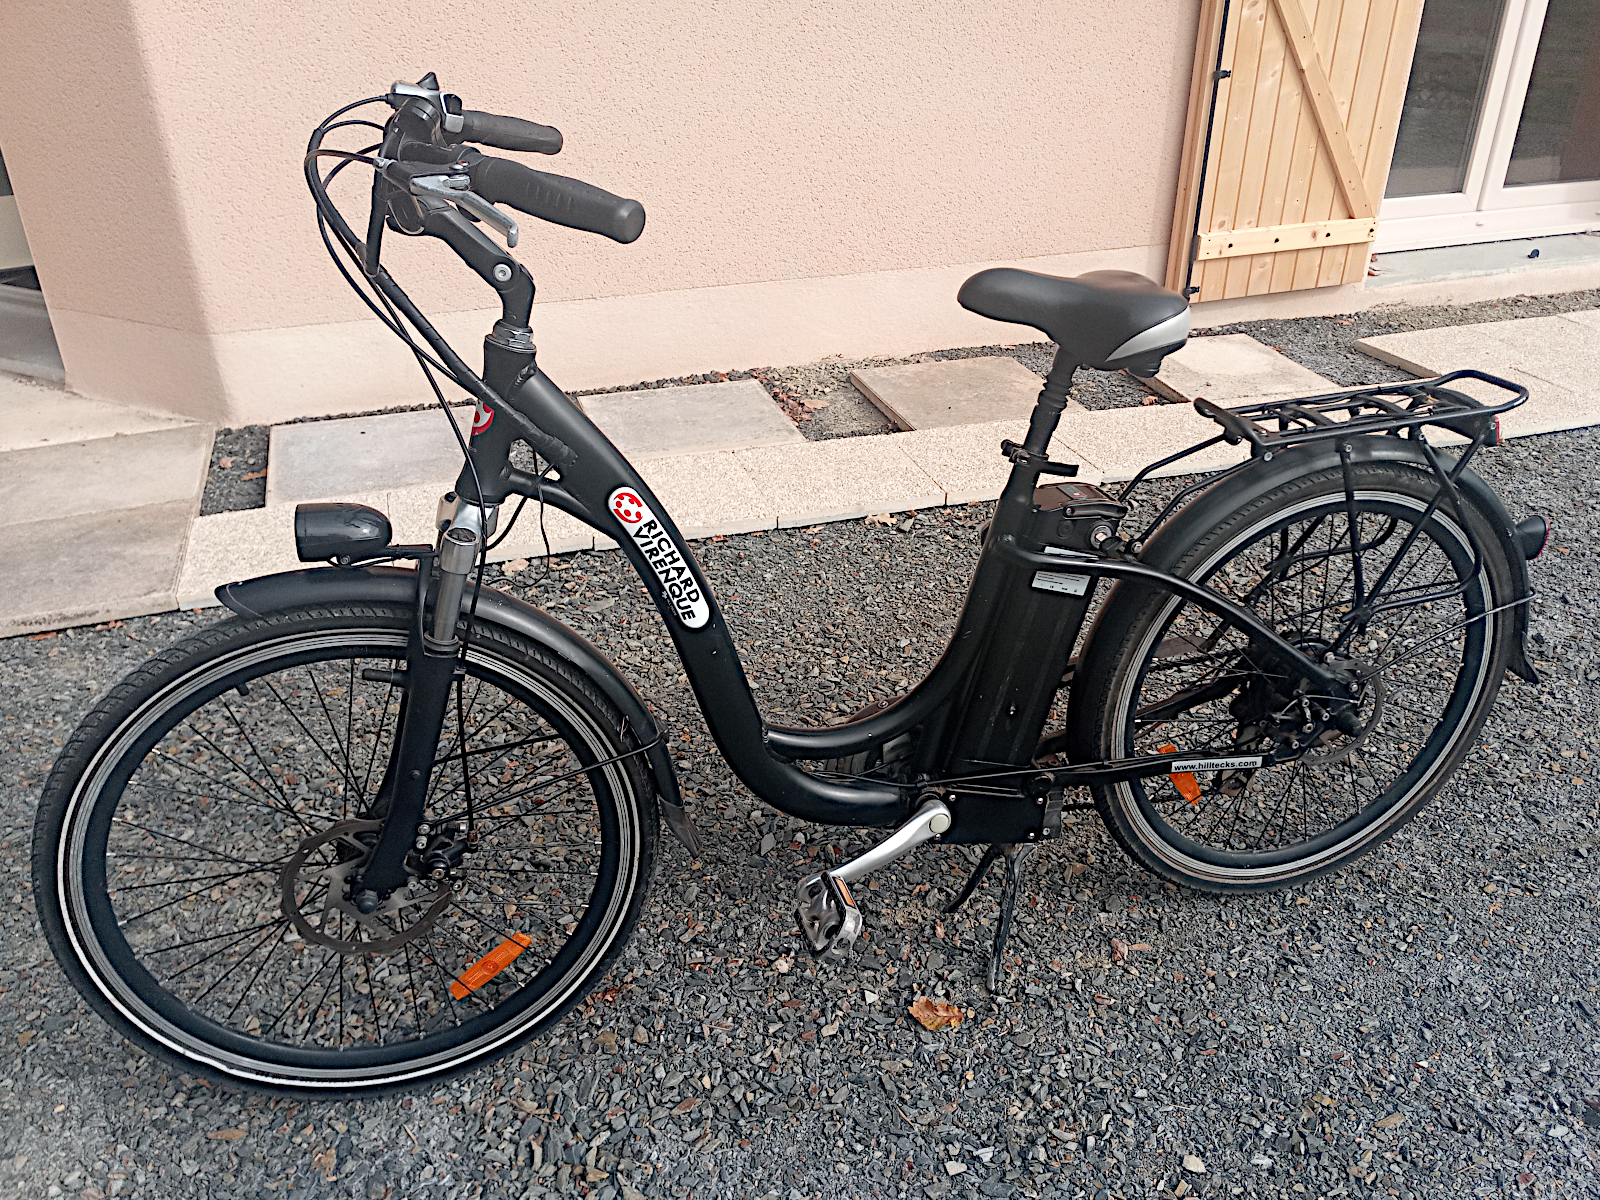
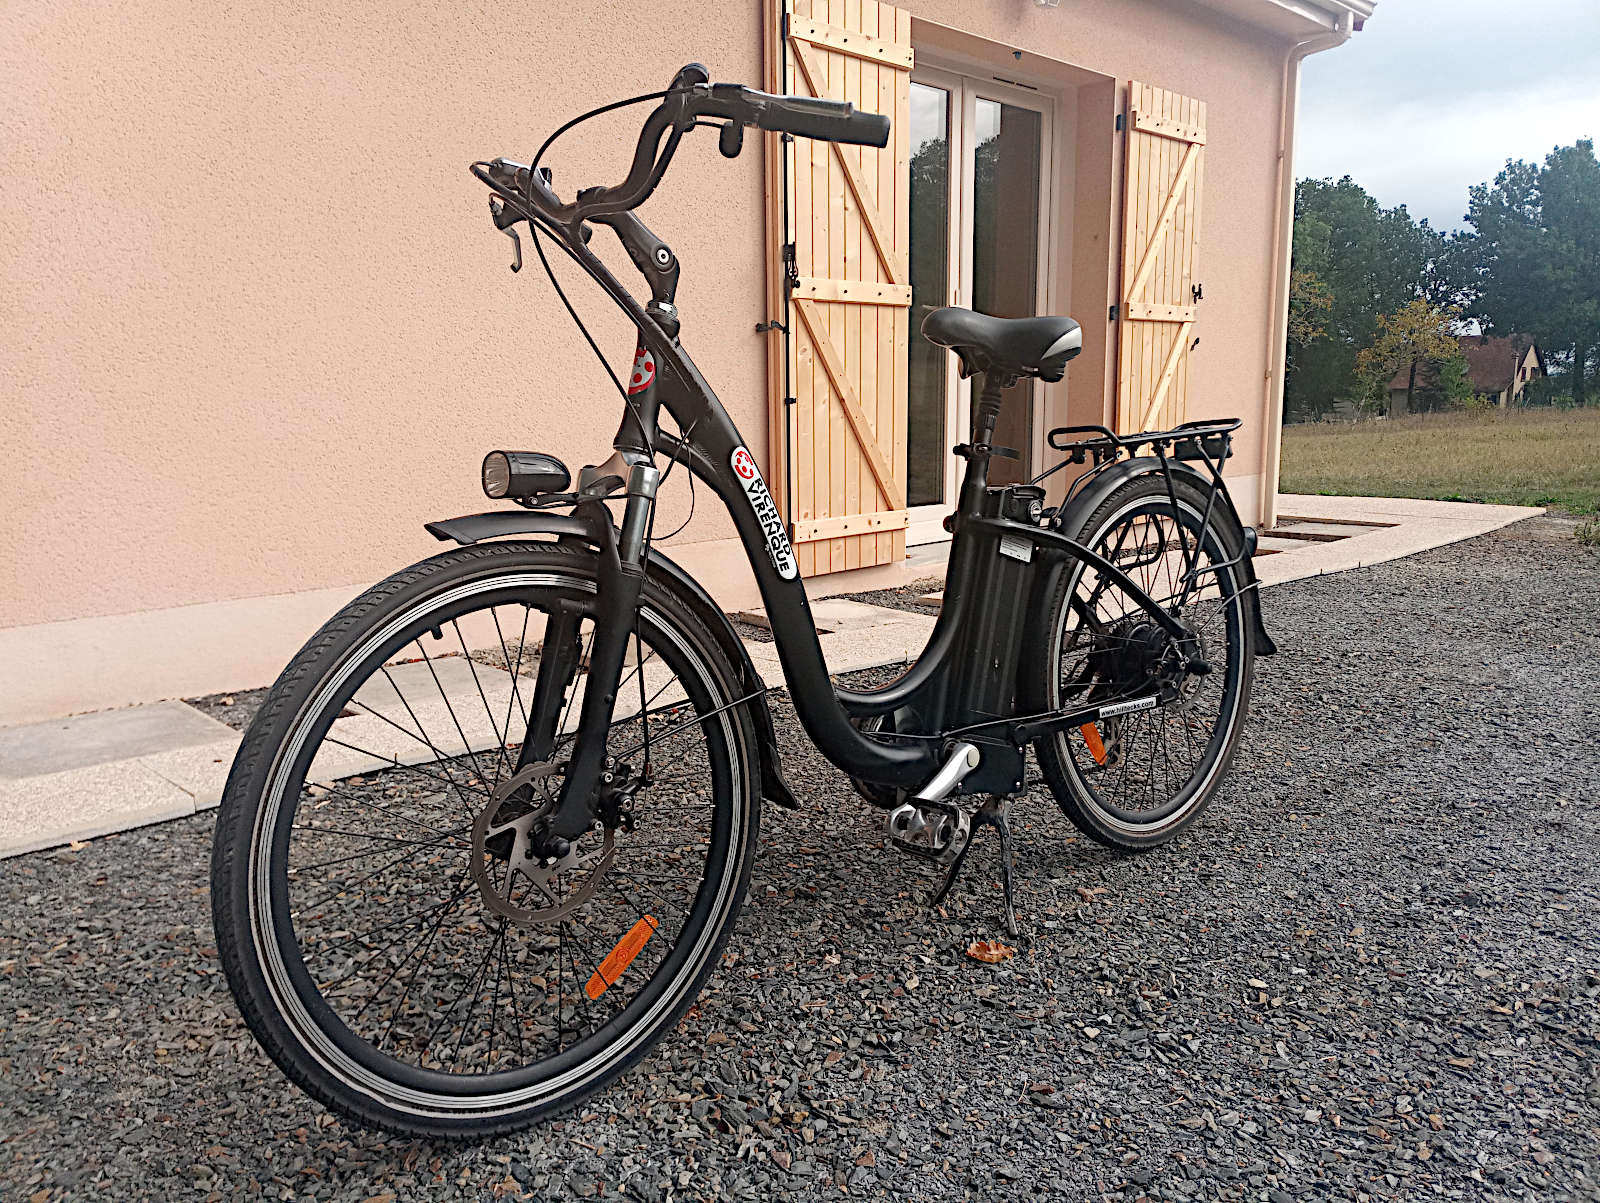
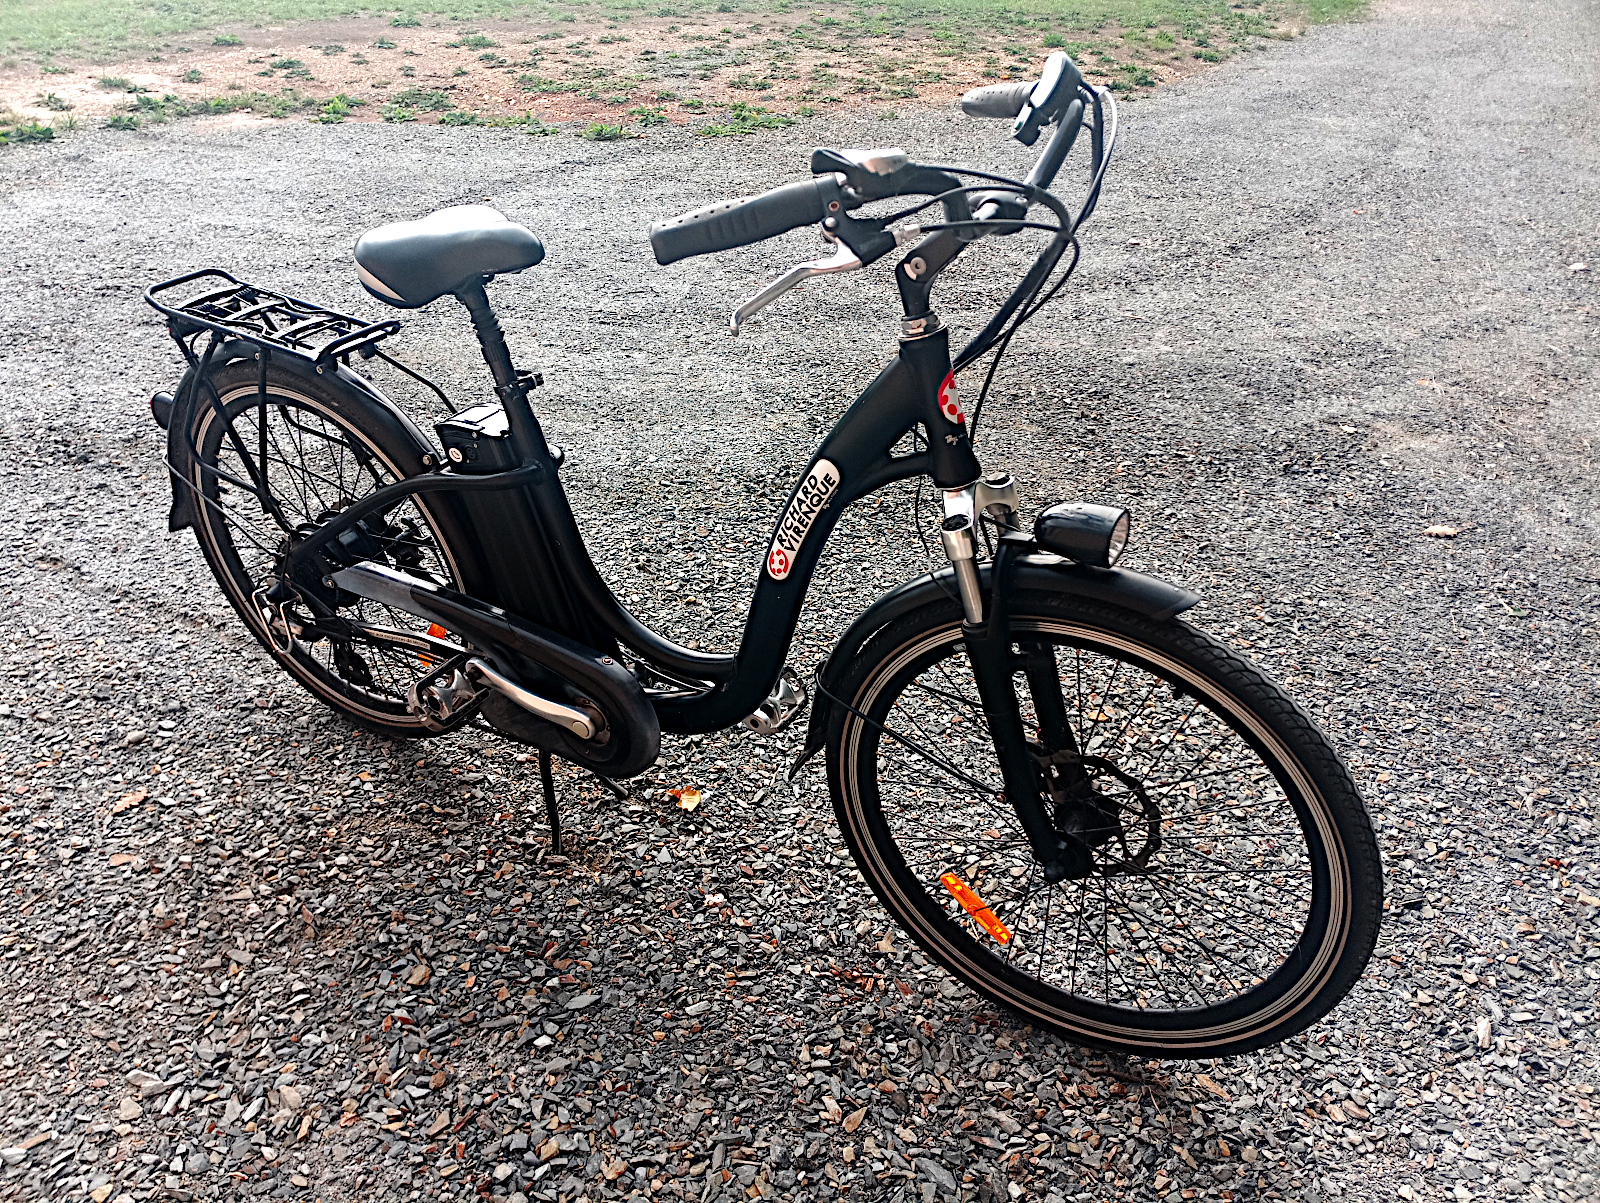
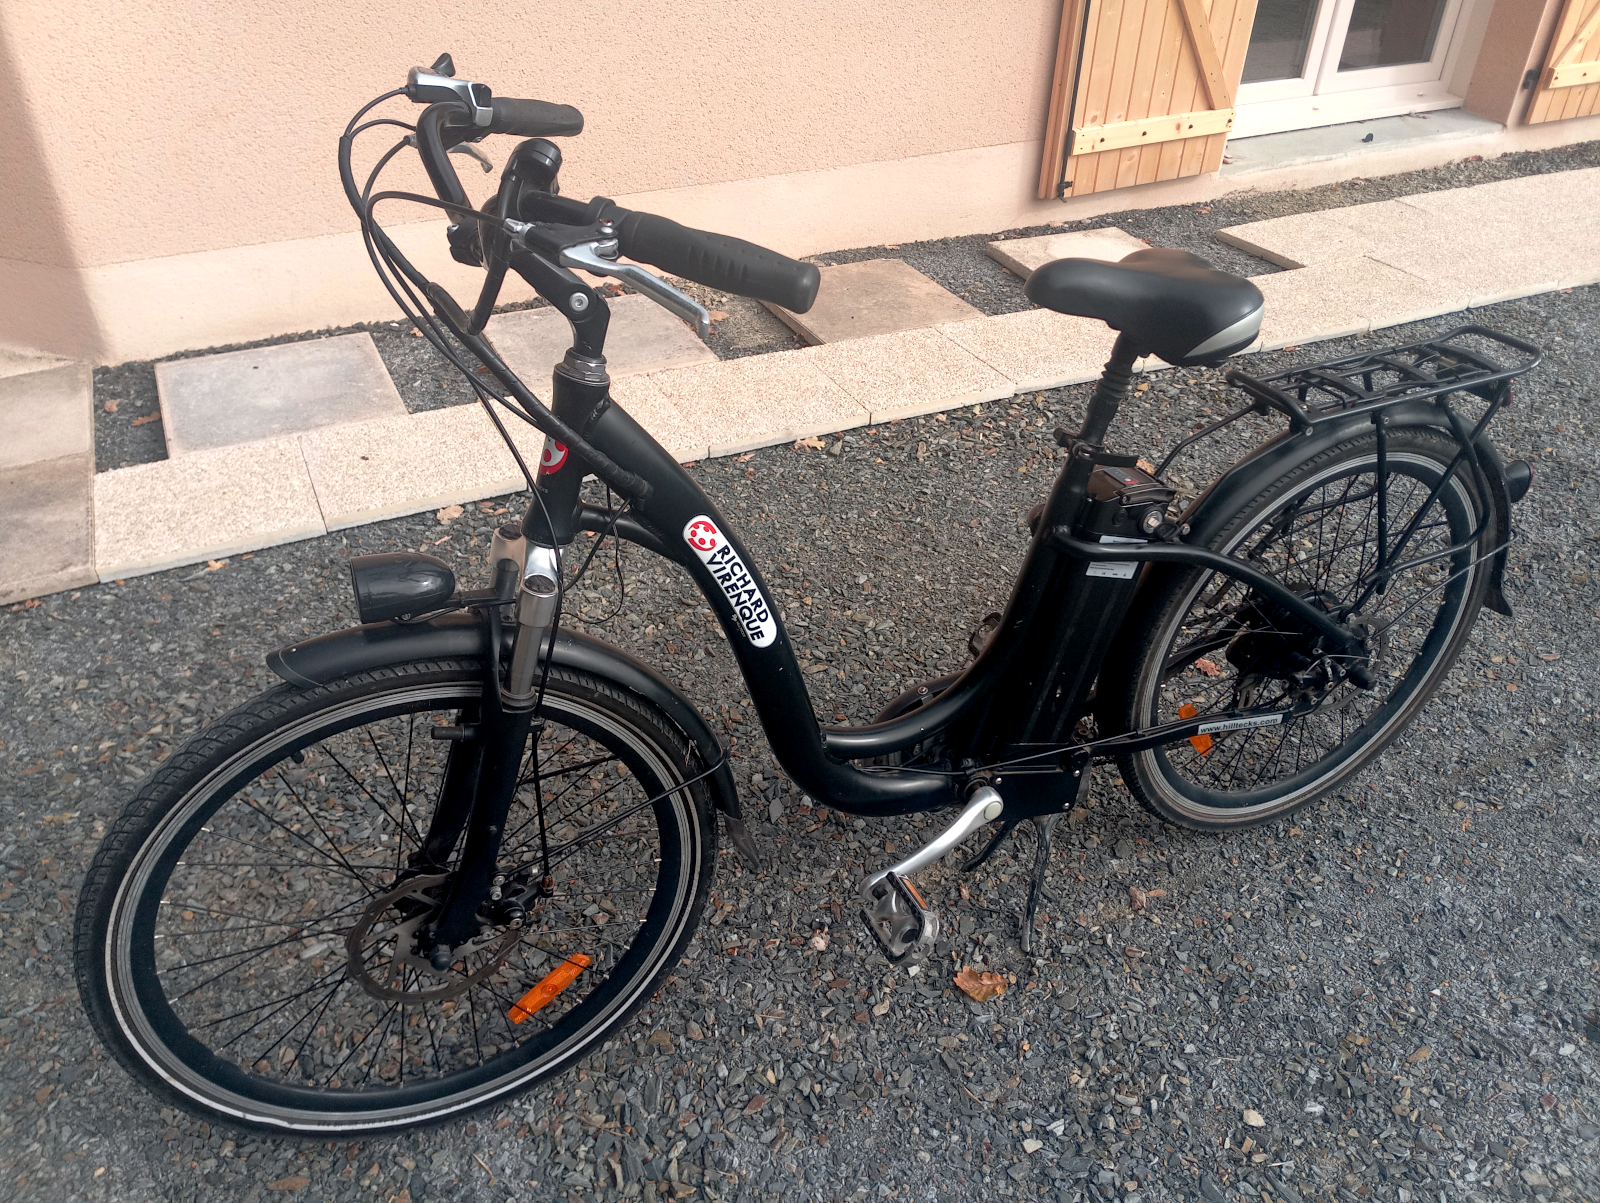
I have an appointment to see the nurse in Rouffignac tomorrow morning and without the car it’s too far to go by foot. So I’ve had a brainwave. I shall go by bike. I’ve brought my electric bike up to the house from the ‘tonnelle’ where it’s been stored for the past couple of years, given it a clean-up, pumped up its tyres and charged its battery so it’s ready to go.

null

null

null

null

I’ve just given it a trial run up and down the road and it’s running fine. I’ve ridden it since I’ve been here during my house-build but not for over a year and Rouffignac and back will be the farthest I’ll have gone even compared to when I was at Plazac. But tomorrow morning is forecast to be fine and I’ll make sure I allow myself plenty of time so it should be fun as well as interesting 😉