
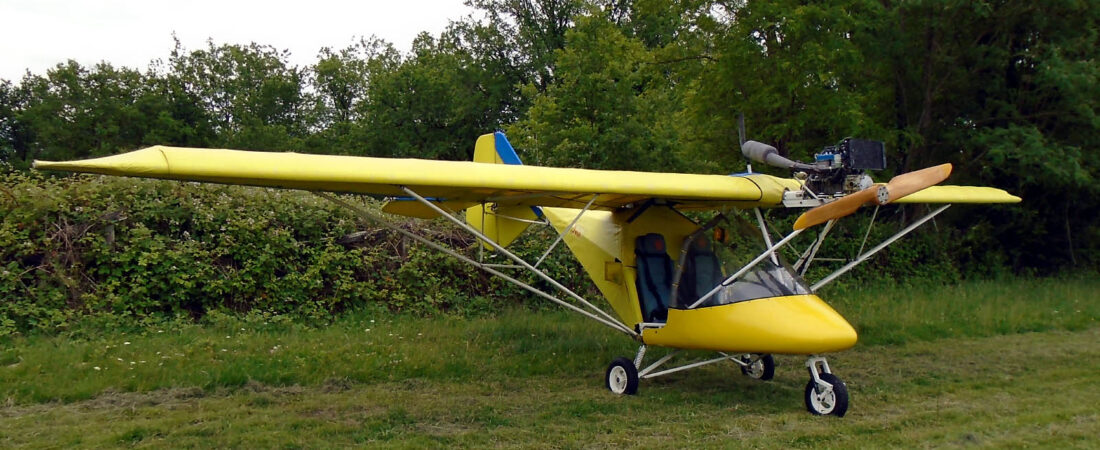


The first thing I did today was nip across to Damyn’s Hall Airfield just over the Thames in Essex to meet Ian and pick up the Arplast from him. Ian is a microlight instructor there and just as I arrived I saw him taking off with a student in a flexwing. This was my first visit to Damyn’s Hall and not the last, I hope, because it’s a smashing little field with two runways, good facilities and a very nice cafe. Despite its being a slightly chilly, blustery day, there were quite a few members of the public with their kids watching what was going on, going off for helicopter rides and generally enjoying themselves. That’s what General Aviation should be like in this country but Damyn’s, like many other small airfields across the country, is under the usual planning threats. Let’s hope that the killjoys don’t succeed in their aims 😕
After a couple of circuits Ian stopped briefly to dig out the prop hub (Ian’s wife and I had already found the blades) and having done so we did the deal quickly so Ian could get back into the air. With this weather he needs to get all the hours in he can. I think I’ll have to give him a call later on and see if he’s got any paperwork for the prop because I think I’ll need some to fit it as a Mod to MYRO. After I got home I gave it a quick clean up and although it’s obviously done a few hours, it came up very nicely.
Then I was able to make a start on the next big MYRO job, namely the screen, but first I took a few pics of the work I did yesterday. Yesterday’s main job was routing the cables and the next pics show how I’ve routed them out from under the panel, up the front tube and along the main tube where they will join up with the cables from the engine and the battery.


The black tube that you can see in the pic immediately above connects to the fuel pressure gauge and will eventually connect via a T-piece into the rear carburettor’s fuel line. The transparent tube in the top two pics connects to the airspeed indicator and will eventually connect to the pitot tube on the port wing.
The other important job I did yesterday was add a fuel filter into the fuel line which I ran down as far as the electric fuel pump. The following pics show the detail.


The electric fuel pump is bolted in but I haven’t yet completed the fuel line connection from it to the vacuum fuel pump and will not do until the screen is in and I know just how long the fuel pipe should be.
Lastly, remember the pics I showed a couple of weeks or so ago of the underneath of MZEL?. Well here is a similar pic of MYRO. MZEL has the ties between the fuselage cover and rear of the pod done with parachute cording whereas I used cable ties for MYRO. I think that MYRO’s has ended up being a slightly neater job 😉

But the main job today was MYRO’s screen. I have to say that I approached it with some trepidation because I had visions of working with horrible brittle plastic and having cracks and splits appear whenever I handled it and tried to make cuts. I could not have been more wrong. I’m not saying that 1.5mm polycarbonate is a joy to work with but it was far less daunting than I expected. I laid a thick cloth sheet (an old bedspread actually) out on the patio and placed the polycarbonate sheet onto it. The plastic is protected on both sides but it still pays to handle it carefully.
I used the old screen as a template by drawing round it in ball point and then made careful measurements to even the sides up in size. The I placed a sheet of ply underneath, took a wooden straight-edge and scored it with a sharp Stanley knife. In some places where I was particularly enthusiastic I cut through but my aim was to score through roughly half way and then finish the cut with scissors. This method worked beautifully and as my stepson said, it avoided the possibilty of causing little splits or tears that could have been caused by a jigsaw, especially one that was too coarse or a bit worn.
After I’d got the main shape cut I needed to get the precise positions and dimensions for the cutouts for the tubes to go through. The originals were all a bit too large but did at least serve as useful indicators, so having no more use for the old screen I cut two big chunks out of each side to make it less unwieldy and replaced it in MYRO. Then I could see exactly where the adjustments to the cutouts needed to be made and marked them accordingly on the new screen. That was as far as I could go because to make the holes I needed tank cutters of the correct sizes. These will do a good, safe job and avoid any damage to the screen. My stepson who has a set was out so as the evening was already beginning to draw to a close I decided to call it a day and doing the cutting is a job for tomorrow. The main beneficiary of the early close was Toddie who jumped at the chance of an early evening walk. And why shouldn’t he 🙂
 English
 Nederlands
 Français
 Deutsch
 Italiano
 Latviešu valoda
 Português
 Español