
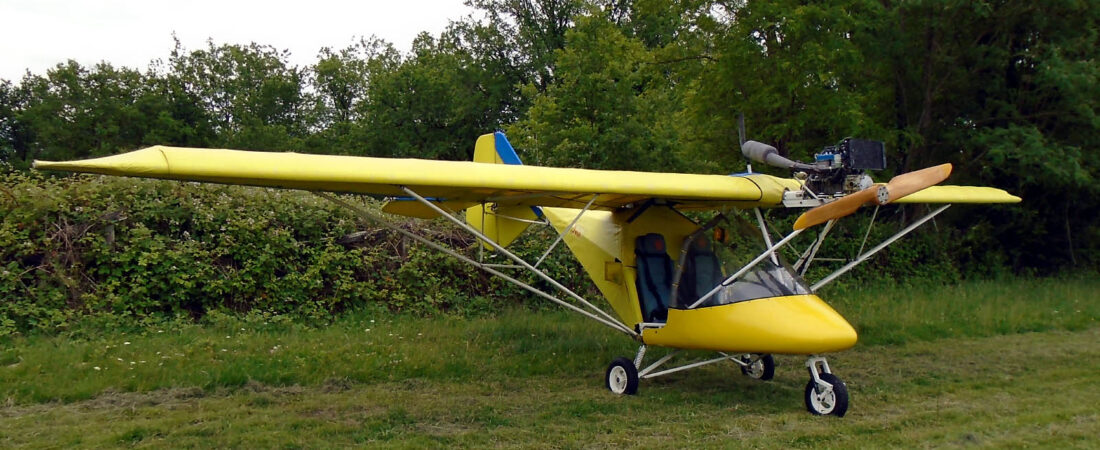


The engine is now in place and MYRO is looking like a serious microlight once again. Except better this time 🙂
First of all though, as I mentioned in my earlier post today, I drilled the doors as I’d planned and then made up and fitted the little bungees that hook together behind your head and keep the doors closed. I made them slightly tighter than the old ones that they replaced because I assume they will stretch and ease a little with use. I must say, it’s great to be able to chuck away the strips of masking tape that I’ve been using to keep the doors closed!
Then I had a shift around and moved the engine from the back to the front of the garage where I removed the carburettors and fitted the engine mounting plates to the four studs on the bottom of the engine sump. Next I dug out all of the mounting bolts, nuts and washers that I had got off Mark at Galaxy with the engine and the time had arrived to lift it into place.
Luckily just at that moment my stepson turned up and before he knew it he’d been coopted into engine lifting duties. In fact with the drawing from the manual in view, it only took a few minutes to get it into place and lightly bolted on. Weeks ago I’d sorted all the nuts etc and wired similar items together eg all the washers of the same size, all the nuts and so on.
What I couldn’t fathom was why there were so many of a certain size plain washer especially as they didn’t seem to be shown in the drawing. It all became clear when I came to bolt up. On the left hand side, 80mm bolts are used while on the right hand side the drawing specifies 90mm. The drawing is crazy – both sides need 80mm and the washers are all needed to pack out the longer bolts so the nuts have thread to bite onto. If I’d realised that, I’d have got hold of two 80mm bolts and ditched the 90mm ones but as it was, I had to do the same as had been done previously and add a stack of washers as packing. Stupid or what 😕
You can see what I mean if you look closely at the next two pics which show the engine just after it had been dropped on.


After that, as I’d always anticipated, progress was pretty quick as it was just (he says!) a matter of connecting everything up – generator and engine wiring, CHT and EGT sensors, the main earth, the starter live and battery earth lead and, of course, fitting the exhaust. I don’t know why, but I’ve always seen fitting the exhaust as being a kind of milestone, as will fitting the carbs be also, so I was delighted when I’d got the manifold all nicely tightened up with new silicone sealant and the silencer on with its joint nicely copper-slipped. Final job of the day was fitting the exhaust springs which went on surprisingly easily but still need wire-locking.
So to finish off, here’s how the engine looked at the end of the day, as it was just beginning to get dark.


I’m very pleased to have got this far and I’ll tell you something else I’m pleased about too. After I’d dropped the engine on I checked to see if it would still be able to get under the garage door. And d’you know what, it does. And not only that, if I push MYRO right back until it just touches the rear wall and lift the door up while I close it, it then just clears the top of the engine.
Now that for me really is a result 😆
 English
 Nederlands
 Français
 Deutsch
 Italiano
 Latviešu valoda
 Português
 Español
Thanks Russell. It’s taking a little bit longer than I expected and I’ve had a couple of small setbacks – you know what it’s like, you don’t know how to do something until you do it the first time and then you decide you should have done it differently 🙂
But I wouldn’t have missed it and you’re totally right about the safety thing.
Cheers, Roger
Ello Roger, great to see your project coming together, youll end up with a machine you lnow inside out, which is a big advantage safety wise I reckon
All the best, Russell