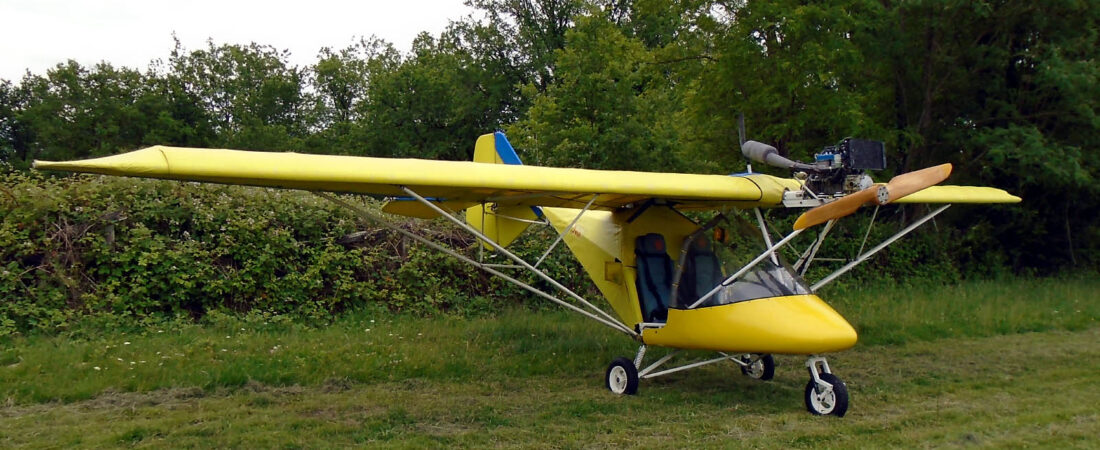
After my earlier post today, before I started on the forks I thought I’d just see how much work the pod will need to get it prepped for spraying. The answer, I’m very pleased to say, is not too much. I had a go at the more messy (only my opinion – they actually aren’t that bad) internal repairs with the rotary wire brush and ground a few chunks away. The wire brush will work but I think tomorrow I might see about getting hold of a solid grinding disc which, with care, should remove the excess fibre glass a bit more quickly.
Then I turned my attention to the outside of the pod. I started with a medium sheet on the electric sander but soon found that the coarsest one I’ve got does a quicker job and still leaves a very nice smooth finish. So that was very encouraging.
I then put the pod to one side and removed the nose wheel from the forks and stripped them for cleaning and painting. Unfortunately, I found that due to poor maintenance, one of the bearings in the nose wheel had seized (for ‘poor’ read ‘no’) and the hub had therefore been spinning on the bearing. I’ll have to see when the time comes whether this means that actually the wheel, which is made of nylon, will be unusable because the bearing is not now being retained in the hub due to wear of the nylon. It may be that when I replace the bearing with one of MYRO’s that I will be able to retain it enough by using silicone sealer, for example, but if not it looks as though I will have to get hold of another wheel. Mark at Galaxy had at least one, but the one he showed me had too small a spindle hole to fit on the AX3.
The rest of the afternoon went well and I made excellent progress. The forks cleaned up a treat and I gave them a good coat of anti-rust grey primer. In fact, because it turned really hot, the paint was going off so rapidly that it was staying a bit too thick with a lot of deep brush marks. Still, they will come out well enough when I give them a bit of a rub down before I give the forks a coat of white as I did with MYRO’s. I also had time to clean up the two cabin floor tubes and spot prime where they have been a bit worn and scratched, before giving them a dash of white too to freshen them up.
So all in all, a good day with positive results and some of the more nasty little jobs out of the way 🙂


