
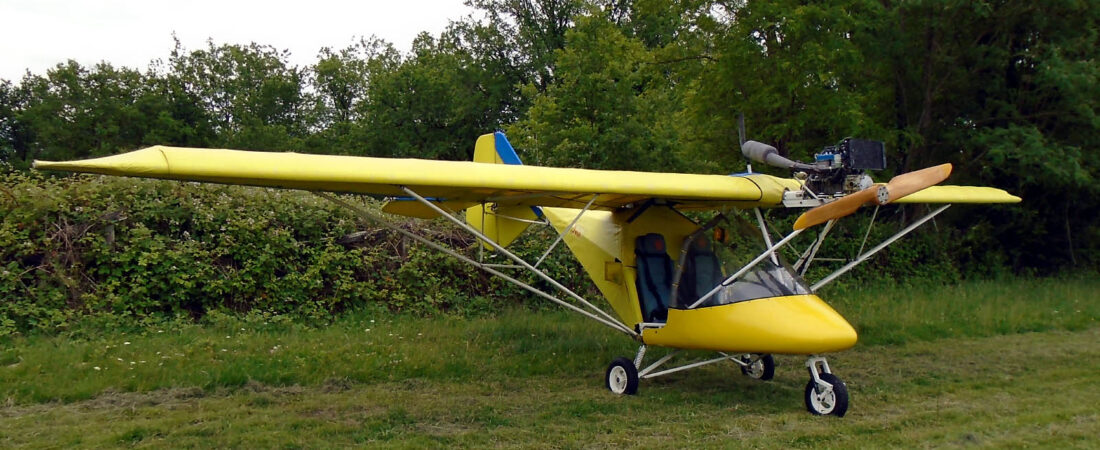


It was a glorious flying day today but I was on a different mission entirely. It was time to get started on MYRO’s repair – the weather is forecast to be good for both days this week-end and it looks as though we might get away without any rain this coming week too. So there will be probably be no better time to start stripping all the damaged stuff off the front of MYRO.
When I arrived MYRO was still nicely covered up, mainly because Peter had kindly checked the tarpaulin for me and placed some large blocks around the edges to stop the wind getting under it. Sure enough,when I pulled the cover back, MYRO was just as I’d left it.
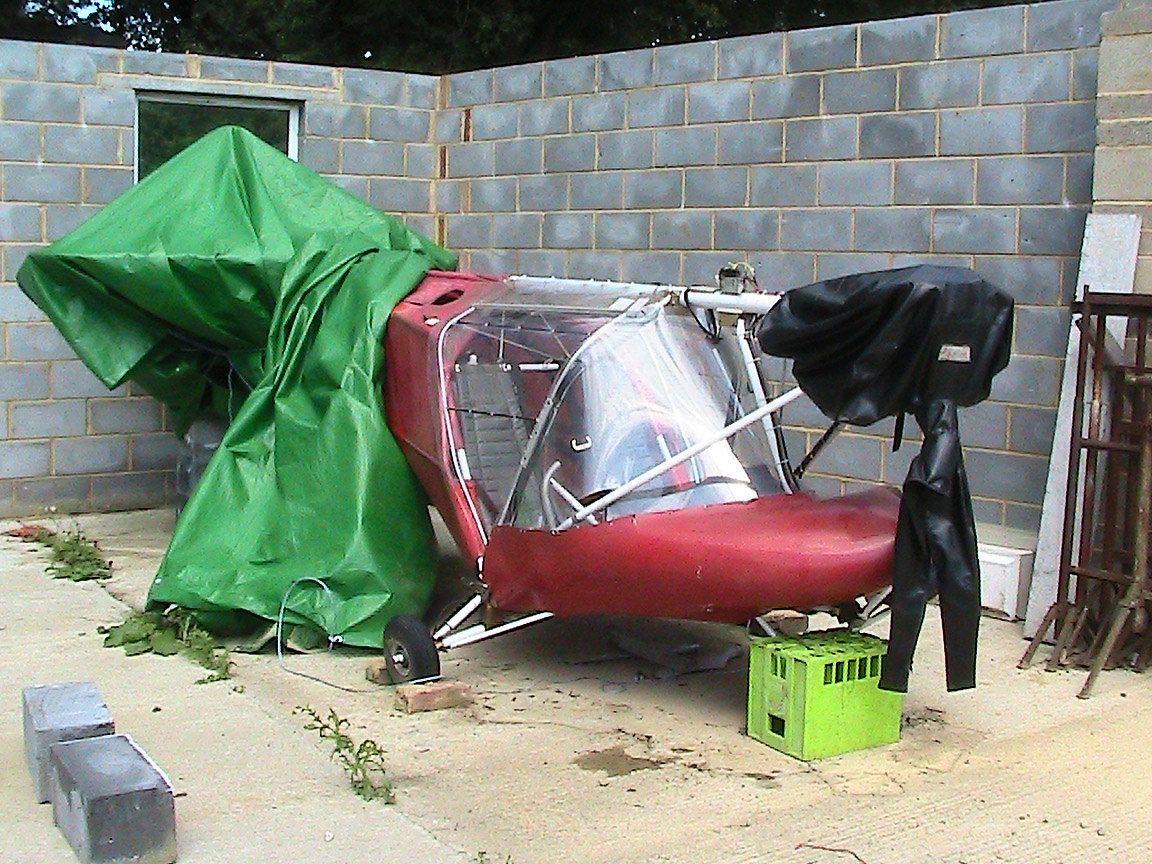
The damage doesn’t look too bad from the right – it’s when you look from the other side you get an idea of the extent of the problem.

You can see inside how the main force was taken by just three tubes – the nose strut and the two bottom tubes that you can see in the cabin floor. I had to cut them and the pod as there turned out to be absolutely no chance of saving and repairing that, but I was able to unbolt the nose strut at the top and remove it in one piece so I could recover the swivel bracket on the bottom that holds the forks.

You can see in the above pic how the floor tubes were very badly distorted and it turned out that both of them were very nearly fractured right through. But what I find remarkable is that even with the severity of the impact, the effects were limited to what is really only a small section of the airframe and also to such a small number of tubes. It just shows how incredibly strong these little beauties are. I found that nearly all the bolts in the affected tubes were bent, again an indication of how the forces involved were absorbed and limited to just this small area. The nose strut was bent like a banana as was the large bolt passing through it that holds the forks swivel bracket on and secures the two cabin floor tubes to it. You can see the bolt in question in the next pic.

See how the forks have bent sideways and folded right under, snapping one of the steering track rods. Luckily I found that the rudder pedals themselves were not damaged and in fact the paint that I put on them last year is hardly even scratched! Unfortunately I can’t say the same about the panel. I knew that the bottom of the panel had suffered some damage and I was originally going to have a go at repairing it today if I’d had time. However, I found that there’s a bit more damage on it than I originally realised. Ideally I would like to replace the whole panel front but if I did that, I’d then have the problem of refitting all the gauges and wiring and in effect completely remaking the whole panel all over again. That’s something I’d like to avoid doing if possible, so I’m going to check MYRO’s old panel front that I still have in my garage and see if the one currently in MYRO has been distorted in comparison in the accident. If not, I’ll have to have a go at repairing it in situ. I will be able to do it although I’d prefer to be doing it at home in my garage rather than in the open at Ken’s, but there’s no easy way to get it out because of all the wiring and tubes that are connected to it.
By the time I’d finished today, MYRO was looking a bit forlorn with its nose missing, but it’s just the same as when a dentist drills your teeth before putting in a filling – it has to be done and it’s worth it in the end. Mind you, MYRO really did look a bit sad as you can see below …

What did surprise me, though, was how little damage the screen had sustained. There is one split about 2 inches long running upwards from the top of the hole that the nose strut passes through but no other damage apart from a crease on the left hand side in front of the pilot. Many of the cable ties that secured it had snapped and some of the plastic bolts around the panel too, but the holes in the screen that they passed through had remained intact. Really strong stuff this polycarbonate! So it was time to cover MYRO back up again and head for home. I’ve left the engine cover on because with the engine off, the carburettors are inside it for protection wrapped in polythene.
After I’d done my chores this evening, I managed to get some more useful stuff done. First I primed the new nose strut which I could do now that I know that the forks bracket will go on even when the tube has been painted. In fact, the original nose strut was a single length of thick aluminium tube whereas the new one is the same thickness and diameter but made from two lengths of tube, one inside the other held in place by pop rivets top and bottom. I guess that’s been necessary because the original spec tubing is no longer available. I also stripped the old damaged forks and the rudder pedal assembly and tried the new forks in the swivel bracket for the first time. I’m glad to say they fit well. Then I recovered MYRO’s nose wheel suspension dampers both of which were undamaged and are better than the ones that came on the new forks, and all of the nuts and bolts that hold them on and secure the nose wheel. I’ll try and see if I can get the whole nose wheel assembly together tomorrow, and if I can get the nose strut top coated ready for use, that will be a nice bonus. I can’t see why I shouldn’t either 😉
 English
 Nederlands
 Français
 Deutsch
 Italiano
 Latviešu valoda
 Português
 Español