


One of the things that I learned from my dad is that creating something of quality takes longer, and that’s why it costs more. But if you’re doing something yourself and not paying someone else for what is being made, it’s only your time that’s involved, which is free. And that’s a good reason not to skimp and to do the best that you can.
When I looked at a lot of the fences around here that are designed to either keep animals in or out, I found that most of them just consist of wire mesh nailed to wooden fence posts that have been banged into the ground. Usually they are less than a metre in height and the posts have only been bashed a few centimetres into the ground, probably just with a sledgehammer. It’s also very noticeable that many of the fences constructed in this way are either falling over or have been penetrated by animals, the latter probably being responsible for the former.
When I decided to make my own fence I wanted something capable of doing its job of keeping the ‘sangliers’ out and of also avoiding both of those problems. I also wanted something that wouldn’t be an eyesore and would be reasonably permanent, capable of lasting for at least the next few years (I hope) while I’m living in my new house. So that’s why I came up with the design that I have.
Firstly the mesh. Many people here who have smaller gardens (or large wallets if they have a lot of ground) enclose it with grilles of heavy, closely spaced coloured wire mesh mounted on metal posts. This is quite an expensive option and in my opinion looks much too formal for a highly rural location such as where I live. I decided to go for the same mesh that has been used for the other fences around here which looks much more appropriate – it’s called ‘grillage à mouton’ (sheep mesh) so you can see where it’s coming from.
But it’s main problem is that it’s flimsy. Wild boar are built like small tanks and have a similar mentality and can barge their way through almost anything that’s not armour-plated if they have a mind to. That’s why the other fences around here begin to look the worse for wear after a relatively short period of time. If the boar push hard enough against the centre of a simple mesh panel it makes it bulge and stretch eventually lifting it enough for them to be able to force their way beneath it, or at the very least making it into a considerable eyesore.
The mesh therefore needs to be reinforced in some way and its supporting posts also need to be beefed up in order to withstand the rigours of rural life. So that’s why I went for strong, 2 metre length posts that can be banged a metre or so into the ground (not using a sledge hammer of course – they need a heavy tractor mounted thumper) and a tensioned wire suspension arrangement for the mesh. By attaching the mesh along its top and bottom edges and also along its centre to three wires, this has the result of firming up each mesh panel. Also, by having the bottom wire just above ground level, it will hopefully make it impossible for sanglier, and other smaller animals also, to gain access beneath it.
But it’s a time-consuming business putting such an arrangement into place – it’s already taken me several weeks. But I think that it will be worth it because going back to my initial paragraph in this post, I think that the final result will be a much better quality fence that will both withstand the kind of thing that the sanglier will throw at it and will also be fairly unobtrusive in its natural setting, especially if I plant bushes inside it along its length or possibly in time even mount rough boards on its outside. The other big benefit from having it will also be that I’ll be able to have a dog that will be safely enclosed but will be able to roam freely within its perimeter.
Here’s why the job has been so time-consuming. I’ve attached the mesh to the supporting wires using twisted wire attachments, as shown below. Each panel has on average about 32 of these and there are 16 panels in the sections of fence that I’ve erected to date, giving a total of over 500 wire attachments each of which I had to do by hand.
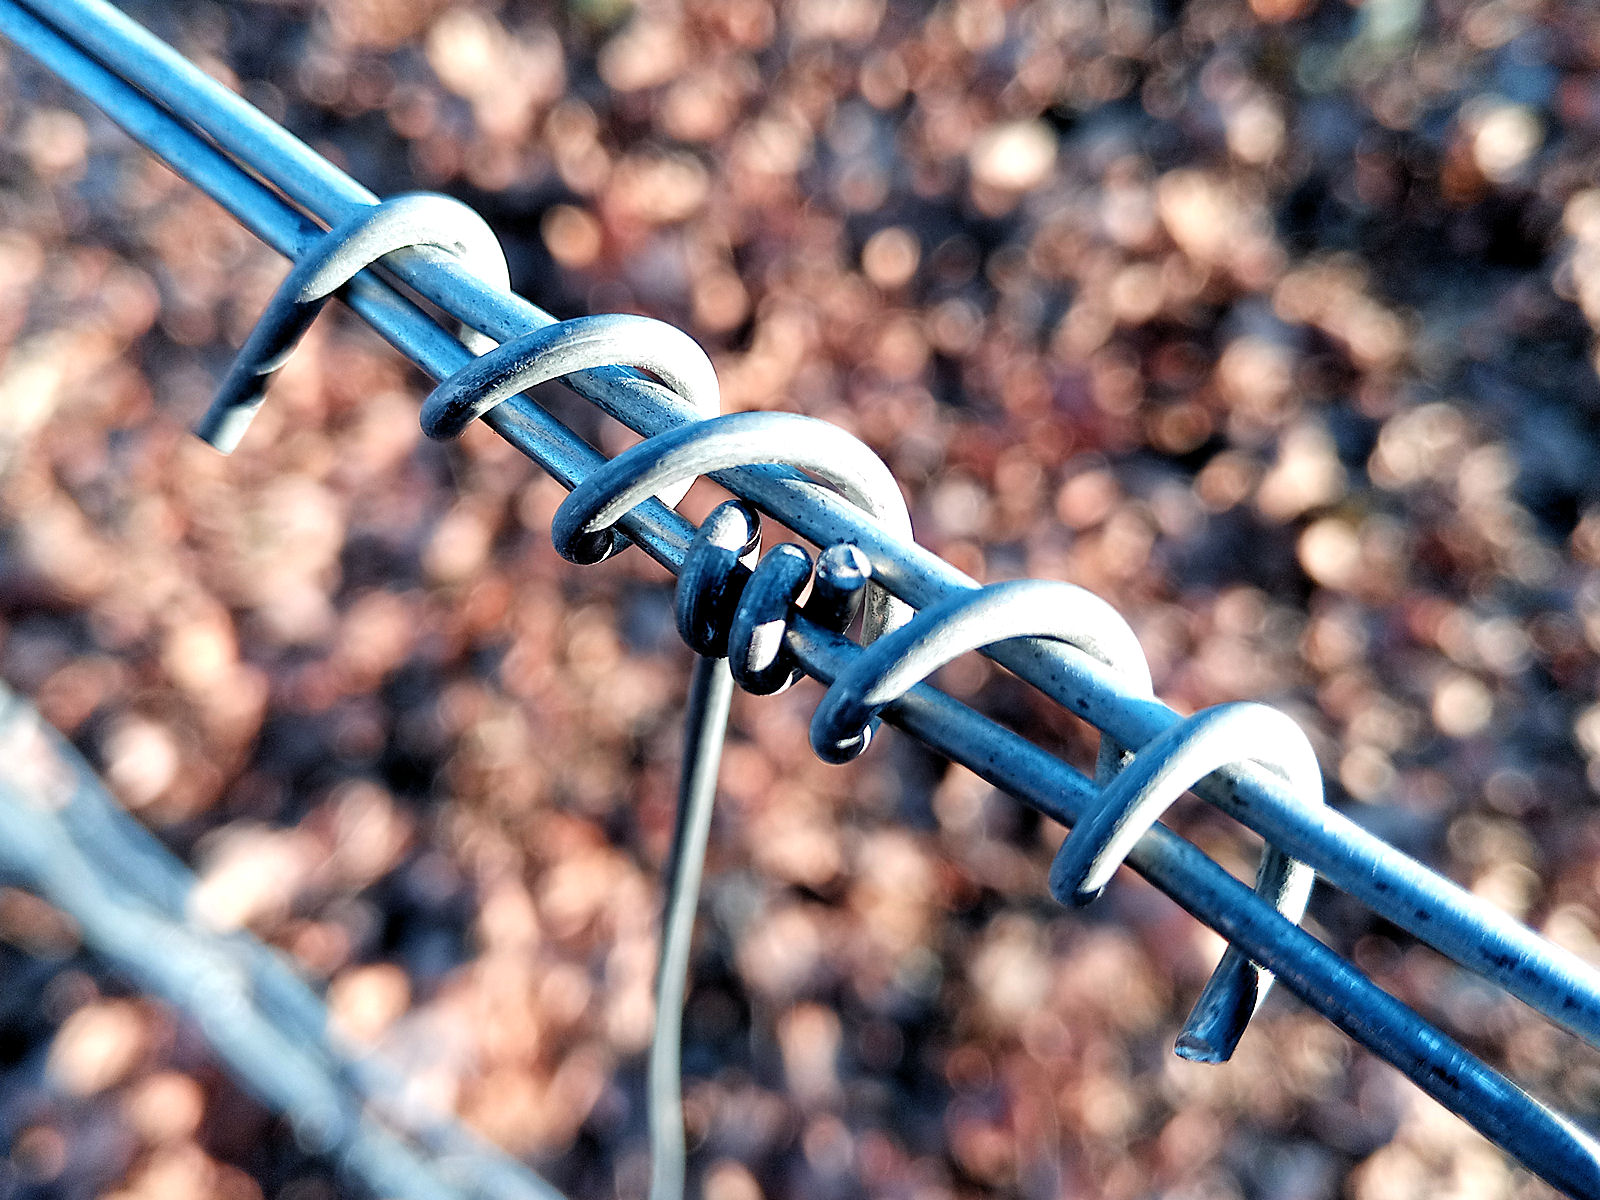
There are attachments every two vertical strands of mesh along the top and bottom wires and every four along the middle wire. The mesh has also been attached to the posts using heavy metal staples, making the whole thing very strong and rigid.
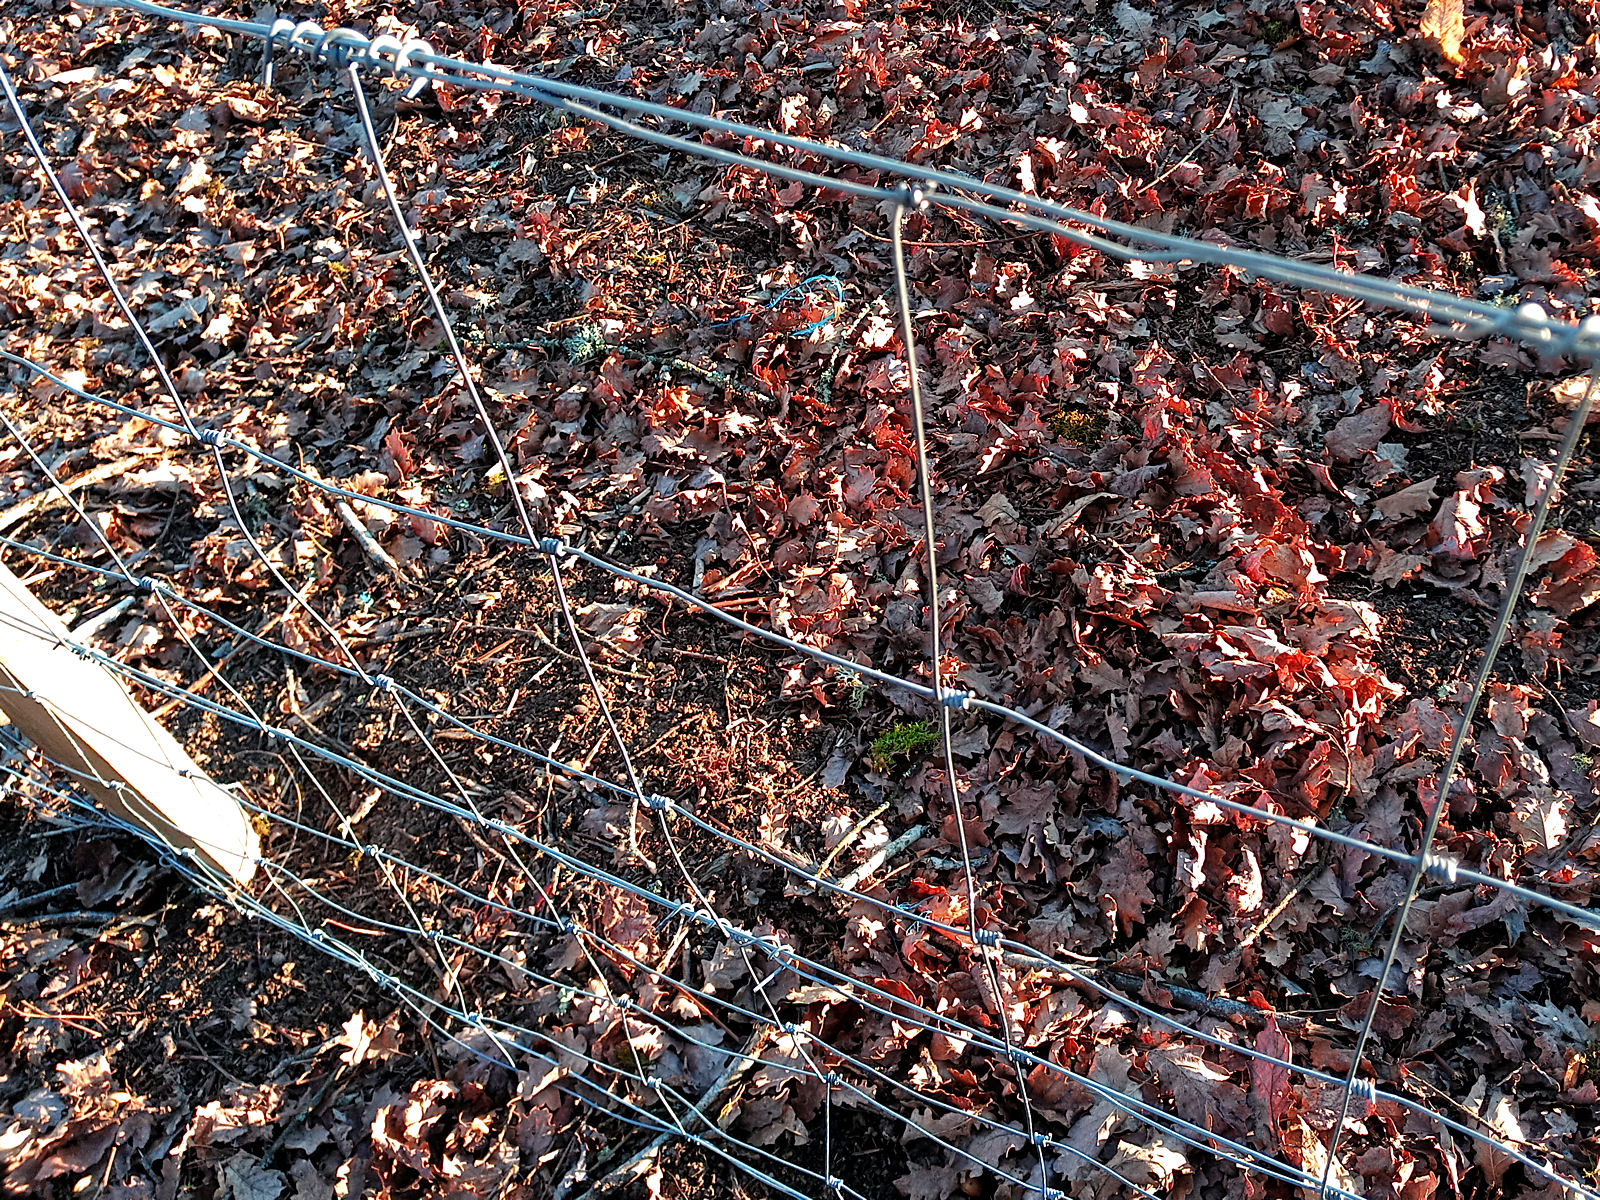
The most difficult attachments to put in place were those along the bottom wire. This was because of the minimal amount of clearance above the ground making it hard to twist the attachment wire as many times as necessary to make the fixing strong enough. I was also hampered by the number of fallen oak leaves that there were that got in the way!
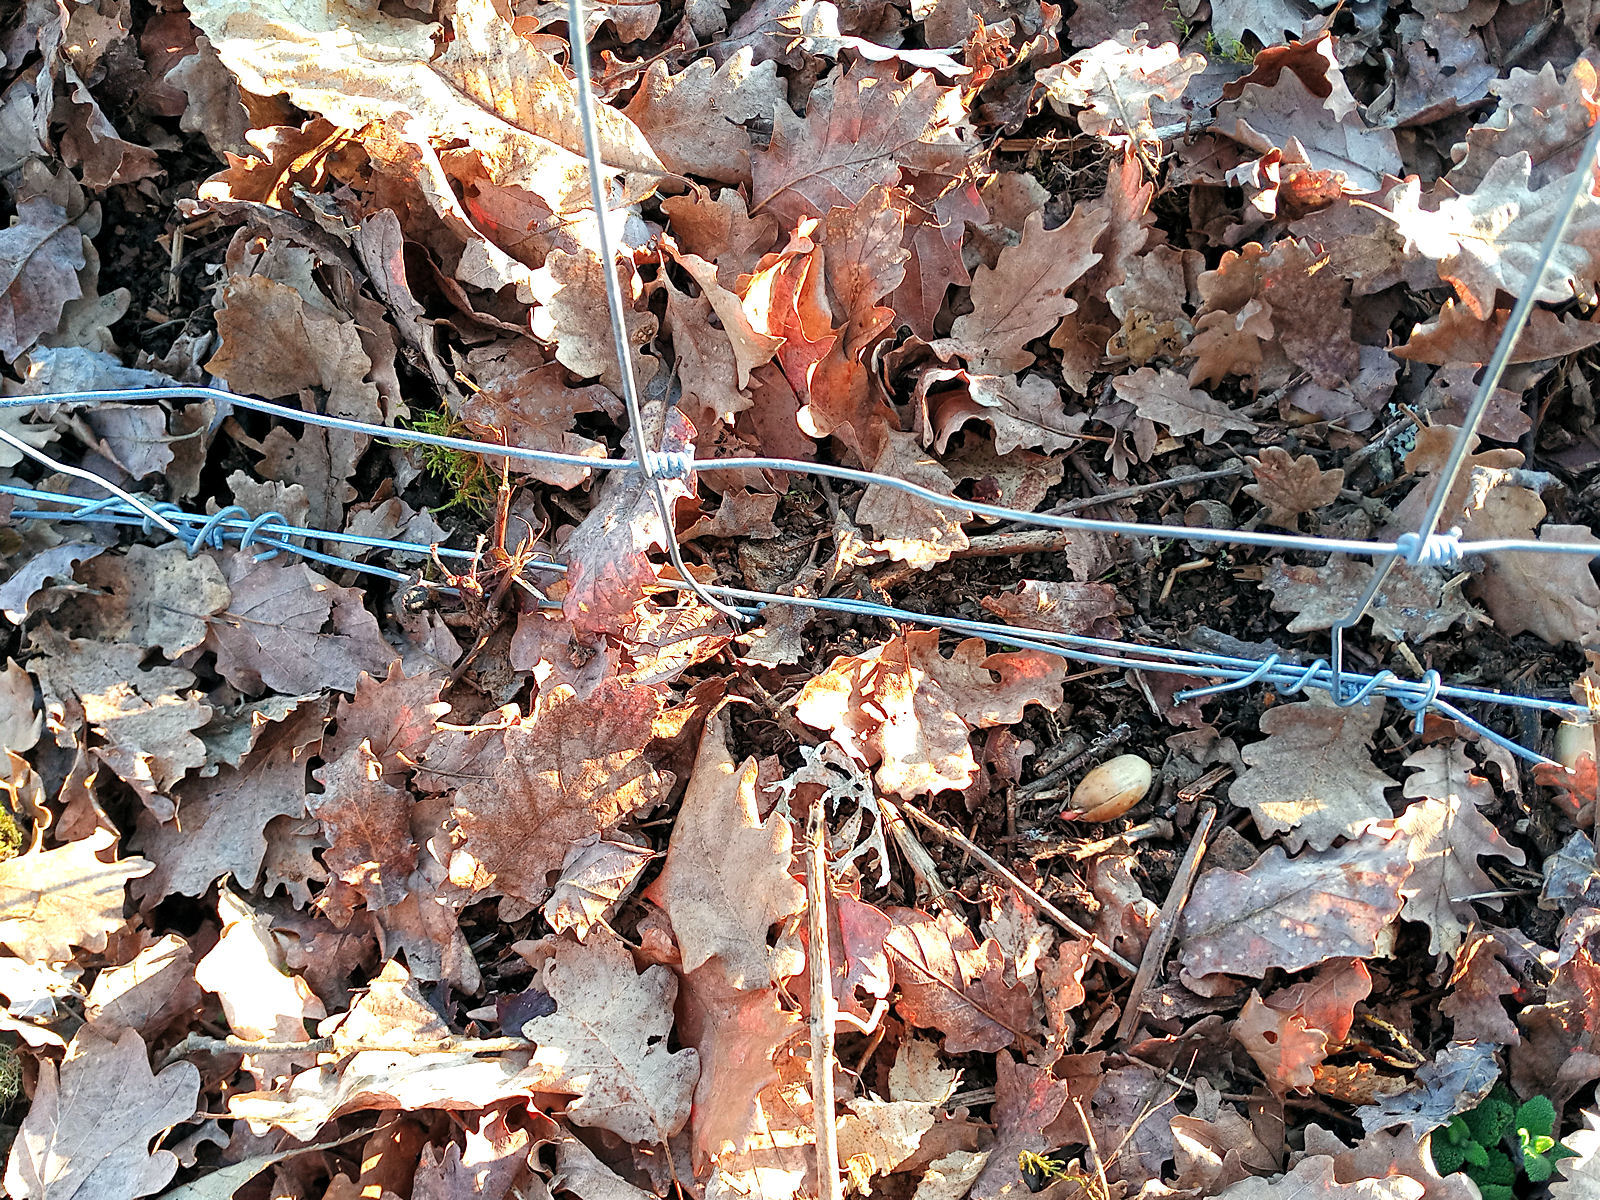
All the mesh is now fully suspended on all of the posts that are currently in place. The next thing will be to get hold of the additional posts that I need to erect fencing along the whole length of the long south side of my land, so I’ll do that as soon as possible. While they’re being banged into the ground I’ll be able to make the two gates that are needed for the other two sides and it’s highly likely that before that’s done, the builder will have started on the groundwork for my new house. Exciting times 🙂
 English
 Nederlands
 Français
 Deutsch
 Italiano
 Latviešu valoda
 Português
 Español