


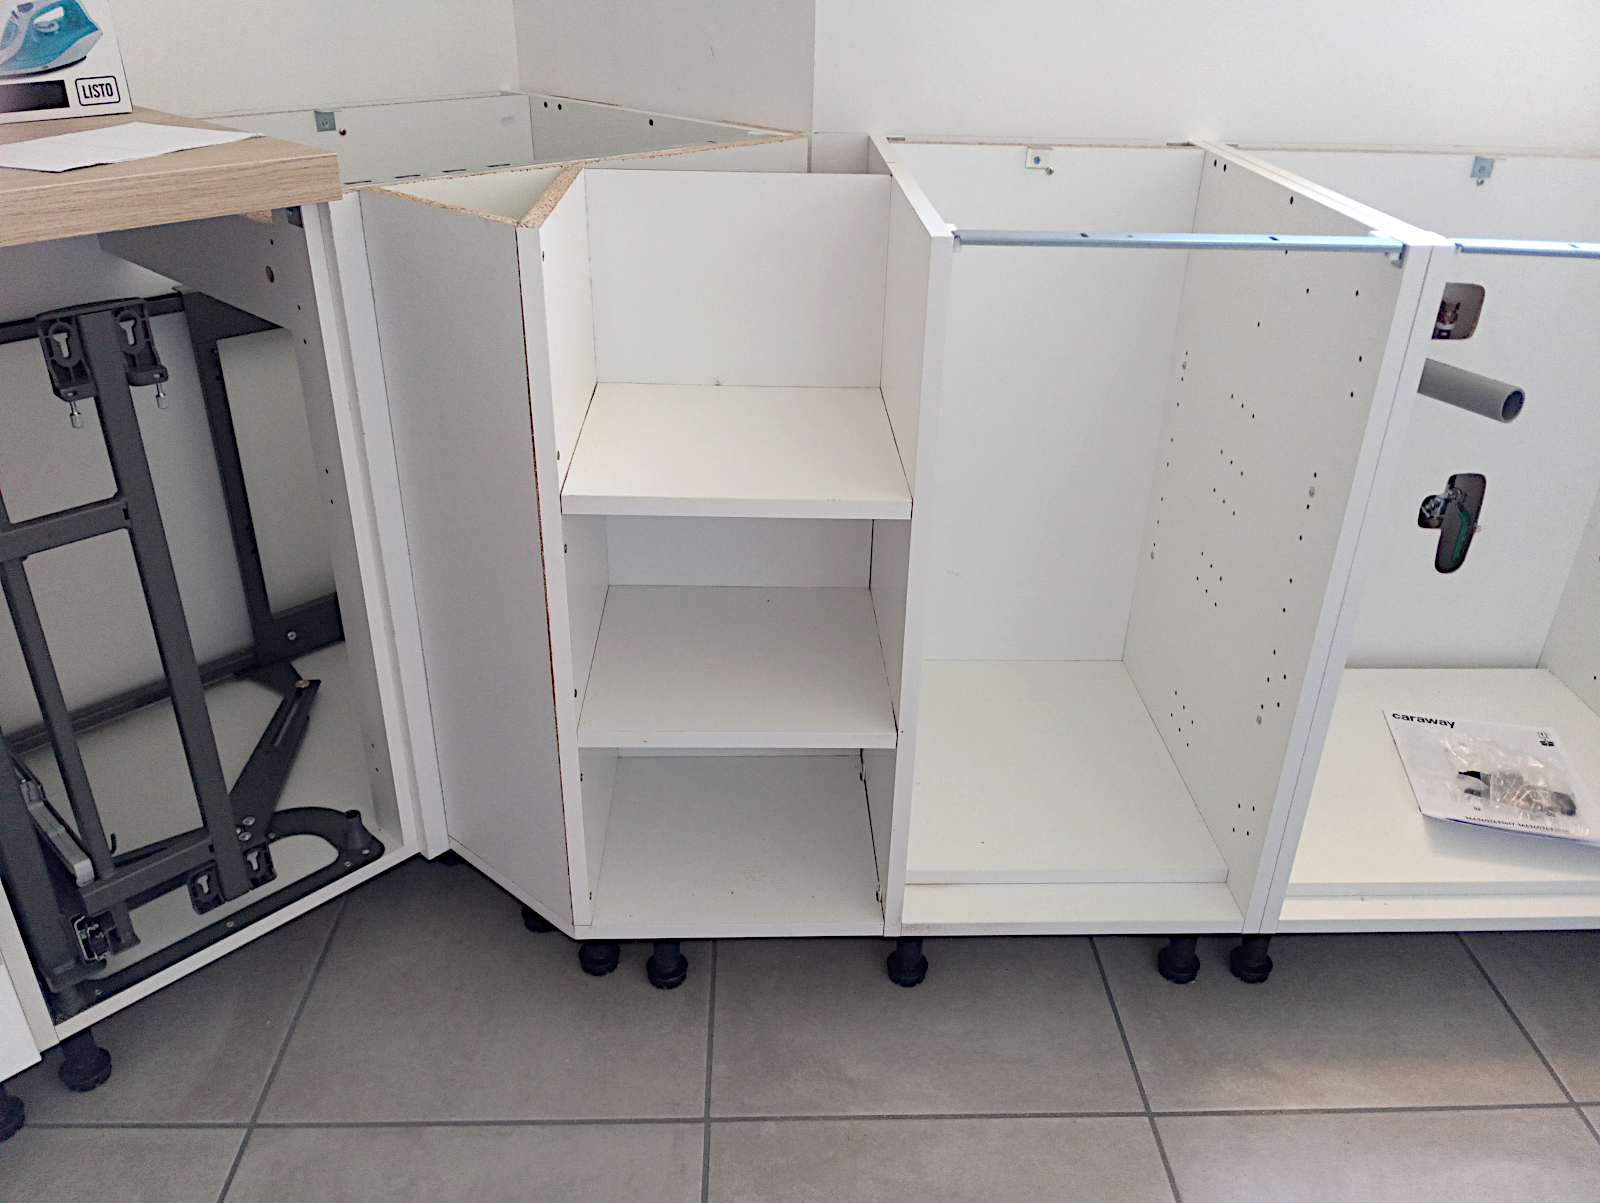
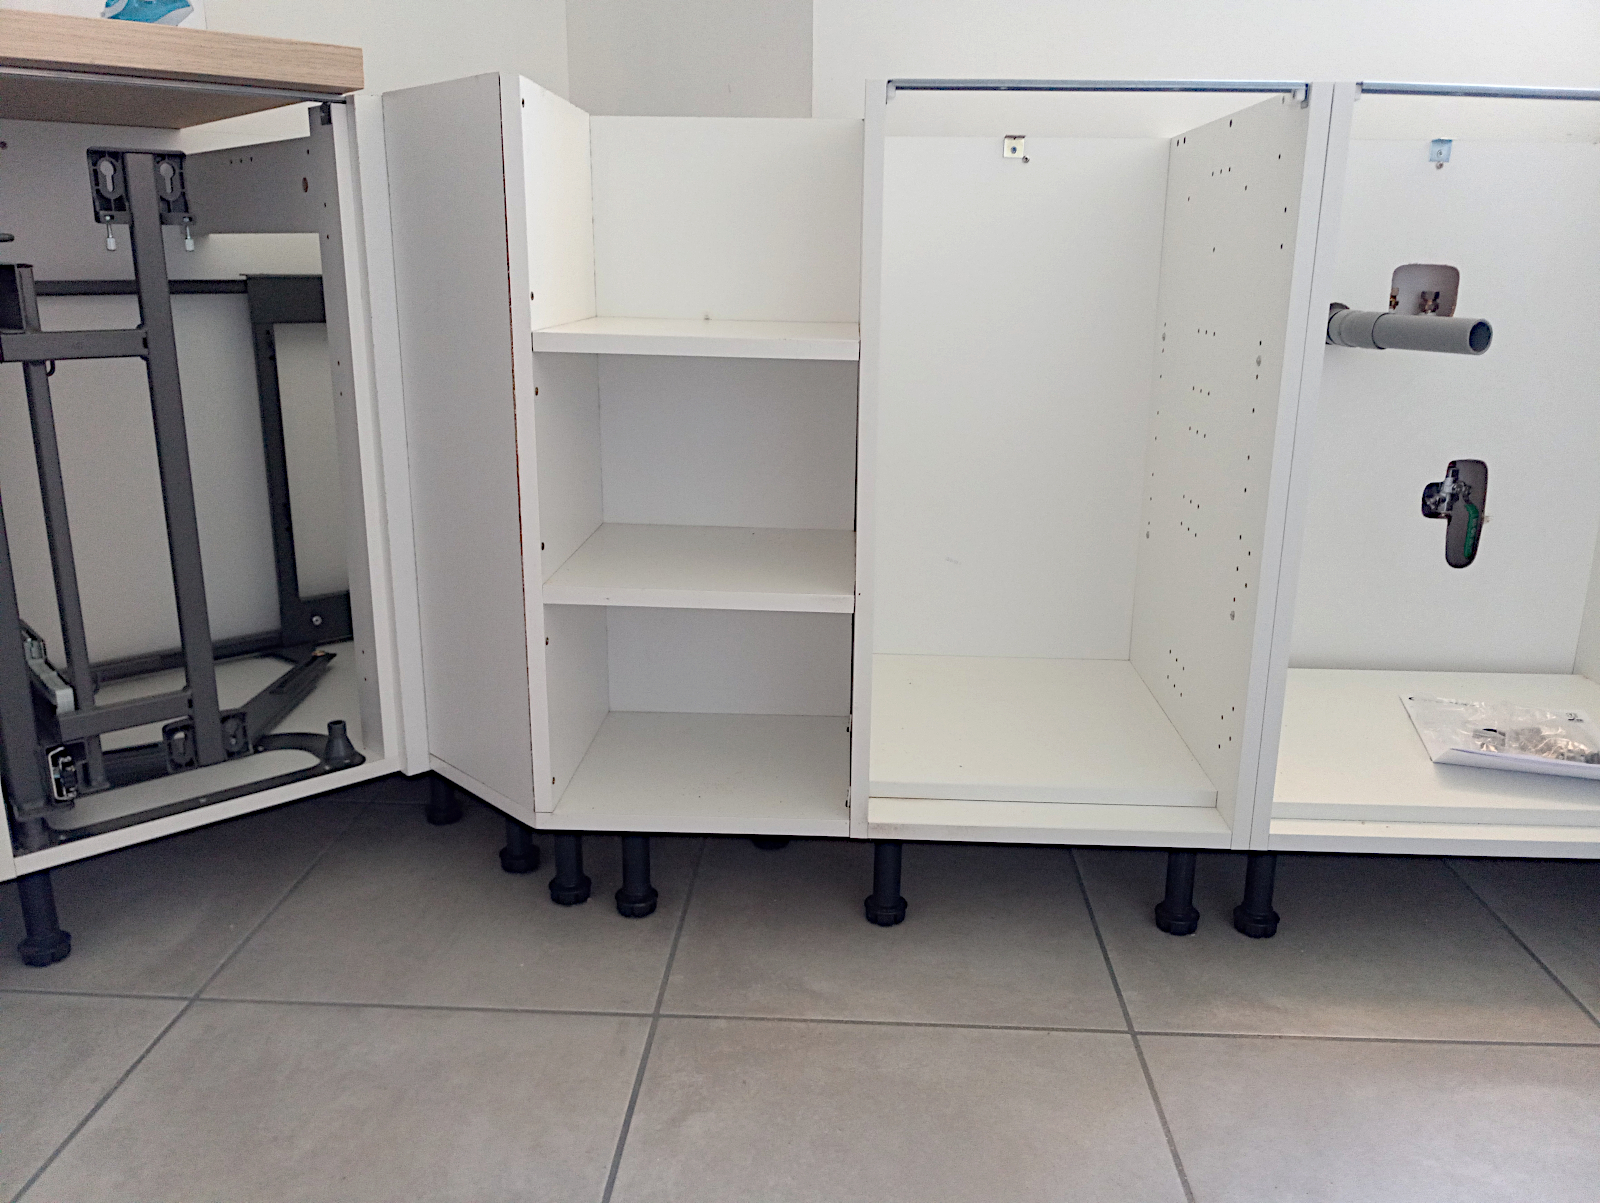
The first job was to re-make the shelf unit to fit into the angle between the worktops. This time it went pretty well and it’ll look fine once it’s completely finished.
With that out of the way I could at last move on to getting the worktops ready for fitting, starting with cutting a hole for the sink unit. The manufacturer didn’t give the dimensions of the hole so I had to take careful measurements myself and trust to luck. Too small and all of the cutting would have to be re-done and too big the sink could end up fitting too loosely allowing water to seep under its edges that would end up destroying the worktop. I’m glad to say that my measurements were about right.
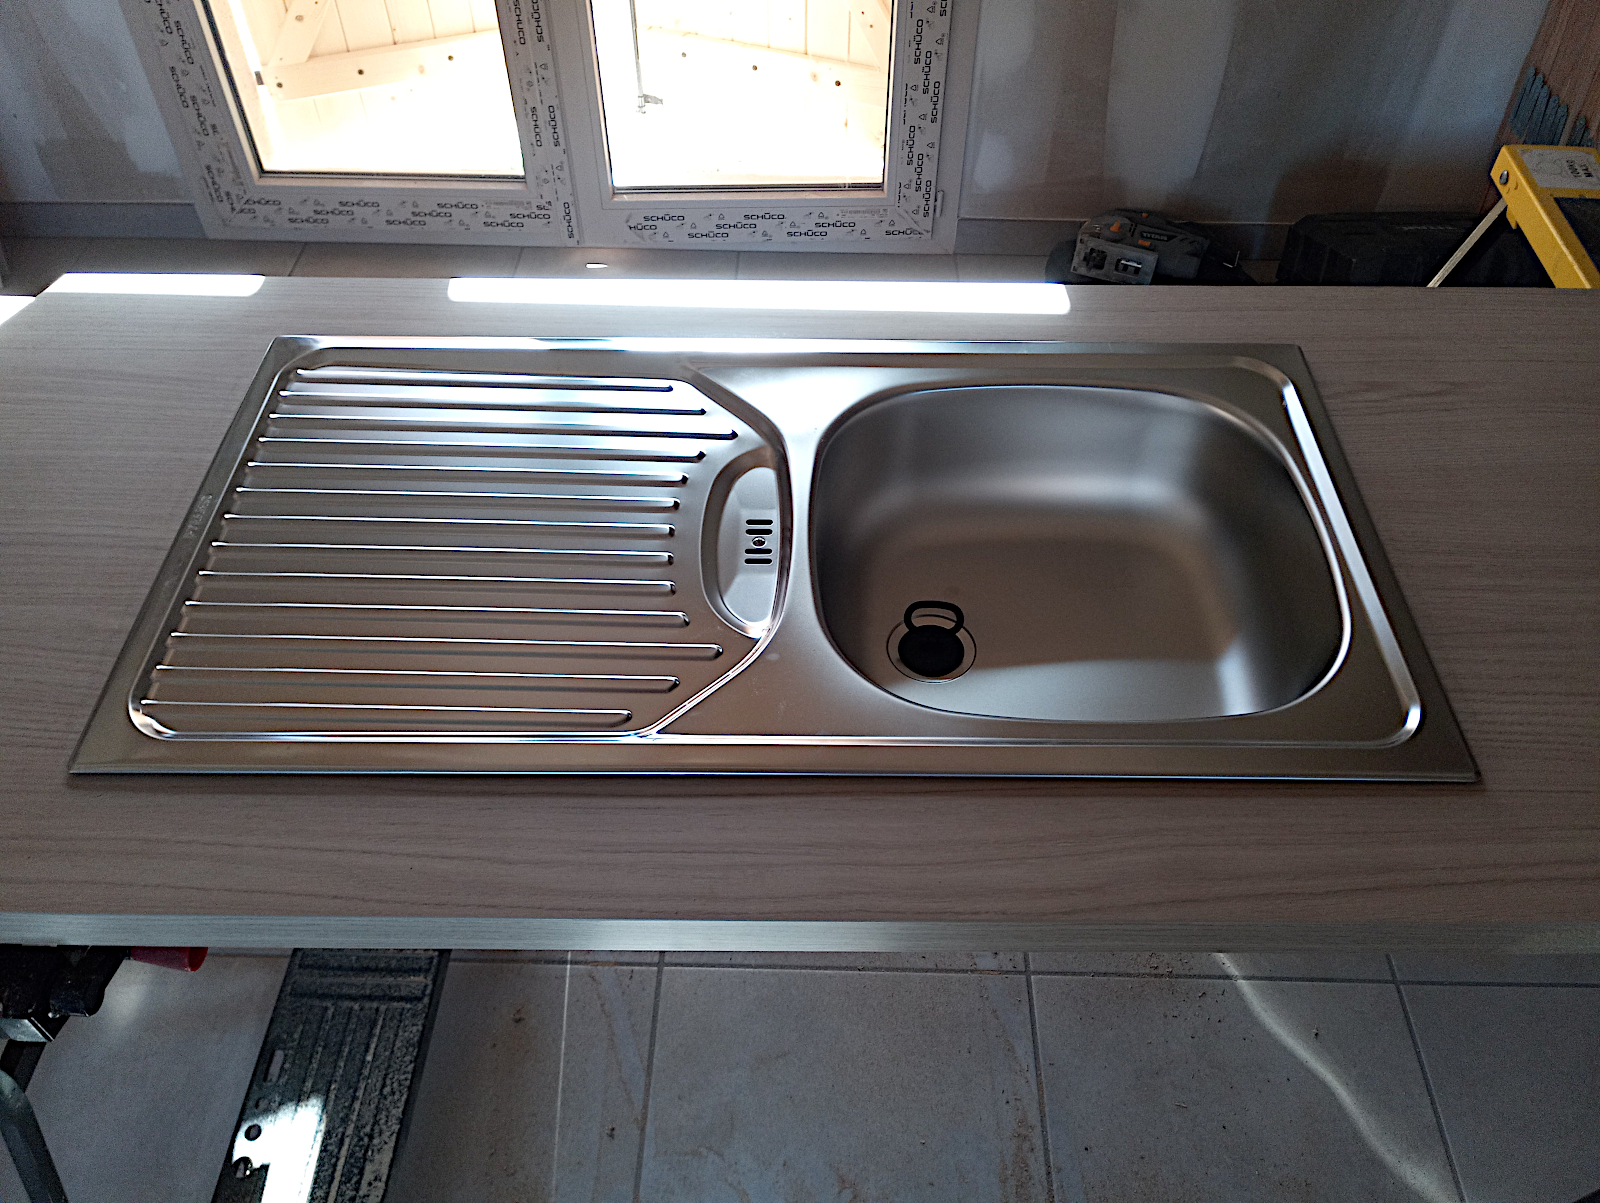
The hole also had to be correctly positioned as when I fitted the floor unit I had to weld the PVC tubing that will make up part of the waste. There will be a tiny bit of room to juggle a bit, but not much.
The sink can’t be installed until the worktops have been permanently fitted. The tricky bit was the glued joint and all the while I’ve been fixing floor units in position and even while I was making the shelving unit, I’ve had to be meticulous about levels as otherwise the glued edges would not exactly match. A difference in level of even half a millimetre can be easily felt to the touch and would eventually lead to the exposed edge being damaged over time as objects were slid over it when the worktop was in use.
I ummed and ahhed a bit about inserting a couple of dowels in the worktop ends to be joined. This is an easy process with proper woodworking machinery but less so with hand tools. I did it for the joint in my friend Val’s kitchen worktop so in the end decided to do it in mine too. Then it was time to bite the bullet, apply the glue and make the joint as best I could.
I’ve used good quality waterproof exterior wood glue. This makes a foam as the joint begins to cure filling up any gaps and actually oozing out of the joint as curing progresses. I think I’ve got the two surfaces dead level by clamping the free end and weighting the centre sections and the other end so both pieces are at exactly the same height throughout.
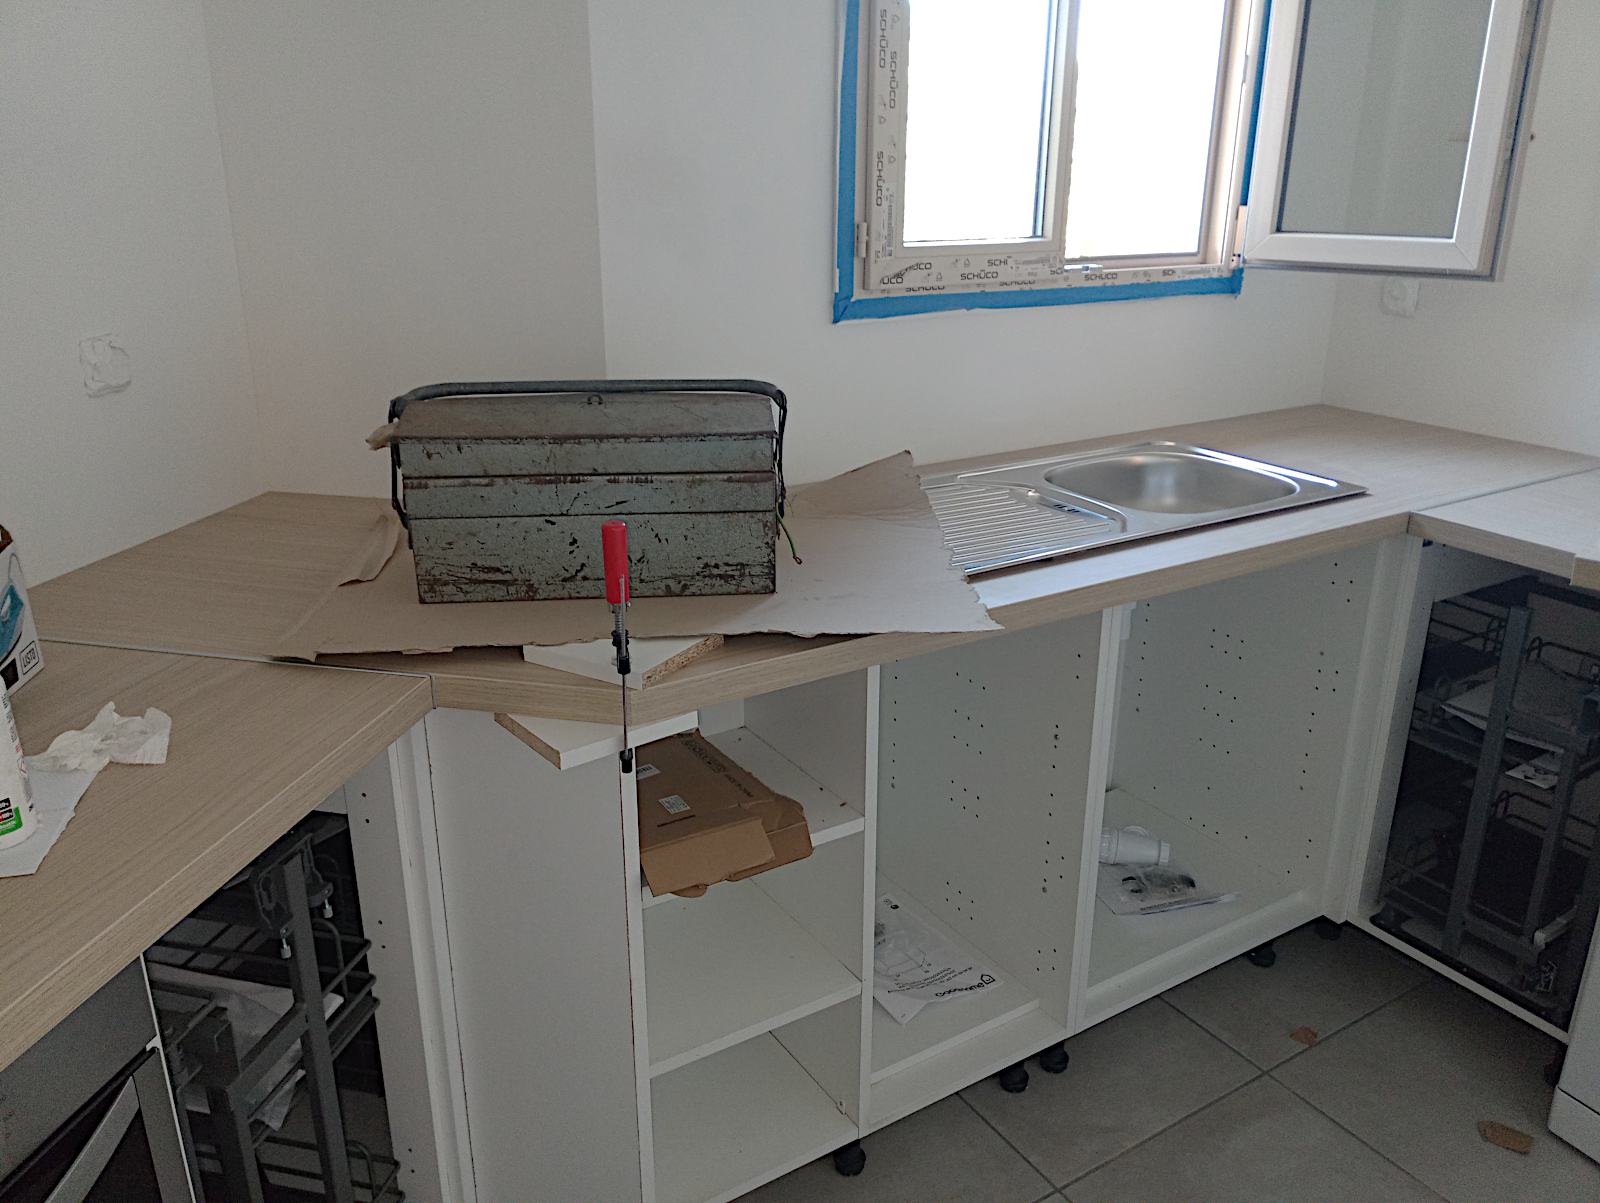

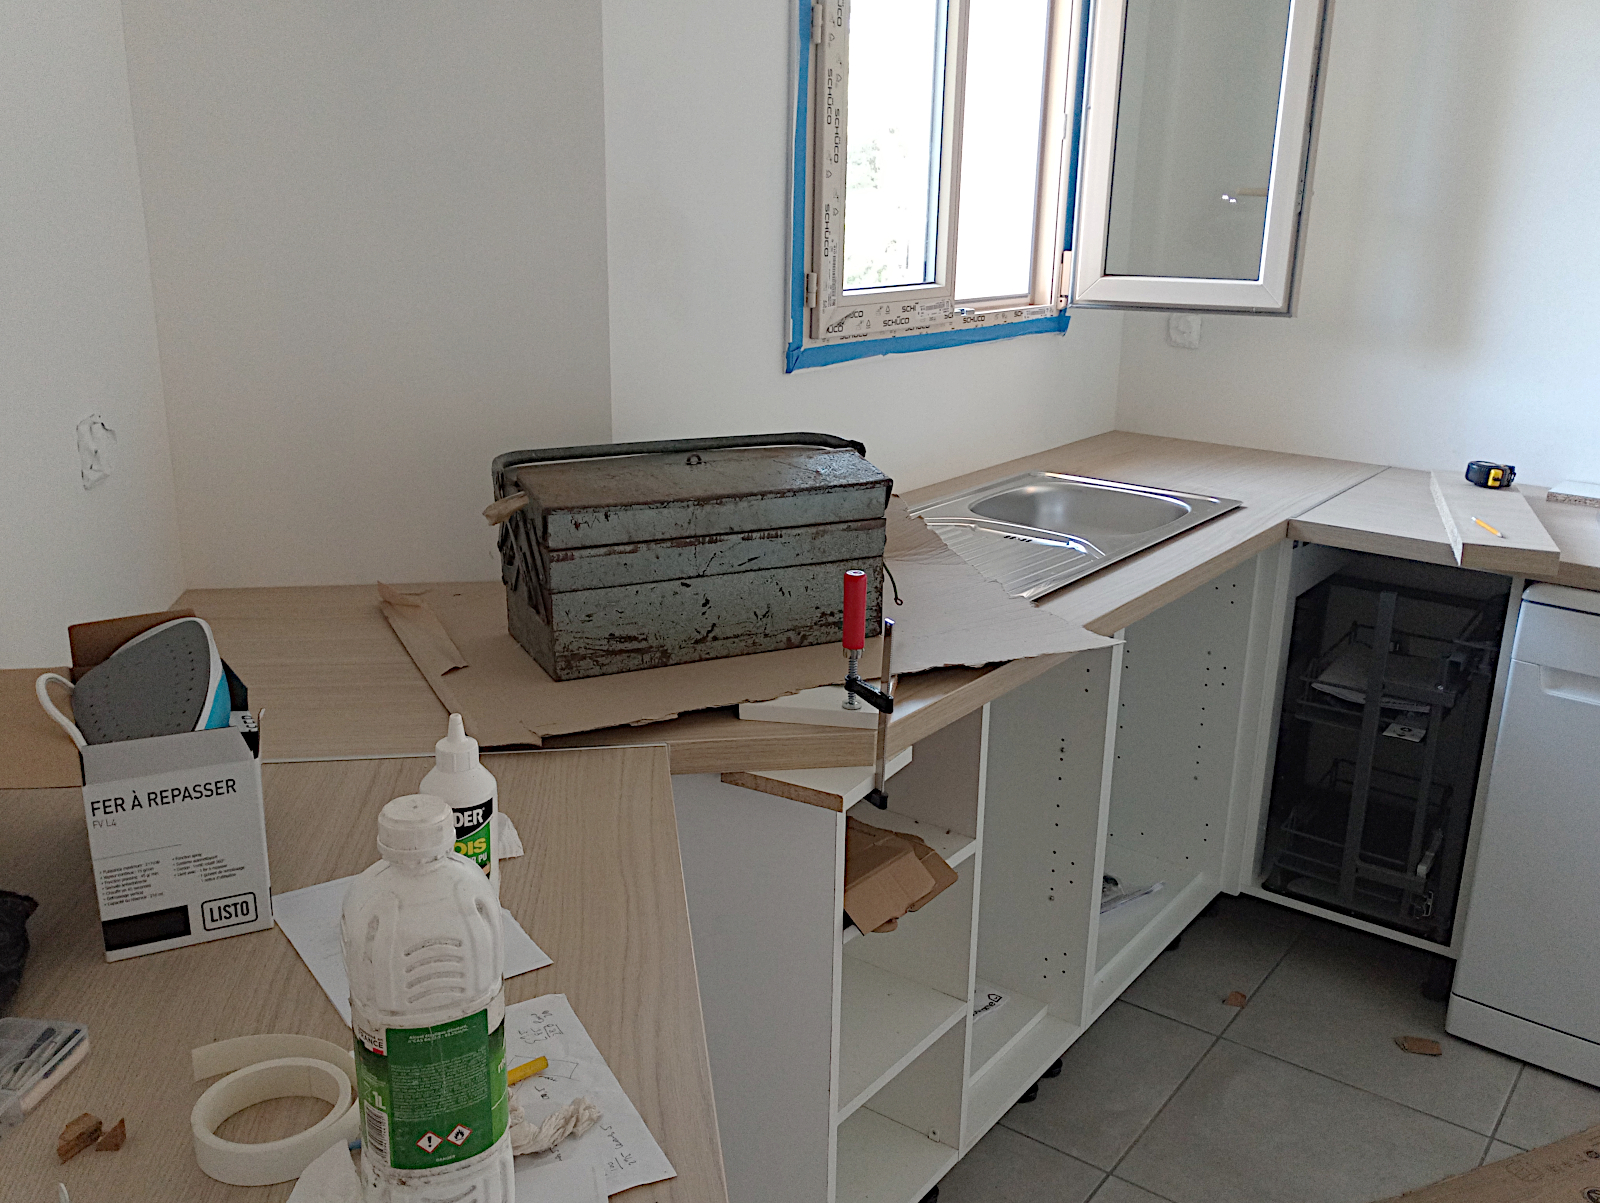
I won’t know until tomorrow how successful the process has been but it looks as though things will be fine. Once the end clamp and weight have been removed the cured glue that has oozed out of the joint will be visible and I’ll have to carefully remove it with a sharp chisel. That will then leave the way clear for the sink to be fully installed and connected up.
I’ve had water for the last two days – what luxury to be able to pee in a proper toilet! When I turned it on there was a huge leak coming from behind the cabinet where the sink water pipes are. I had a nightmare vision of having to rip the unit out again to fix it but then realised that the plumber hadn’t tightened a cone fitting on the shut-off valve for the outside tap.
How he didn’t find it when he tested the system I’ll never know but the panic was over when I managed to get an adjustable spanner in there and tighten it. I’m glad to say that the replacement shut-off valve that I fitted for the dishwasher was completely leak-free in comparison 😉