


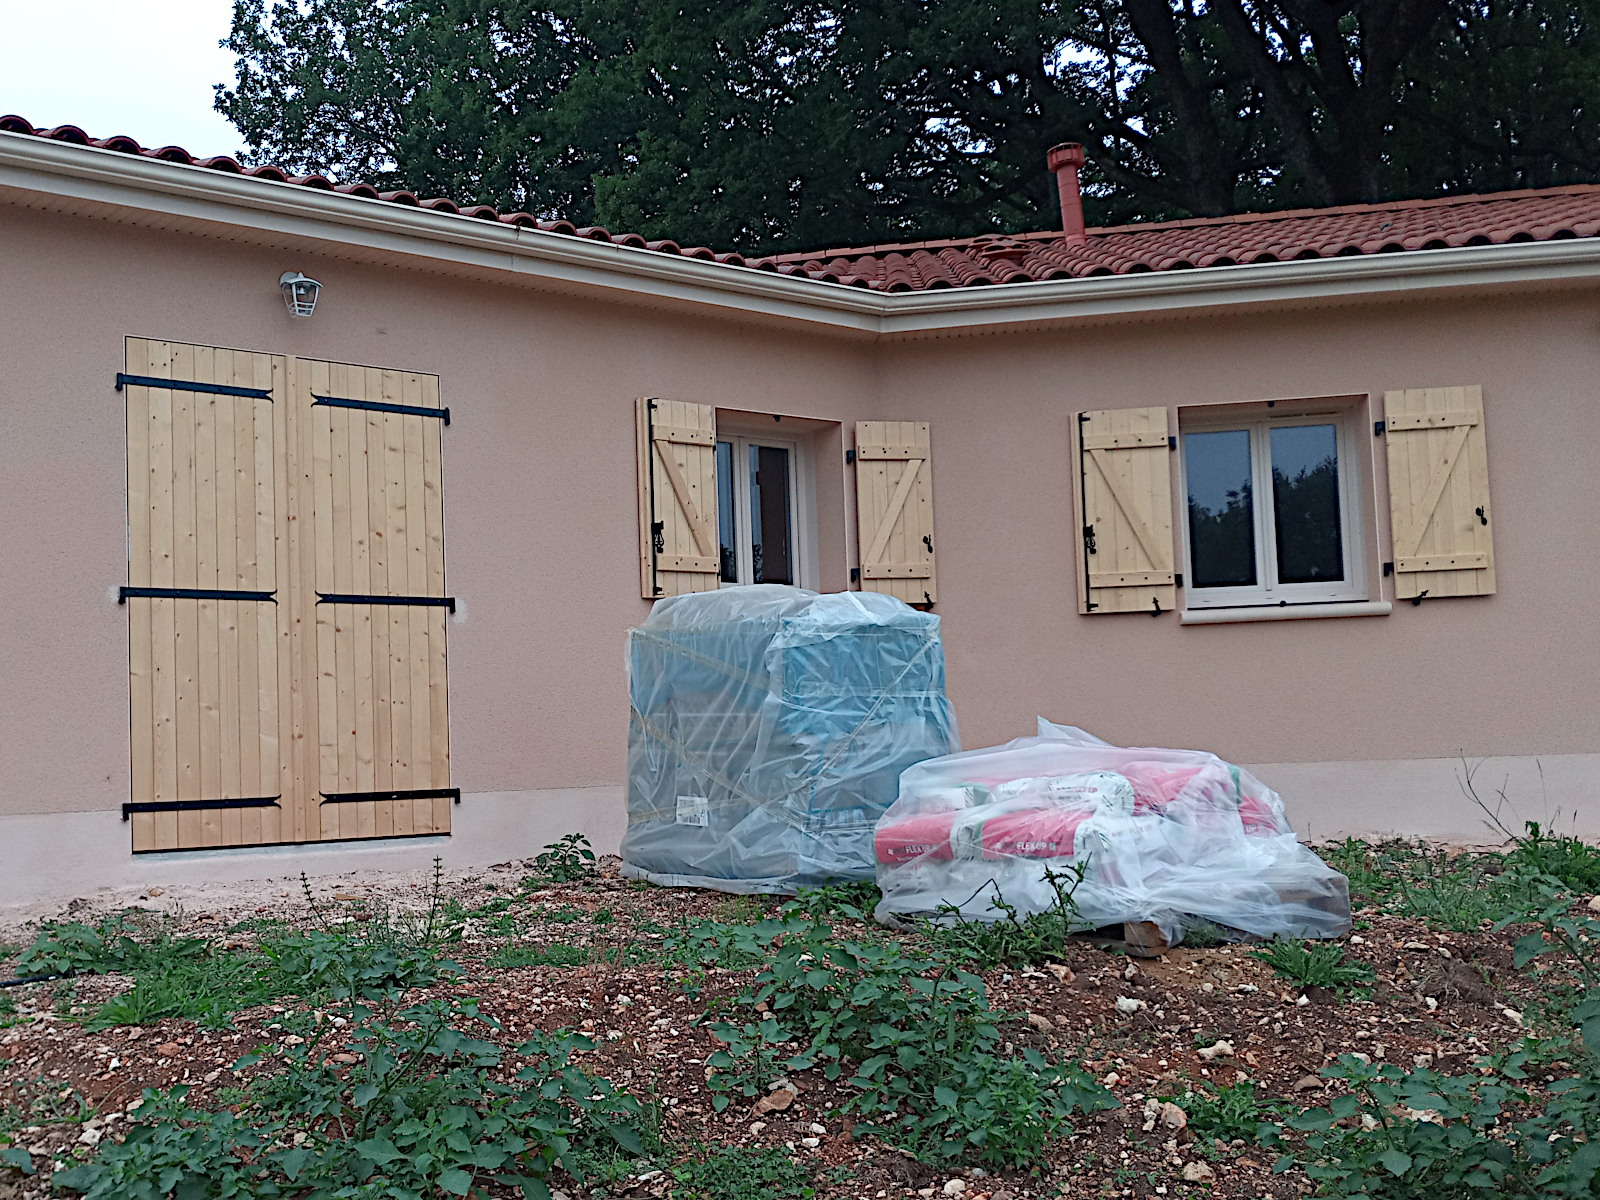
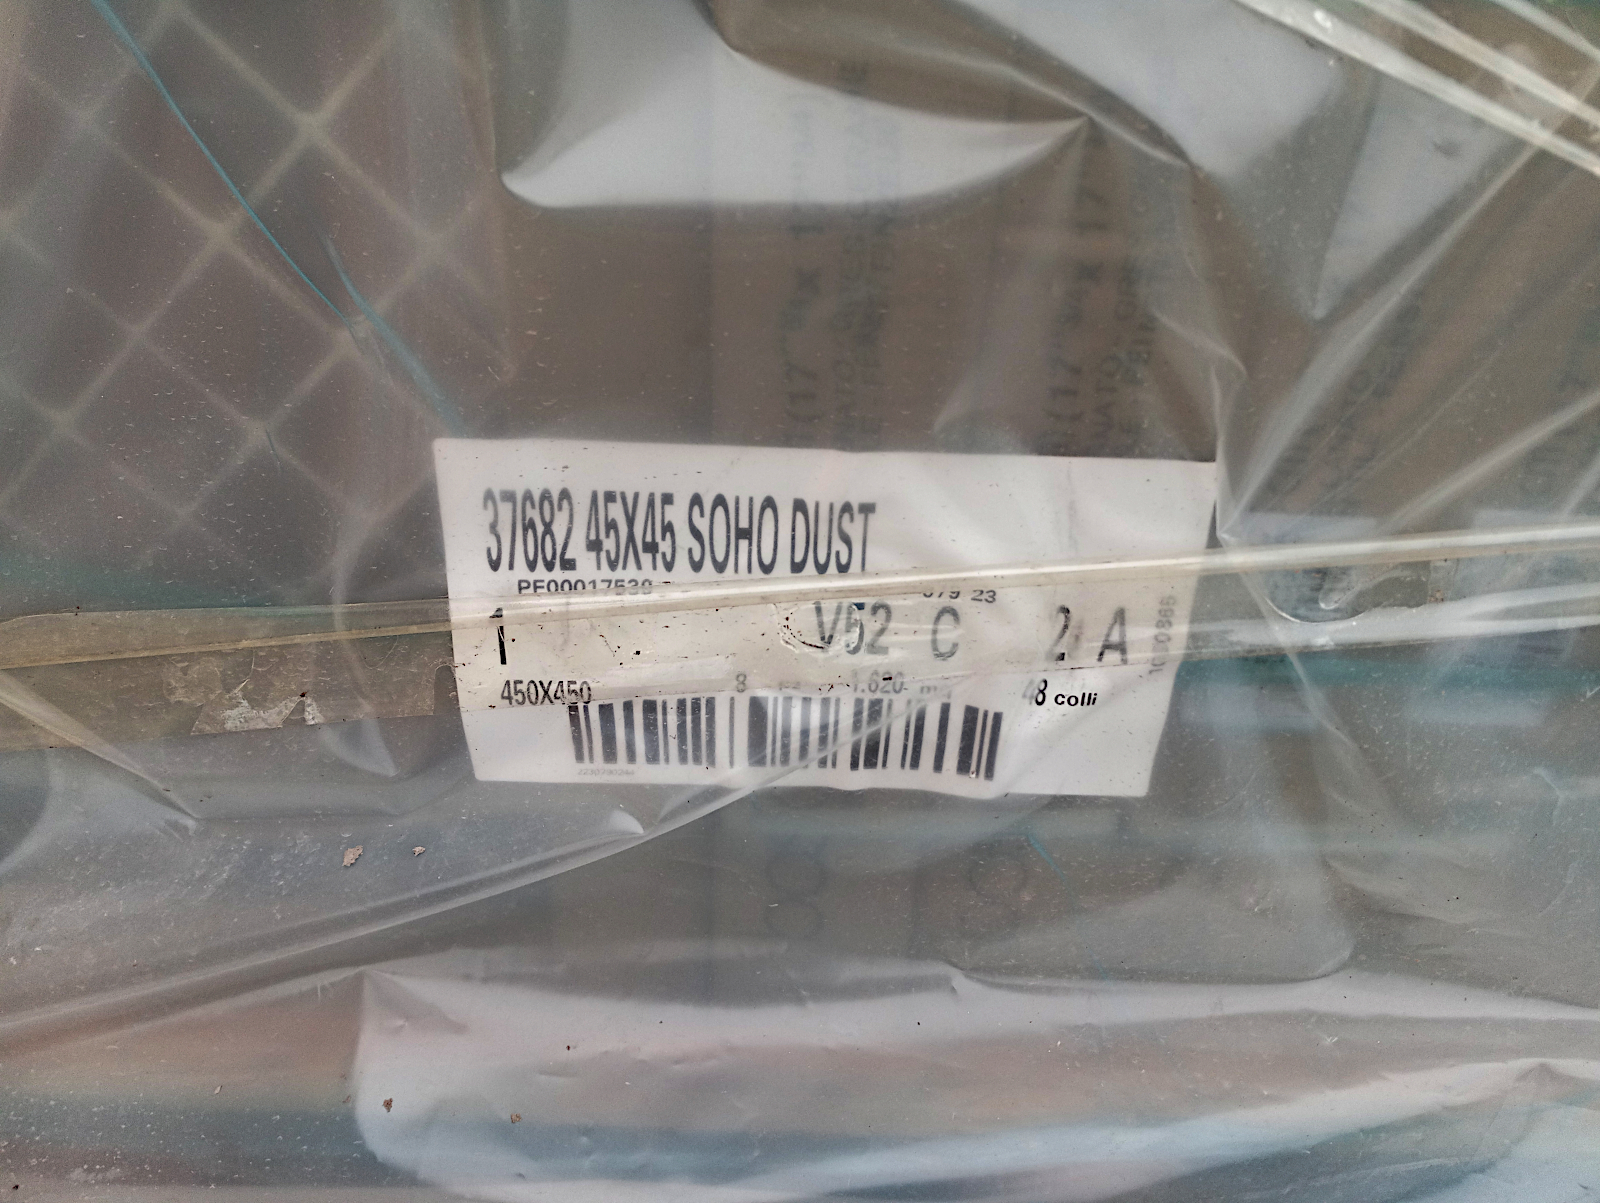
And about time! It looks as though my message about the floor tiling got through because the floor tiles that I’d been told by the builder would be delivered next week actually arrived this morning and the driver said that the tilers will be along on Monday to start laying them. These people know more about what’s going on than I do but I suppose it’s hardly surprising as they’re working and communicating together the whole time.
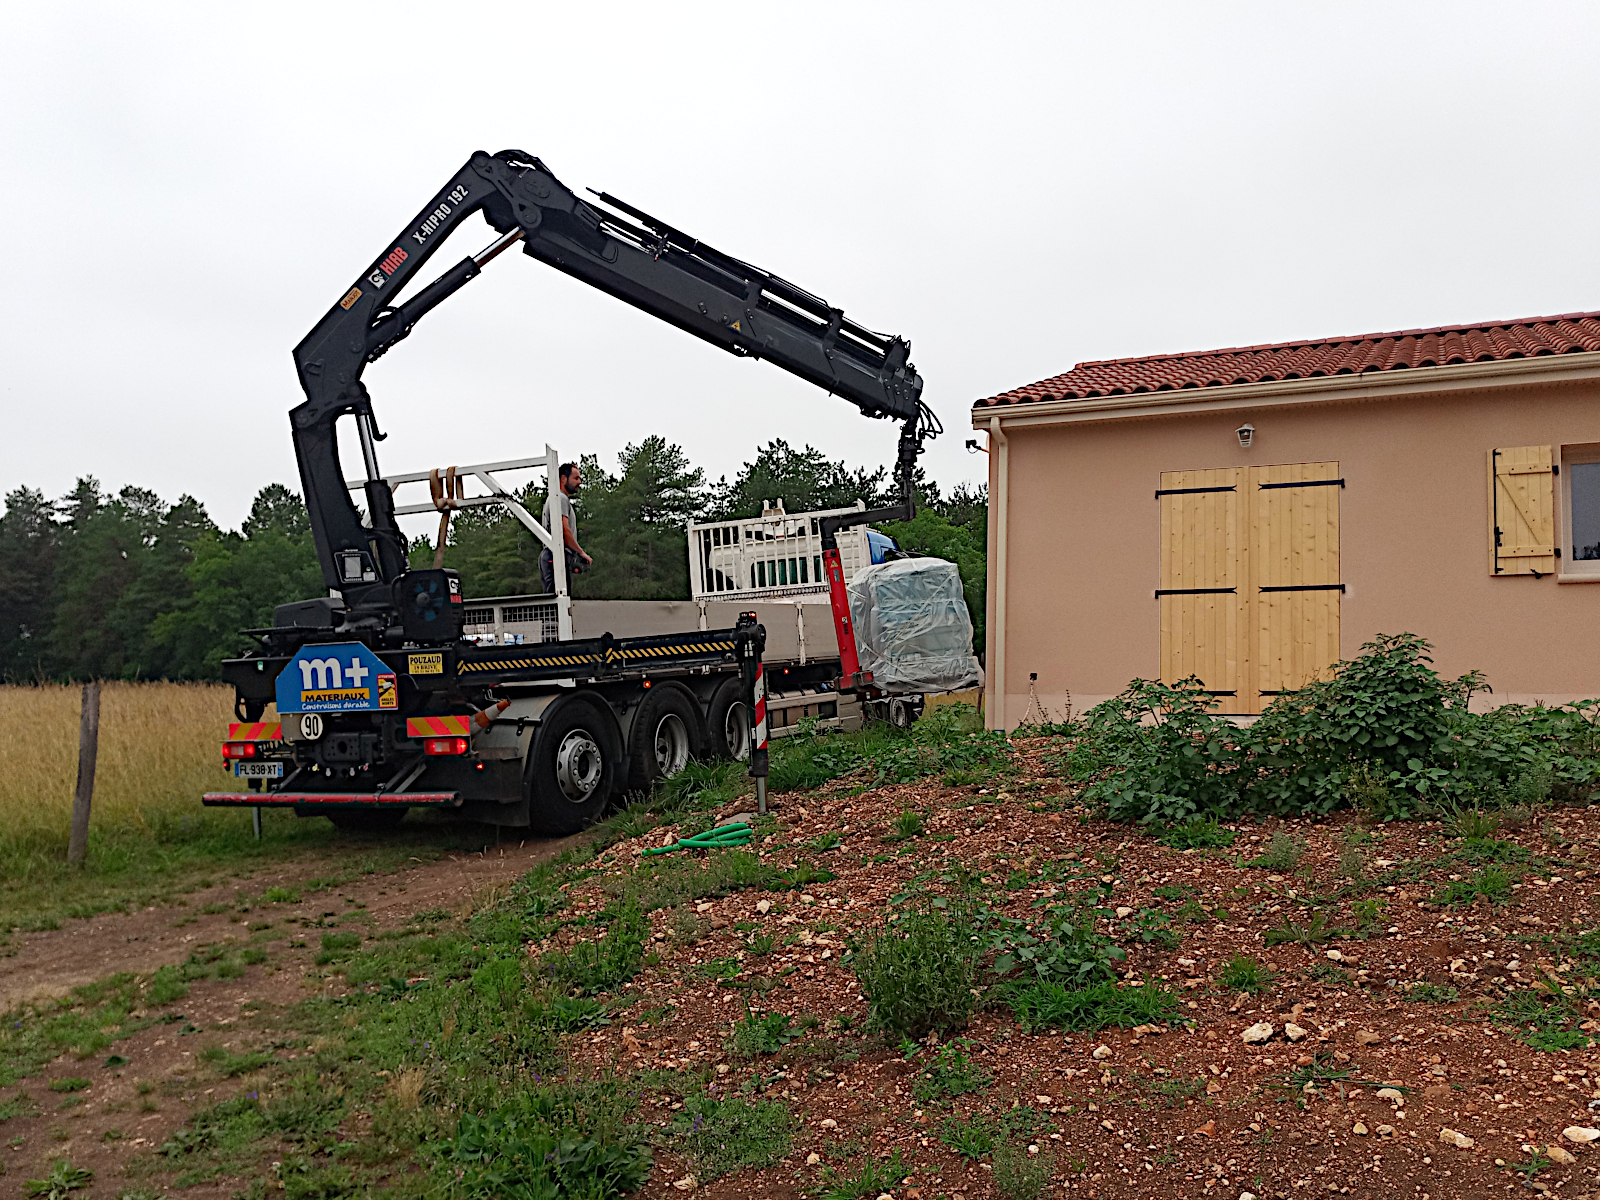

So by not long after 9.00 am the tiles and the adhesive were left ready for the tilers at the back of the house. I hope it doesn’t rain because if they’re going to start going in and out through the rear double doors it’ll become a mud bath that they’ll walk indoors.
So that left me with today, tomorrow and the week-end to get some work done myself inside the house, starting with the ceiling coving as I mentioned in my previous post. The method I use is to first fit all of the corner pieces ie two to a corner and then to finish off with straight cut pieces. The reason for that is that it can be tricky measuring out from a corner to fill a gap and it’s much easier to fill the gap with straight cuts.
The first couple of lengths were a total pain in the backside to get up and took me far too long and not only that I got into a mess with the adhesive and ended up smearing my phone and the new smart speakers that I’m using for music while I work. OK, I’m old school and this is the first time I’ve put up polystyrene coving, but even so it’s not meant to be like that.
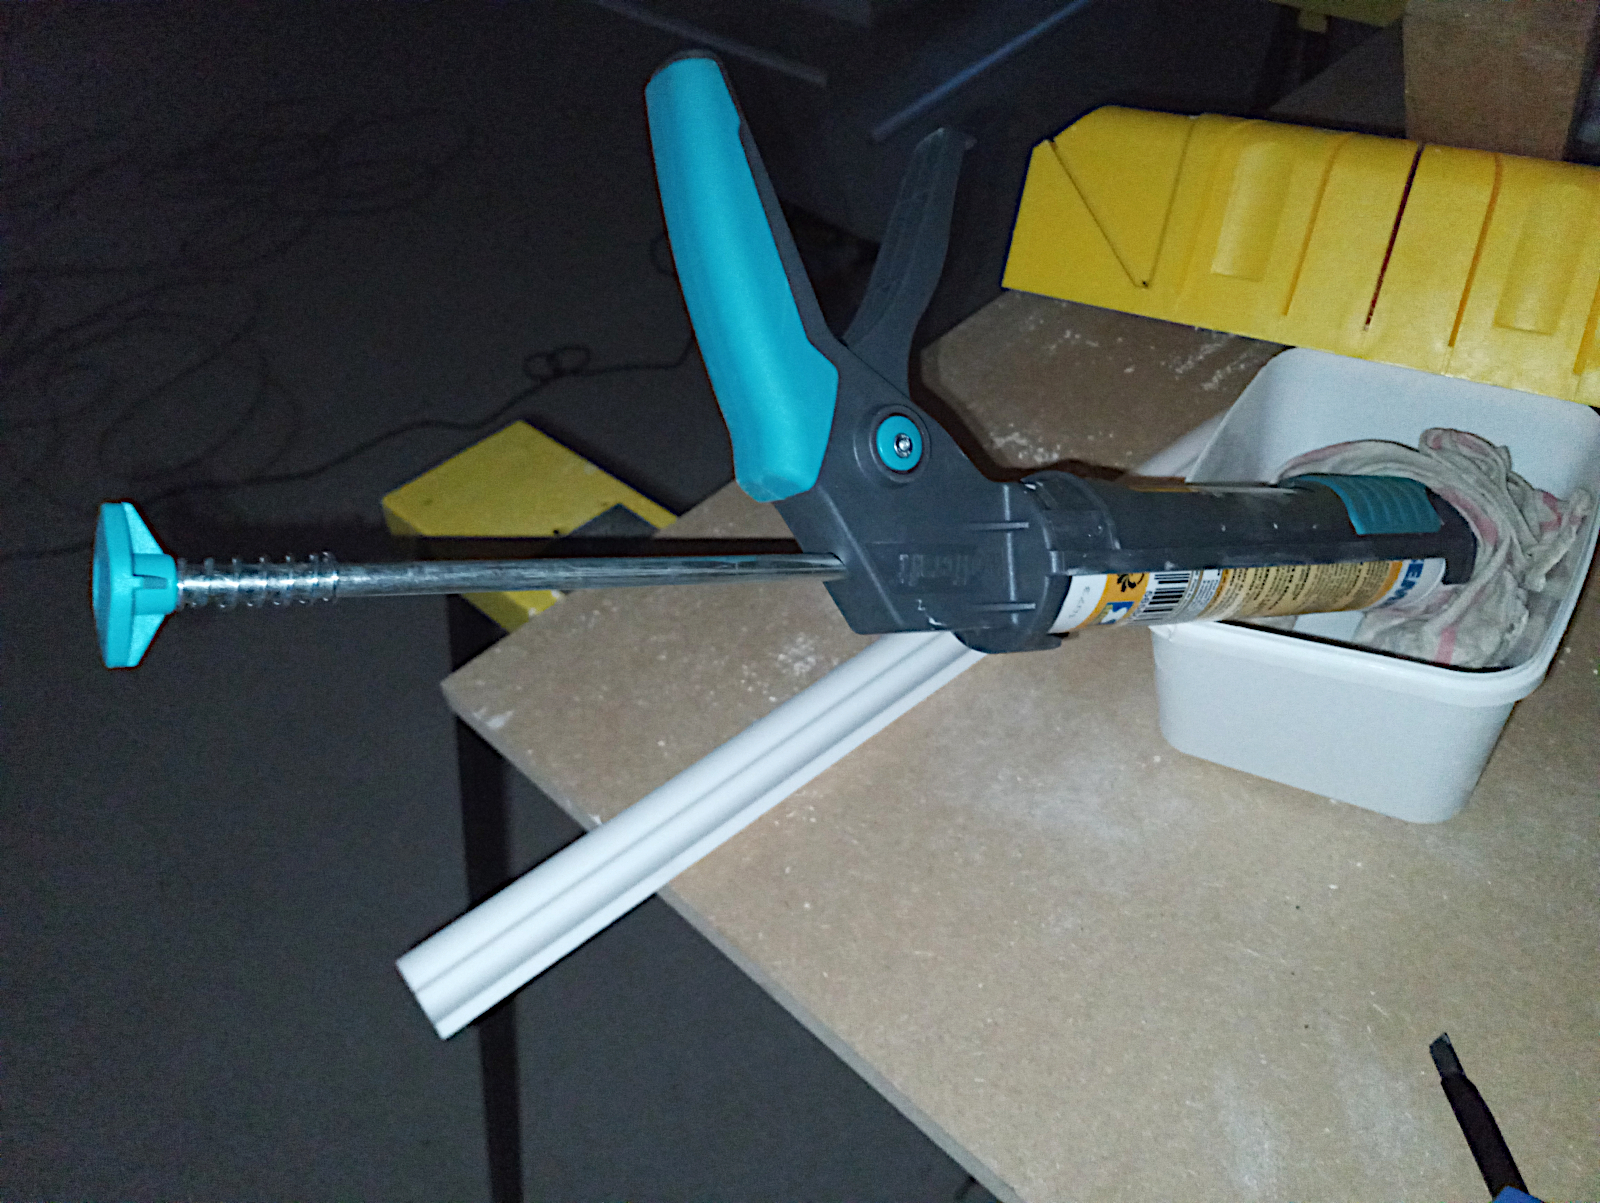
The big problem was that it was taking ages to apply the two beads of adhesive needed on each length of coving ie wall and floor edges and I blamed my old mastic gun for that, see below.

And it turned out I was right to do so. I lost over 3 hours driving to Leroy Merlin to pick up a new, high tec one but it turned out to be worth it. Applying the adhesive with it became a piece of cake and needed a fraction of the time so at around 17€ it has turned out to be an excellent investment. Here it is at the end of the day. You can’t see that much because a wet rag is wrapped around the nozzle of the cartridge to keep the adhesive wet until tomorrow.
Like I say, I’m old school and have been used to putting up plaster coving which is tricky and difficult to get good results with, especially in the corners. So I was somewhat sceptical about this new-fangled polystyrene material and ready to turn my nose up at it. But I was wrong! Not only is it much quicker to put up but with a modicum of care, you can also get great results with it. Take a look at the corner examples below.
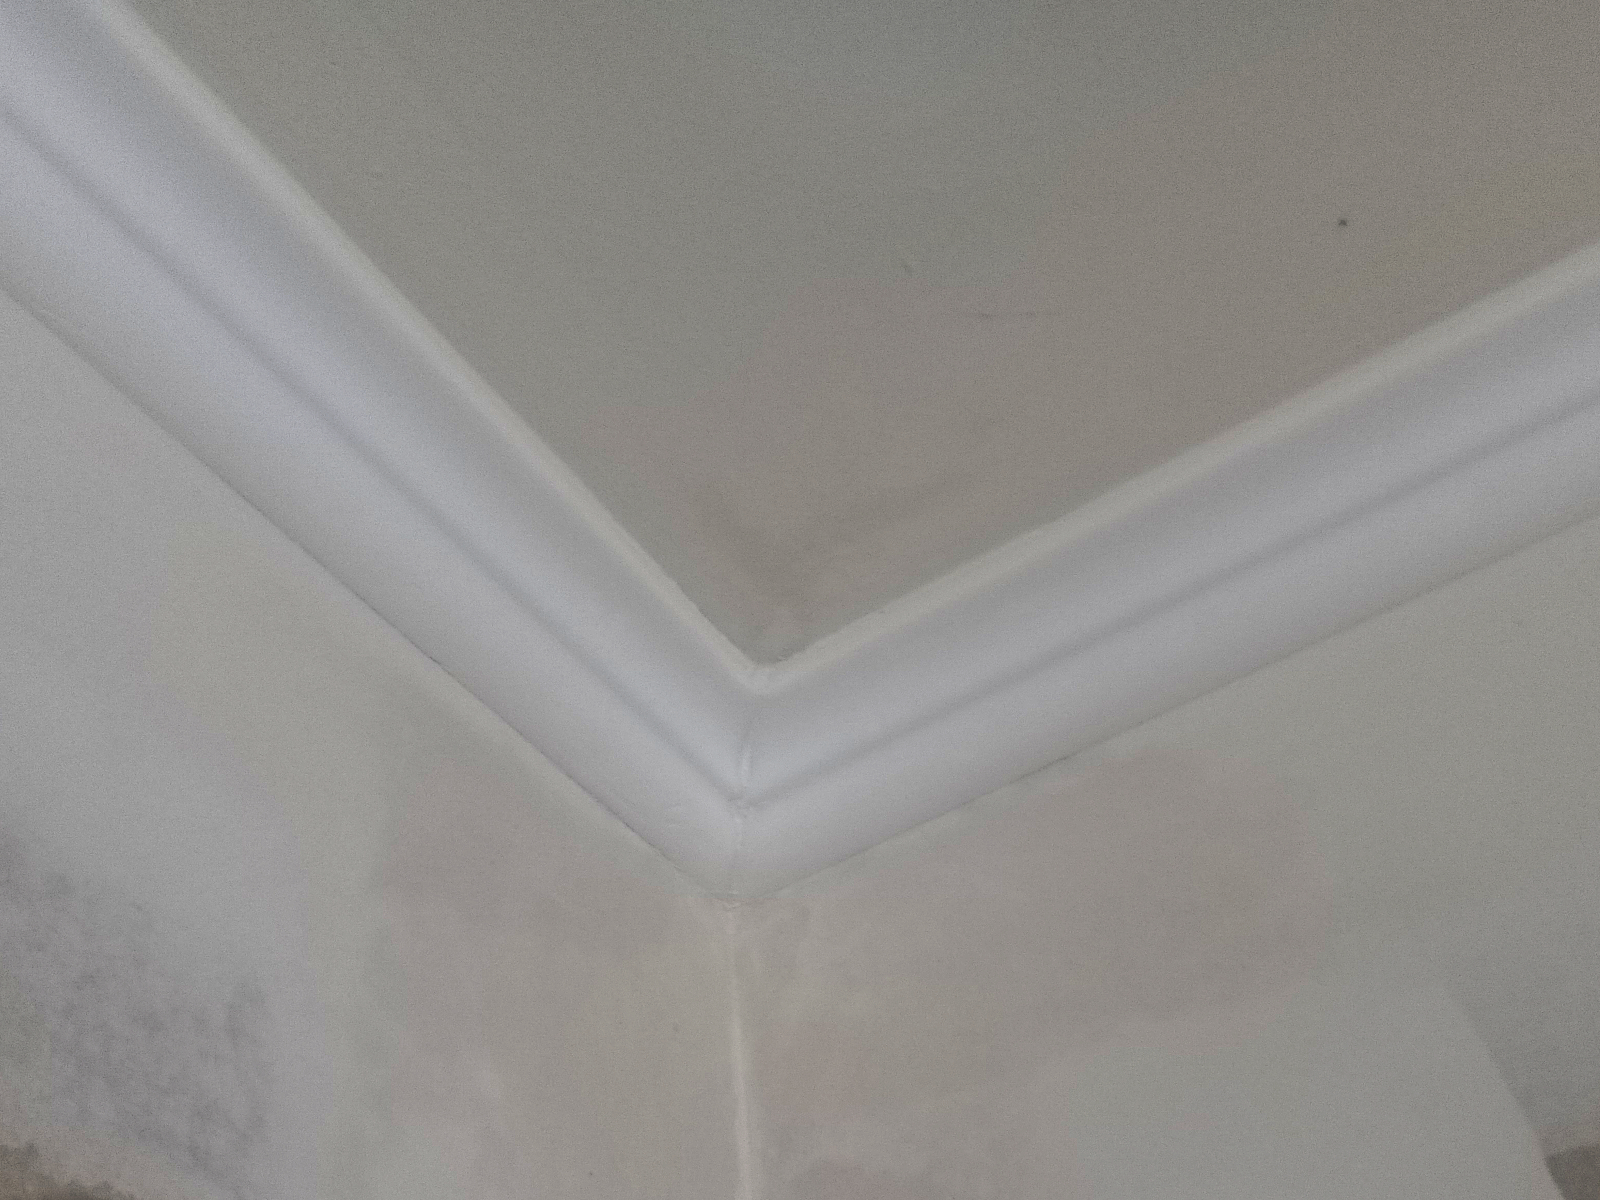
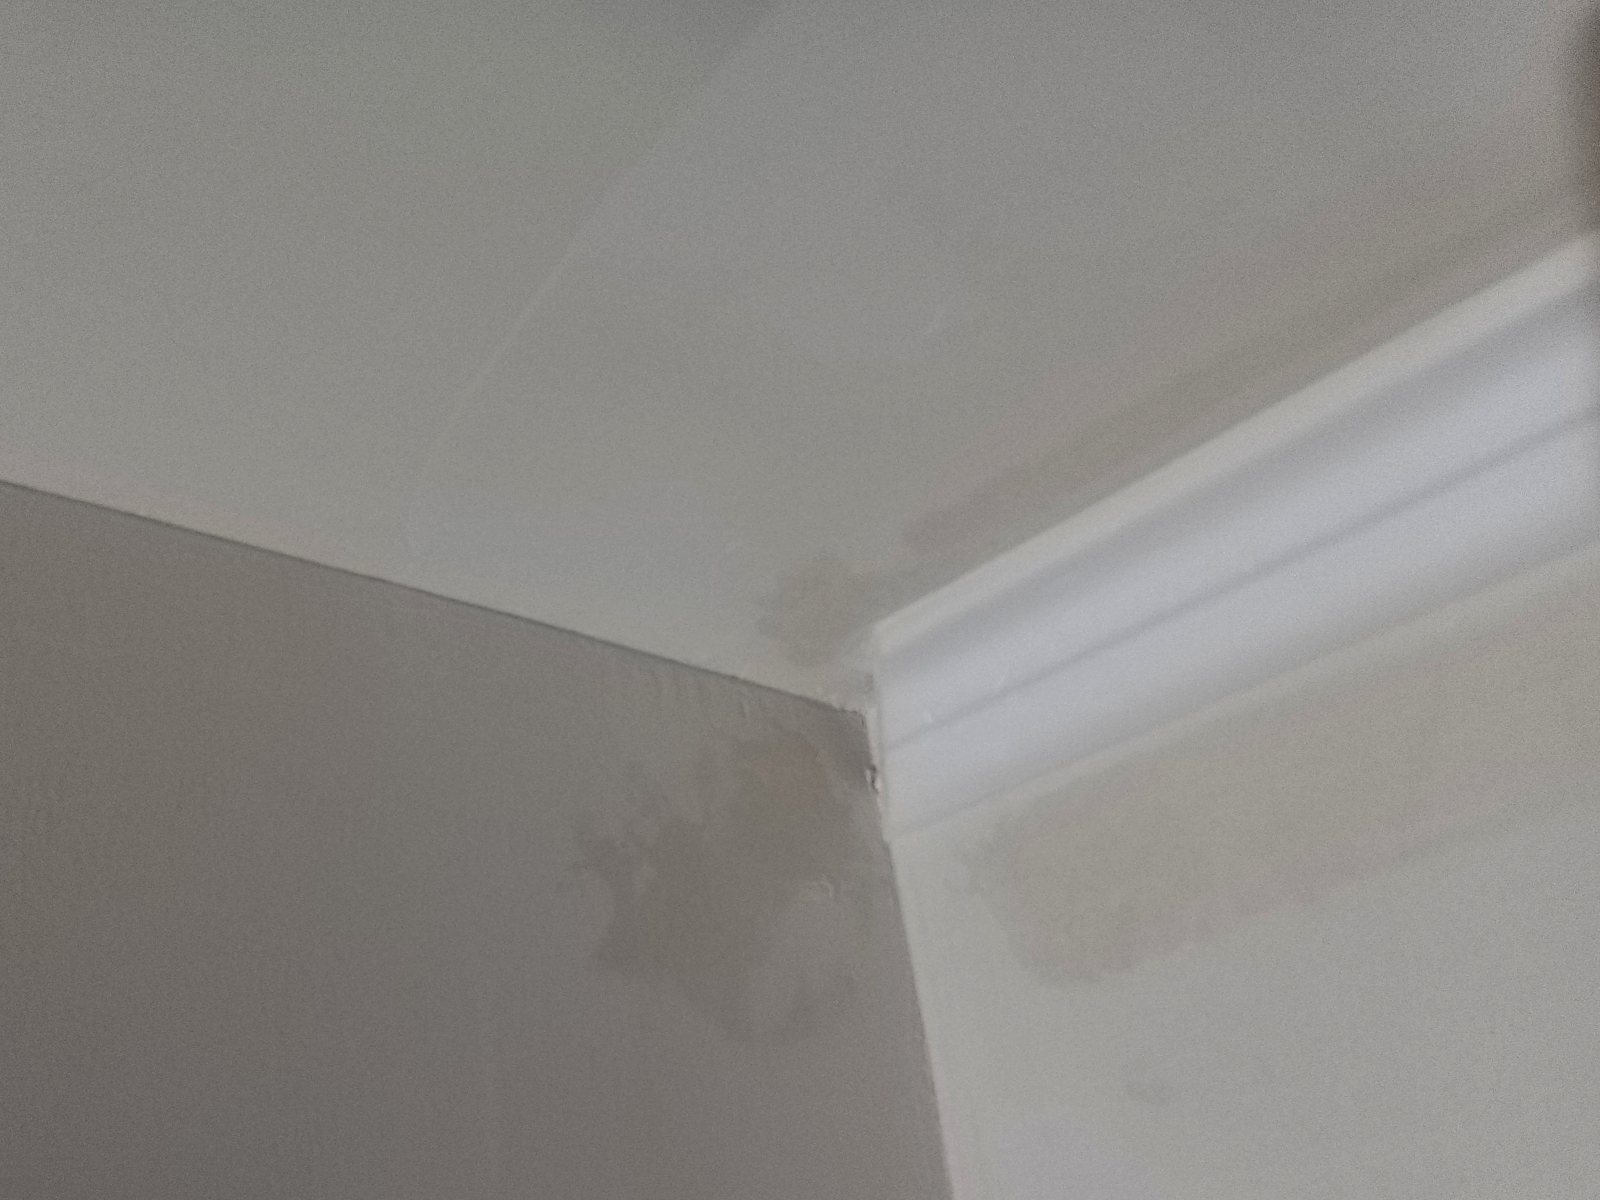
And here’s a straight cut joint.

Lovely, and that’s before going around afterwards when everything’s dry with a bit of fine filler to tidy all the joints up. After I got back from Leroy Merlin and had a quick sandwich I was able to work through with my new site lamp for a couple of hours until 9.30 pm. Seeing the amount that I got done in that time I’m pretty confident that by Monday when the tilers arrive I’ll have got all of the coving up in the living room and hall.
As I’ll probably then be unable to enter the house for at least a couple of days I’ll be looking for jobs outside. I’ll probably start stripping all of the fittings off the shutters ready for painting as the paint for them is waiting for me to pick it up and the trestles should also be along next week. I’ll probably have to move my high pressure spray machine outside as well as it’s in bedroom 3 at the moment and I’ll be unable to get to it otherwise if the floor tiles have to be left to cure for a few days.