
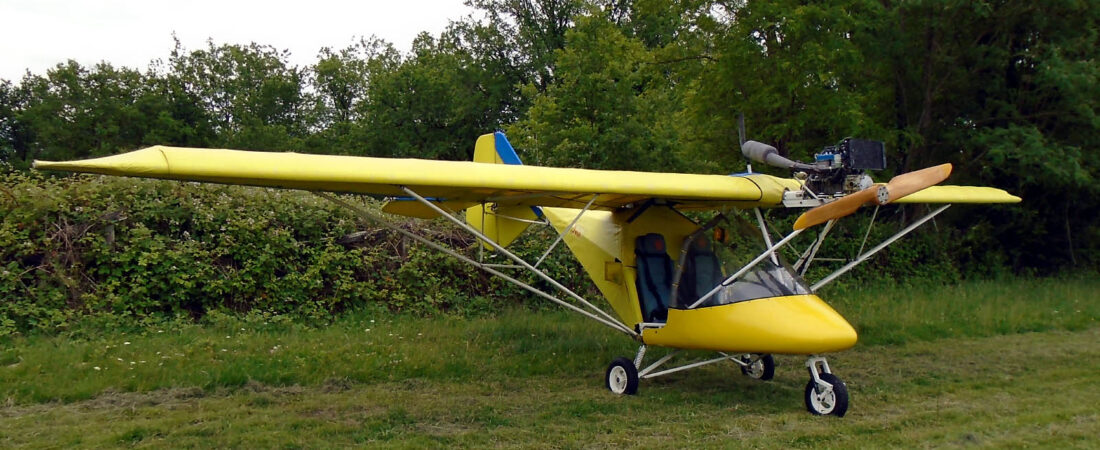


It’s been another very long, tiring week-end. I was going to leave replacing some old, rusty nuts and bolts until after I’d done the doors but I did it instead as the first job on Saturday and as things turned out, I’m glad I did.
There are four bolts, two each on either side of the main tube in the top of the cabin that secure the cockpit side tubes to a bracket on the main tube. These were rusty and when I first started on MYRO, I ordered some replacements from P & M Aviation. However, when I came to fit them a few days ago, although the replacements were as specified in the AX3 Parts List, they were too long.
When I ordered some more items last week, P & M kindly offered to replace the long ones free of charge, which is typical of how I’ve found them throughout the whole project – very helpful and always offering excellent service. So I put the new ones on first.
The other thing I found was that when I replaced the nuts on them several weeks ago now, the thread on one of the two large bolts that pass horizontally through the main tube and secure the engine mounting brackets had stripped. When I ordered a replacement bolt, again several weeks ago, I could not remember which one it was so I ordered two and decided to replace both of them.
Lucky I did, because when I removed the second one, its thread was also very badly worn and most likely would not have lasted for very much longer.
And so I came onto the doors – doors and cabin top plastic actually. I took a few pics of the doors as references as I do so I know how things go back together when I’ve stripped them but mostly they were not suitable for inclusion here. Suffice to say that the left hand side was in considerably worse condition than the right, with lots of little splits, holes in the wrong places and digs out of its edges. The following pic shows the right hand door, the better of the two.

The multiple drillings in the hinge I could do little about, but I was able to do quite a bit to improve the overall appearance. The main thing was to spray the front and rear door frame tubes, which were a mucky gold, white which will help in my aim of making the cabin as bright as possible.
I also found some right bloomers, which I was able to correct. For example, one of the cross tubes had been put on upside-down and someone had drilled a completely new set of rivet holes. Why would anyone do such a thing 😯
I made up a new left-hand door yesterday and today I did the right-hand and the cabin top plastic. I have to say that I was surprised how long it took – I expected to have the doors made and fitted in a week-end. Dream on! I ran out of time today long before I’d had any chance of even starting to fit them.
The following pic shows the final results.
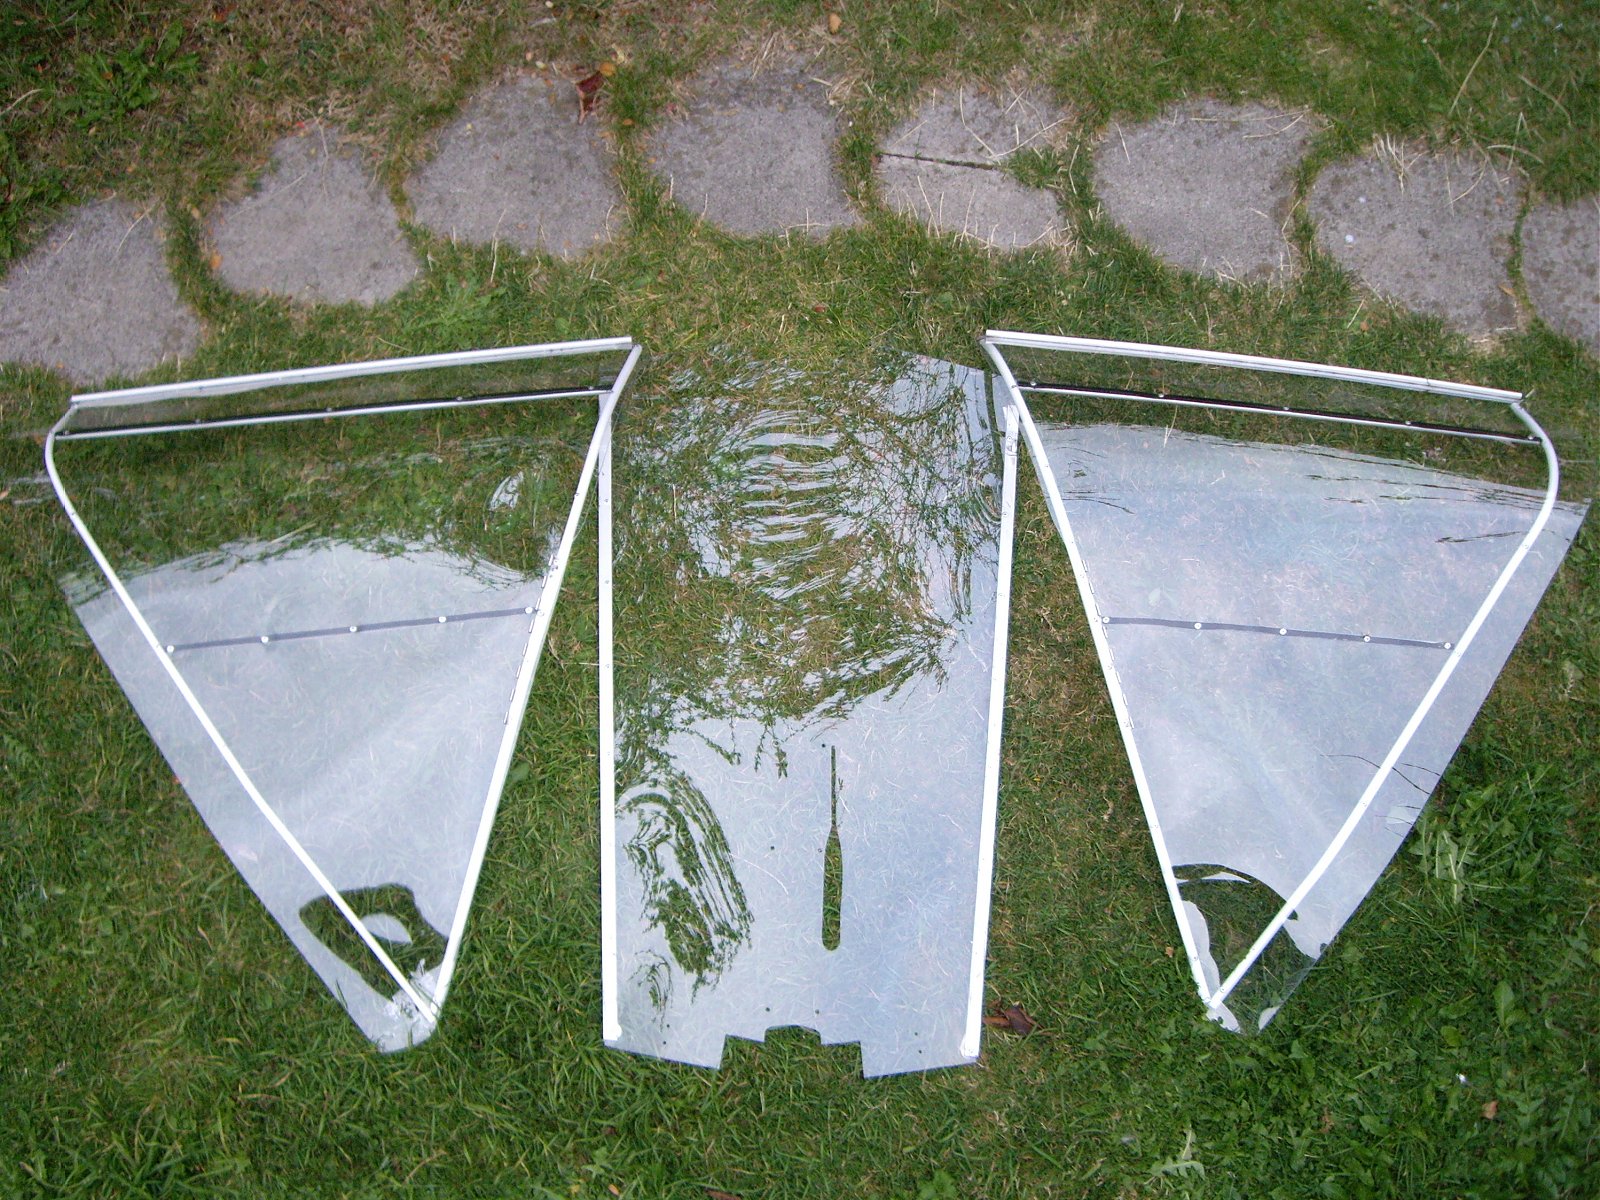
I’m pleased with the way they’ve turned out – I didn’t make any mistakes and in fact I added an extra small modification. There have been one or two instances, one quite recently, of doors blowing off in flight. I think the only way this can happen is if the upper front door edge is not tucked under the windscreen when the door is closed, allowing the airflow to get under it. I checked and MYRO’s doors always fitted quite nicely but just in case, I’ve extended the door front edge to give a bit more of an overlap. You can just see that in the above pic, where I’ve made the upper front edge of each door extend a half inch or so beyond the front tube between the hinge and the top of the door.
I hope this small modification works, but mainly I just hope now that the new doors will fit!
 English
 Nederlands
 Français
 Deutsch
 Italiano
 Latviešu valoda
 Português
 Español