


In previous posts I showed how I’ve been using my mini-excavator to dig out for the base for my proposed new workshop at the bottom of my garden and moving the earth to various places around my house with my little dumper. In the final post below I showed how I made a ramp using paving stones lifted from my terrace to drive the excavator into the hole itself to dig out earth from areas that I couldn’t reach with the excavator from outside. After I’d dug out as much as I wanted to I drove the excavator out of the hole and removed the paving slabs from the ramp for the next stage.
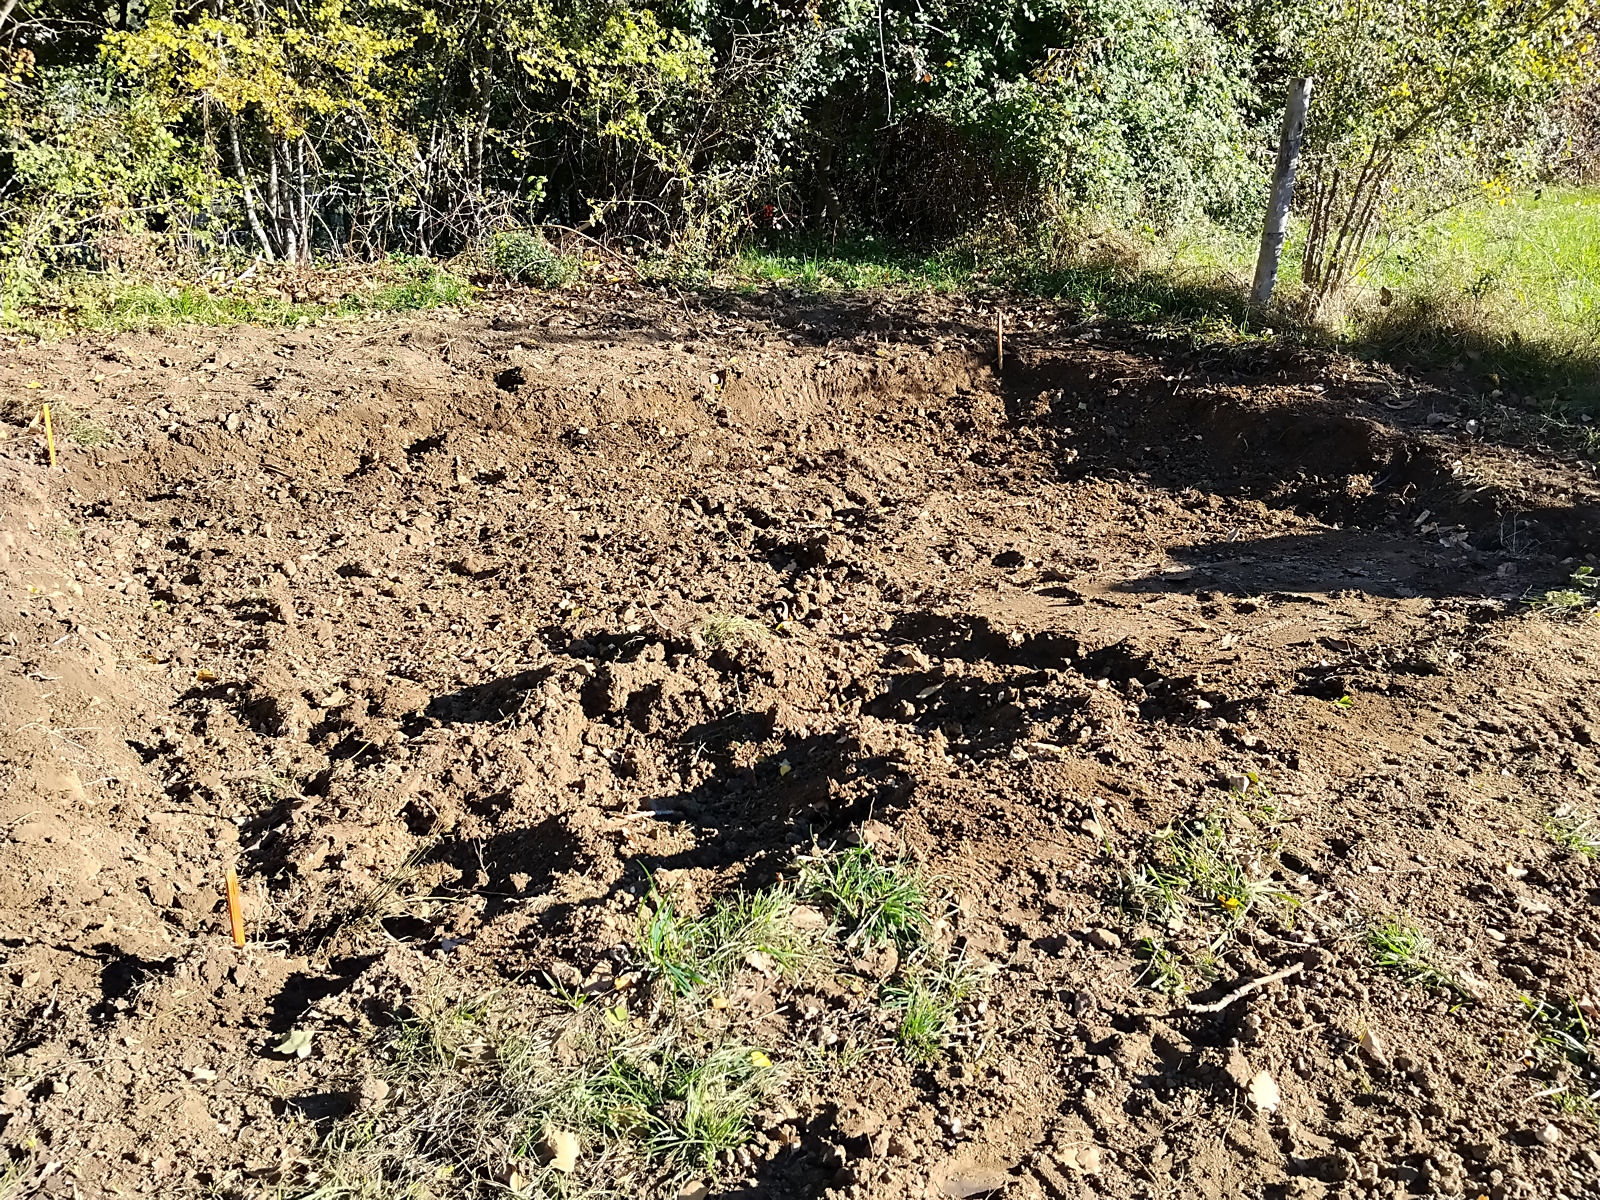
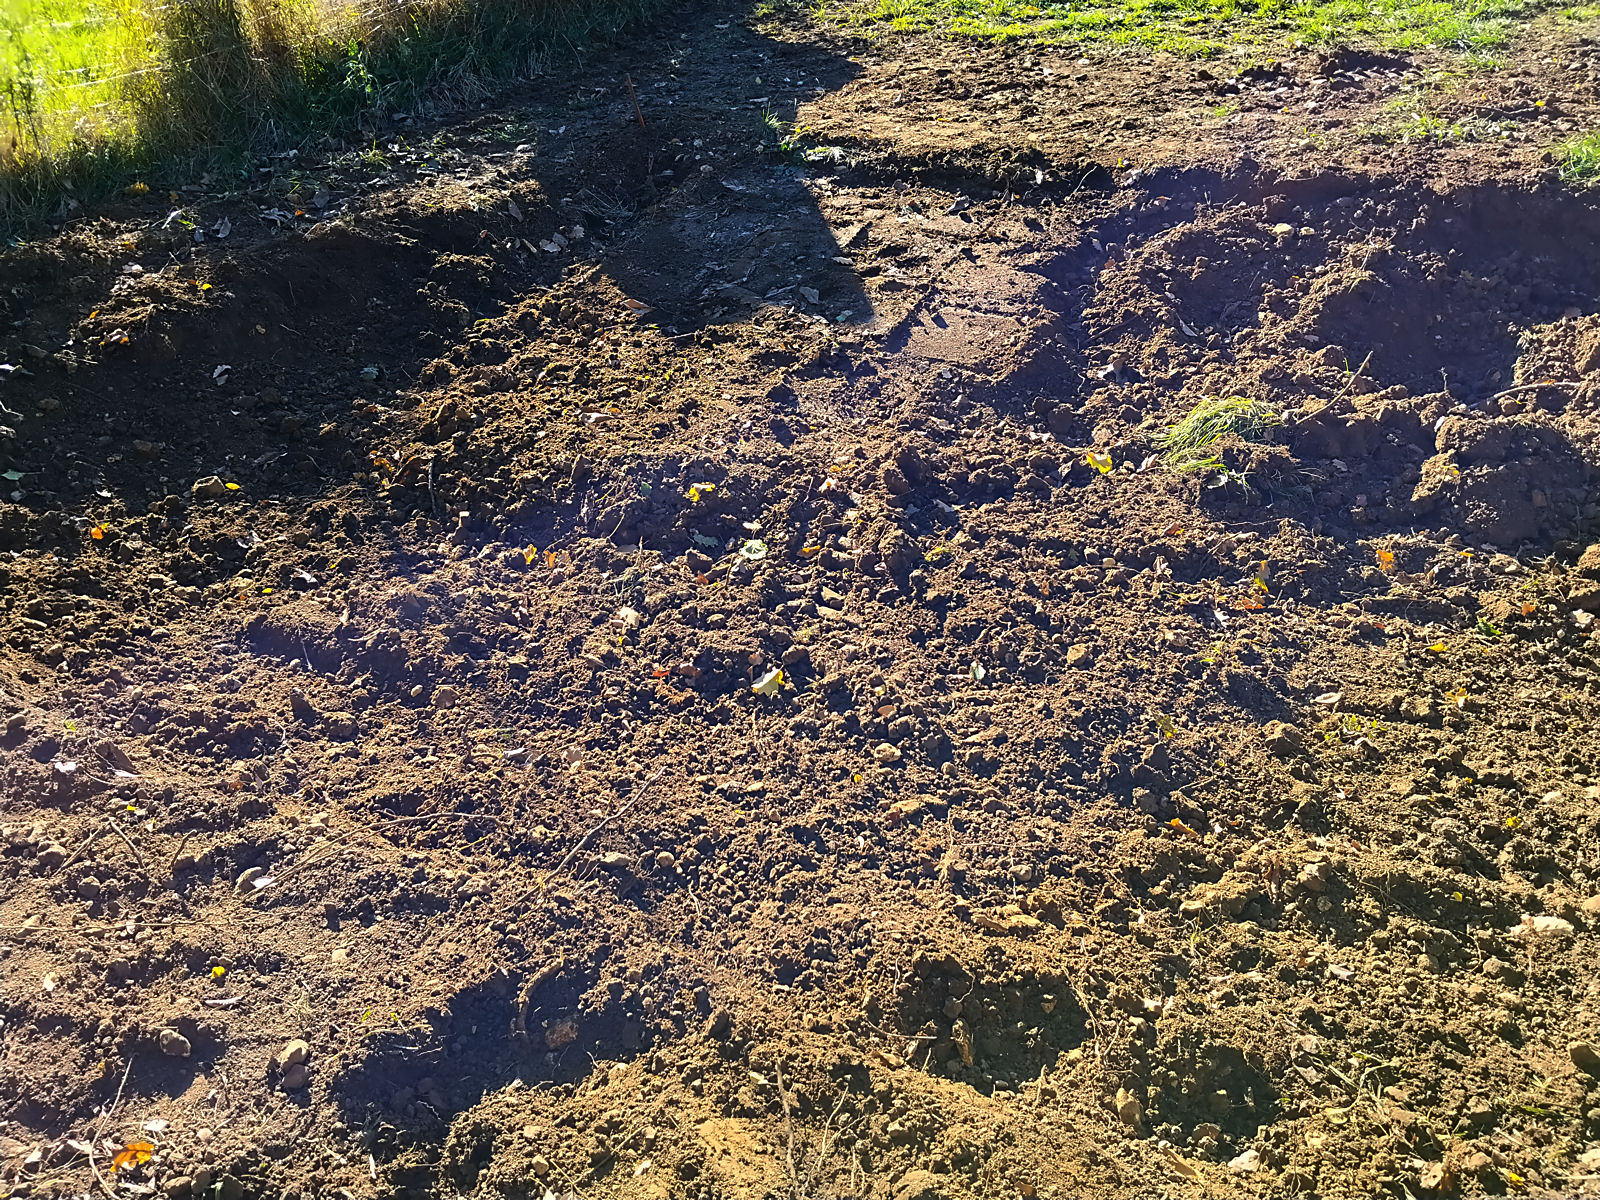
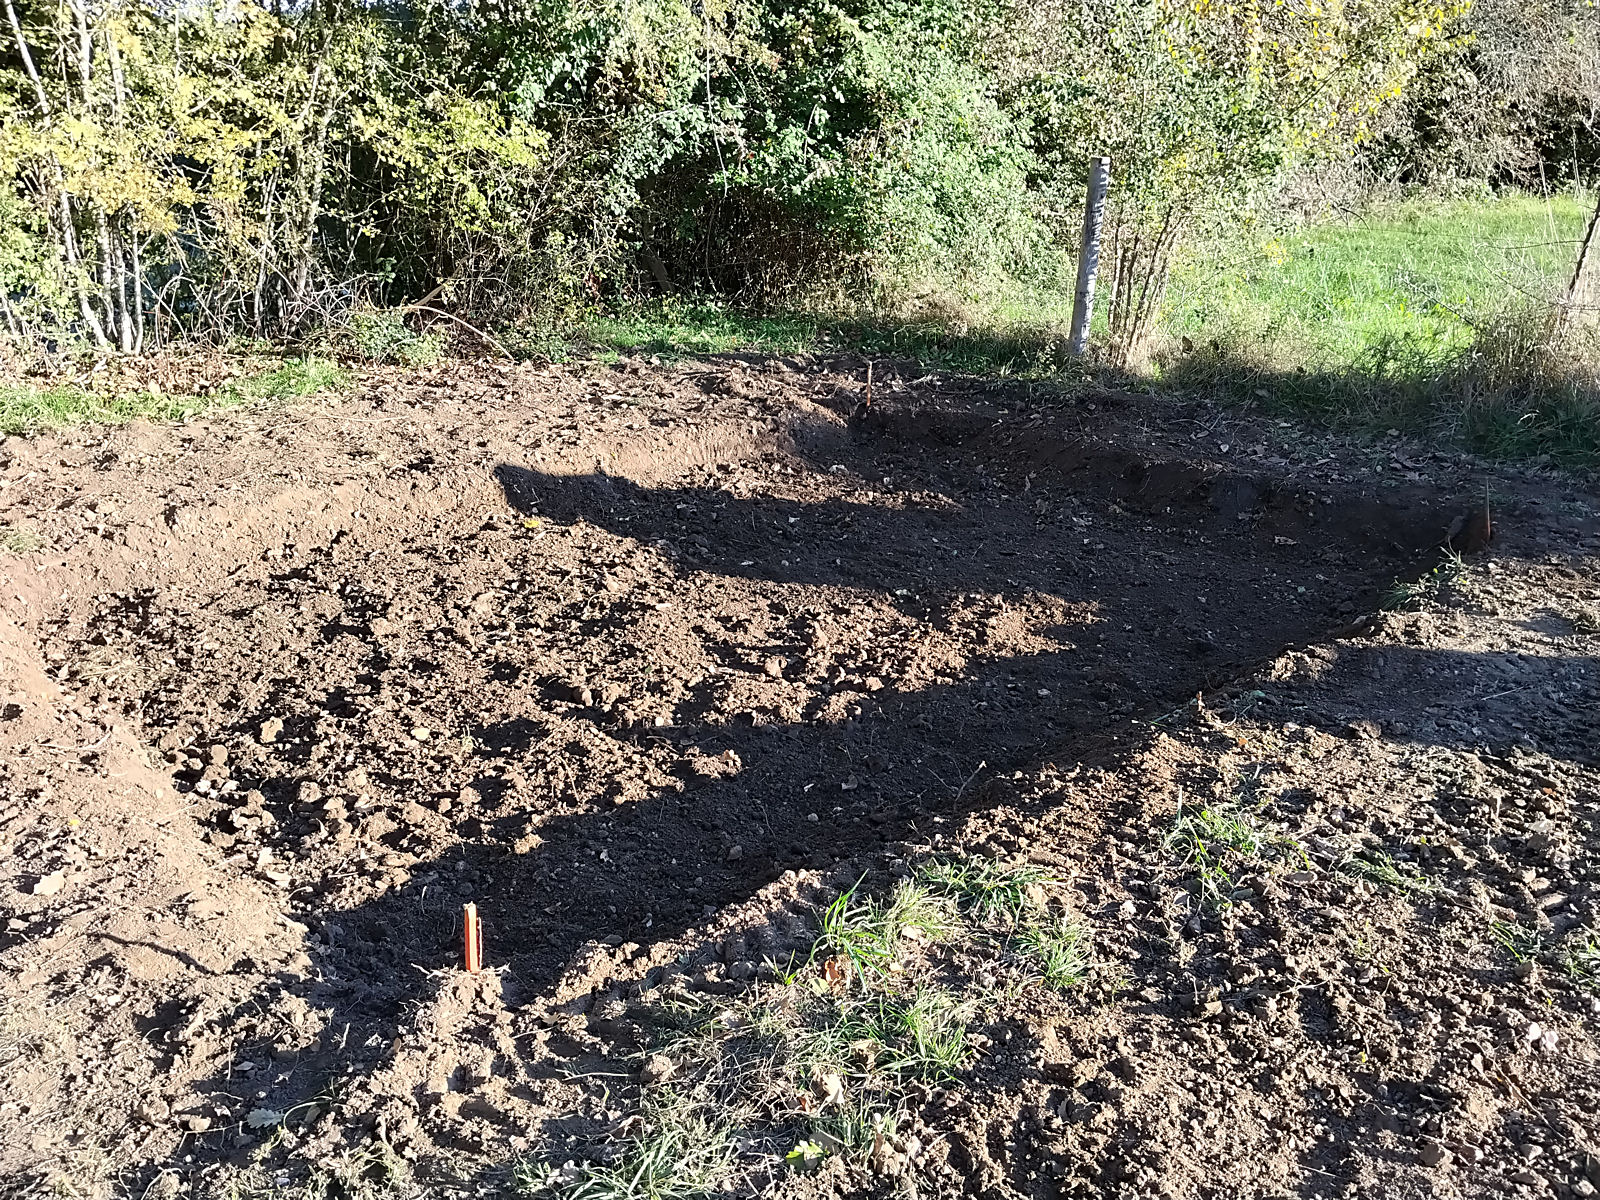
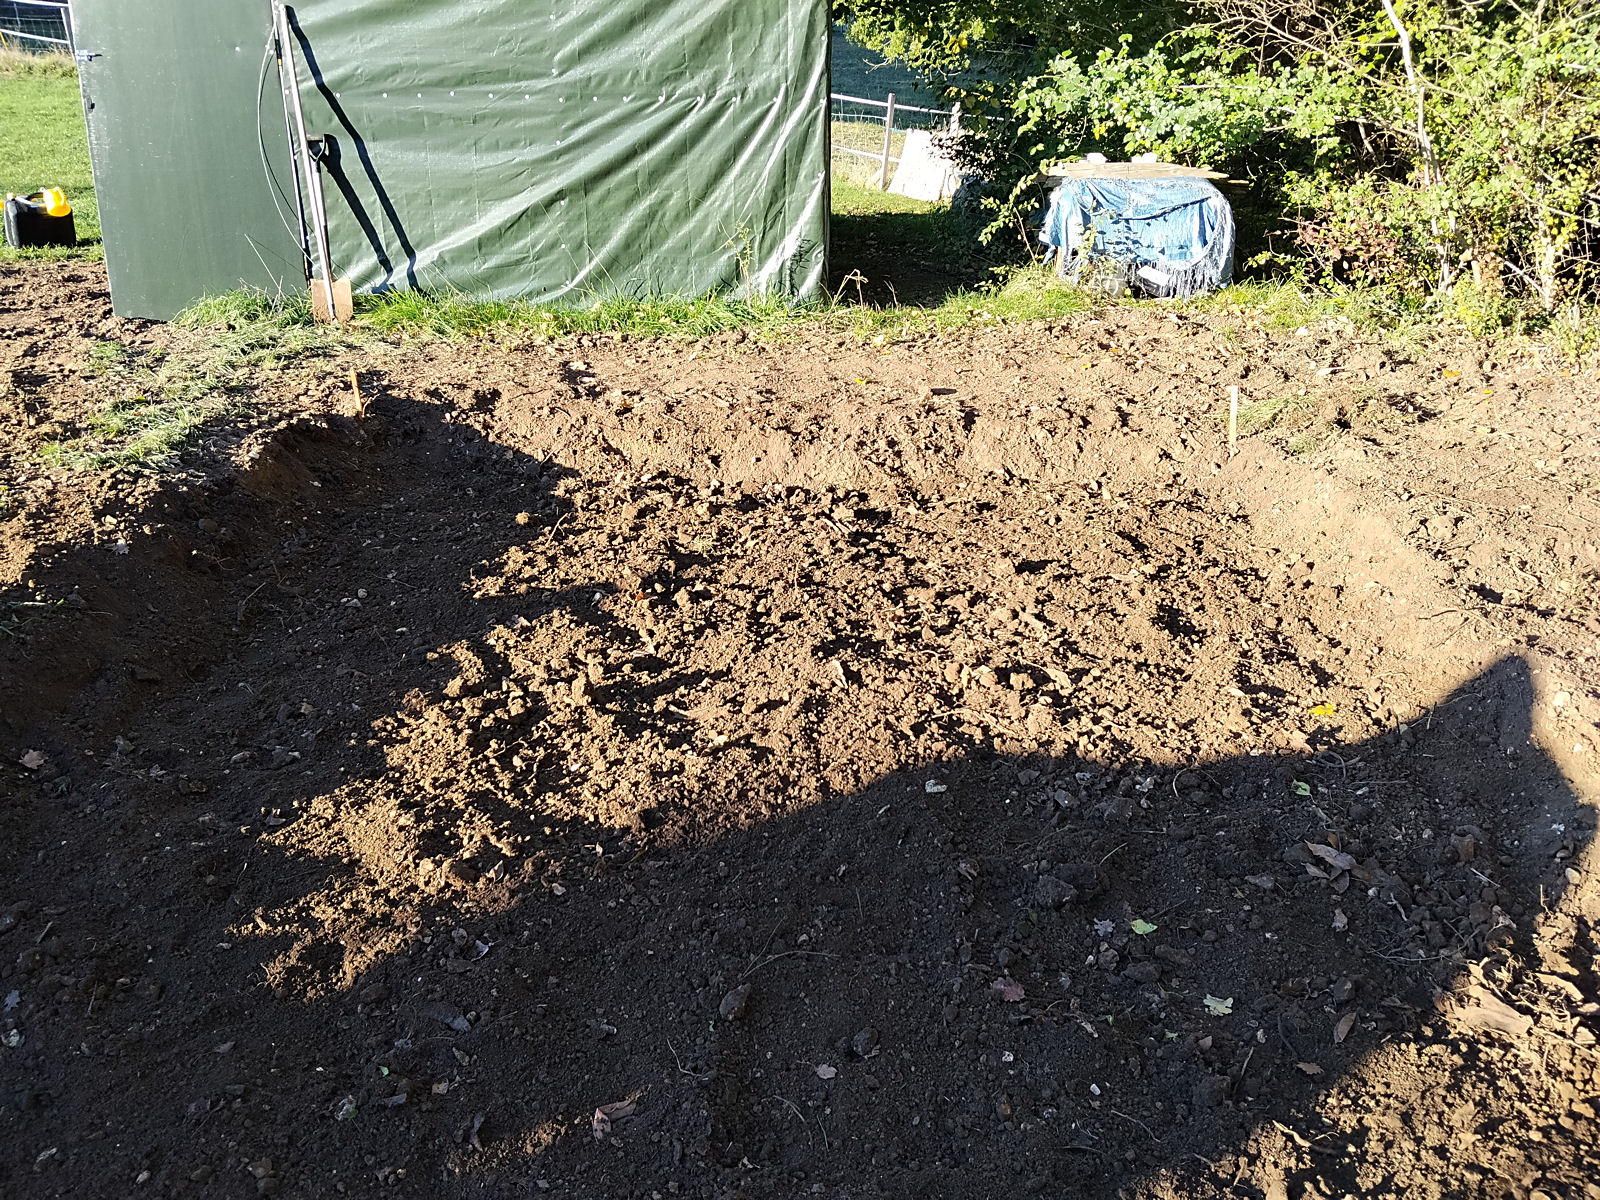
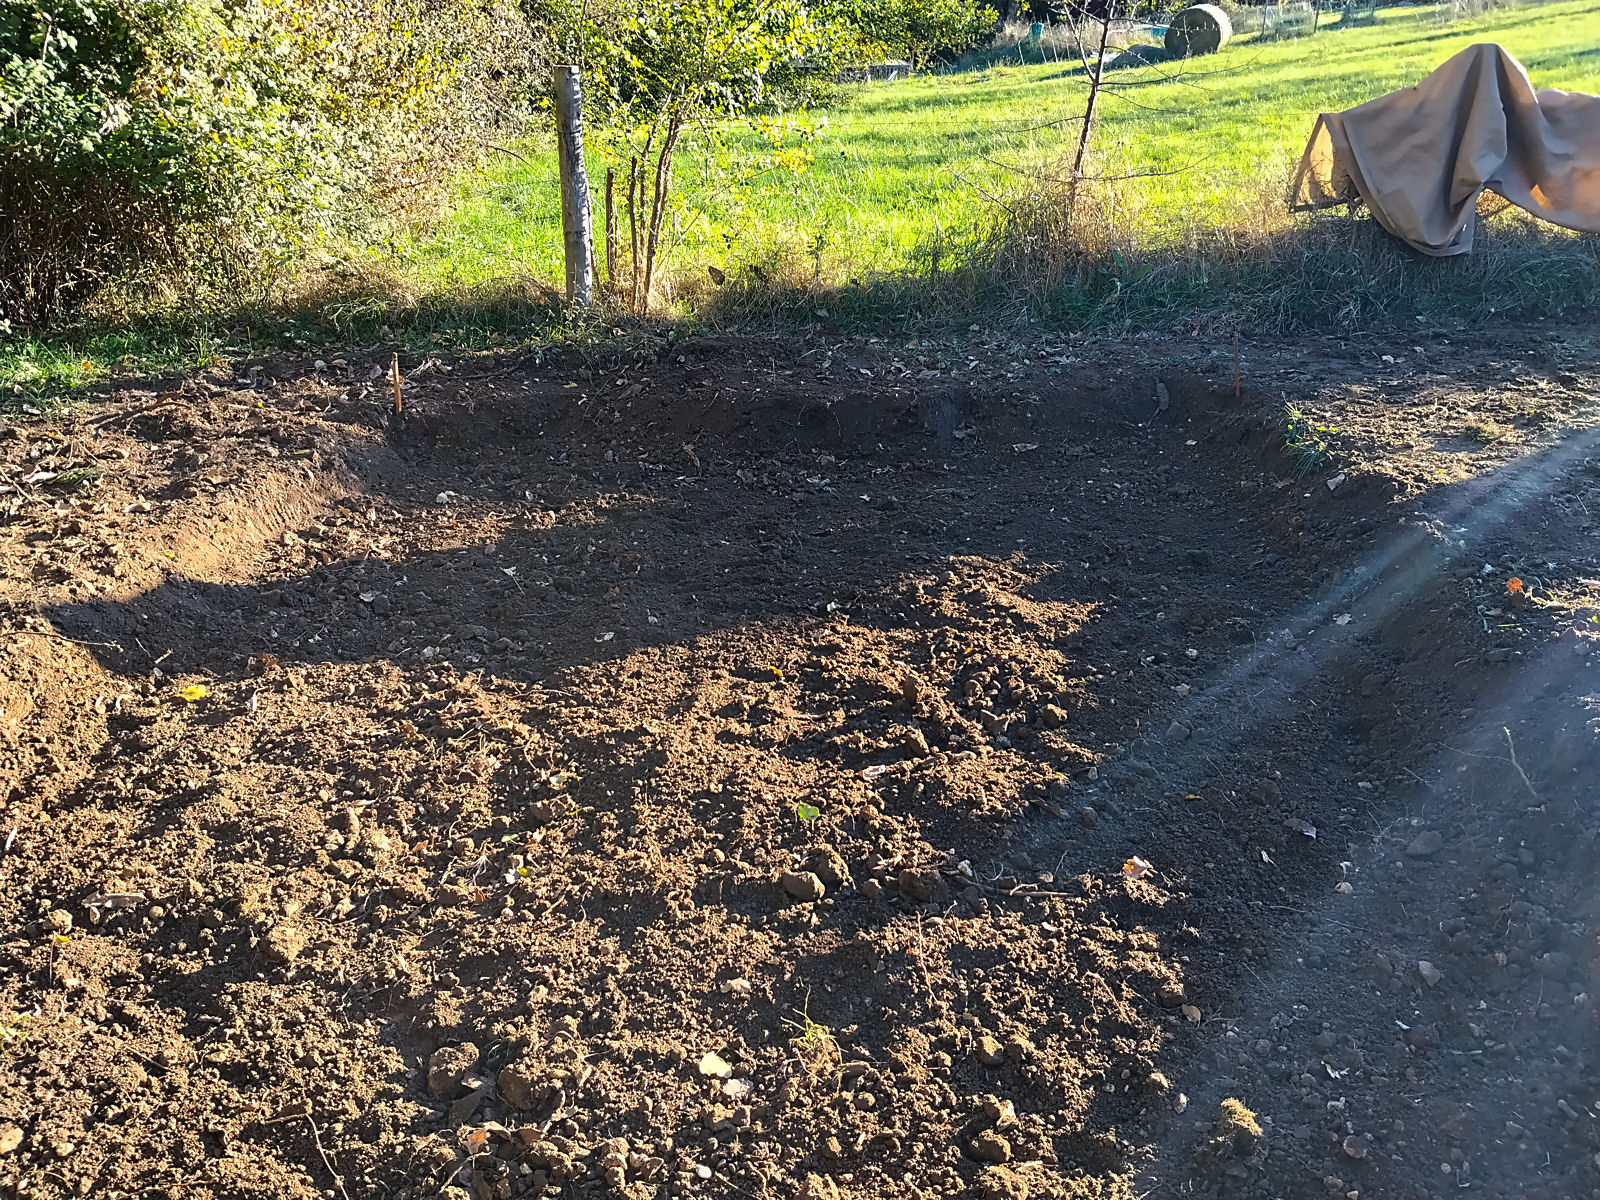
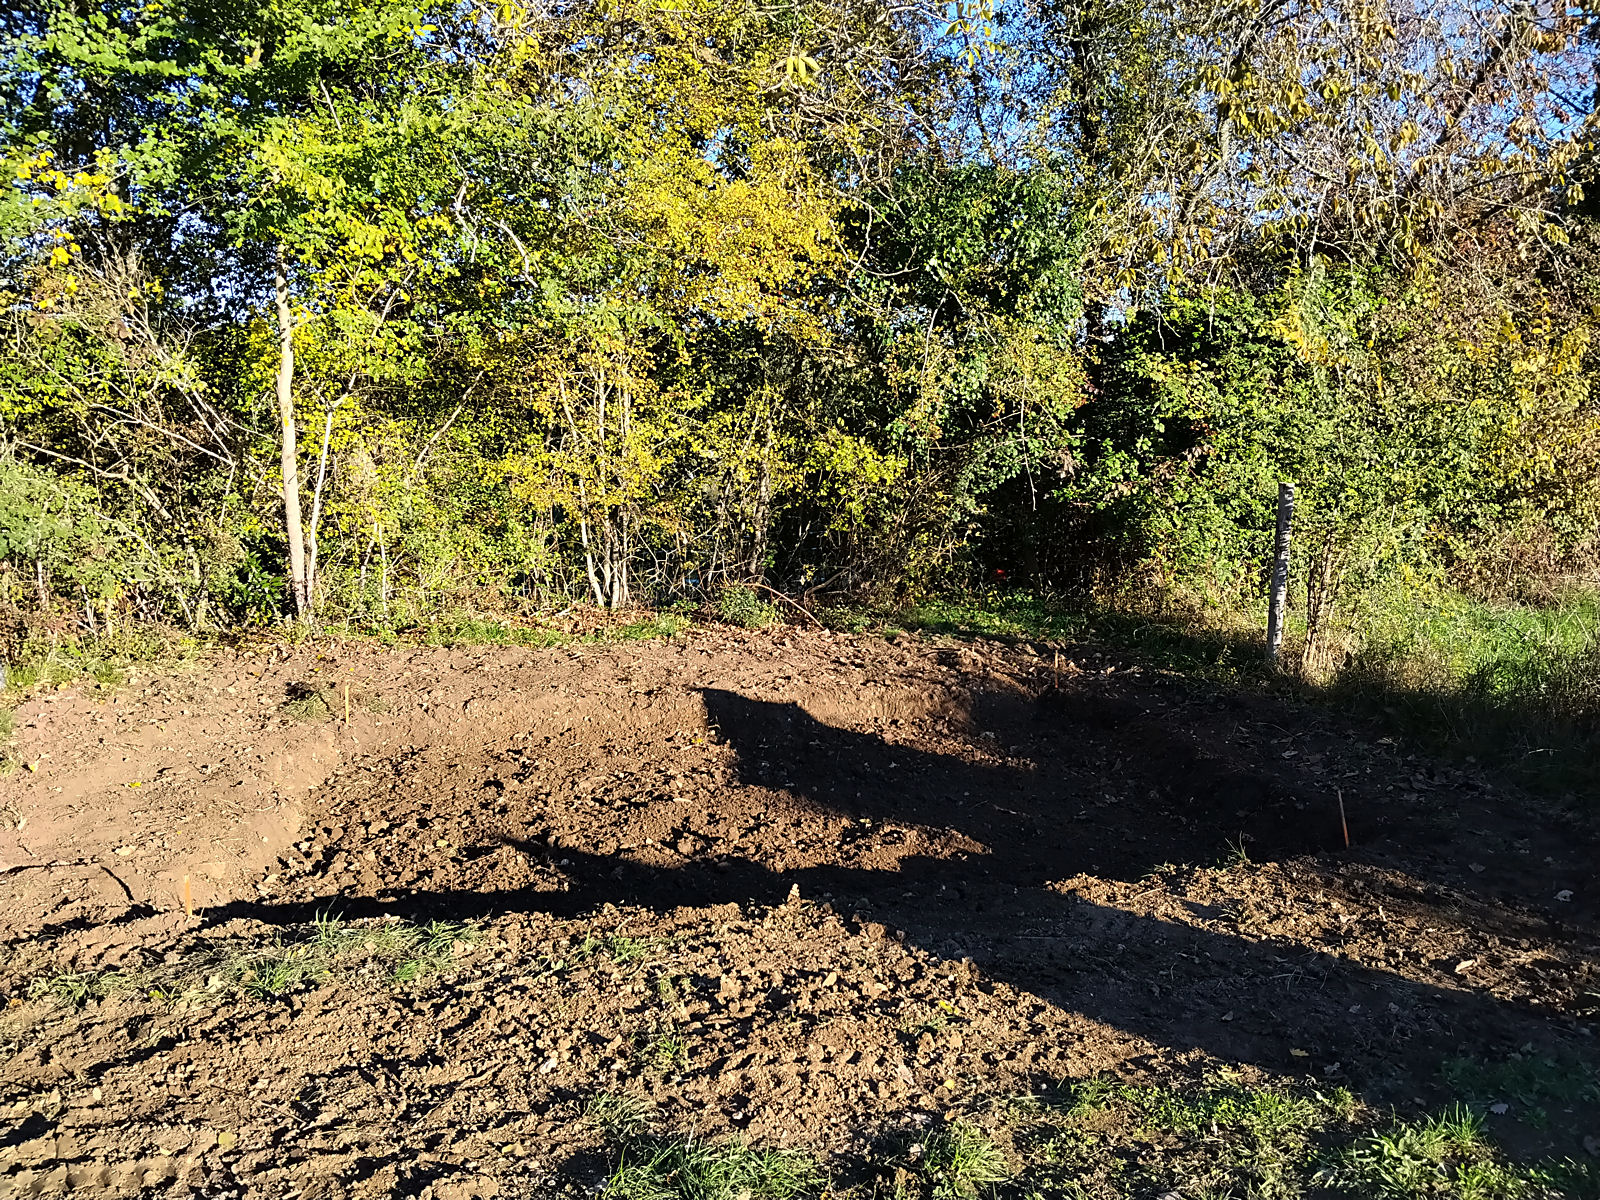
The first two photos below show the hole as it then was. I’d had to make a judgement as to when to stop digging leaving just enough earth in the bottom of the hole and from the ramp so that when I’d spread it all out it made the floor of the hole level and at the required depth. I had no way of doing that except by eye and I had no idea how good my judgement would be until I’d finished and quite honestly, I’m pretty pleased with the results, as the other photos below show. Previously the hole looked as though it was going to be deeper than I wanted but in the event my judgement has turned out to be not too far out.
The thickness of the slab is going to be 15 cm but the depth of the hole has to be a bit greater than that as there will be several layers. Firstly I’m going to throw all the rocks and stones that I’ve been collecting from out of the ground over the last two or three years back into the hole as a sub-base. Then I’ll compact them down with a hired compactor.
Then I’m going to bring some ‘remblais’ from my neighbours’ place from when they installed their new large septic tank system, add that as the next layer and compact that down also. ‘Remblais’ is rough stony soil that is dug out from underneath the ‘terre vegetale’, the top soil, and isn’t much good for anything in itself except for use as an infill material. So it’ll be perfect for what I want it for, and I’ll compact that down also. Then I’ll add a final layer of crushed stone which will also be compacted.
The reason I’ll be taking so much trouble is that I found when I moved out of my old house at Plazac the concrete base of the workshop/tool store I’d built there was already beginning to crack up and the last thing I want is for the same thing to happen here. To make sure it doesn’t I’ll then be laying a waterproof plastic membrane onto the crushed stone layer into which I’ll pour the concrete which will have either one sheet of thick reinforcing steel in it or two thin ones, I haven’t decided yet.
But before I get going laying all those layers into the hole I need to set my shuttering boards around its sides. These will give me the exact dimensions of the slab for me to work to together with the exact level of its surface. So that’s the next step. However, before I do that I think I’ll lift all of the remaining paving slabs from my terrace.
The reason for that is that as I’ve mentioned previously, the area around my house is collapsing on all sides into the void, the ‘vide sanitaire’, beneath it. When all of the slabs have been raised I’ll then be able to push most, if not all, of the black stone that surrounds the house into the void, which is what I want do as I wish to replace it with more attractive white crushed stone. It shouldn’t take too long and then I’ll be able to get back to working on the base for my new workshop.
 English
 Nederlands
 Français
 Deutsch
 Italiano
 Latviešu valoda
 Português
 Español