
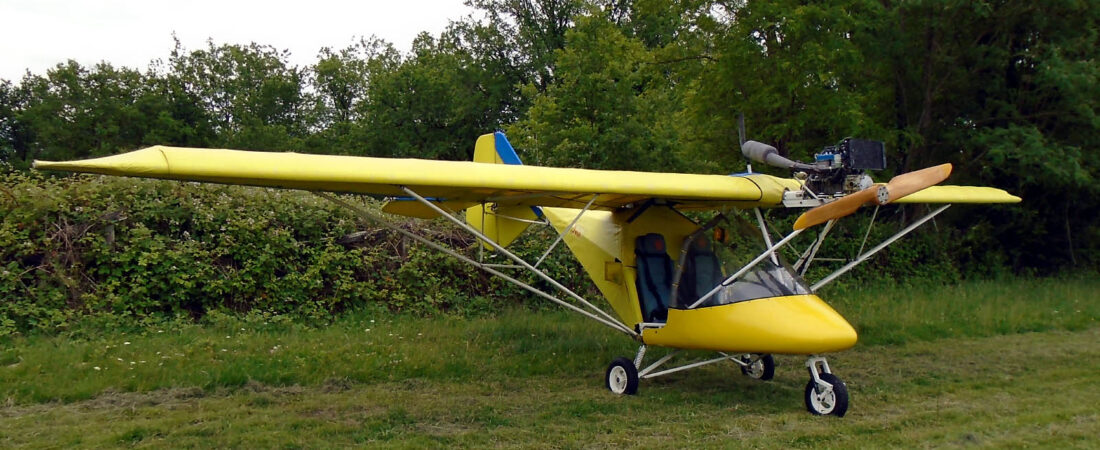


It’s not often that you get a day when everything more or less seems to go right so when you do, you need to make the most of it. I started off with the new nose strut. I decided that it wouldn’t be a good idea to drill out the top bolt hole ‘in-situ’, because for a start I’d need to take the generator over to Ken’s, so I thought I’d go over there first thing and bring it back home. Why I didn’t think about it yesterday I don’t know because it didn’t take that long to get it home and drill it out – job done!
The other jobs I wanted to tackle today all involved resin repairs because it was a nice warm day without too much wind. The main ones were the pod repair (the split I caused yesterday when I checked the positions of the bolt holes) and, of course, the panel repair. I thought for once I’d try some of the ‘corrosive’ paint stripper on the pod to remove my new paint so I could do the repair. It was a bit of an eye-opener. Nitromors paint stripper is described as ‘not suitable’ for fibreglass. In fact I found it worked very quickly, much quicker than the ‘eco friendly’ stuff I originally used, and by washing it off as soon as it had done its job, it caused no harm to the pod whatsoever.
Next I prepared the panel repair including the repair to the foot that had been snapped off when MYRO’s nose bent upwards with the impact and lastly, having checked the holes around the panel top and finding that practically none of them lined up with the holes in the new pod, I also prepared those for filling. The first batch of epoxy resin I made up I used to do the pod and the main panel repairs. I then started off on the panel top holes and I noticed that the resin was by then going off so quickly in the heat of the sun that it was smoking! That meant I had to throw a lot away together with the brush I was using because that also went hard. The next batch went off a bit slower and with it I was able to add a bit more strengthening to the main panel repair, do the repair on the panel feet and also fill all the holes in the panel top. So I was very pleased with the results.
Then I turned to the cabin floor cross strut. The first thing I found was that the brackets, as well as being slightly misshapen as a result of the accident, had also become stretched around the side tubes. I think this might explain why the bolt holes had moved outwards towards the side tubes making the brackets appear too short, so I reshaped them both and I hope that when I come to re-use them that I will get enough tension in the cabin cross tube as I mentioned in my previous posting without having to spring the outer tubes inwards excessively.
That just left the cross tube itself. I had tidied it up when I did MYRO the last time but it was already showing some signs of wear, and not surprisingly as you use it to put your foot on when you enter the cabin. I had a bit of time left at the end of the afternoon so I used it to start on a repaint of the tube. And that was it. I’ve left all the resin repairs alone to give them a chance to cure overnight and go hard and I’m optimistic that after today I’ve broken the back of them. The main ones are on the panel, of course, and I’m pleased with how they have turned out so far today. I’ve also got to finish off the pod repair but as it’s on the back edge and will be under the seat anyway, I’m sure that I won’t have any problems there. So like I said in the title, today was a pretty good day all round and although there’s not much to show in terms of final results, everything I managed to do was another step forward in getting MYRO back in the air 🙂
 English
 Nederlands
 Français
 Deutsch
 Italiano
 Latviešu valoda
 Português
 Español