


To be honest, I hadn’t much looked at the hob unit until yesterday and to my surprise (although it’s normal apparently) it didn’t come with any connection lead. So I had to go to Brico Depot yet again while they were open (Sunday hours) to pick up some of the correct gauge cable. I only needed a metre – I had to buy five for over 22€!
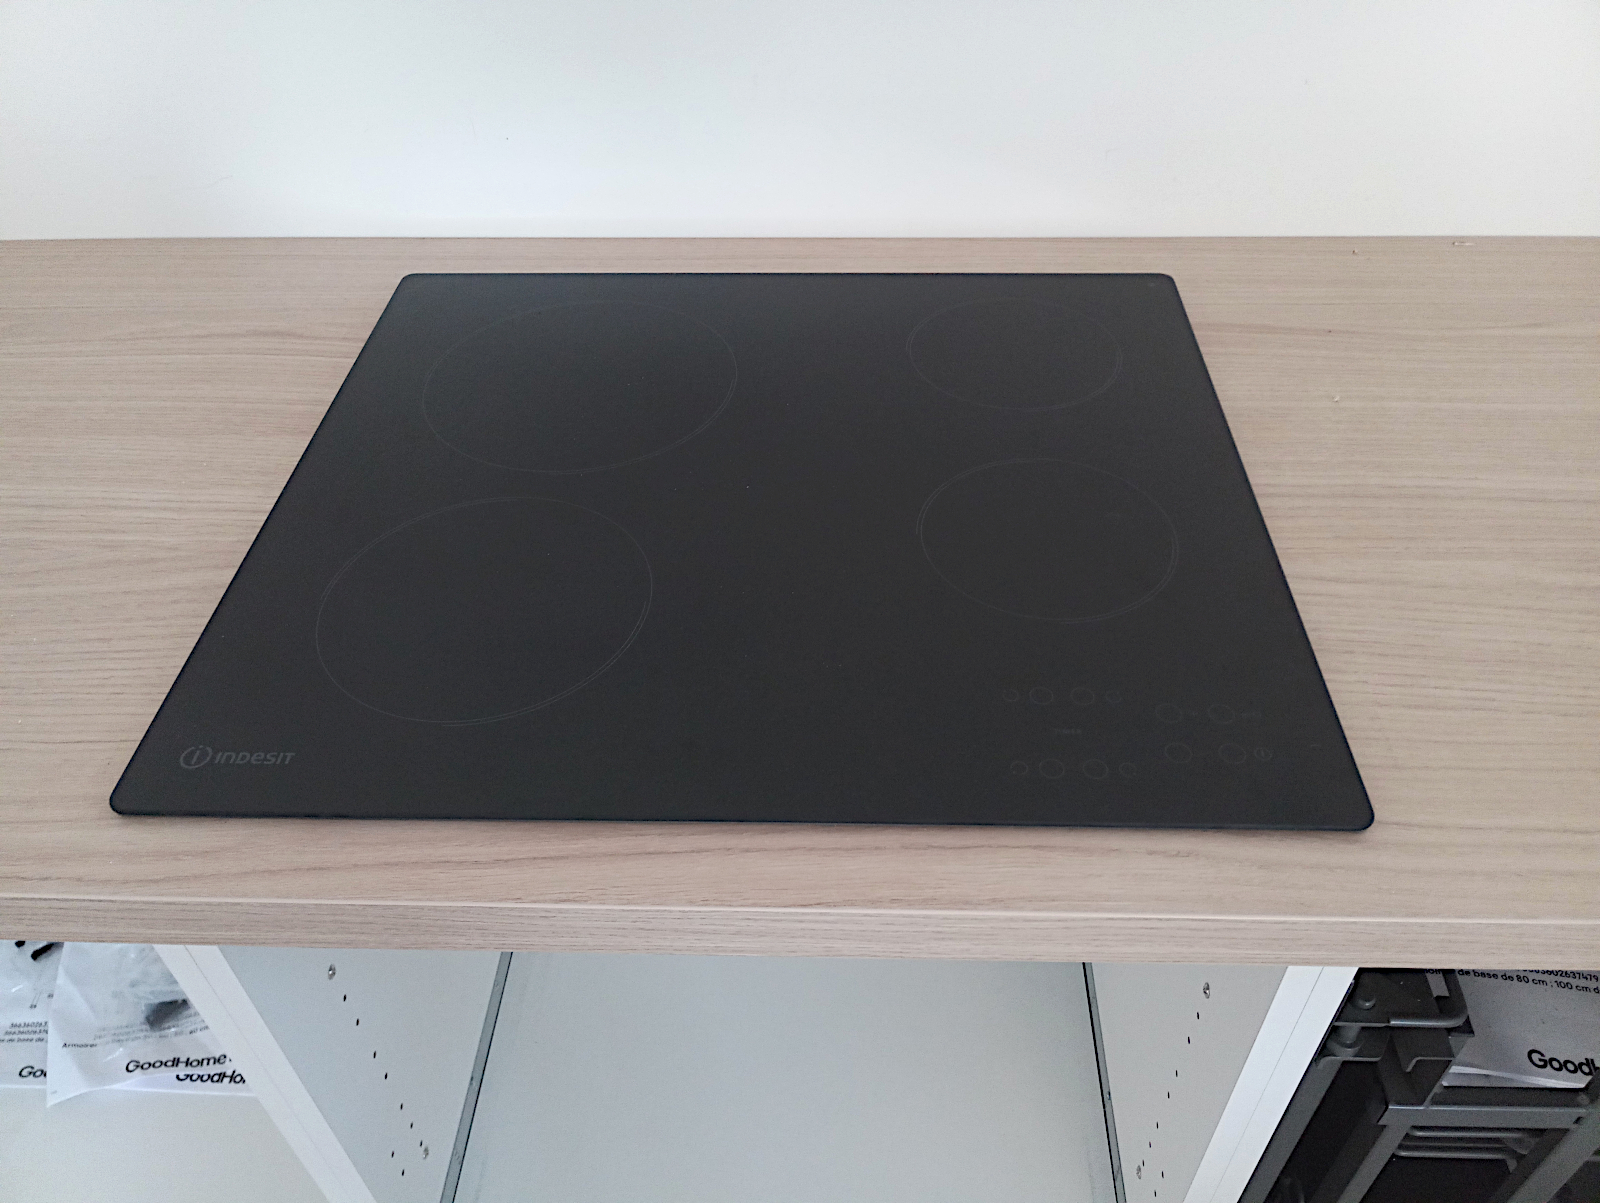
When I got back I checked Indesit’s fitting instructions and helpfully (so it seemed) there were the two dimensions I needed – overall and the size of the hole to cut in the worktop. The overall figures helped me to place the unit between the wall and the worktop’s front edge and I then used the second dimension to mark out and cut the hole to fit the hob into.
The only problem was that it didn’t. For some reason the second smaller set of dimensions were the bare size of the bottom tray of the unit into which the hob is built and by cutting a hole that size the tray can’t go through. The dimensions need to be at least a millimetre or so greater in each direction.
So then I was involved in another marathon as (a) it’s not easy trimming all around the edge of a hole in a 3.8cm thick worktop without damaging it and (b) I had to avoid taking too much out in case the securing clips that came with the hob unit (and are rather crude actually) then wouldn’t work.
But that wasn’t the end of it. When I managed to get the tray of the hob unit dropping into the hole in the worktop I then found that the four retaining clips wouldn’t also go through and needed further notches cut into the edges of the hole for them to do so. This again took quite a long time in order to avoid making a mistake.
In the end everything dropped in and as the retaining clips had little teeth rather than screws (which is why I had to be so careful not to remove too much material to accommodate them) that meant the hob was at last fitted as securely as it was ever going to be.
Then it was time to finally secure the worktop in place. This was a doddle compared to getting the hob unit into it but took a while as a couple of fixing screws were almost inaccessible inside the corner unit and I had to add some extra fixing brackets due to some fixing positions no longer being available.
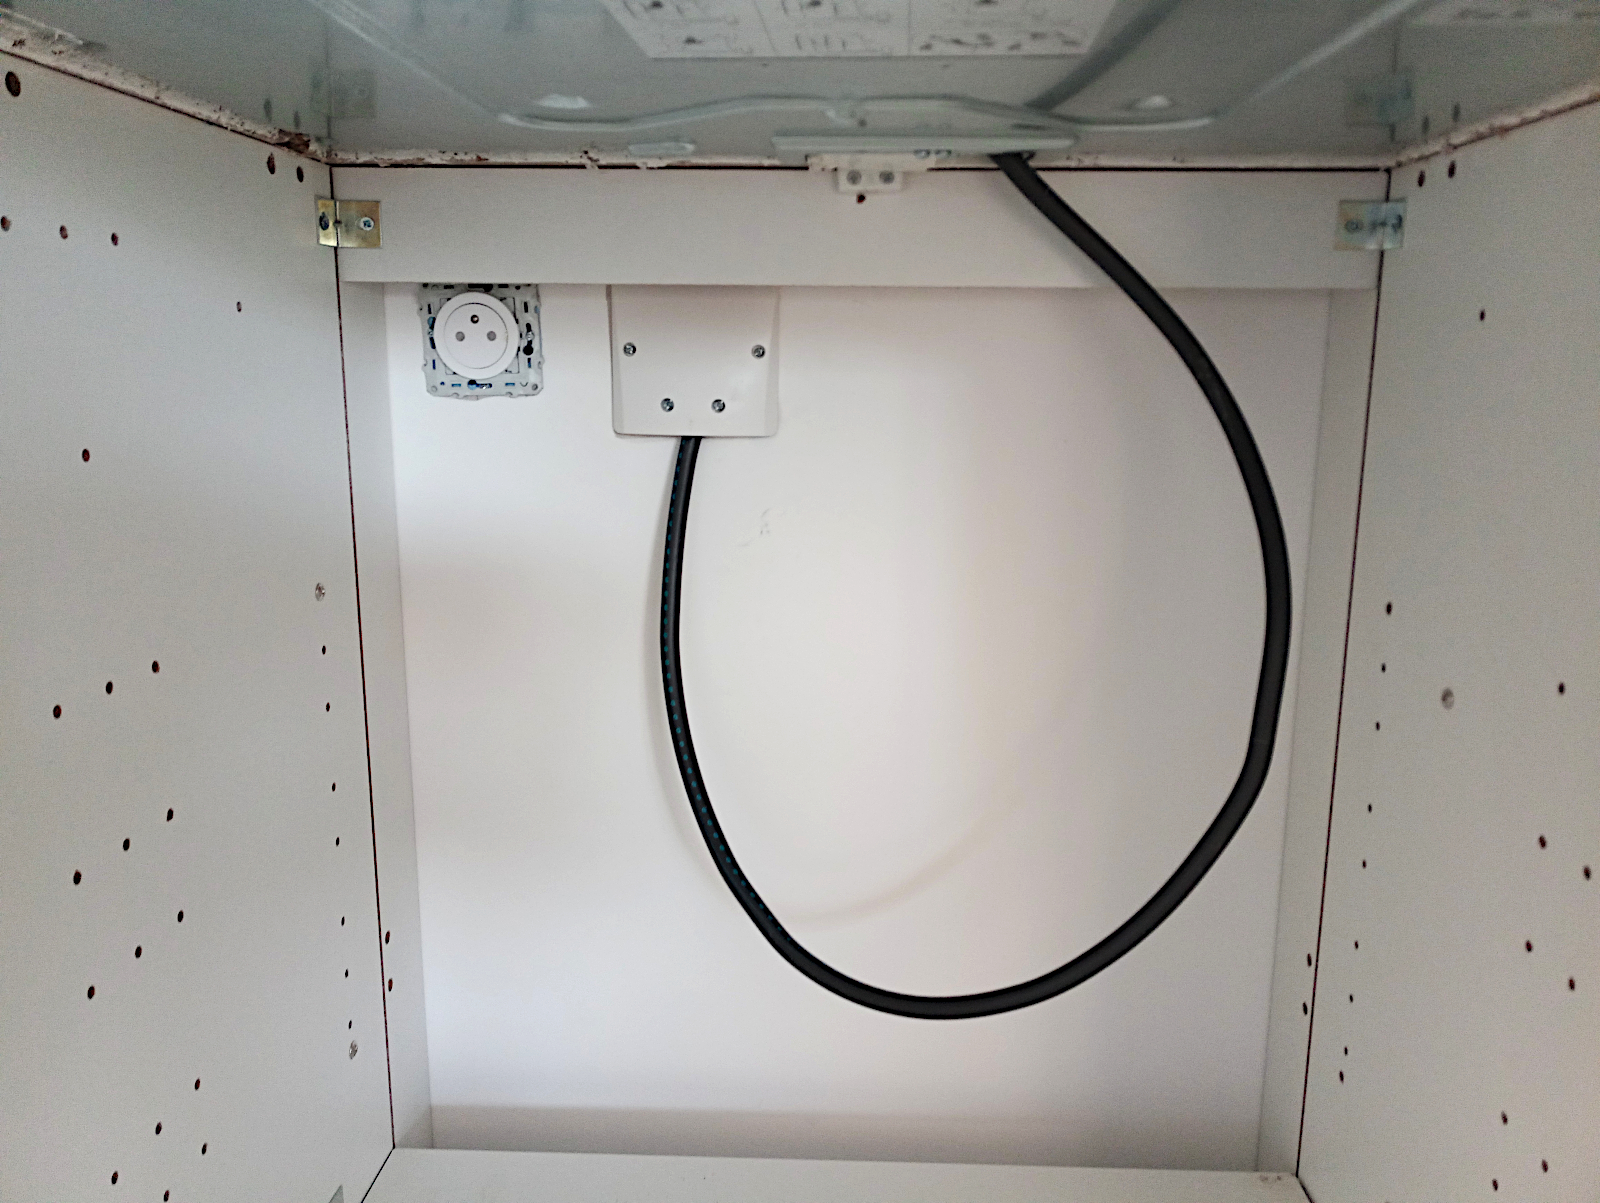
Now all that was needed was to connect the hob to the special high-amps power point that the electrician had put in. Just a simple connection – but of 3 ultra-heavy duty 6mm2 cables while bent double in a small space under the worktop. By this time not only was I getting tired but it was also hot and sweaty down there, but it turned out OK.
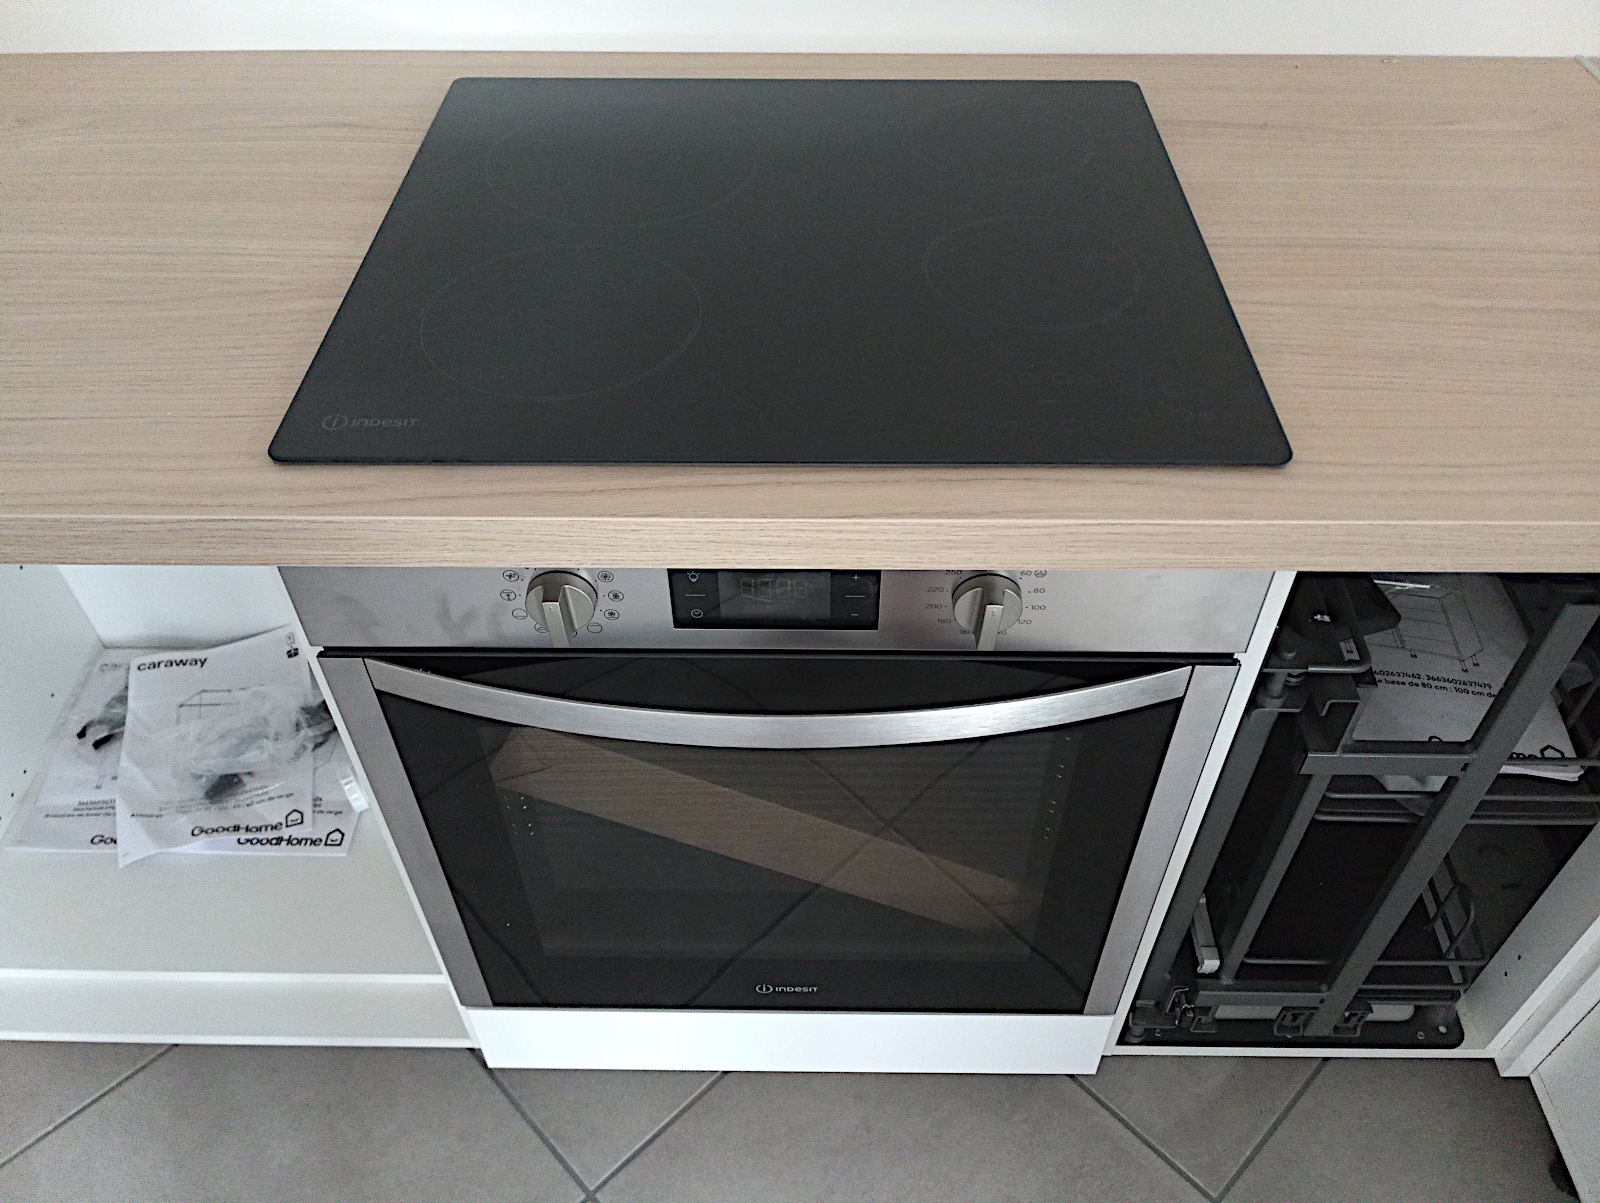
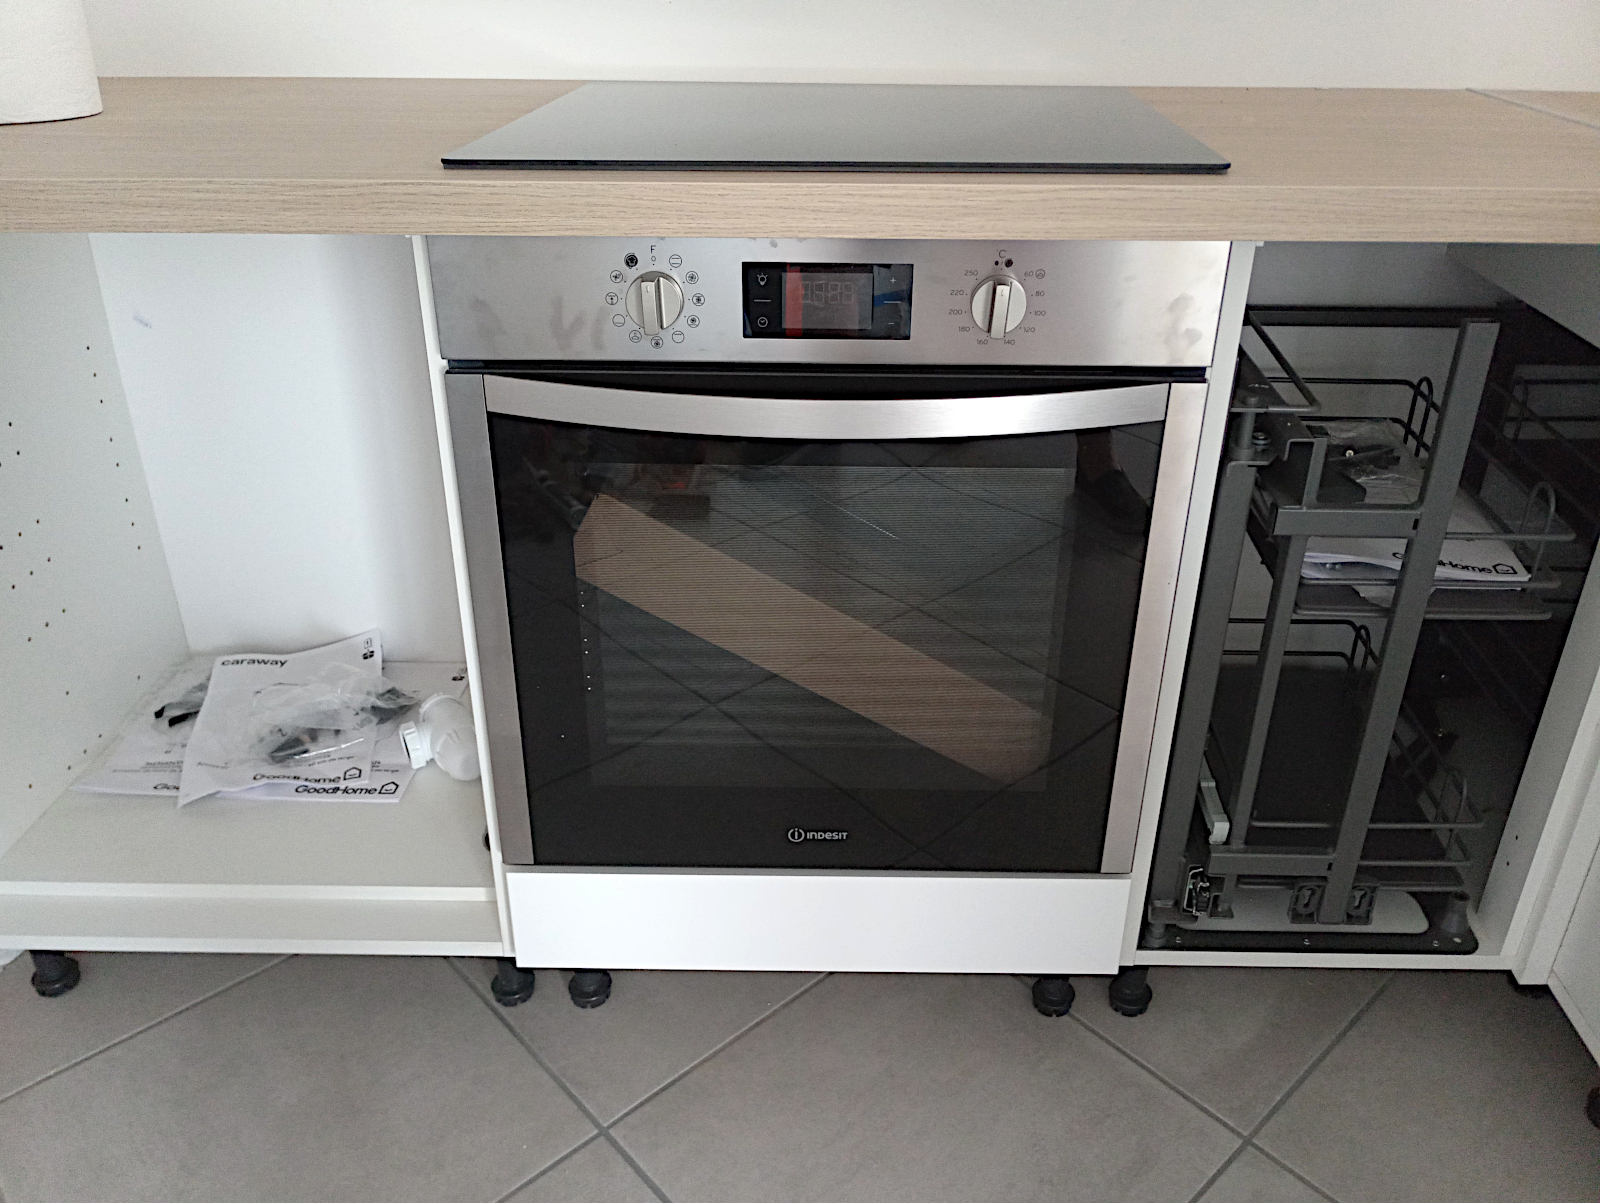
I couldn’t connect the oven because I found that I didn’t have a spare plug, but that can easily be rectified. I think the cooker and hob make a fine pair and I’m very pleased with my choice.
Then it was on to the sink if I was going to stand any chance of having the hob unit fully installed and connected and a working sink by the end of the week-end, as I’d hoped. I already knew that, much like the hob unit, the sink’s fixing brackets were fouling the sides of the hole cut into the worktop for it. Once again, I was wary about cutting to much of the worktop away but eventually by trimming some of one end away slightly and cutting notches at each end, I got the sink to drop into position.
But the anti-kitchen installation gods were against me because I then found that the securing brackets were too short to work in a worktop of this thickness (3.8cm). So I had no choice but to call it a day, but all is not lost. What I’ll have to do is buy a length of small square section dowel and secure it all around the inside of the hole in the worktop 5mm or so above the bottom.
The sink should clear it and it’ll provide a step for the securing clips to bite into from below. That’s the theory anyway but I won’t know until tomorrow whether it’ll work in practice. Watch this space. What a tricky installation this is becoming – the most tricky of any I’ve ever done…