
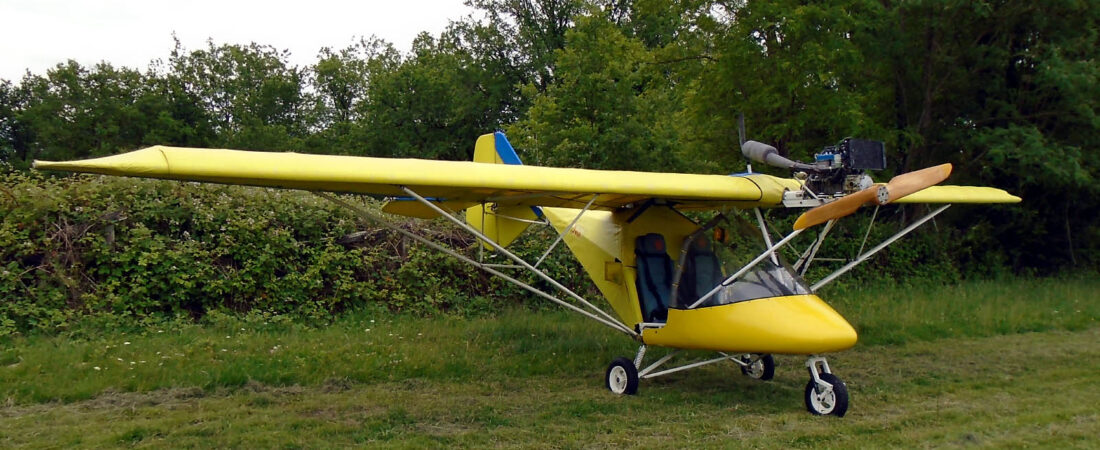


I mentioned in a previous post how easy it was for me back in the day to record videos when flying MYRO that included two-way radio as well as visual content. The problem back then, though, was that although the sound quality was pretty good, the visual quality was up to nothing like the same standard on account of the capability of the video recorders that I had at the time.
So it’s ironic that having first moved to my little Chinese GoPro rip-off sportscams and now to proper GoPros that can produce superb quality videos, I still haven’t managed to do what I was doing back then, which is record high quality sound to go with them and especially including the two-way radio communication. But as of now that’s all changed.
I tried to connect my Savannah’s radio to my on-board GoPro using a cable that I’ve used to connect my Yamaha keyboard to my home computer, but it wasn’t totally successful because although it did record the sound that I wanted it to, it was distorted to an unacceptable degree. So I did a google search and found that other pilots have achieved what I want to do using a cable being sold by Nflight Technology, an American company.
I then located a seller in Europe, in Holland actually, but from what I could see on their web site, the cable to connect a GoPro also included a GoPro special mic adapter which I already have. And it’s expensive. So I contacted them and asked whether I could buy just the cable without the adapter and that’s what I bought, for under half the cost of the full connection set-up. It was delivered a few days ago but I’ve been unable to try it until today. Here are some shots of its packaging.
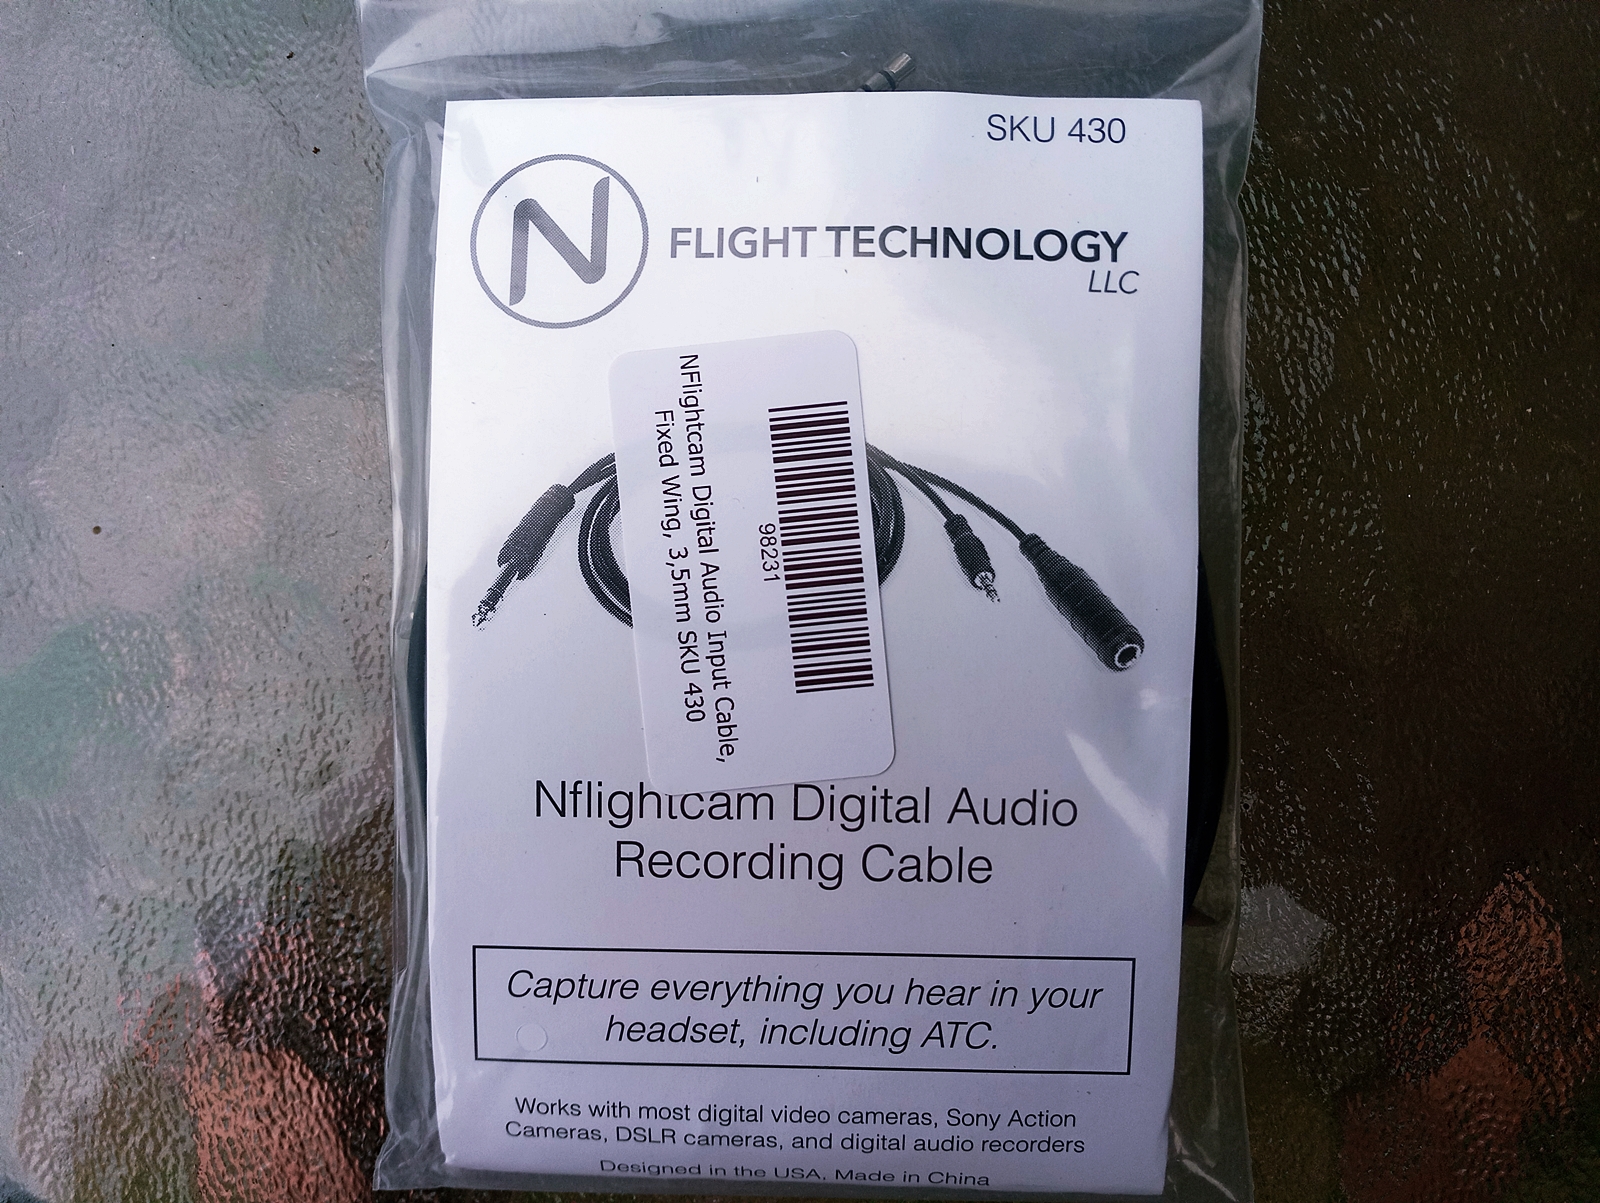
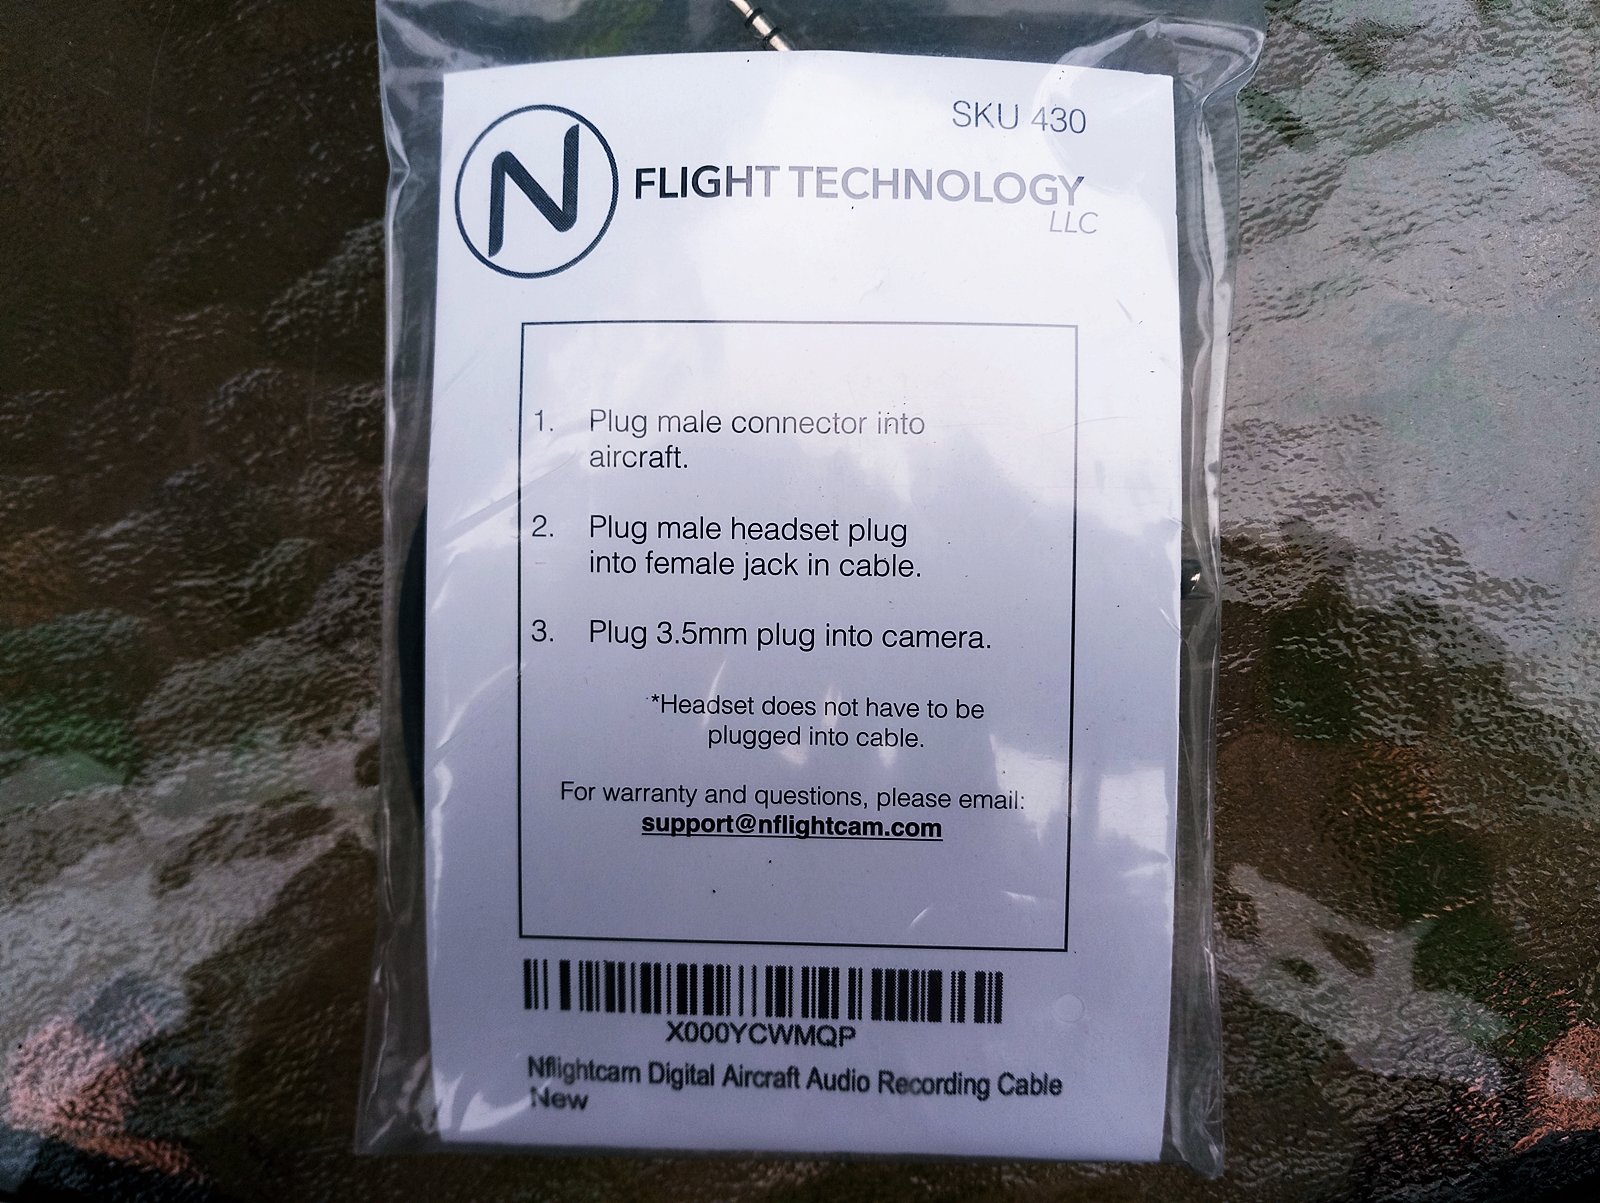
It consists of a cable with a small jack plug at one end that plugs into the GoPro mic adapter and larger male and female jack plugs at the other, one of which you plug into the radio socket in place of your headset jack and the other into which the headset jack is then plugged. Then you just power up and away you go. I set the whole system up today with the GoPro plugged into an external power pack that will give an extended recording time and it worked flawlessly. I can’t wait to use it in an actual flight but I’m confident that it will give me exactly the results that I’m looking for 🙂
I then turned my attention to repairing the damage done to my ‘tonnelles’ by the destructive wind of a couple of nights ago. I wanted to do the best I could as we’ve got more thunderstorms forecast for later this week and more damage would be done for certain if I just left things flapping around as they were. The first job I did was to reattach all of the tabs that tie the side curtain corners to the metal uprights that had been pulled off, two on the corner of one ‘tonnelle’ and one on the corresponding corner of the other. That didn’t take long – just a few minutes with a needle and thread.
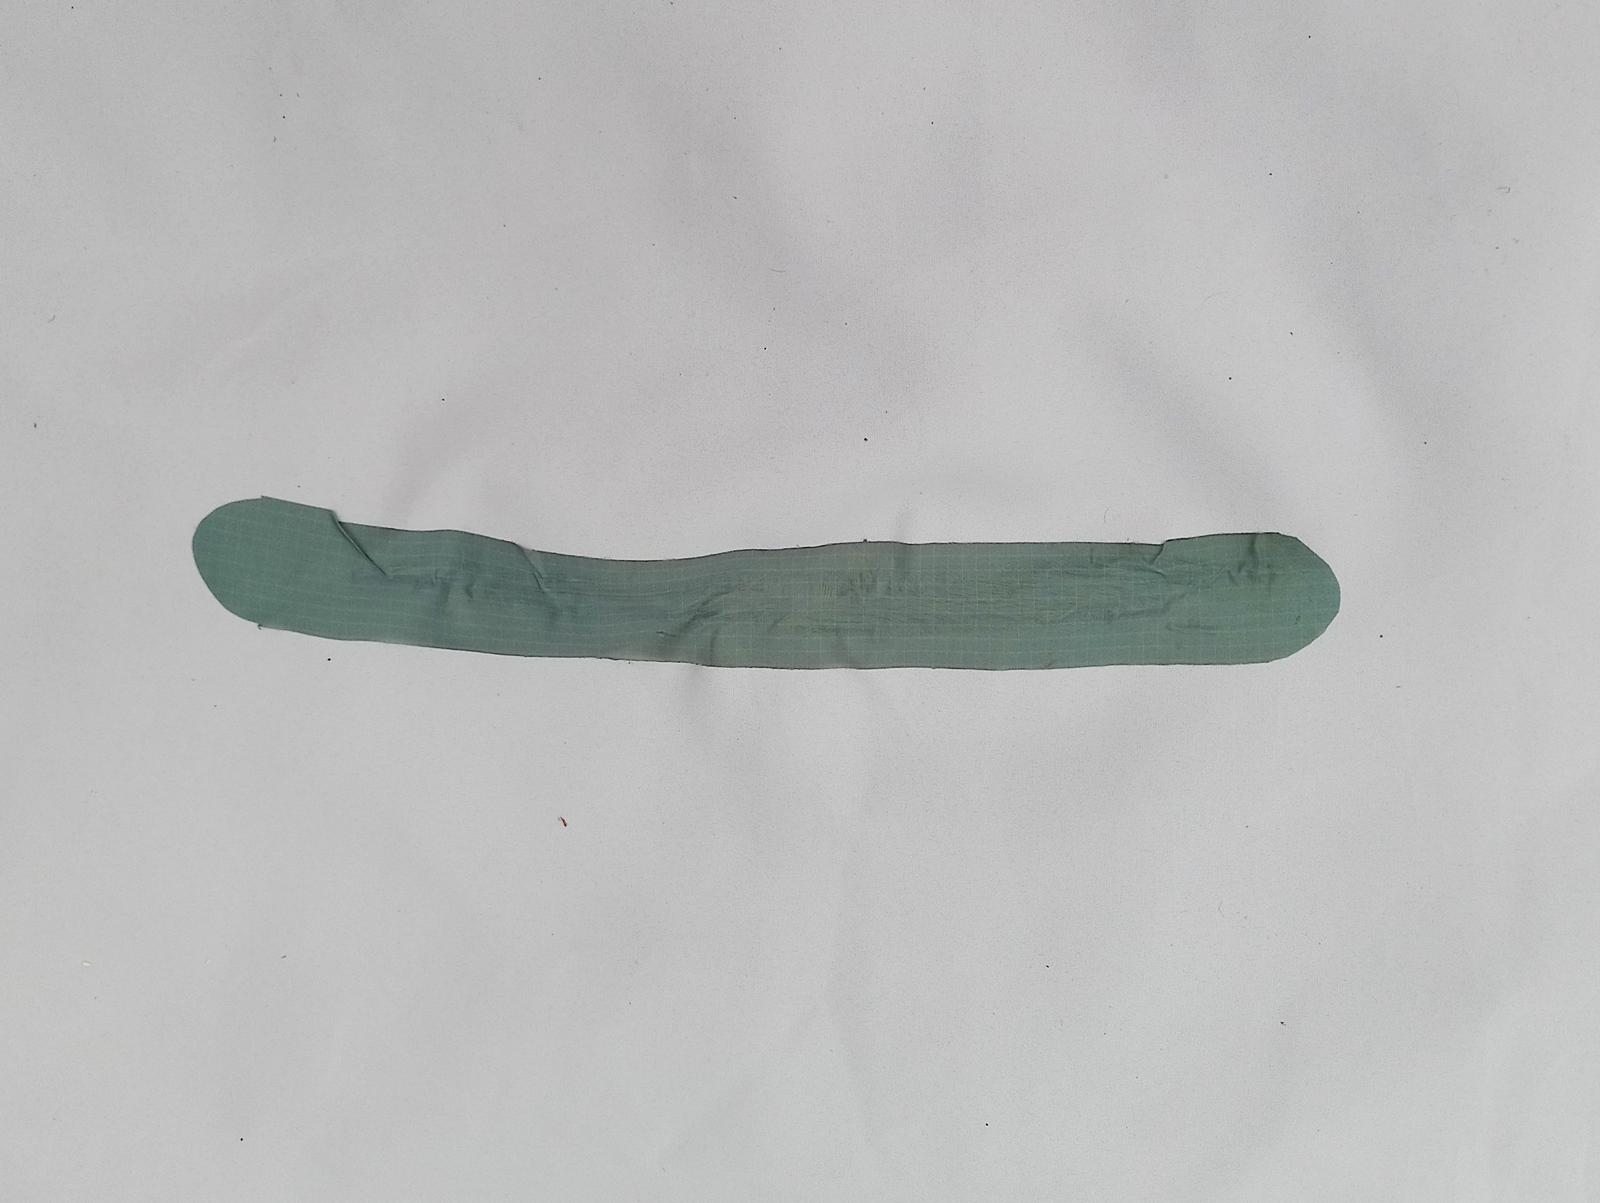
But that still left the problem of the 30 cm rip that had been caused to the roof of one of the ‘tonnelles’. The best that I could do was to dig out the grey sail repair tape from storage that I’d successfully used on sections of my X-Air that had subsequently flown all the way from England and is still in as good shape now as it was then, so pretty effective. It was supposed to be grey but has a distinct green tinge to it and my guess is that it was stored by the supplier with a sales code ‘GR’ and put into stock by someone who was colour-blind! But no matter, it would have to do and would at the very least solve the problem, as it had for the X-Air.
Here’s a shot after I’d repaired the rip. I did it while the roof was in place and wasn’t very happy with it because the wind was blowing a bit and the edges of the rip hadn’t come close enough together for my liking. The shot was taken with the roof removed and lying on the ground.
The reason why it was on the ground was because I also decided to repair the damage to the original ‘tonnelle’ roof that was damaged when I was in England the last time, when it had only been up for a week or so. I recalled that it had been pierced by a small section of broken framework and the damage wasn’t that great, and sure enough I was right. So I fixed it with just a small length of repair tape and put that roof cover on in place of the one with the large rip in it, and here are some shots of the result.
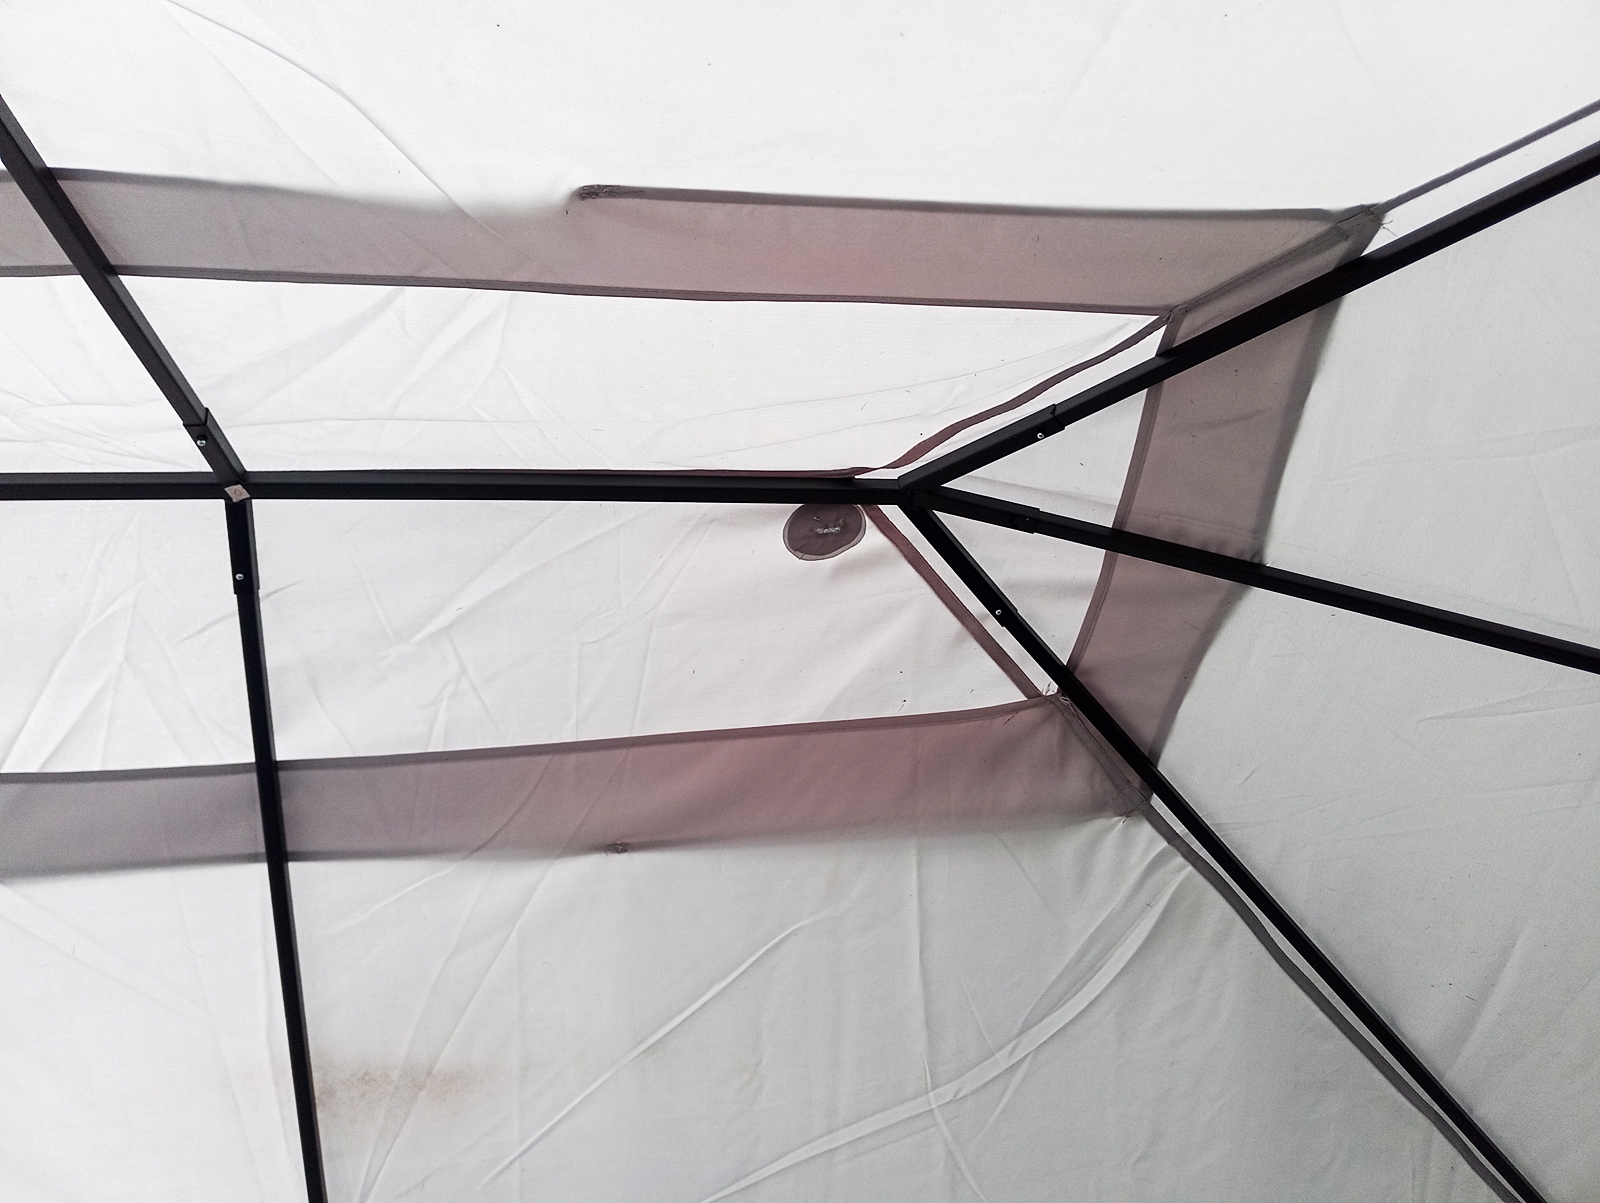
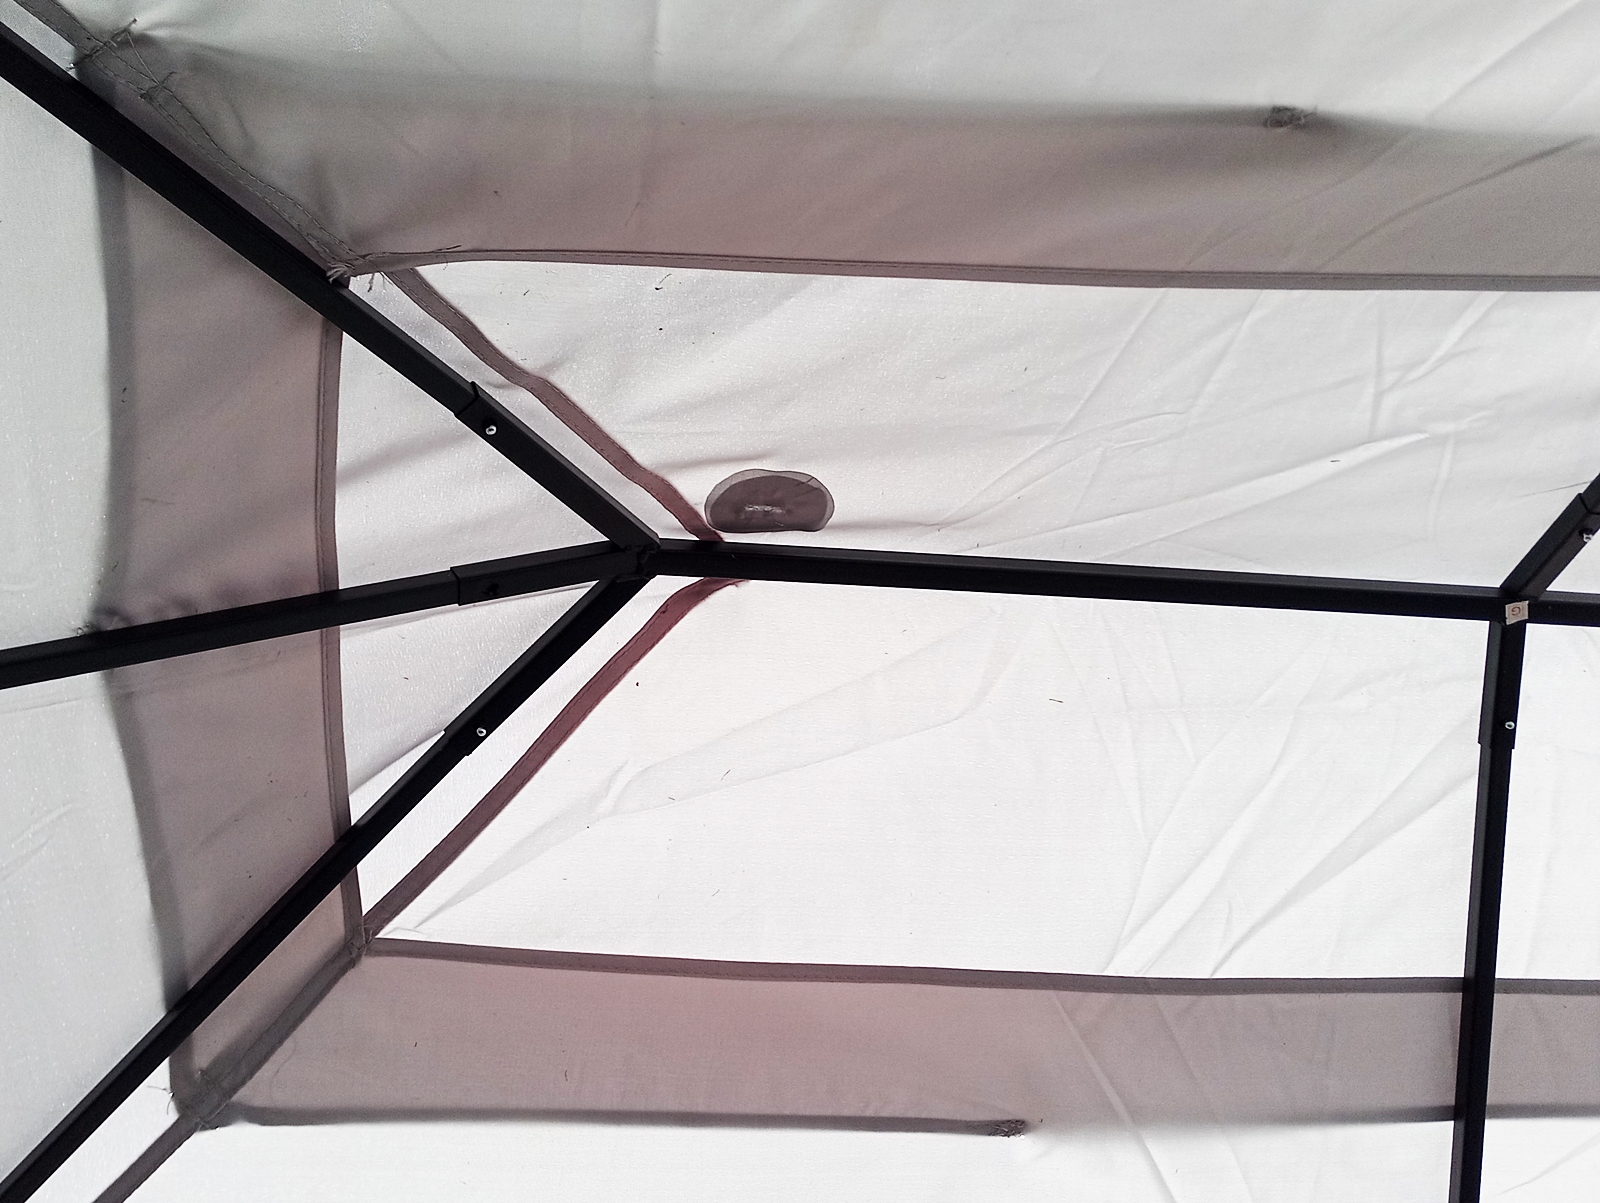
So the effort of swapping the roof covers over was well worth it and the damage is now hardly significant and also hardly noticeable. I also noticed another tiny tear close to one edge and while I was at it put a tiny patch over that as well, just in case.
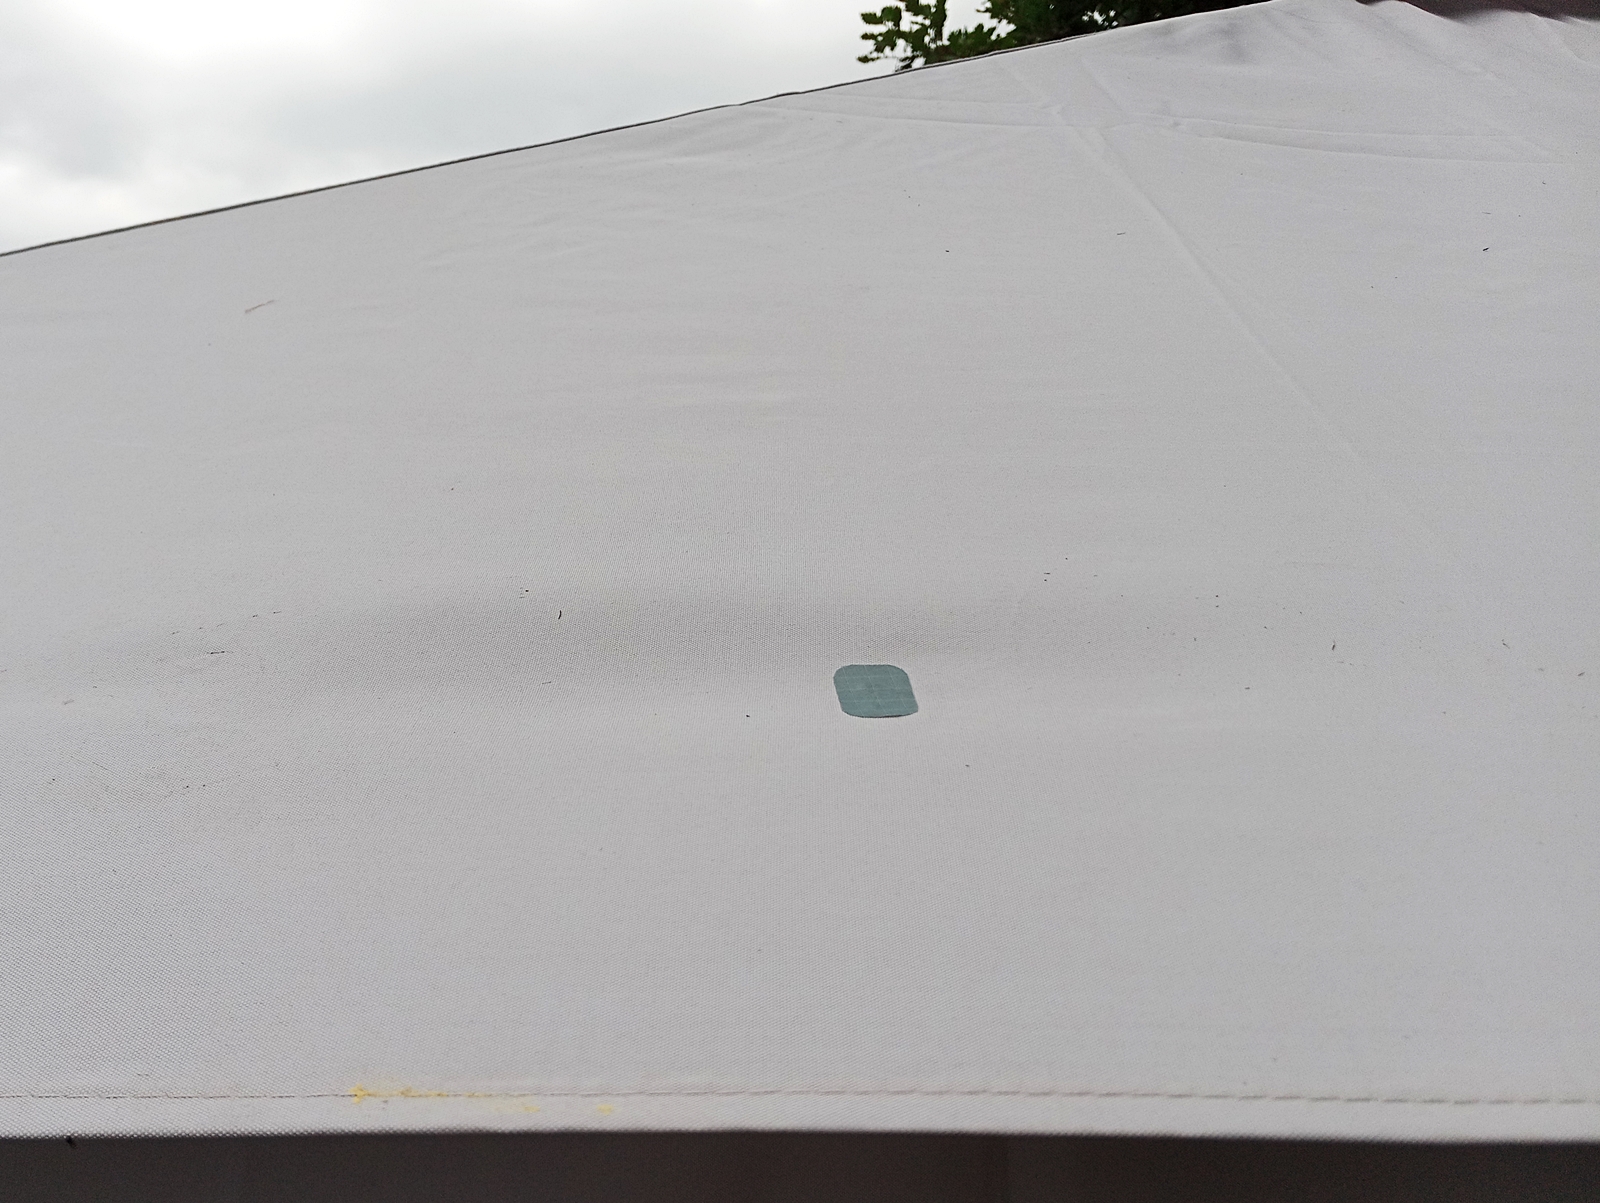
So I’m now back to having two ‘tonnelles’ in reasonable shape again which I hope will see me through the stormy weather that is forecast to come sweeping in again this week. Mind you, as I said in an earlier post, they are not like heavy-weight marquees and are not designed to be subjected to a constant battering, so I really hope that we get some respite pretty soon as otherwise I can’t see them getting through the summer 😐
 English
 Nederlands
 Français
 Deutsch
 Italiano
 Latviešu valoda
 Português
 Español