


Today was Weedhopper electrics day and here’s a shot of the parts that I wanted to replace laid out before I started.
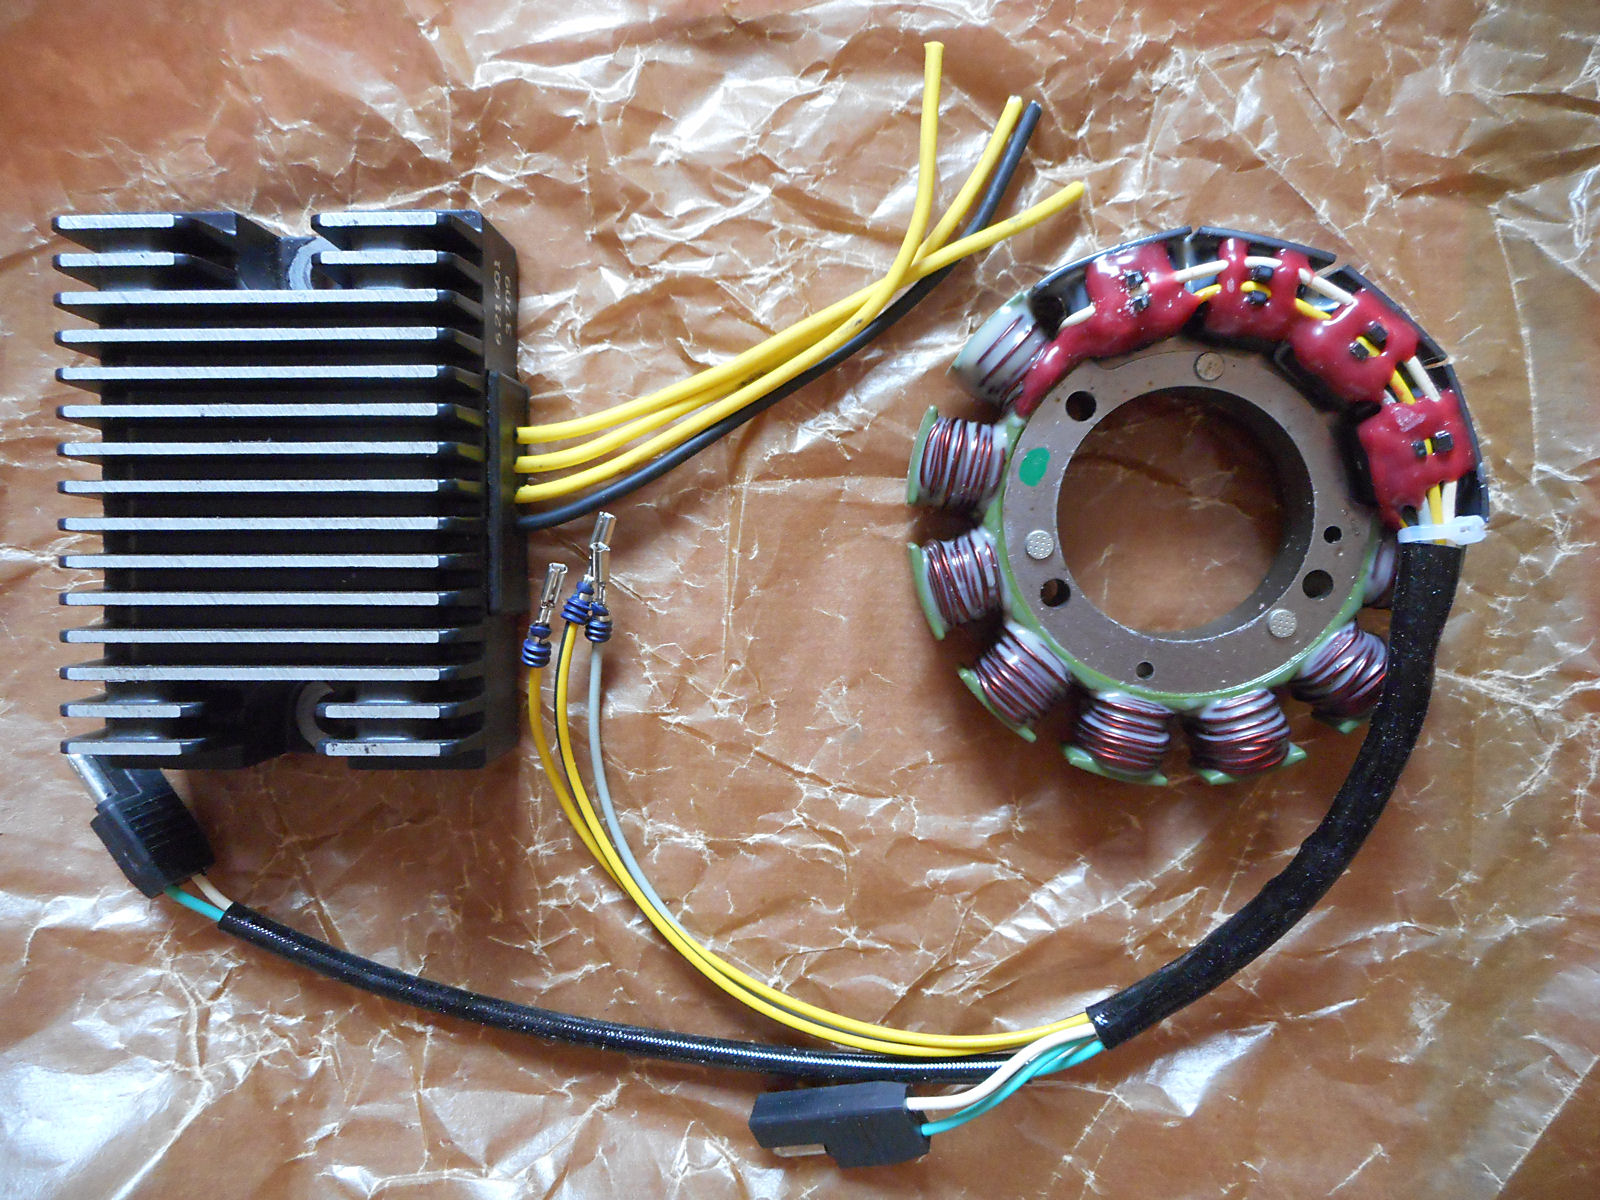
The first job was easy – to remove its voltage regulator and replace it with the new one. That was easy and didn’t take very long, except for trying to find a nut that dropped down under a seat.
Then it was time to start on the stator. Removing the end cover complete with the starter motor also didn’t take very long and the next job was to remove the flywheel. The flywheel is mounted on a tapered extension of the rear end of the crankshaft with a key and secured by a large nut and as it’s likely to have been Loctited by whoever fitted it the last time, it needs a puller to remove it. I had one, a home-made one, but I had been assured that it worked fine.
When I got the engine for MYRO back in 2009 the starter gear had been removed, so I had to refit it. This had involved tightening the flywheel retaining nut, so I assumed that I had a socket that fitted. But I guess that I must have borrowed one at the time as today I could find nothing that would fit.
So that meant a drive over to Brico Depot at Trelissac to pick up a new 30mm socket and a delay of 1½ hours, but I had no choice. Even with the new socket, the nut wouldn’t budge, probably because of Loctite, but the heat from a carefully directed blowlamp did the trick and off it came. The next challenge was the flywheel itself.
It was a pig to get off. Initially I tried just attaching the extractor and applying pressure – lots of it – but it just stayed put. Then I thought that a little bit of heat might help on that too as it had done with the retaining nut and I had totally underestimated just how much pressure the extractor was applying.
After a few seconds of heat, the flywheel flew off the shaft at great speed! Luckily, it fell into the bottom of the pod with a clatter and didn’t do any damage, but if I’d fitted the screen beforehand, it would have been badly damaged, I’m sure.
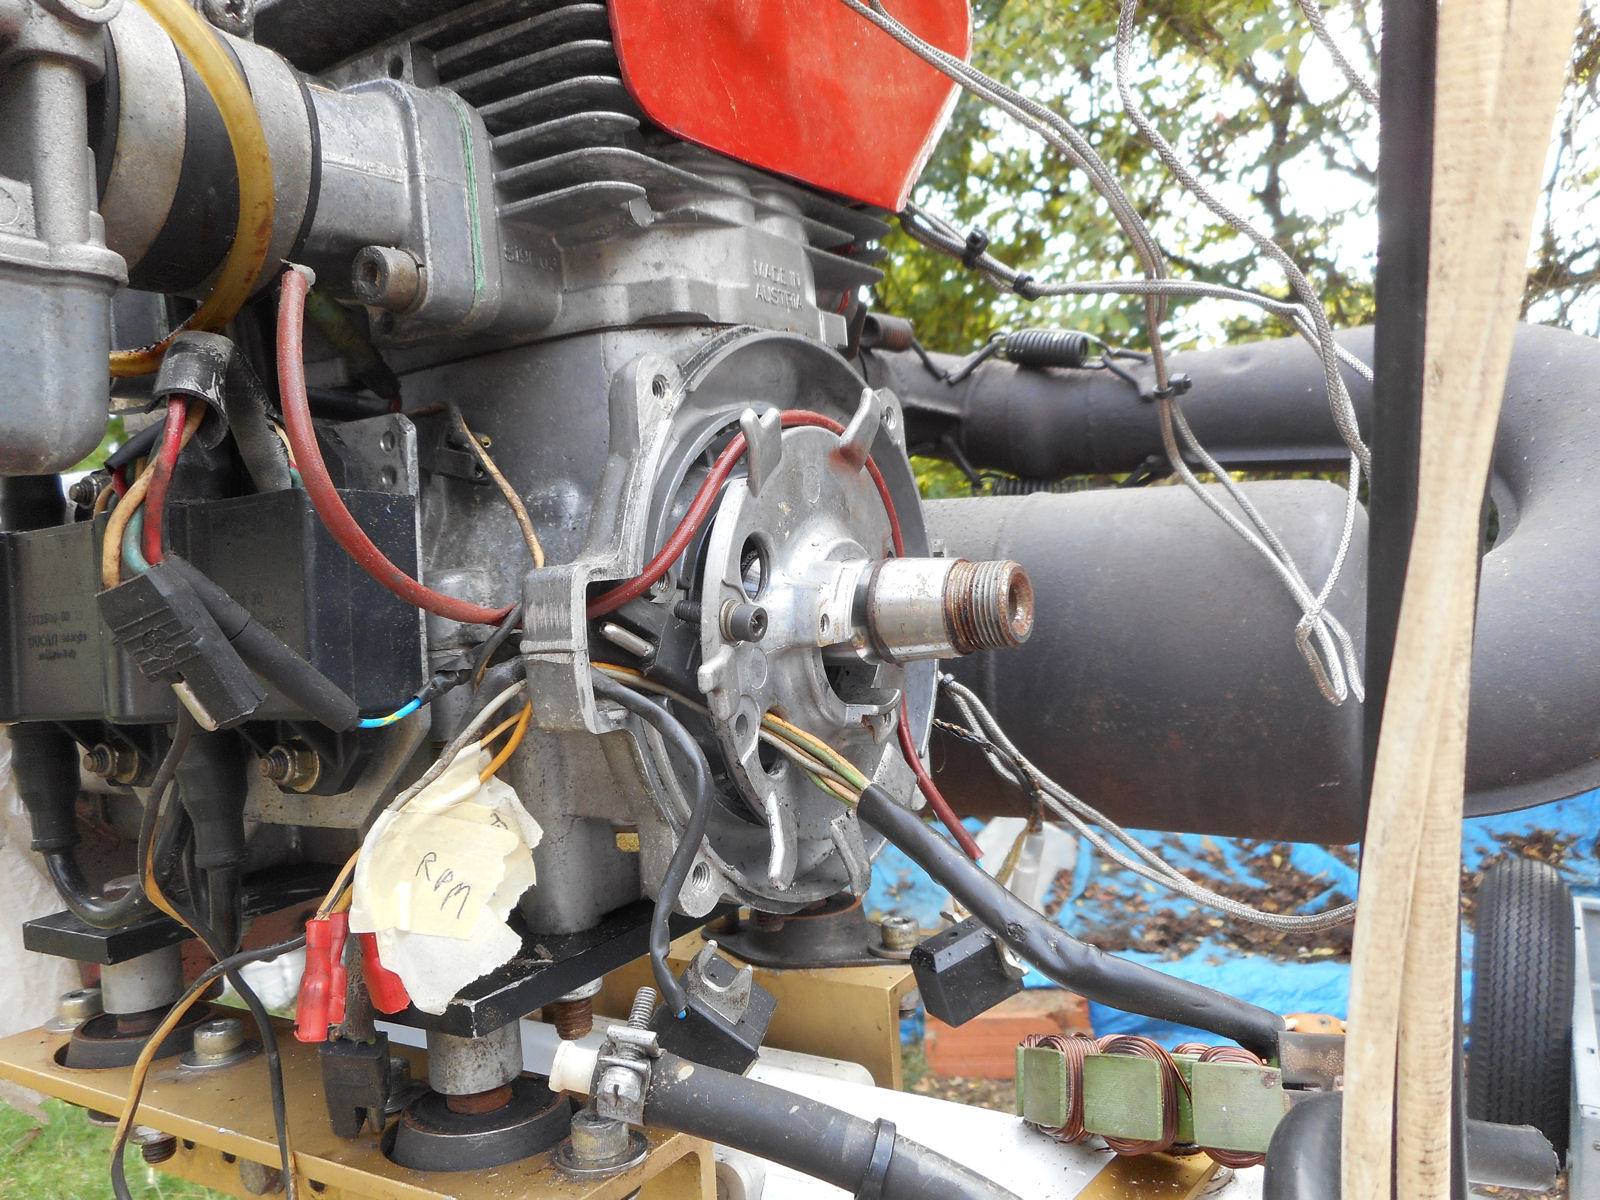
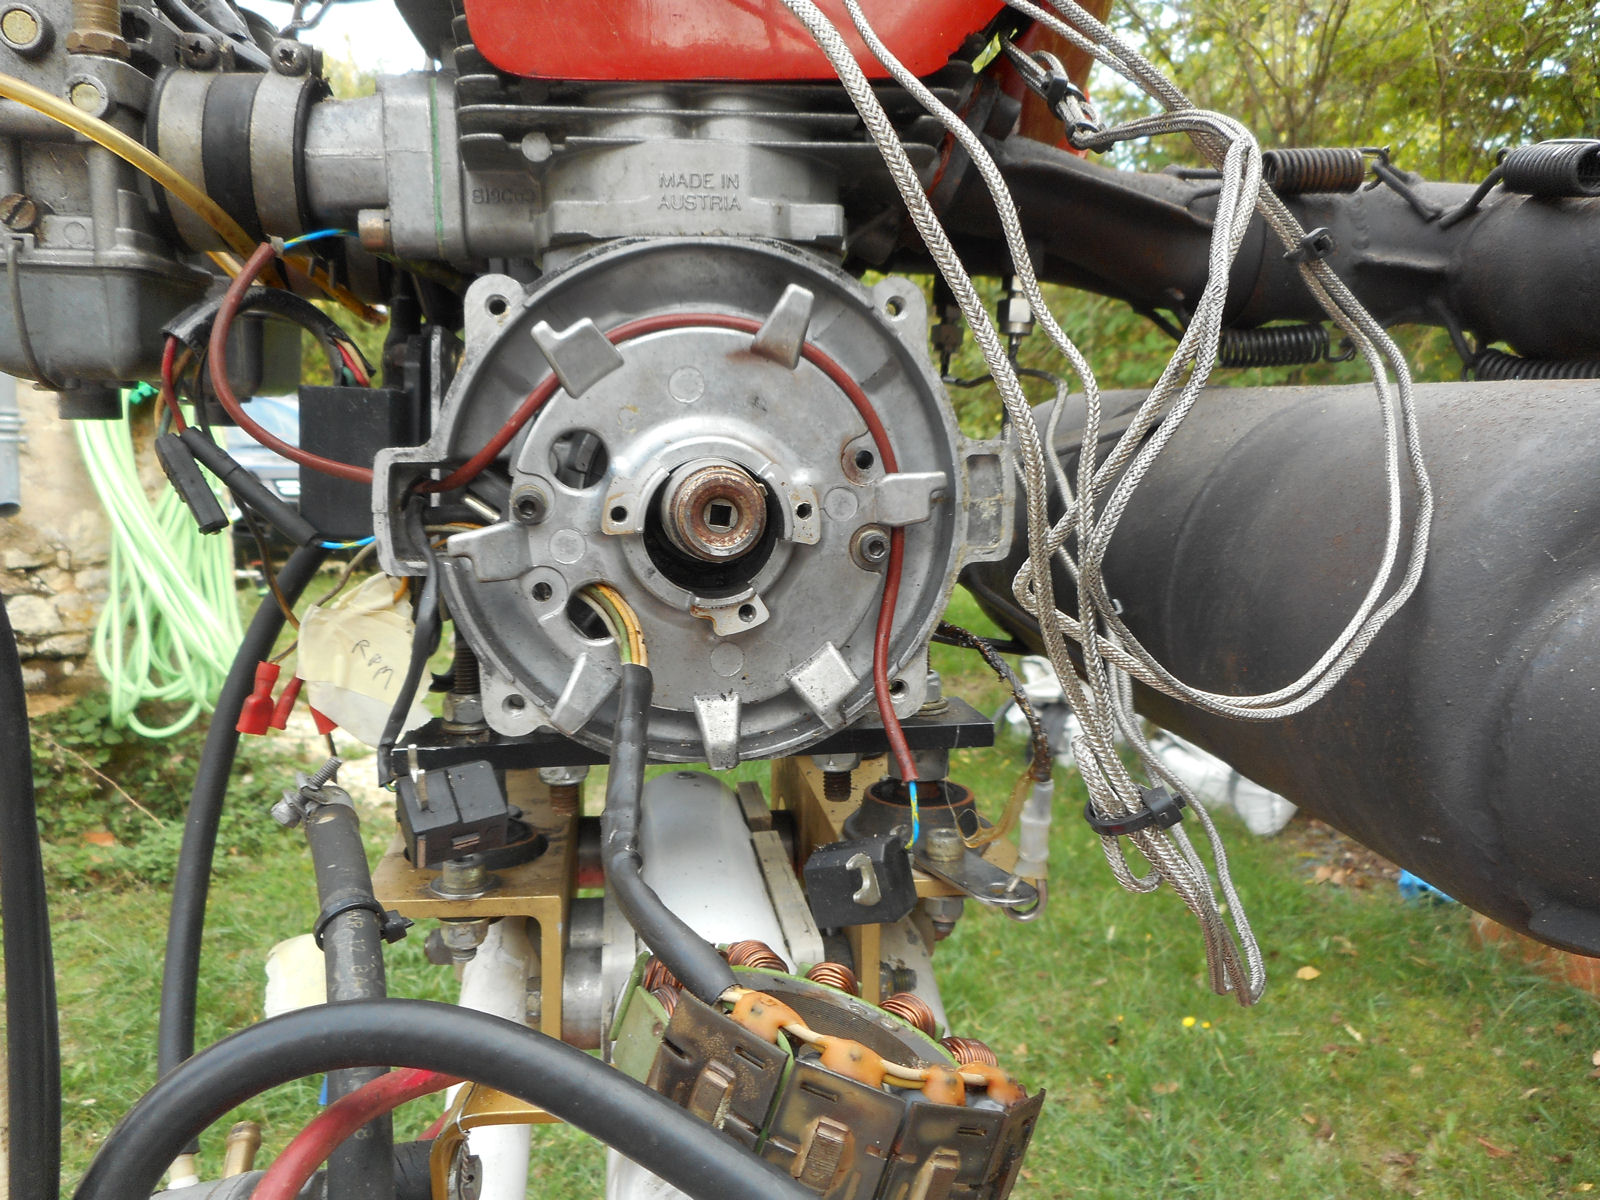
Getting to the stator and its associated wiring then involved even more stripping. Here are a few shots of the final stage that gave access to the wiring that leads out of the side of the generator housing through a hole with a split rubber grommet.
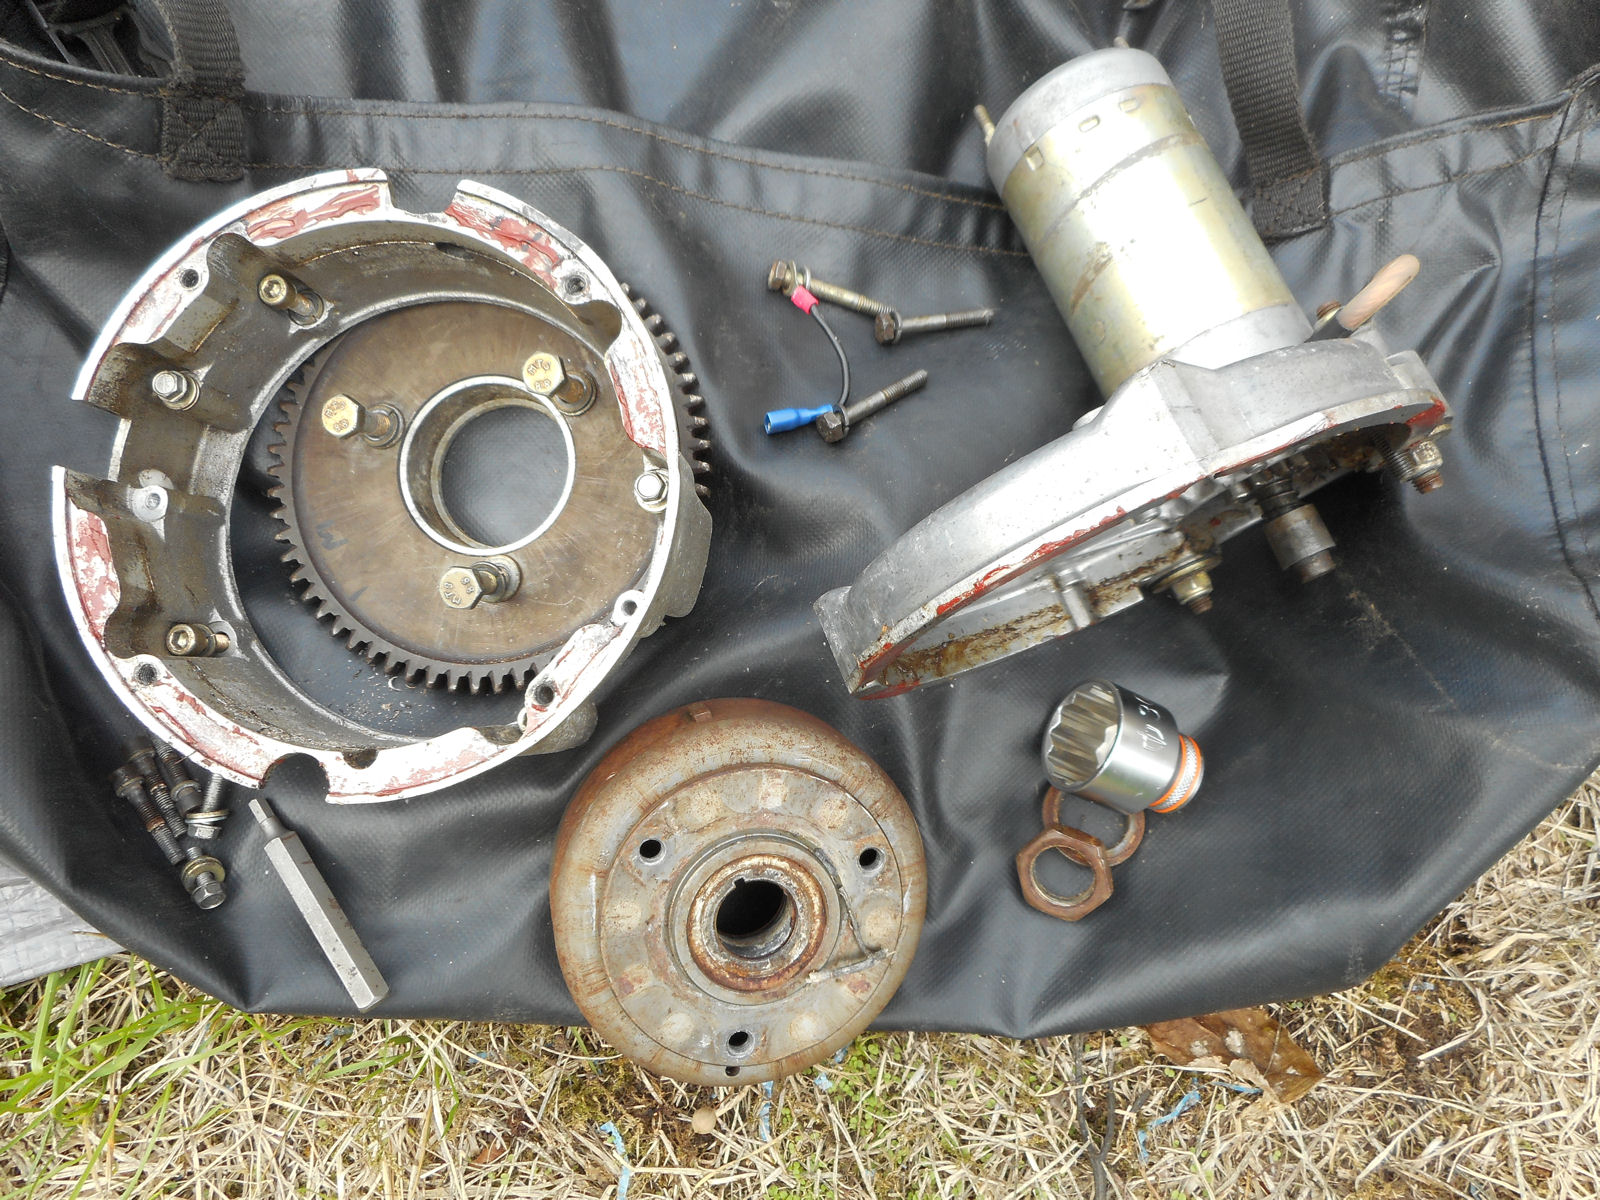
Here are all the parts that had to be removed during the process.
Rebuilding after fitting the new stator should then have been a doddle, and it did proceed very smoothly. Unfortunately, after dashing off for a quick ‘apero’ with friends and dashing back because of incoming rain, I didn’t take enough care to check the rebuild at each stage while I was doing it and after I’d got the flywheel and housing back on again, the engine’s crankshat wouldn’t rotate.
So I’ve obviously been careless mounting the flywheel and it’s probably gone a bit cock-eyed on the shaft. It was my own fault and now it’ll have to come off again and be refitted properly. Very annoying and after everything had seemed to go pretty smoothly up to then, not according to plan at all 😐