


Is completed! Today was forecast to be unsettled with rain later, so it was a good day to do a job that could be completed indoors – namely making 27AAD’s new screen. I’ve done this a couple of times before so it held no fears for me and it was just a matter of doing a good job with no cock-ups.
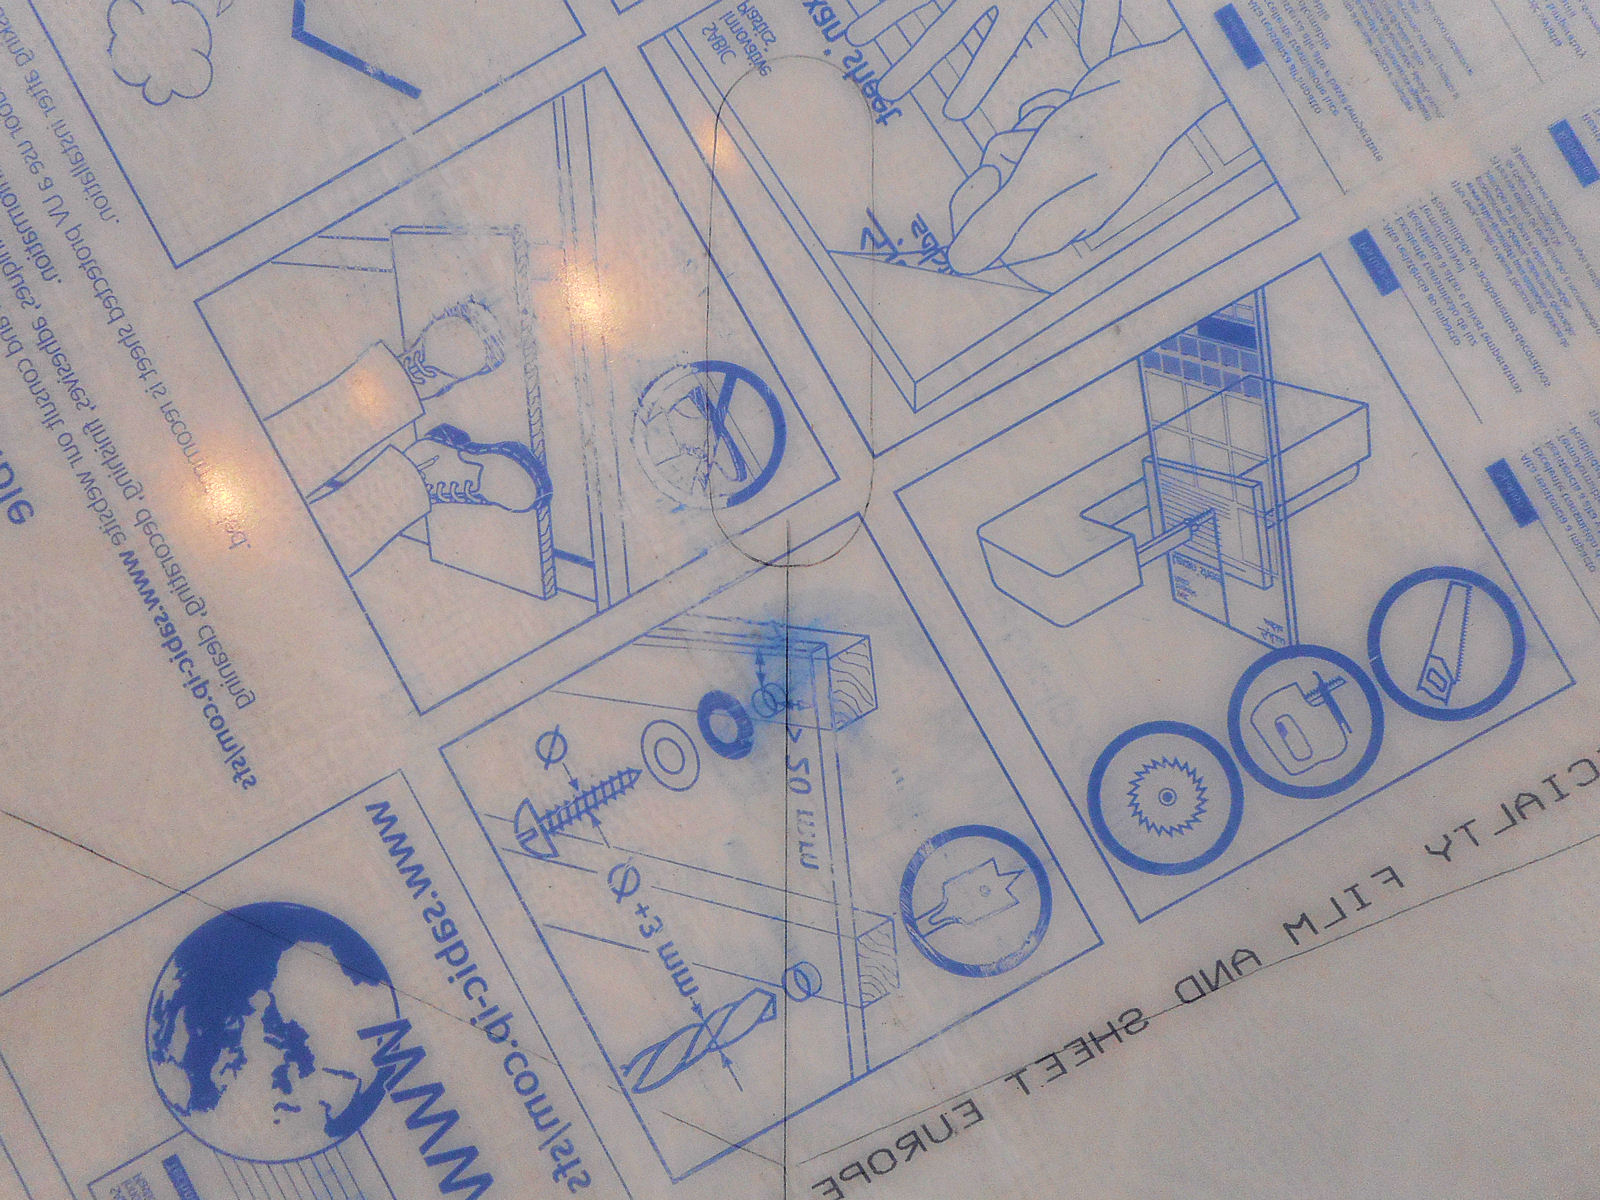
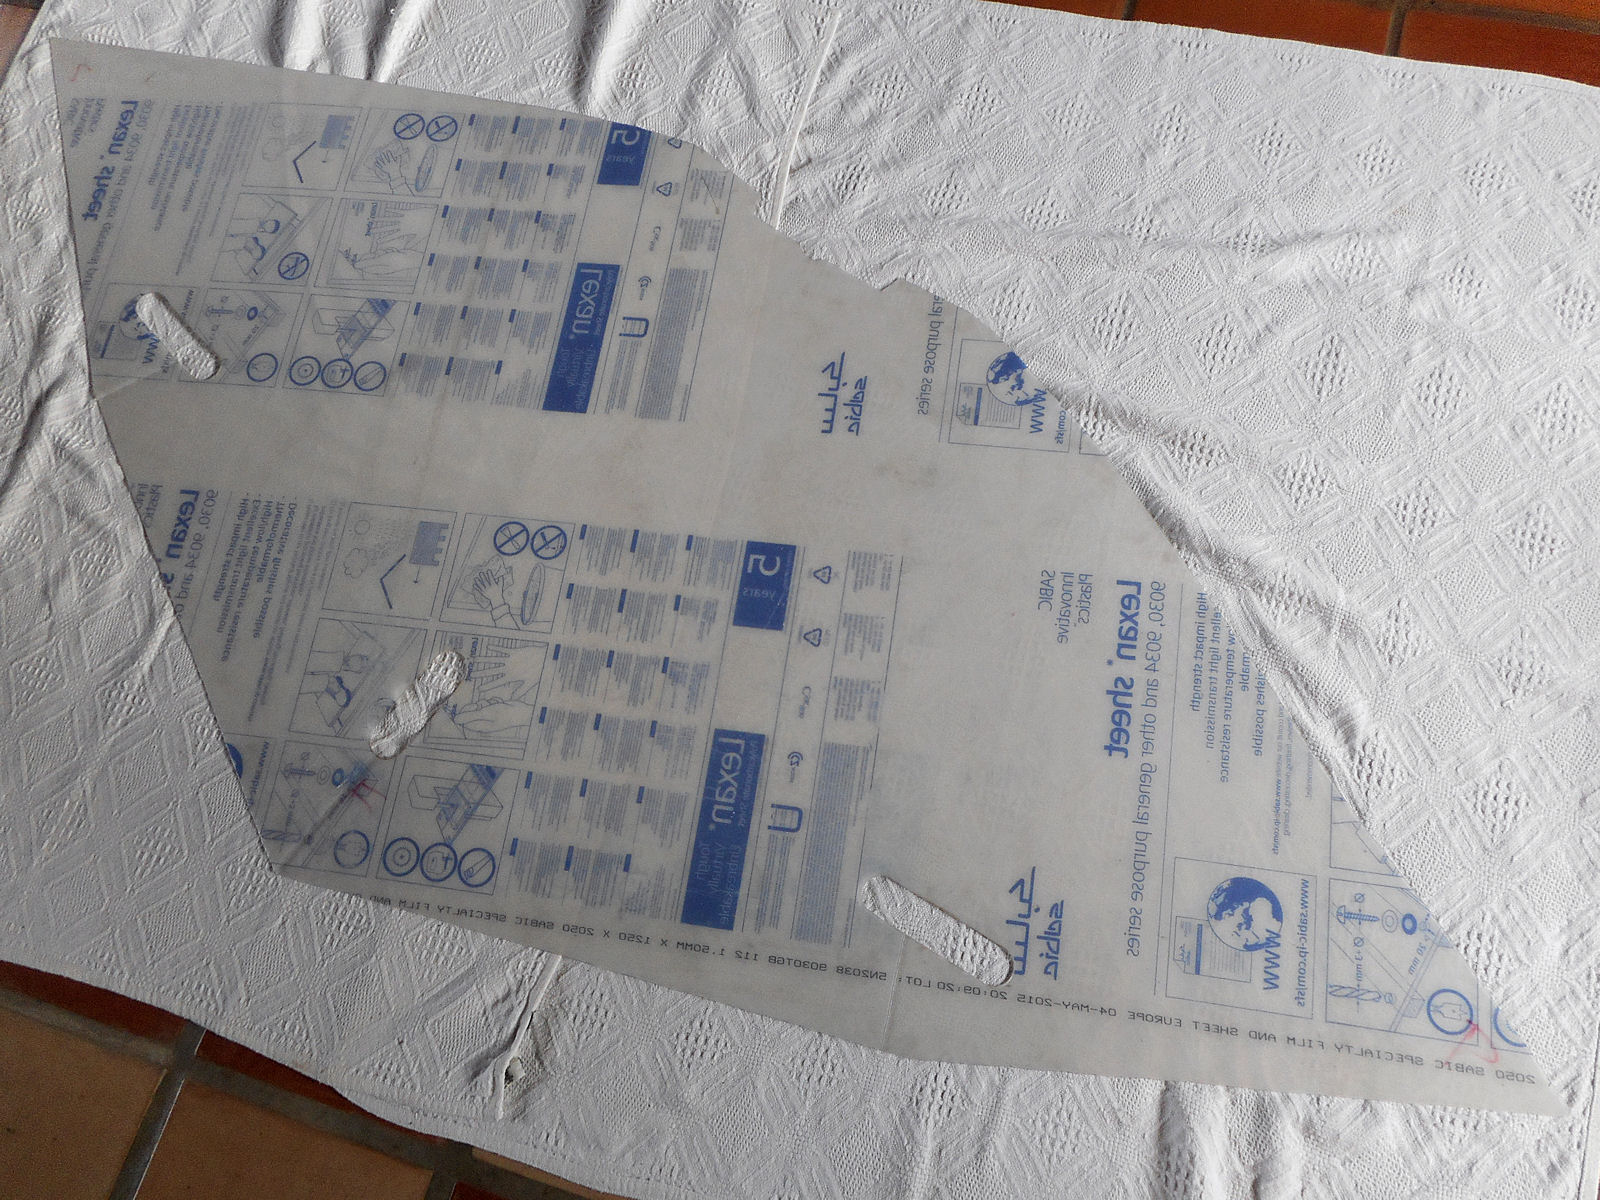
The screen is made from 1.5mm thick polycarbonate plastic sheet, in this case ‘Lexan’ although I’d ordered ‘Makrolon’, which didn’t matter as they’re identical products. Although polycarbonate is very impact damage resistant, the main thing that you have to be careful of when you’re handling it is to avoid scratches, which are very easy to do when you have to lay it on a flat surface to work on it and are using sharp metal tools.
In the past I’ve been able to work on the floor of a fully carpeted lounge but today I only had a tiled floor to choose from so had to cover it first with some soft fabric to protect the plastic. Then after laying the new plastic sheet on it, I had to place the old screen on top to use as a pattern, diagonally so as to be able to fit it onto the sheet.
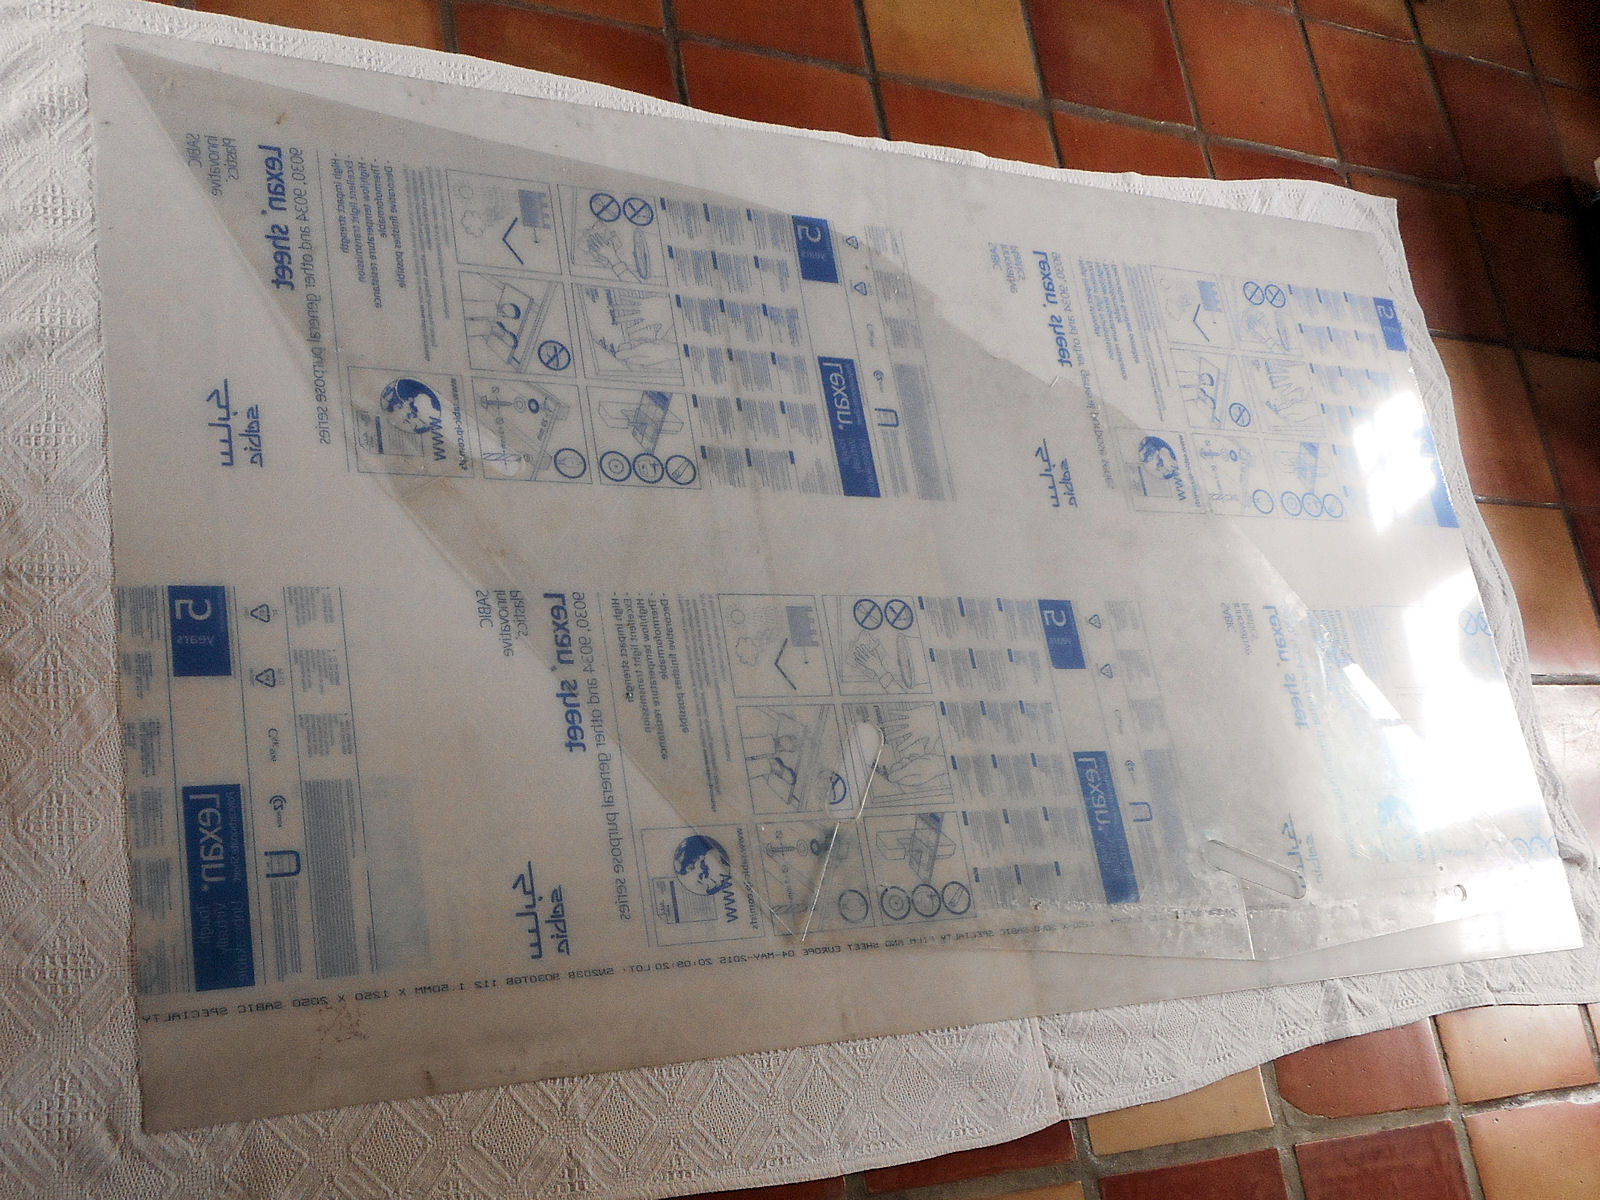
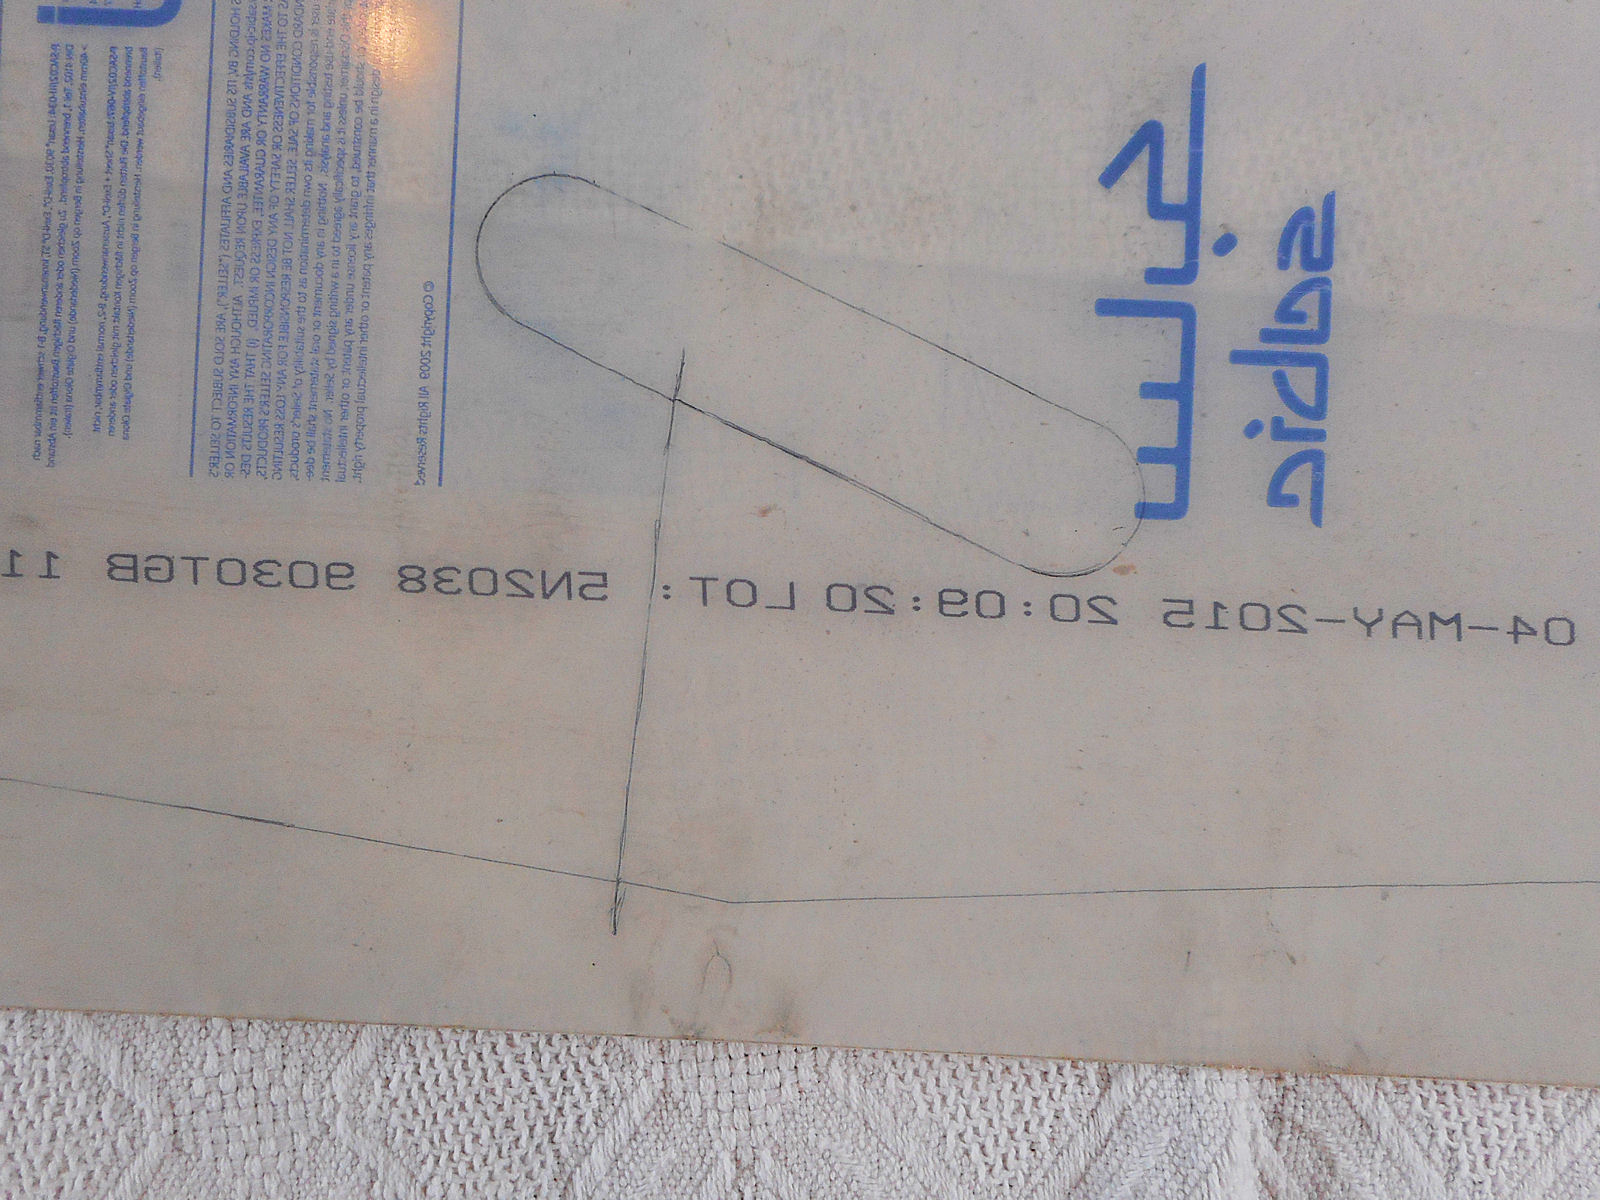
The next job was to carefully draw around the old screen onto the protective plastic film that the new sheet has on both of its surfaces to give some protection from scratching, making sure to include all of the slots that need to be cut to accommodate fuselage tubes and marking any cuts that need to be made in it for it to fit over and round them.
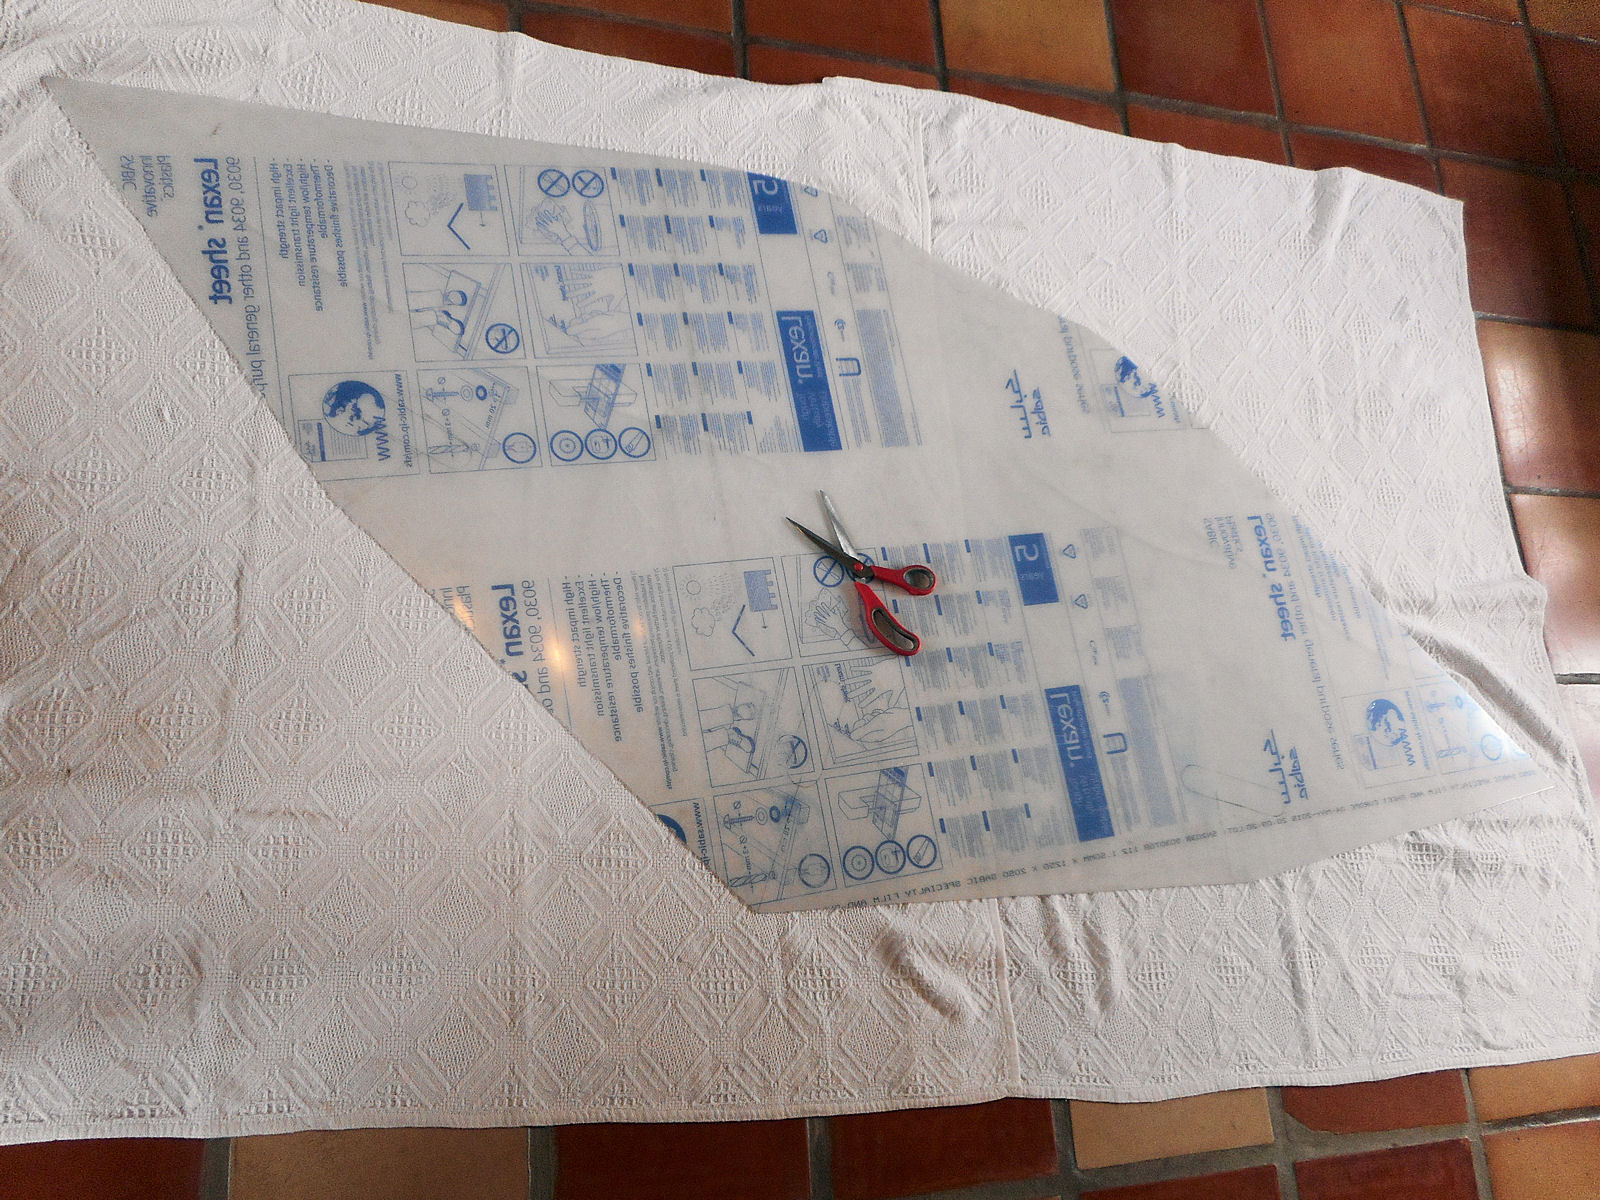
Then it was time to cut around the screen’s basic outline. Some people say that you should use snips or shears, a rotary cutter (eg Dremmel) or a jig saw. I eschew all of those in favour of just a large pair of sharp scissors that I ensure beforehand are nice and sharp by sharpening them against a large kitchen knife. There’s little or no chance of scratching the plastic as you might do with a jig saw, going off line as you might with a Dremmel type tool or getting an untidy cut that happened for me when I experimented the first time with metal shears.
It’s worth mentioning that while cutting as a right-handed person, the material on the right of the cut feeds downwards and that on the left upwards. The job’s made very easy if you put your foot onto the right hand piece after making an initial cut, to hold it down, and pulling the left hand piece upwards while you’re cutting. That encourages the plastic to ‘tear’ along the cut with absolutely no detrimental effect while reducing the cutting effort required and also results in a lovely clean cut edge. Here’s a shot of the basic screen with the scissors that I used to cut it out.
It’s then time to take out your hole cutters and drill out the ends of the slots that were marked previously. The Weedhopper’s nose slot is of larger diameter than those for the cabin side tubes and there’s also a cut-out at the top-centre for the screen to fit snugly up against the bottom of the main tube.
Then and only then is it time to use a jig saw, to join up the holes cut in each end of the slots. But you still need to take great care not to scratch the plastic and it’s a good idea to apply tape on the ‘good’ side of each cut for the saw to slide on and also not to push downwards too heavily. And once all the cuts have been made, edges can be cleaned up as and where necessary with a sharp file and the final cuts made in the screen to allow it to slip over the tubes that go into the slots.
Here’s a shot of 28AAD’s new screen finished and ready to be fitted.
I’m glad to say that the work went smoothly with no scratches or bad or mis-placed cuts, so I’m pleased with the results. I removed the panel yesterday and went through the wiring with a fine-tooth comb, so now know that there’s absolutely nothing wrong with it.
That means that it and the screen can now be fitted permanently into 28AAD as it won’t be difficult to install the missing gauges while it’s in-situ. I’m also hoping that the new electrical parts to replace the ones that were damaged last week might arrive tomorrow and when they’re installed, the re-assembly of 28AAD will be nicely back on track.