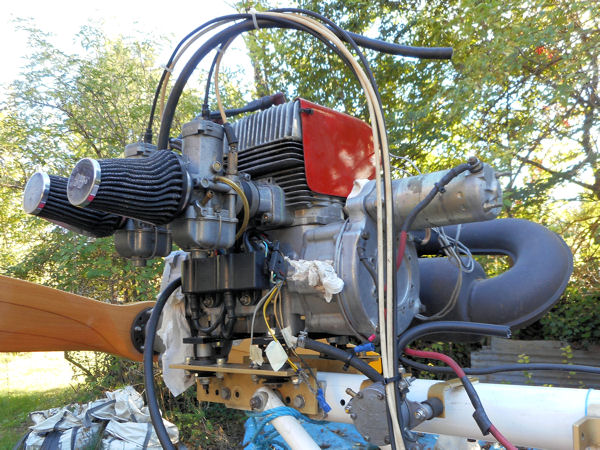
Closer inspection of the stator assembly this morning did indeed confirm that in my haste to reassemble 28AAD’s generator two nights ago, I hadn’t correctly installed the plate on which the stator is mounted. Unfortunately, it once again took a little bit of disassembly to get at it, but once done, it didn’t take too long to rectify.
Then this time I took my time putting everything else carefully back together and sure enough, when I’d finished everything looked OK and the engine turned over smoothly.
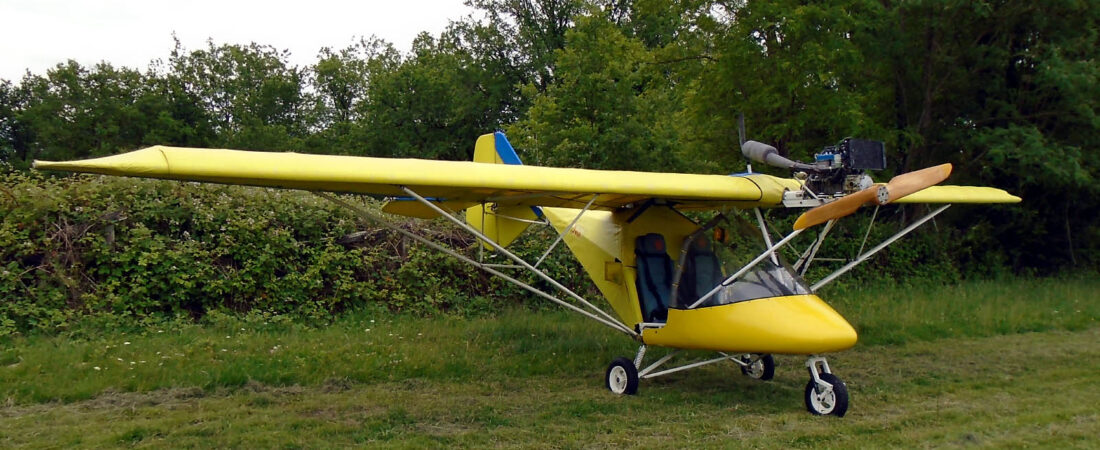
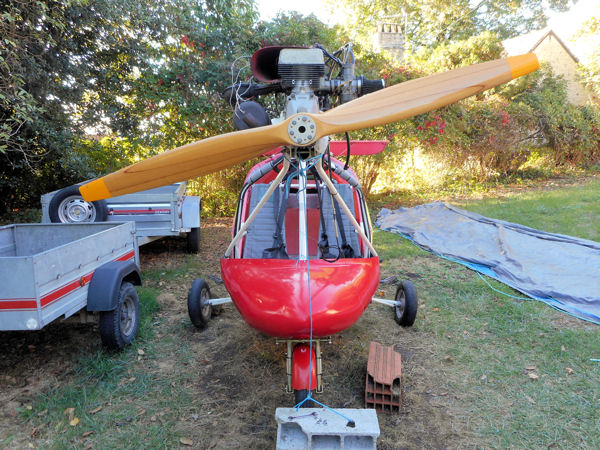
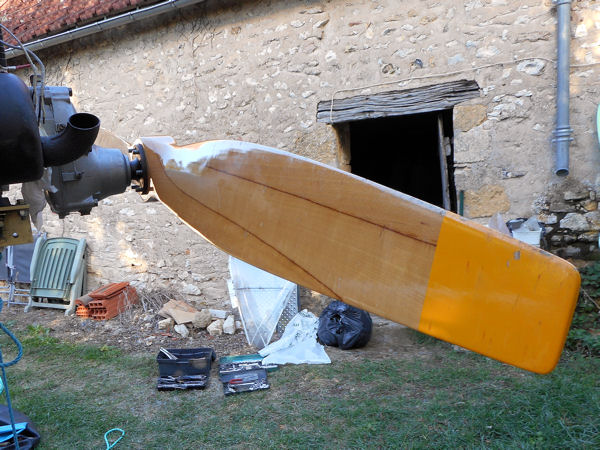
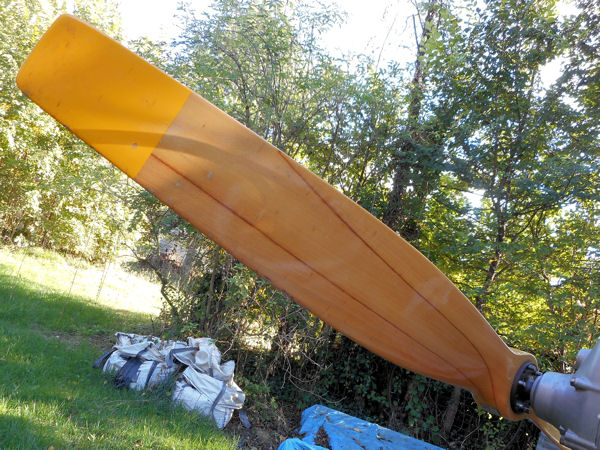
Now a few shots of the propeller that I bought yesterday. It’s far from new but is in extremely good condition for its age and looks good on the Weedhopper.
There are a few areas of light wear and tear, mainly on the leading edge as you’d expect, and although I could leave them for the next owner to deal with, I think that as I’ll probably be trimming the propeller’s tips anyway, I’ll lightly rub them down and seal them locally with a little clear epoxy.
The condition of the prop is far too good to even think about rubbing it all down and revarnishing, the way I did with 77ASY’s prop, because 99% of it is in good shape under what appears to be a very high gloss plastic finish.
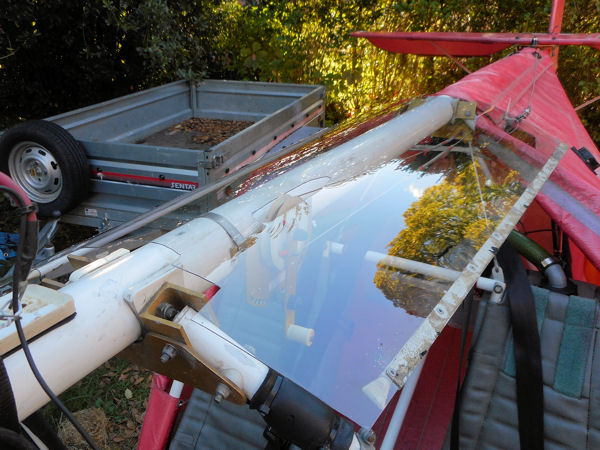
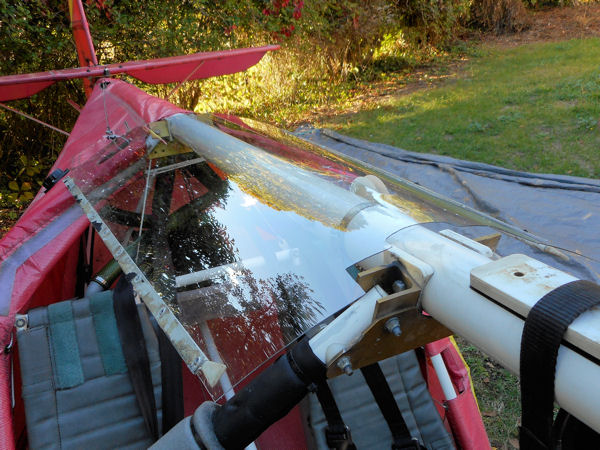
So the next job is fitting the screen and panel, but the screen could’t go in until I’d decided what to do about the cabin top plastic. The Weedhopper’s old one was not in very good shape and also had a large rectangle cut out of its centre to accommodate the ballistic parachute that used to be mounted on the aircraft.
On the other hand, MYRO’s old one was dirty and slightly damaged with holes drilled in it that now didn’t quite match where I’d ideally prefer them to have been for mounting it on the Weedhopper.
So nothing else for it. As the new sheet of 1mm plycarbonate that I recently bought is big enough to do the two doors and the cabin top, I needed to make a new one. So that’s what I did, using the parts from the Weedhopper’s old one as they were less worn than MYRO’s, and here are the results.
It just needs rubber side strips and it’s not fixed on in the above shots but that won’t take long to do. The task that will need special care, though, will be using a soldering iron to make two holes in each side of the fuselage rear cover to take cable ties to tie the back of the cabin top down.
It appears that the person who previously fitted the rear cover never got around to doing it, so presumably the back of the cabin top had been left flapping. If so, from now on it’ll be fixed the way it should be 😉

