Figuring out the prop

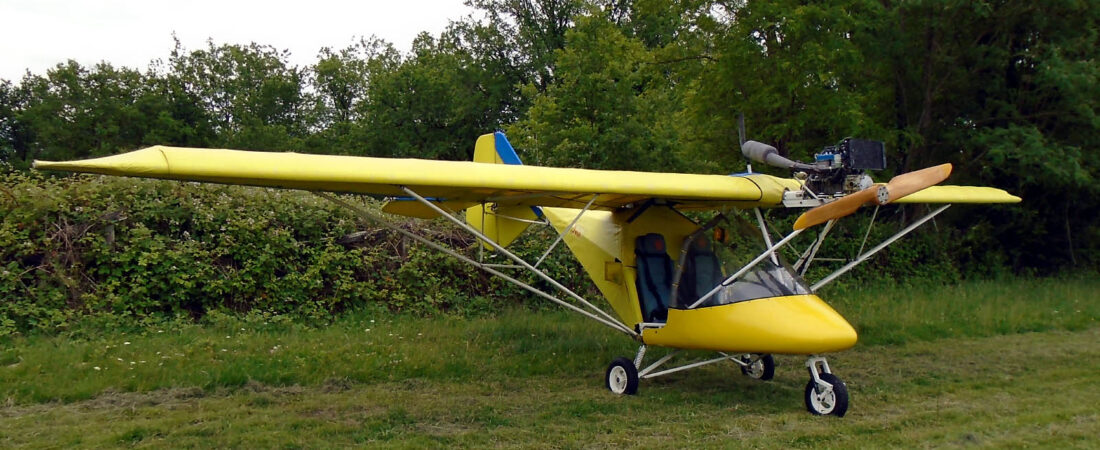
I’ve already mentioned that over the week-end I acquired a good used wooden propeller for 28AAD, my French Weedhopper. The prop came off an older, different version of the Weedhopper with a Rotax 532 engine and as 28AAD will have MYRO’s old 503 engine, I had to make a decision as to whether the prop would be suitable. I knew its diameter and pitch and here’s how I went about doing it.

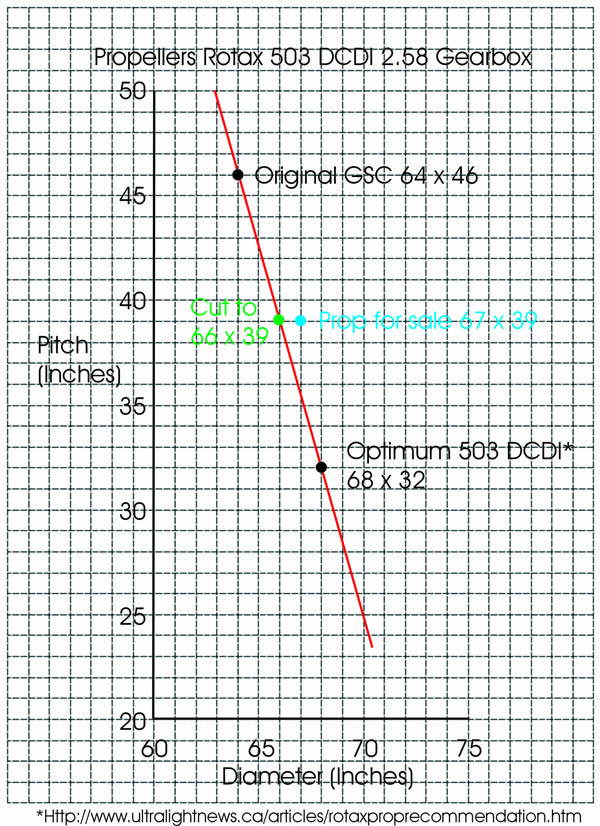
The engine is fitted with a type ‘B’ gearbox with a 2.58 ratio and here’s the data that I knew. Firstly, the original GSC wooden prop that was fitted to UK AX3s was of 64 inch diameter and 46 inch pitch and secondly, it has been established* that the optimum prop for a 503 DCDI engine is of 68 inch diameter and 32 inch pitch.

* http://www.ultralightnews.ca/articles/rotaxproprecommendation.htm

Now I’m no prop expert but I’m assuming that the GSC prop was selected as being ‘optimum’ for the engine/gearbox combination. I contend therefore that these two points can be plotted on a graph of propeller pitch v diameter and that as the distance between them is small, they can be joined by a straight line as shown in the following image.

null

So now we can start playing with the data for the new prop, whose data is diameter 170 cms (67 inches) and pitch 100 cms (39 inches) and is shown on the graph by the blue spot, which is off to the right of the ‘optimum’ line. The conclusion therefore as it’s off the line is that it is not optimum for this engine/gearbox combination.

Nothing can be done to modify the prop pitch as that’s inbuilt into its design, but its diameter is variable and it can be seen that if it’s reduced to 66 inches (the green spot), then the propeller falls directly onto the ‘optimum’ line.

So my conclusion is that as its stands, the new prop is not ‘optimum’ for the 503 DCDI engine/2.58 gearbox combination, but it can be made so by trimming ½” off each tip.

I’m not sure what this means in reality, however. It seems to me that the difference in diameter is so small that the change in prop performance could well be insignificant and not worth the work and effort involved. So what I intend to do is try it first as it stands and see what static revs it gives at full power. Depending on the results only then will I consider cutting it down.

More small steps

I had to wait in for a delivery this morning and after it had arrived I was able to pop down to les Briconautes in Montignac in search of the longer setscrews that I needed. Unfortunately, I could only find ones with a cross head that didn’t match the ones already securing 28AAD’s screen but I hope that when I’ve finished and everything is tightly secured I’ll be able to remove them and replace them with the shorter matching ones.

But at least I could then press on and finish securing the screen in place. I’ve not fitted all the fixings around as far as the door openings because I’ve noticed that although they were superficially the same, this pod isn’t the same shape as MYRO’s old one. I noticed several differences when I disassembled the Weedhopper that had led the last person who assembled it to use some unconventional rear pod fixings and door mountings that I’ll go into when I do them, as I’ll have to do the same.

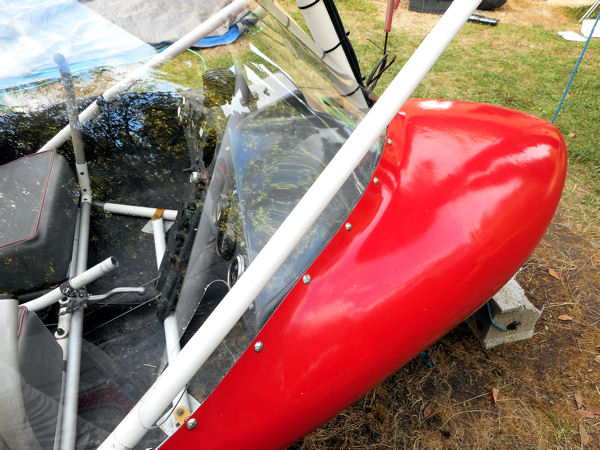
But the screen is now sitting and looking well on the pod for all that.

null

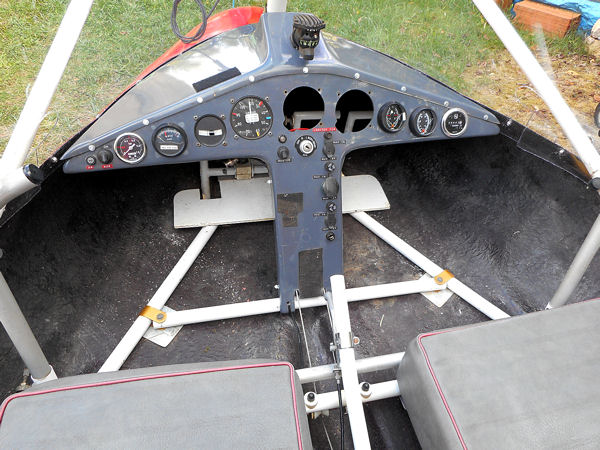
And so also is the panel, which I was then able to mount permanently at last.

null

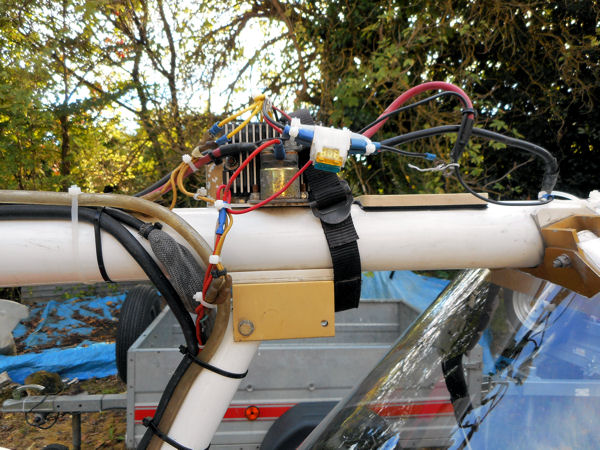
And because the panel was now in, I could also run the cables up the front tube and make the various connections that will eventually make the panel live.

null

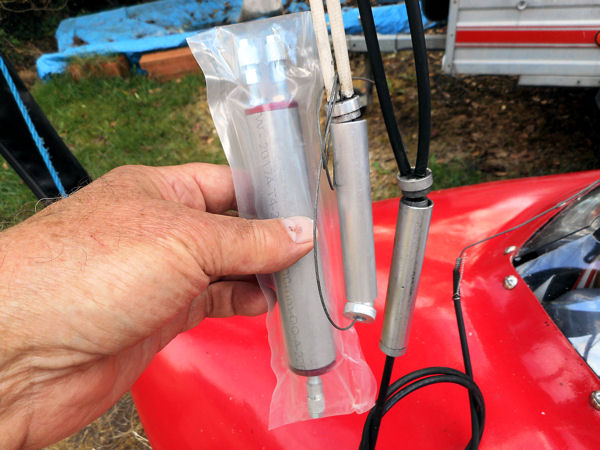
And the last thing I did today was make what is called in France a ‘dedoubleur’ for the Weedhopper’s choke cable. I bought one a week or so back that turned out to be much too large for a little ULM like 28AAD as the next picture shows. I needed it because although the top components of MYRO’s old one were were recovered, its body and bottom had been lost.

null

Victor suggested that if I bought some short lengths of aluminium bar and tube of the correct dimensions, there was nothing to stop me making my own ‘dedoubleur’ parts, so that’s what I did and that’s what the delivery was this morning.

It didn’t take too long and although the results aren’t as pretty as a more competent engineer would have produced, the finished item, the left one of the two originals in the above picture, doesn’t look too bad and, more importantly, will do the job. So the new one will be going back soon for a refund.

The next job will be to make up new doors. One of MYRO’s old ones suffered damage and a tube of its frame was broken, and although both look better than those that were on the Weedhopper originally, they now look tatty against the other new plastic. The old Weedhopper doors both have good frames so I’ll be using them in conjunction with new plastic based on the shape that I developed for MYRO. But that’s for tomorrow.

That will leave only one major job, re-timing the engine, for which ideally I’ll need a dial gauge. I don’t have one so I’ll have to think how I’m going to get around that one.