After finding that the holes on my rudder pedal base plate (that came out of MYRO) don’t line up with the holes in the fuselage base tubes (that came out of MYFI, I think), I was a bit worried that the holes in the pod floor wouldn’t line up either. So it was essential, already having painted the interior, that I checked before going any further with my pod exterior respray. So that was the main job today.
I’m grateful that I’ve got somewhere to keep and work on MYRO after the accident but there’s no doubt that having MYRO some way away does slow things down a lot and even small tasks like this can take so much longer than when I had MYRO in my garage like last time. Anyway, after padding out the back of my car I put the pod inside for the trip to Ken’s. I’m so glad that I bought this Little Astra Estate as it’s a god-send when it comes to transporting stuff like this around. I’d never have been able to do this kind of thing with my old Honda.
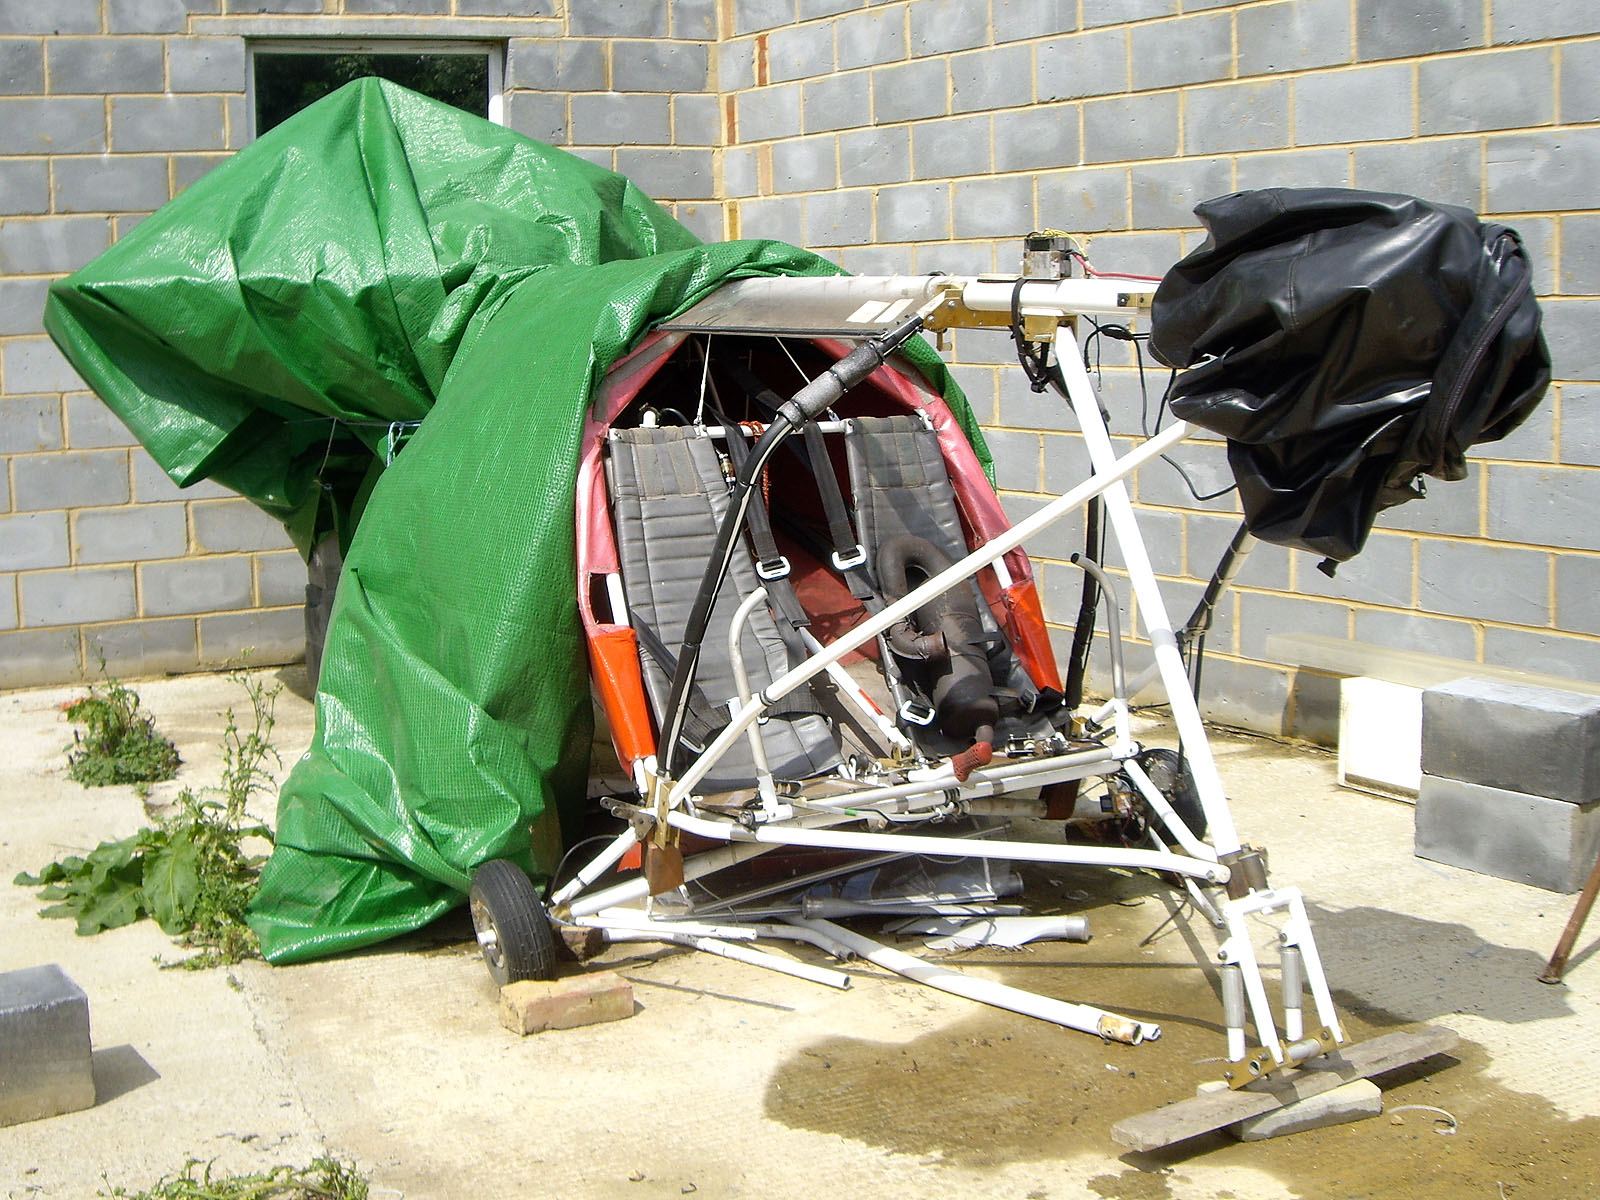
Suffice to say that I had to do a little bit of jiggery-pokery with bungee cords to support the pod and in the process split one of my small repairs on the pod back edge, but when I got it into place I was relieved to find that the holes all line up perfectly. And with the pod in place, although only temporarily, MYRO began to look like an AX3 again 🙂


The rudder pedal base plate is shown back-to-front in the last picture above. That was because I had it that way round when I was checking the line-up of the holes drilled in it with those in the fuselage base tubes. I also found another couple of strange, and slightly annoying things. Although the holes in the pod are drilled at the exact distance to match those in the horizontal cross-tube, you can see that the ends of the tube are some way away from the fuselage base tubes. This means that the brackets that join them all together are too short. It could mean that in MYFI that the pod came from, the cross-tube was set slightly further back or it could mean that the fuselage base tubes need to be sprung inwards so there’s always an element of tension in the cross-tube. I prefer the latter idea because it would mean that there would be a greater degree of stiffness in the floor structure, so when I come to fit the pod later, I’ll see if I can spring the fuselage base tubes inwards enough to use the existing brackets. I would have to make sure that the top holes where the rudder pedal base plate fits don’t move, though, as they line up perfectly with the holes in the pod.
The other thing I found when I came to fit the nose wheel within the forks for the first time is that the new wheel’s hub is obviously wider than MYRO’s was because the spacers that fit on the spindle each side of the wheel to centralise it between the fork legs wouldn’t both go in. How strange (and inconvenient) that ostensibly identical wheels can be so different. It means that I’ll have to measure the width of the hub and cut the spacers down so they fit snugly and hold the wheel central. Just another mild inconvenience I suppose, but at least I’ve now got all the information I need so I can really start pushing on and making some progress 😉